Royal Birkdale Golf Club
While there may not be a signature hole like the Road Hole or an iconic stretch like Amen Corner, Royal Birkdale represents an exacting ball-striking test from the opening tee shot to the final approach.
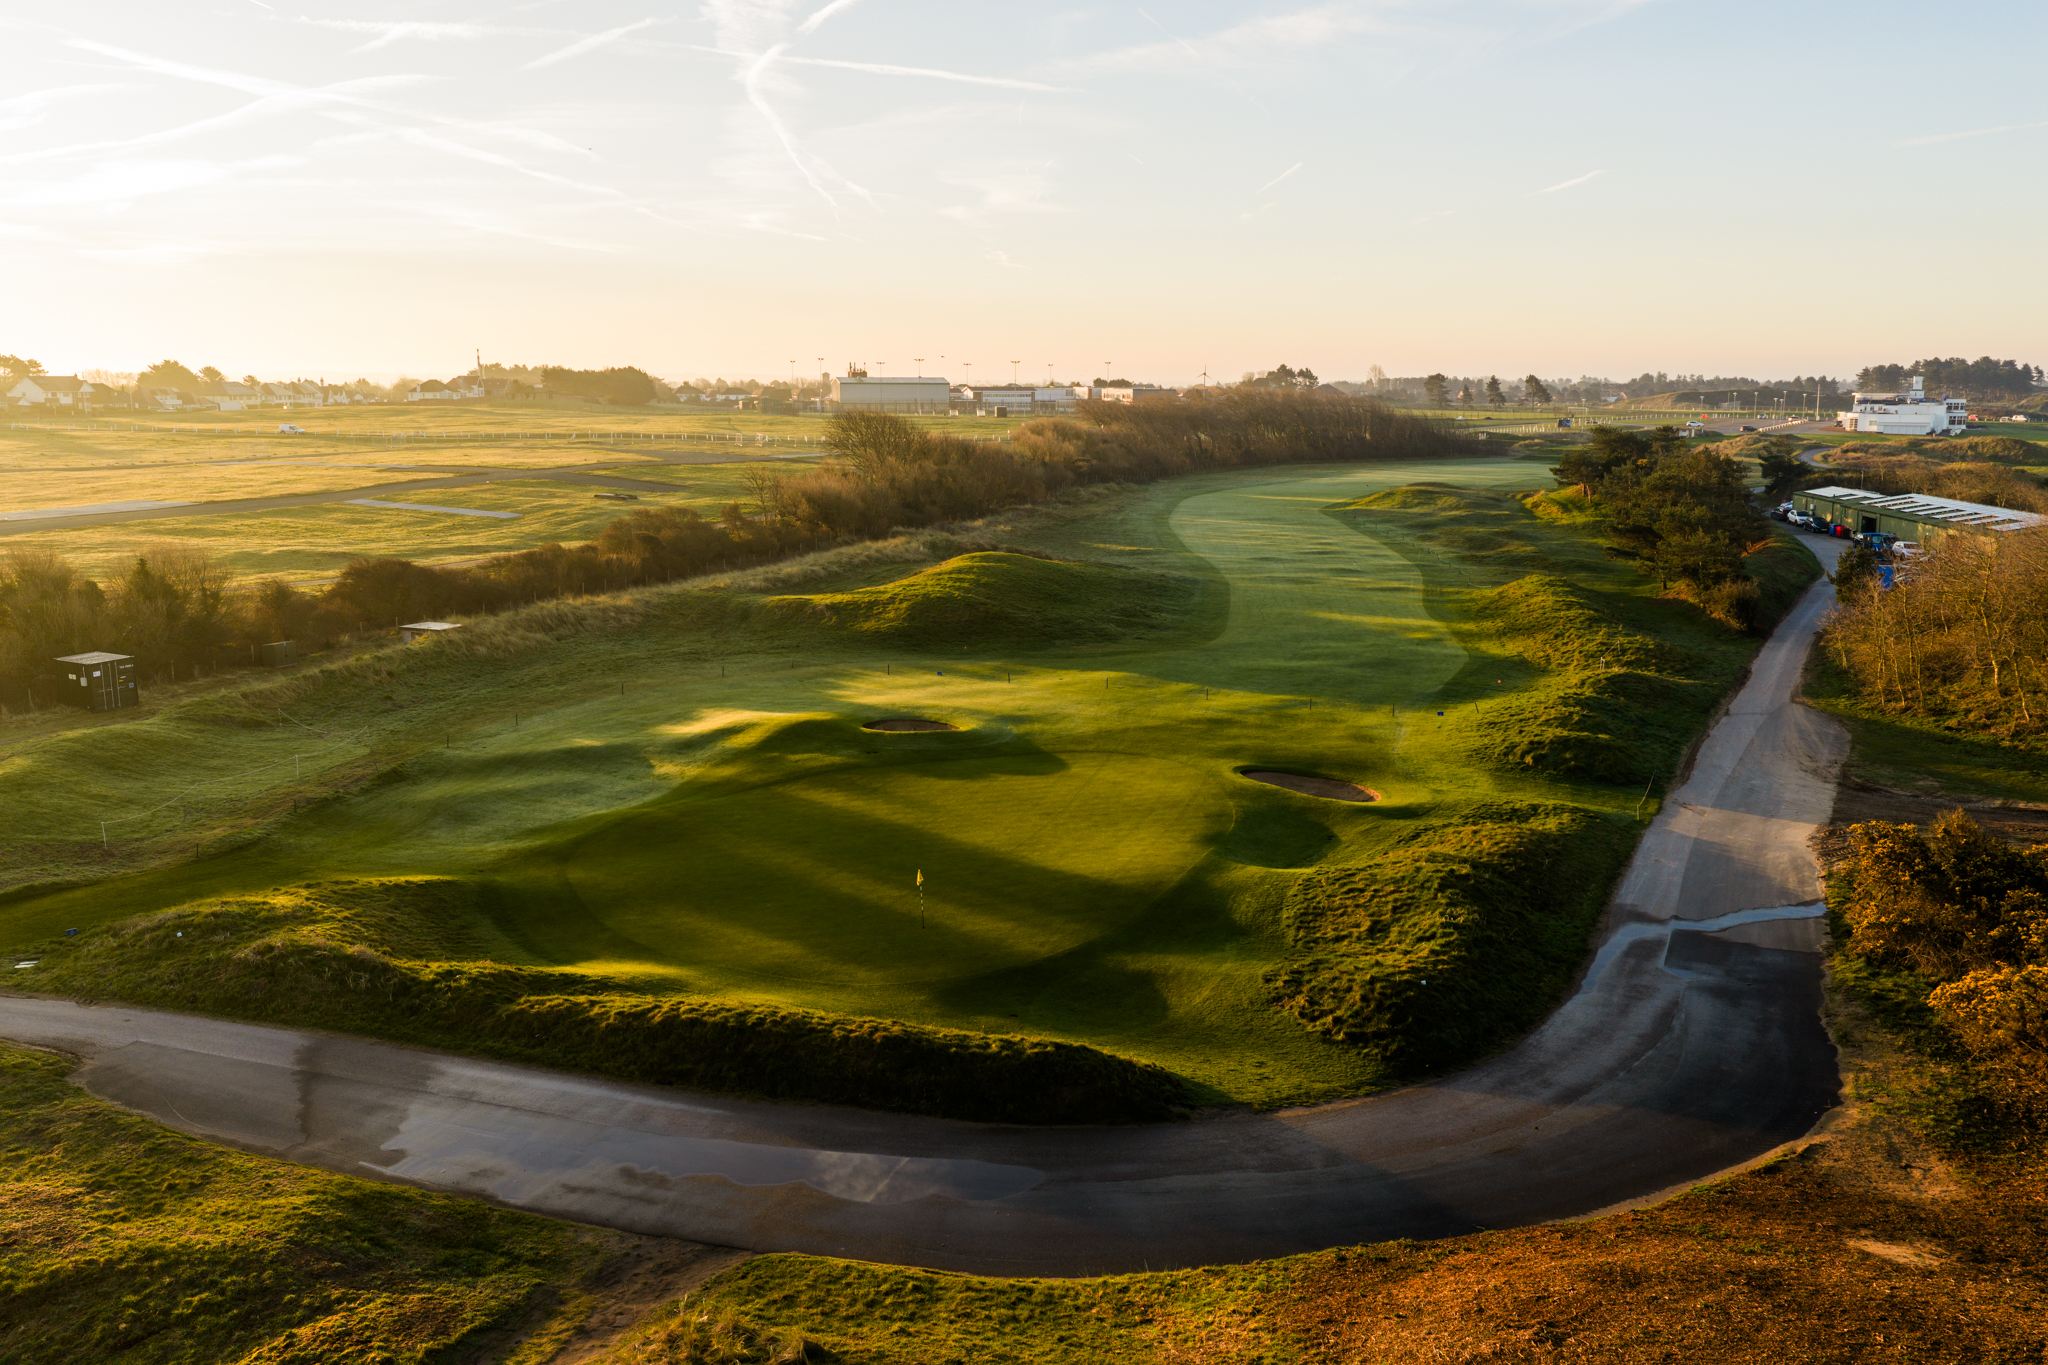
Royal Birkdale Golf Club
While there may not be a signature hole like the Road Hole or an iconic stretch like Amen Corner, Royal Birkdale represents an exacting ball-striking test from the opening tee shot to the final approach.
Hole 1
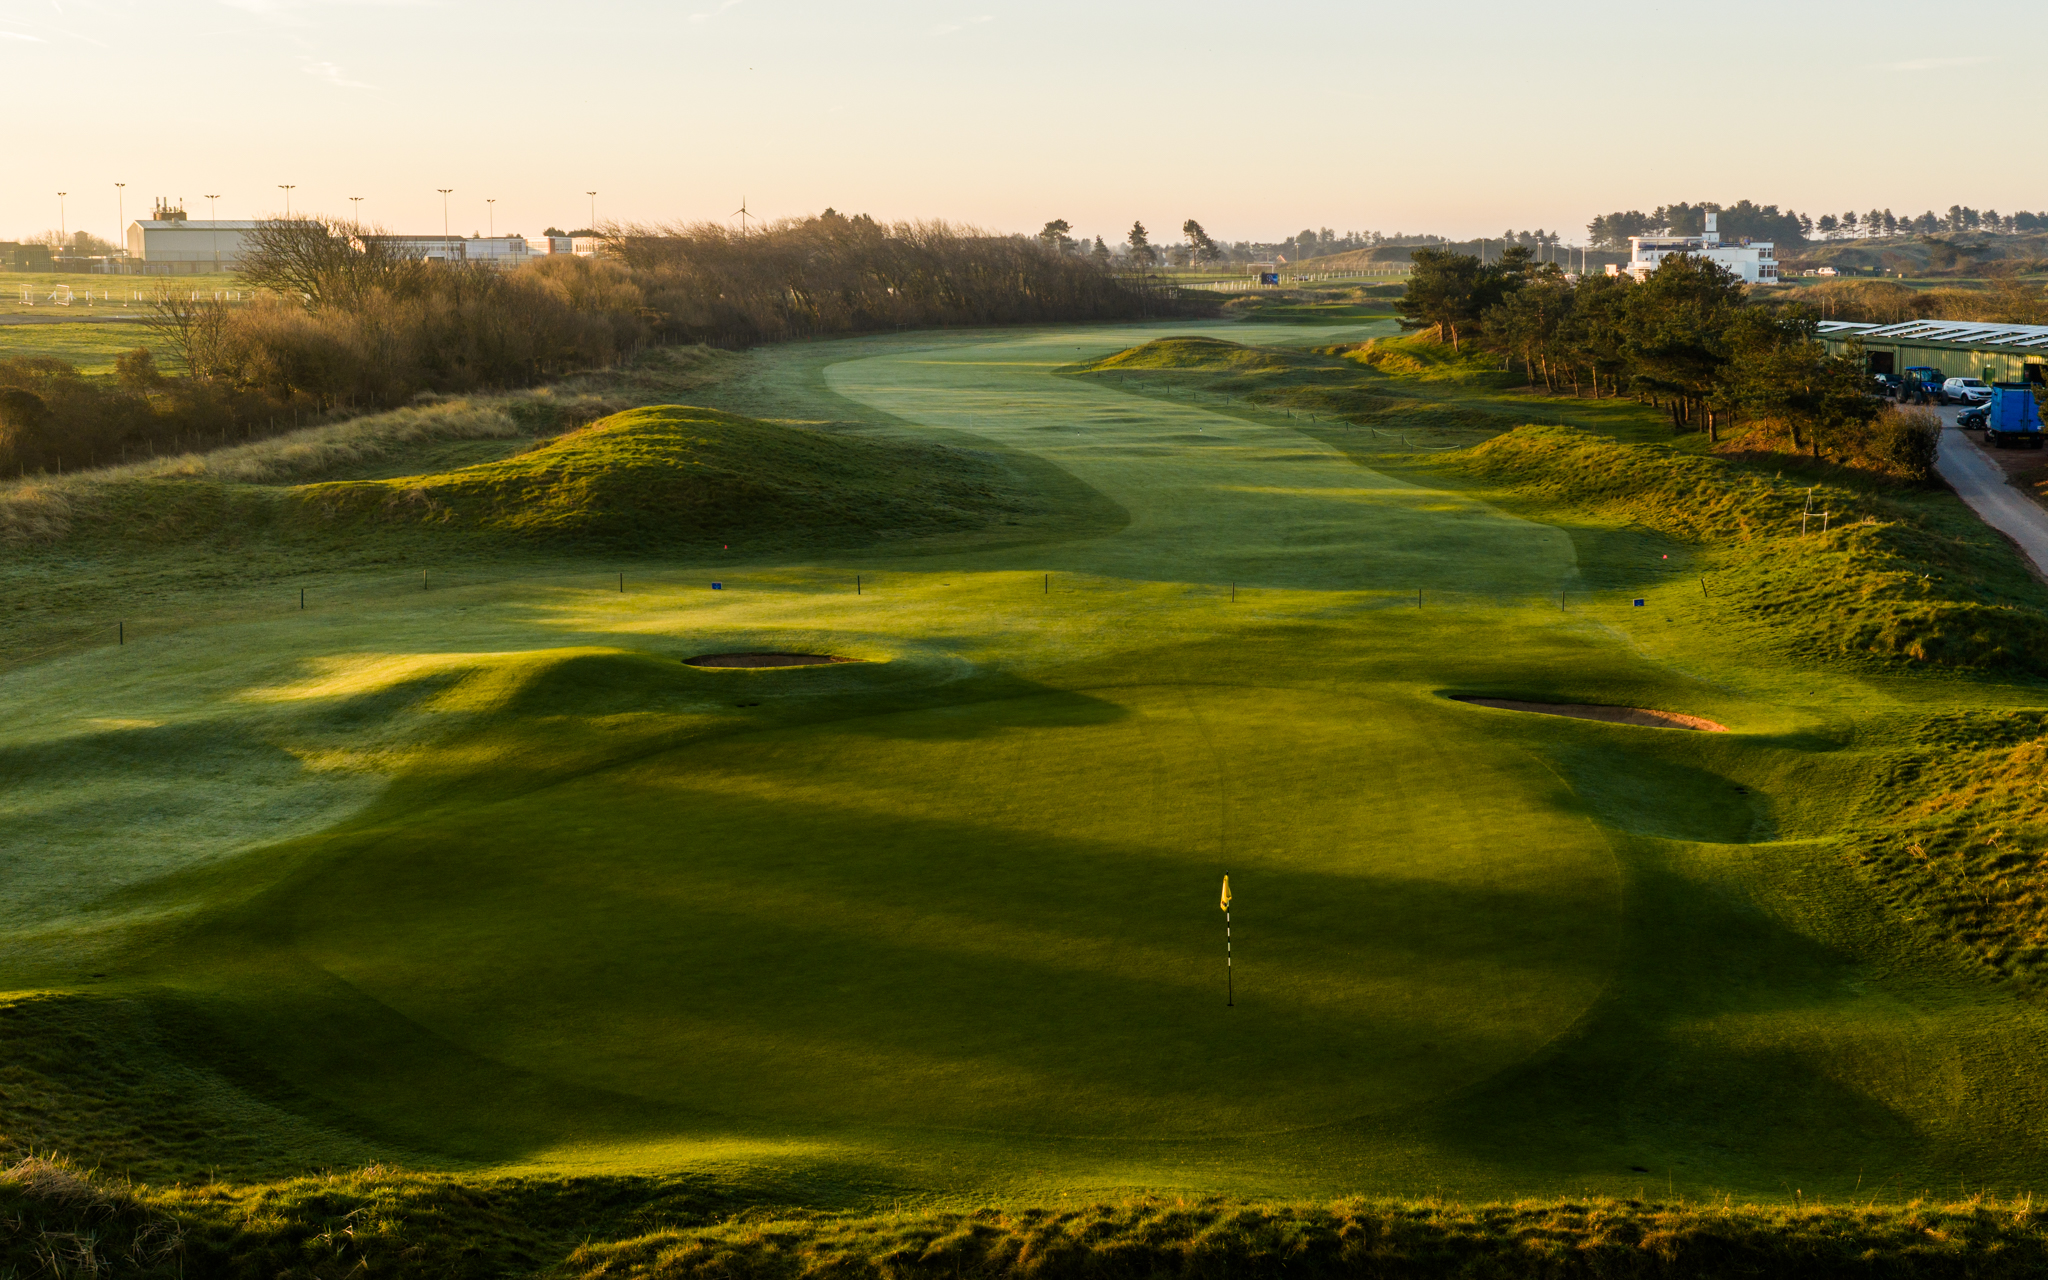
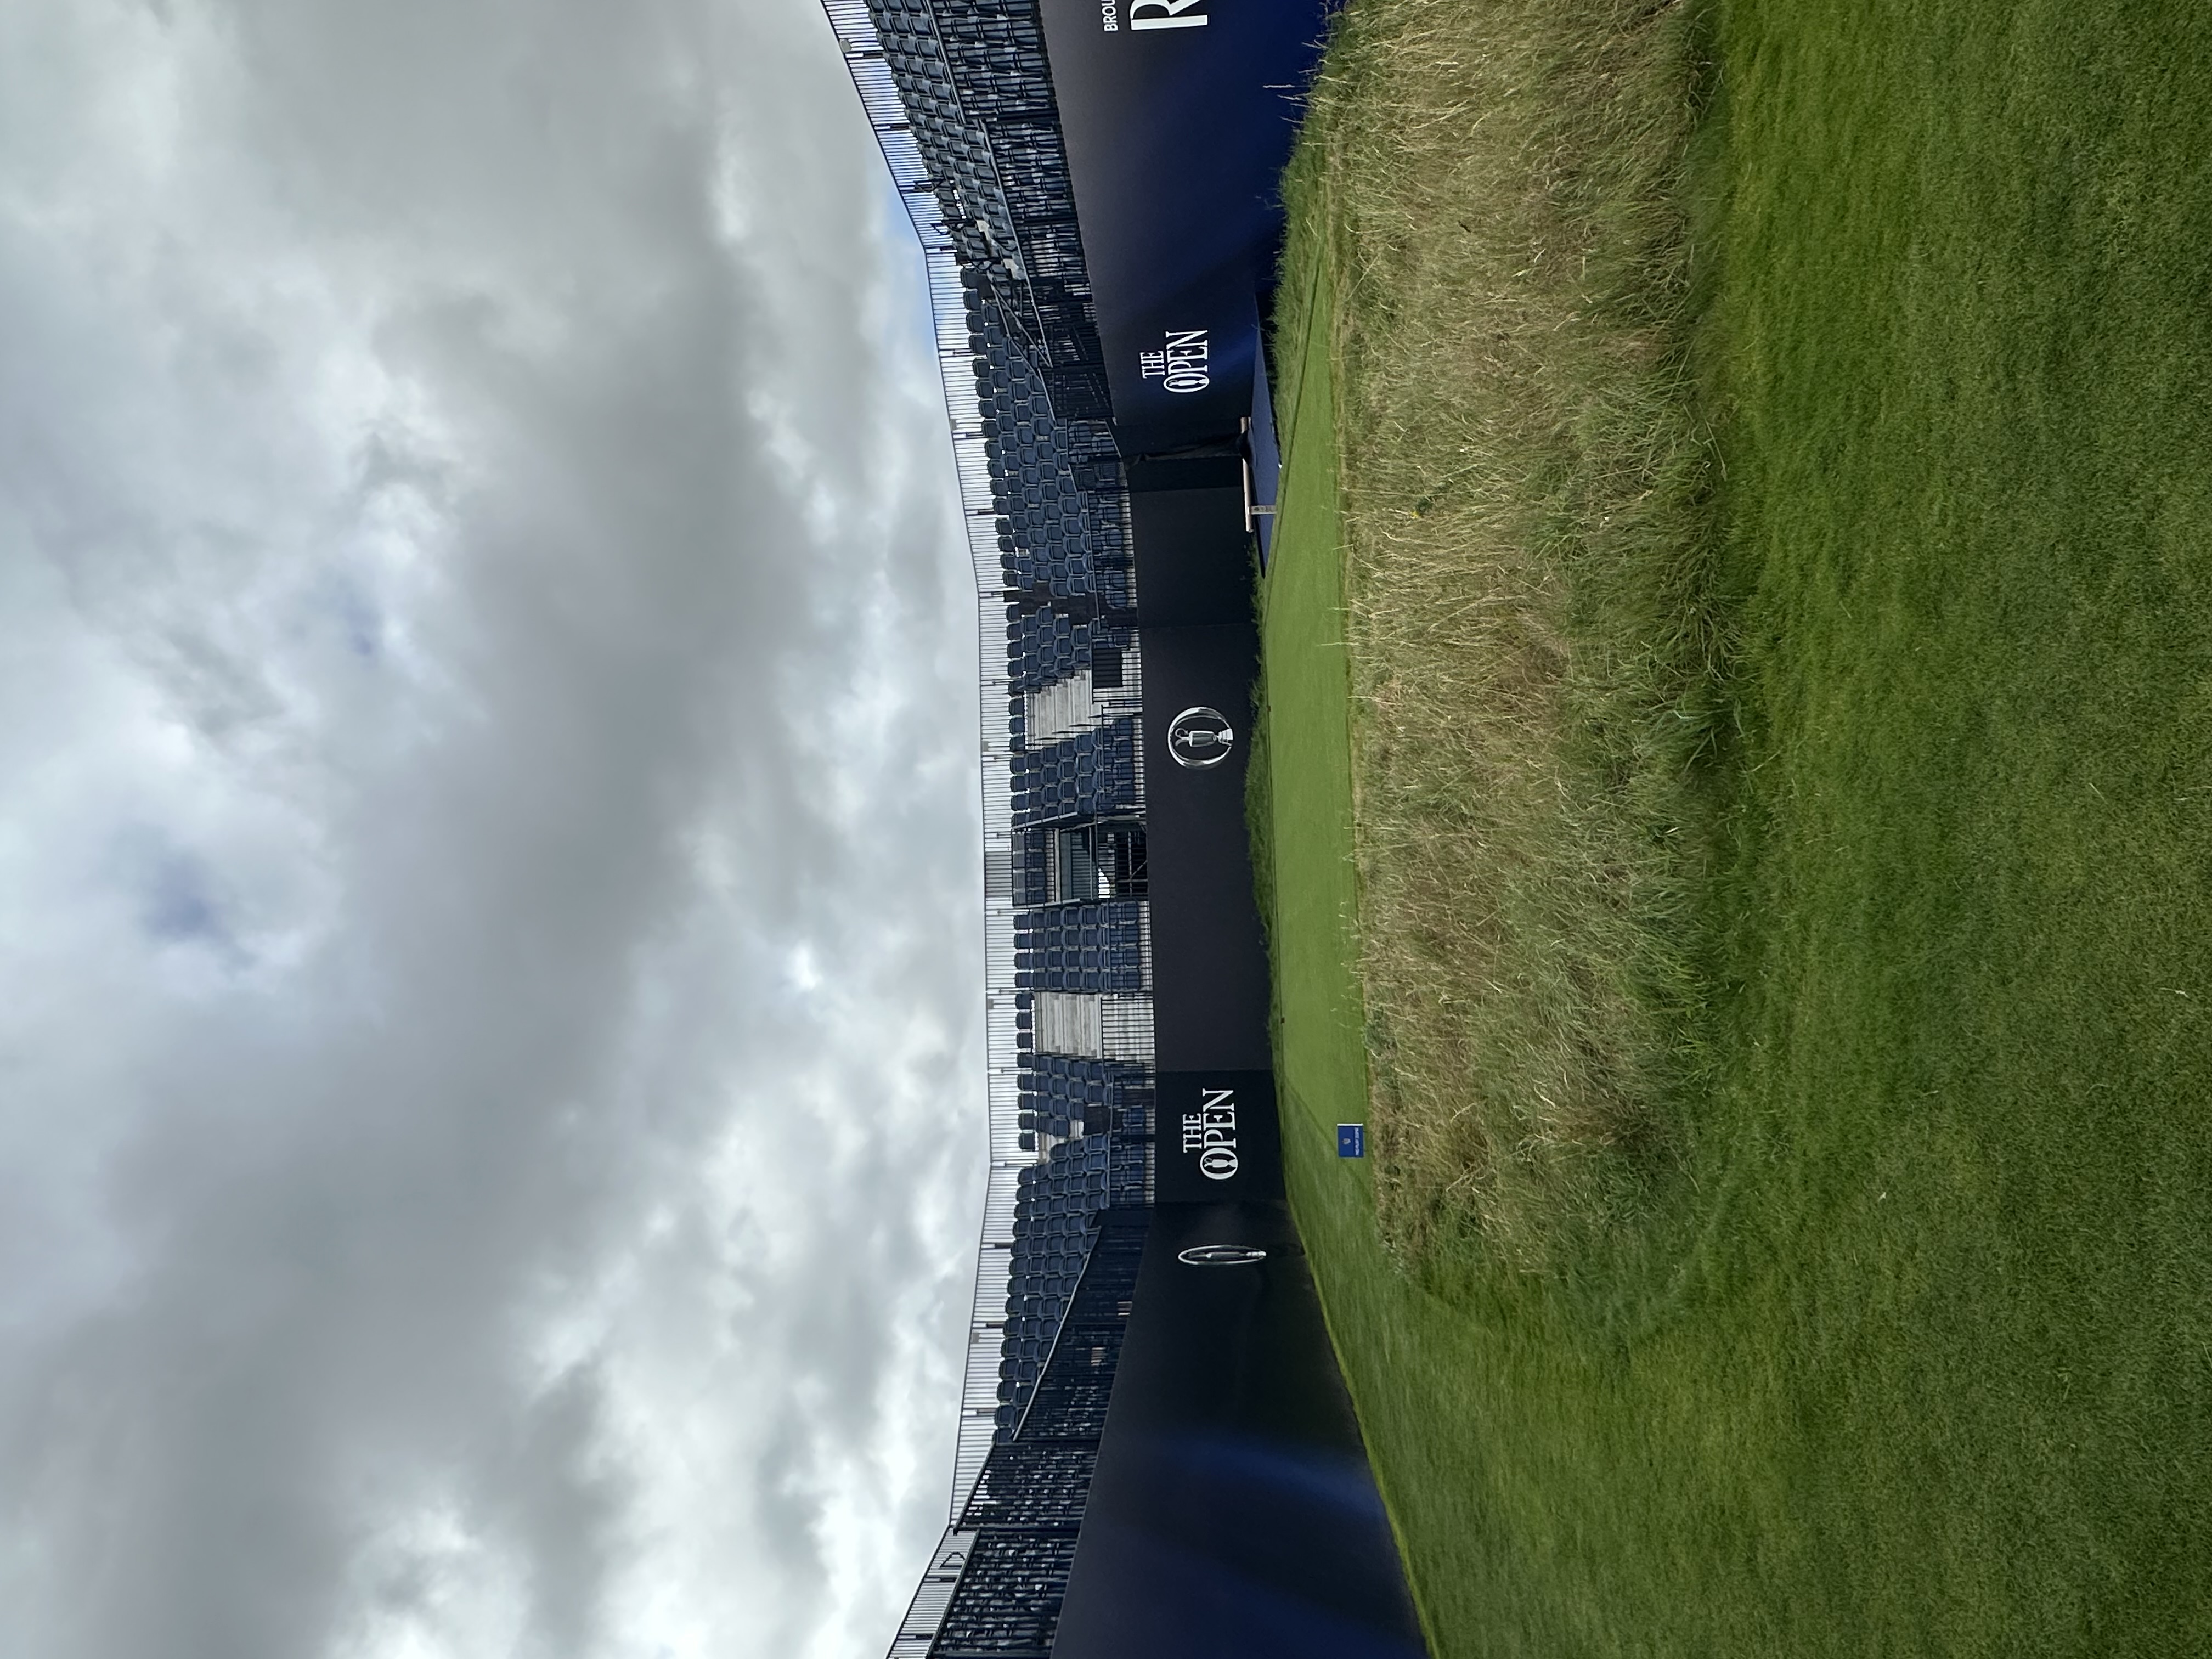
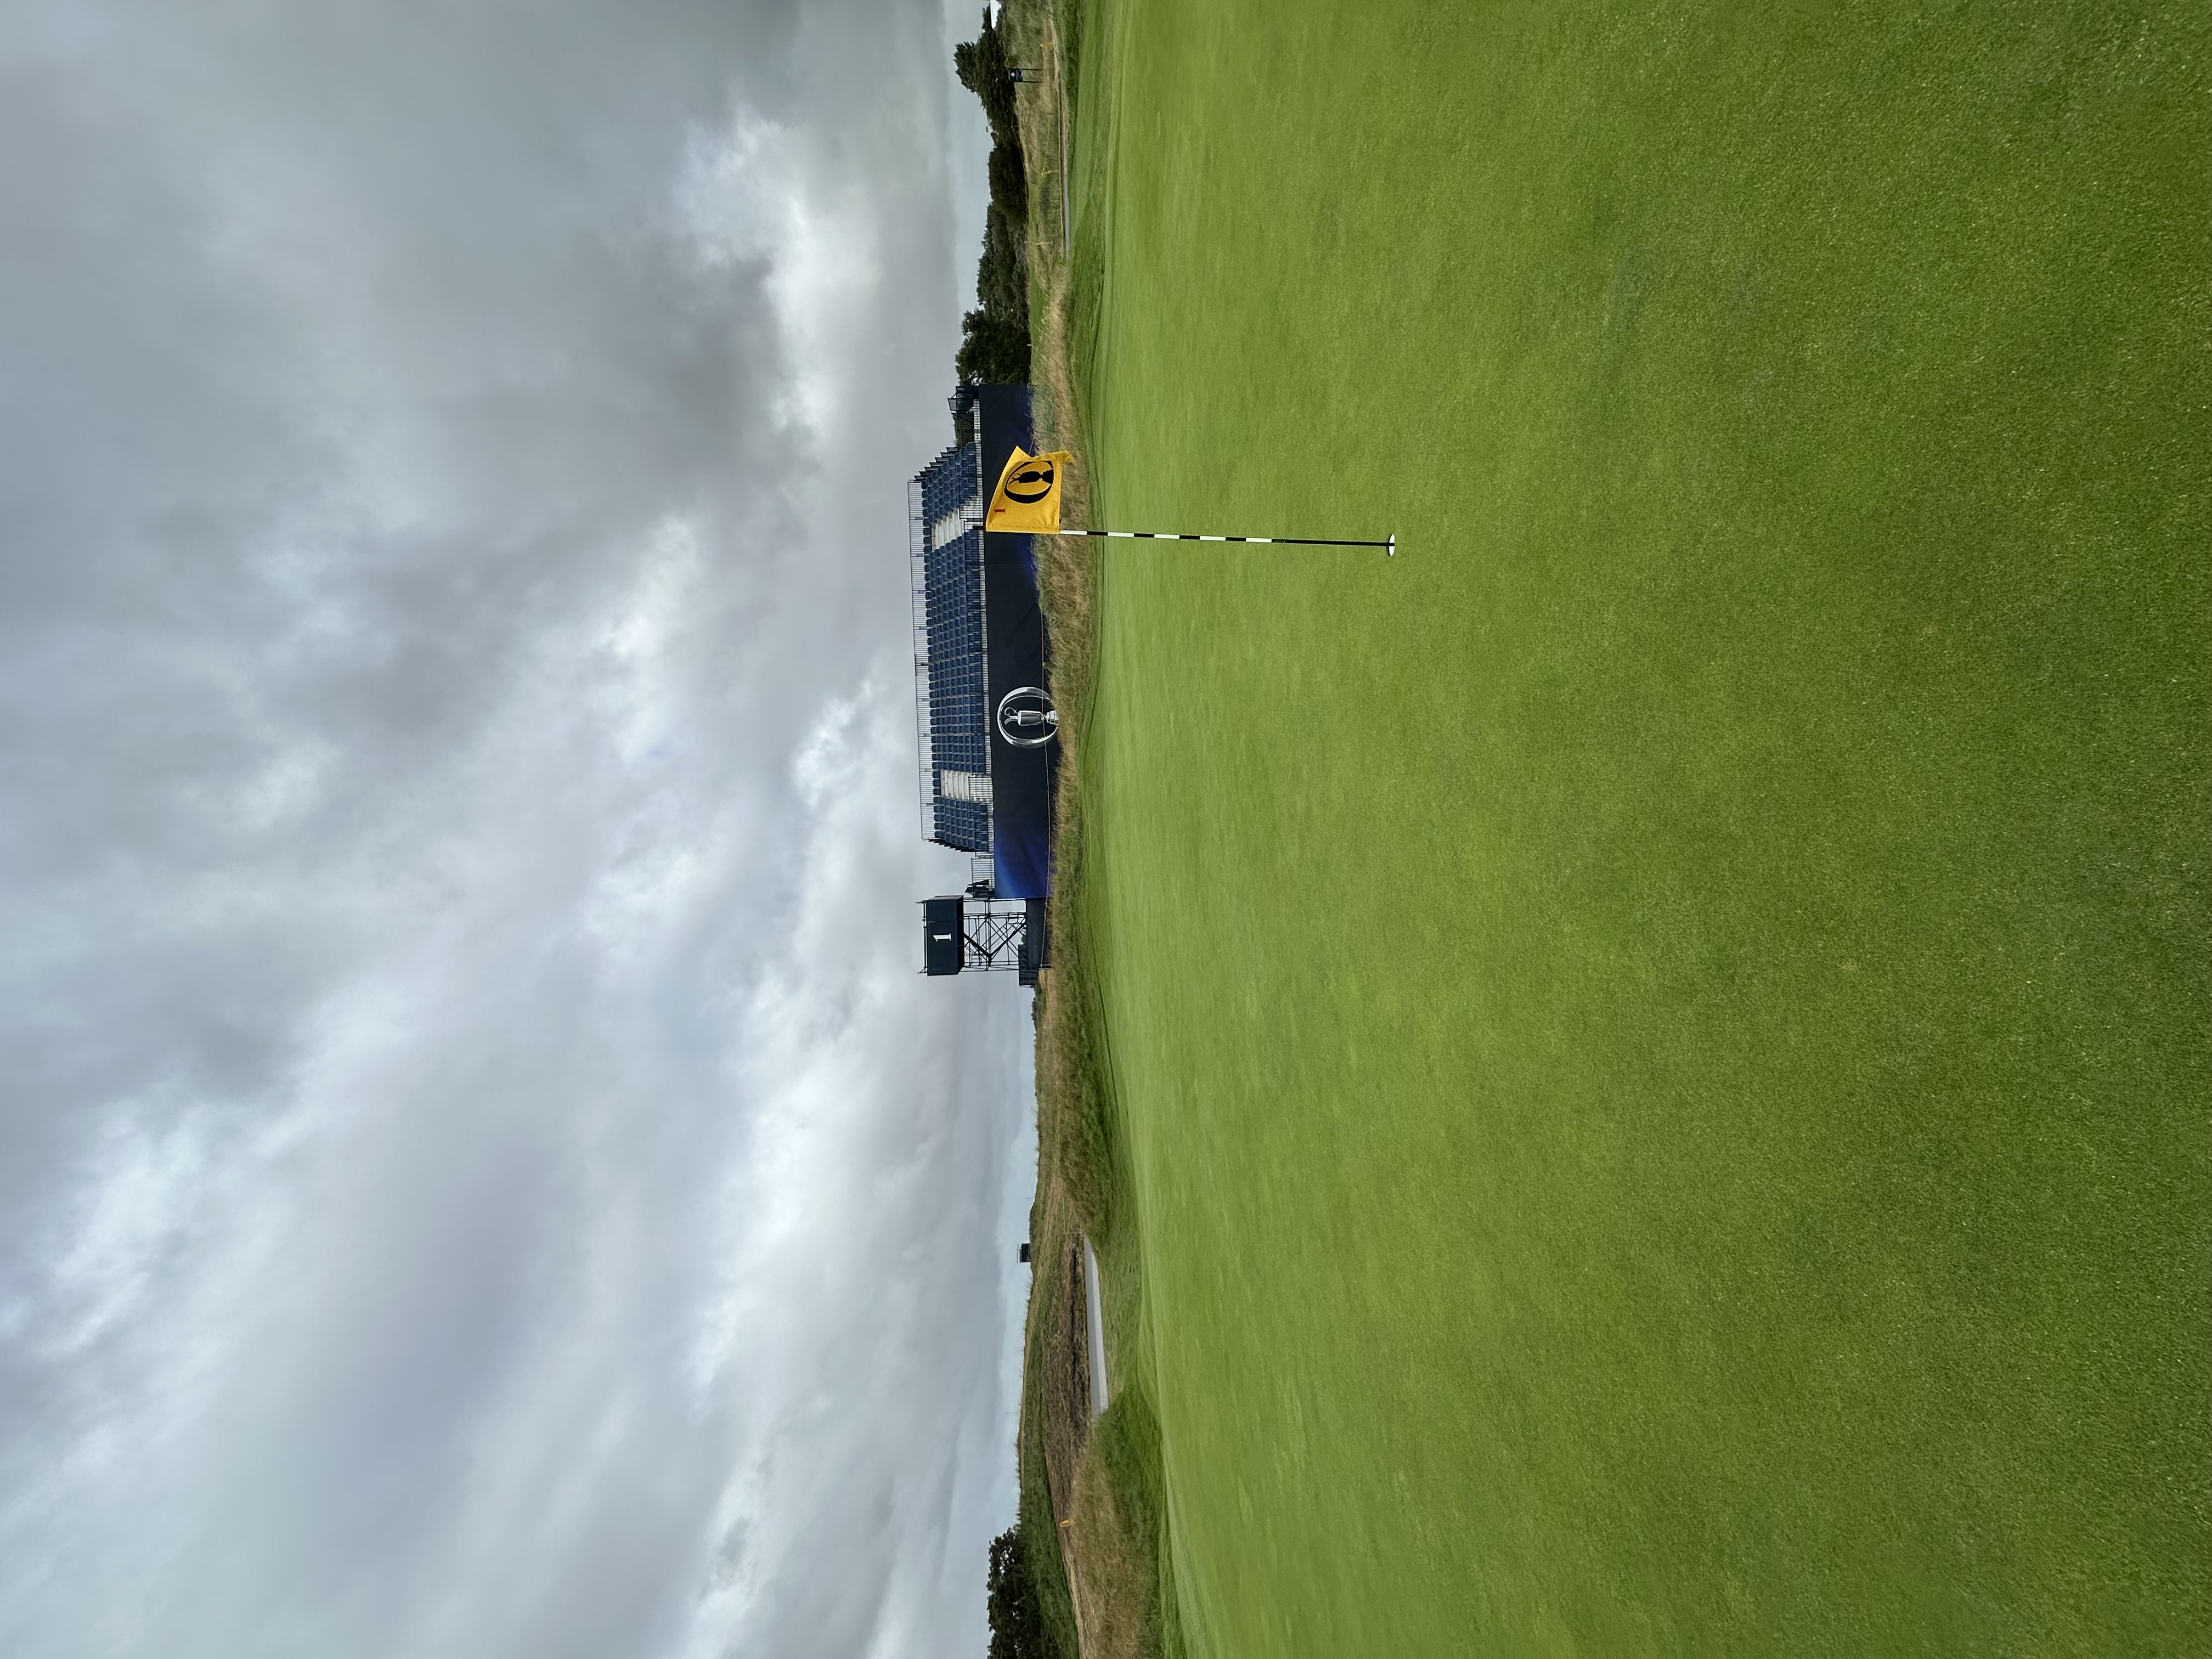
A firm handshake. Out of bounds lines the right side of the mid-length par 4, while the prevailing wind rips hard off the left. A poorly struck tee shot can have players reaching for their pockets to retrieve another ball or fighting for par from the native area, either left or right. An appropriate tone-setter for a challenging golf course.
.jpg)
Hole 2
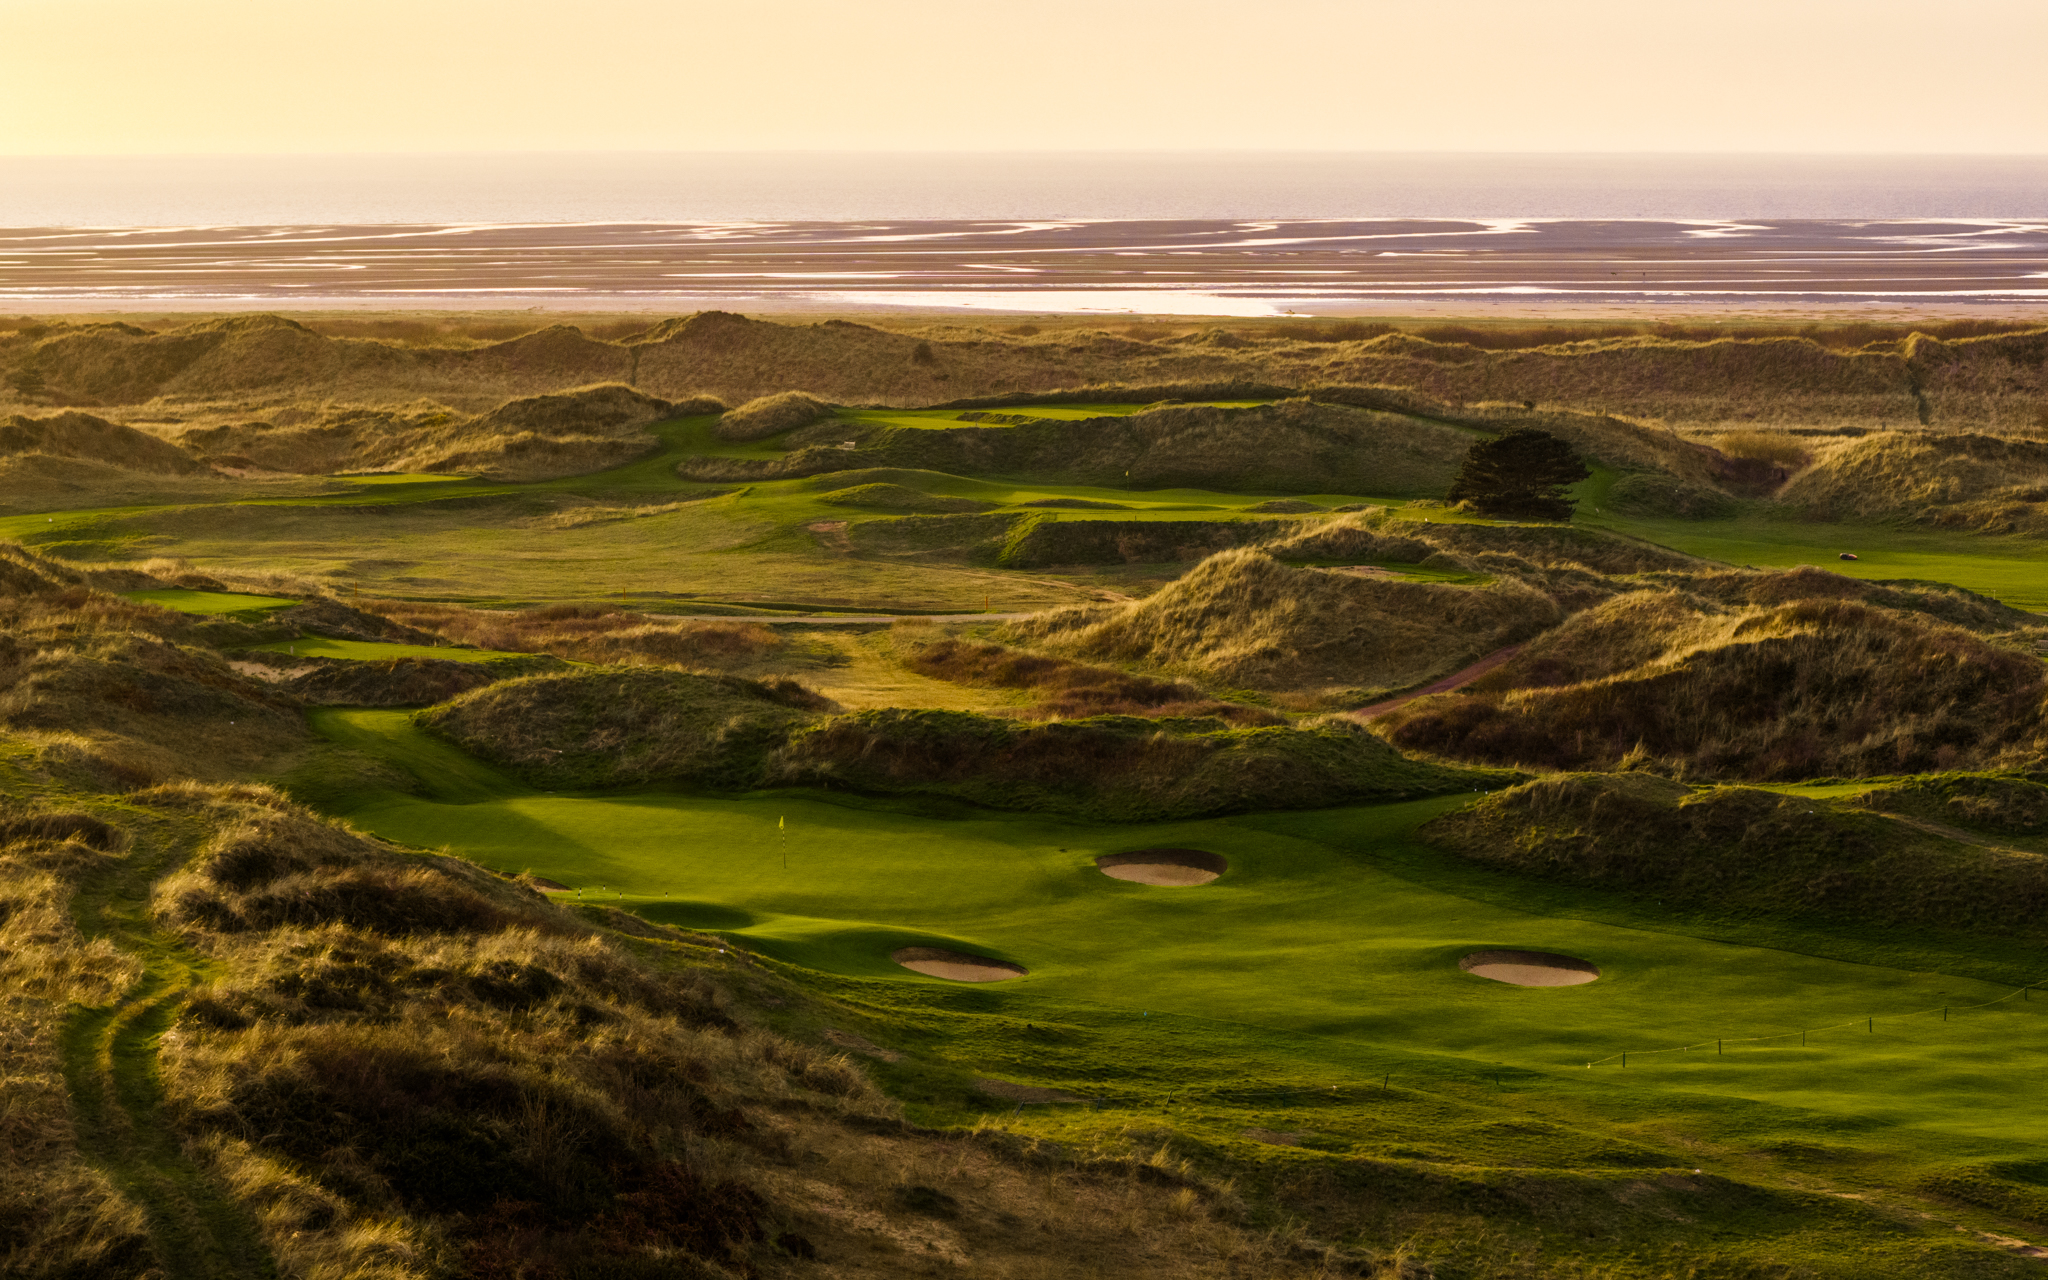
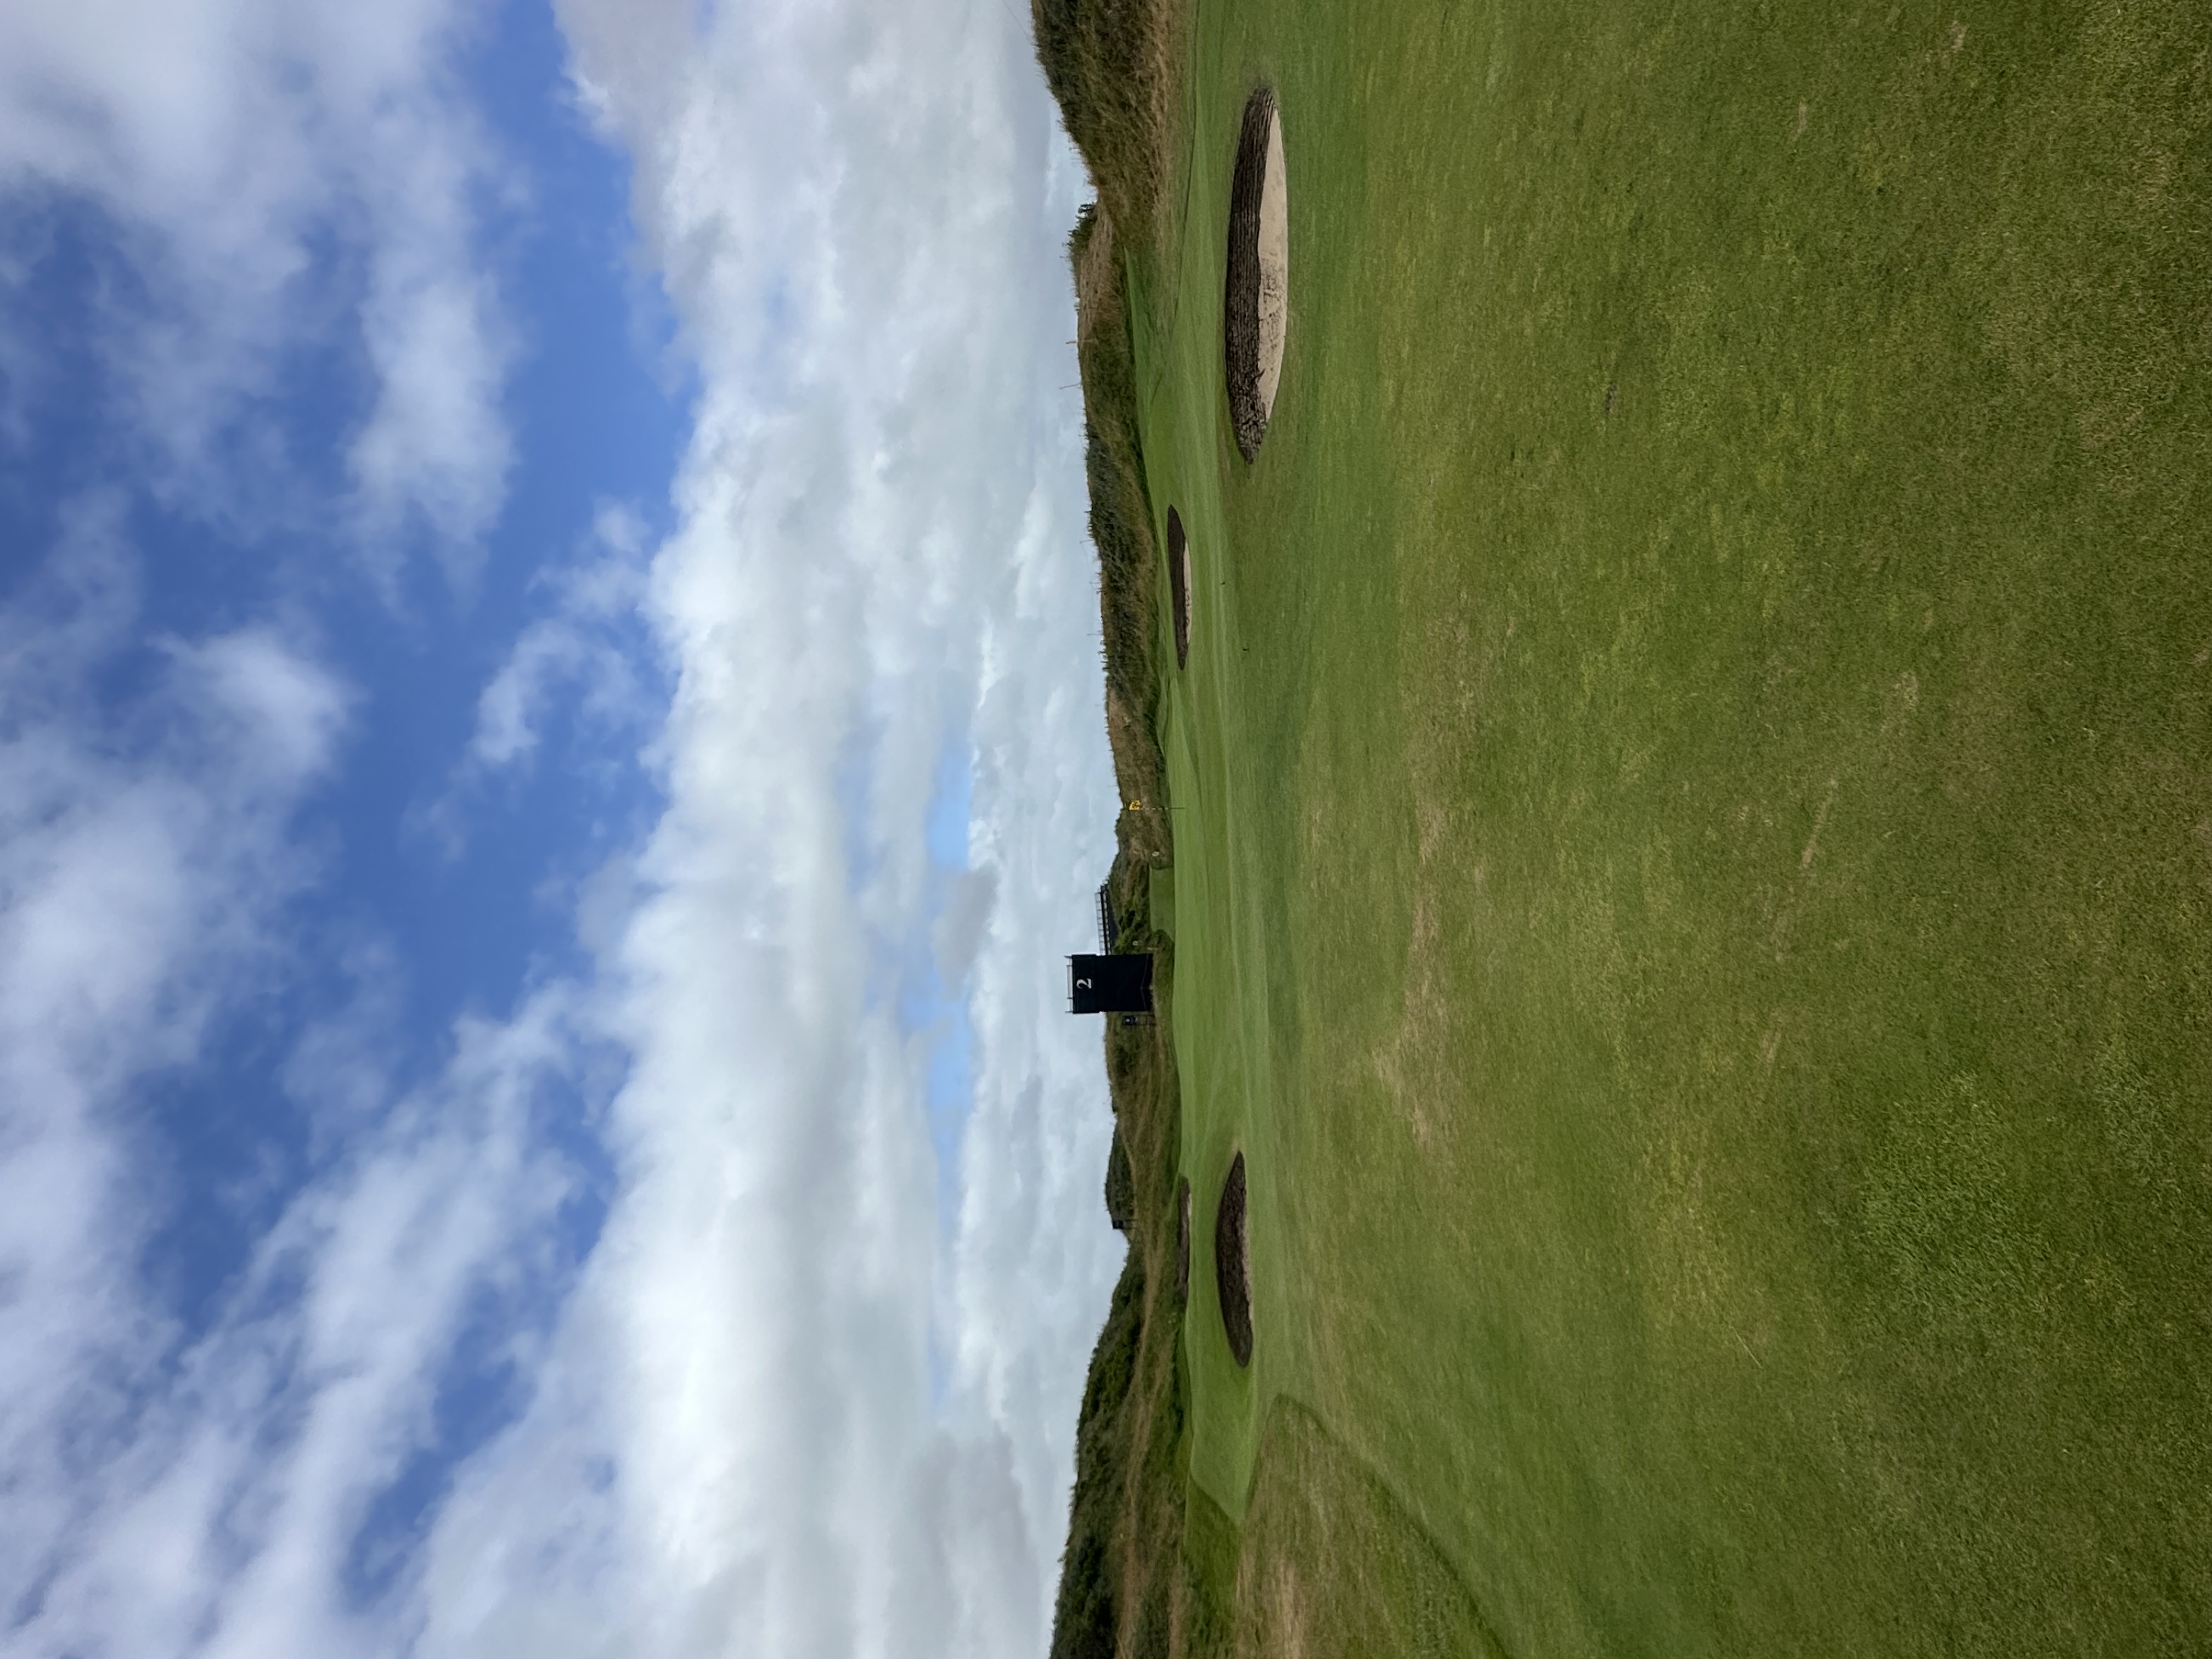
A slight dogleg left, players can bite off as much as they decide to chew past the dogleg but must be careful to avoid both the pot bunkers protecting the right side of the fairway and the native area down the left. The second is simple and fairly straightforward but eager to punish those who fall asleep at the wheel.
.jpg)
Hole 3
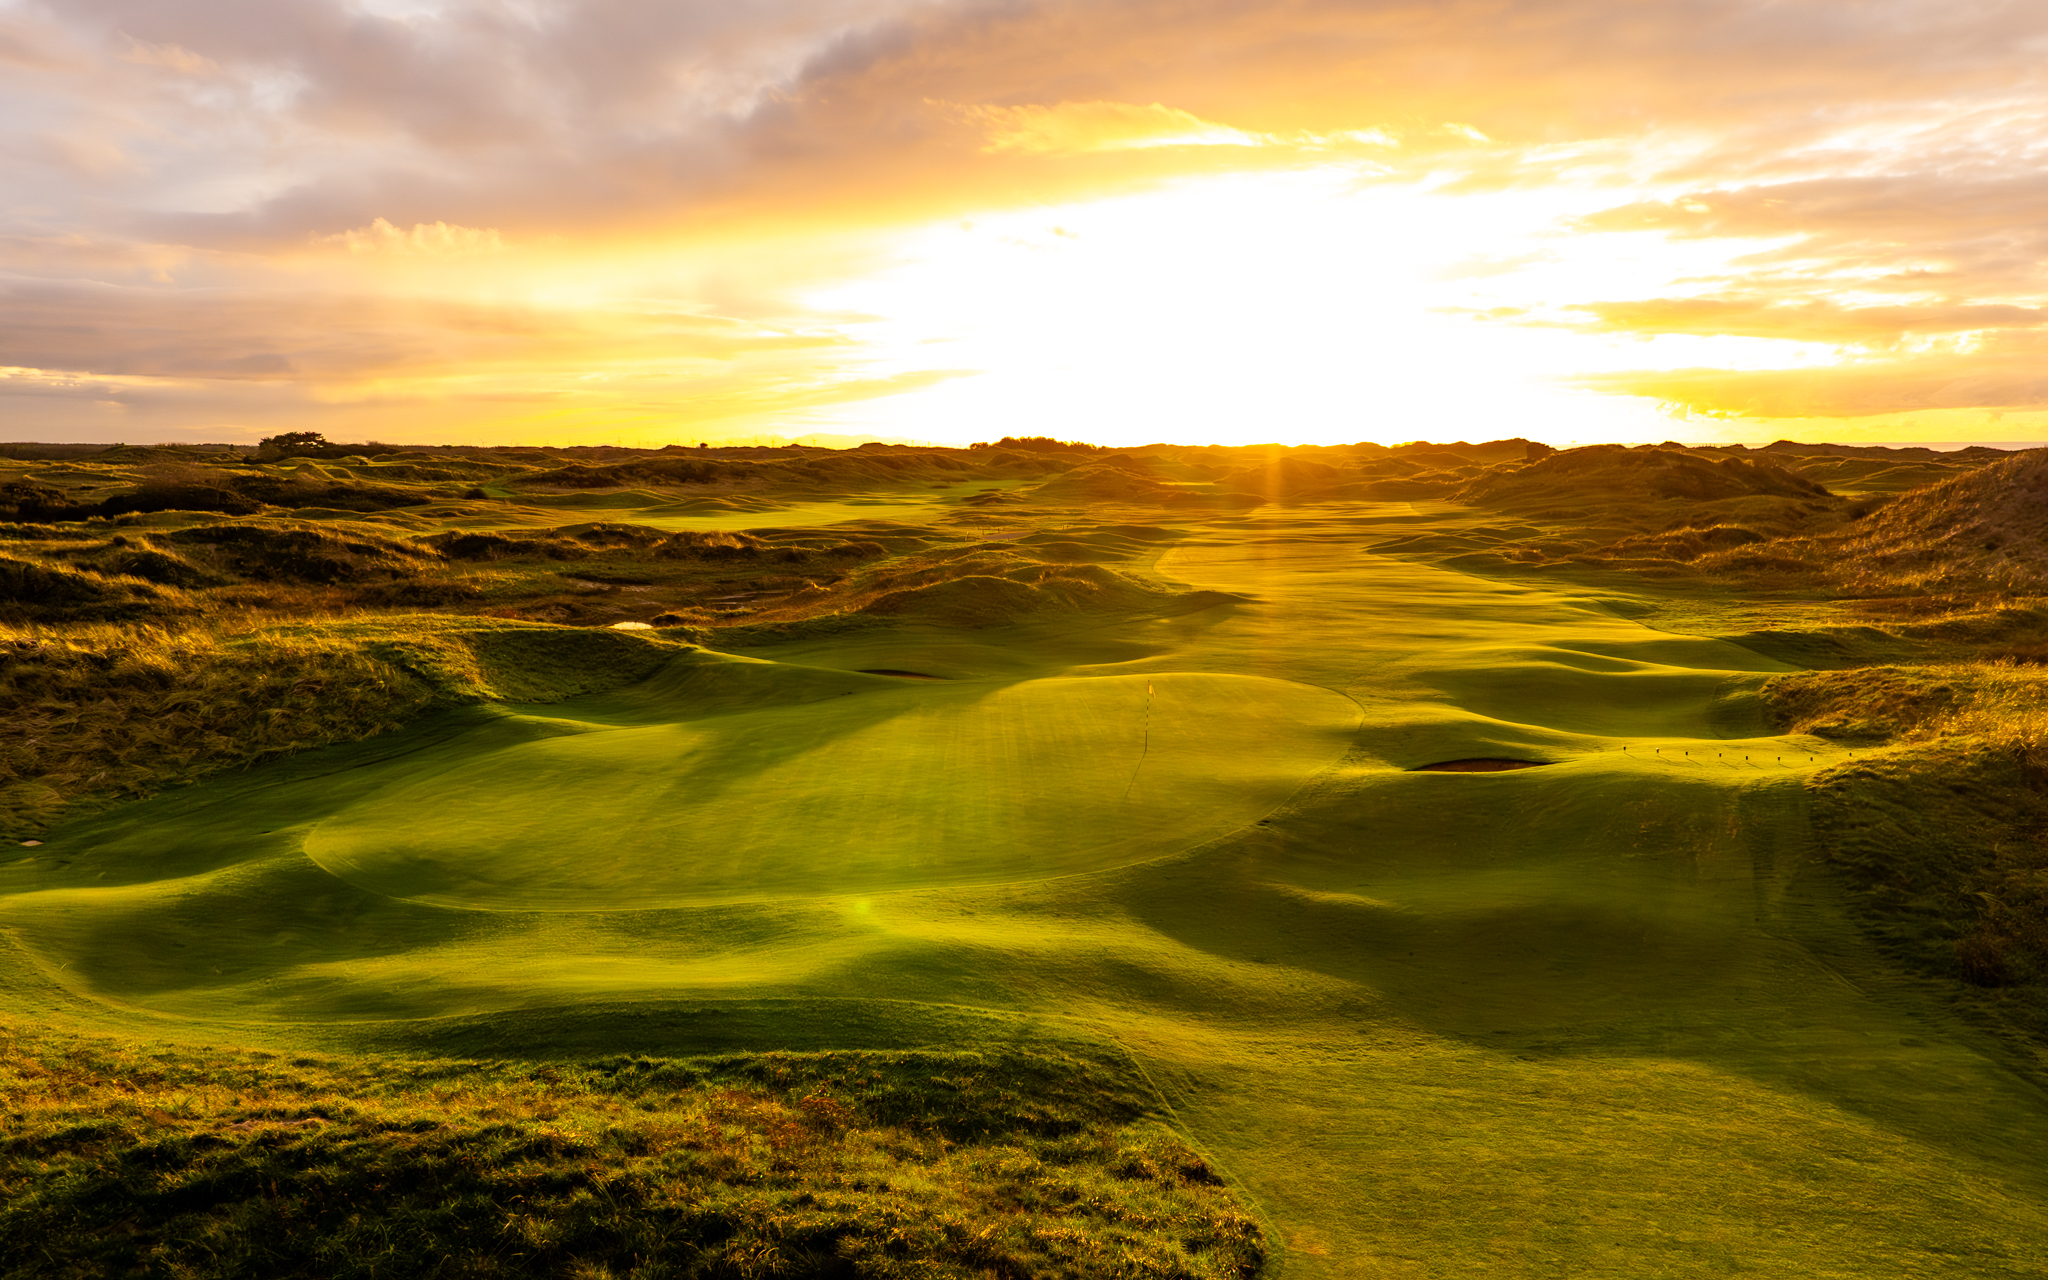
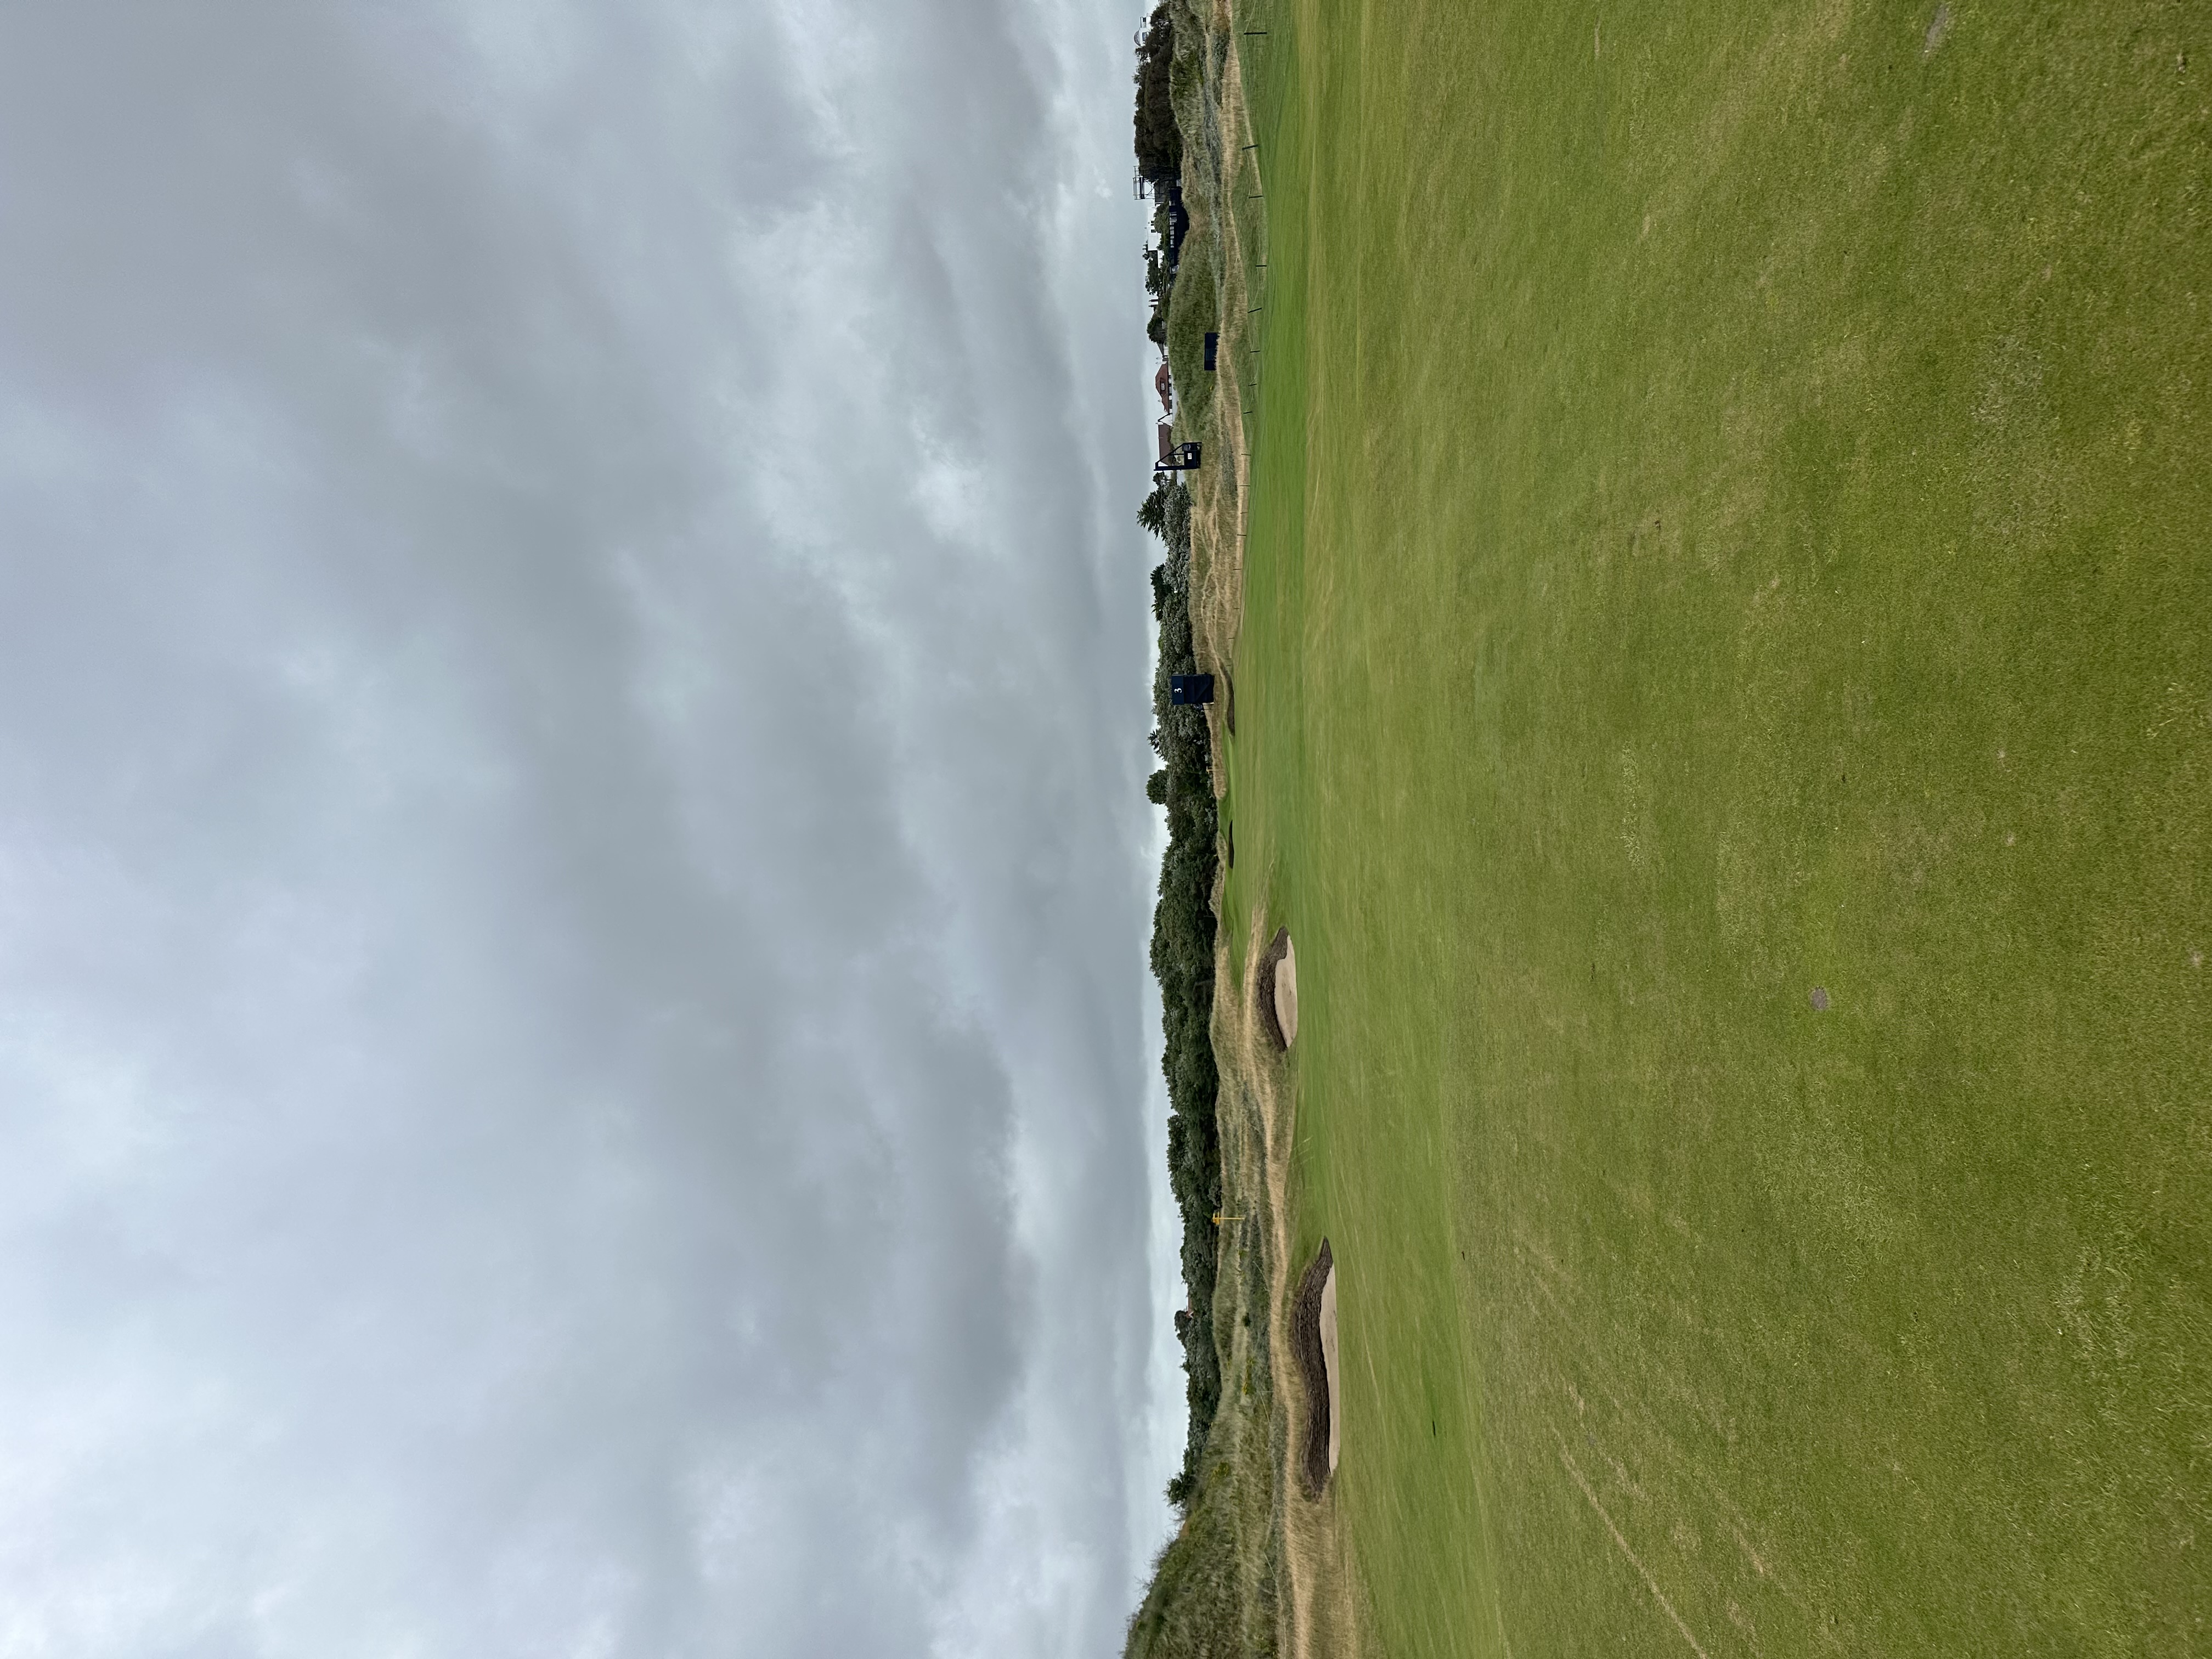
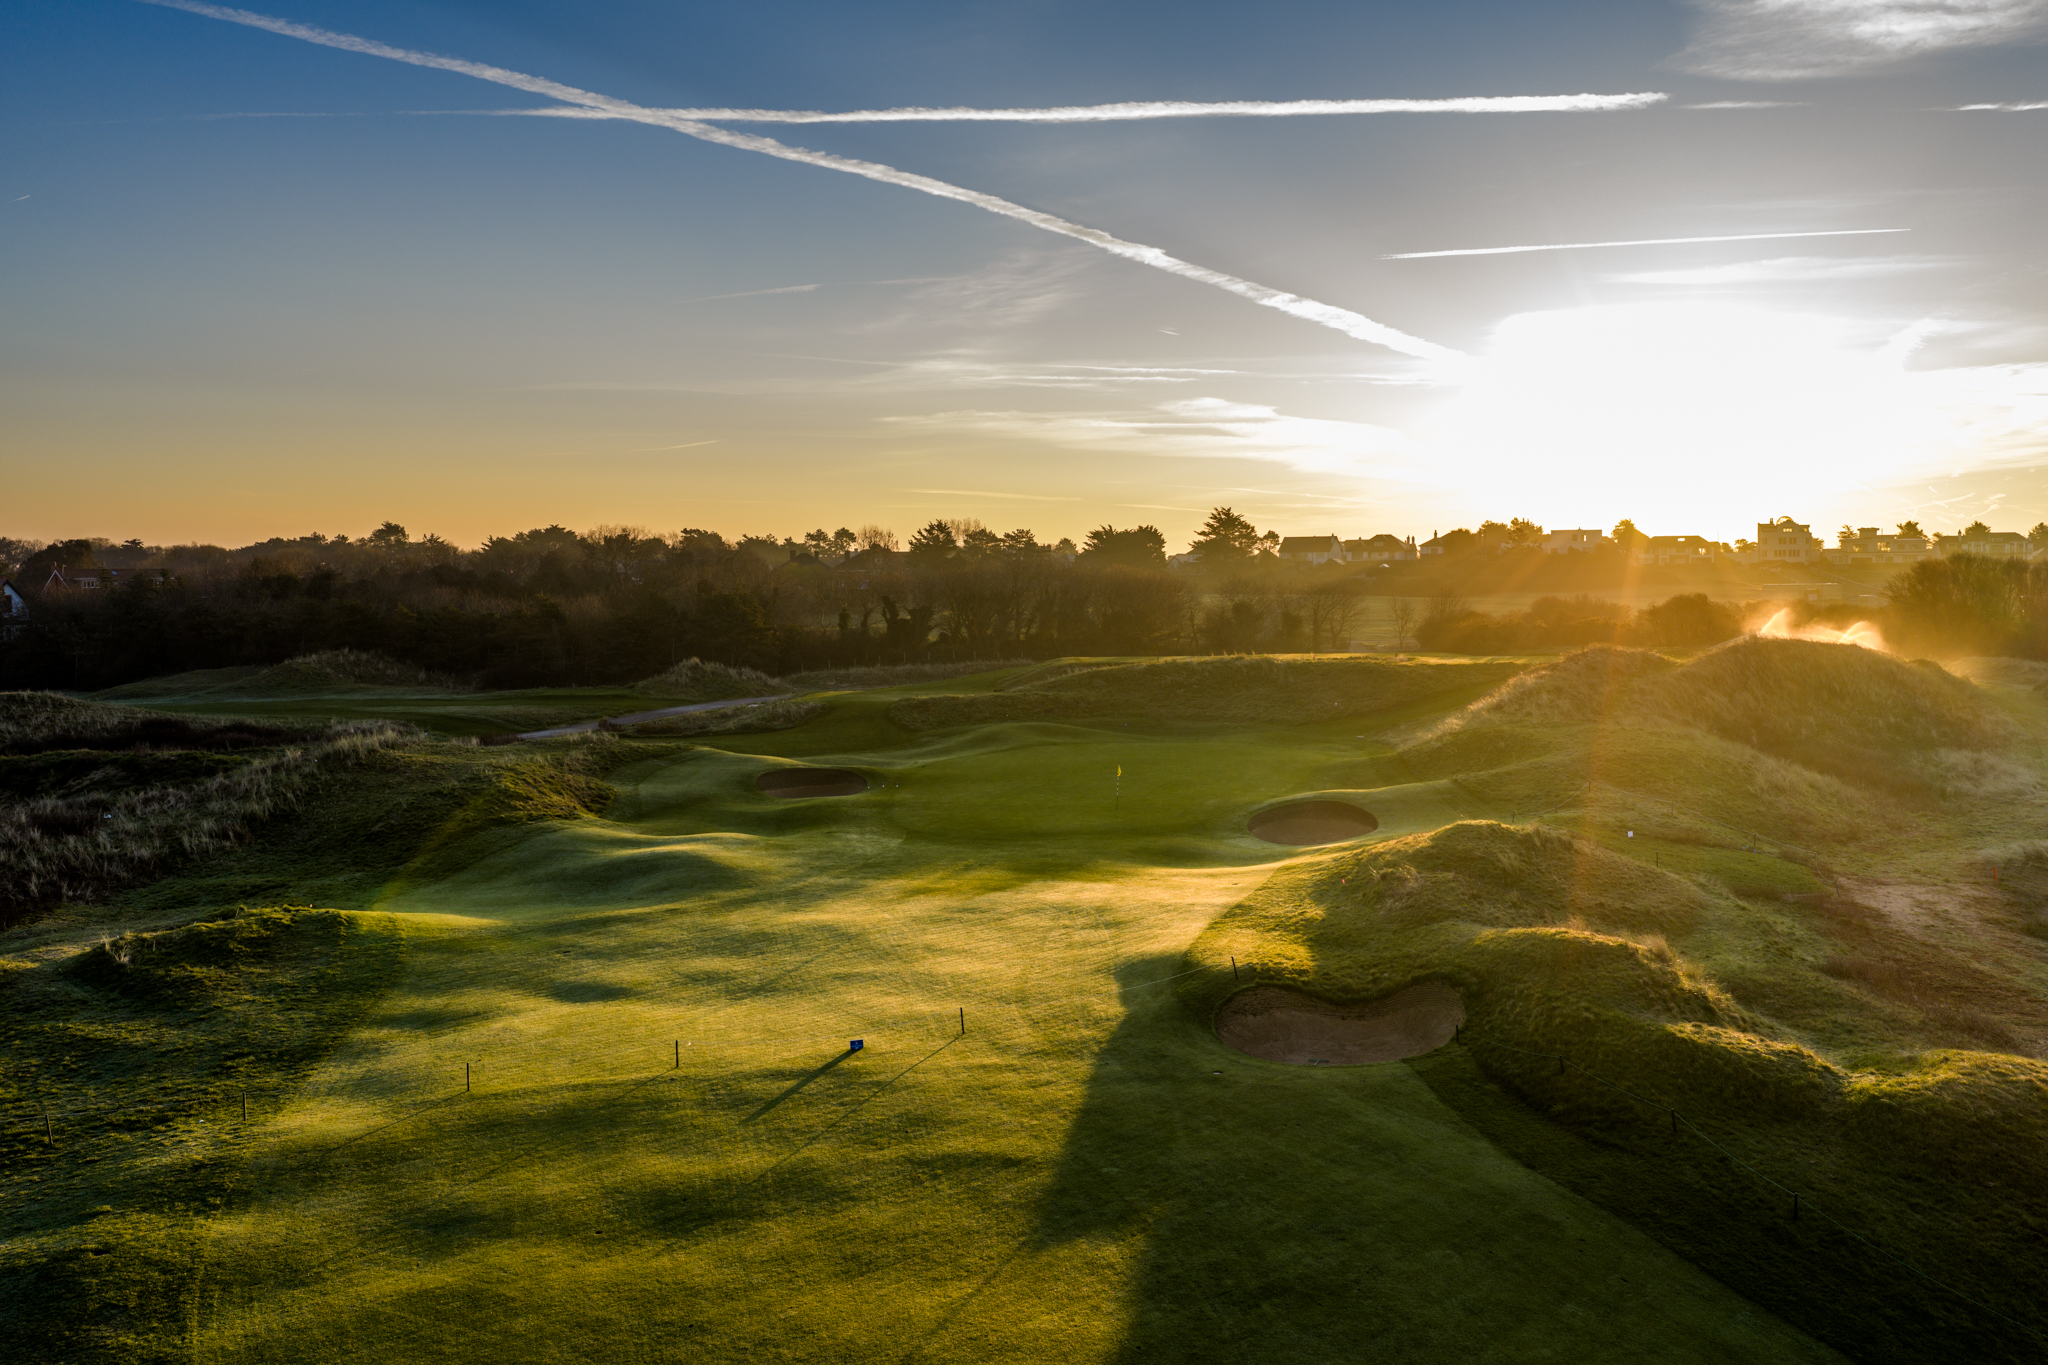
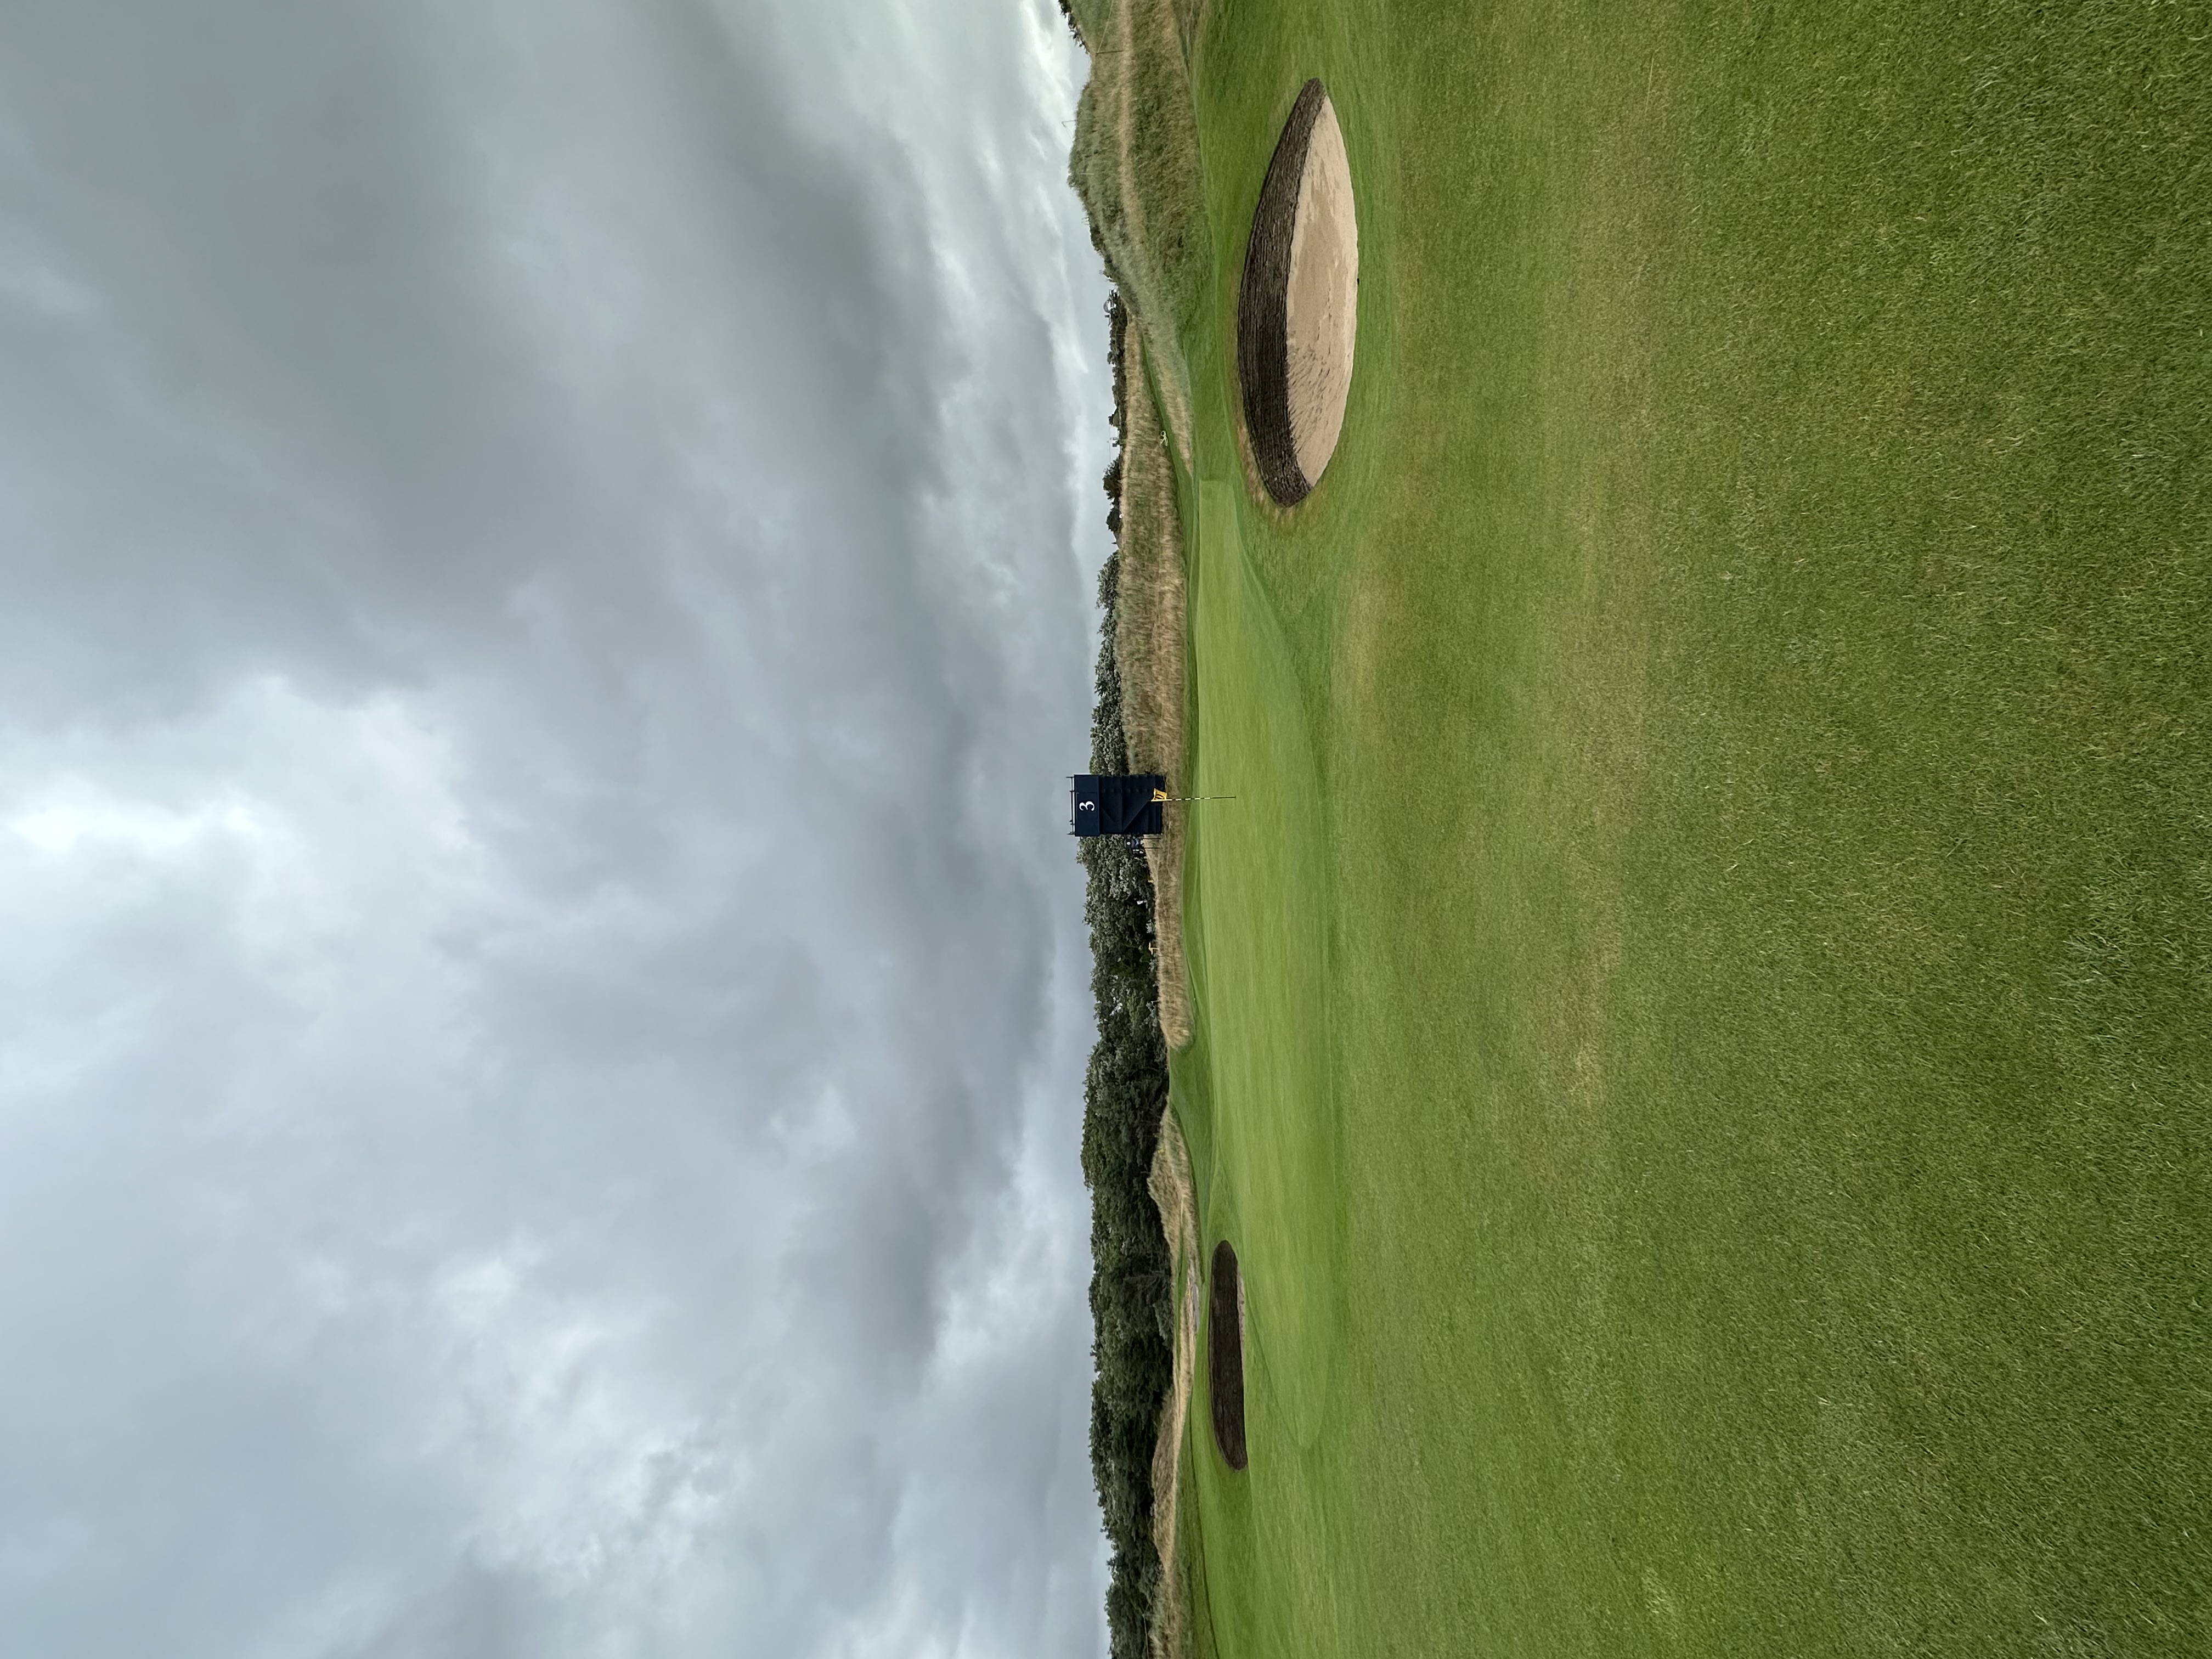
A mid-length par 4 that typically plays shorter than its yardage with the prevailing wind at players’ backs. Fairway bunkers guard both the left and right sides of a fairway that pinches in the farther down the fairway one attempts to hit the tee shot. No. 3 is a potential scoring option for those who find the fairway, but it is no walk in the park.
.jpg)
Hole 4
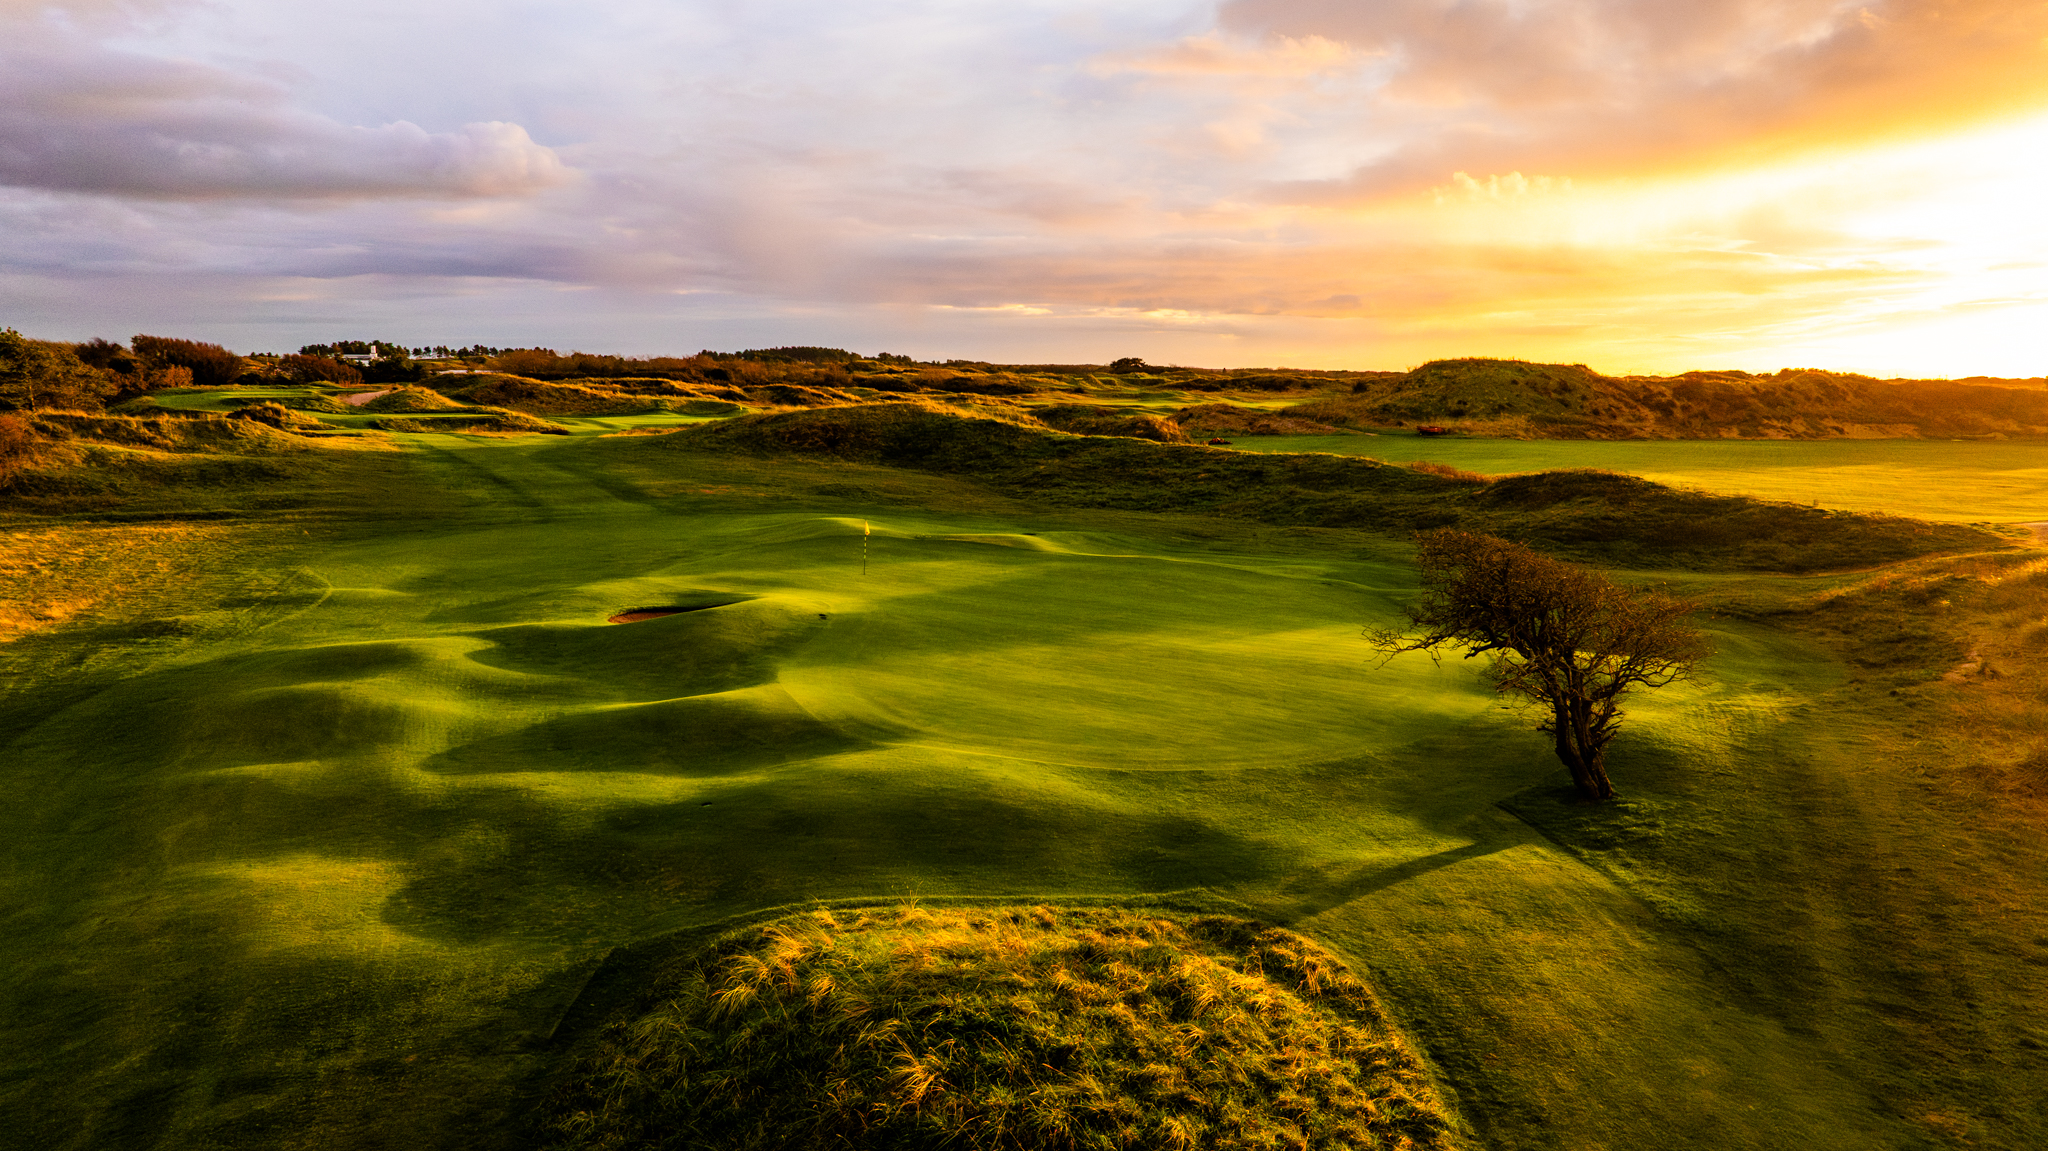
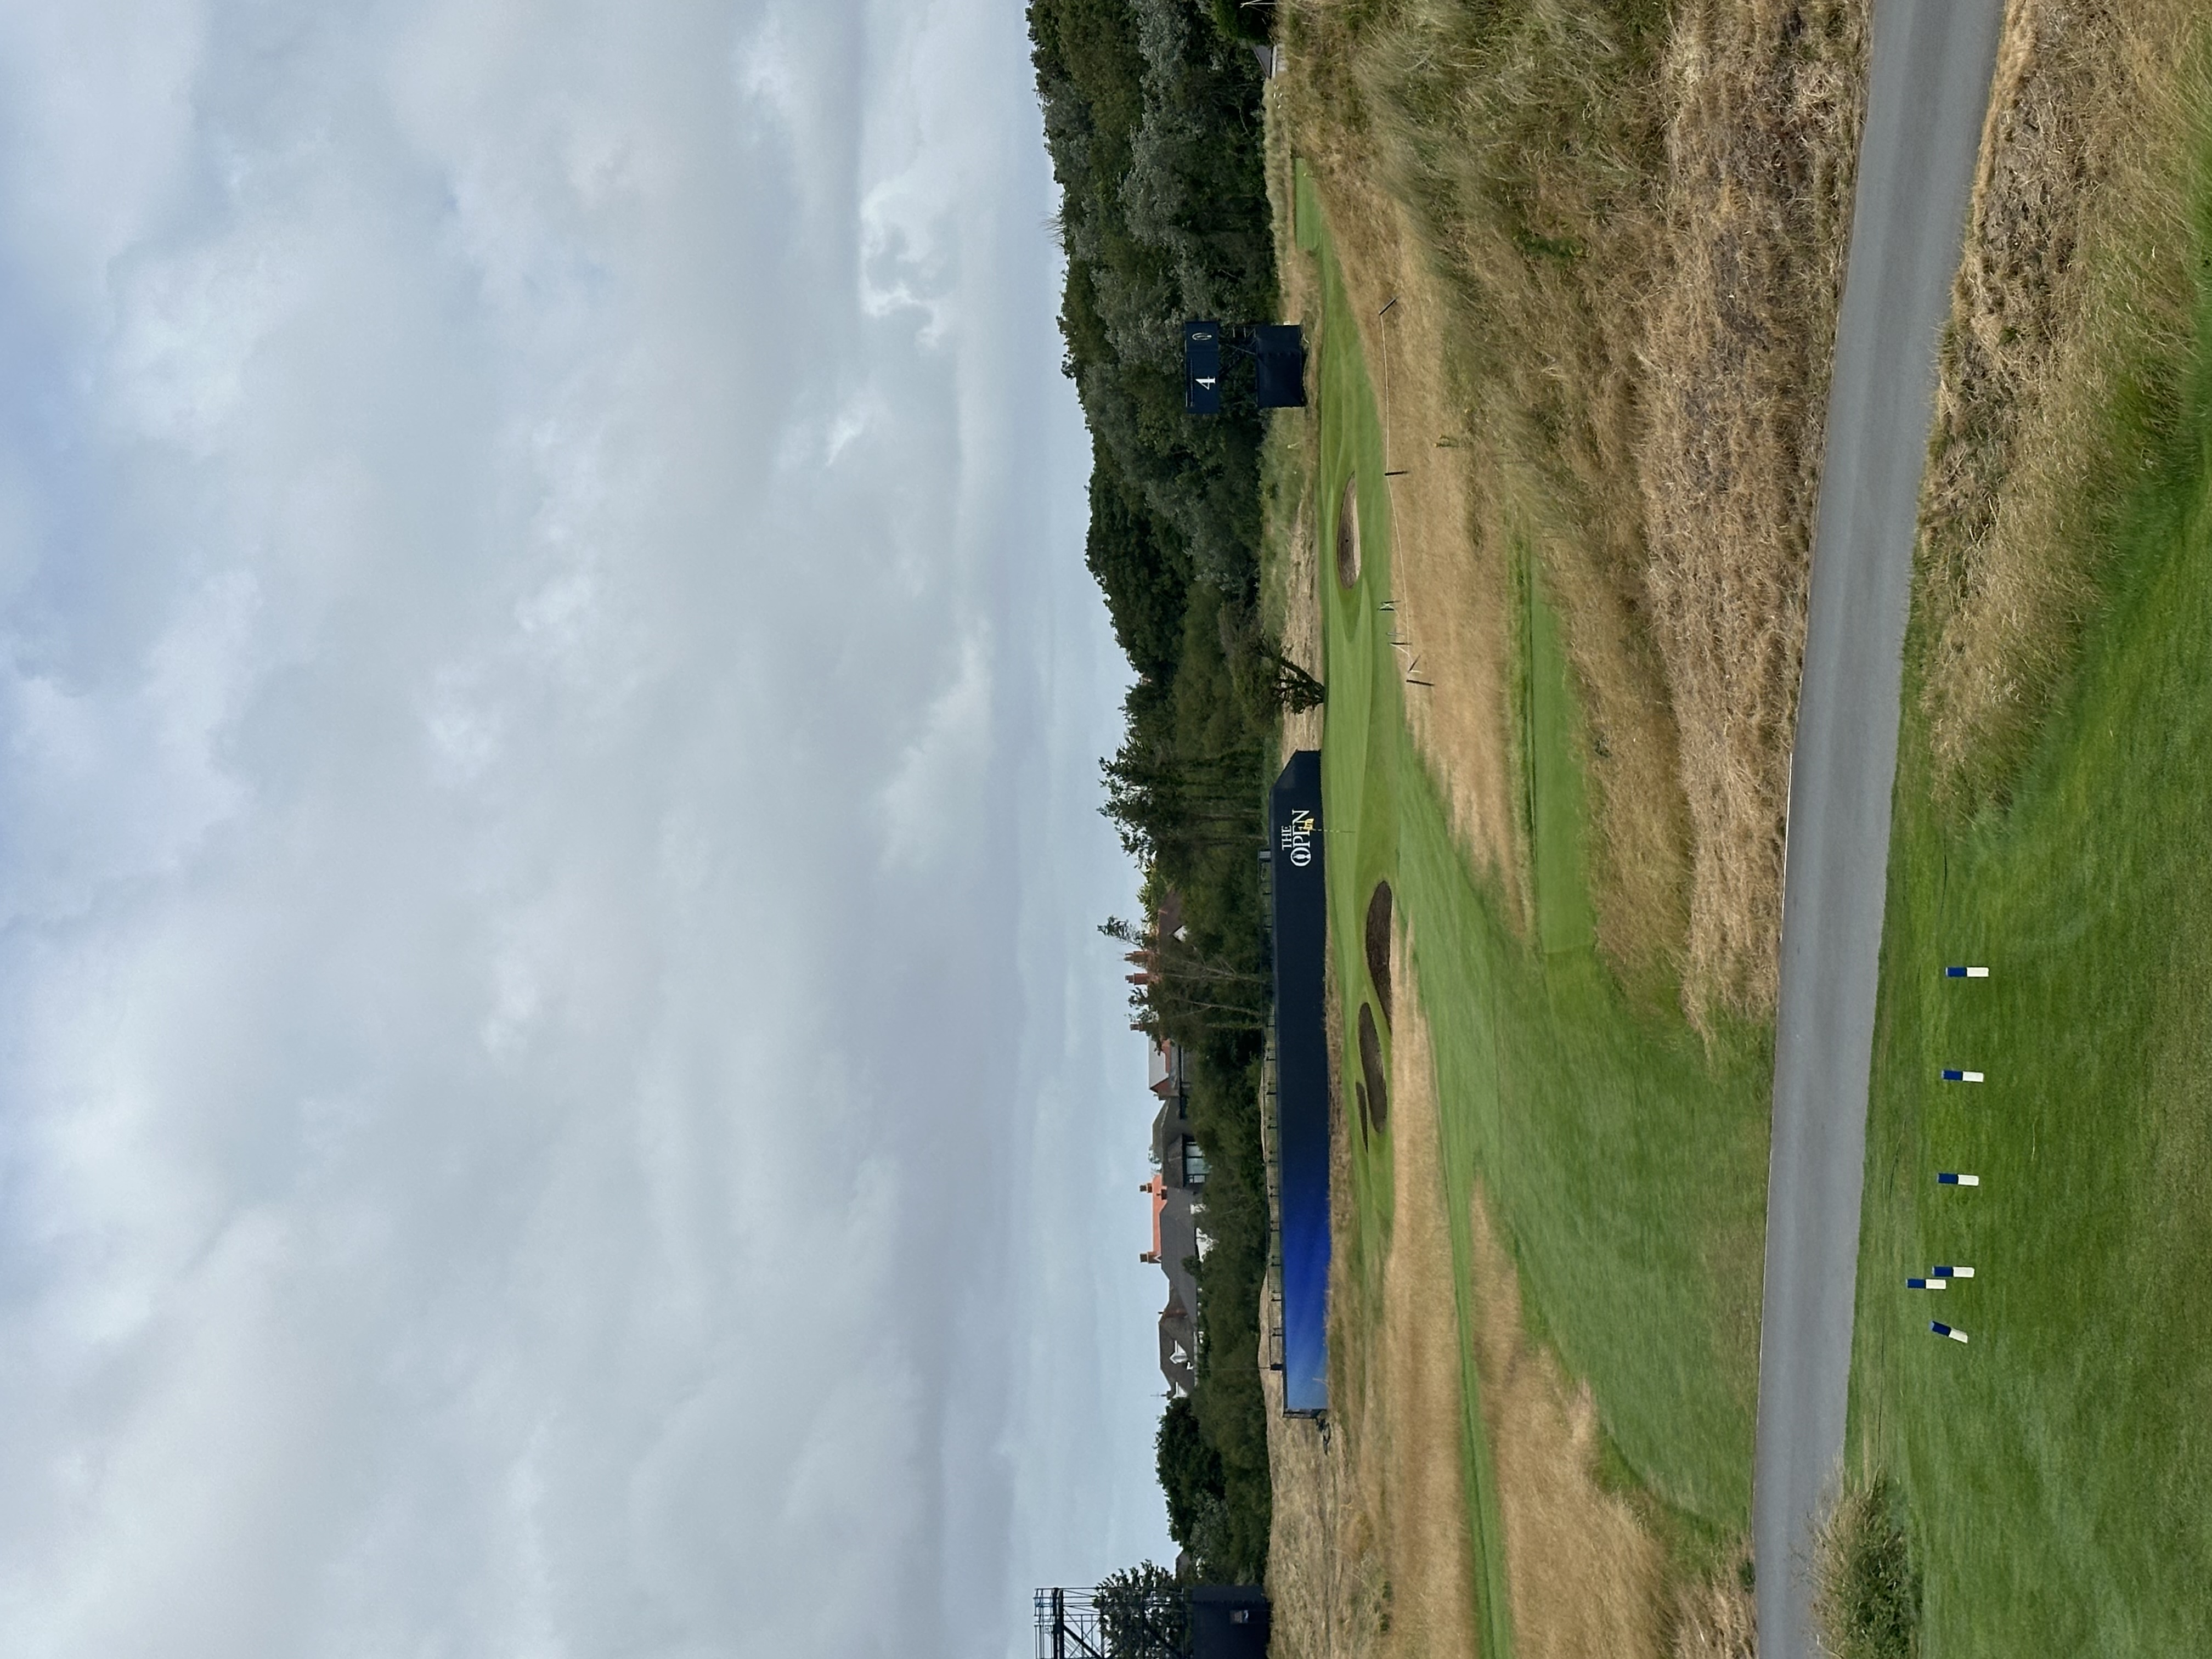
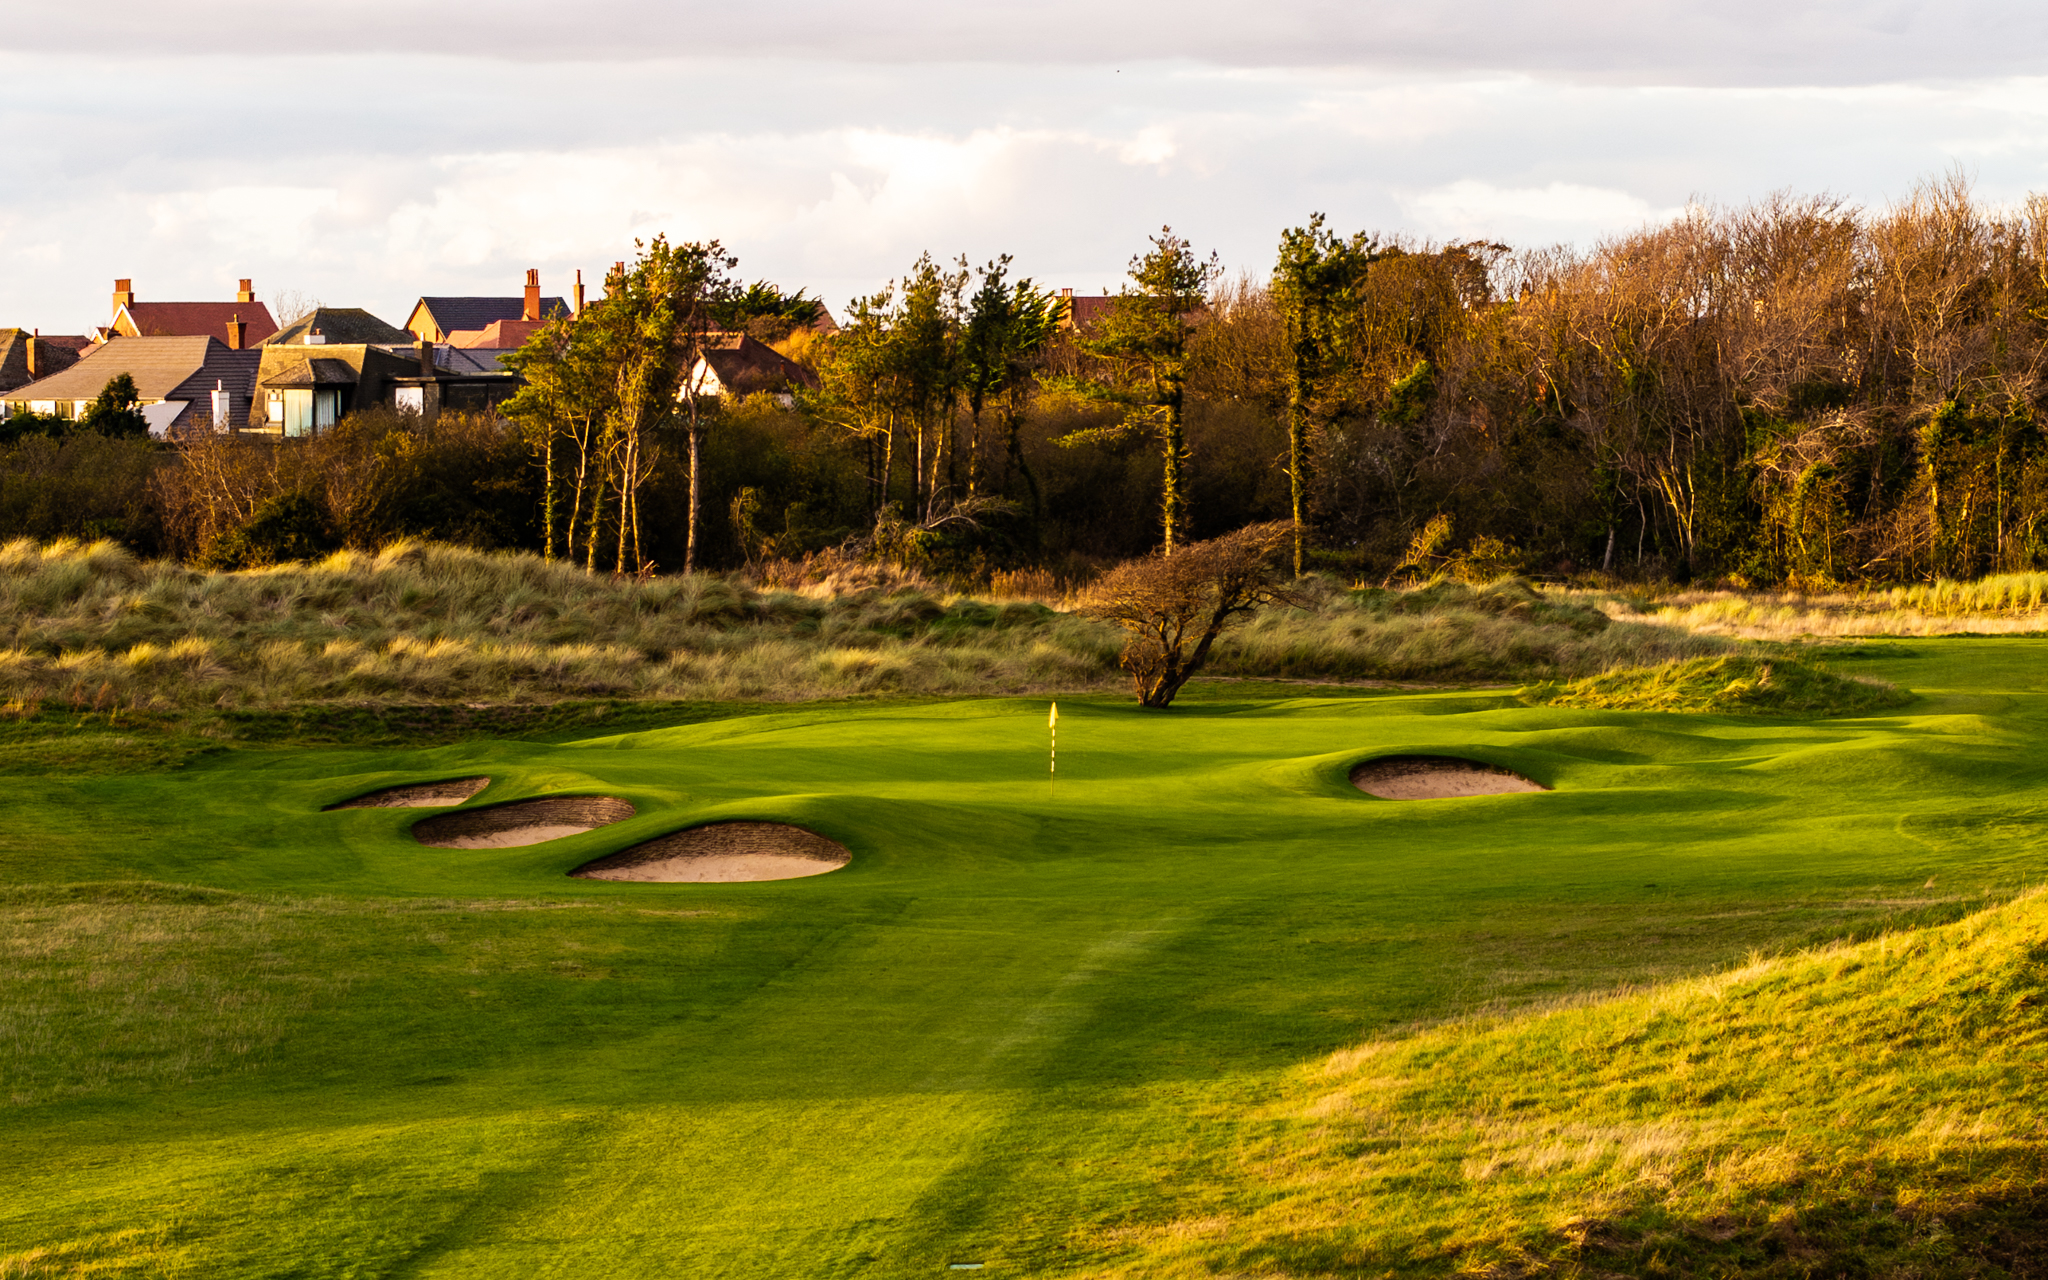
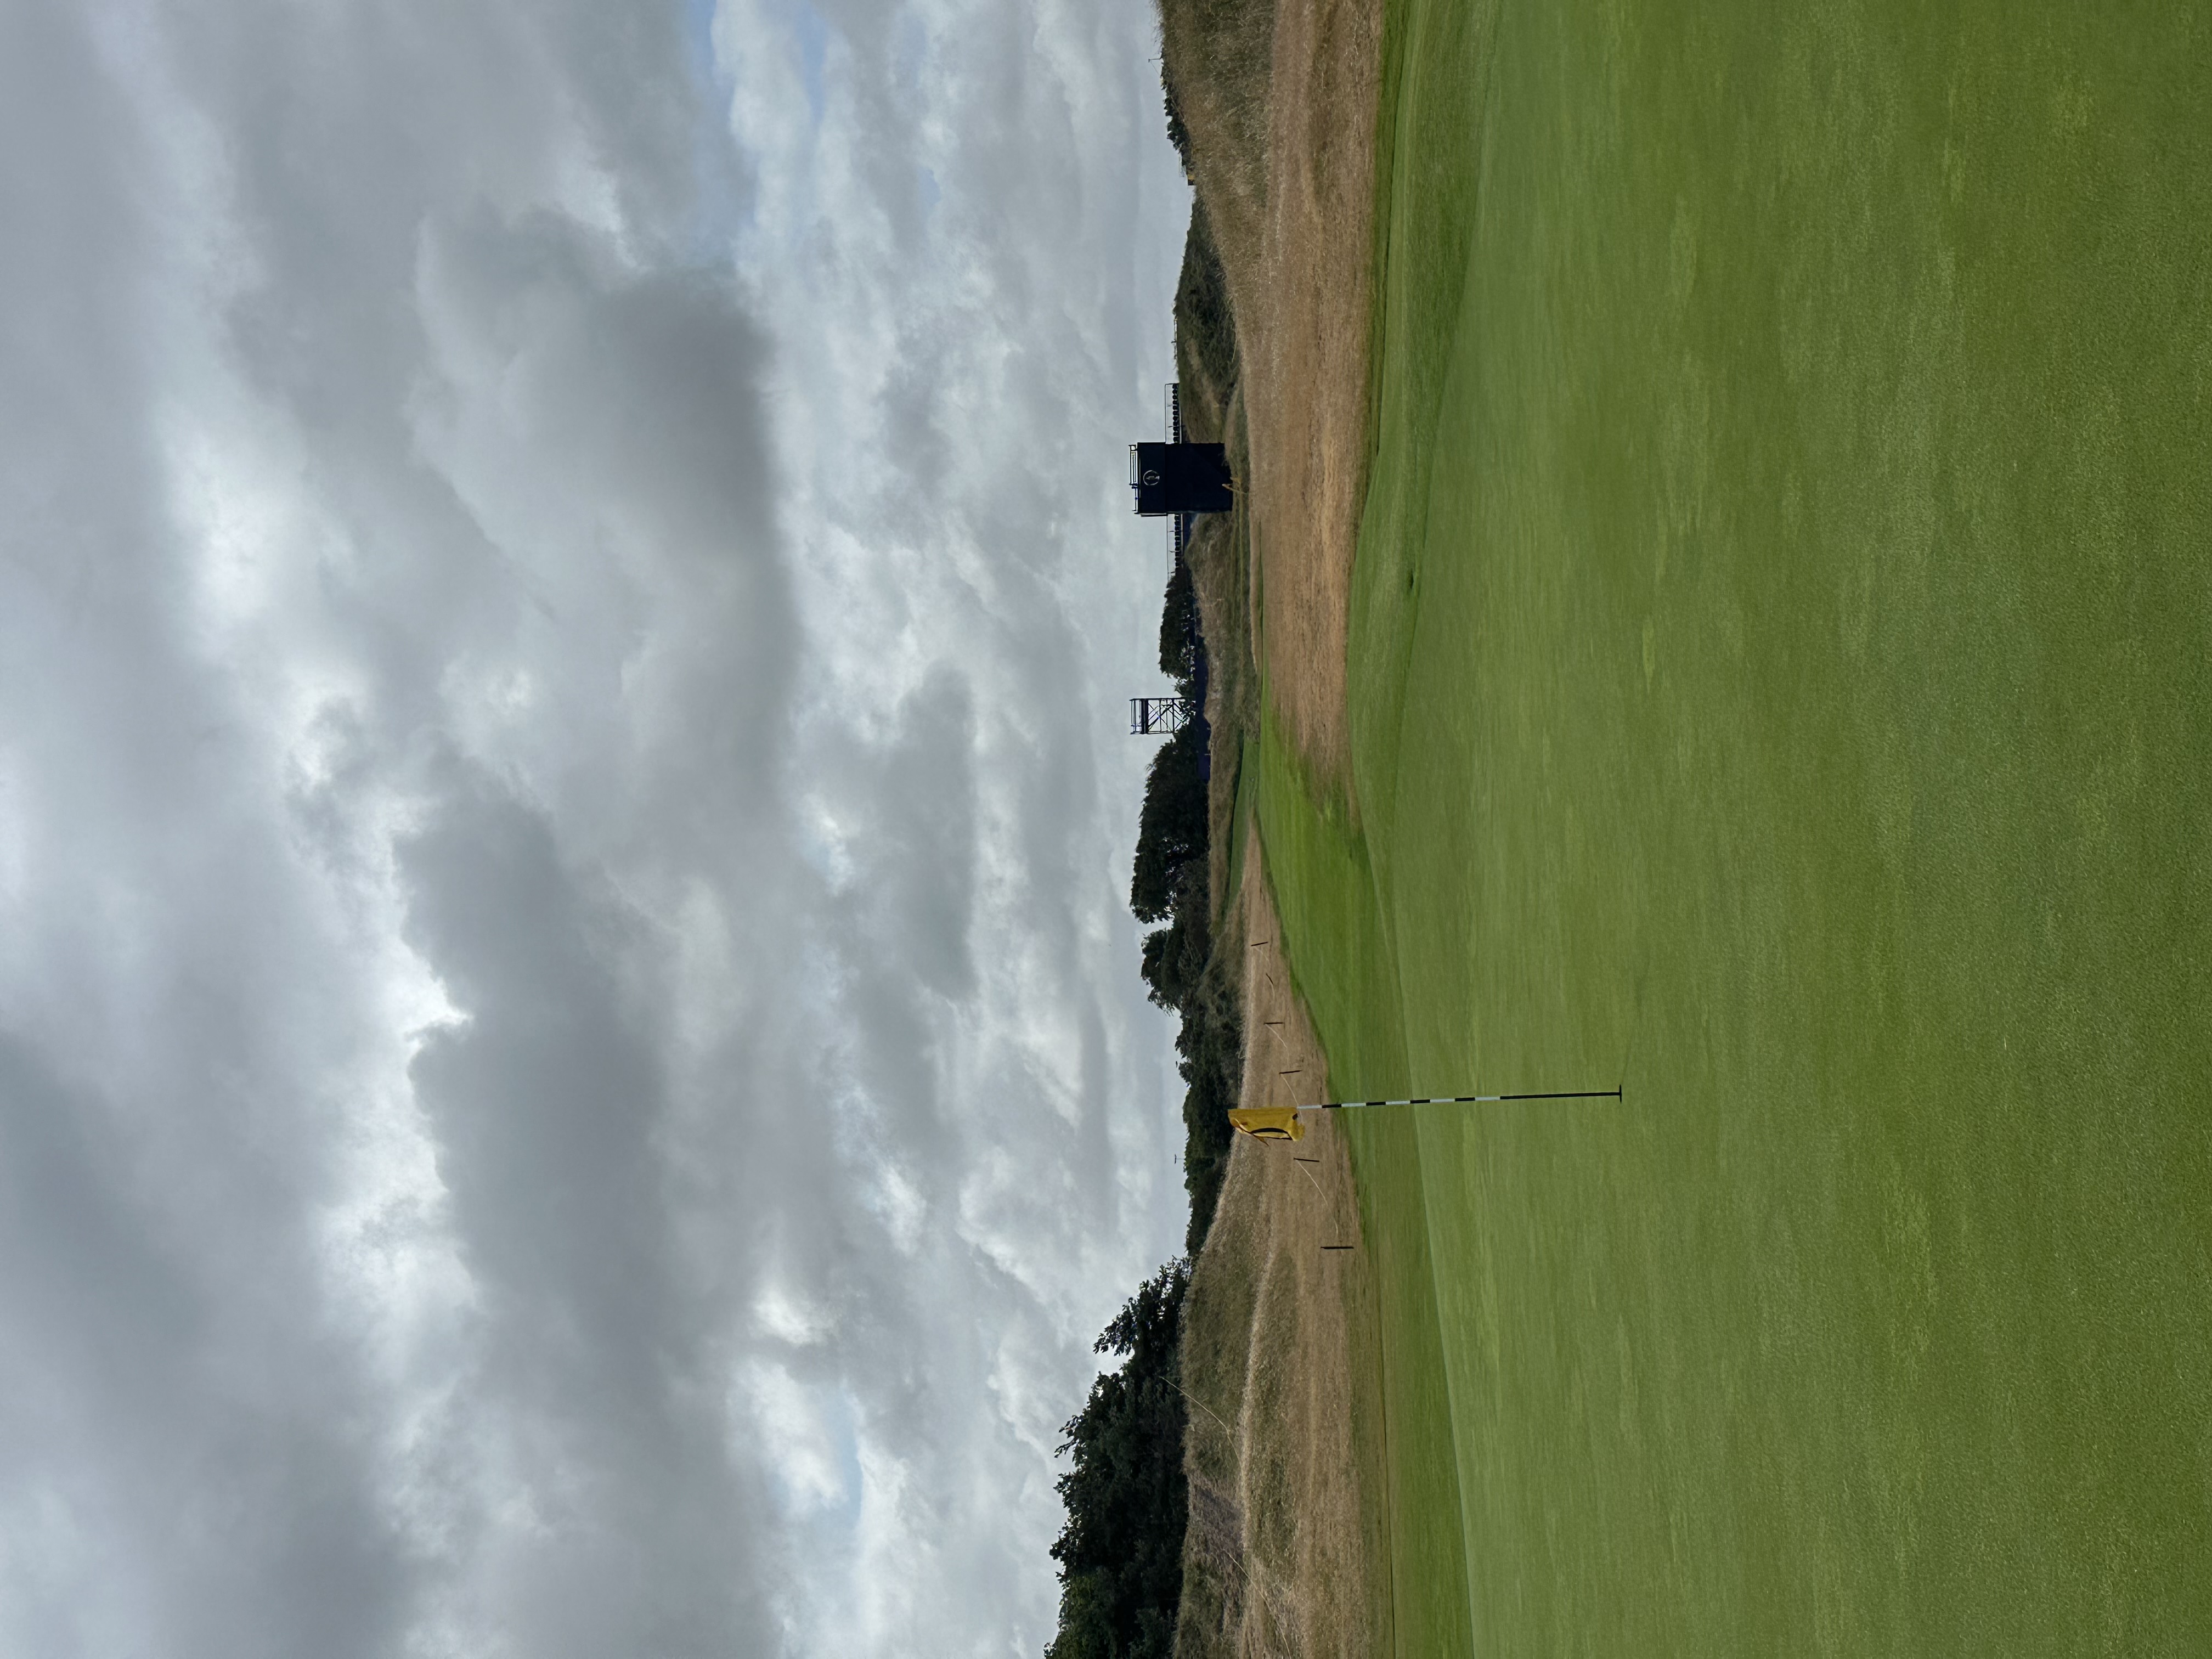
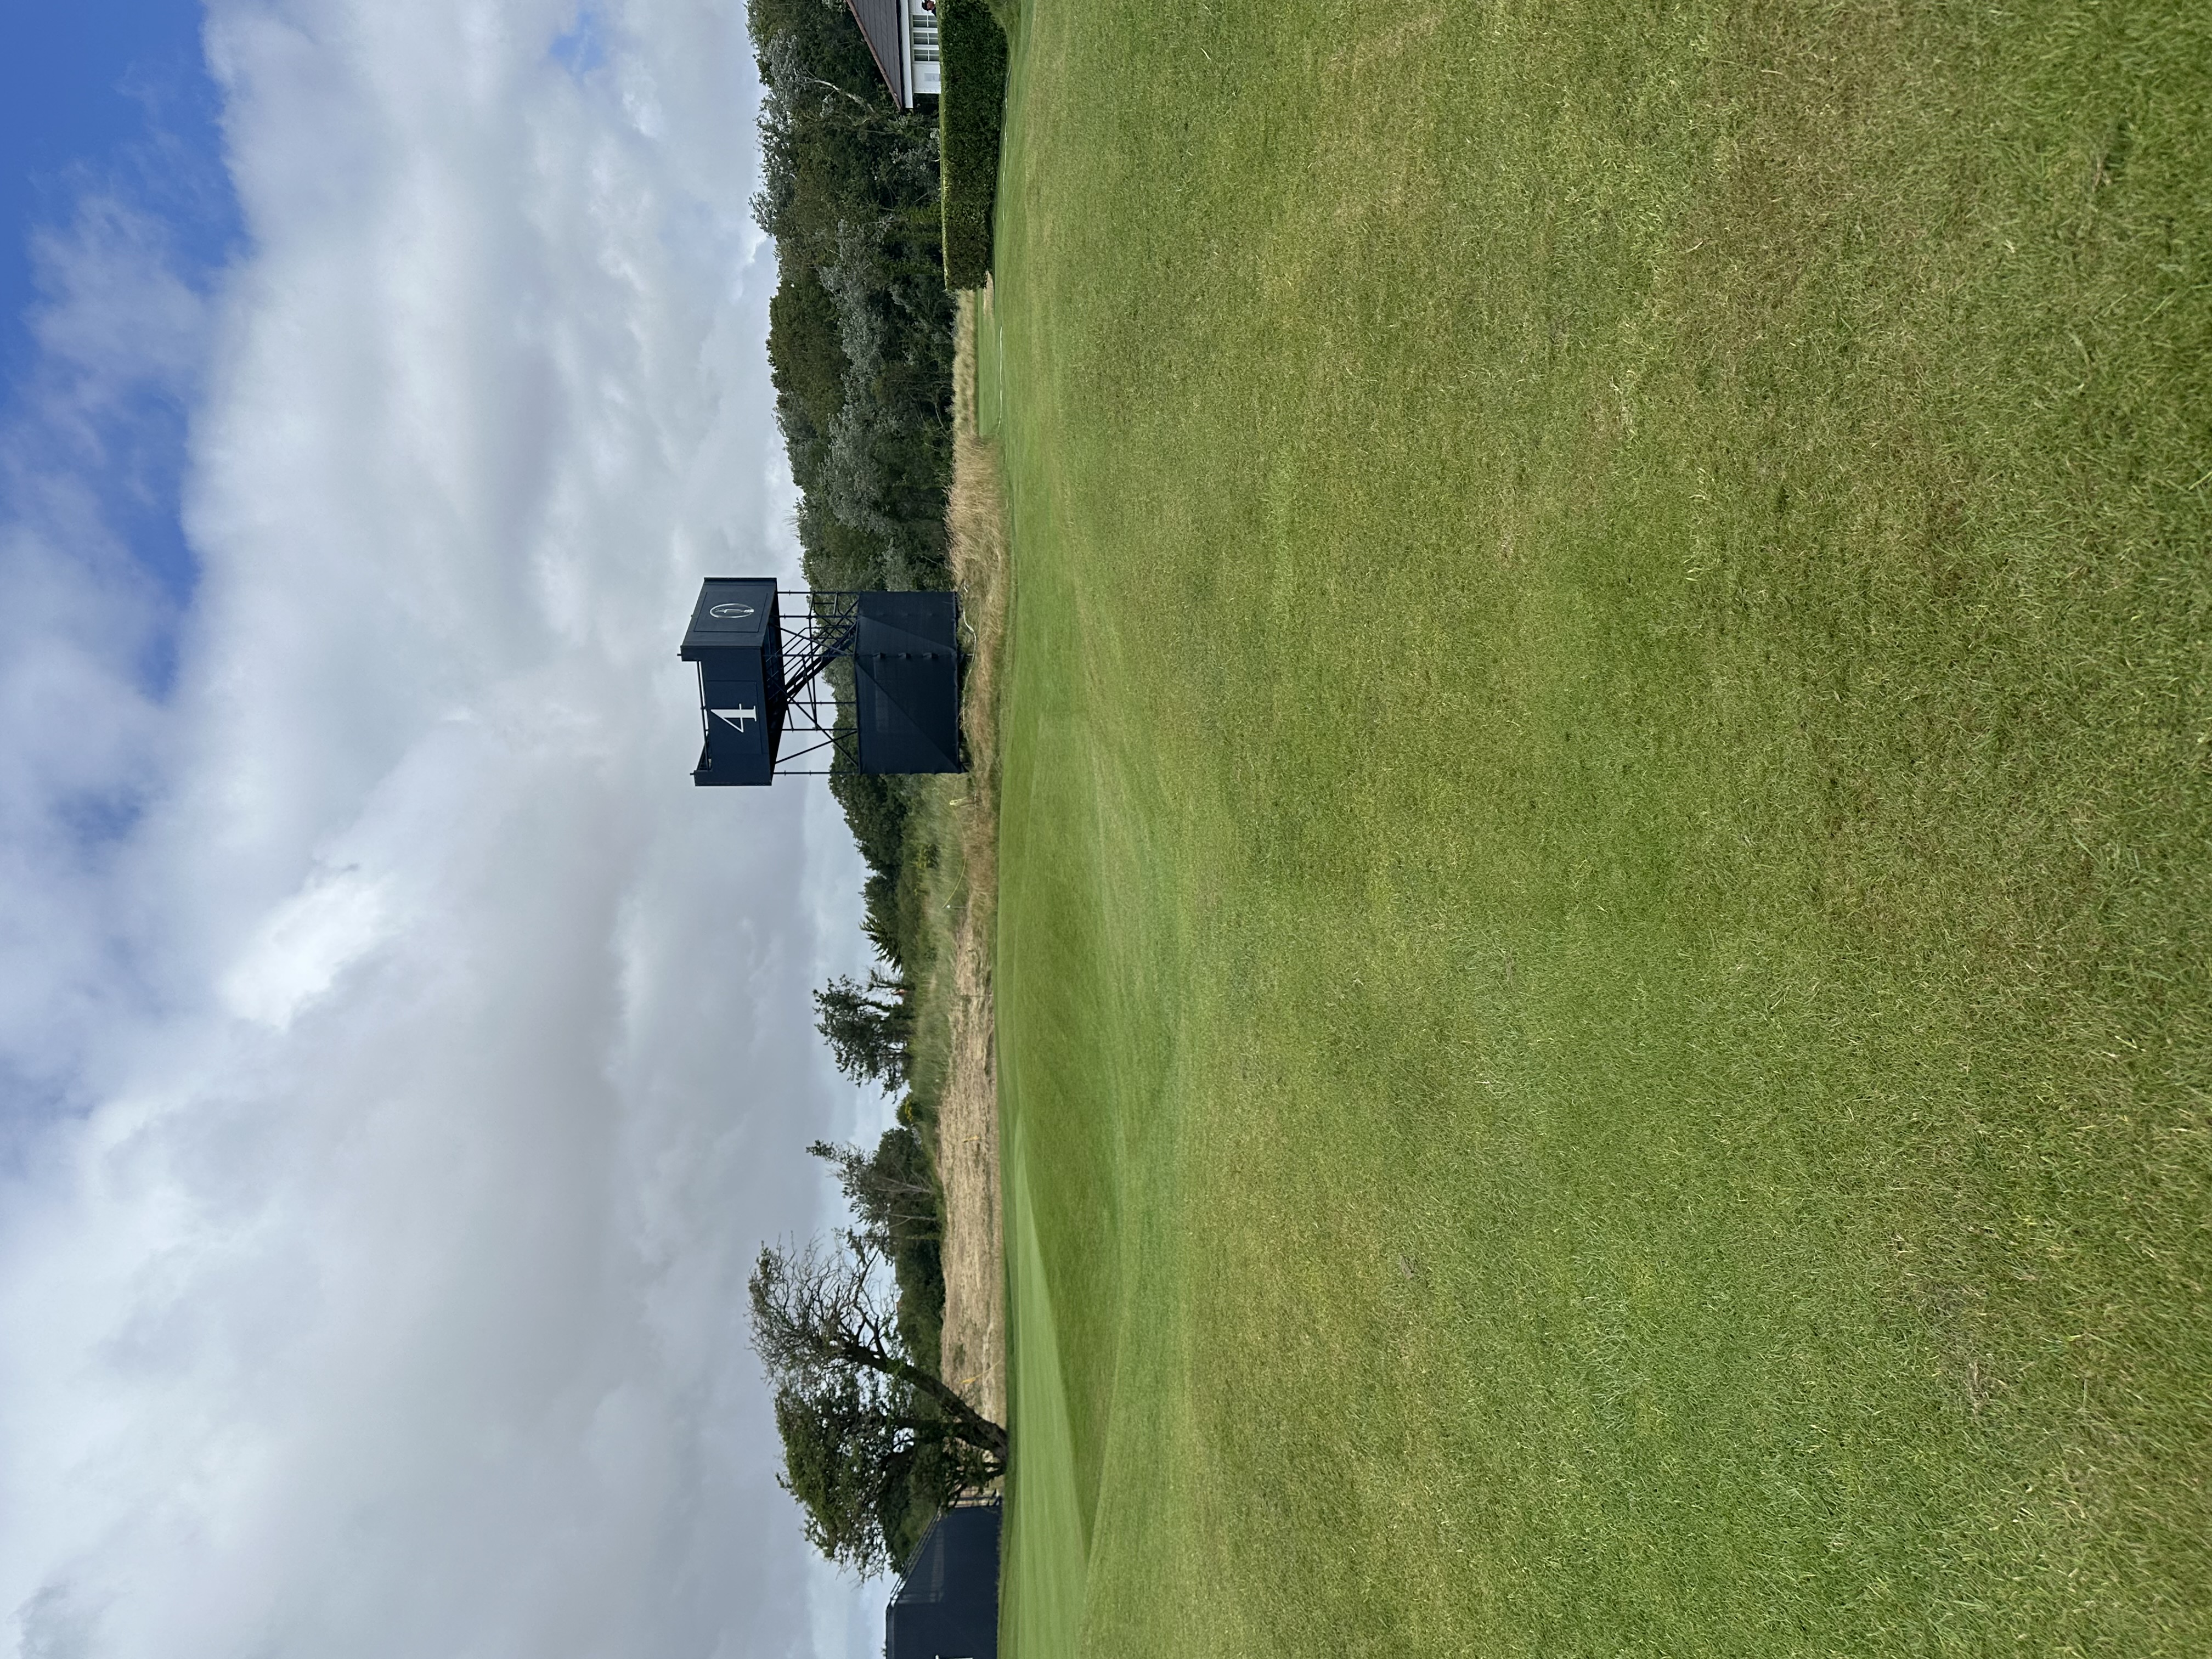
Good luck. A brute of a par 3, No. 4 plays back in the same direction as the opening hole, meaning the prevailing wind is once again off the left. Any significant wind forces players to commit to starting the ball left or curving it into the prevailing wind; otherwise, the wind will reject it right of the green. No. 4 has no tricks up its sleeve. It is simply a long, demanding par 3.
Hole 5
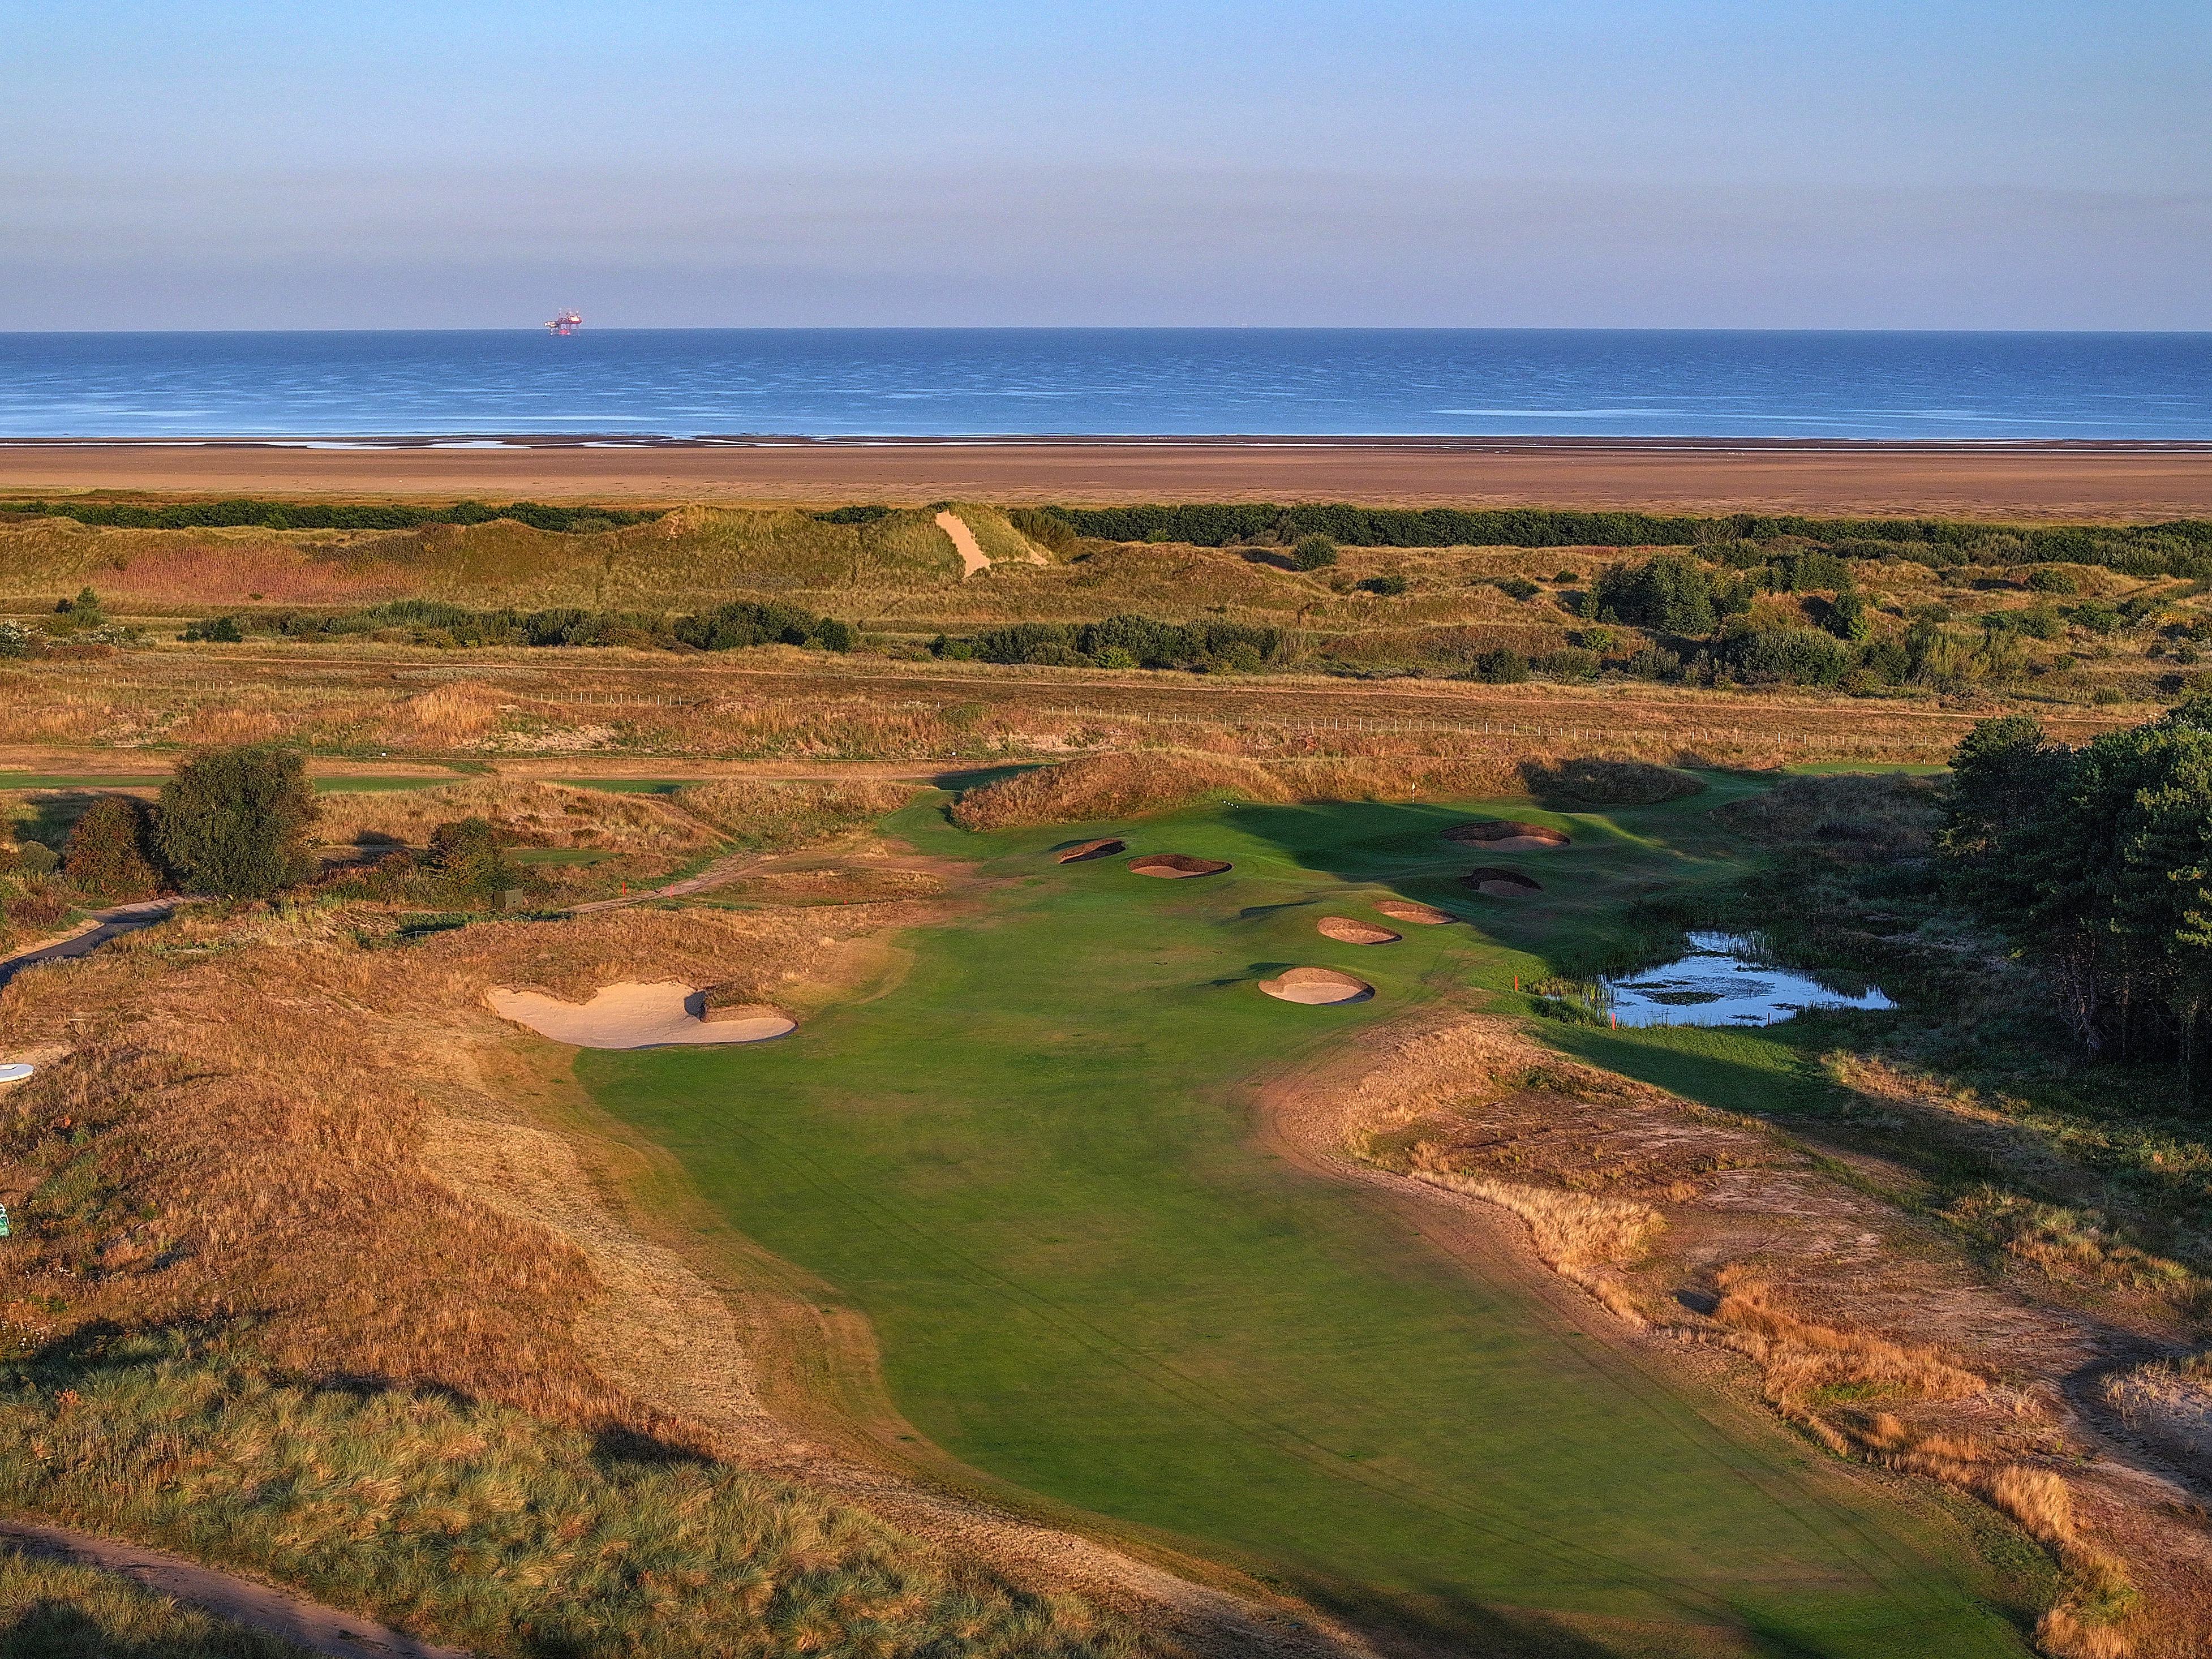
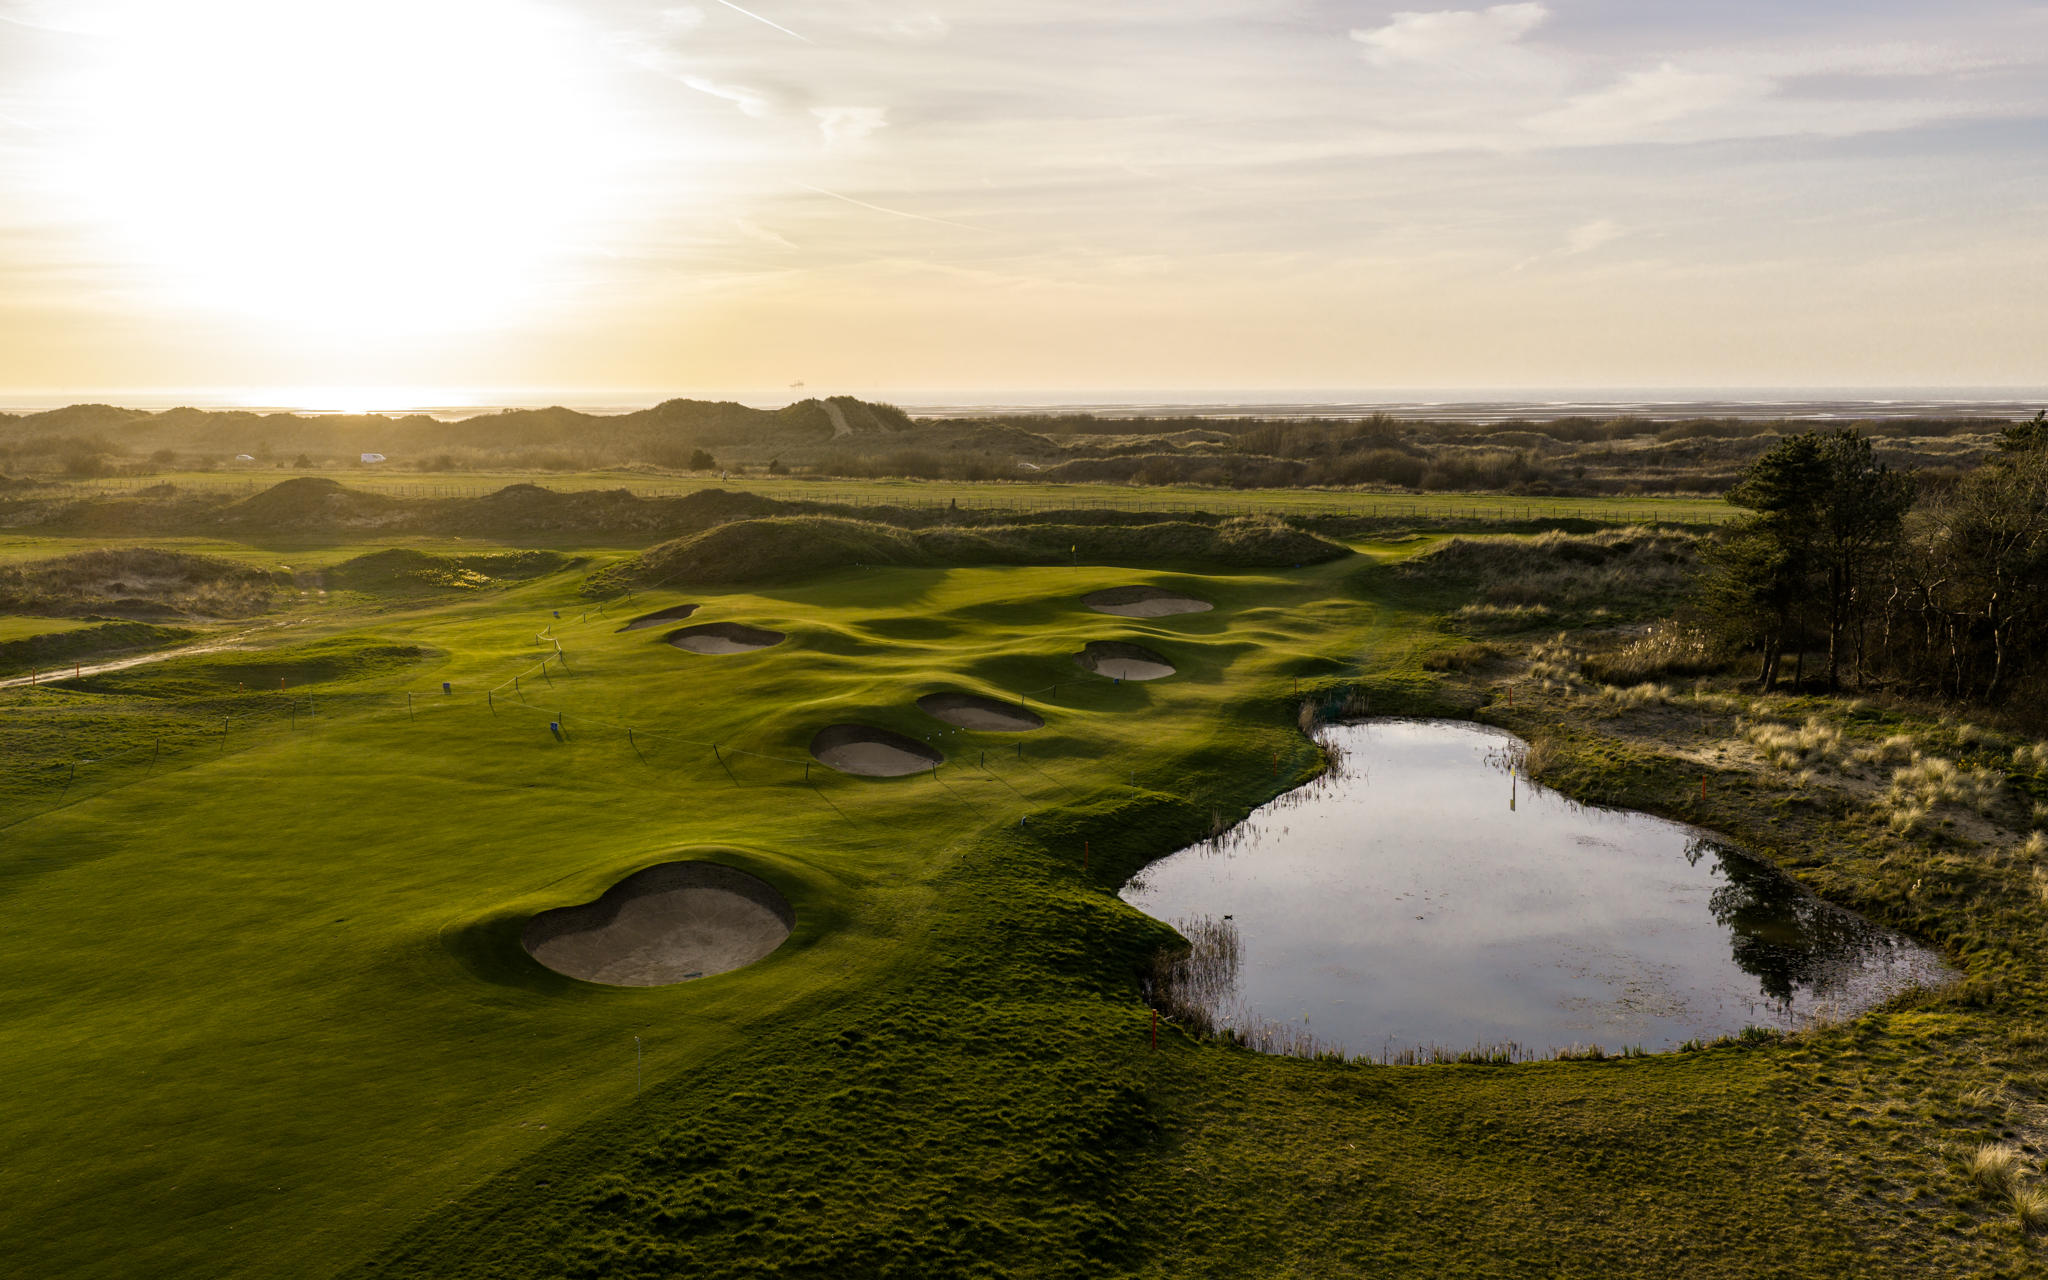
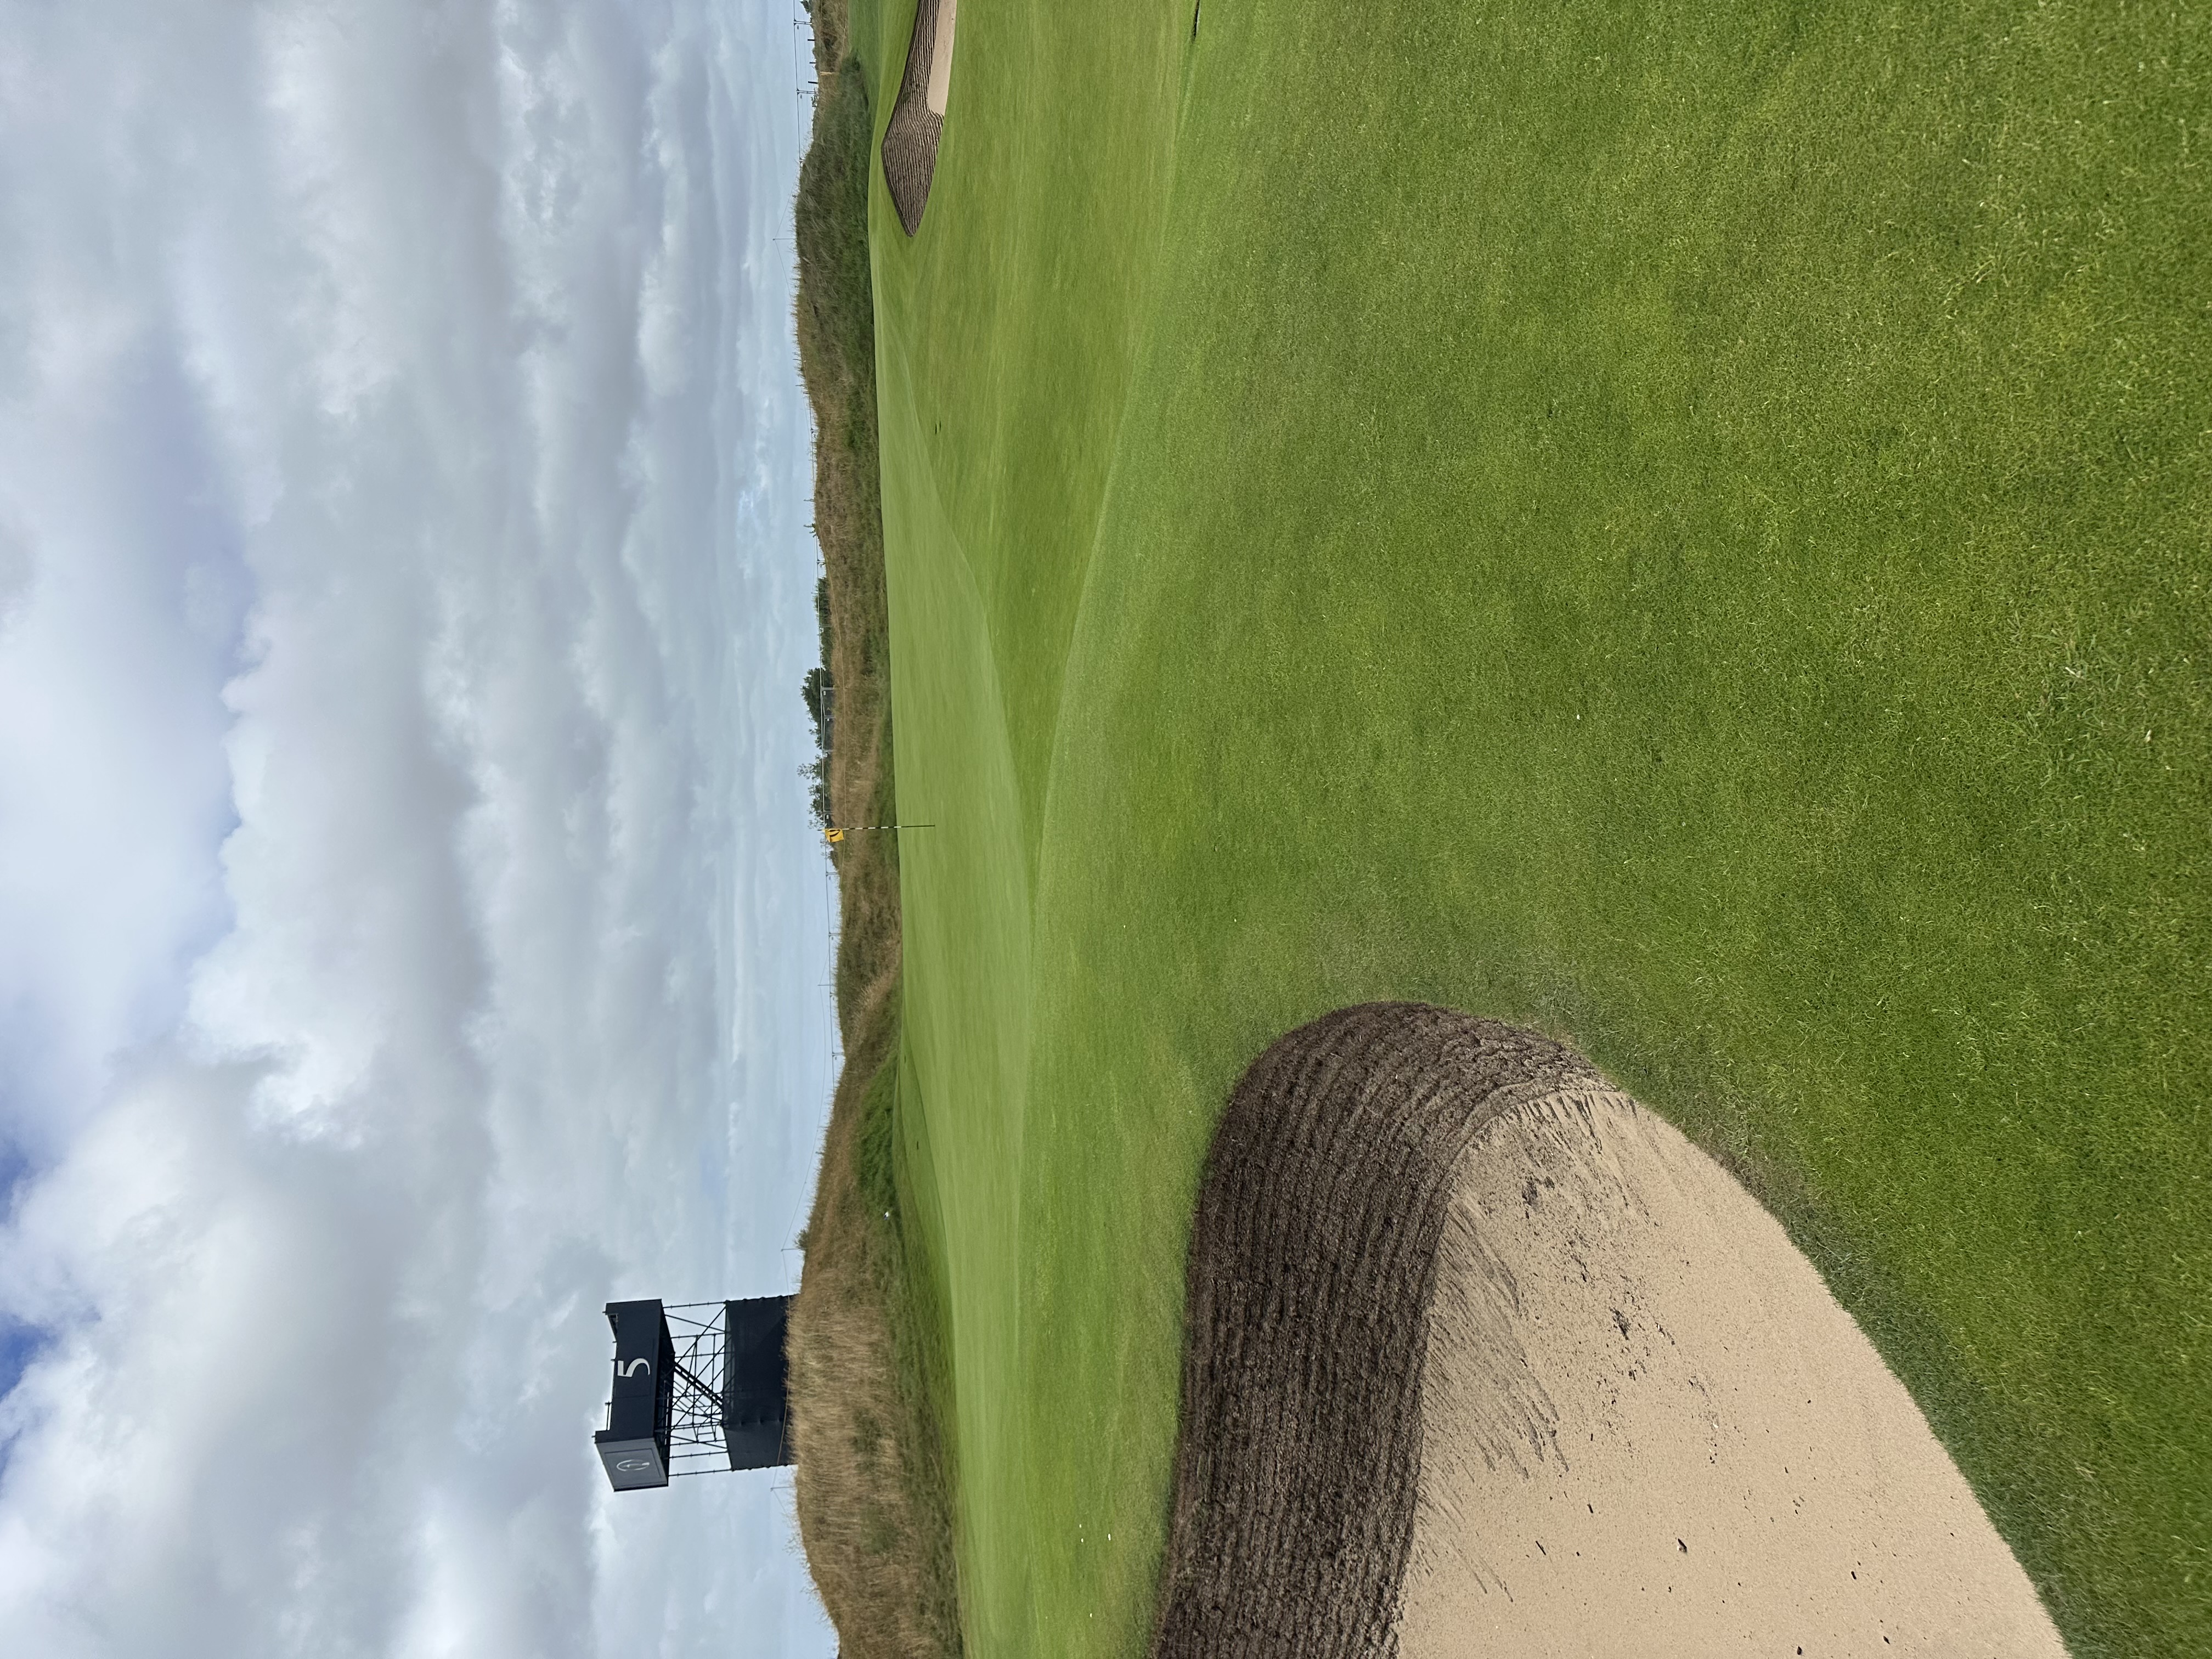
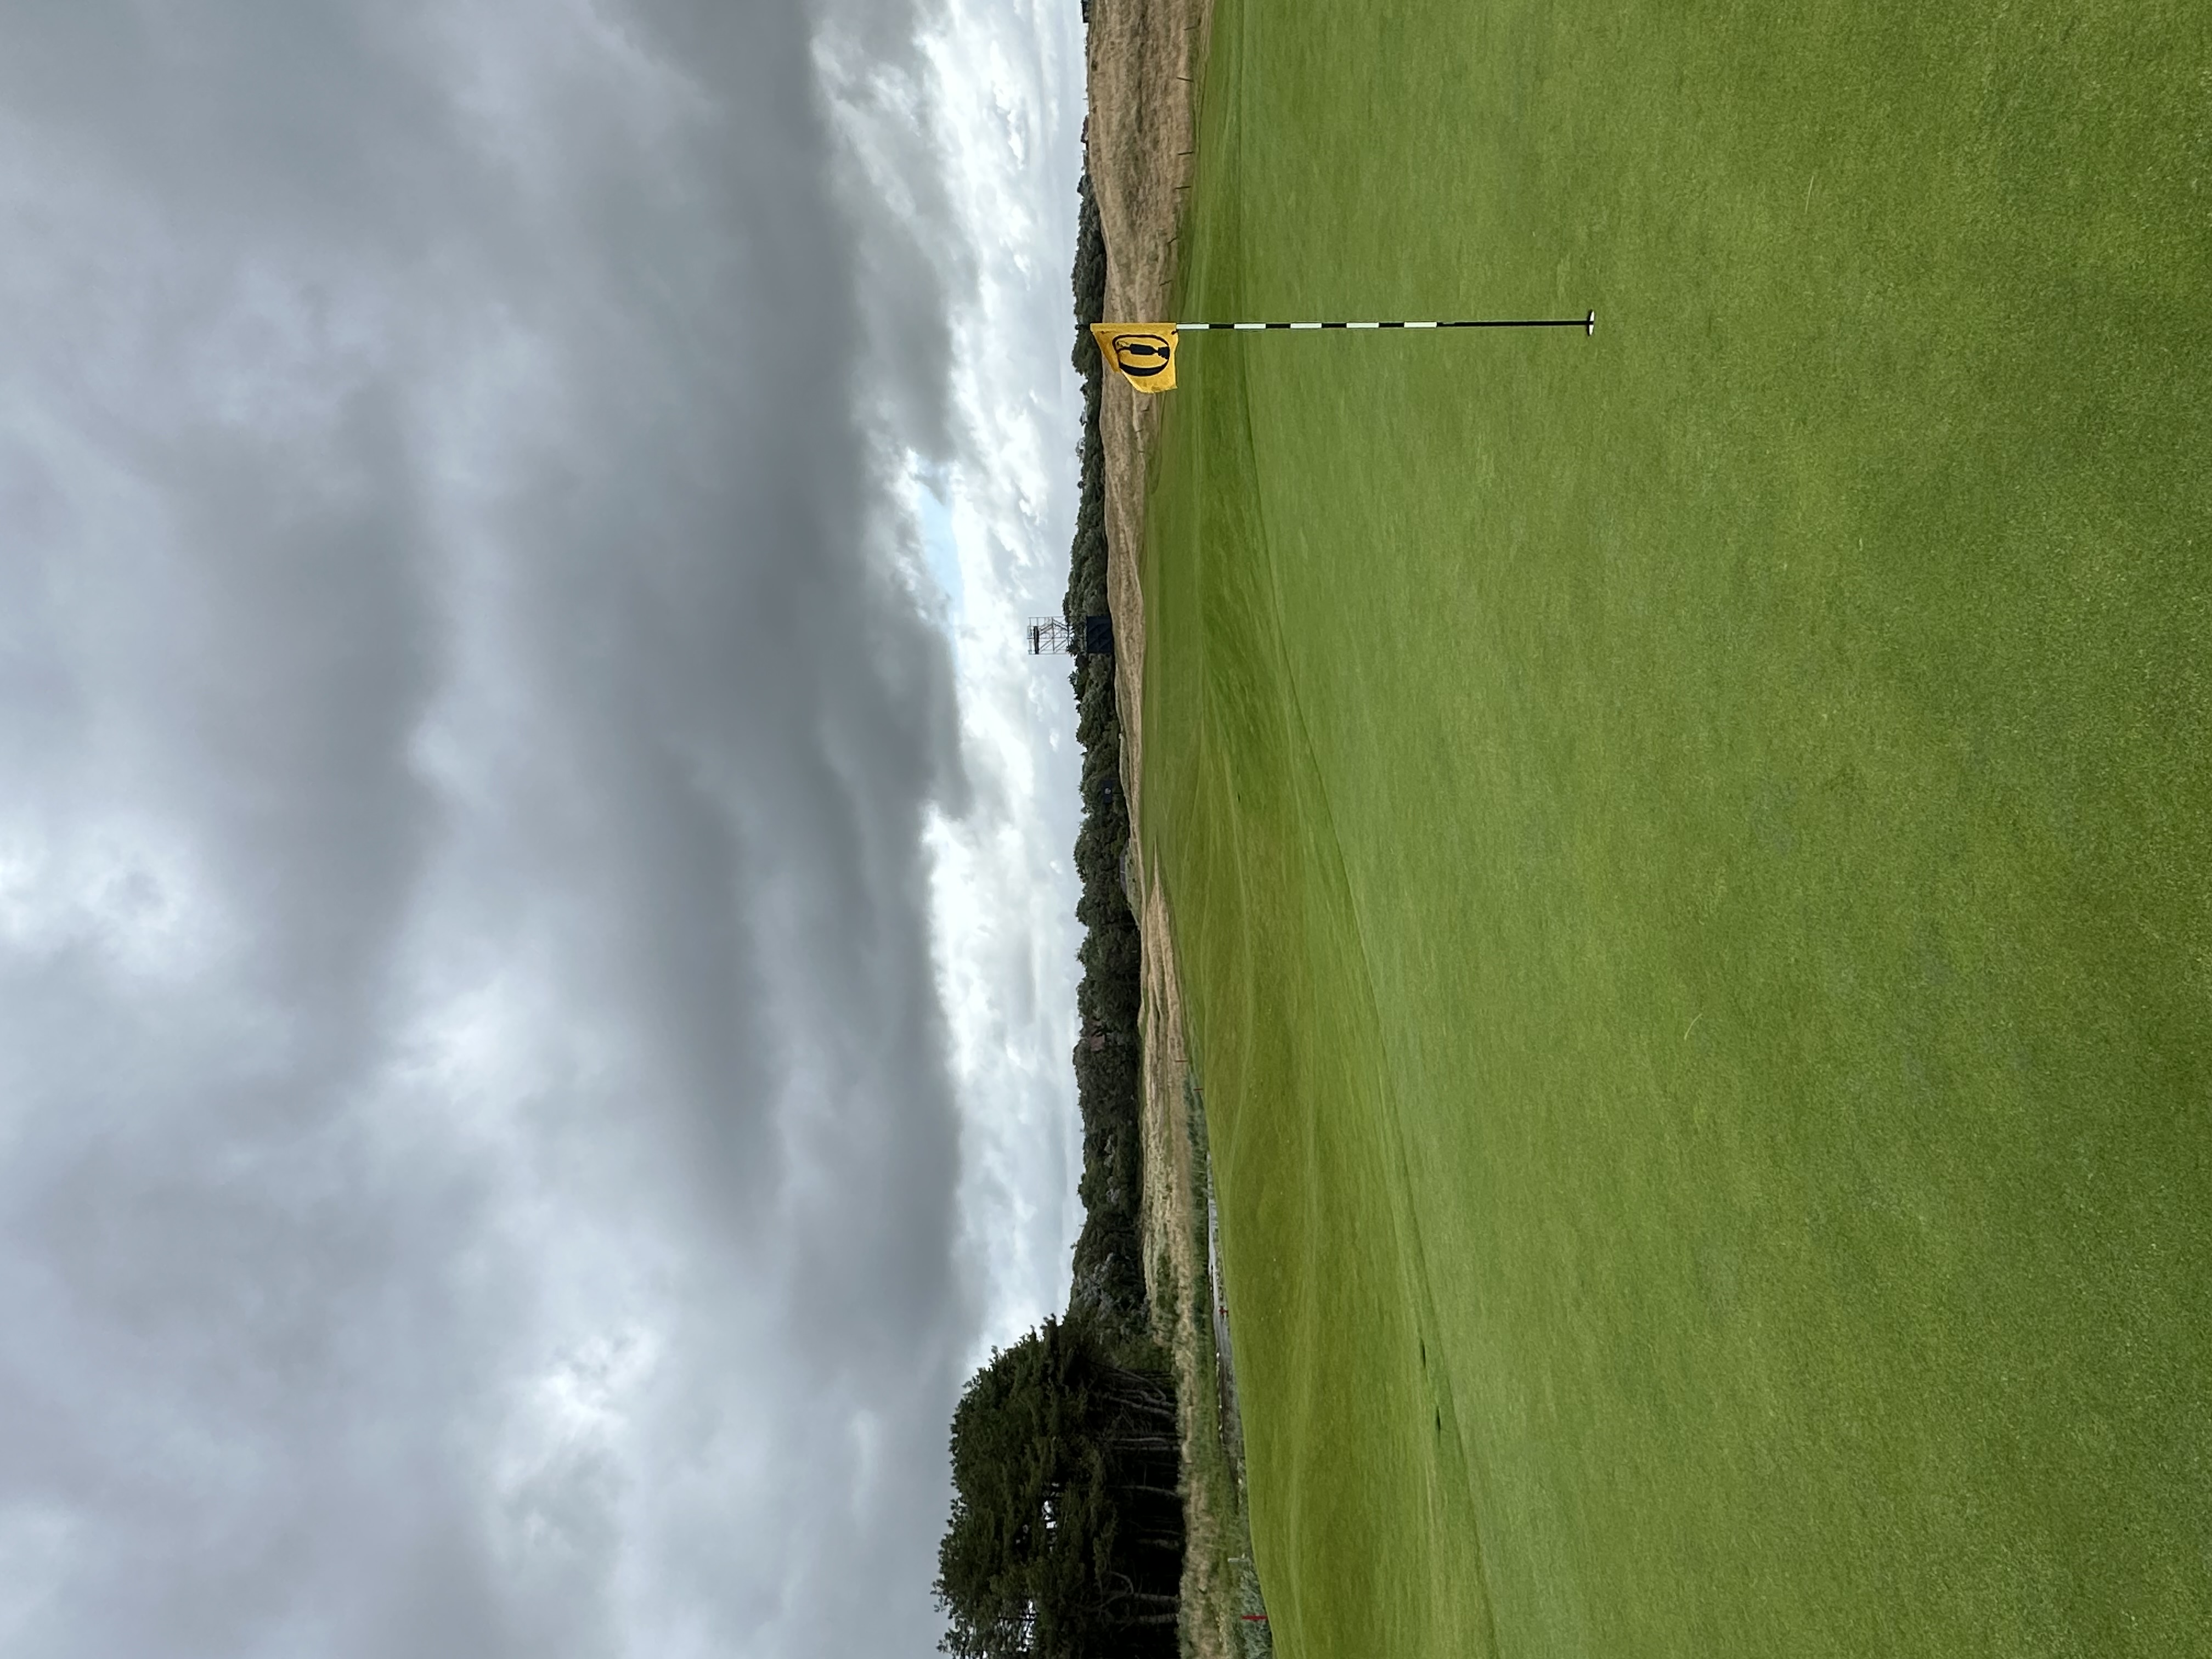
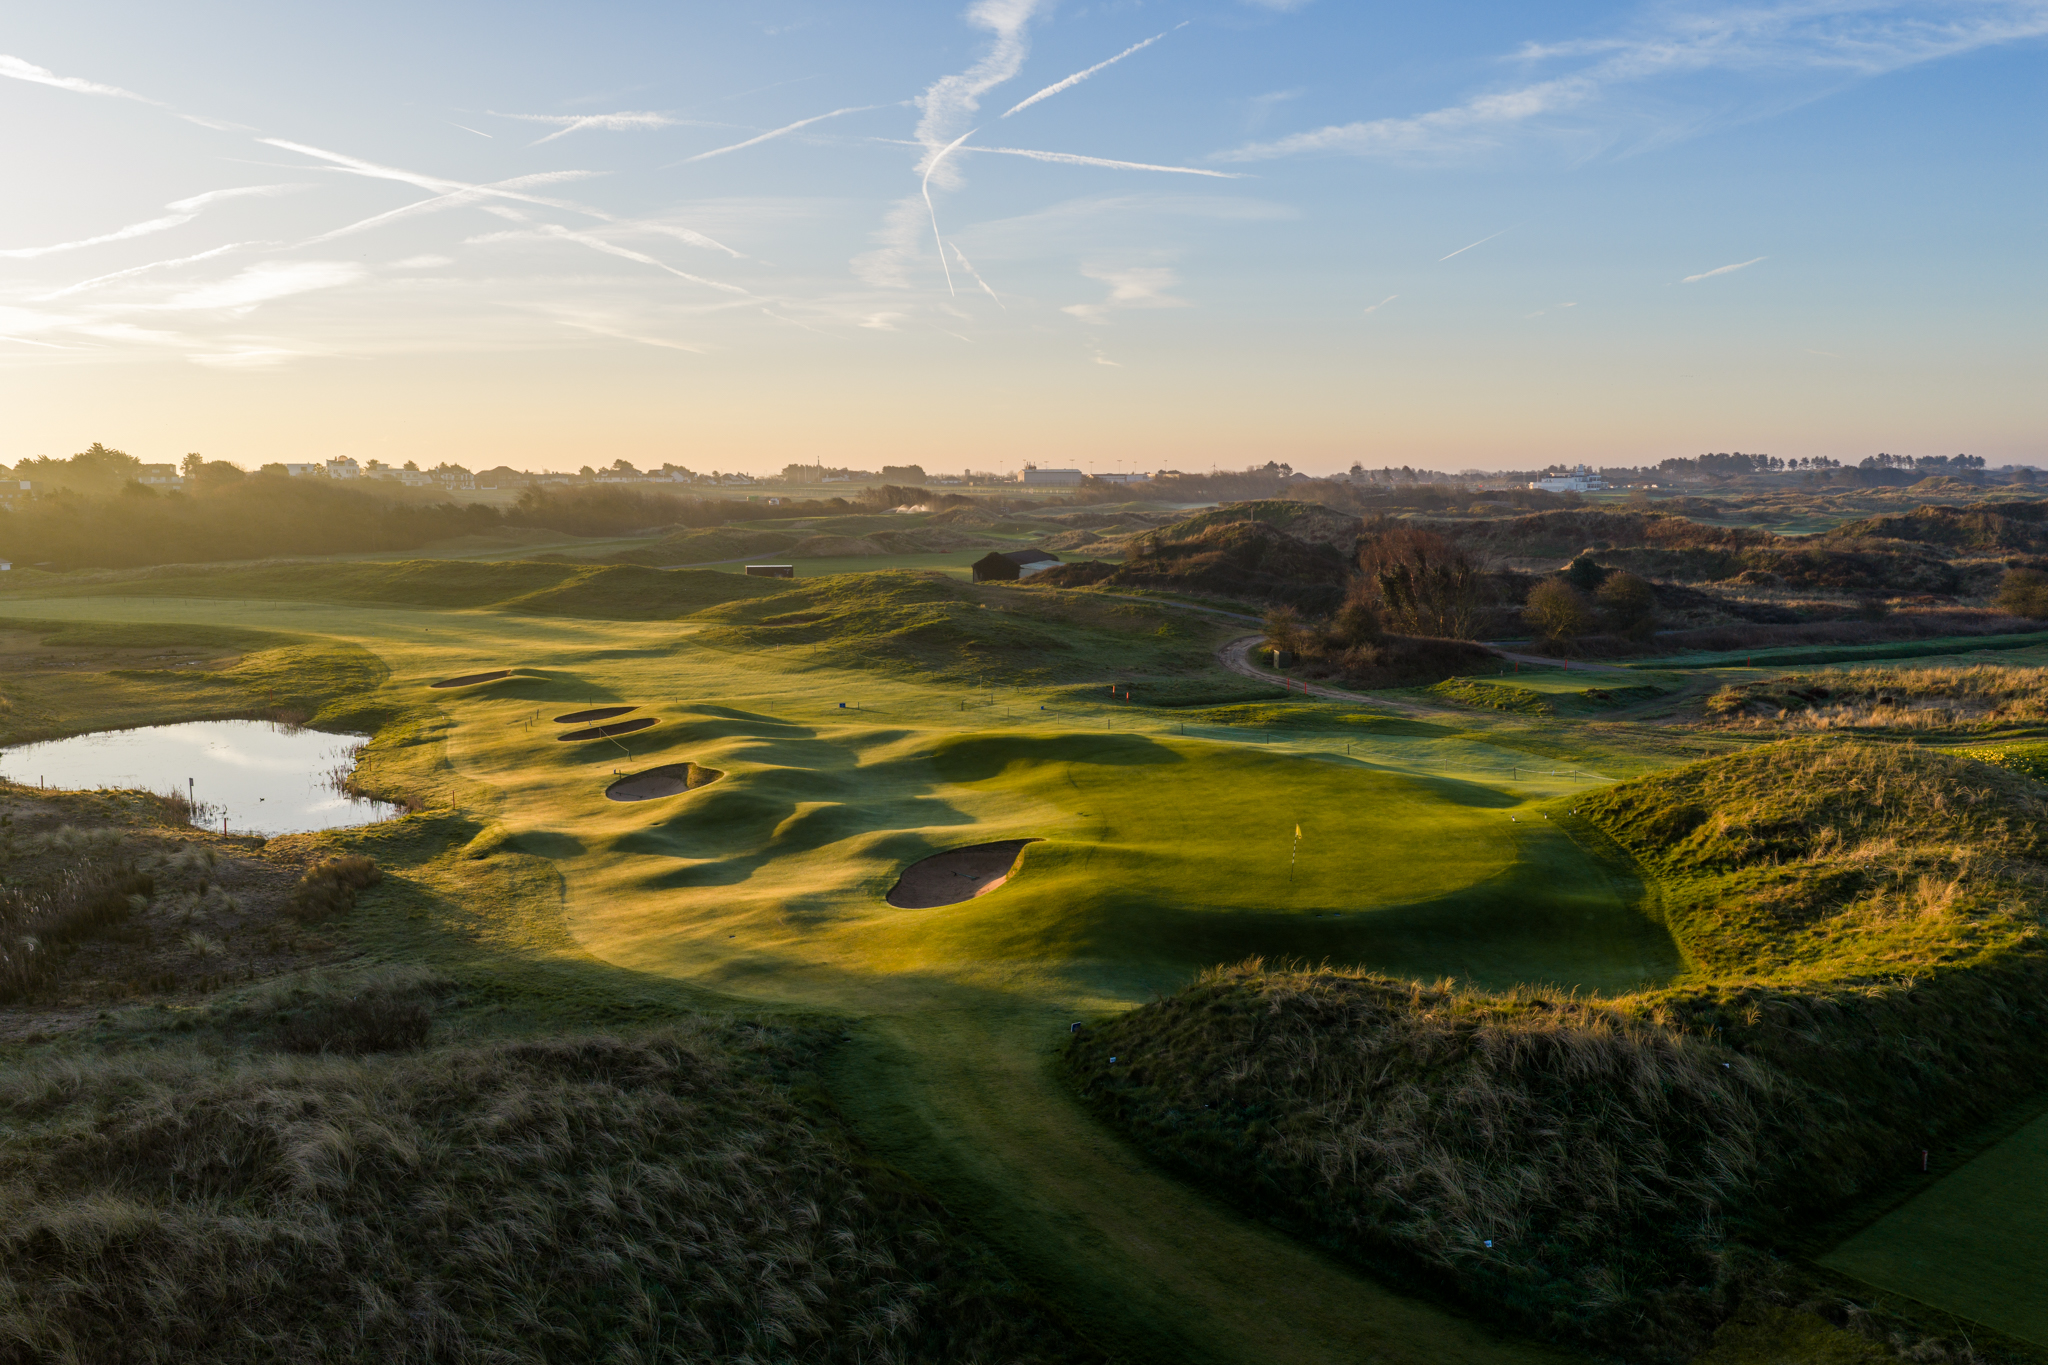
No. 5 underwent a complete makeover in advance of the 2026 Open. The dunescape down the right side that once obscured the view of the green has been leveled, allowing players to see the green from the tee. A pond remains, one of the few water hazards on the course, but is mostly out of play short and to the right of the green. A fairway bunker has been added down the left side of the fairway 230 yards from the back tee. Playing back into a sharp breeze, aggressive players have the option to go for the green, though they must negotiate a smattering of bunkers and severe mounding that lines the right side of the fairway short of the green. Pot bunkers also protect the front left portion of the green. Into the wind, most players will likely opt for a long iron off the tee and a simple wedge into the green. Previously one of the weakest holes on the course, the fifth has been replaced by a better, albeit somewhat awkward-looking, short par 4.

.jpg)
Hole 6
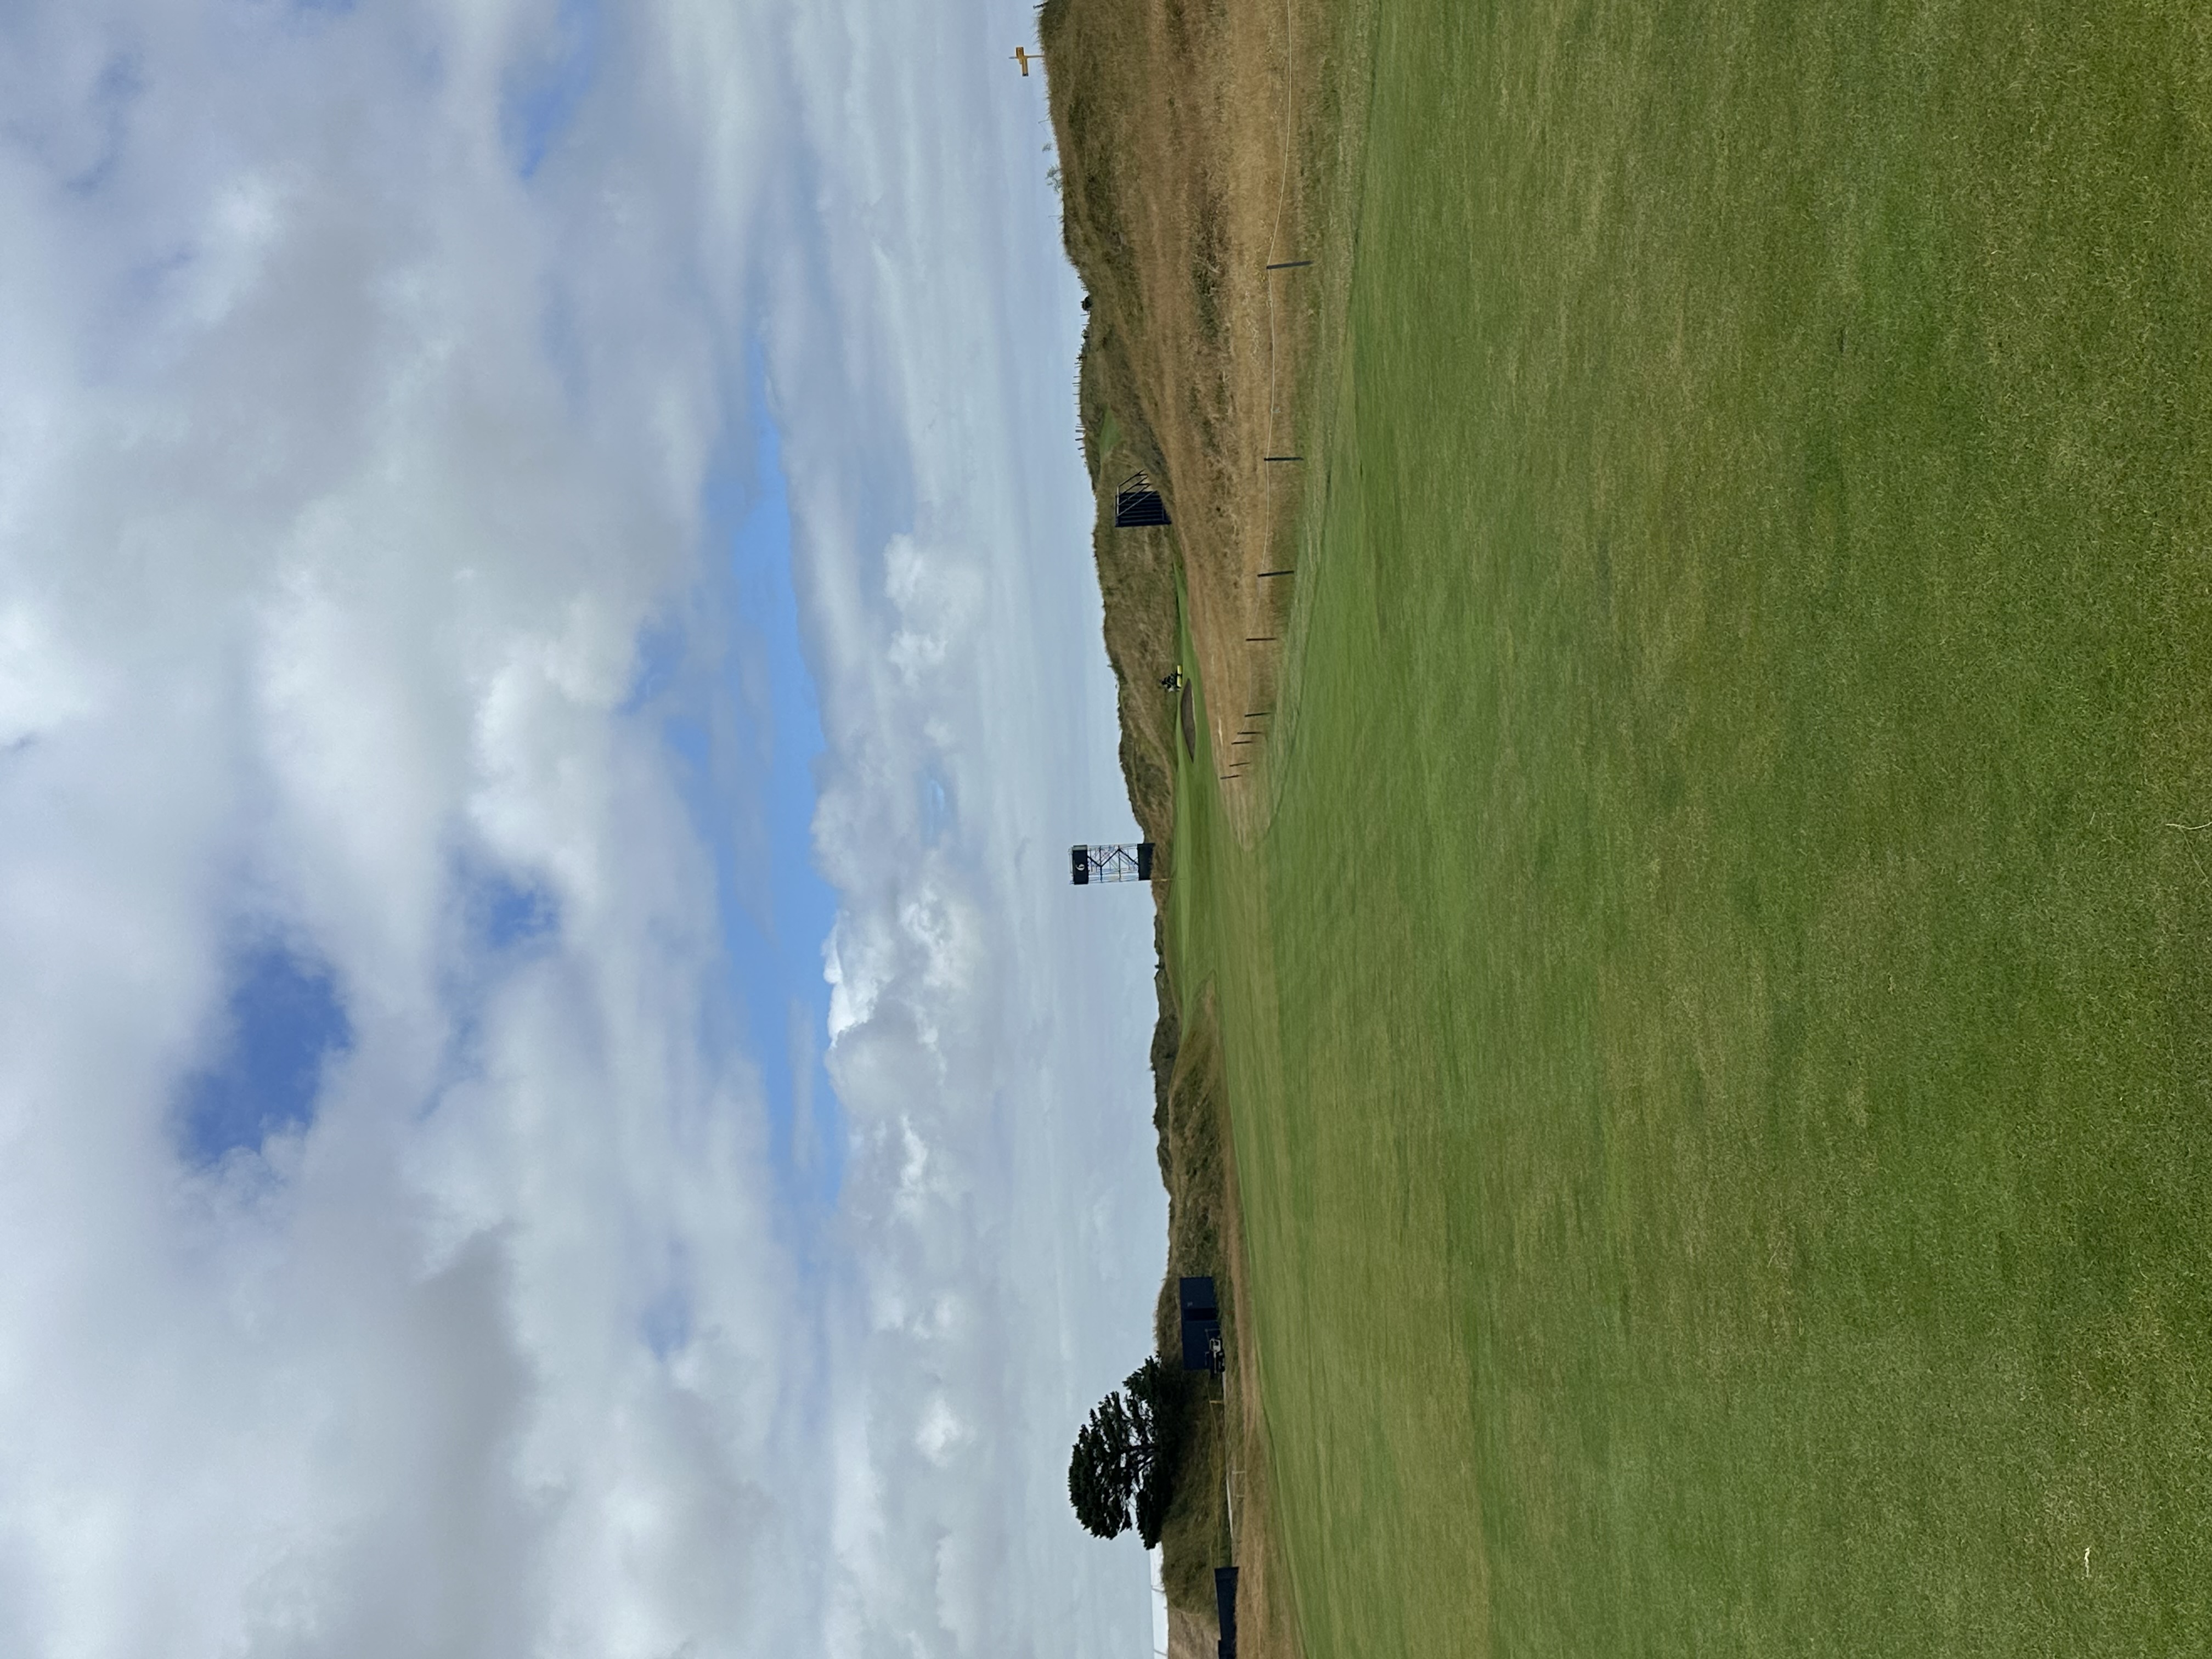
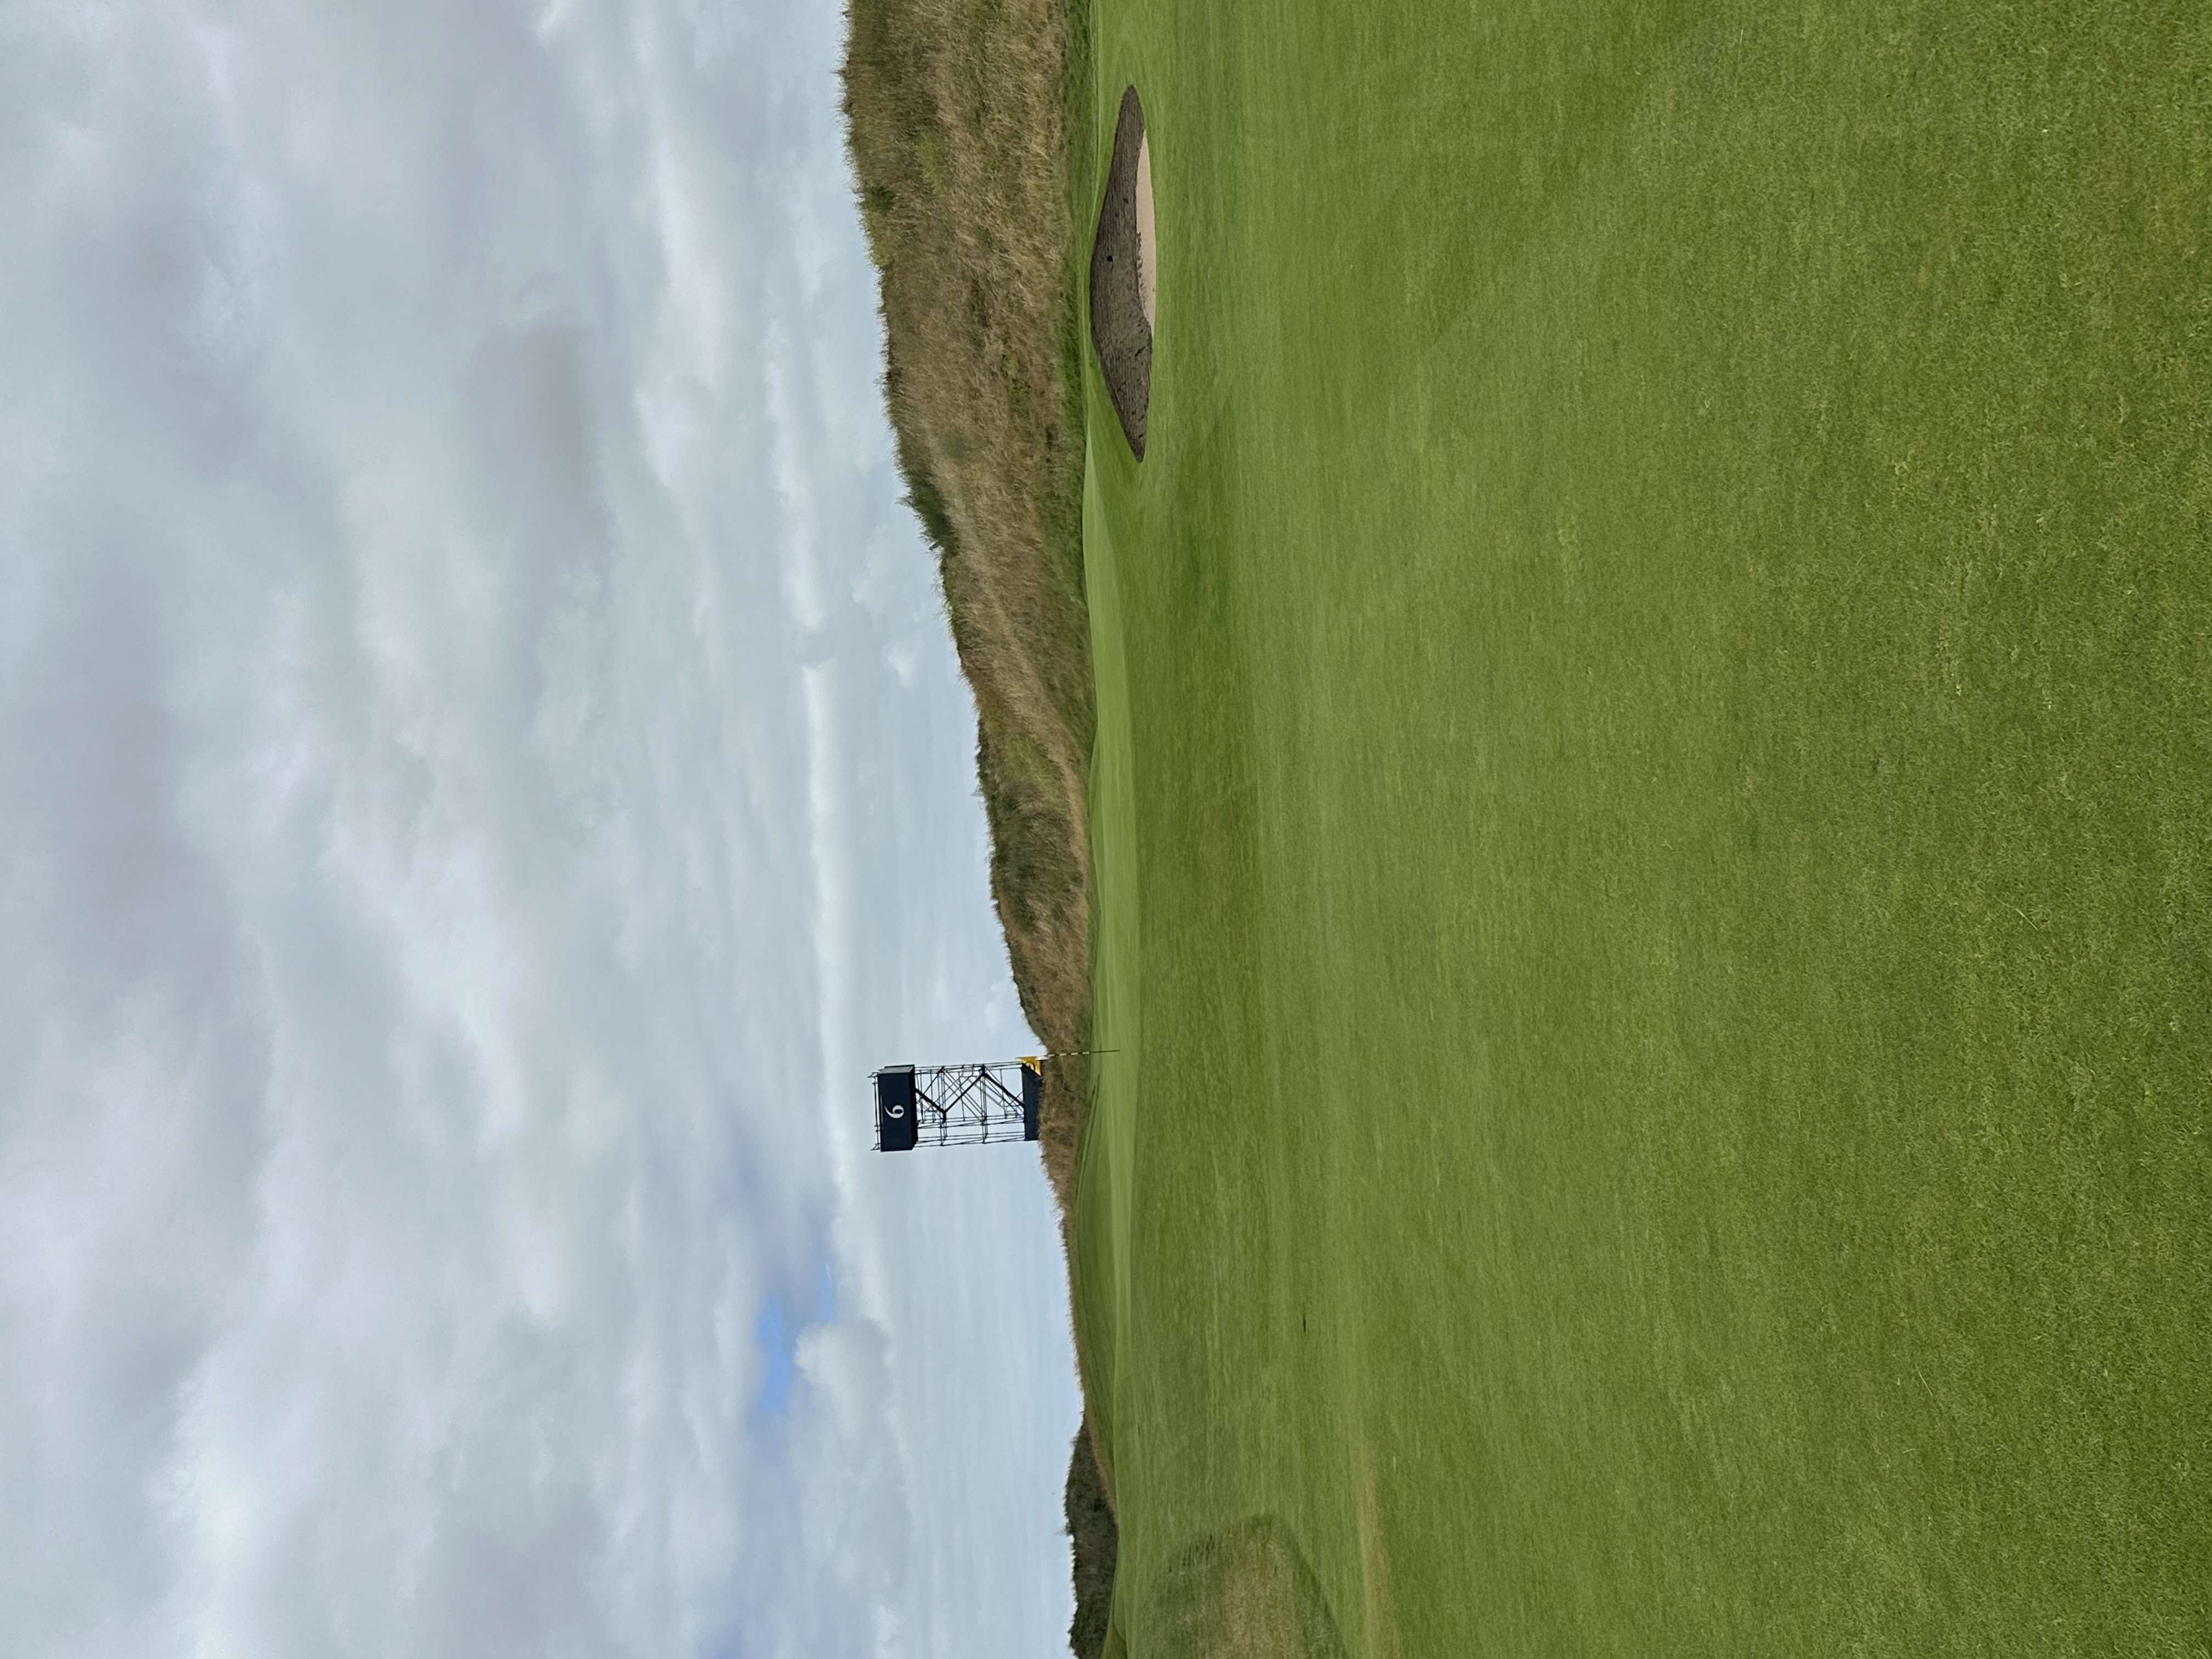
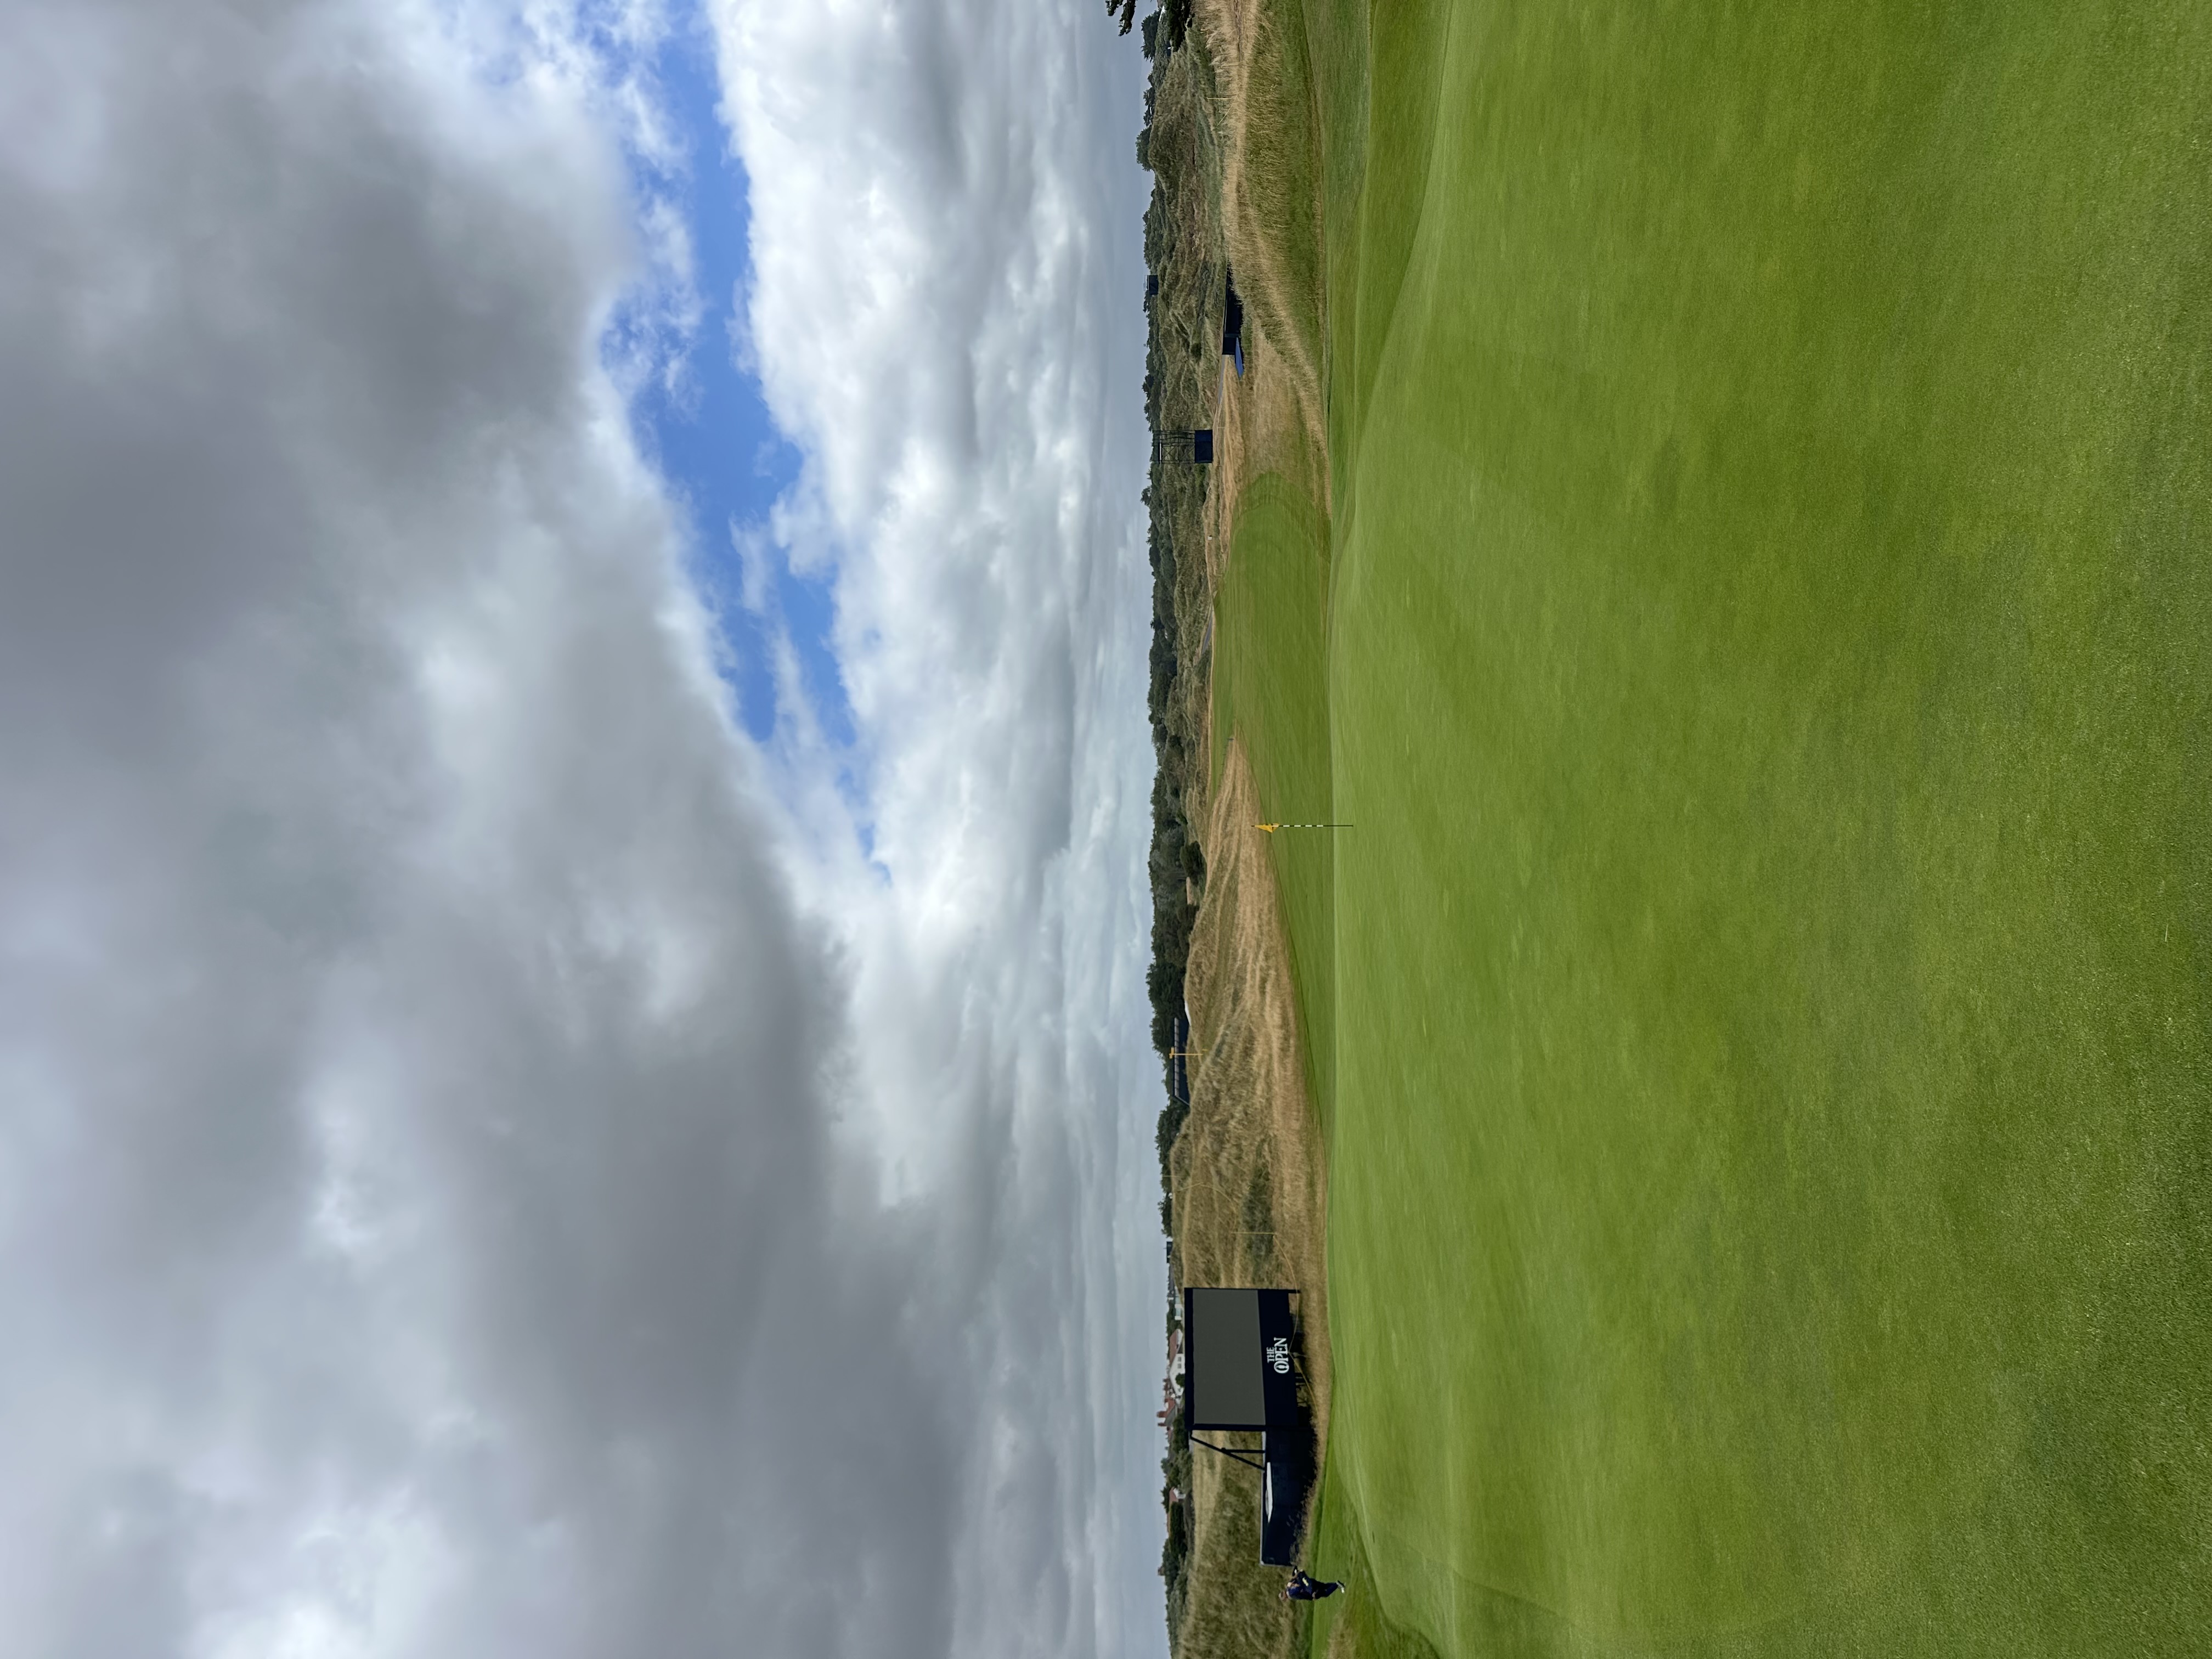
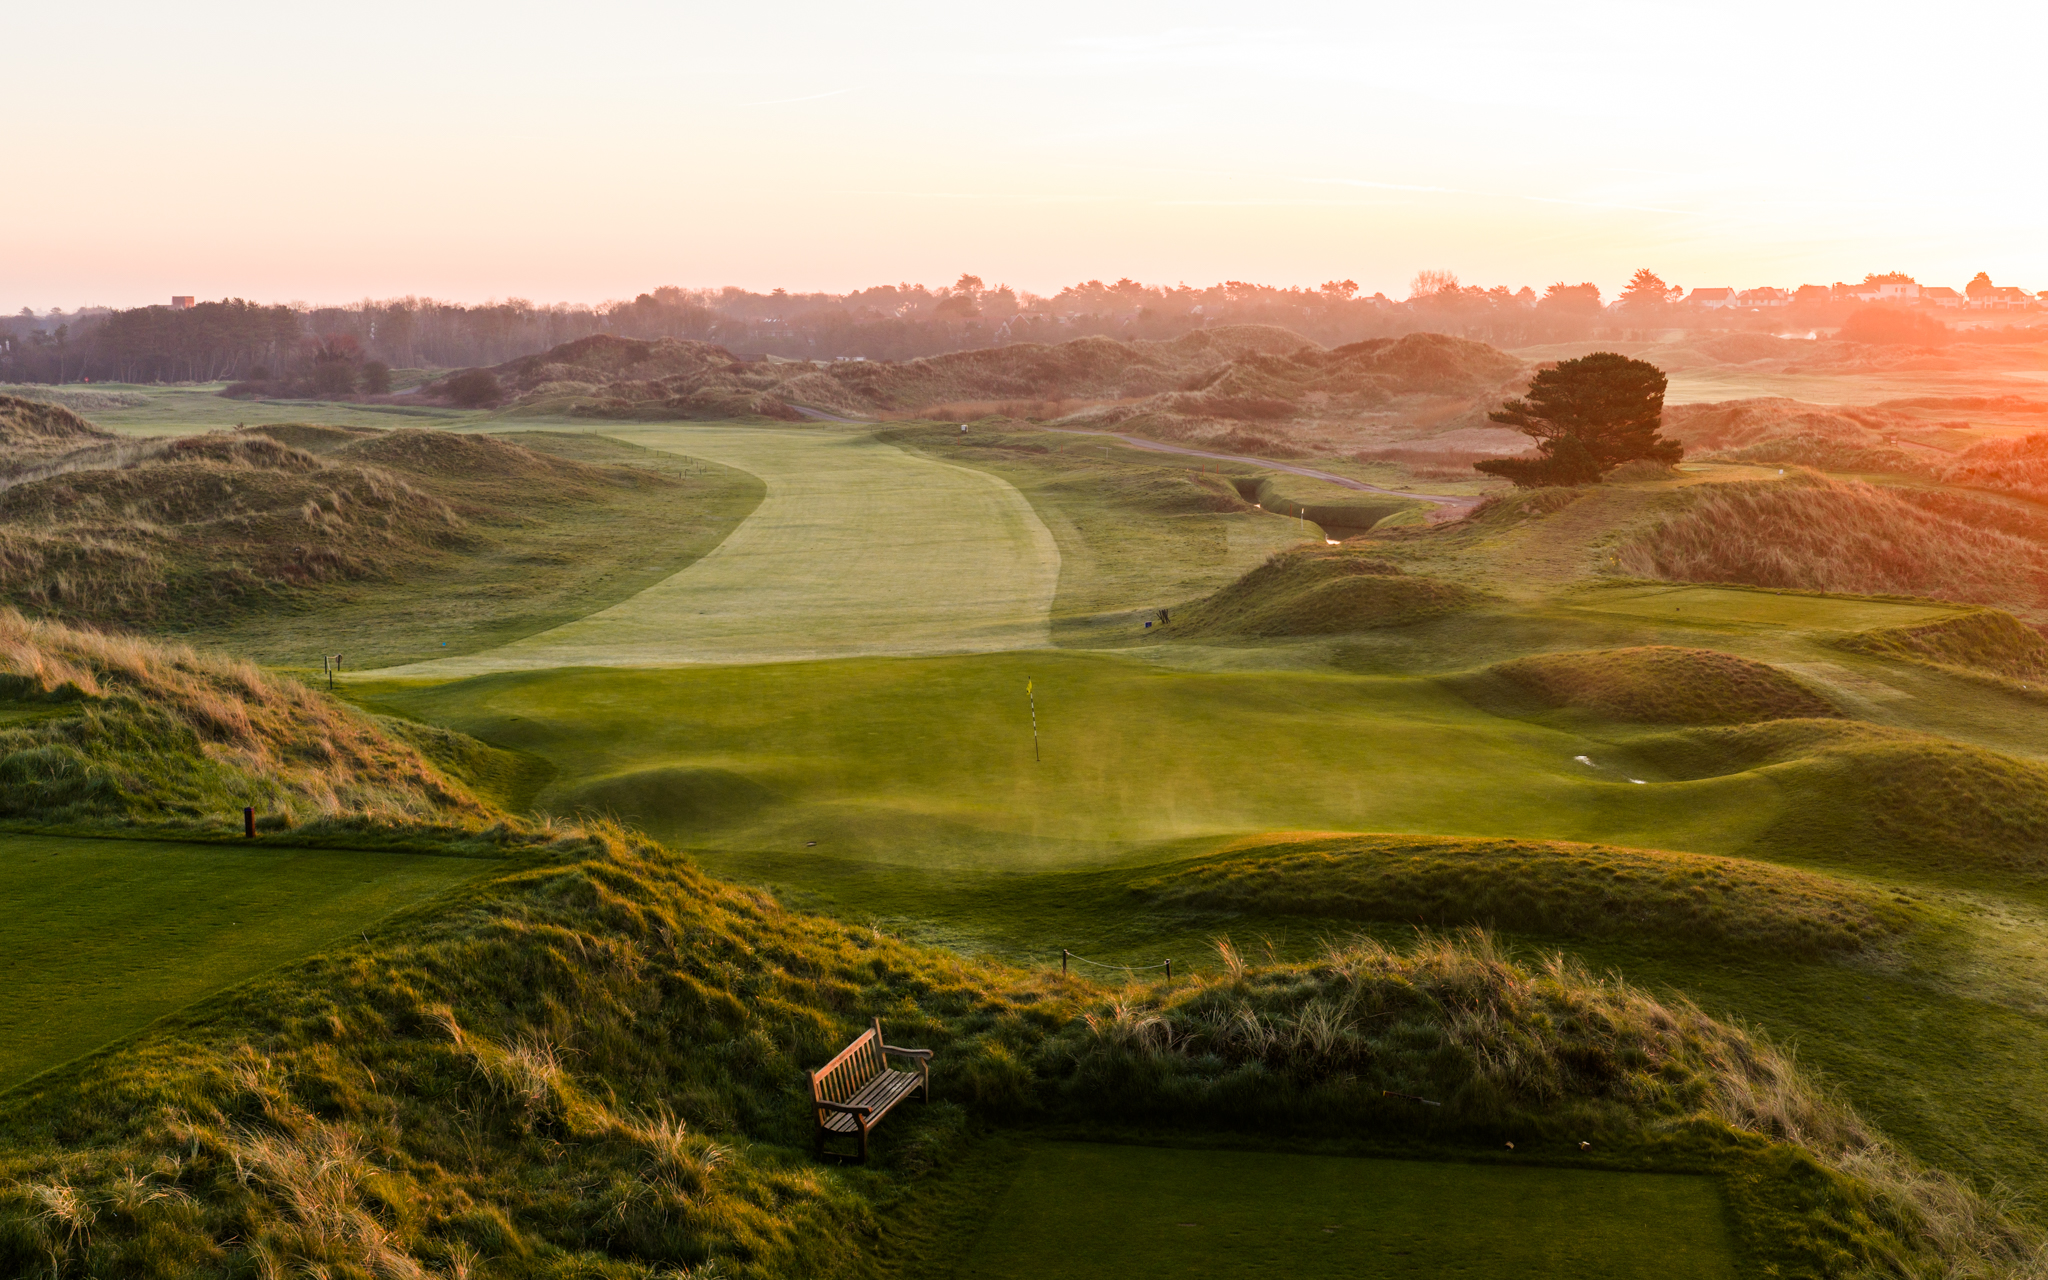
A par 5 on the card for regular member play, the sixth plays as a long par 4 for the Open Championship, doglegging gently right and tightening beyond the dogleg. A red-staked ditch lines the left side and can come into play when aggressive tee shots bound through the fairway with speed. A large, skinny, slightly perched-up green invites long-iron approach shots, with a pot bunker protecting the right side of the green and a tightly mown area guarding the left.

.jpg)
.jpg)
Hole 7
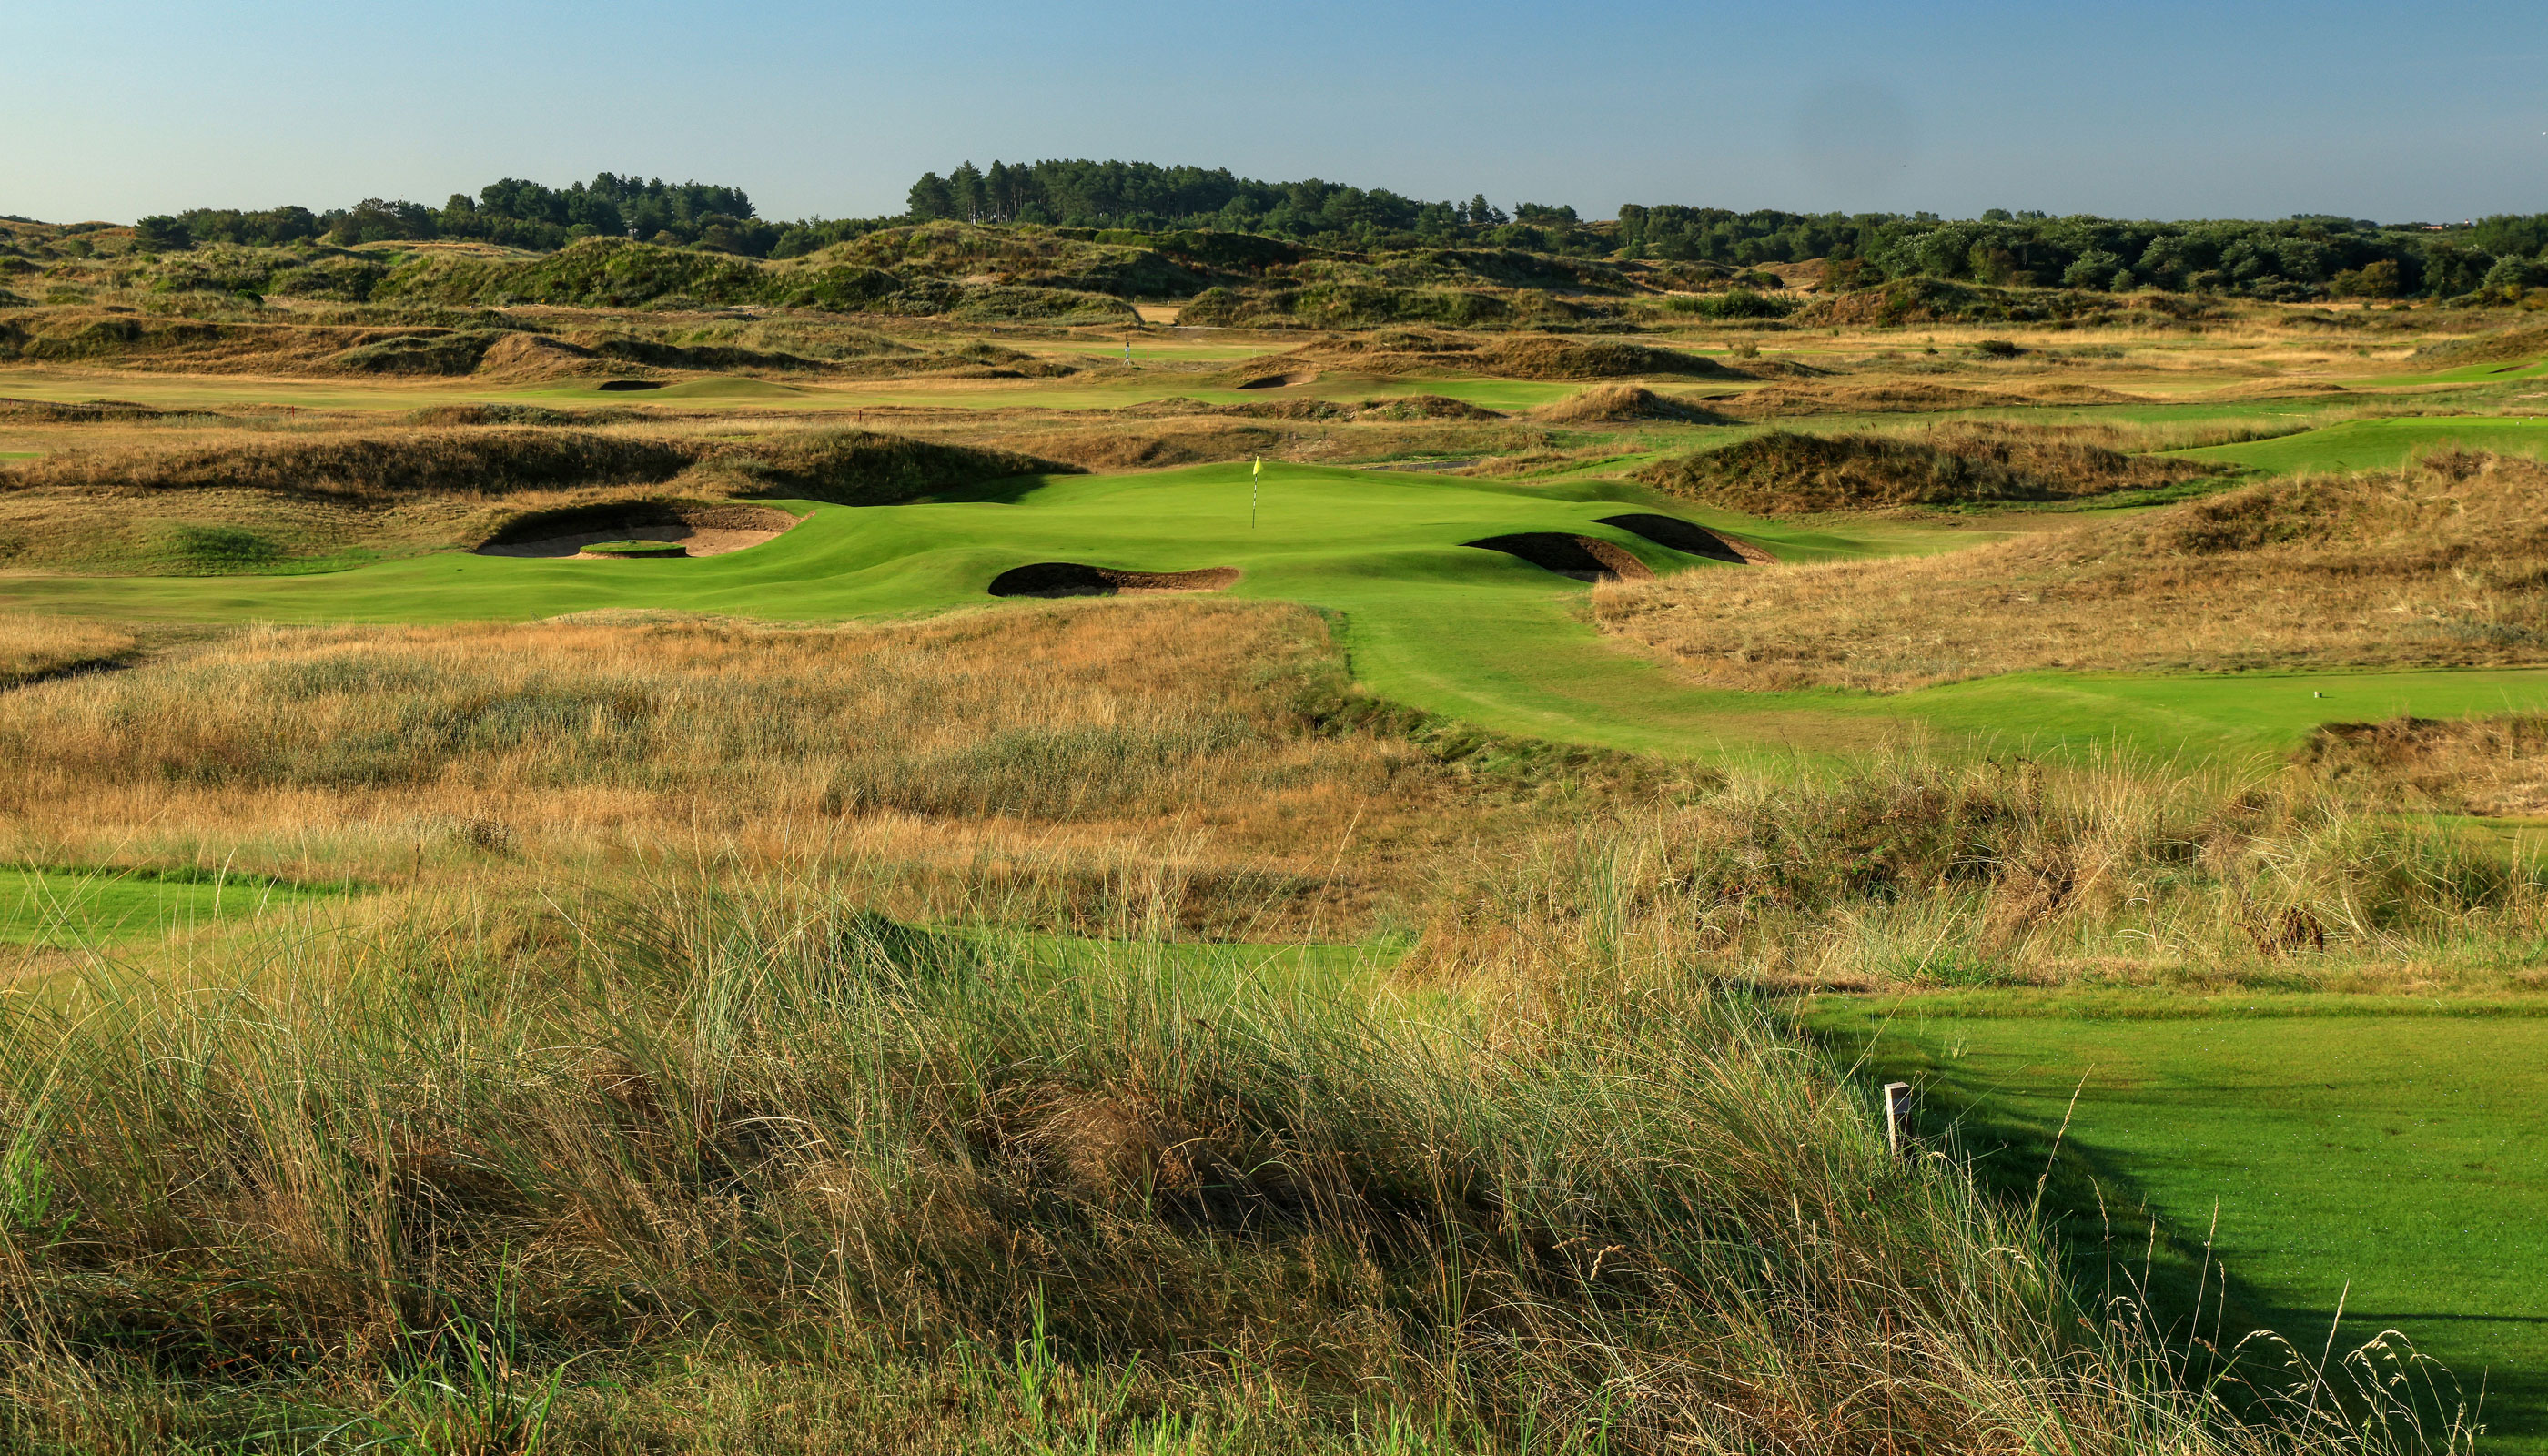
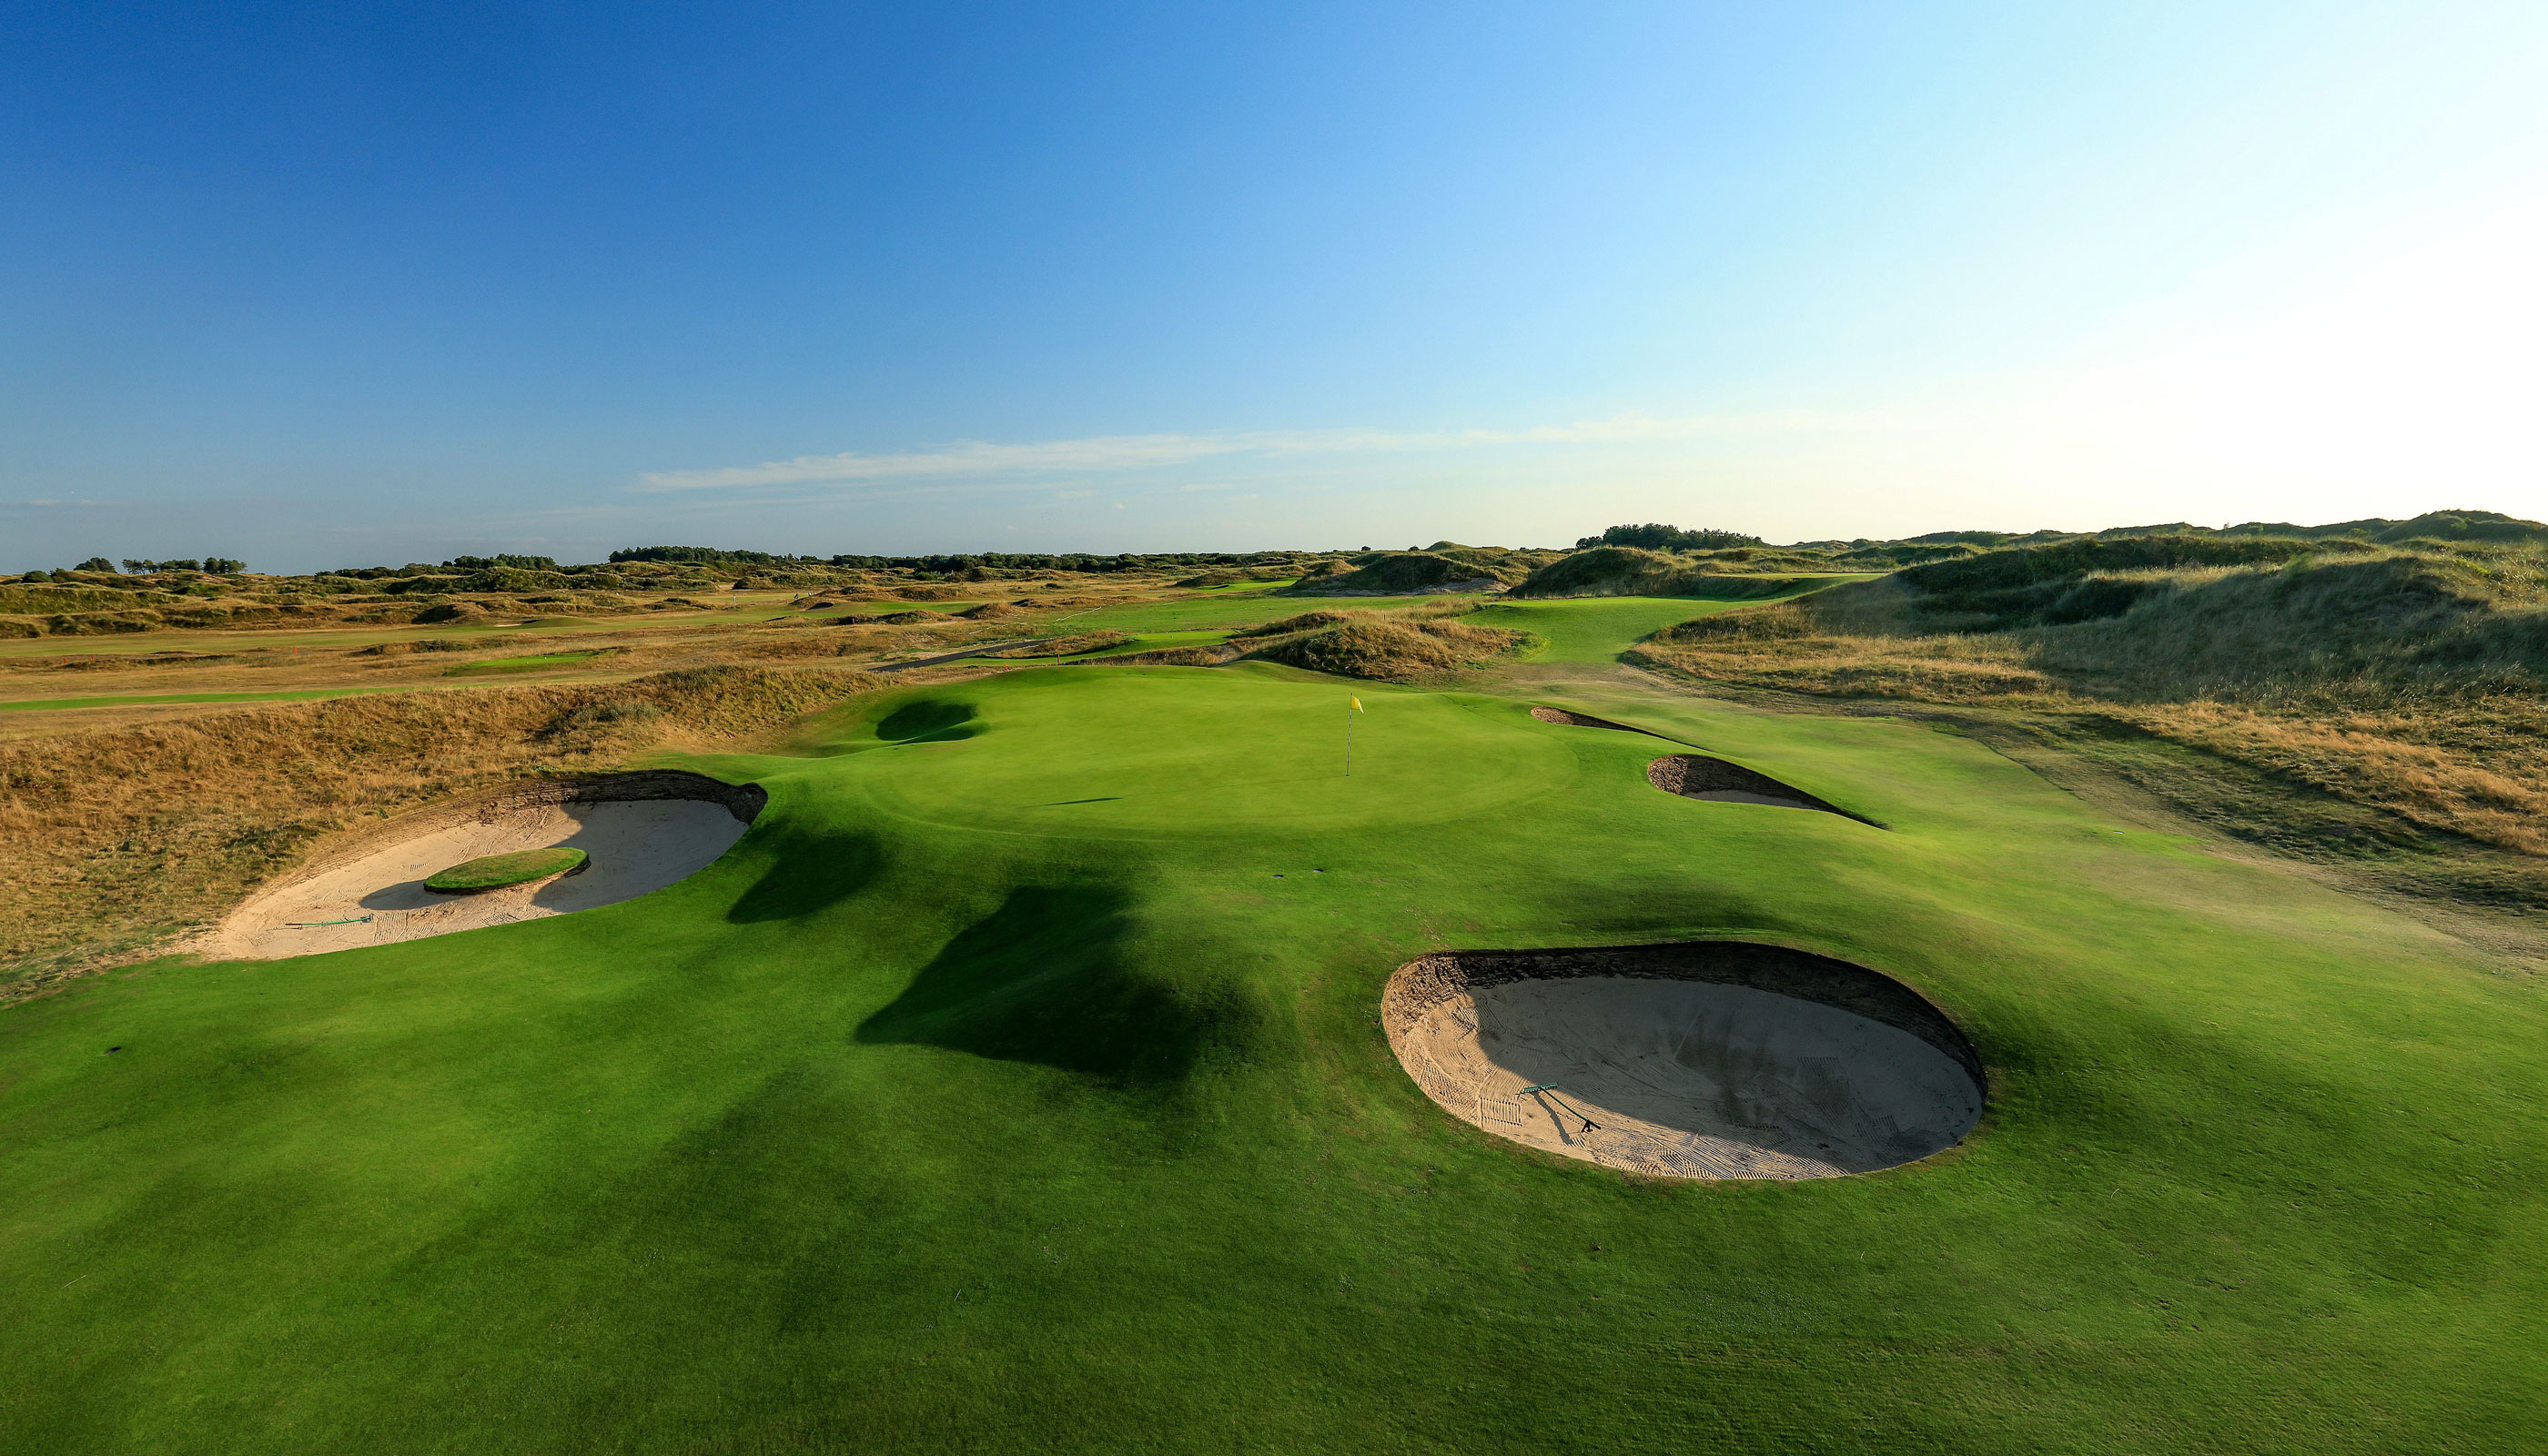
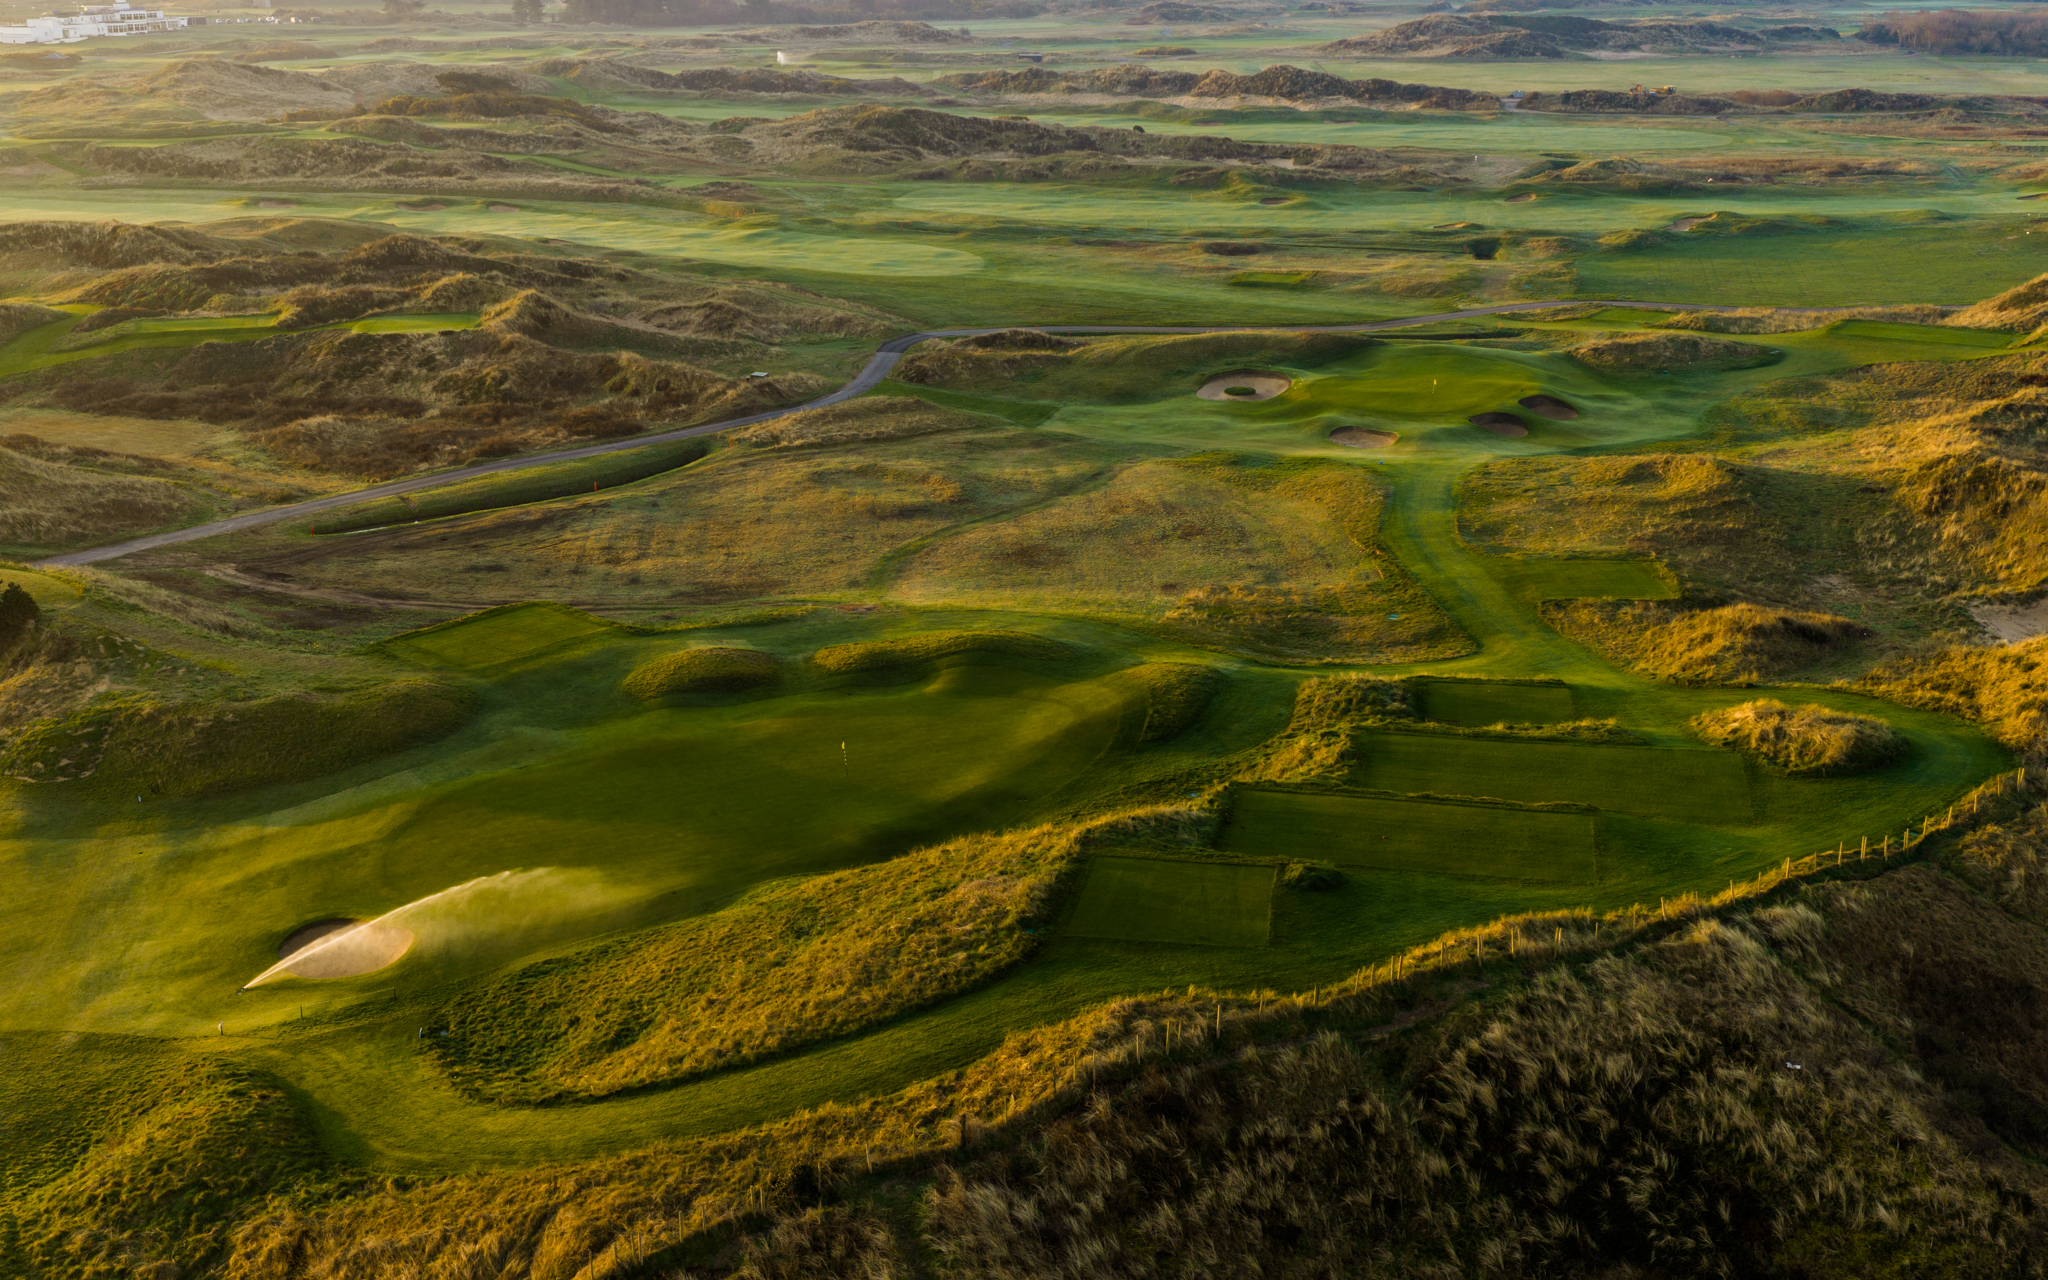
One of the most thrilling shots on the course, the seventh calls for a short iron down to a green that has been raised as part of the recent wave of renovations. Pot bunkers defend the front and right section of the green. The left is defended by a distinct, doughnut-shaped bunker. A prevailing hard right-to-left crosswind demands players start their shot out to the right, control their trajectory, and trust their yardage.
.jpg)

Hole 8
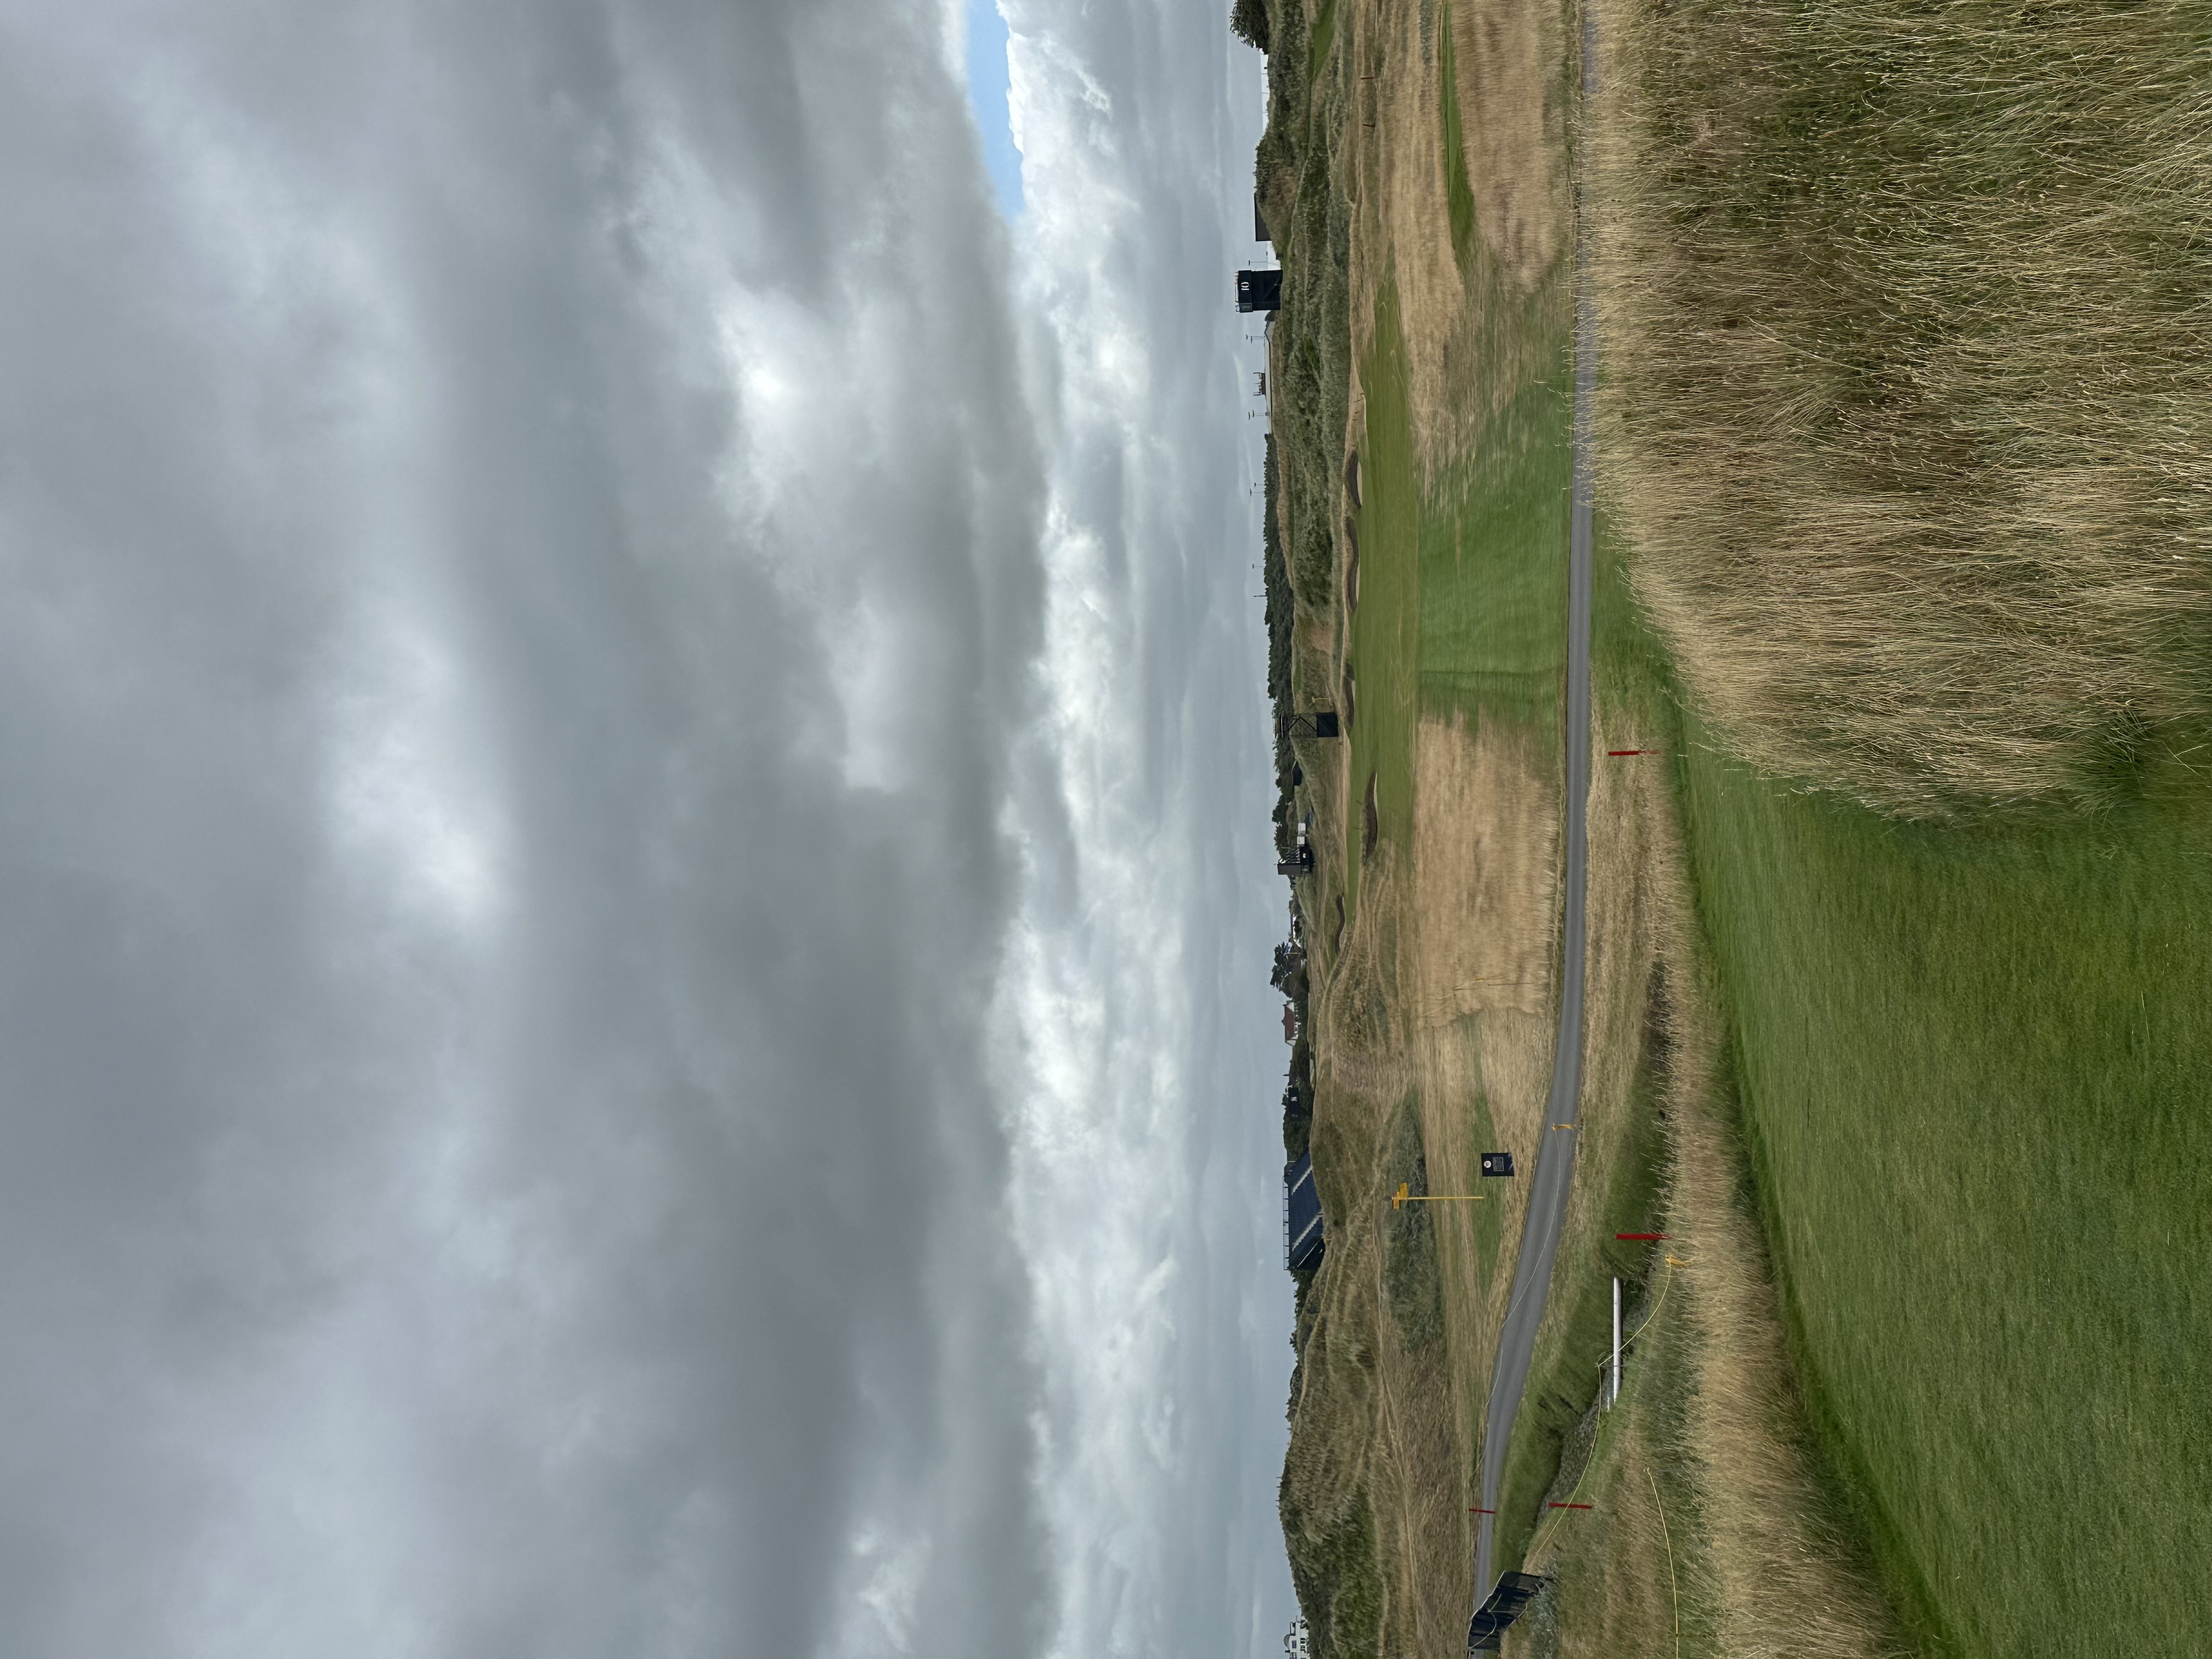
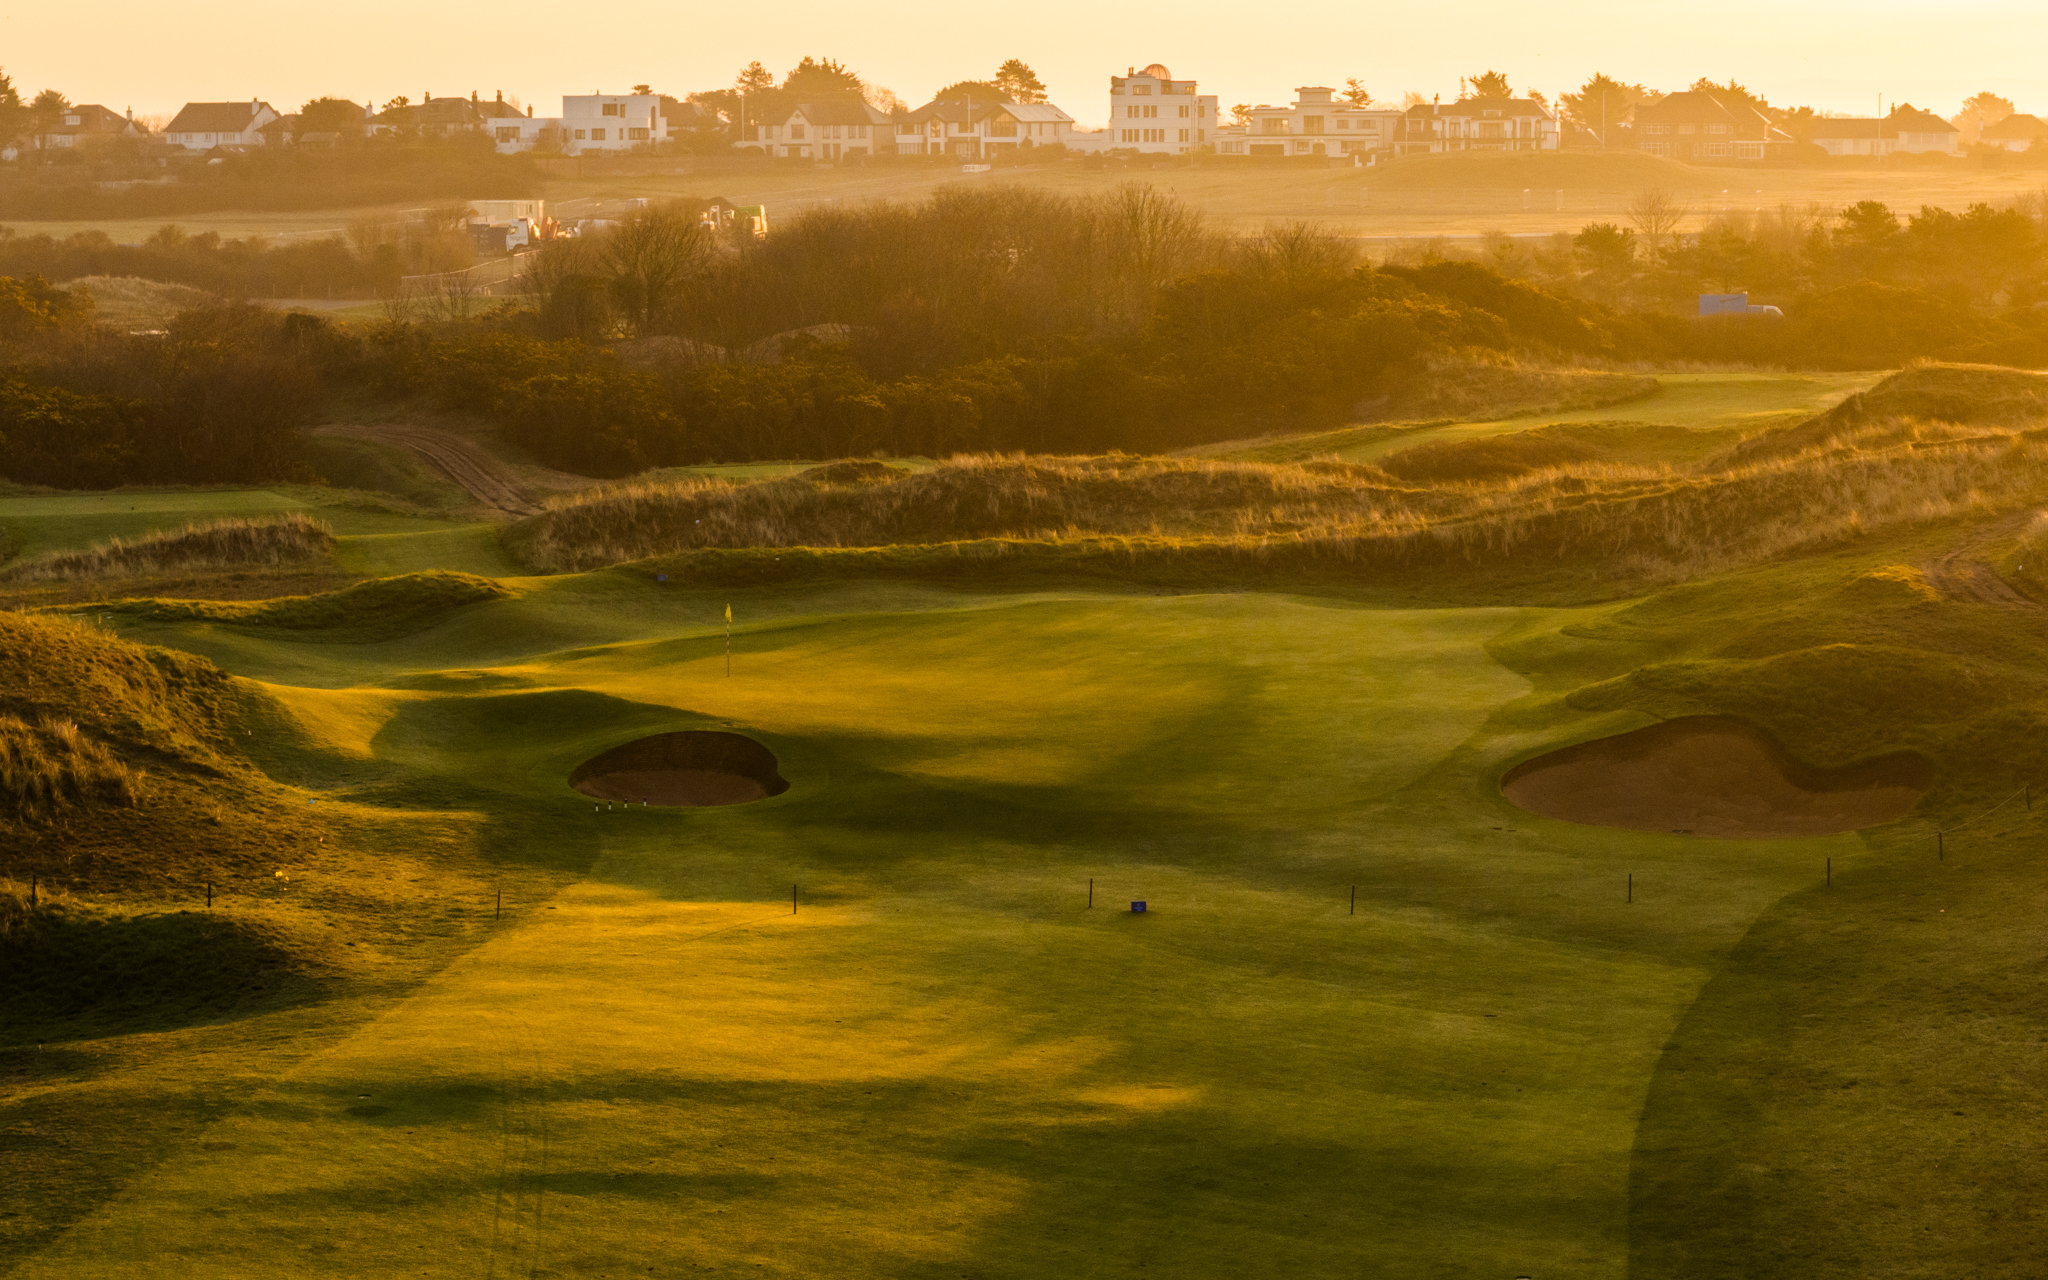
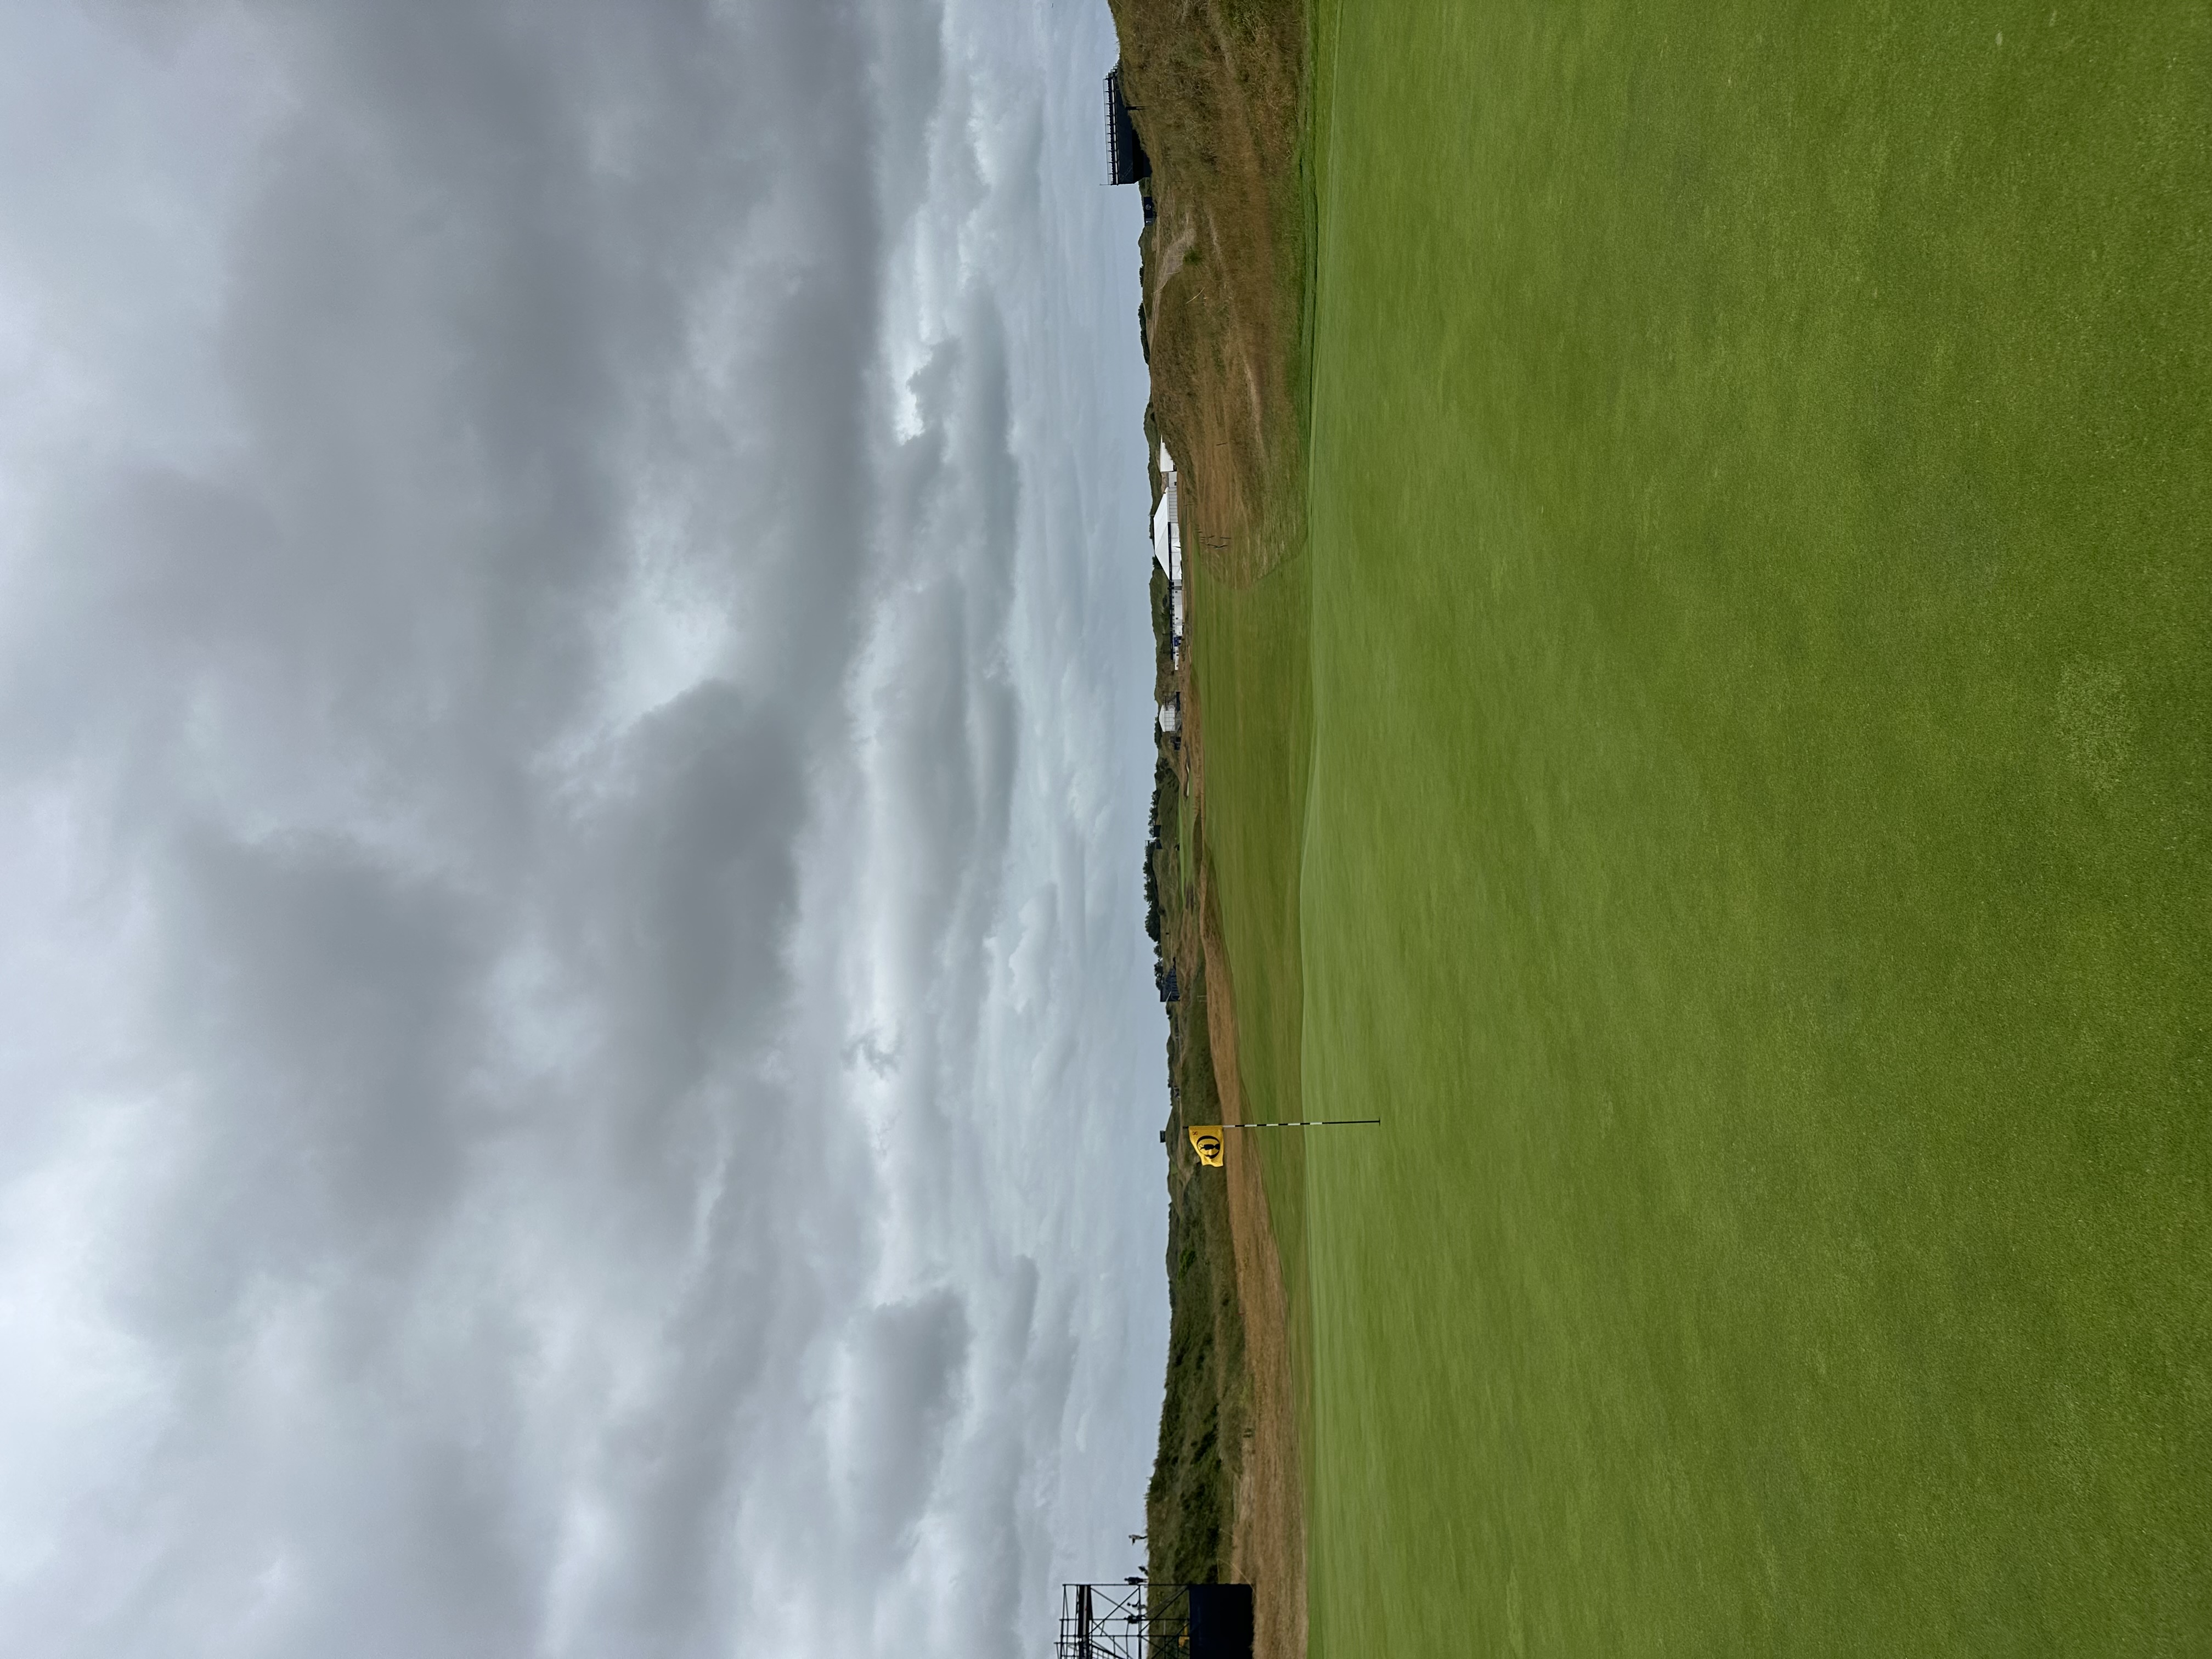
The course switches directions once again on the eighth, doglegging left with the prevailing breeze at the players’ backs. Set on a slight diagonal, the eighth fairway tests your ability to match distance and line, with three fairway bunkers positioned down the right to catch a slightly errant or misjudged tee ball.
Hole 9
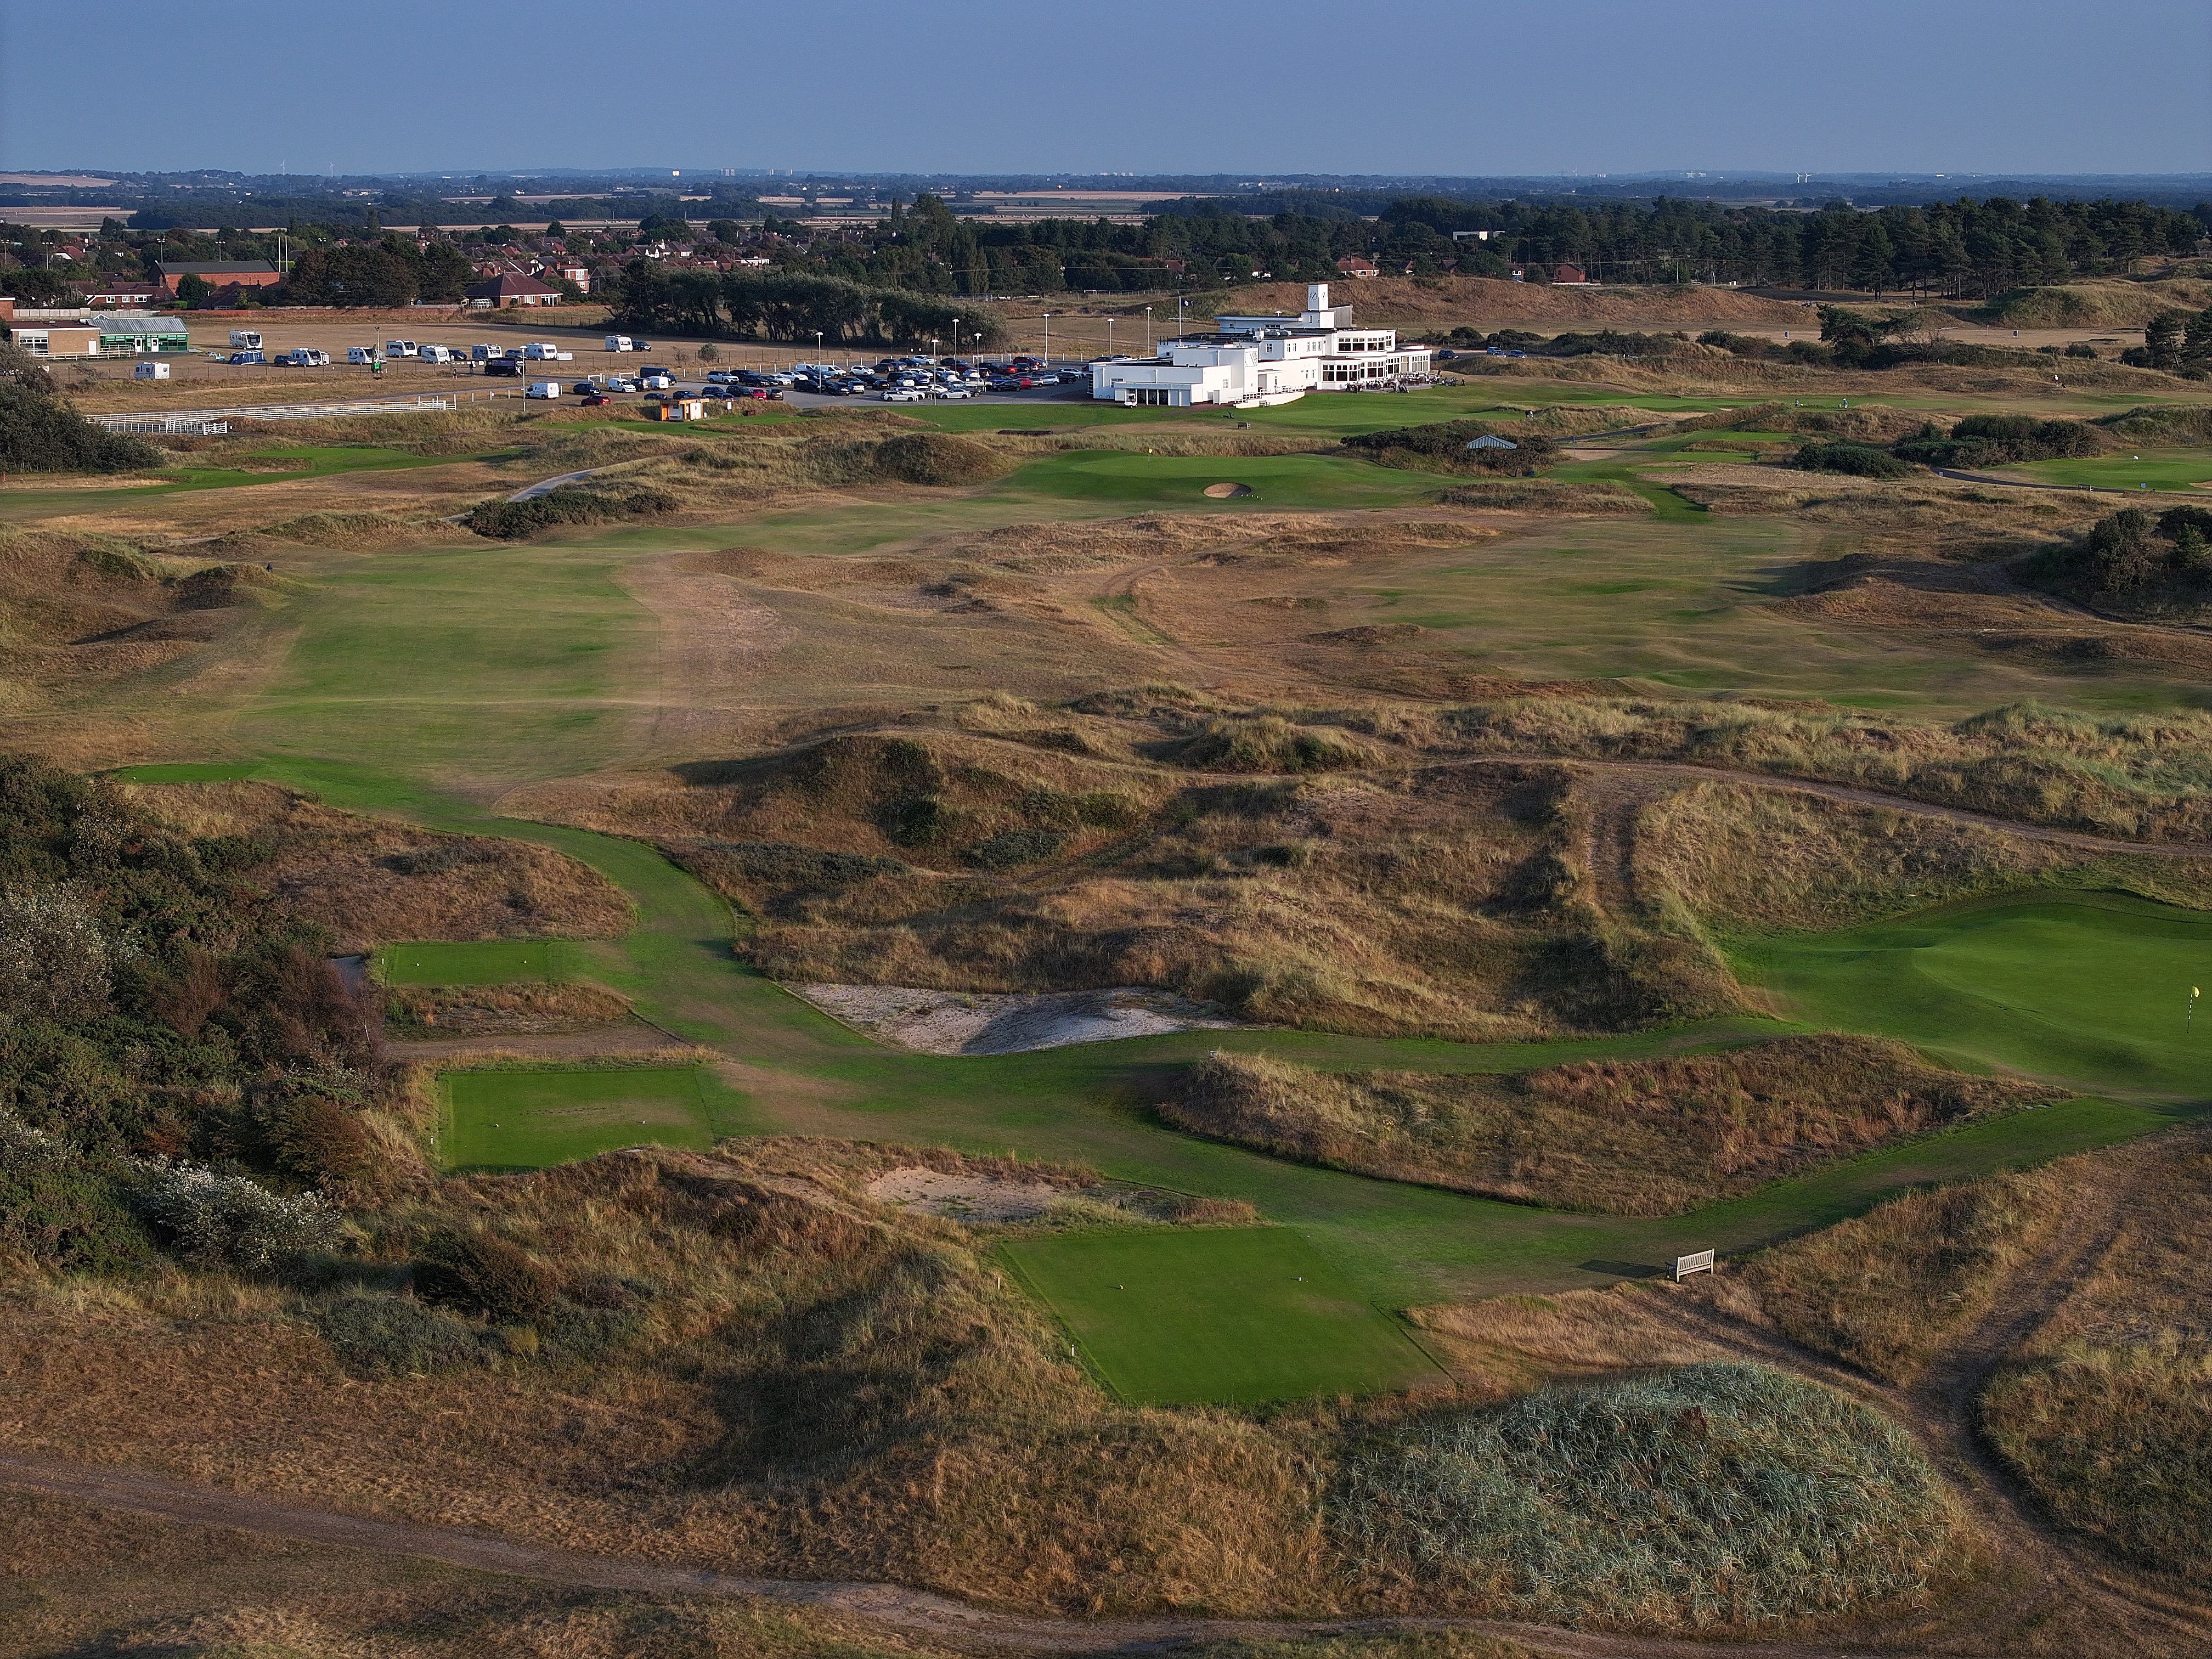
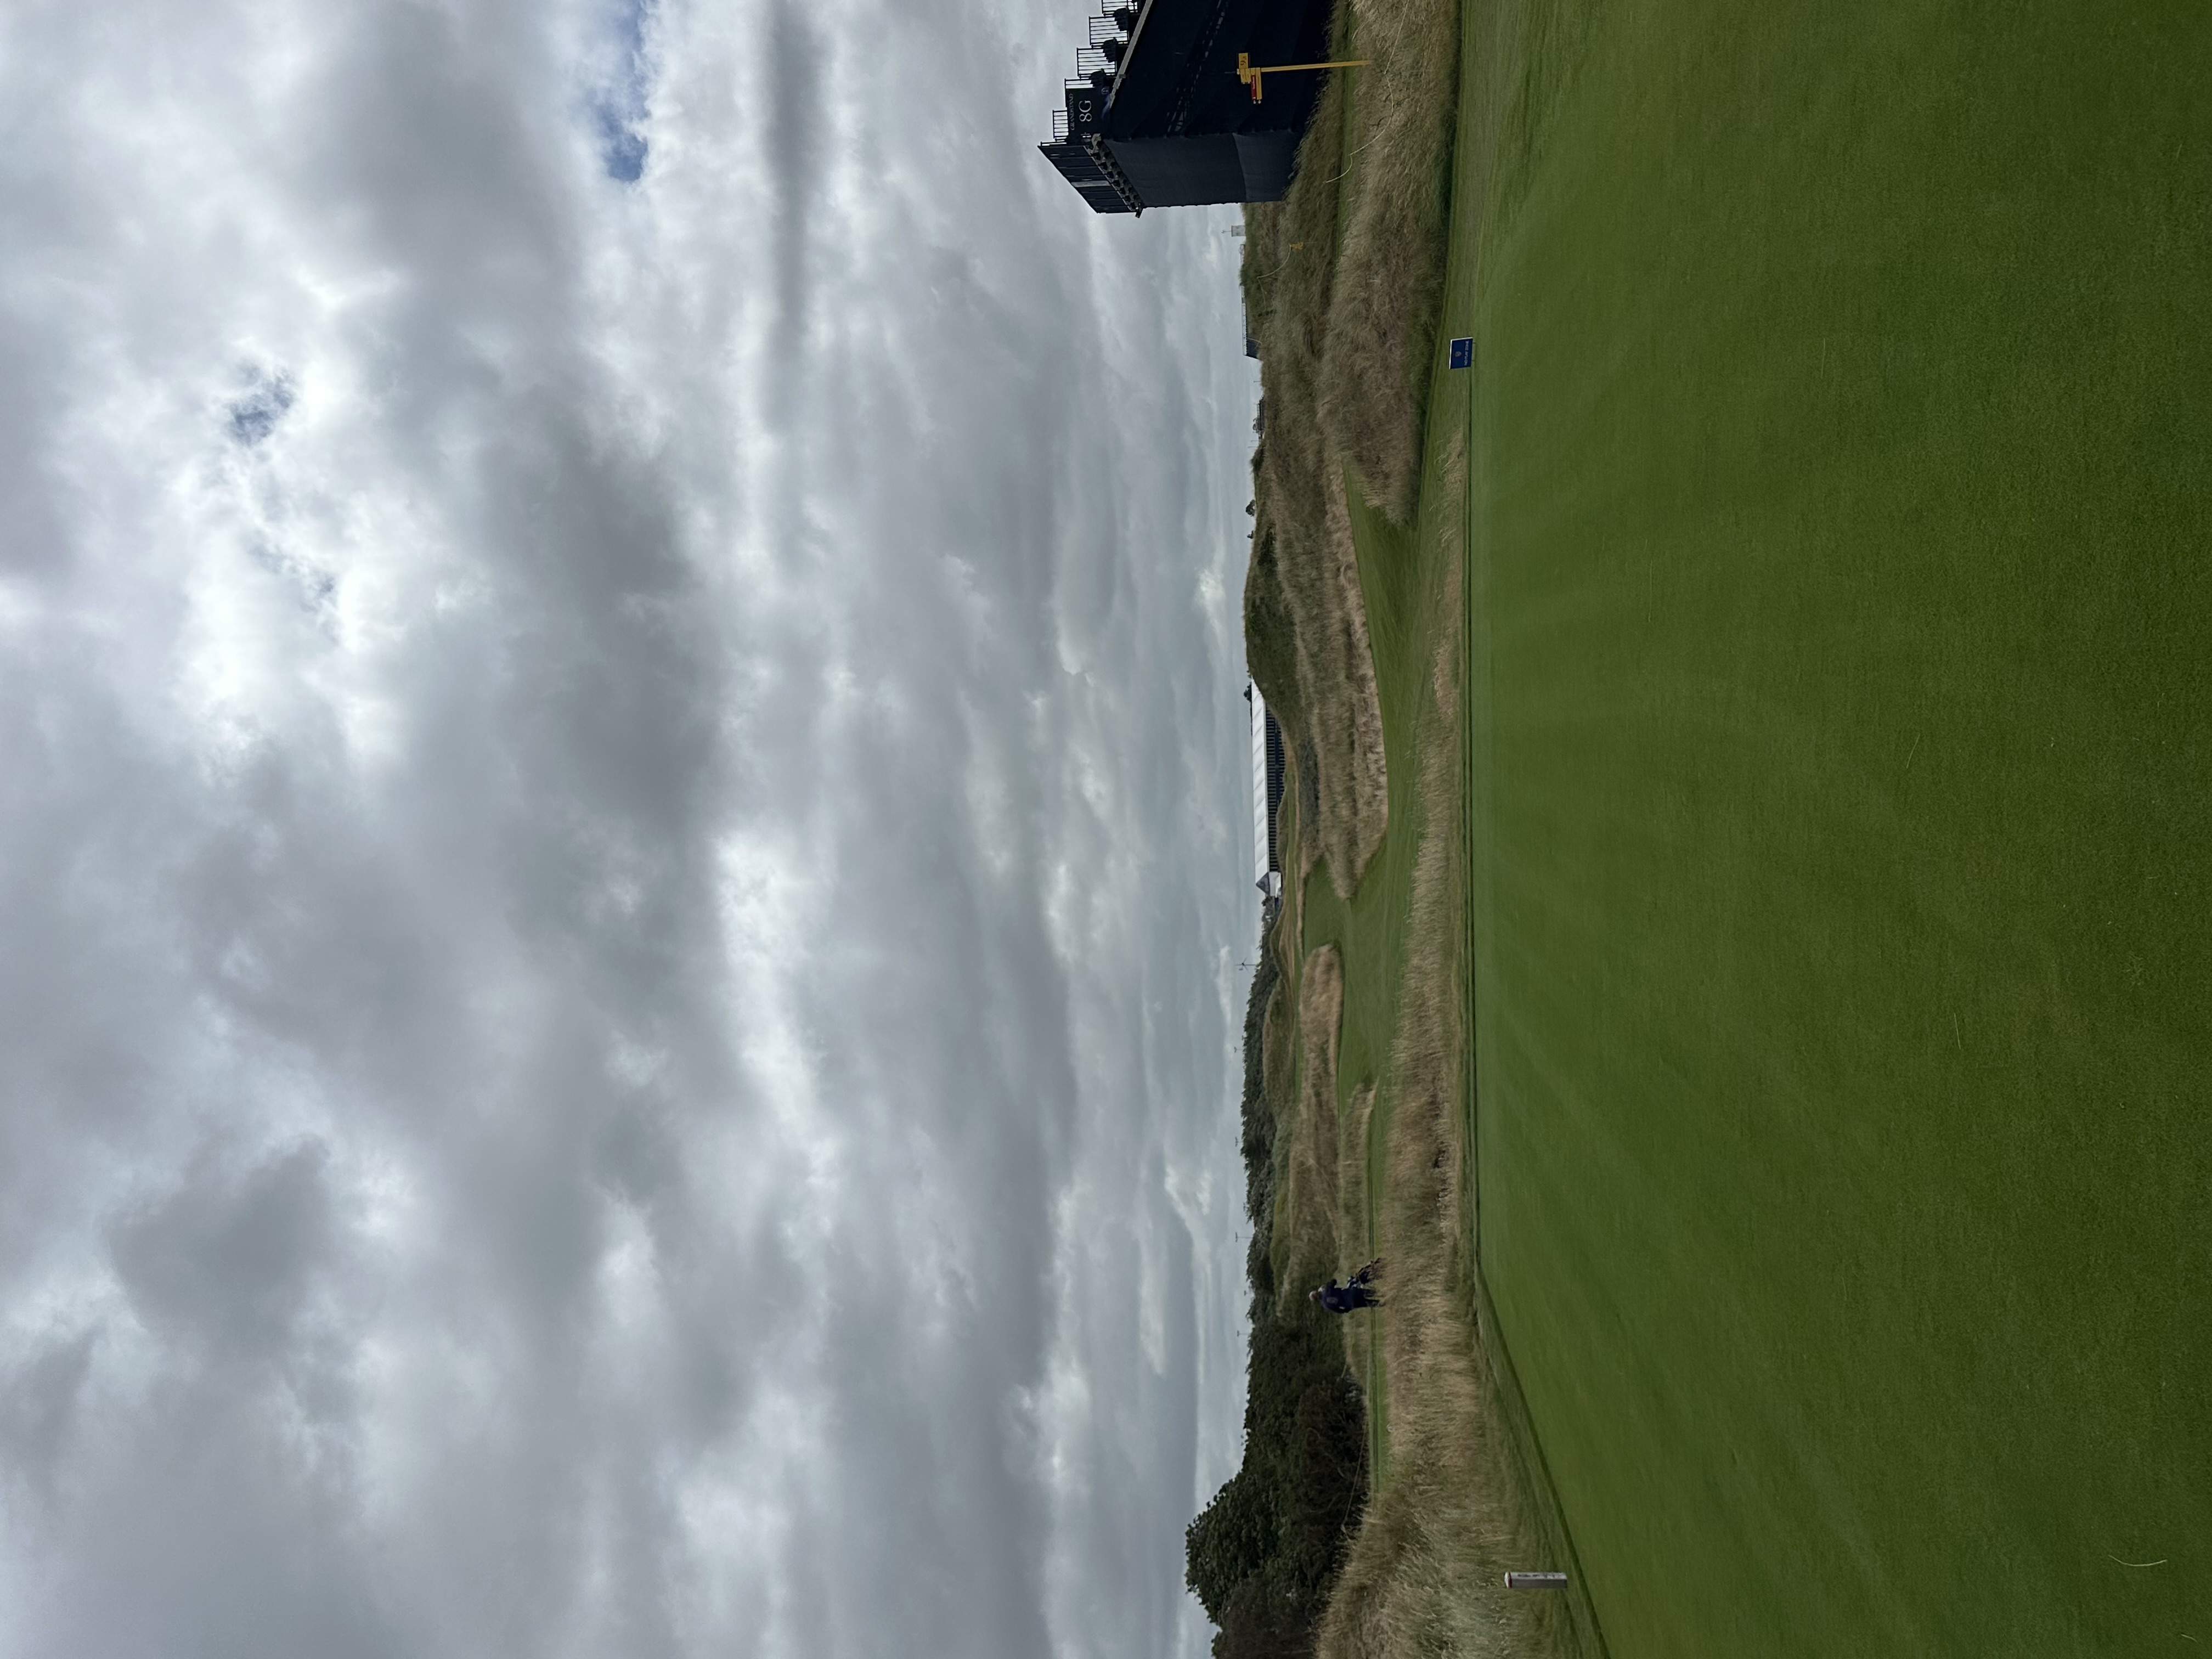
A semi-blind tee shot asks players to hit either a long iron or wood 240-255 yards off the tee or fire a more aggressive tee ball beyond where the fairway doglegs right at 260 yards. The fairway is quite narrow and plays even more narrowly than its width for an aggressive tee shot, as its diagonal orientation leaves little room for the ball to stop before running out into the left-hand rough. The green is protected by a large false front, a feature unique to this hole. A steep runoff area also guards the right side of the green, one of the most severe green surrounds on the golf course.
.jpg)

Hole 10
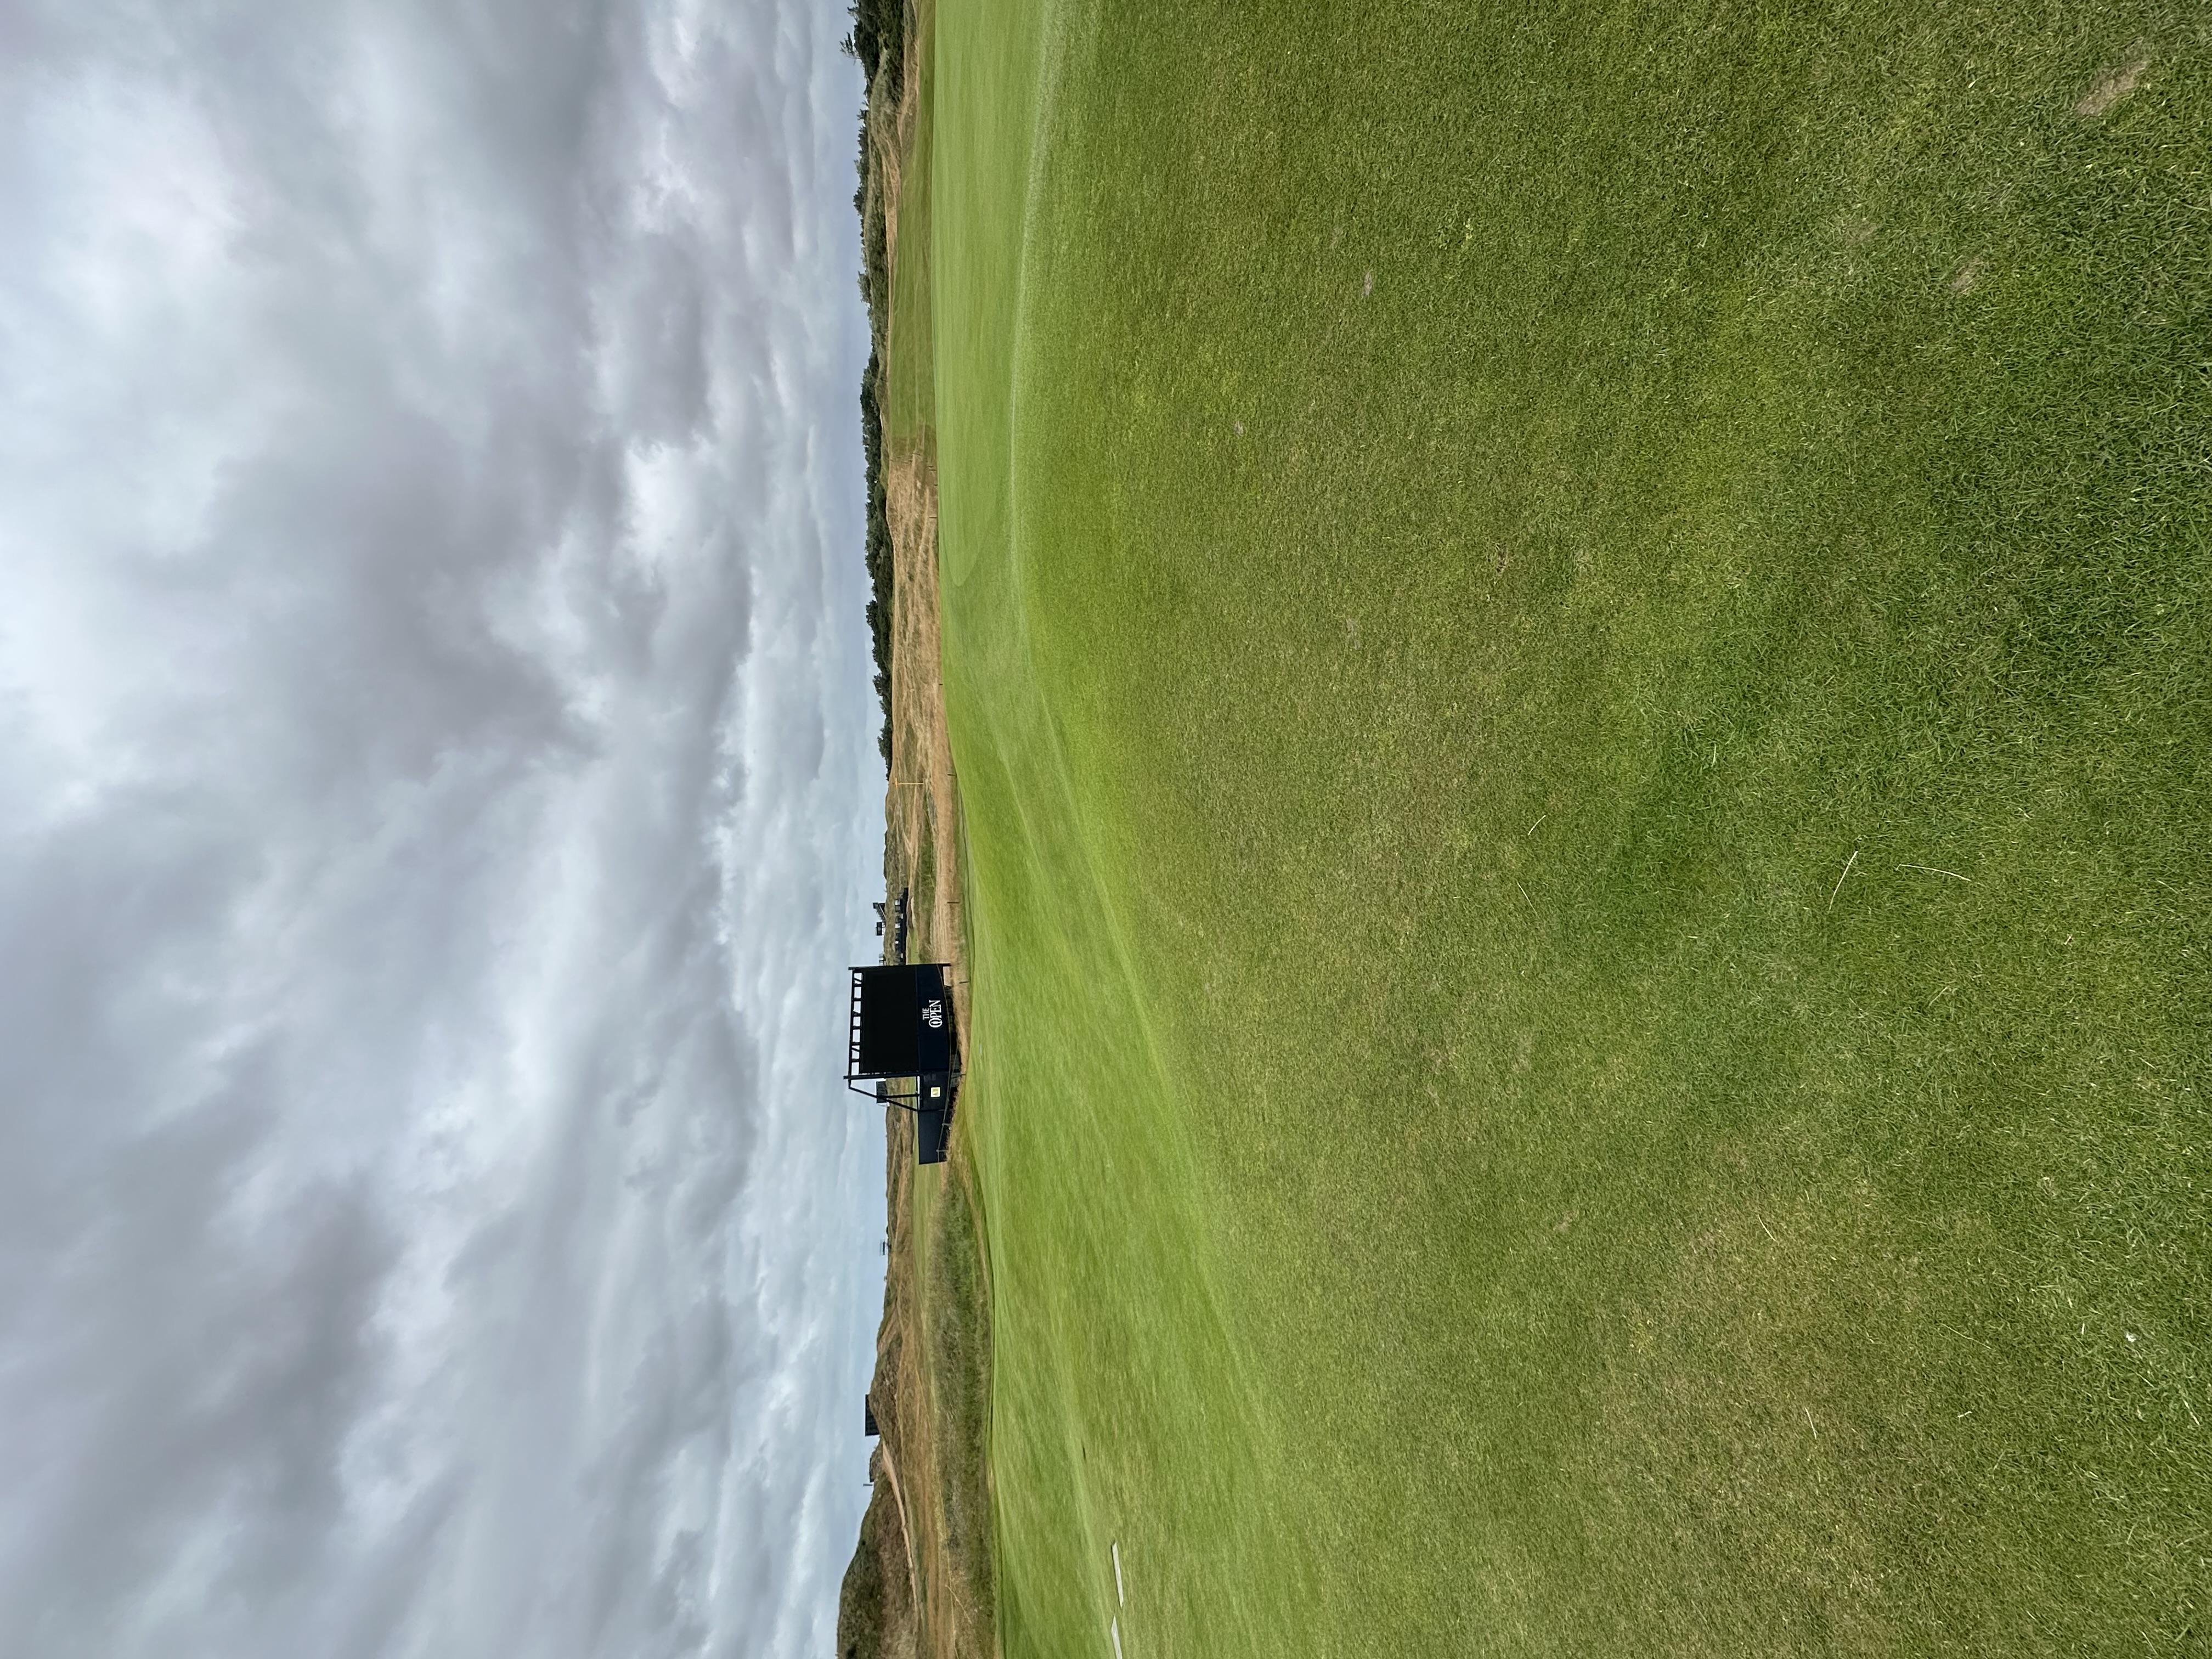
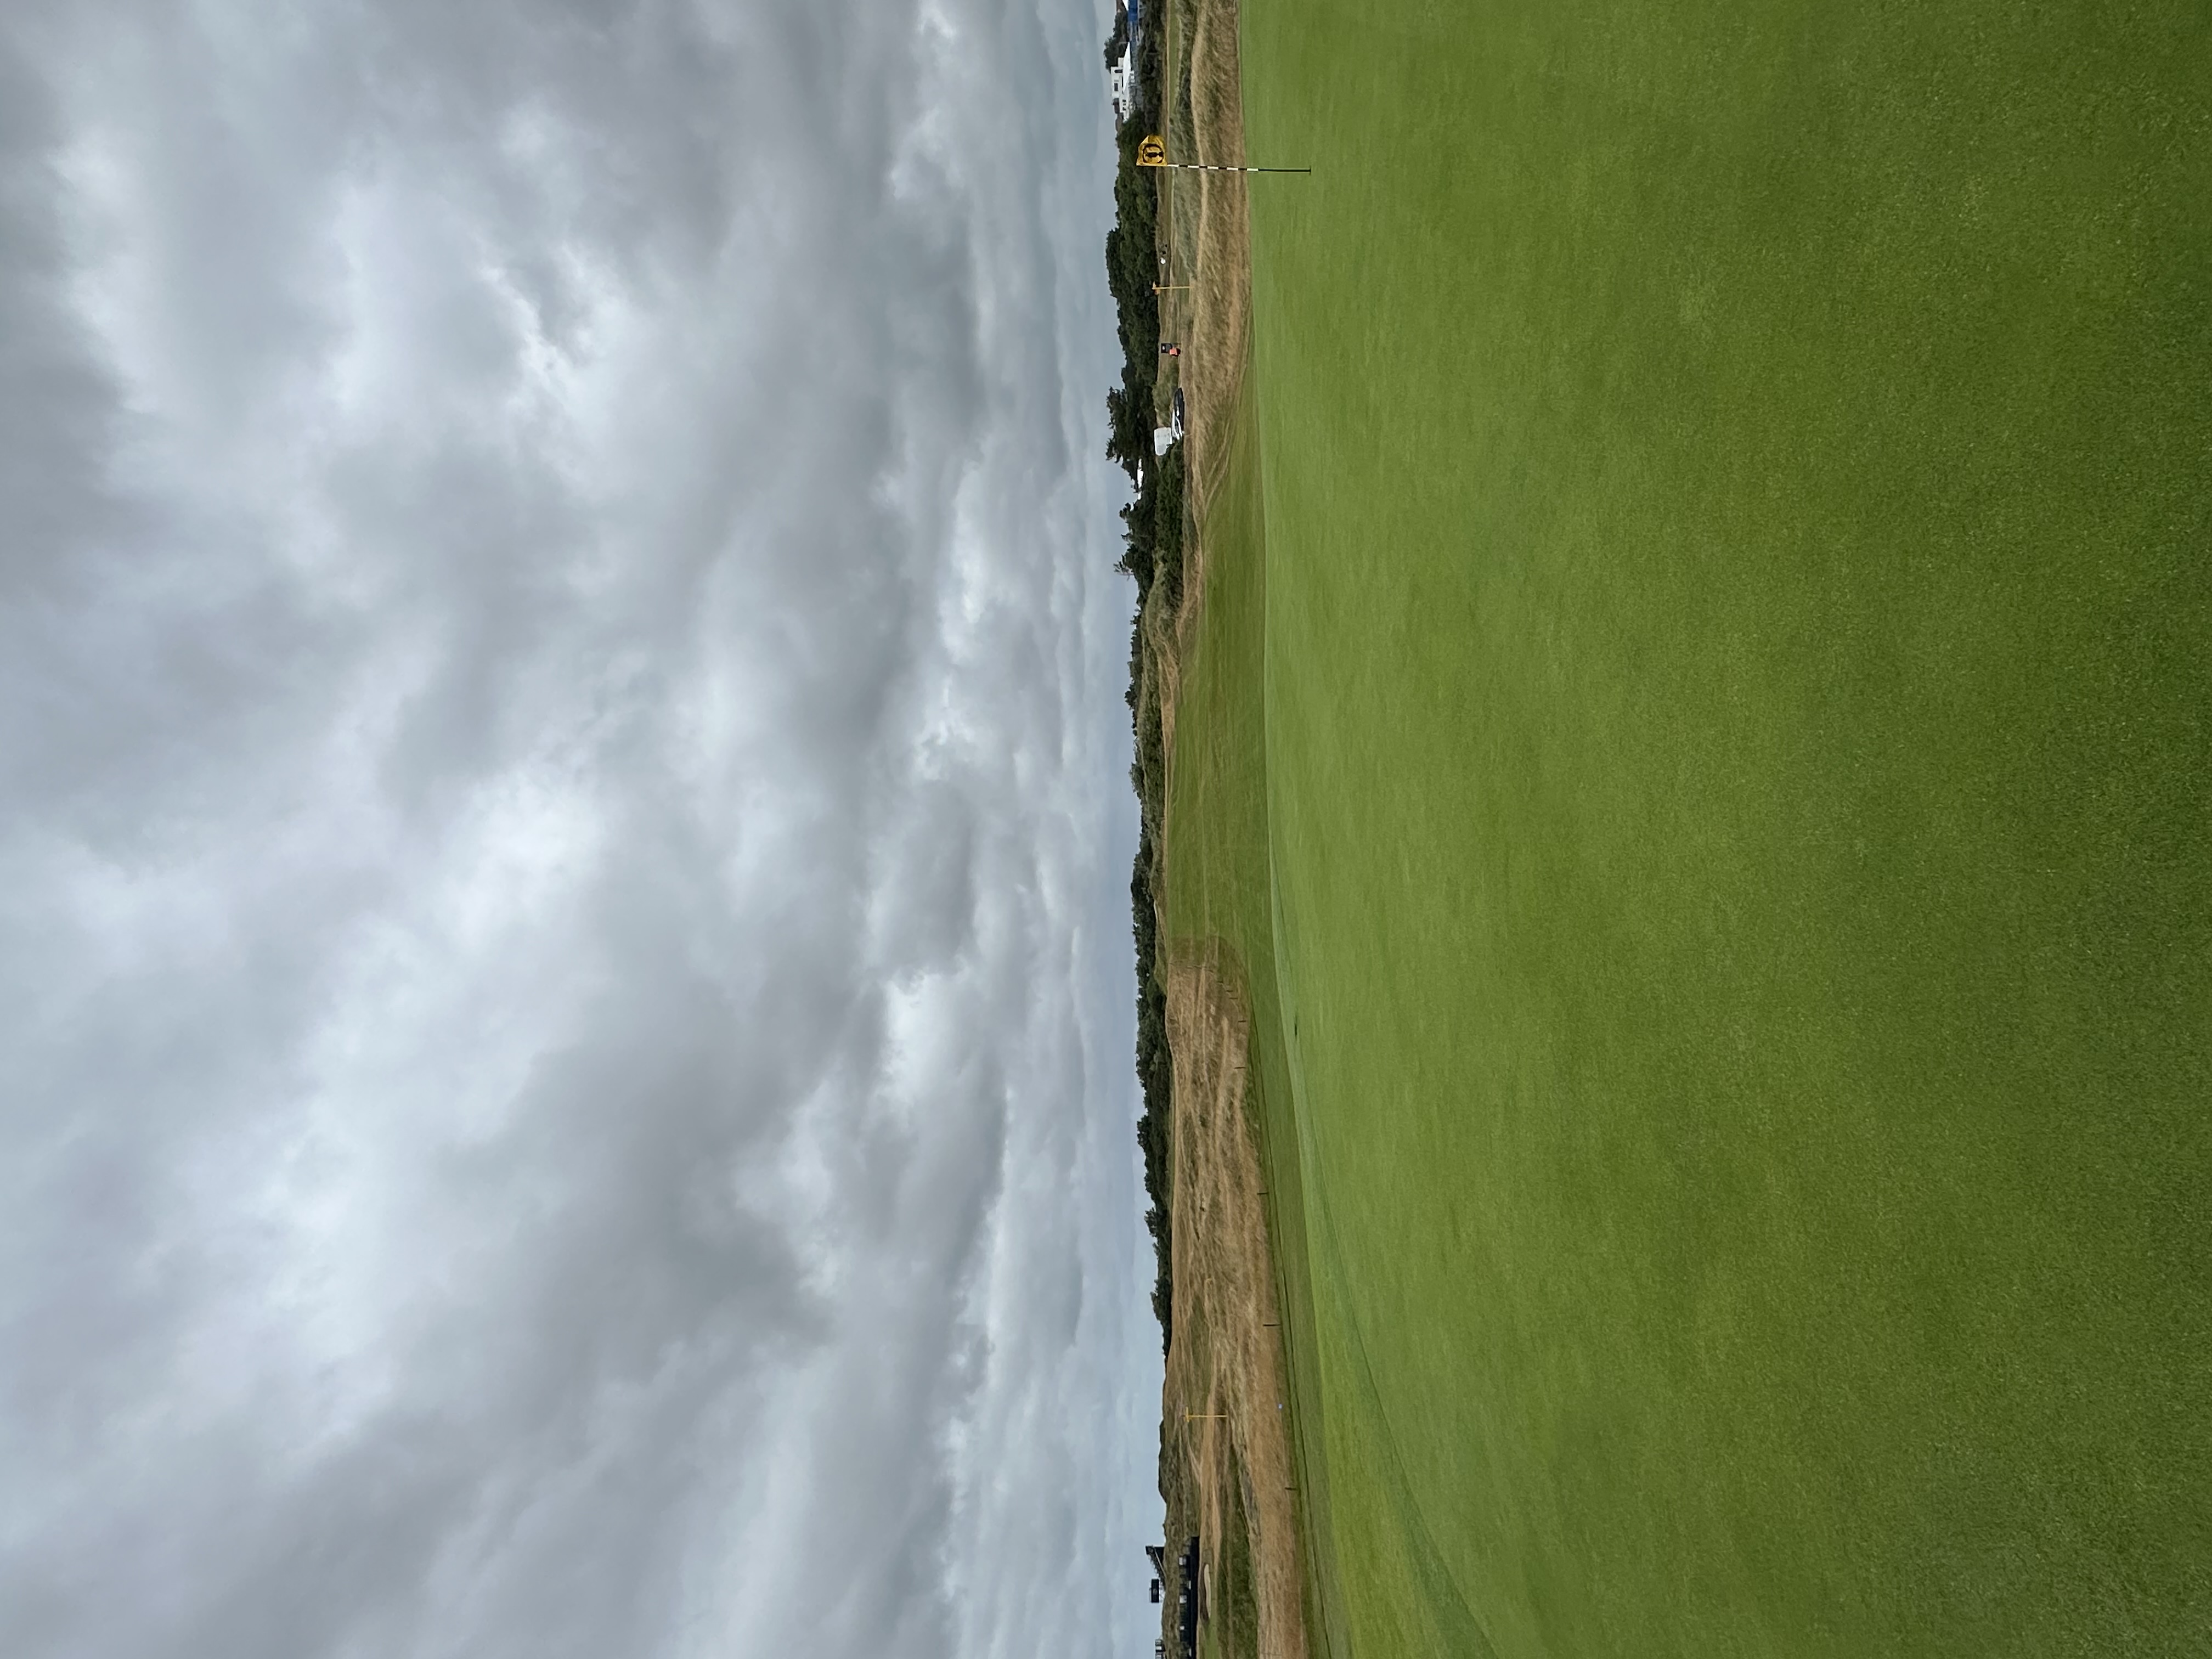
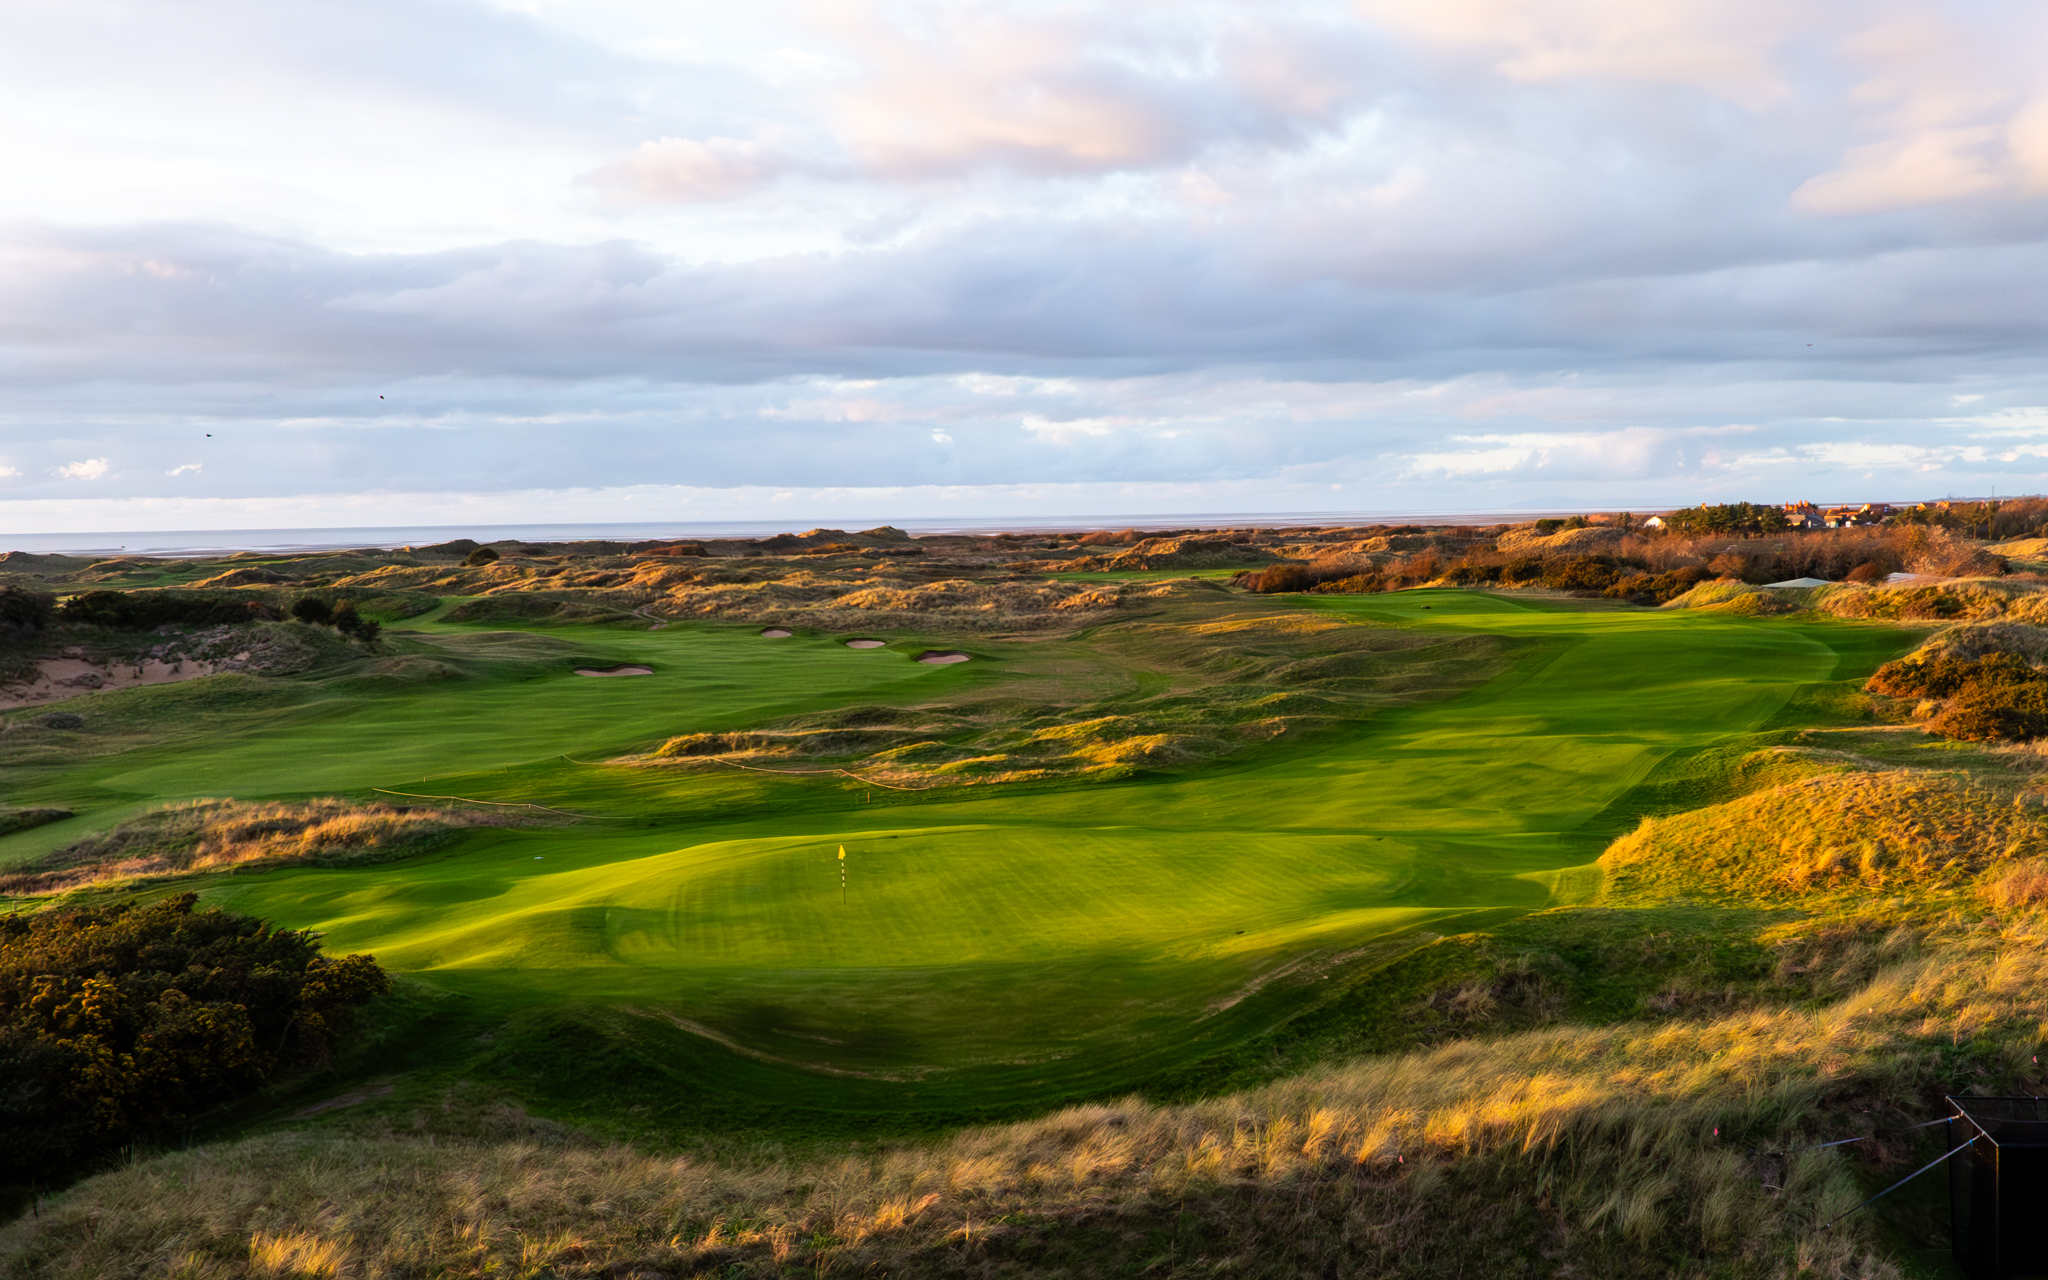
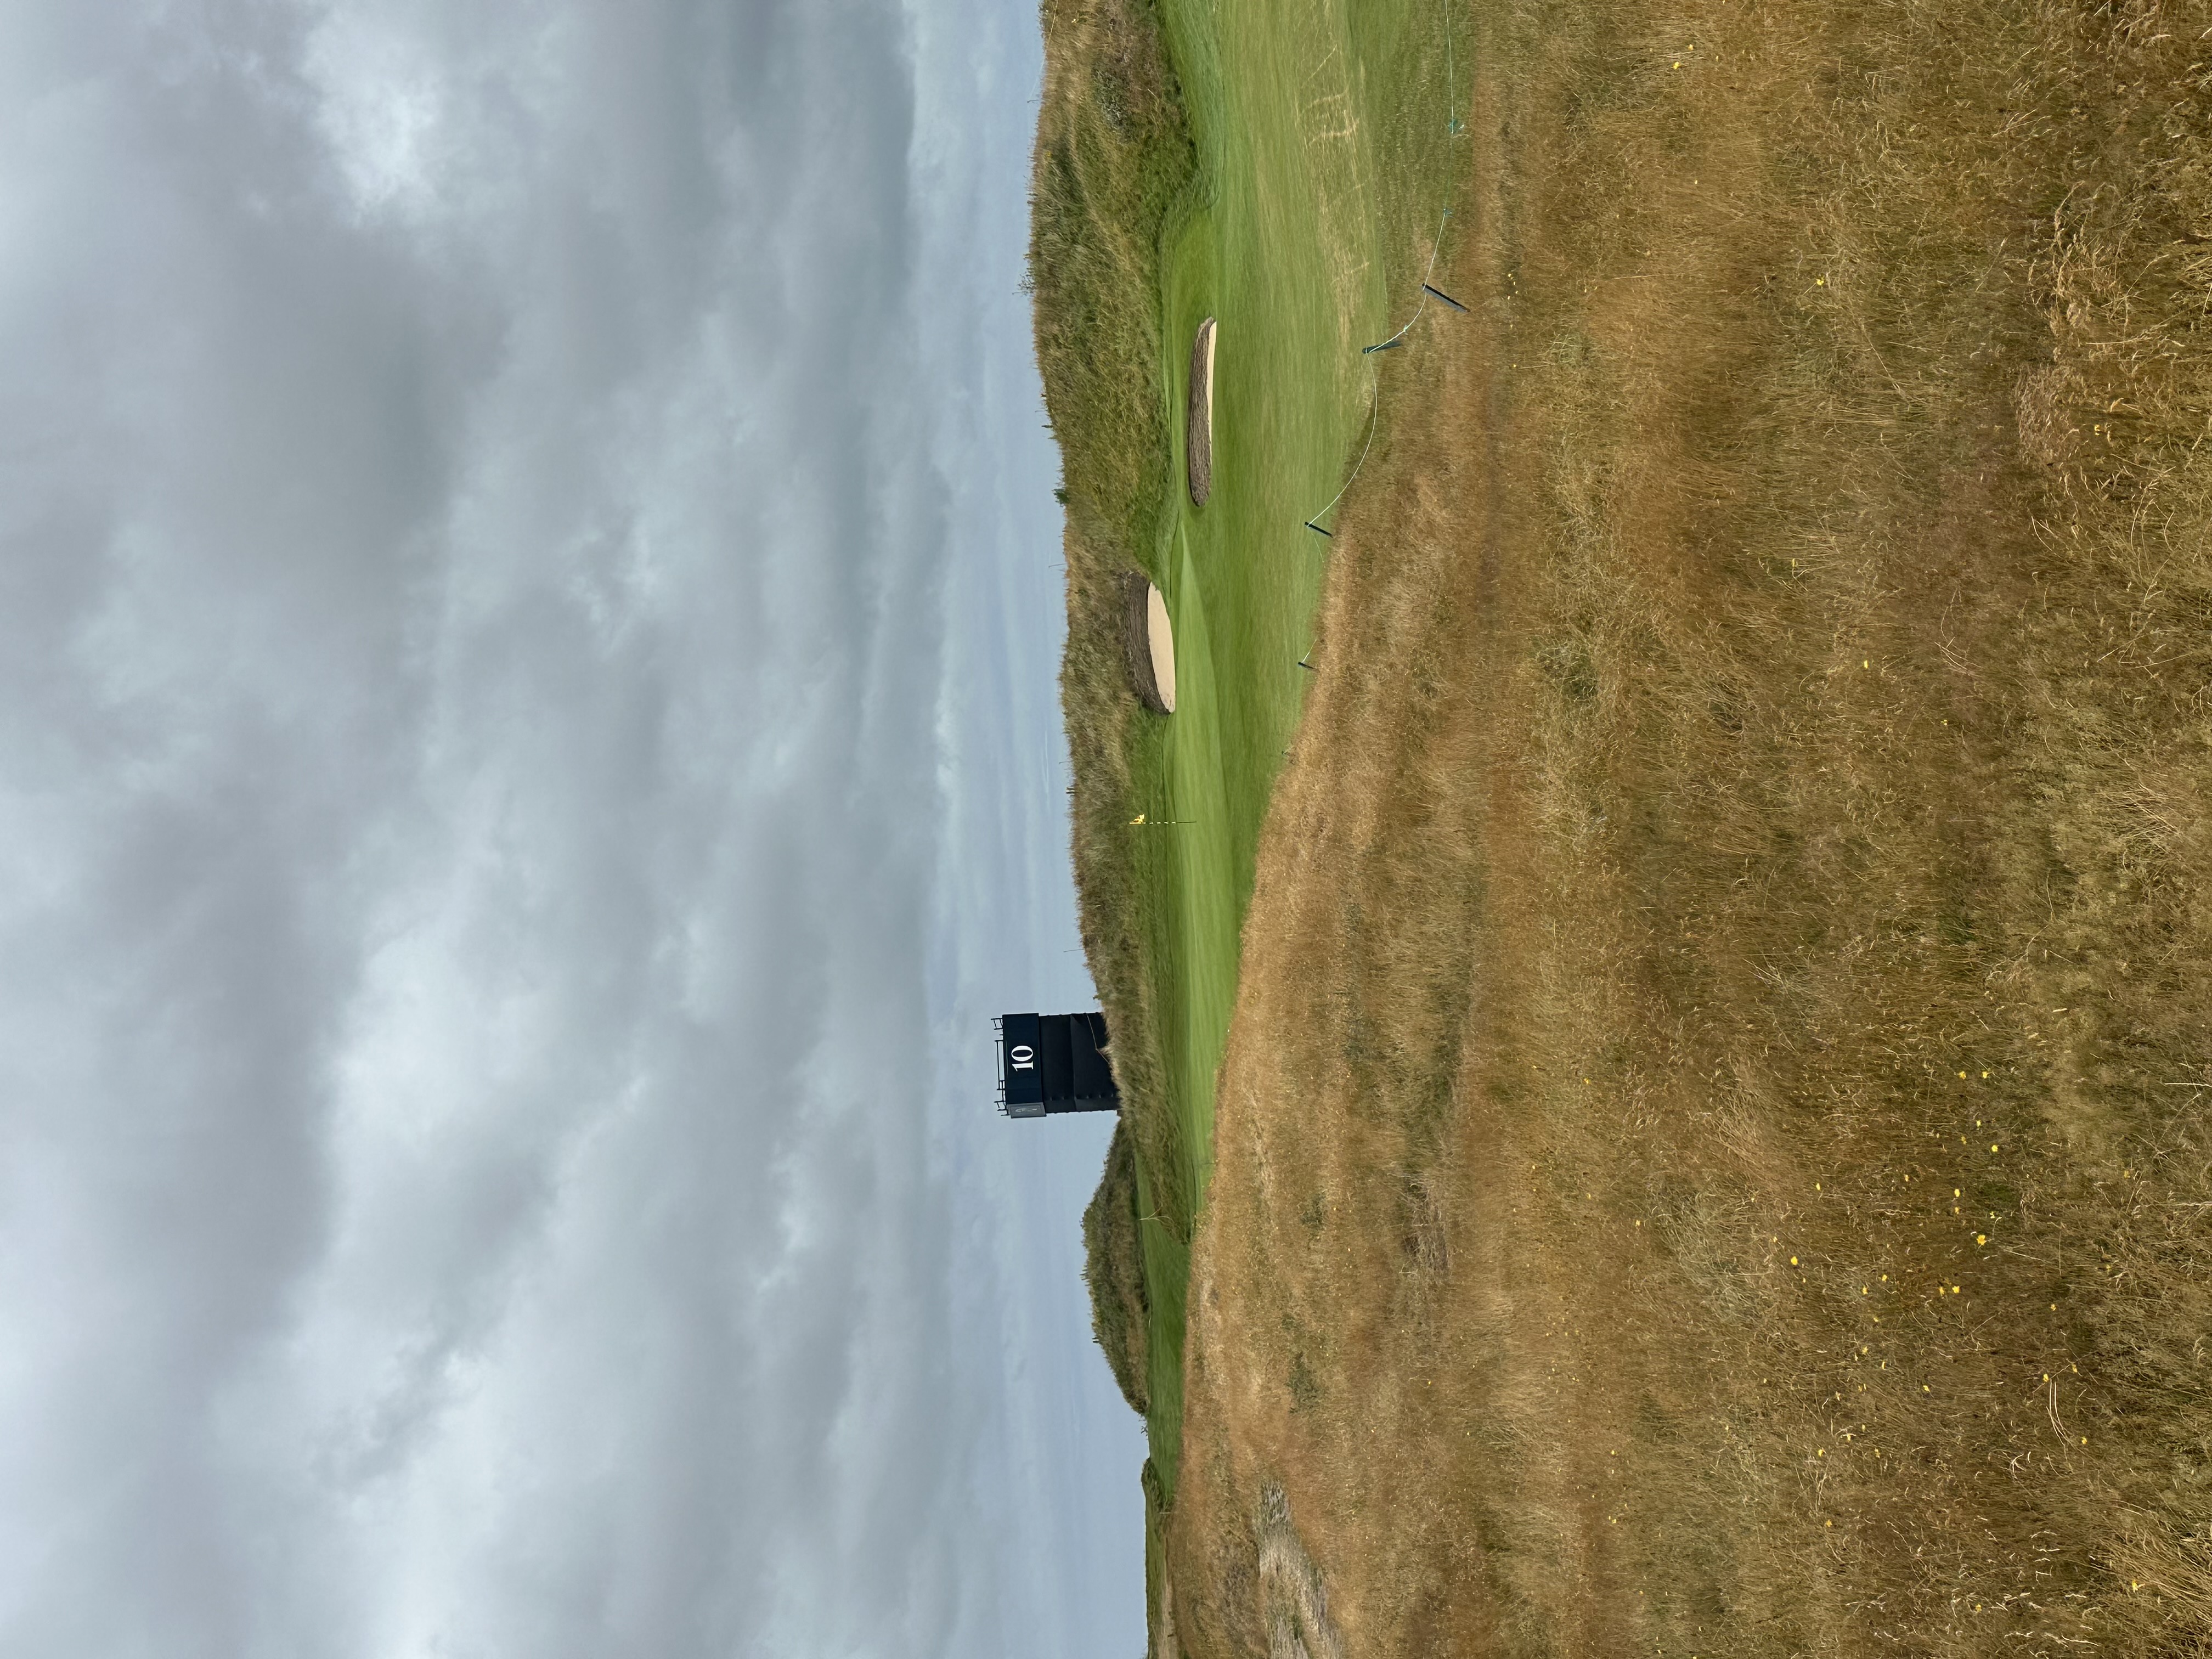
A hole that plays more difficult than its yardage might suggest. The 10th doglegs back to the left, with the prevailing crosswind once again off the players’ left. A fairway bunker is located on the inside of the dogleg 240 yards from the back tee, daring players to play over it and leave themselves a short wedge into the green. Left misses will find the native area; right misses can find one of three fairway bunkers. A simple but effective test of execution.

.jpg)
.jpg)
Hole 11
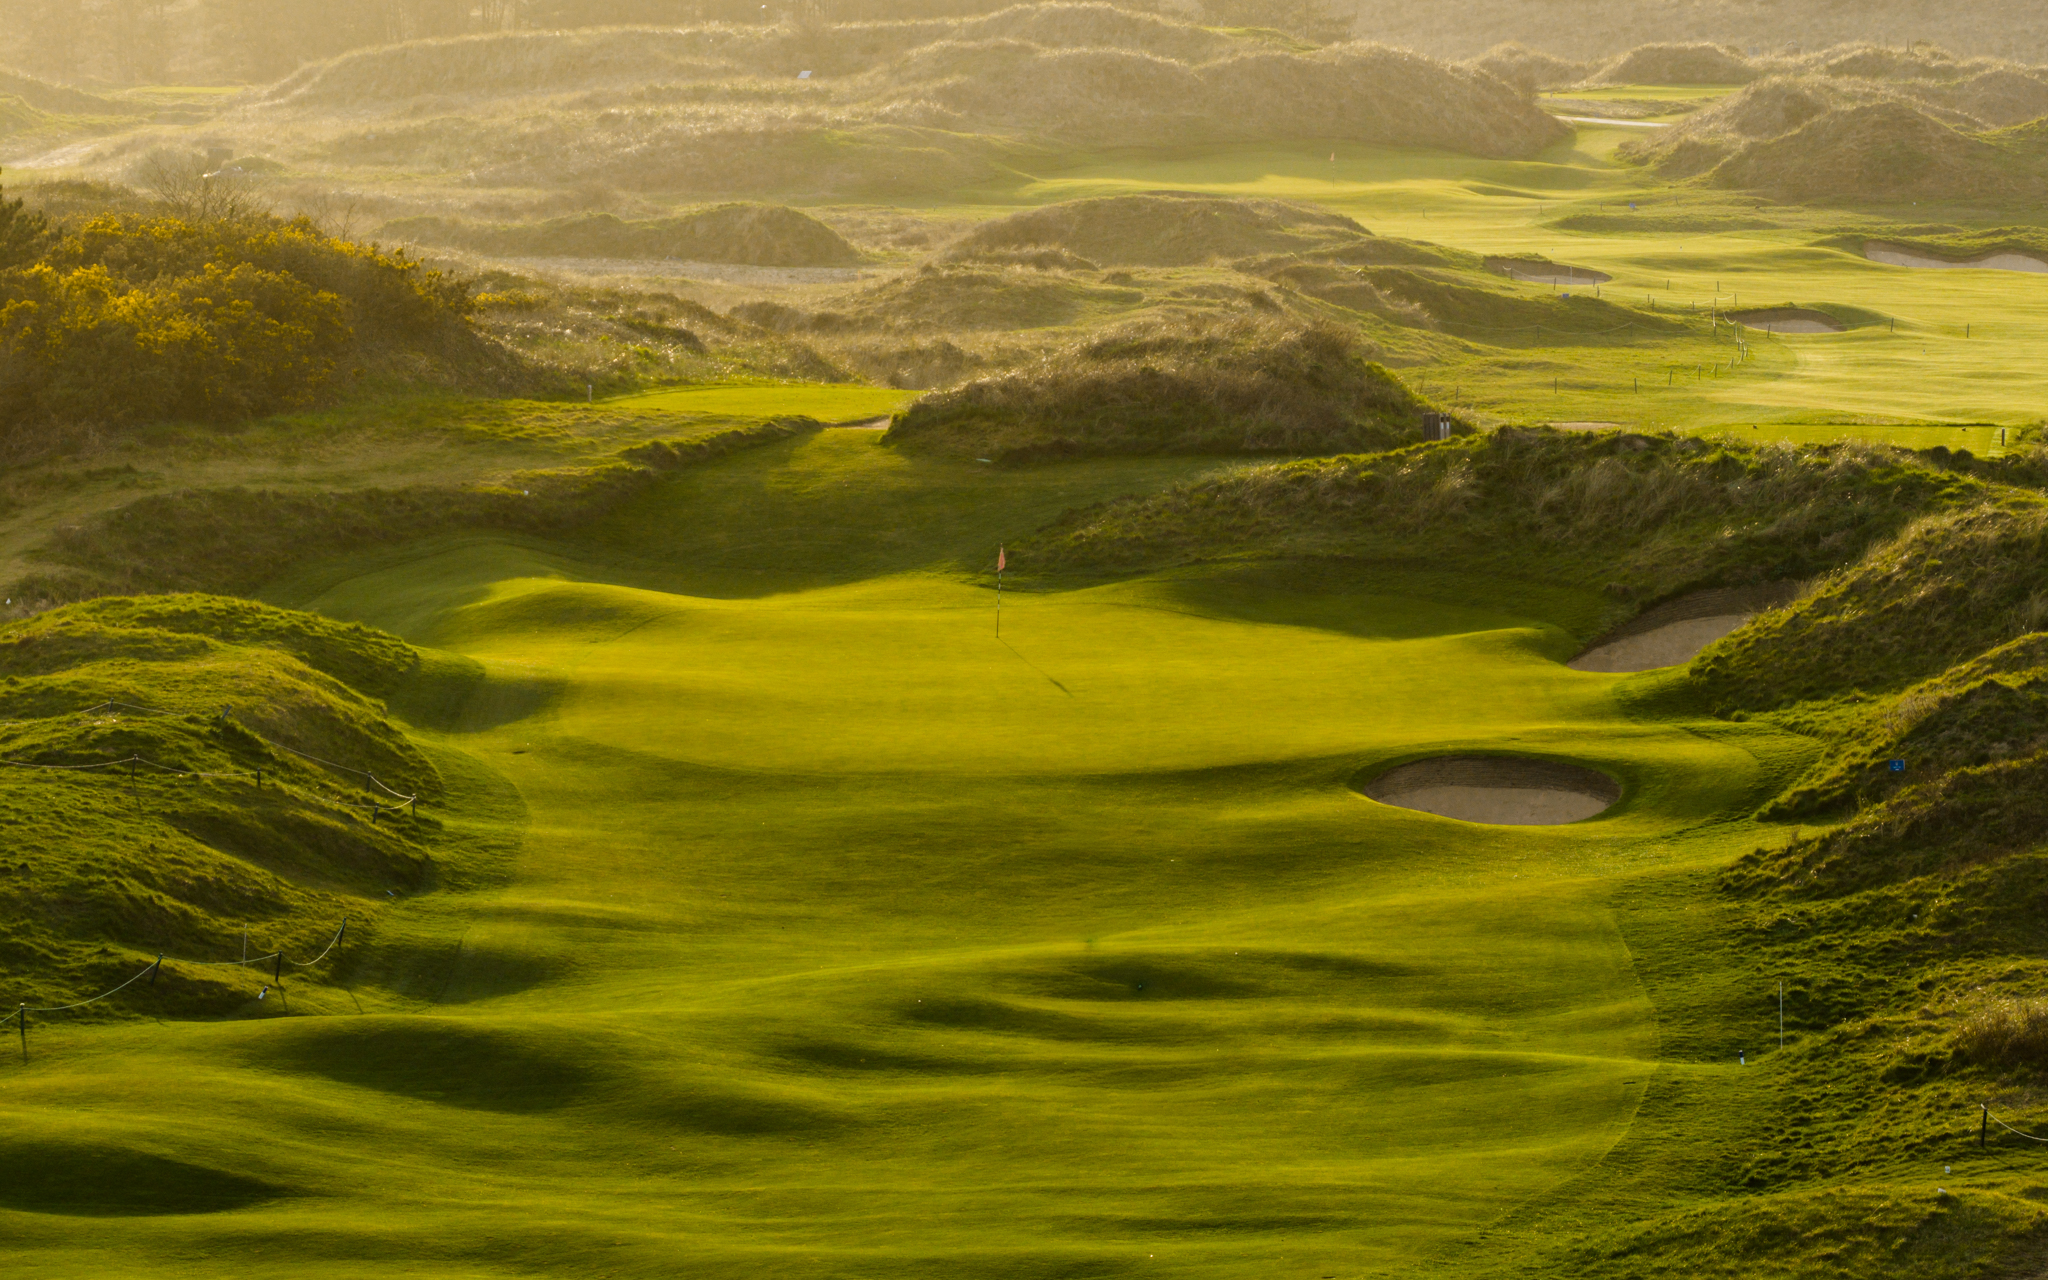
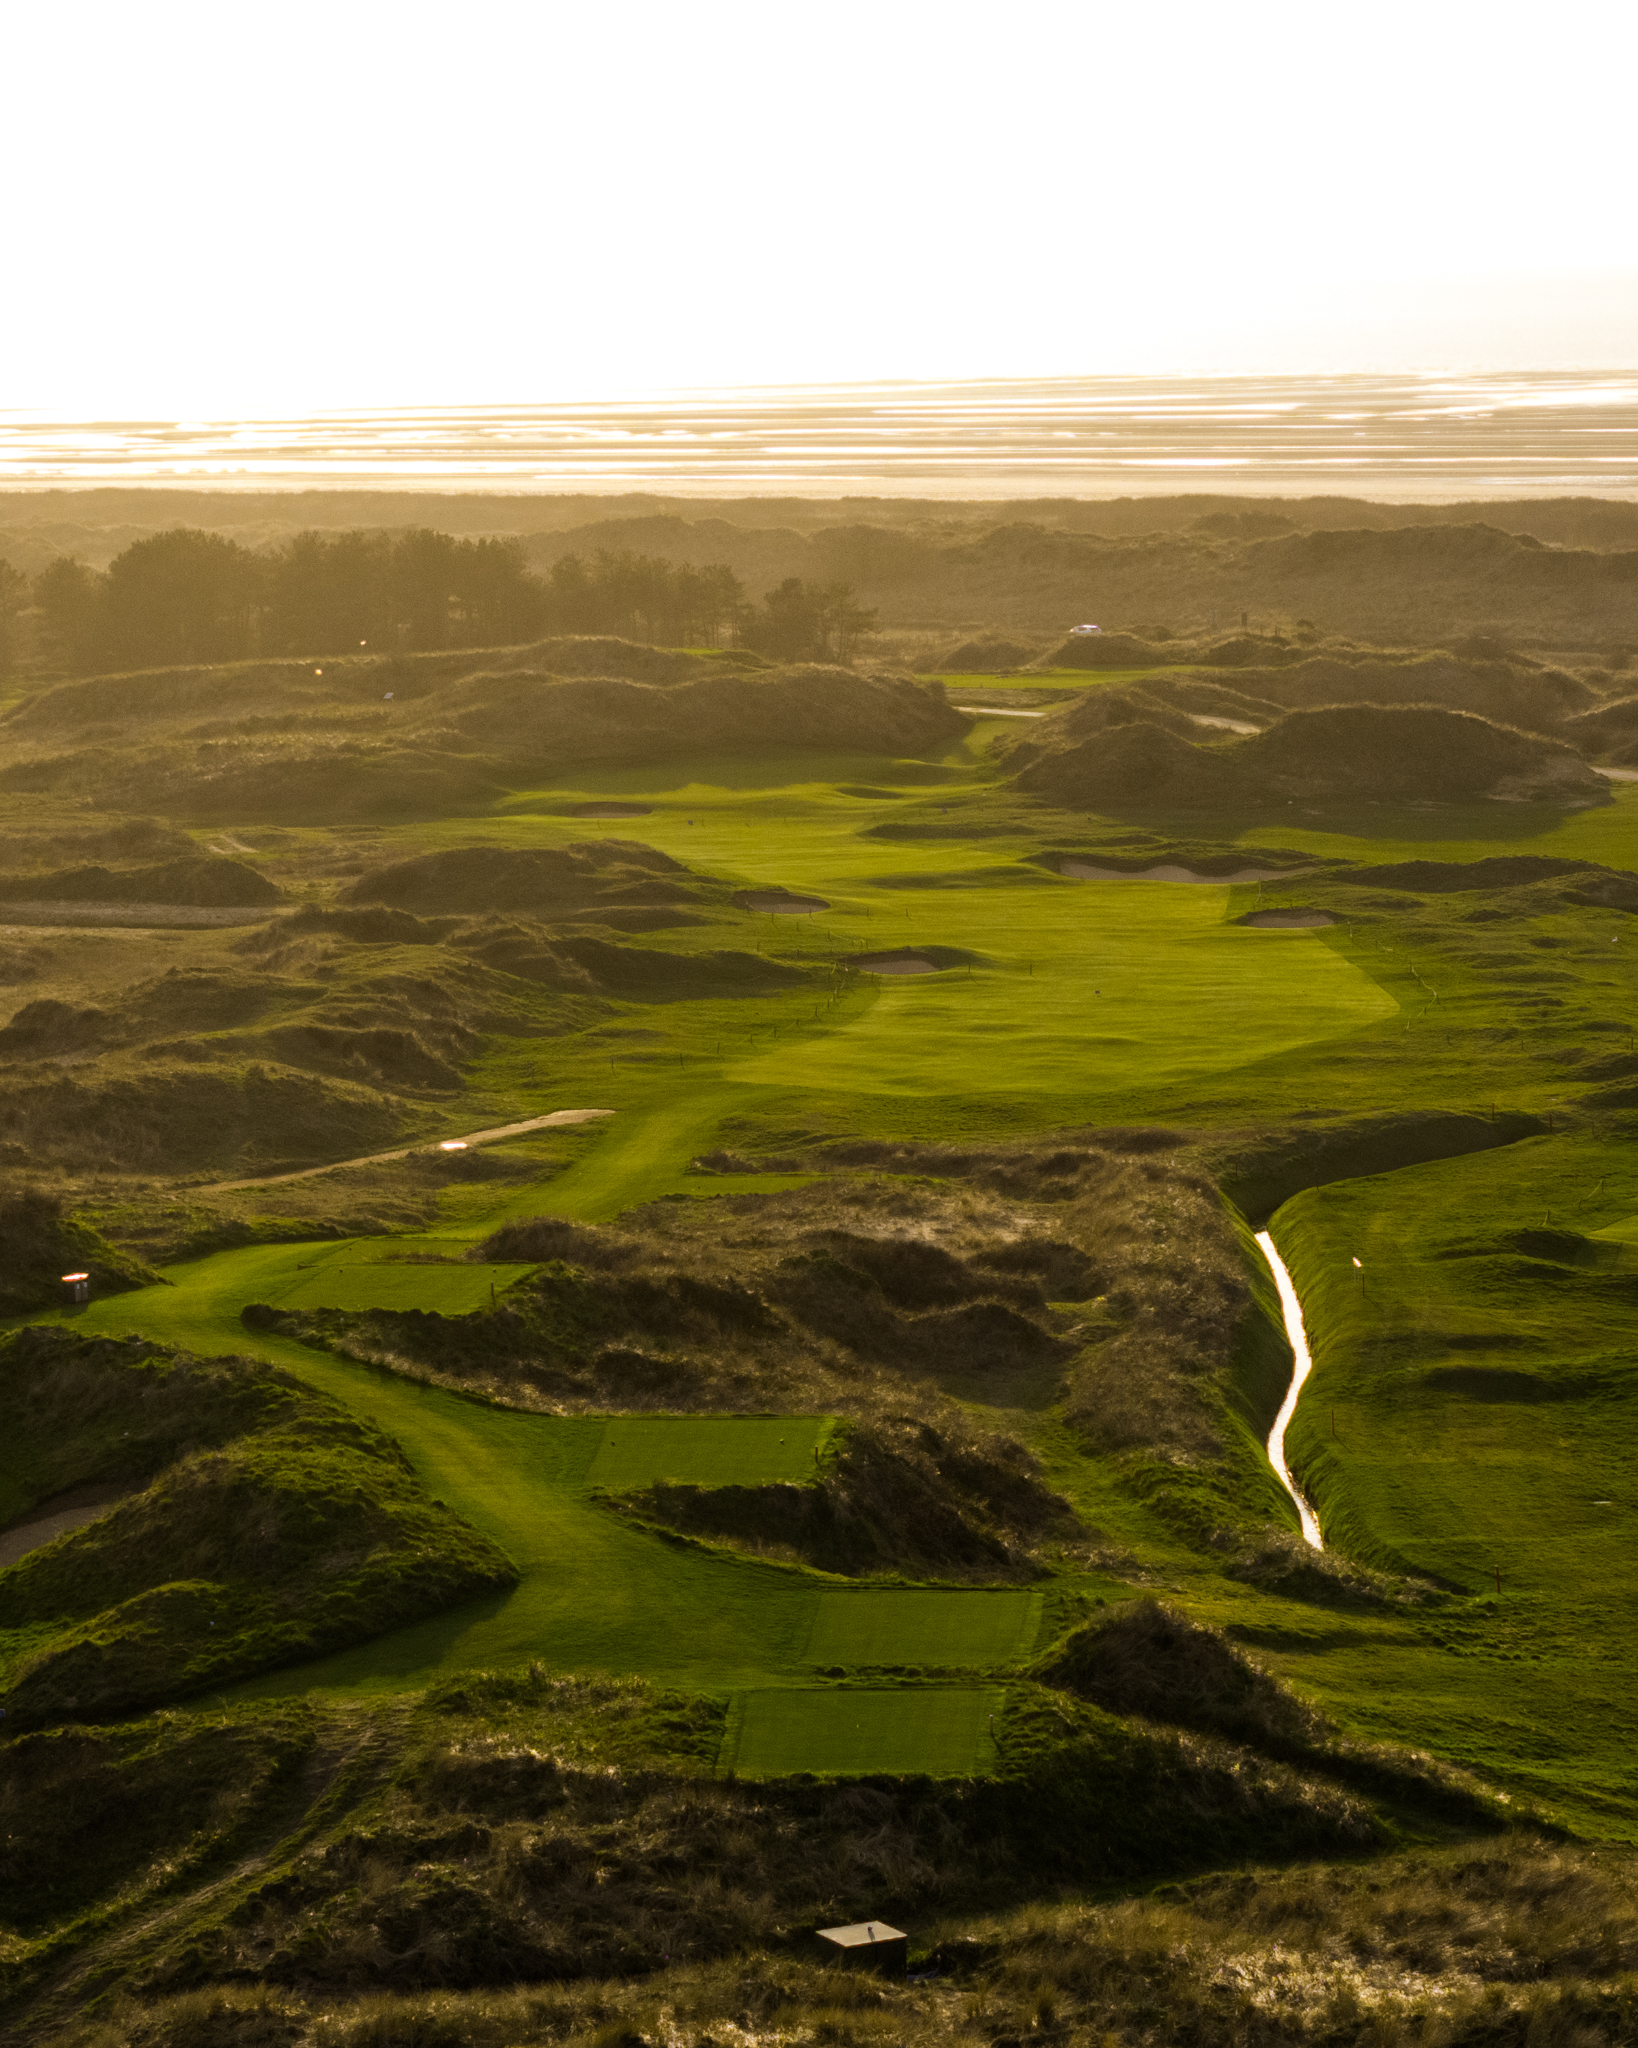
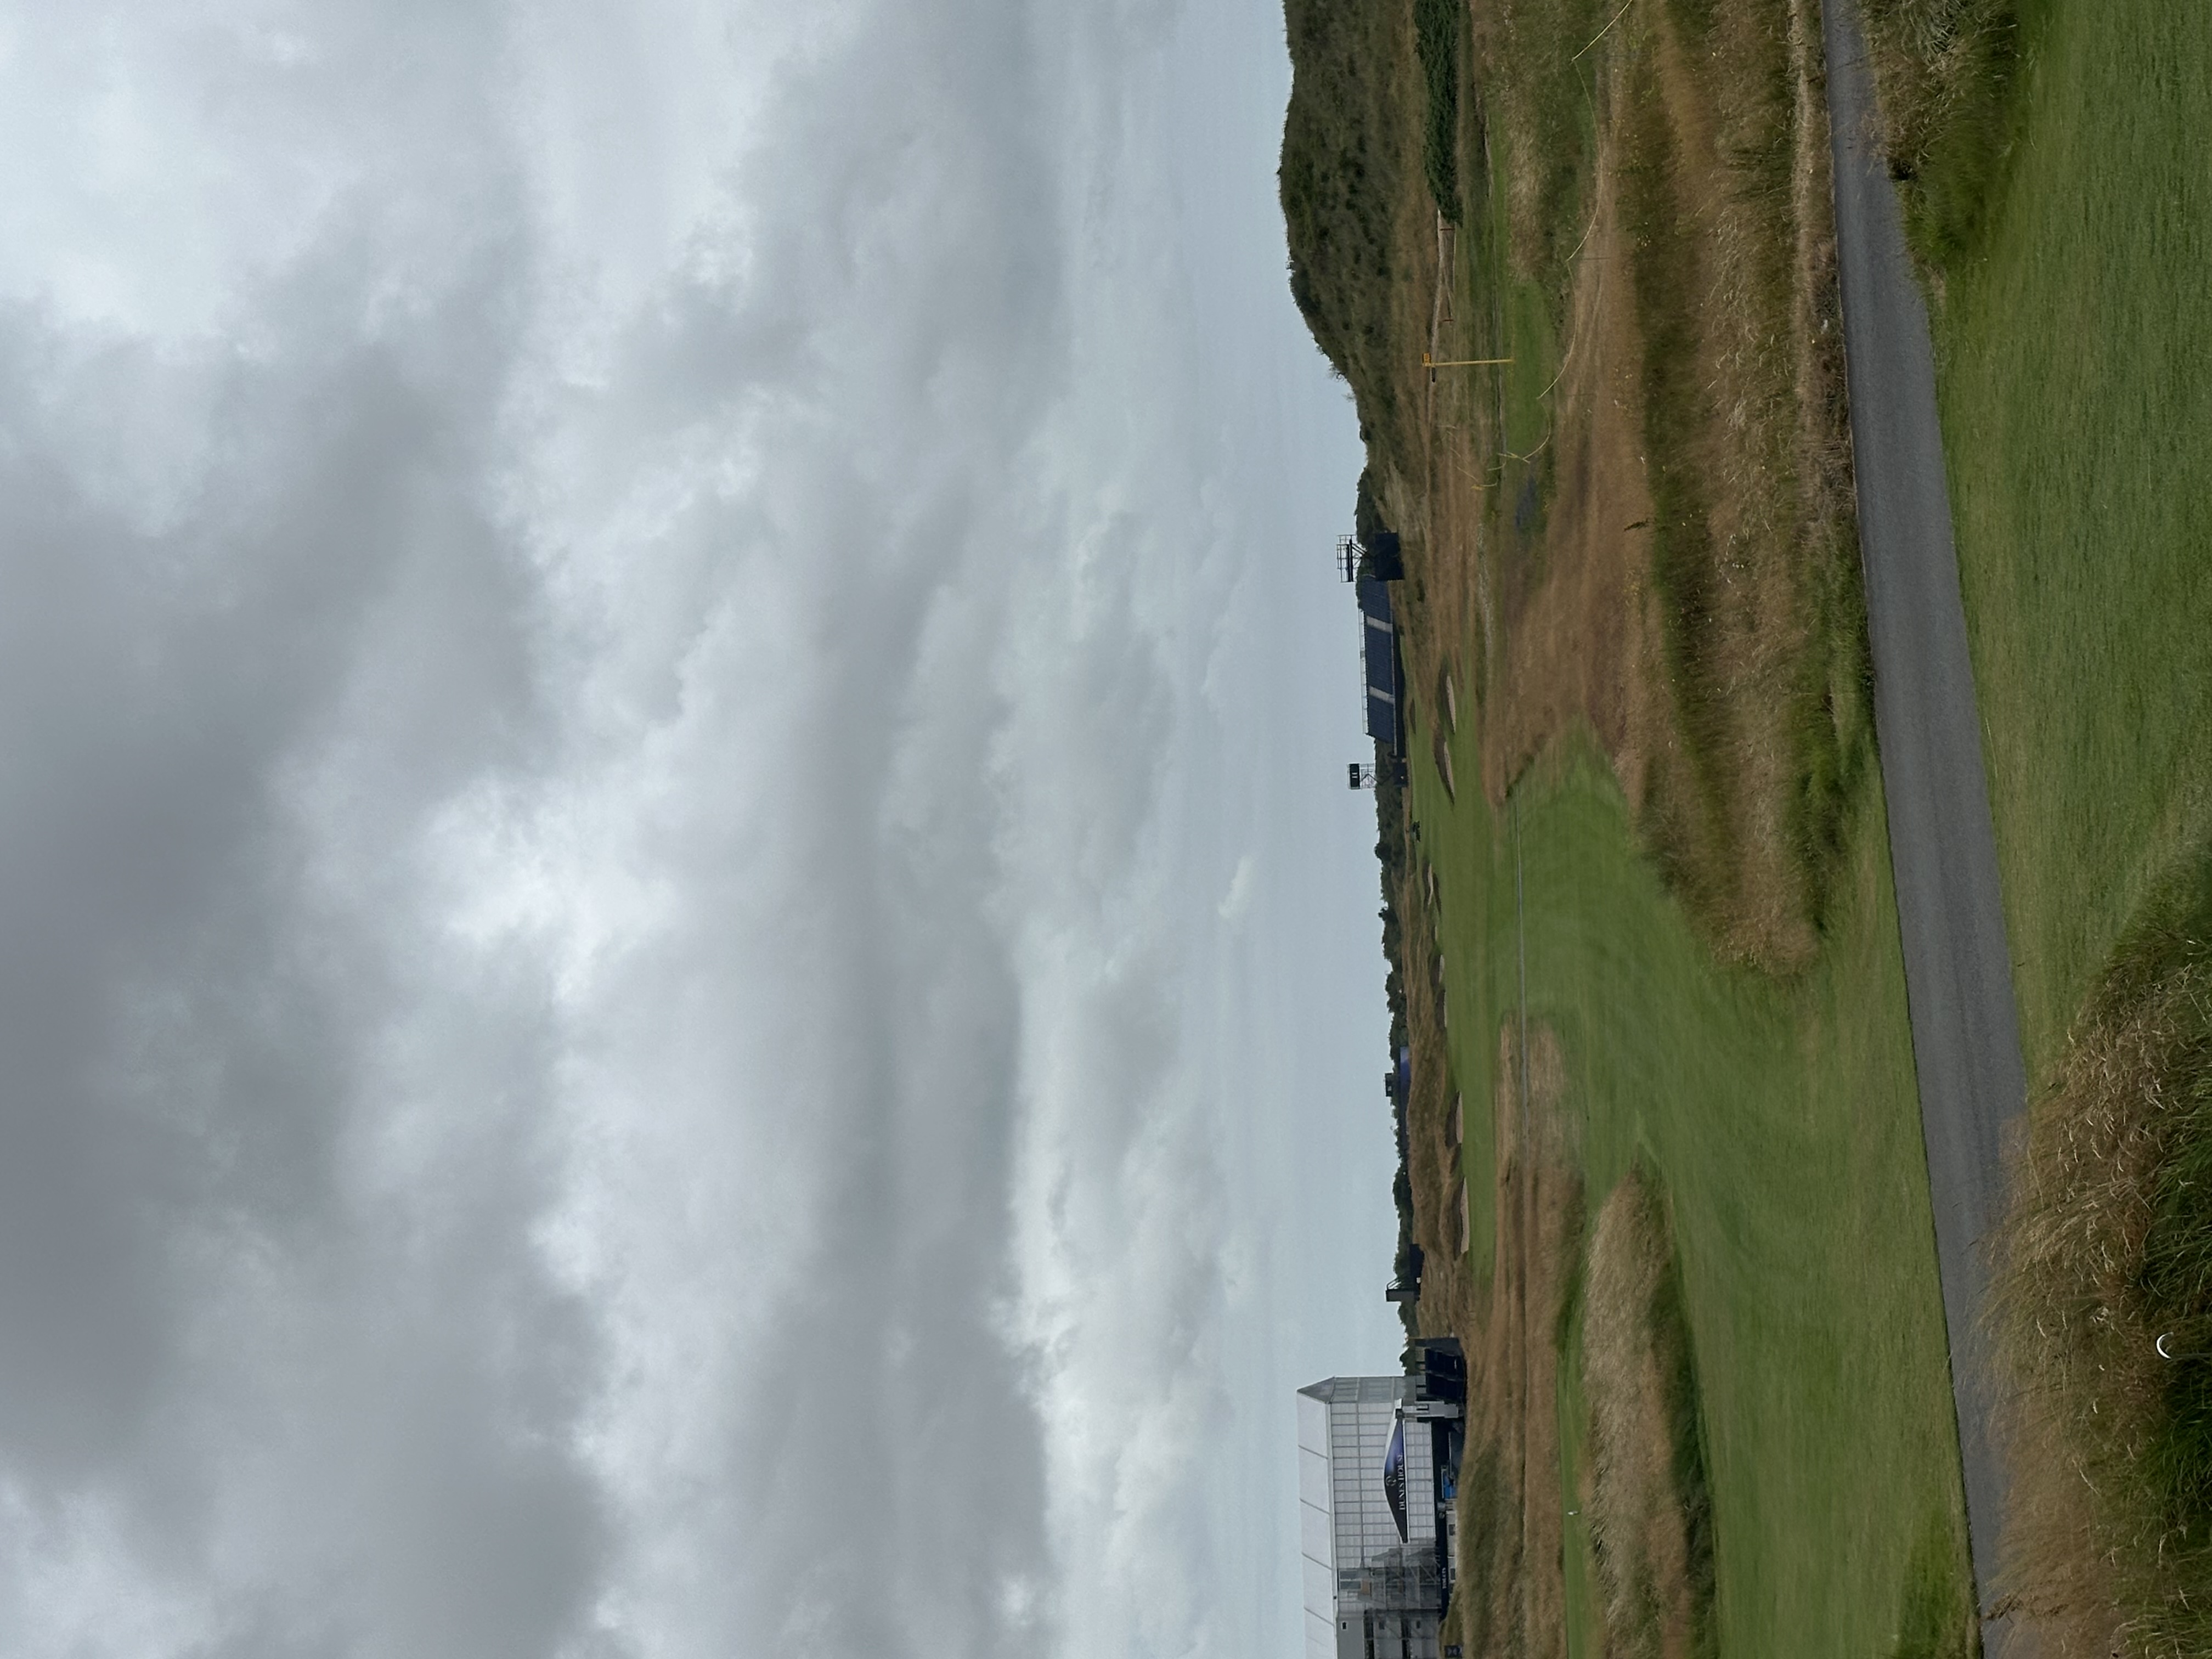
The tee box on 11 is one of the highest points on the golf course. Players must play back directly into the prevailing headwind, requiring a well-struck, flighted-down ball, or it could quickly get blown off course and into trouble. A proper tee shot invites a scoring opportunity. Approach shots must beware of the right side of the green, which features a steep runoff area.
.jpg)
.jpg)
Hole 12
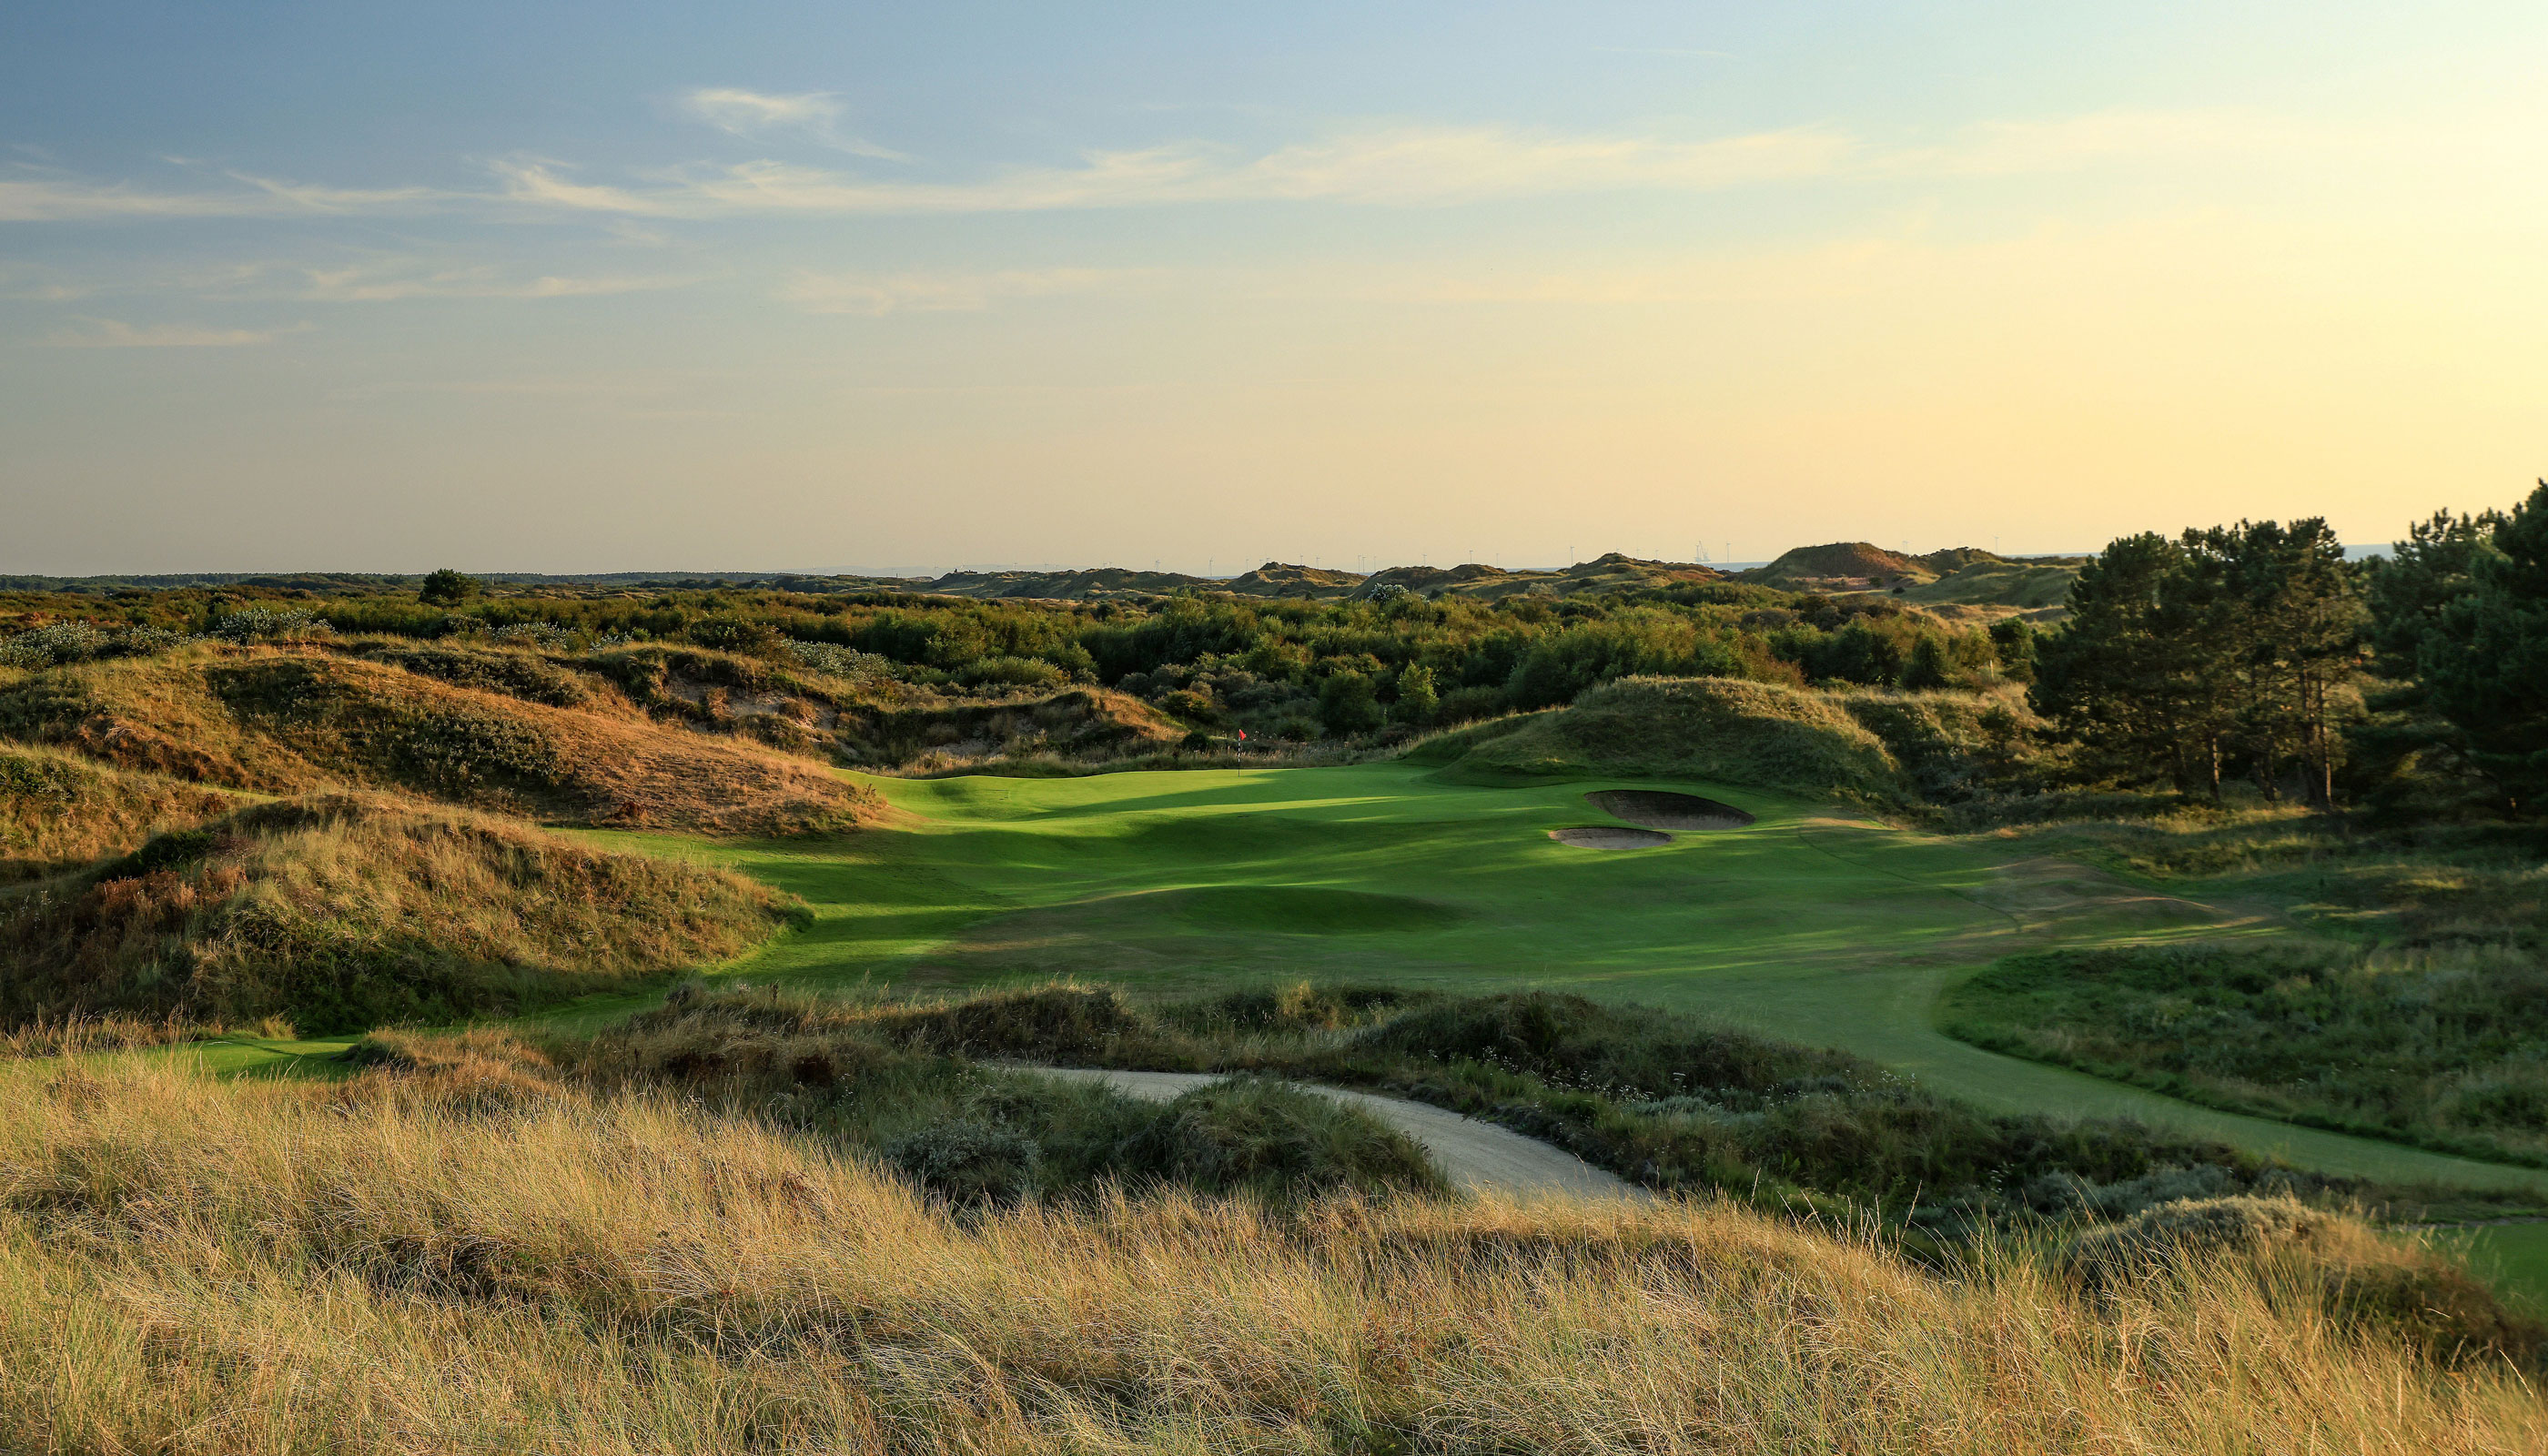
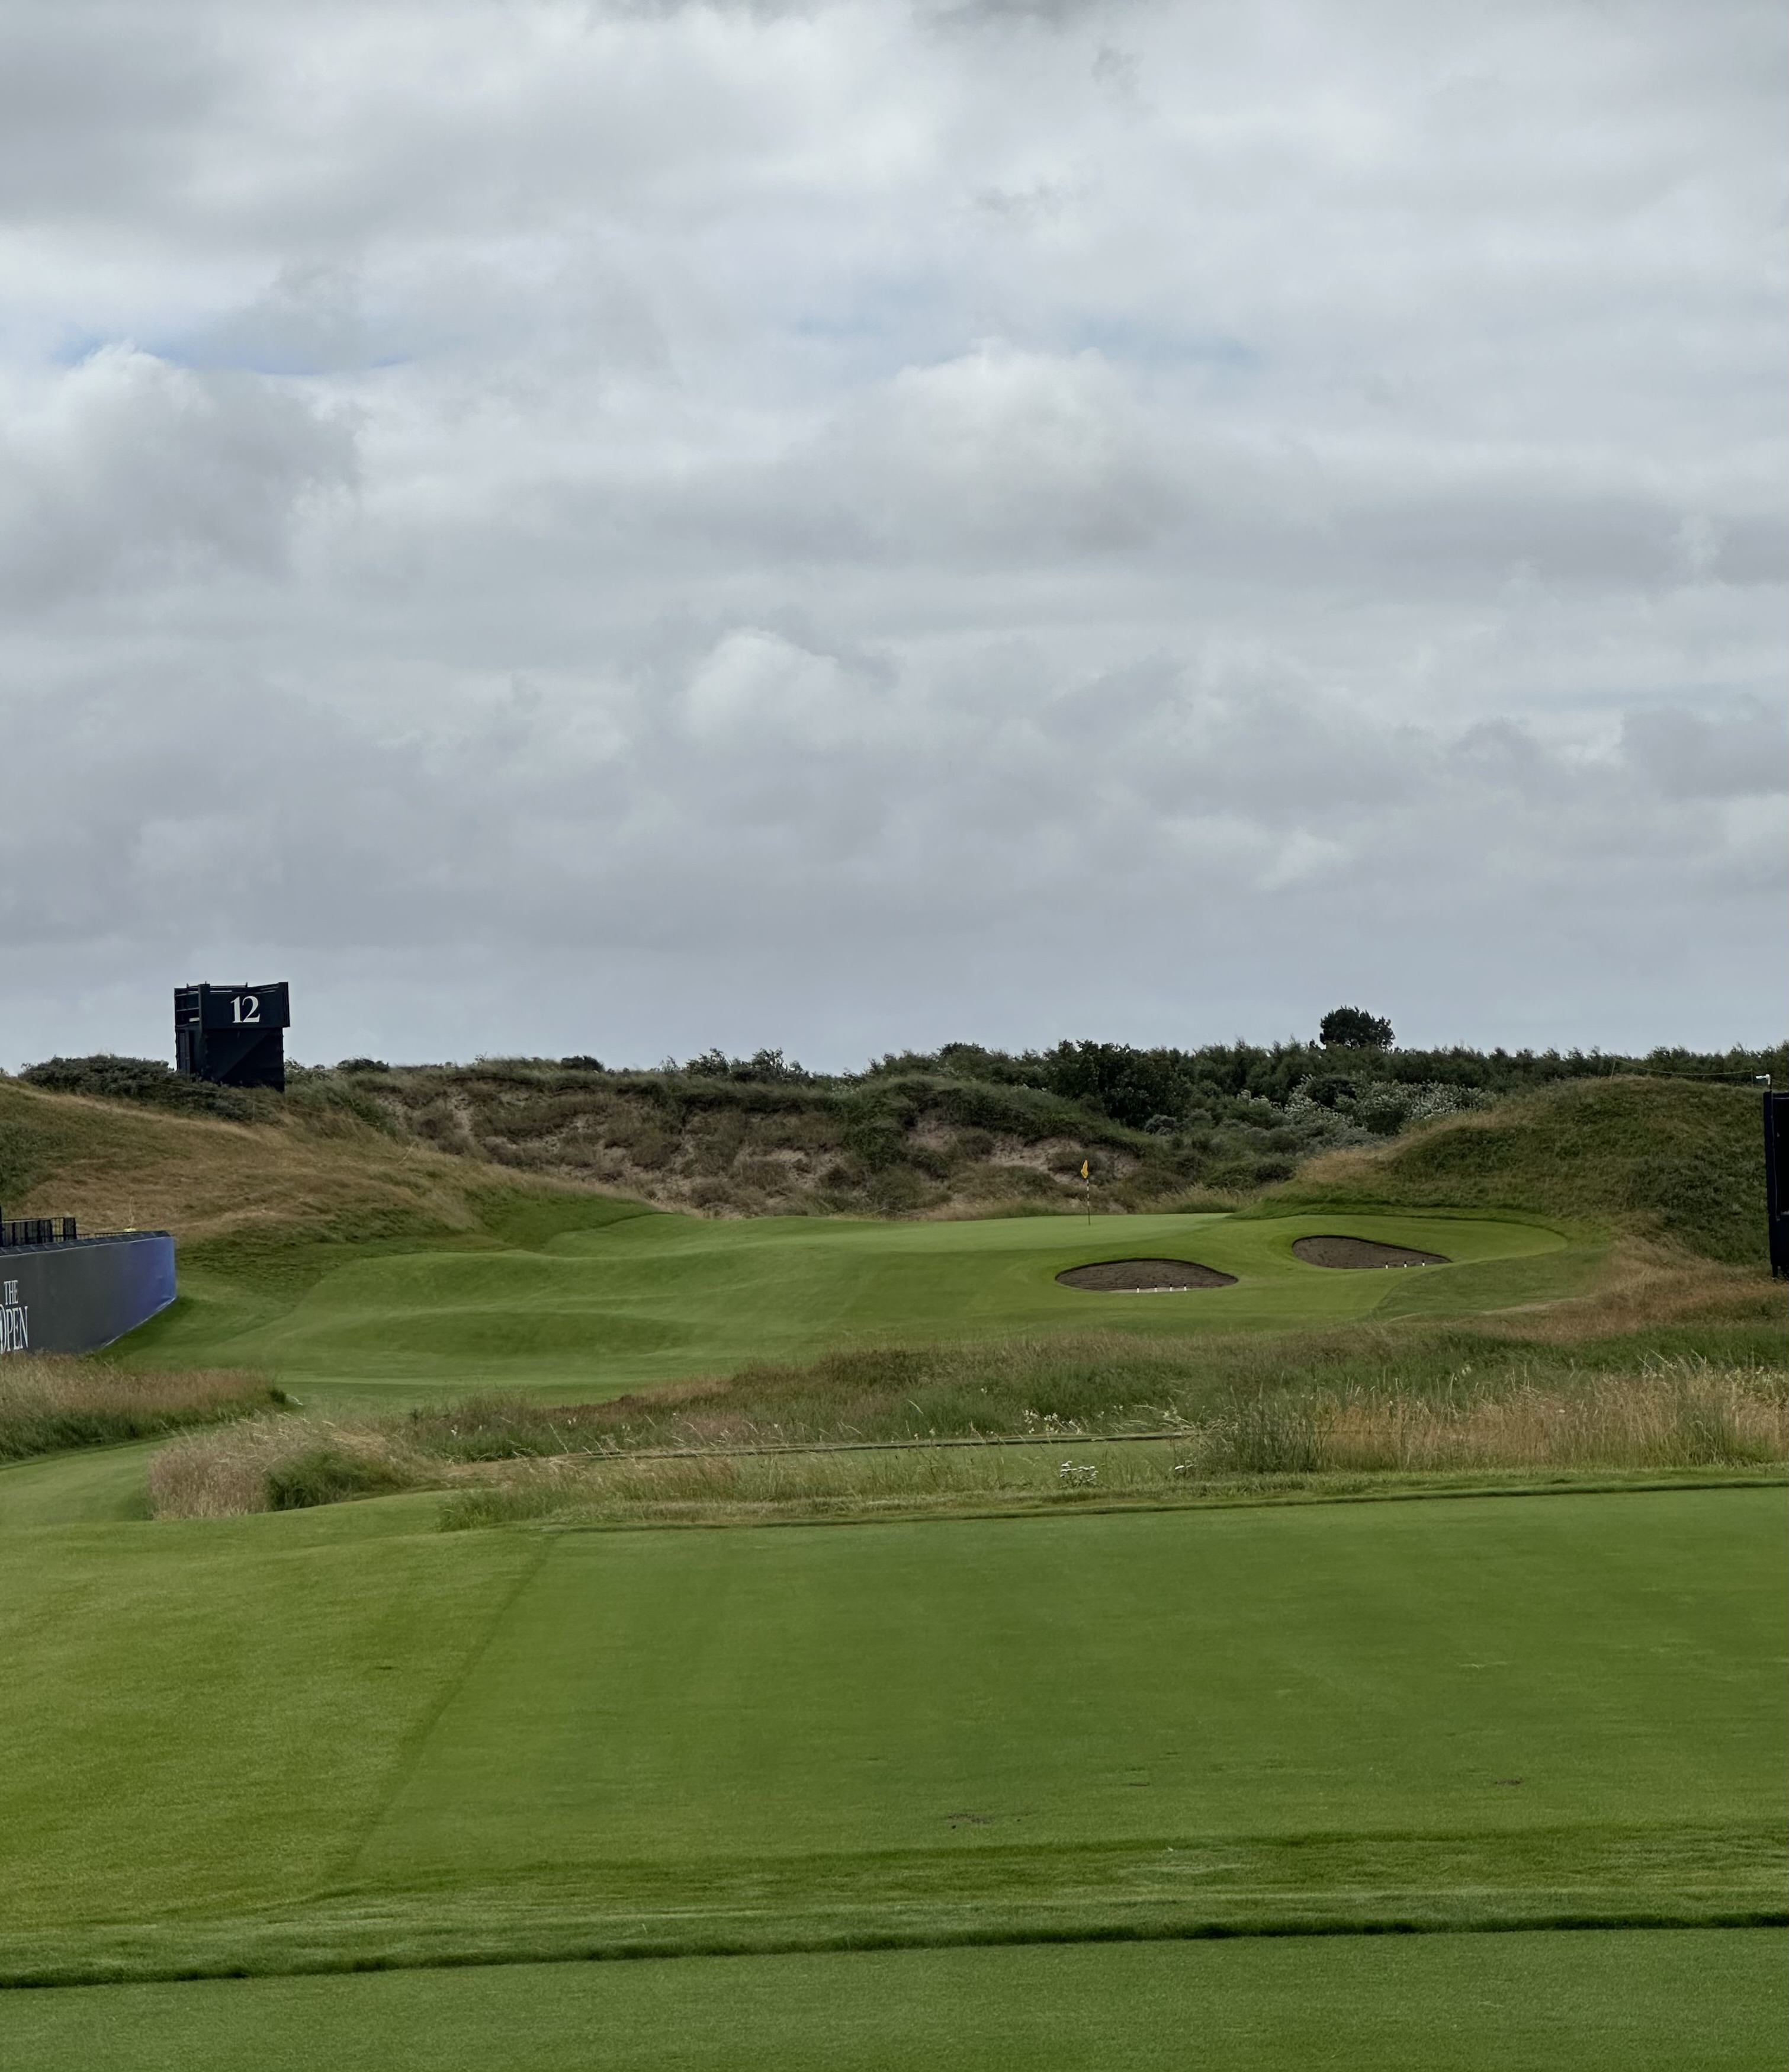
Perhaps the closest to a signature hole at Royal Birkdale — an exacting par 3 with wind whipping off the right and two bunkers located short right of the green. Miss too far left and you could find yourself searching for your ball amidst the dunes. A small nook in the back right section of the green offers a spicy hole location.
.jpg)
Hole 13
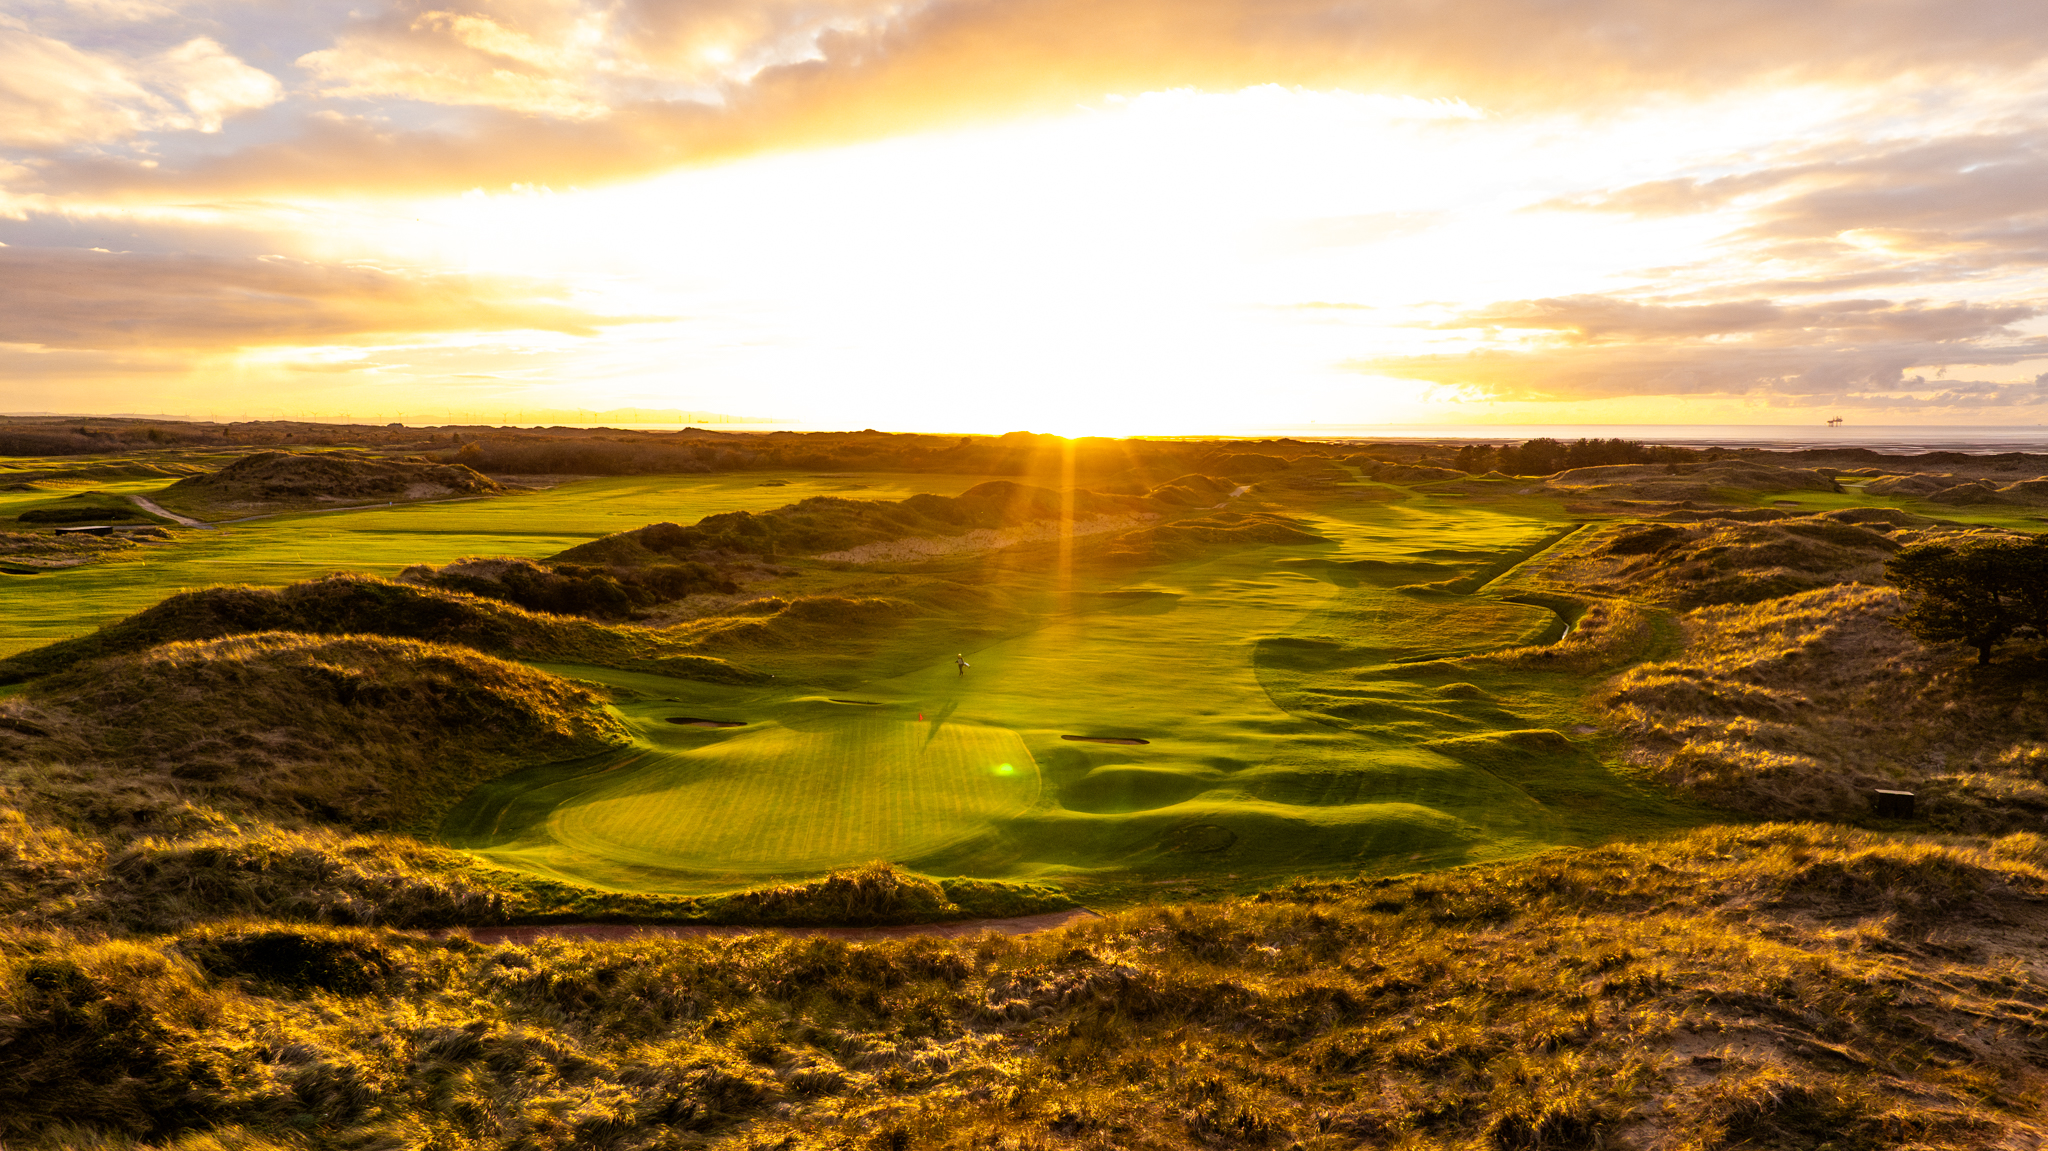
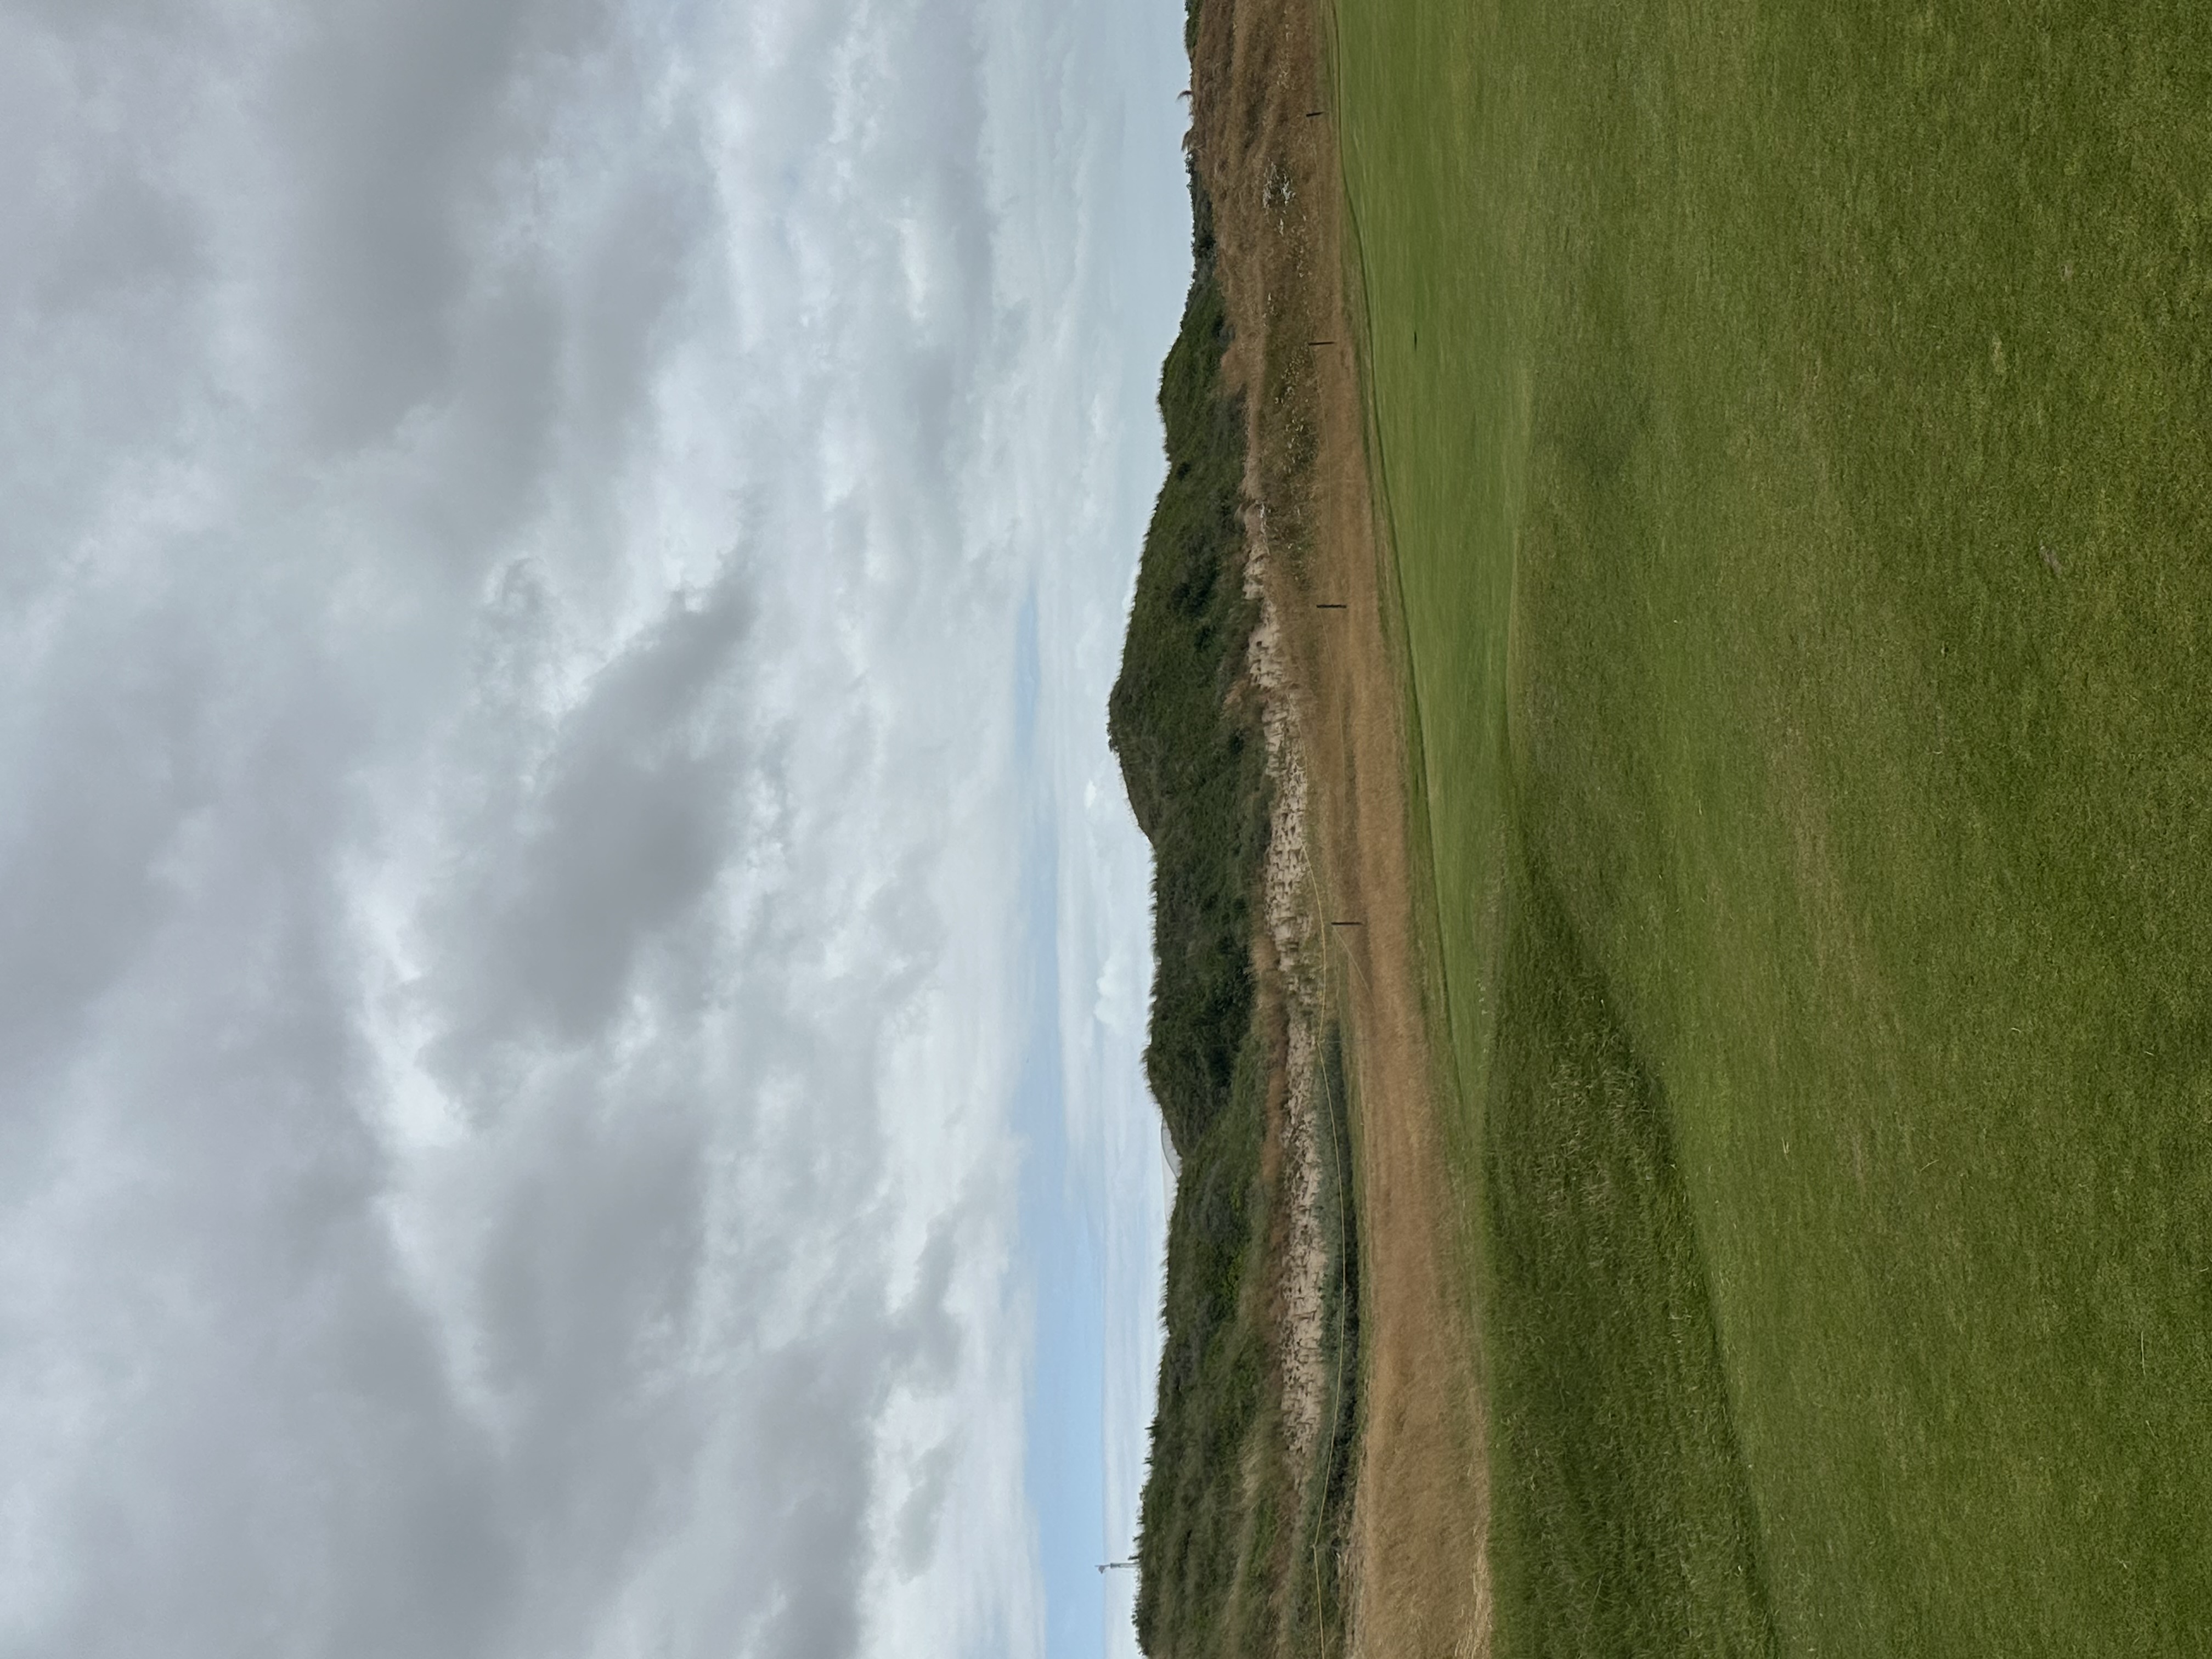
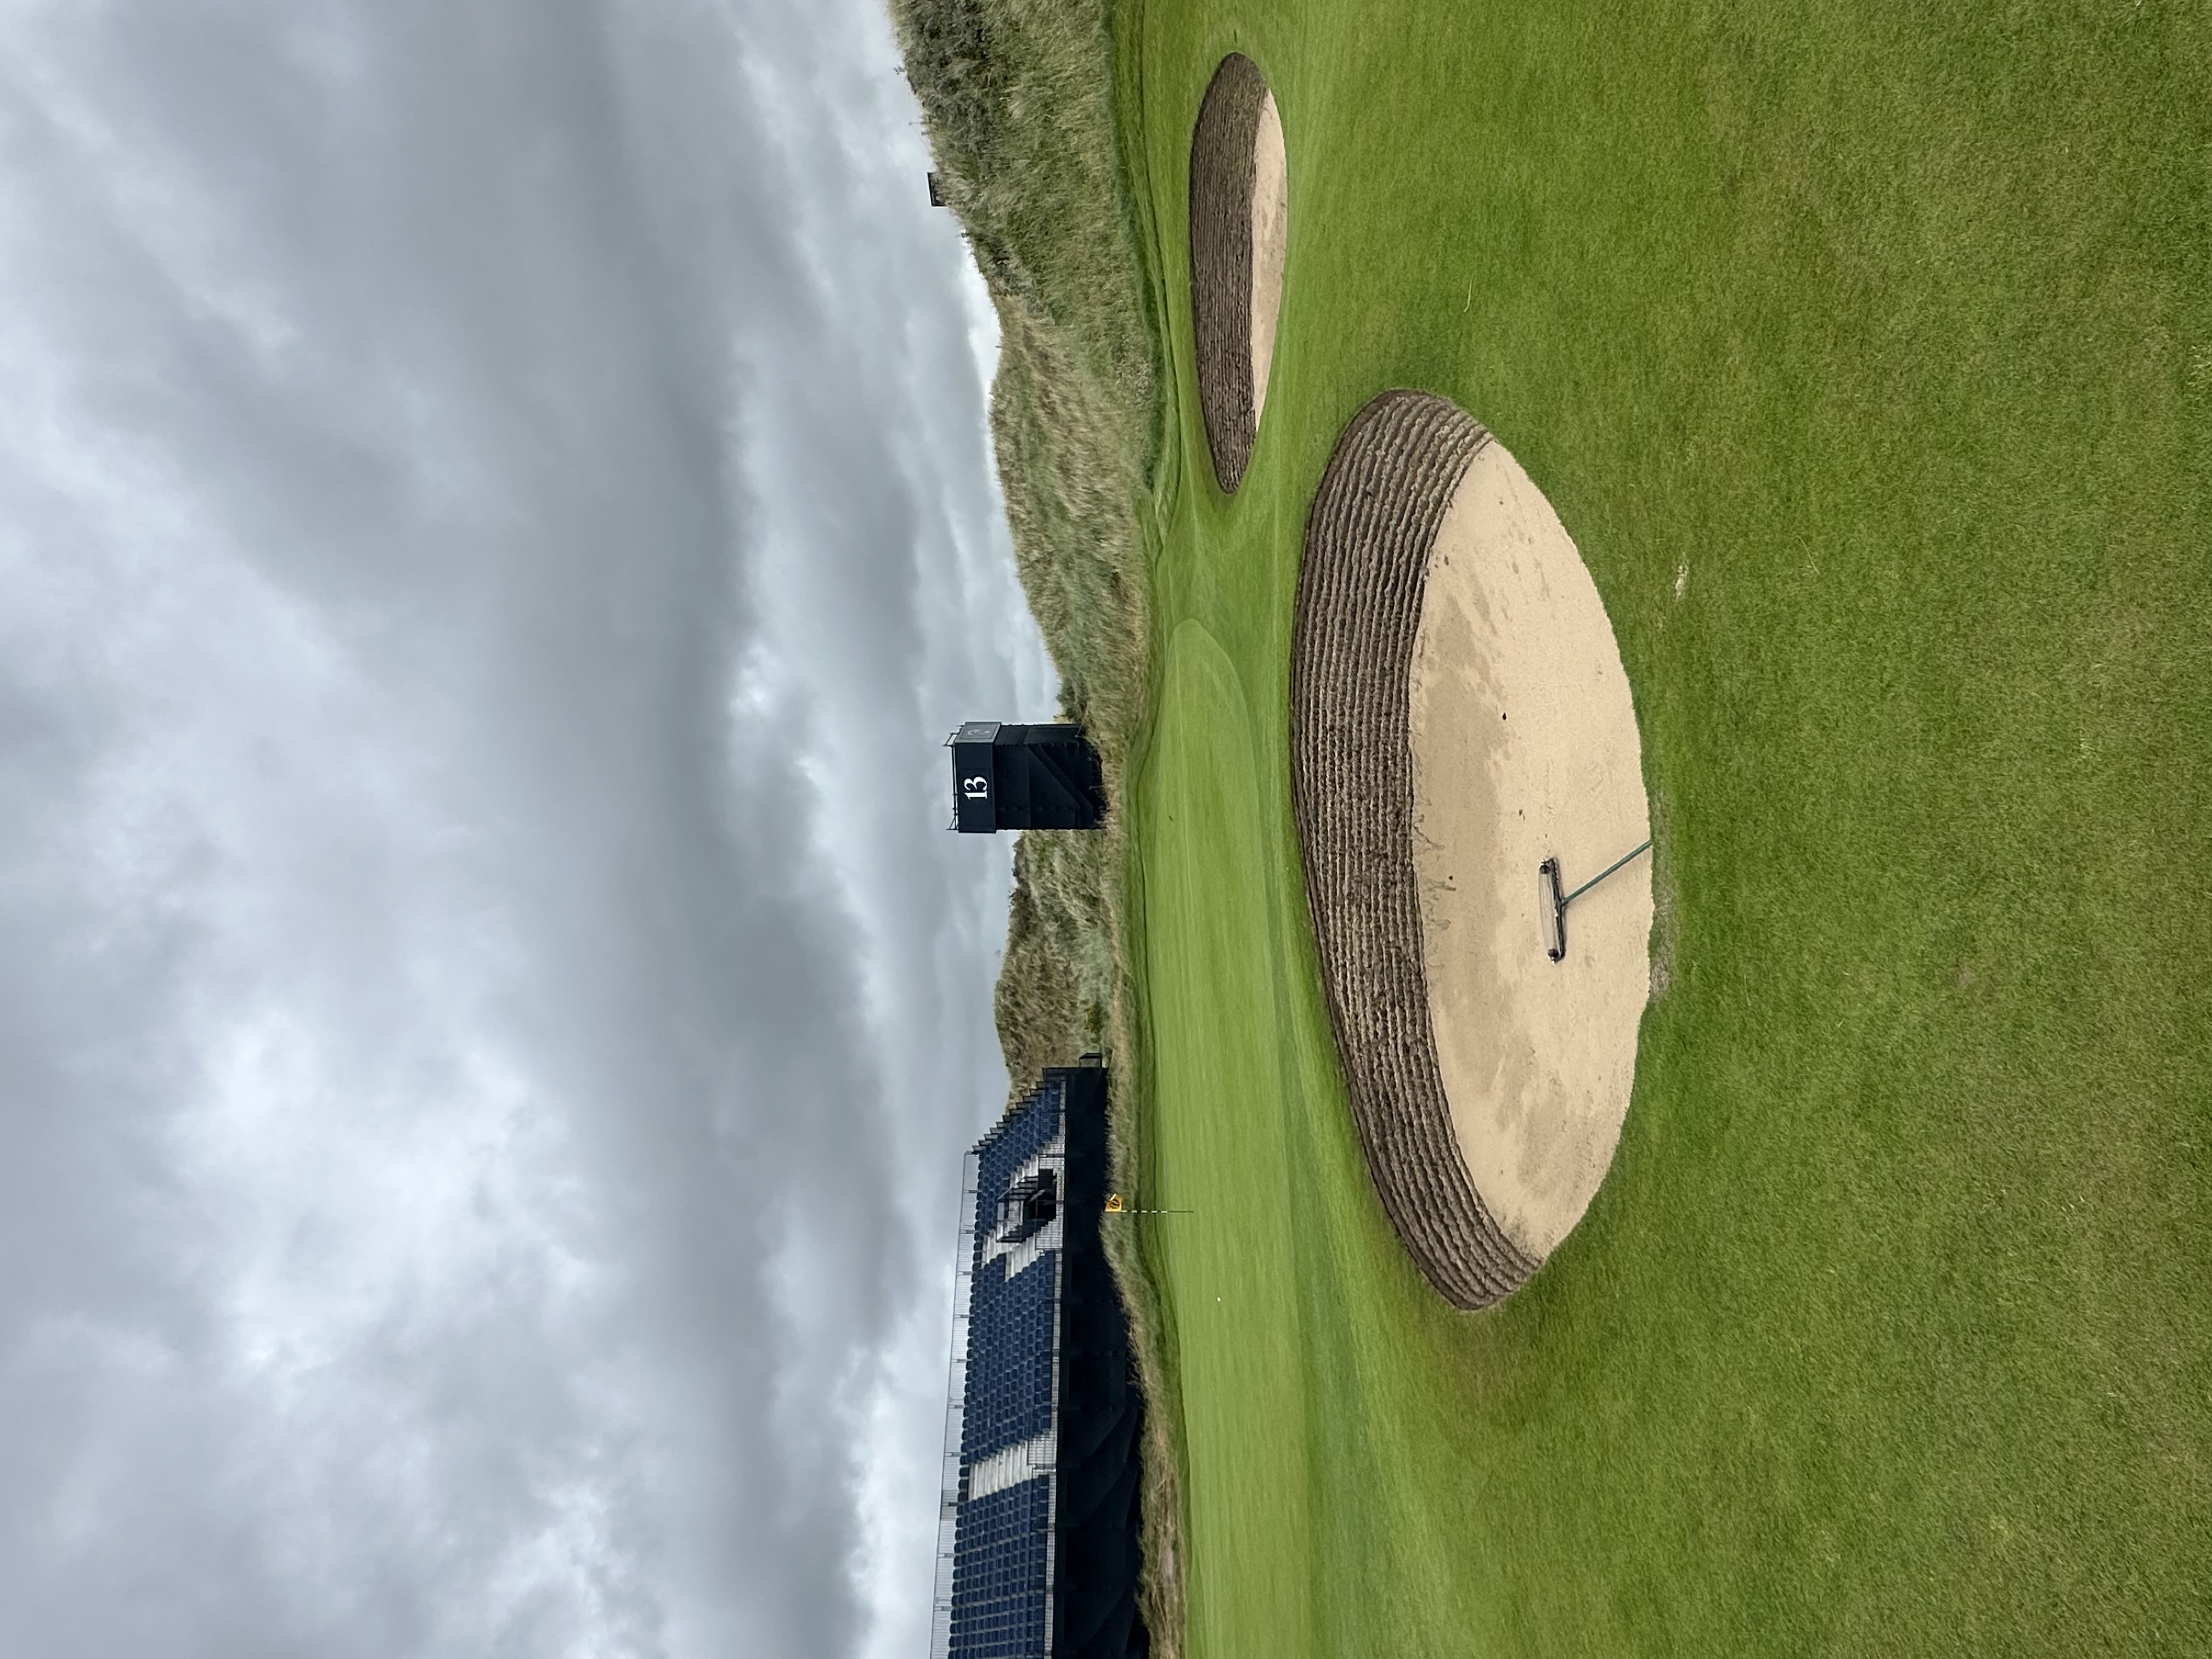
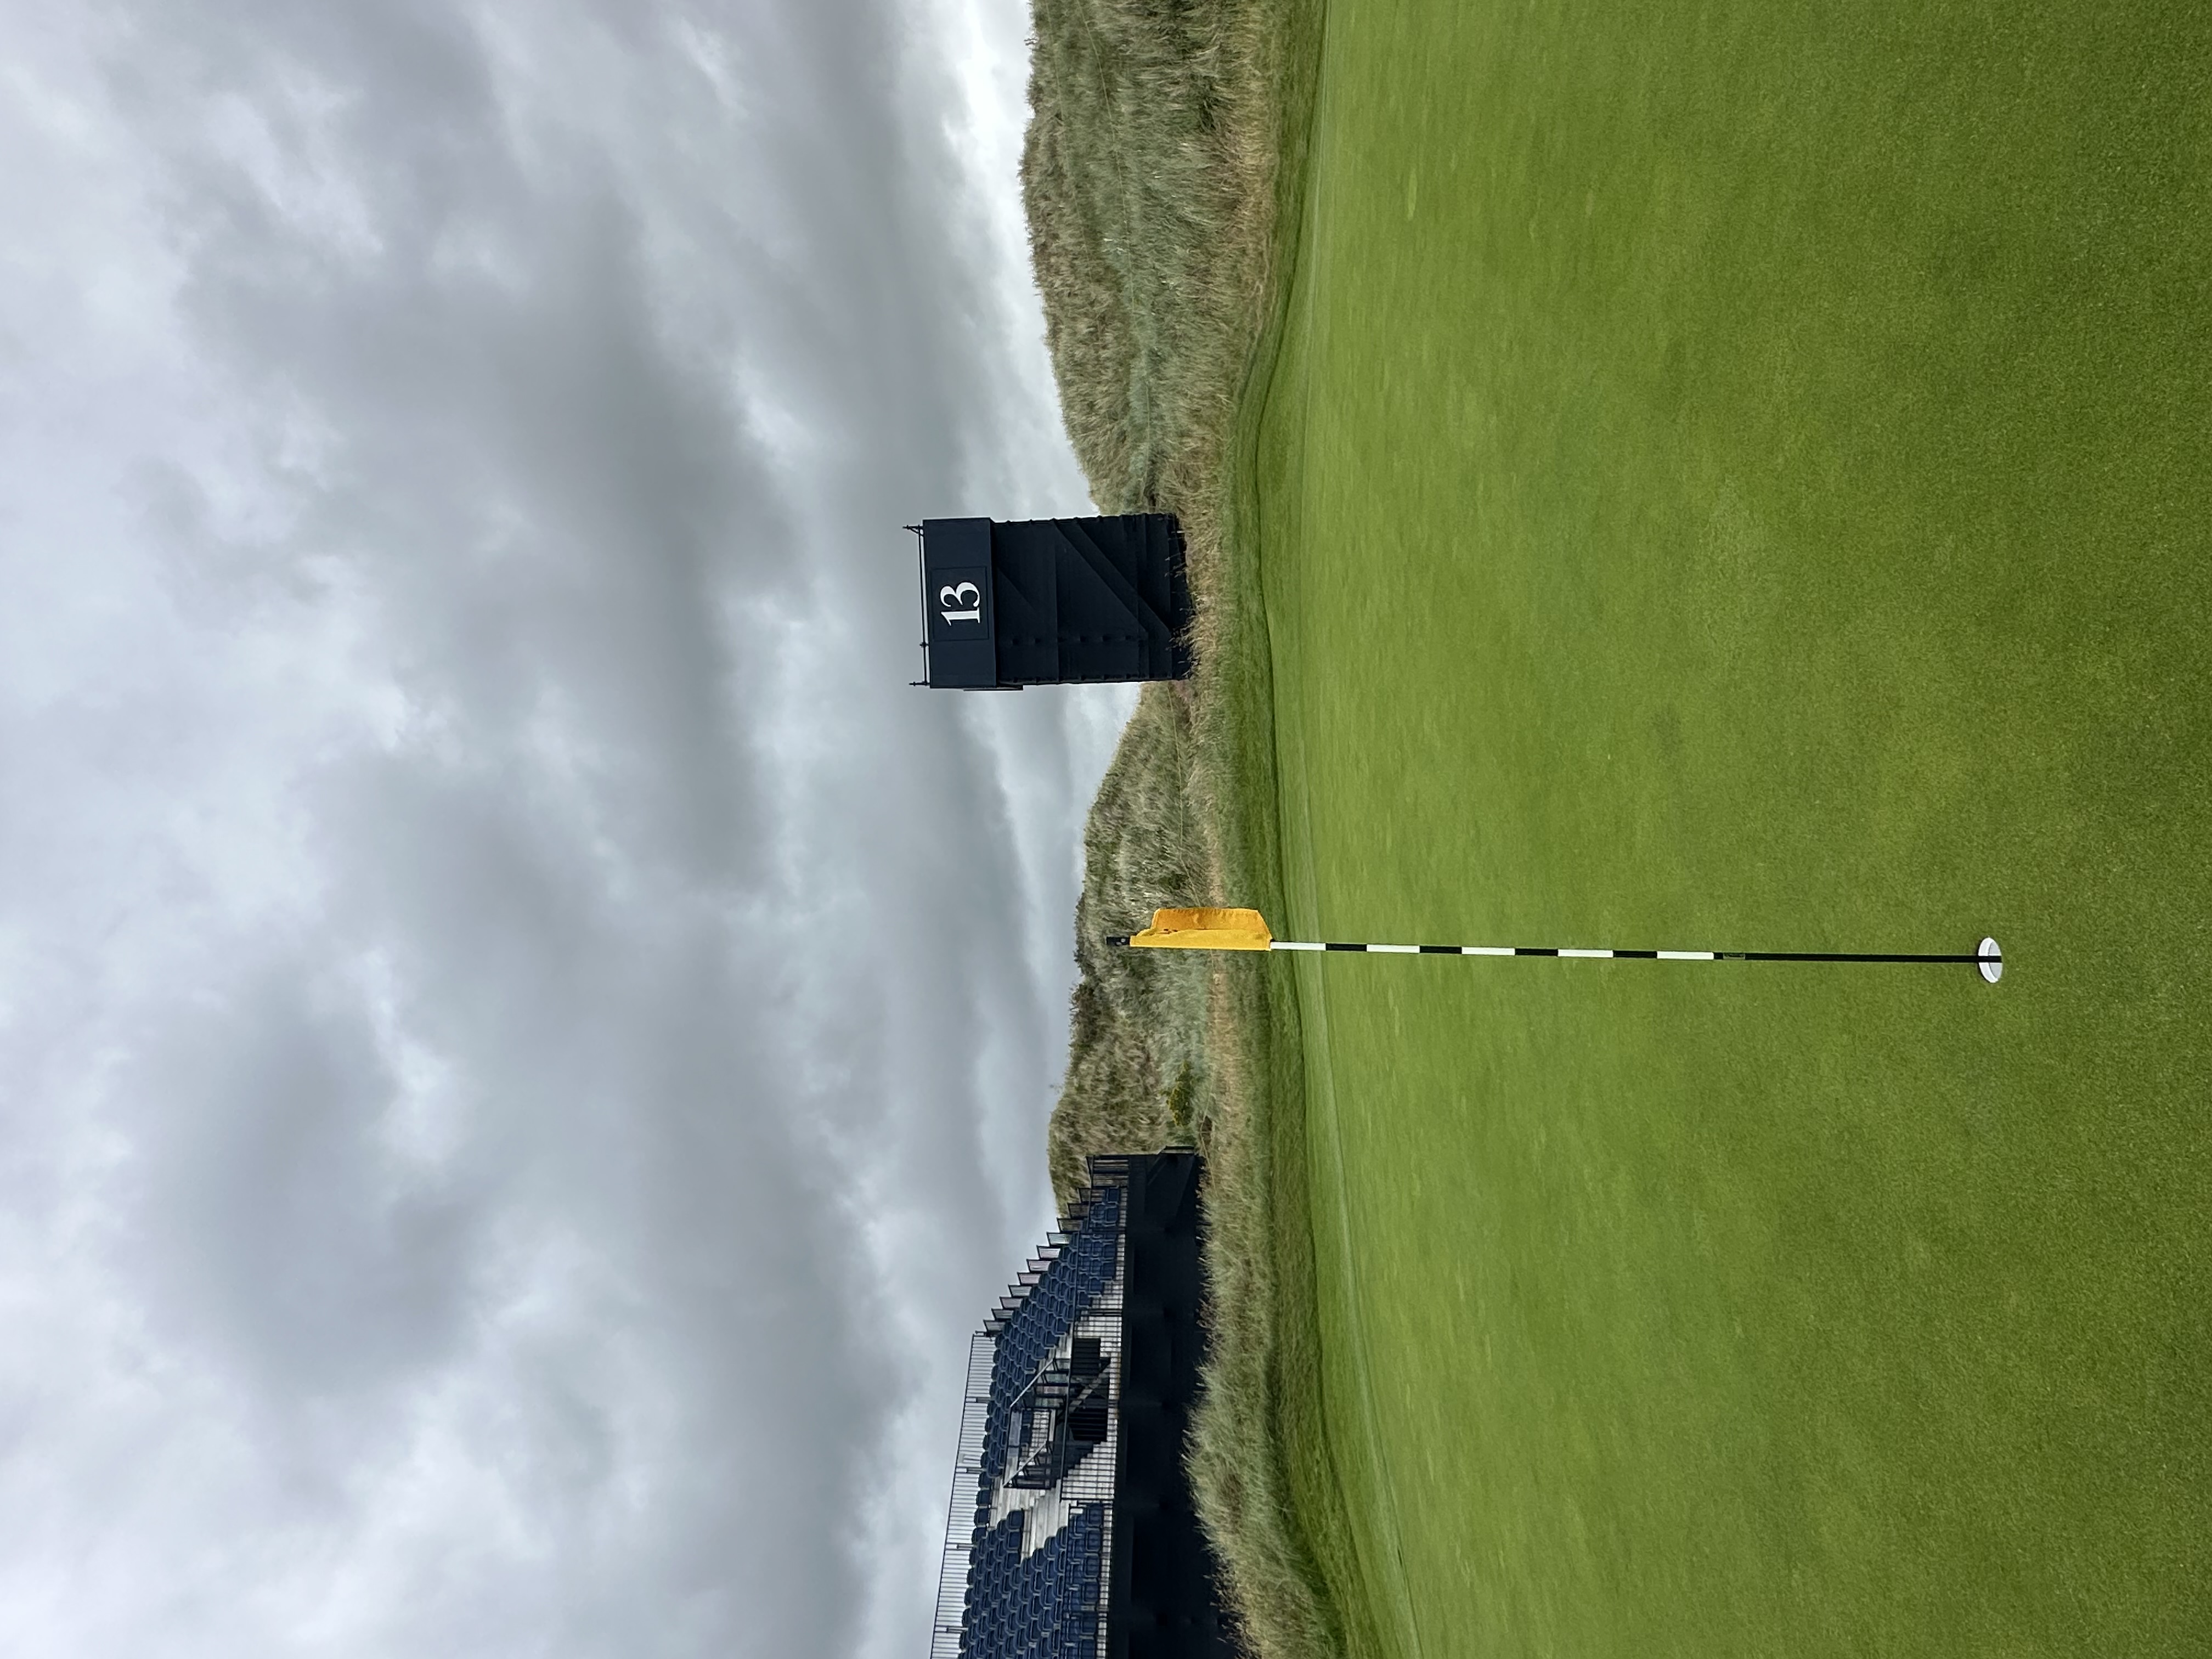
A hole that should be known as the Jordan Spieth Hole. The 13th plays downhill and downwind, with a bunker down the right 300 yards from the tee and bunkers down the left starting at 326 yards off the tee, appropriate driving distances to test the modern professional. Hit an accurate tee shot and you should walk away with a par. Hit an inaccurate tee shot and par is suddenly a daunting proposition. Hit one 70 yards right of the fairway, and, well, you know the rest of the story.
.jpg)
Hole 14
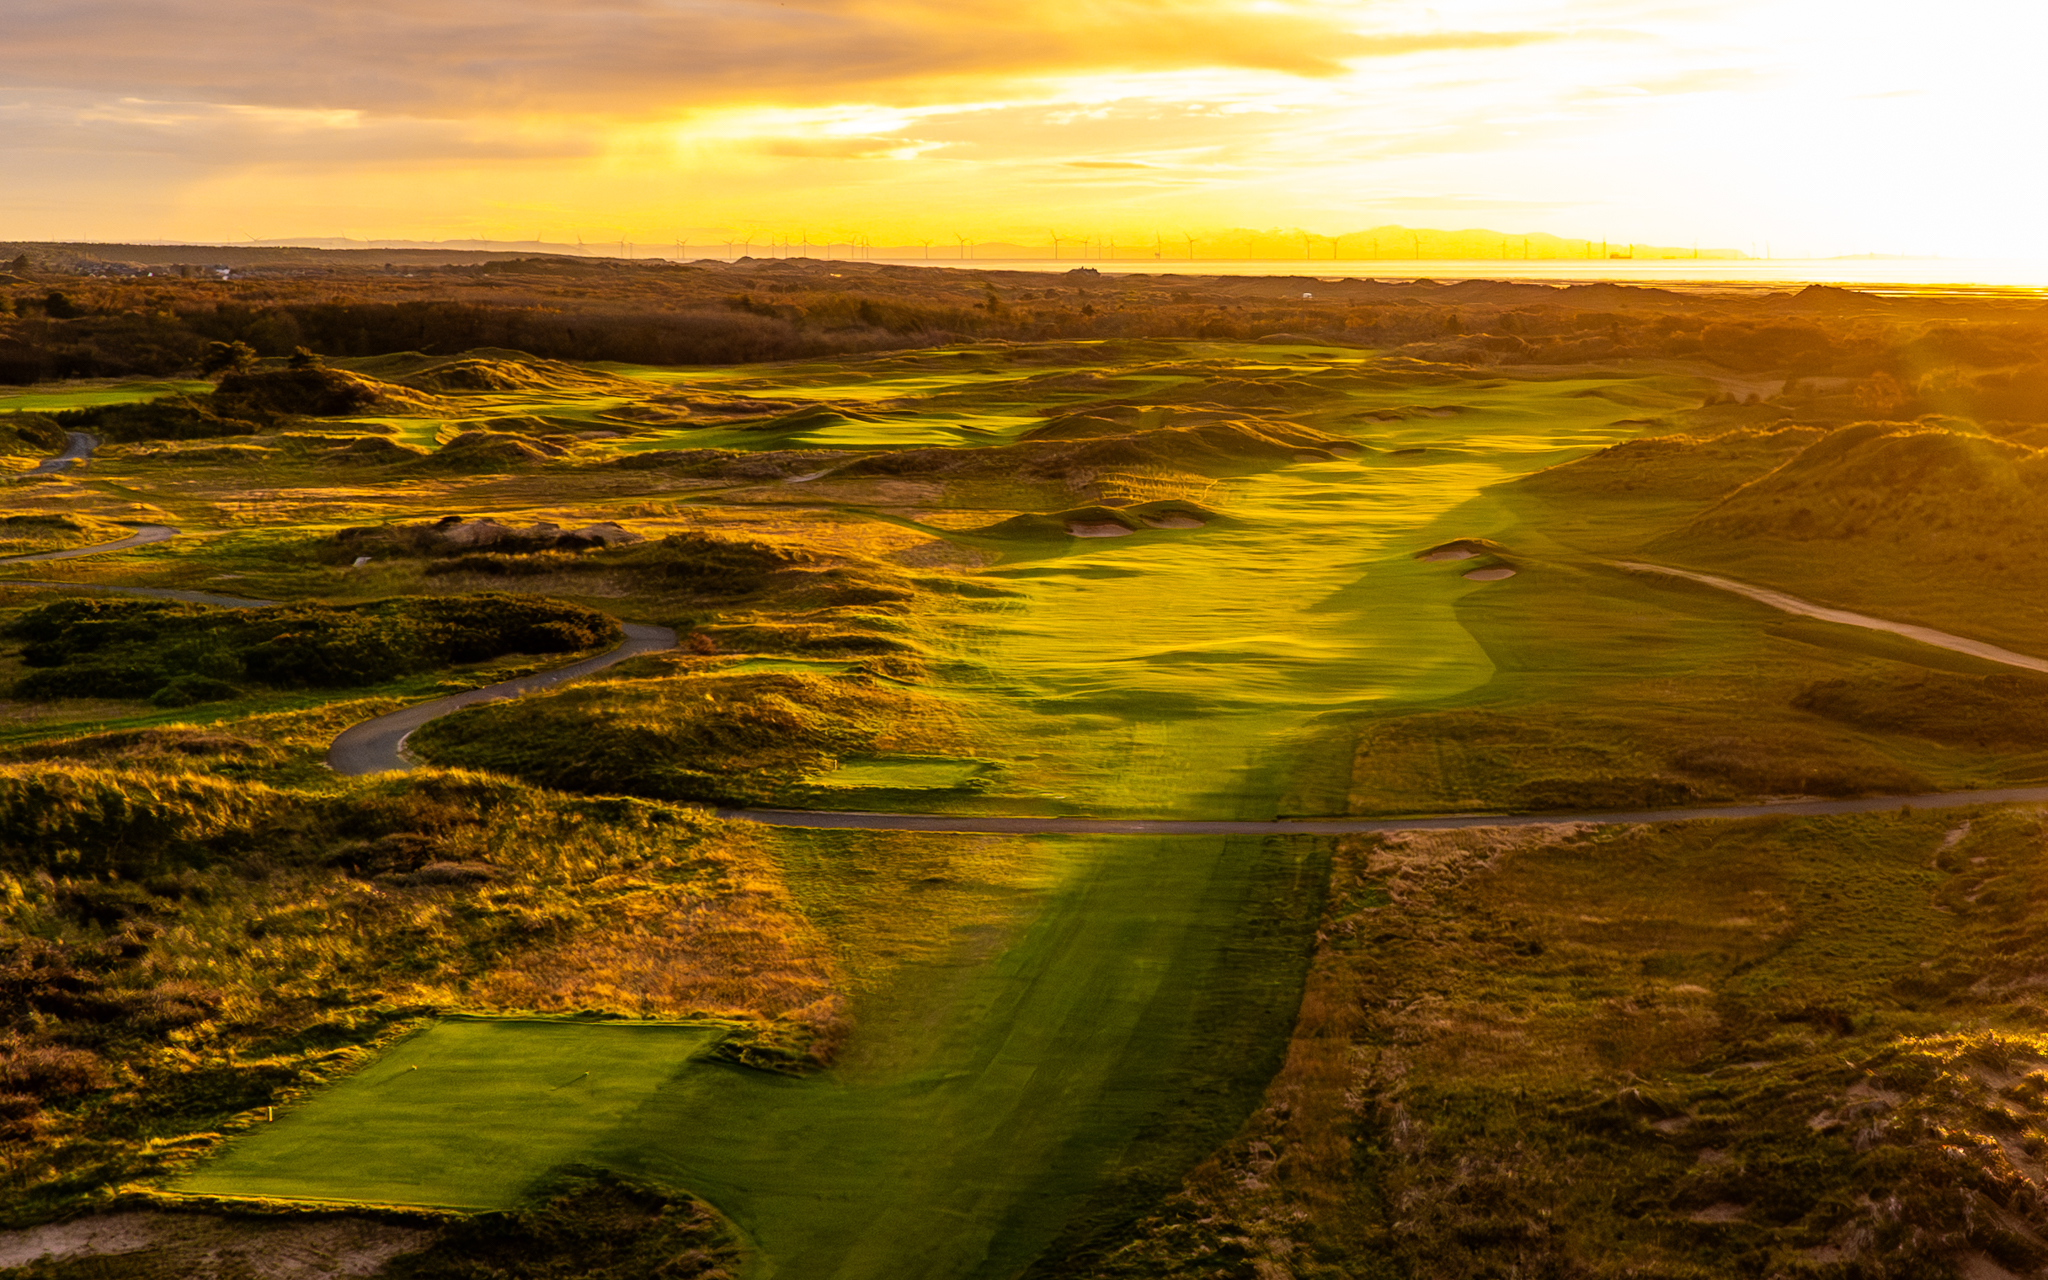
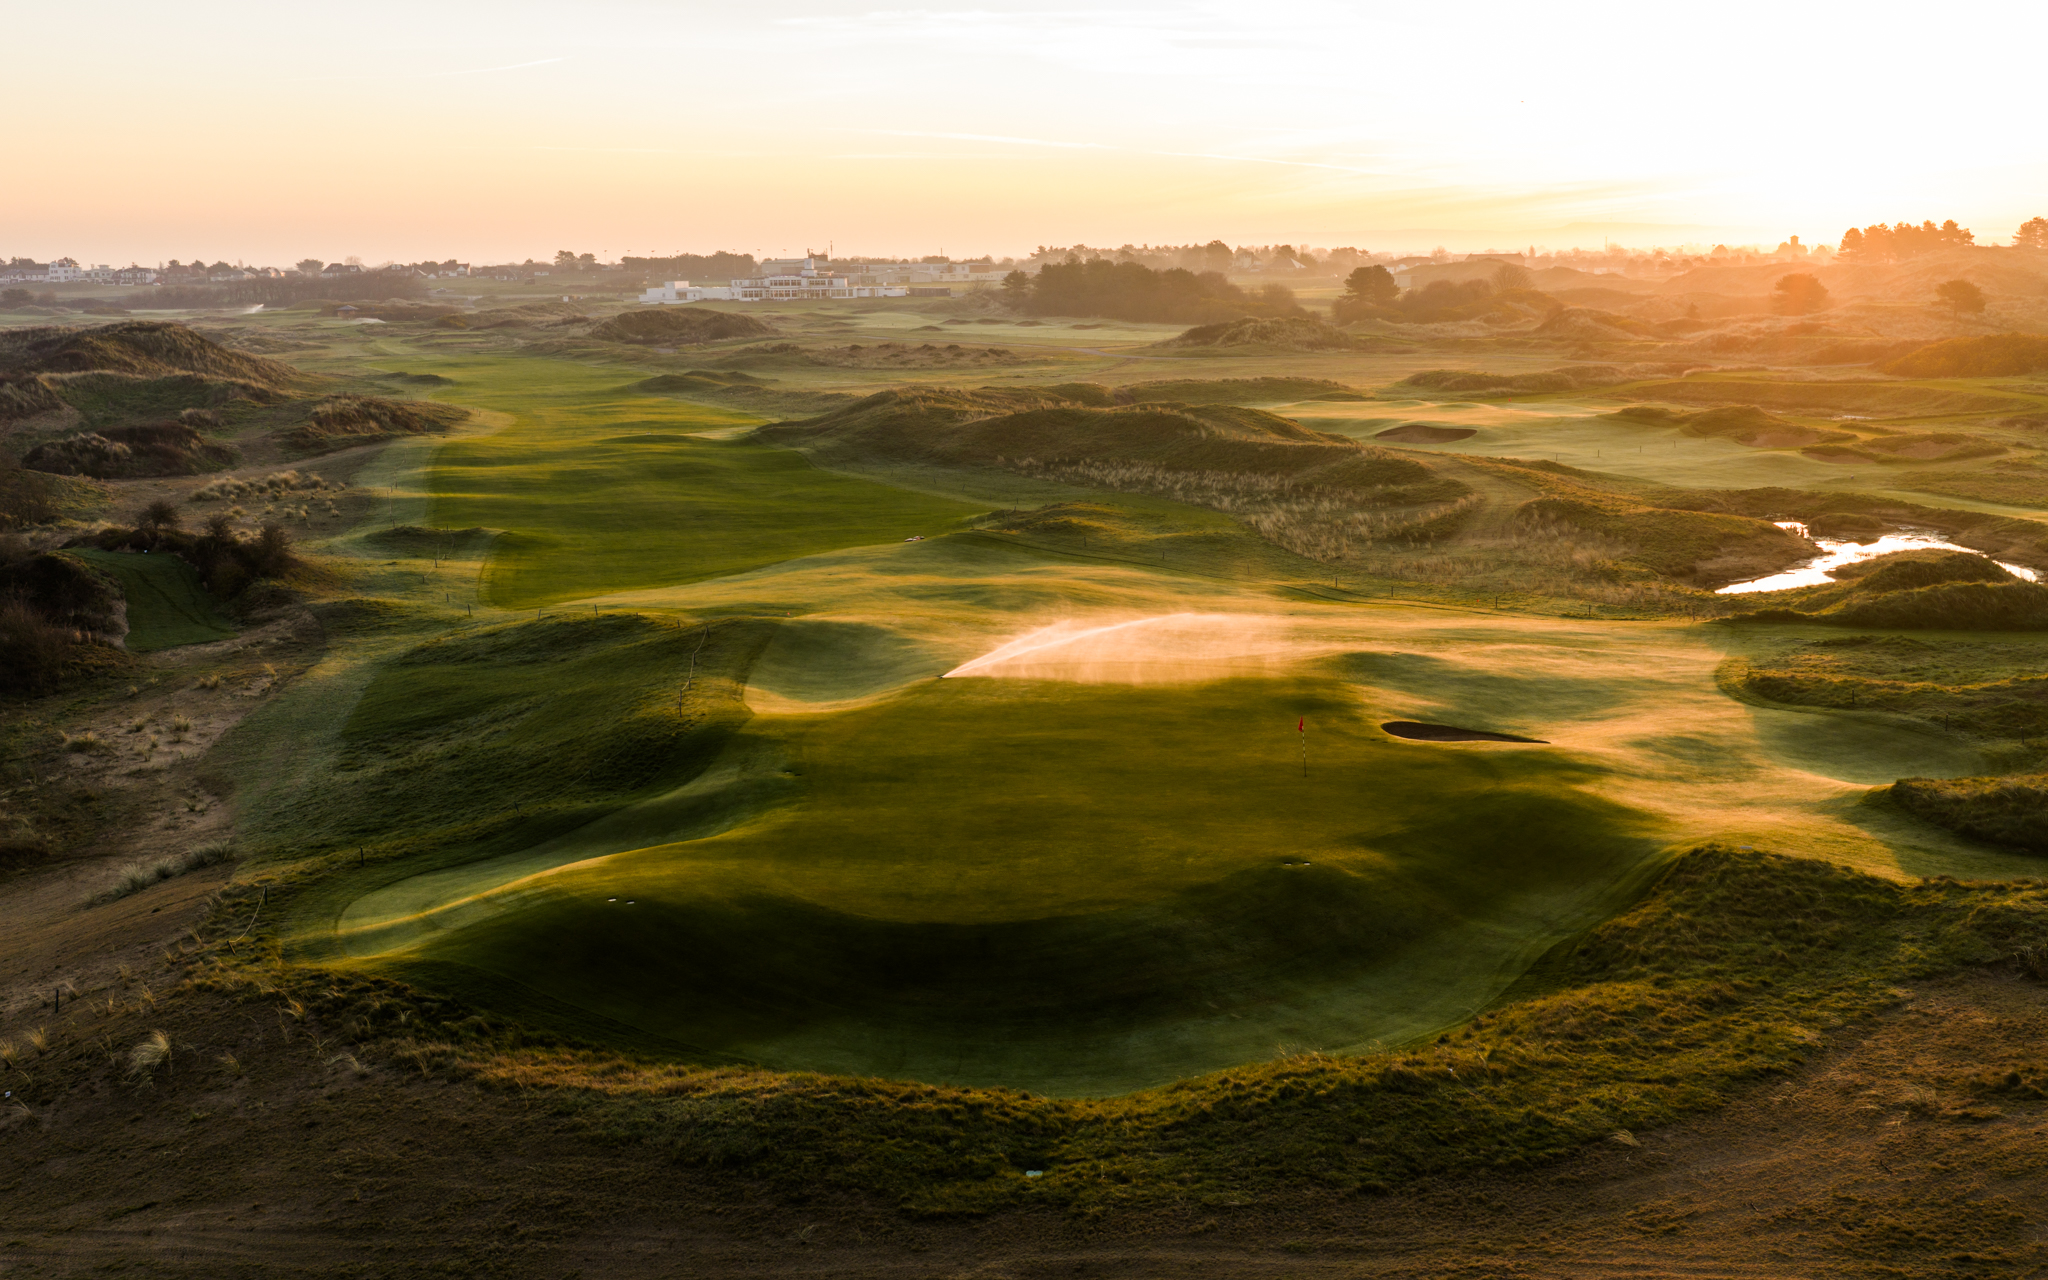
Following the Mackenzie & Ebert renovation, the 14th is, for all intents and purposes, a brand new golf hole. Pieces of the old 15th hole were incorporated into the design of the new par-5 14th, and the old par-3 14th was repurposed into a short-game practice facility. Today, the 14th is a 600-yard brute that plays straight back into the wind. The new green is one of the boldest and most severely shaped on the golf course. Ample fairway short and left of the putting surface gives players room to leave their approach shot.
.jpg)
.jpg)
Hole 15
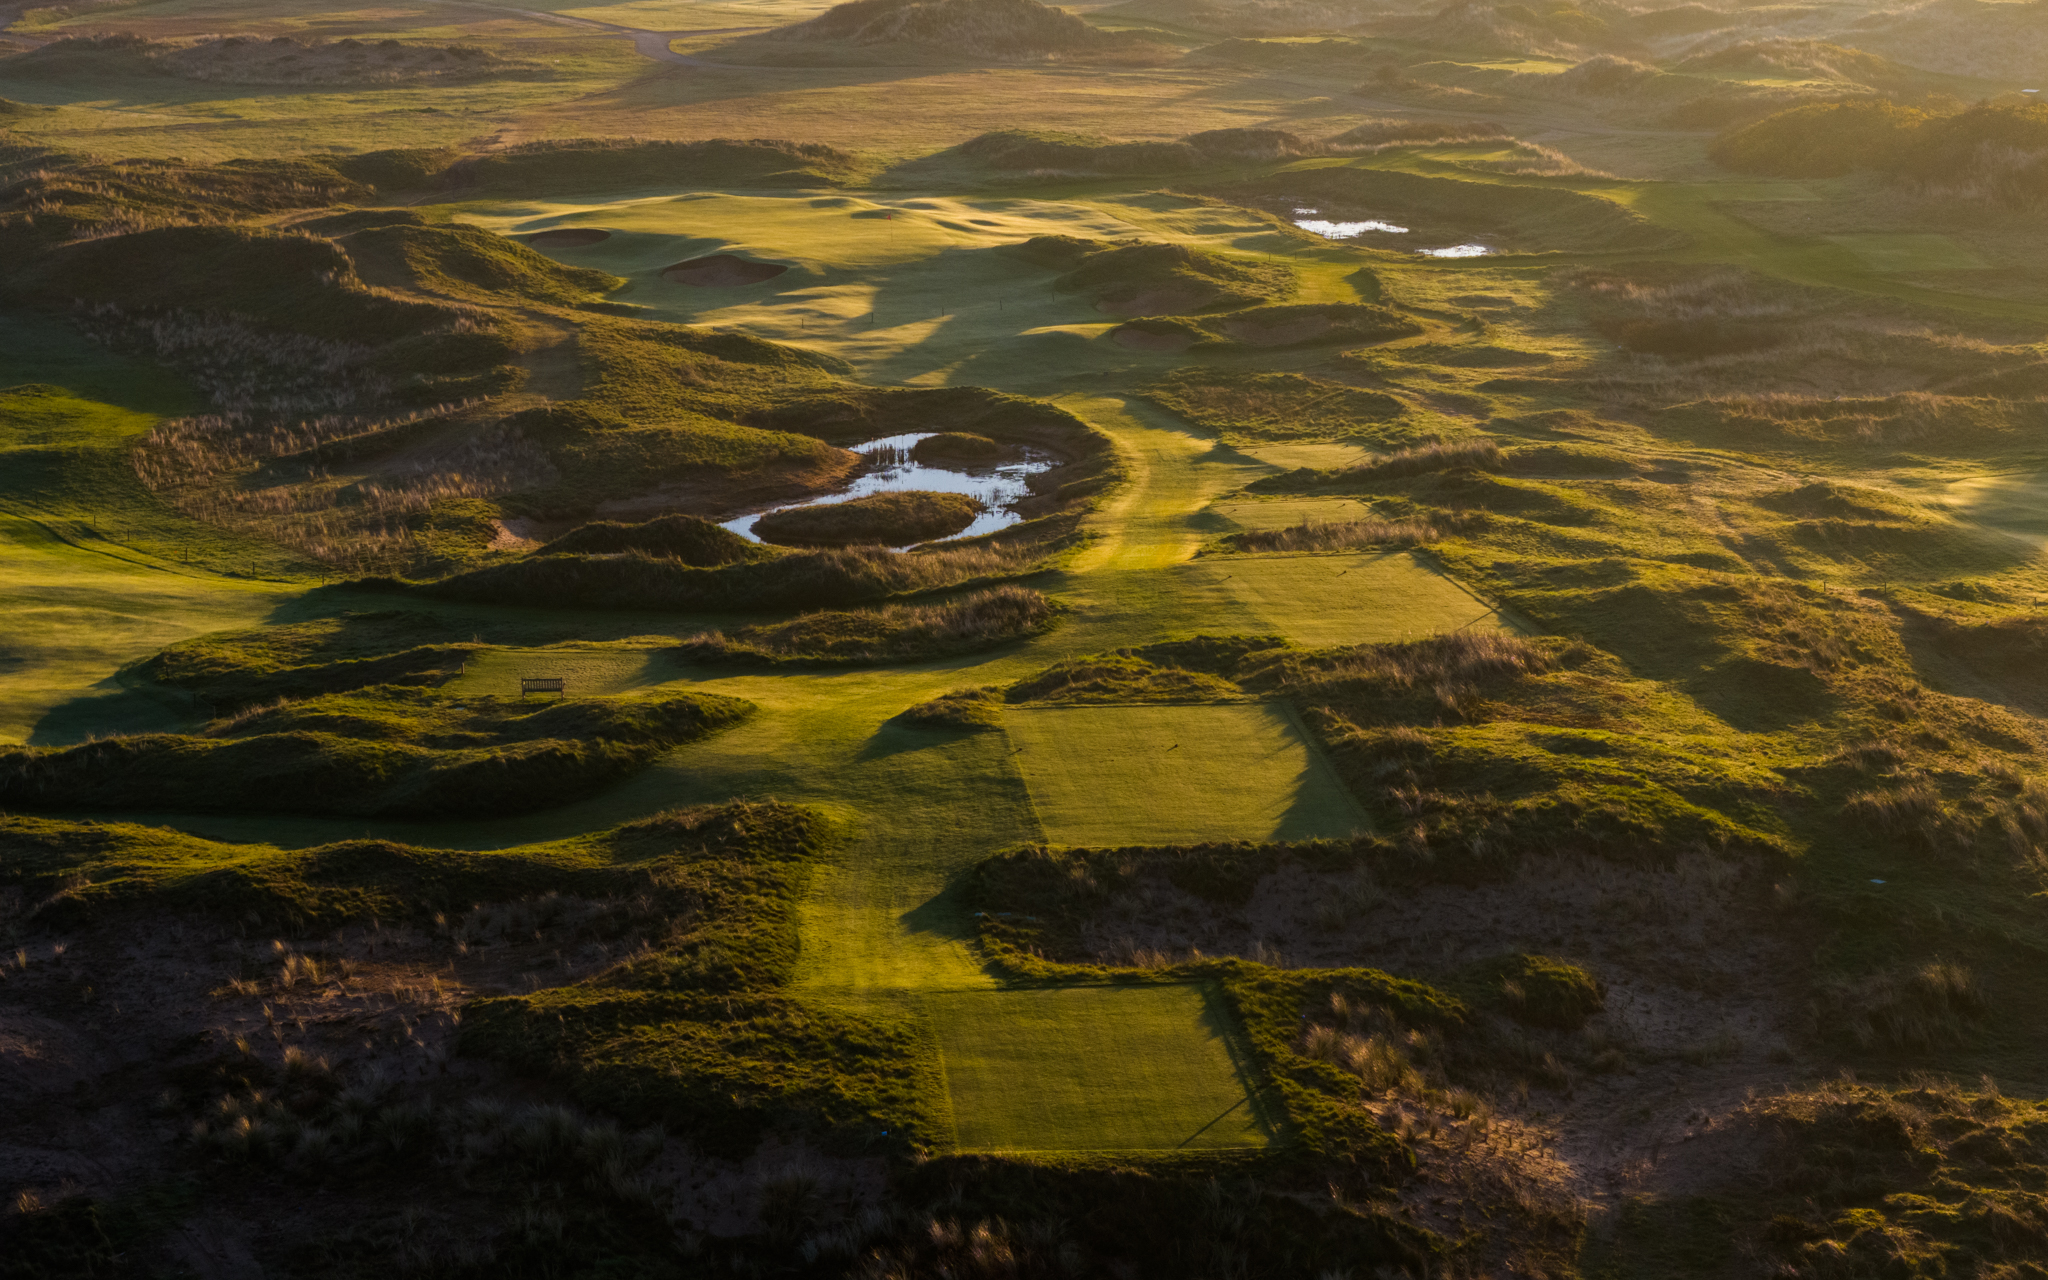
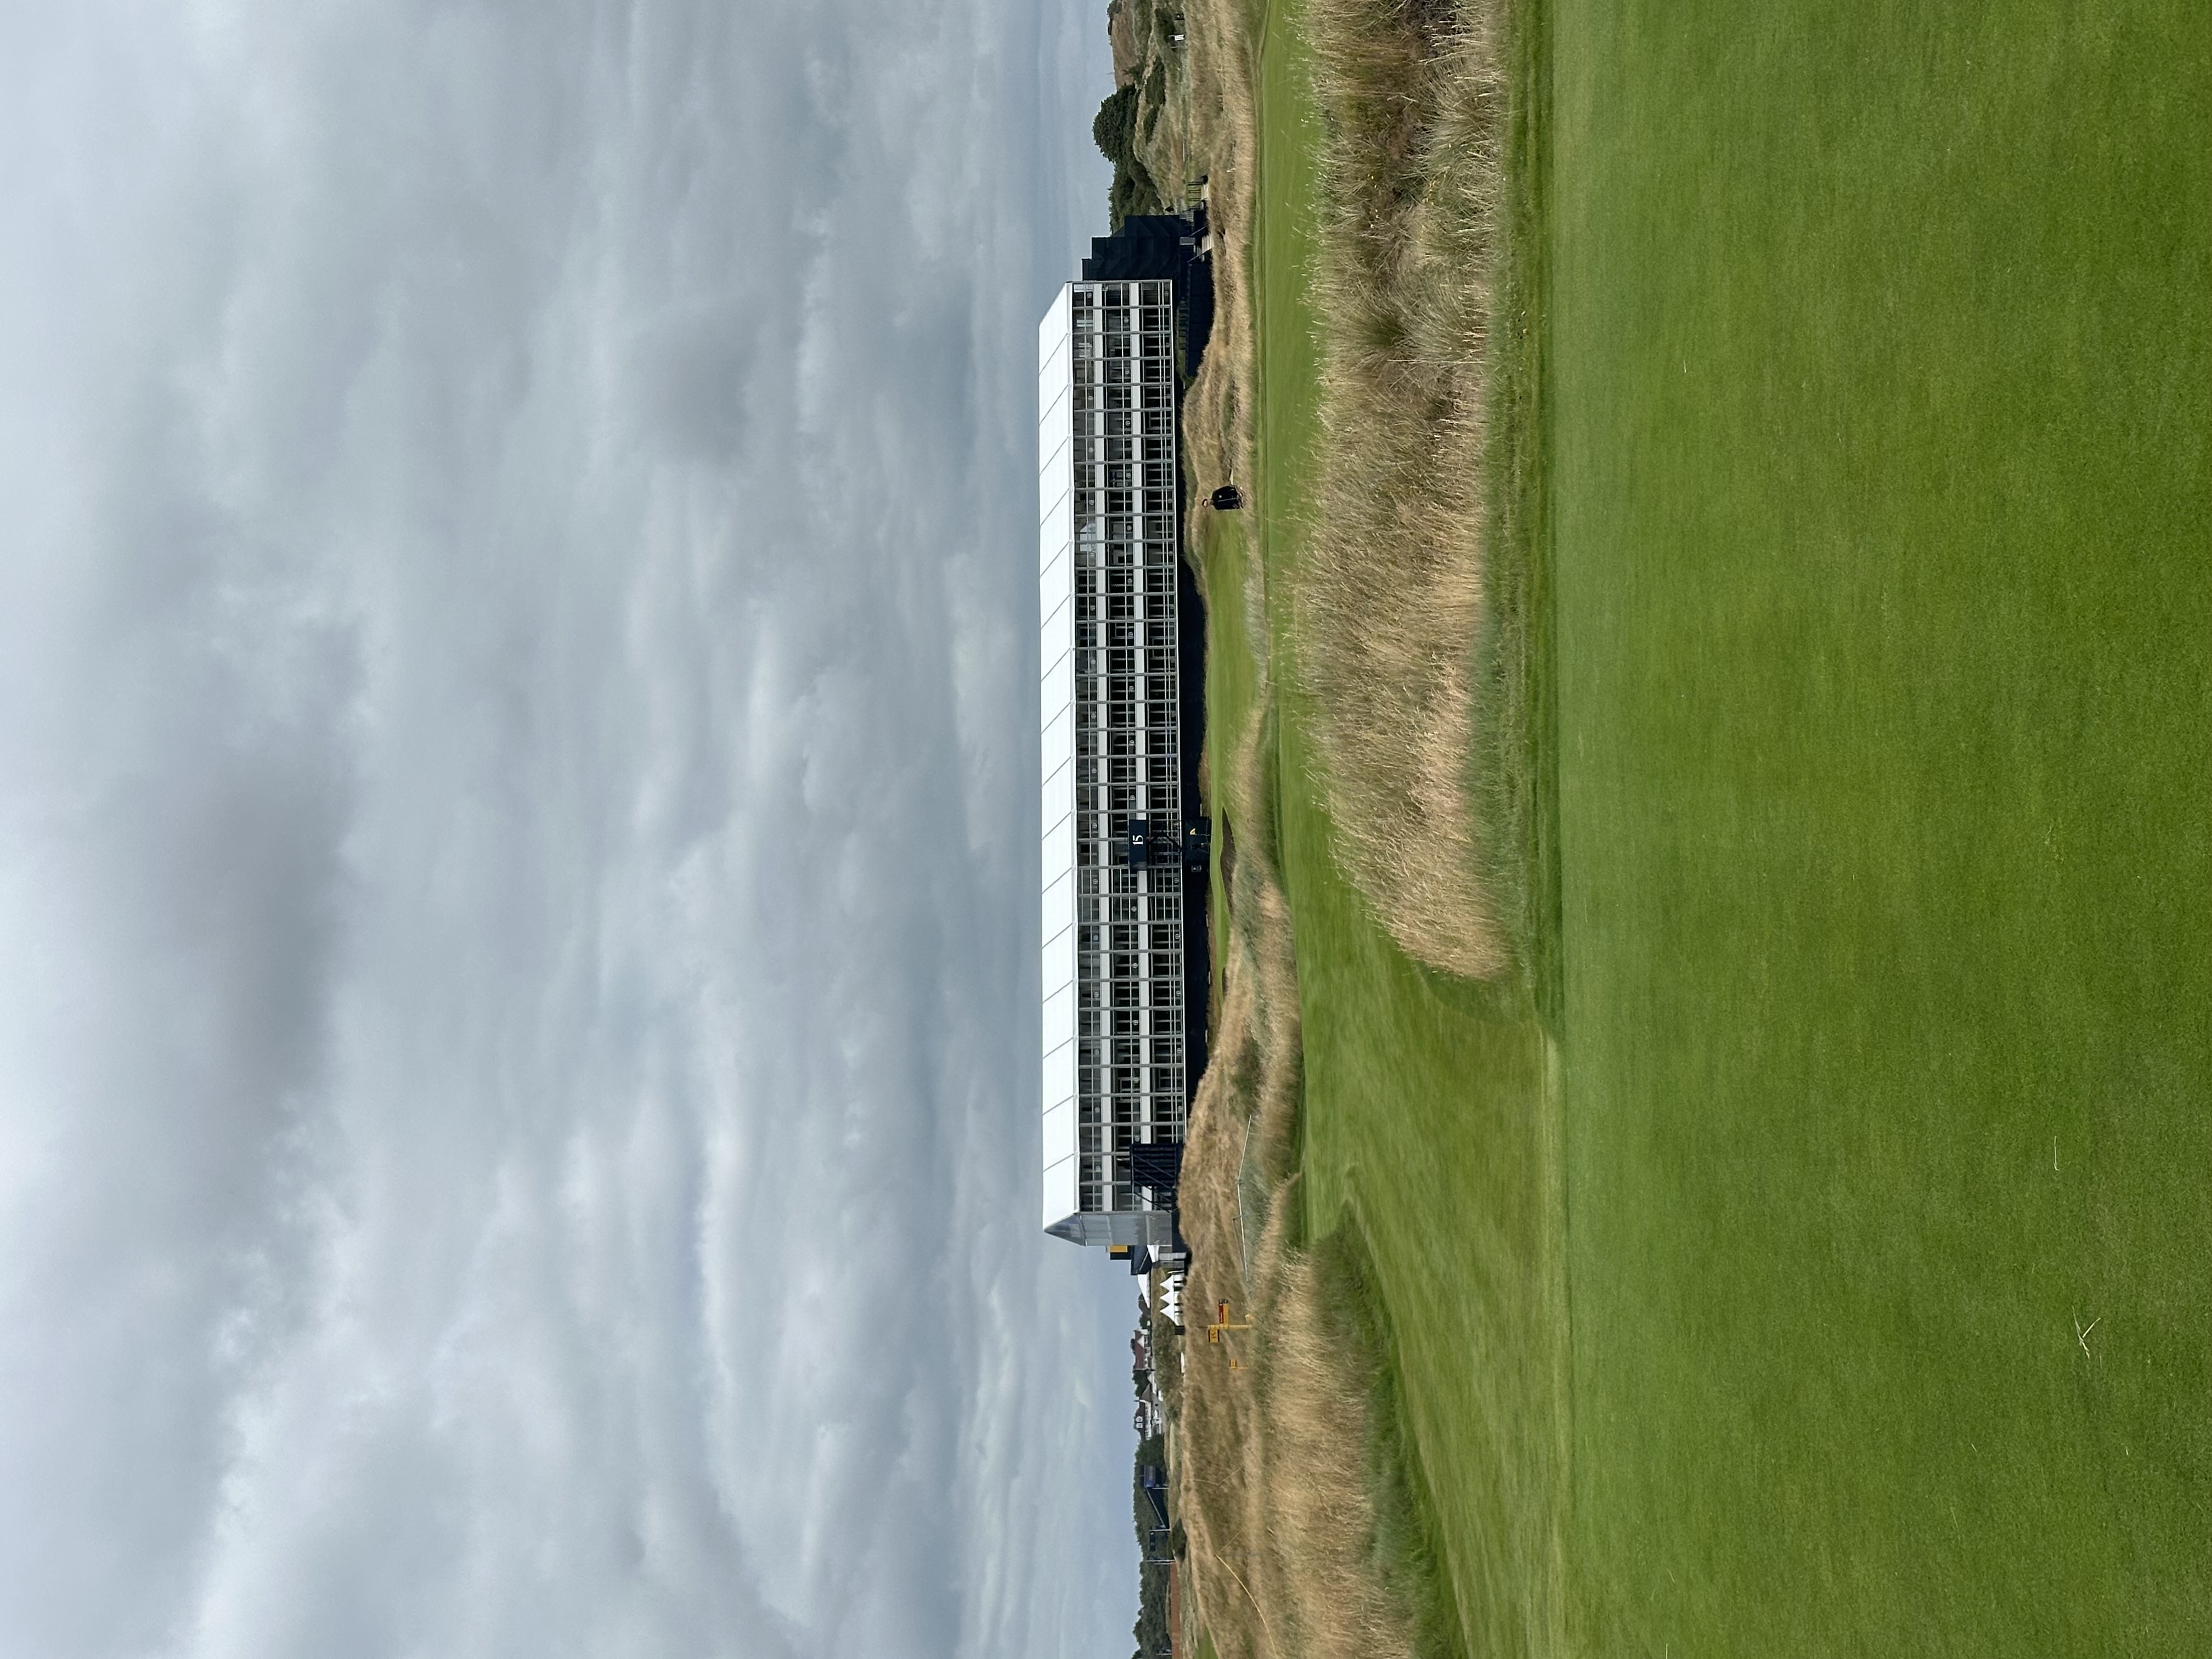
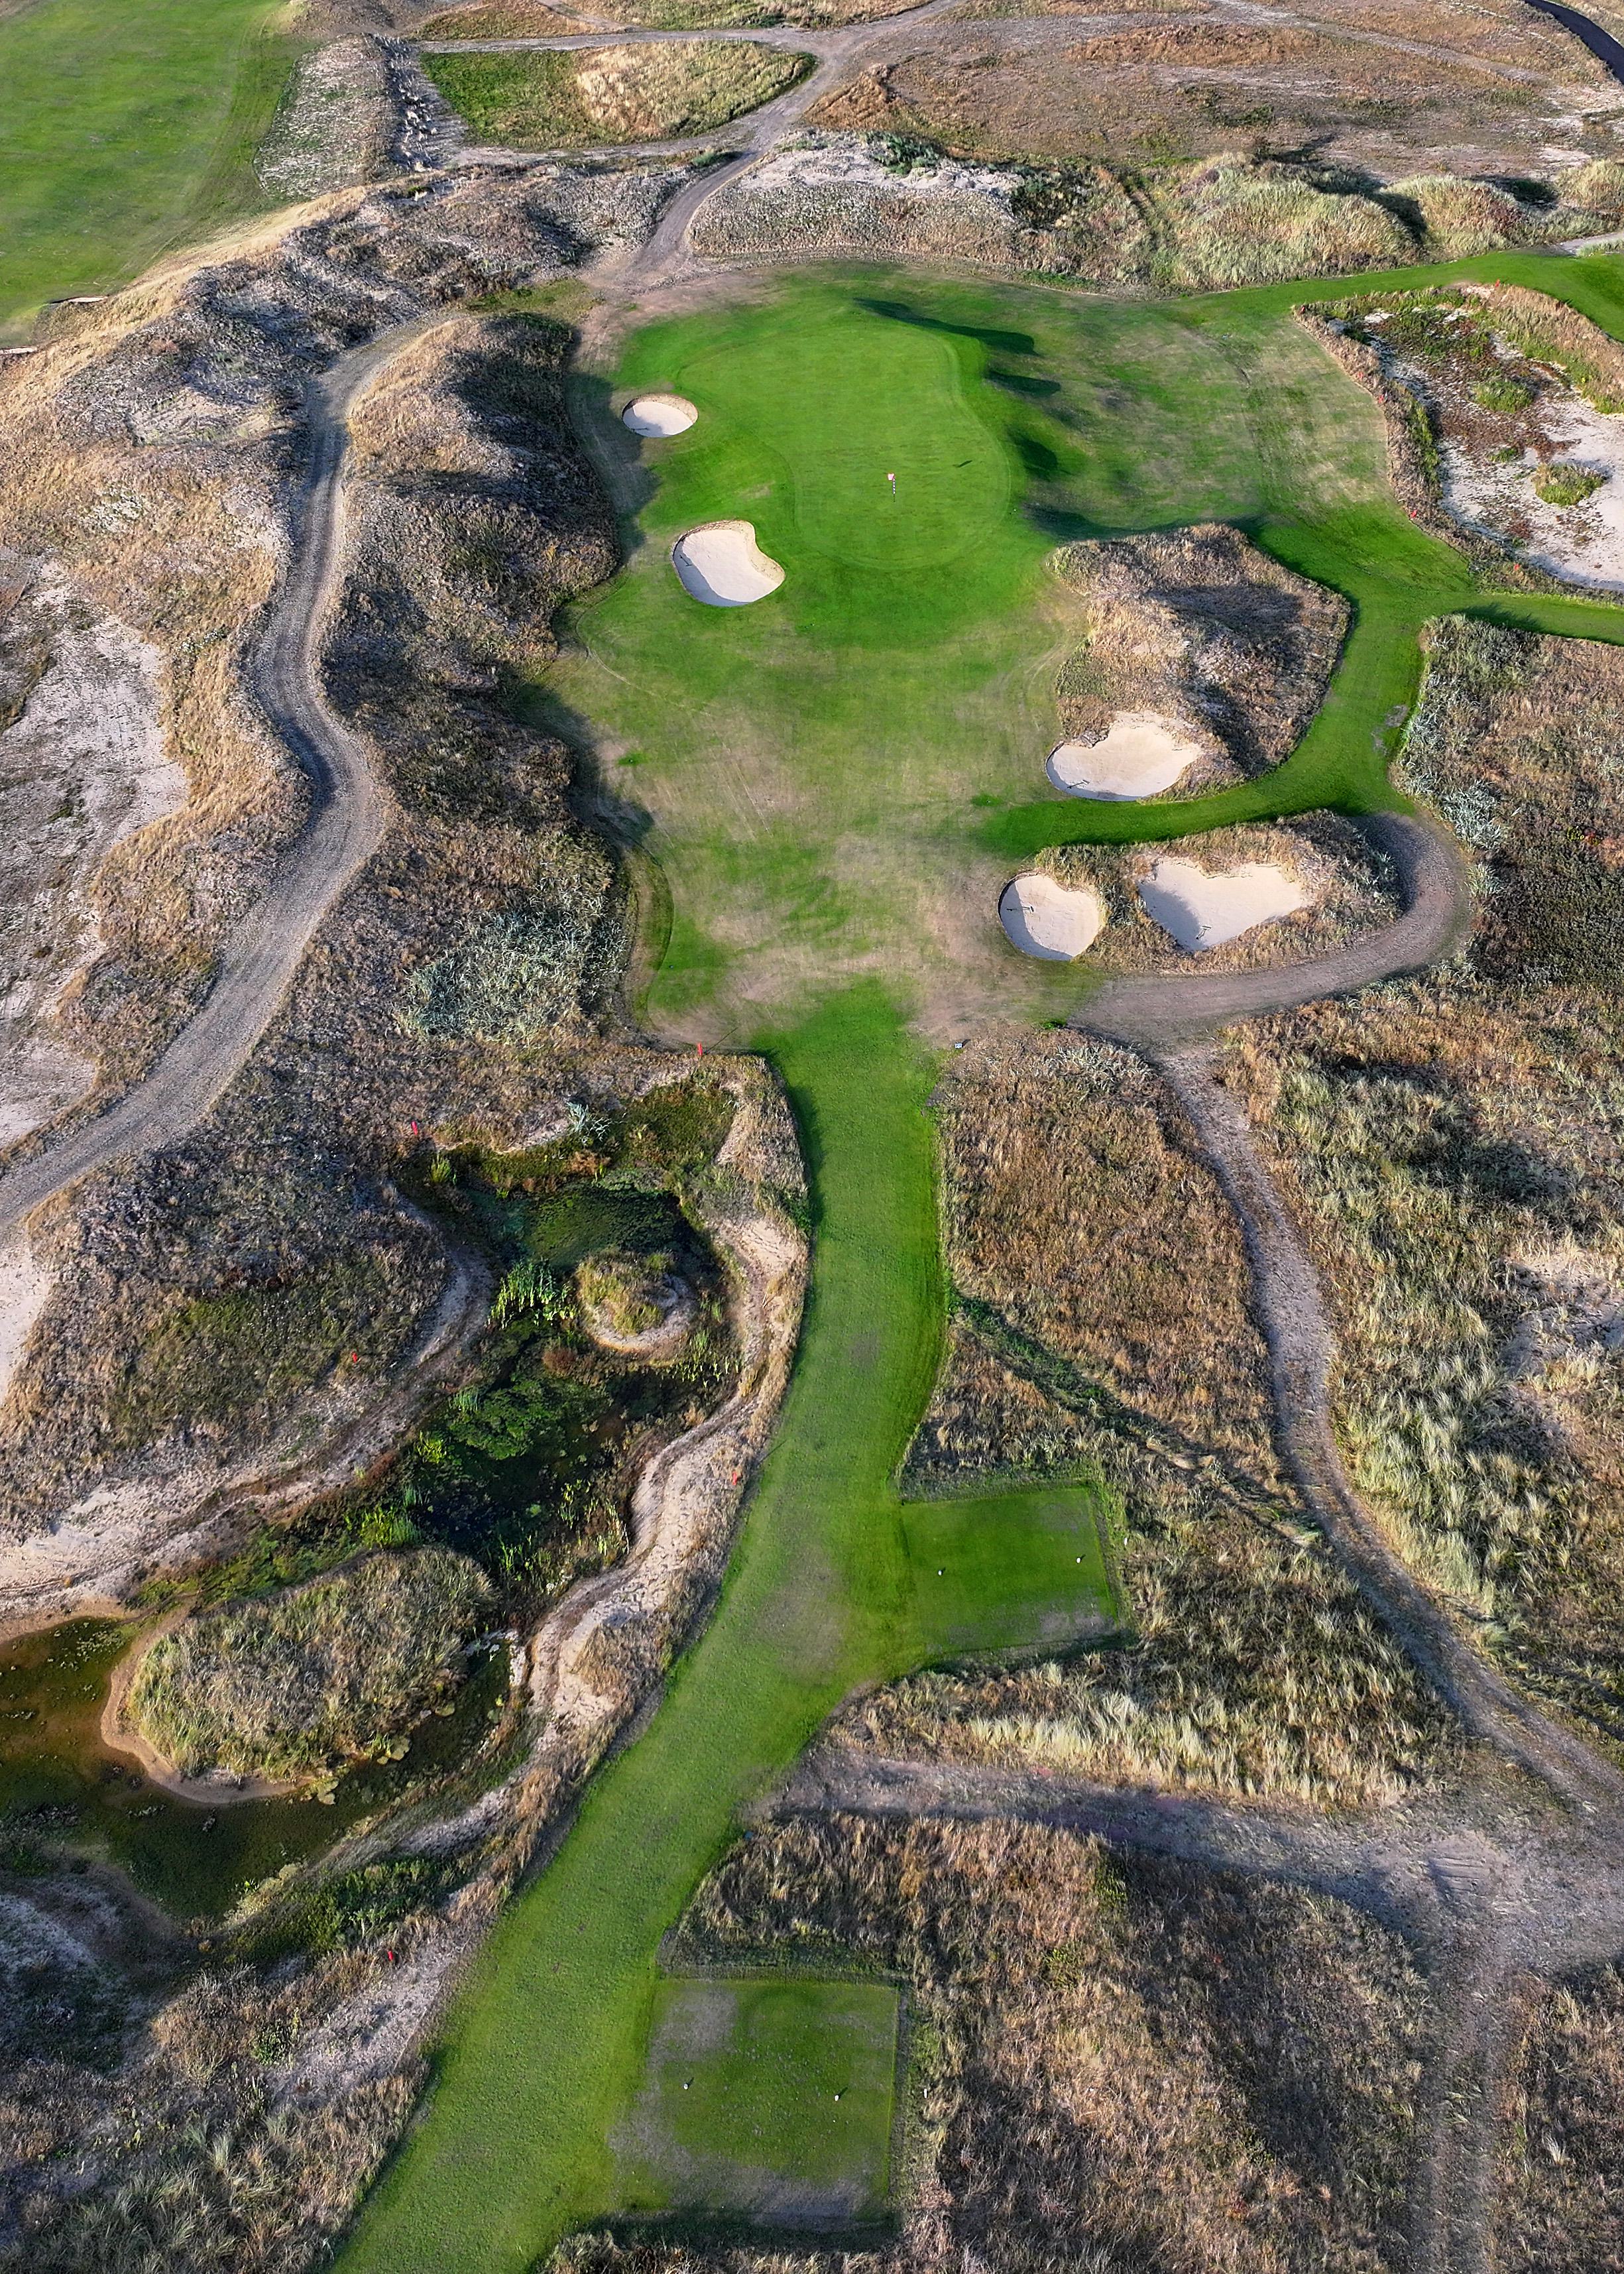
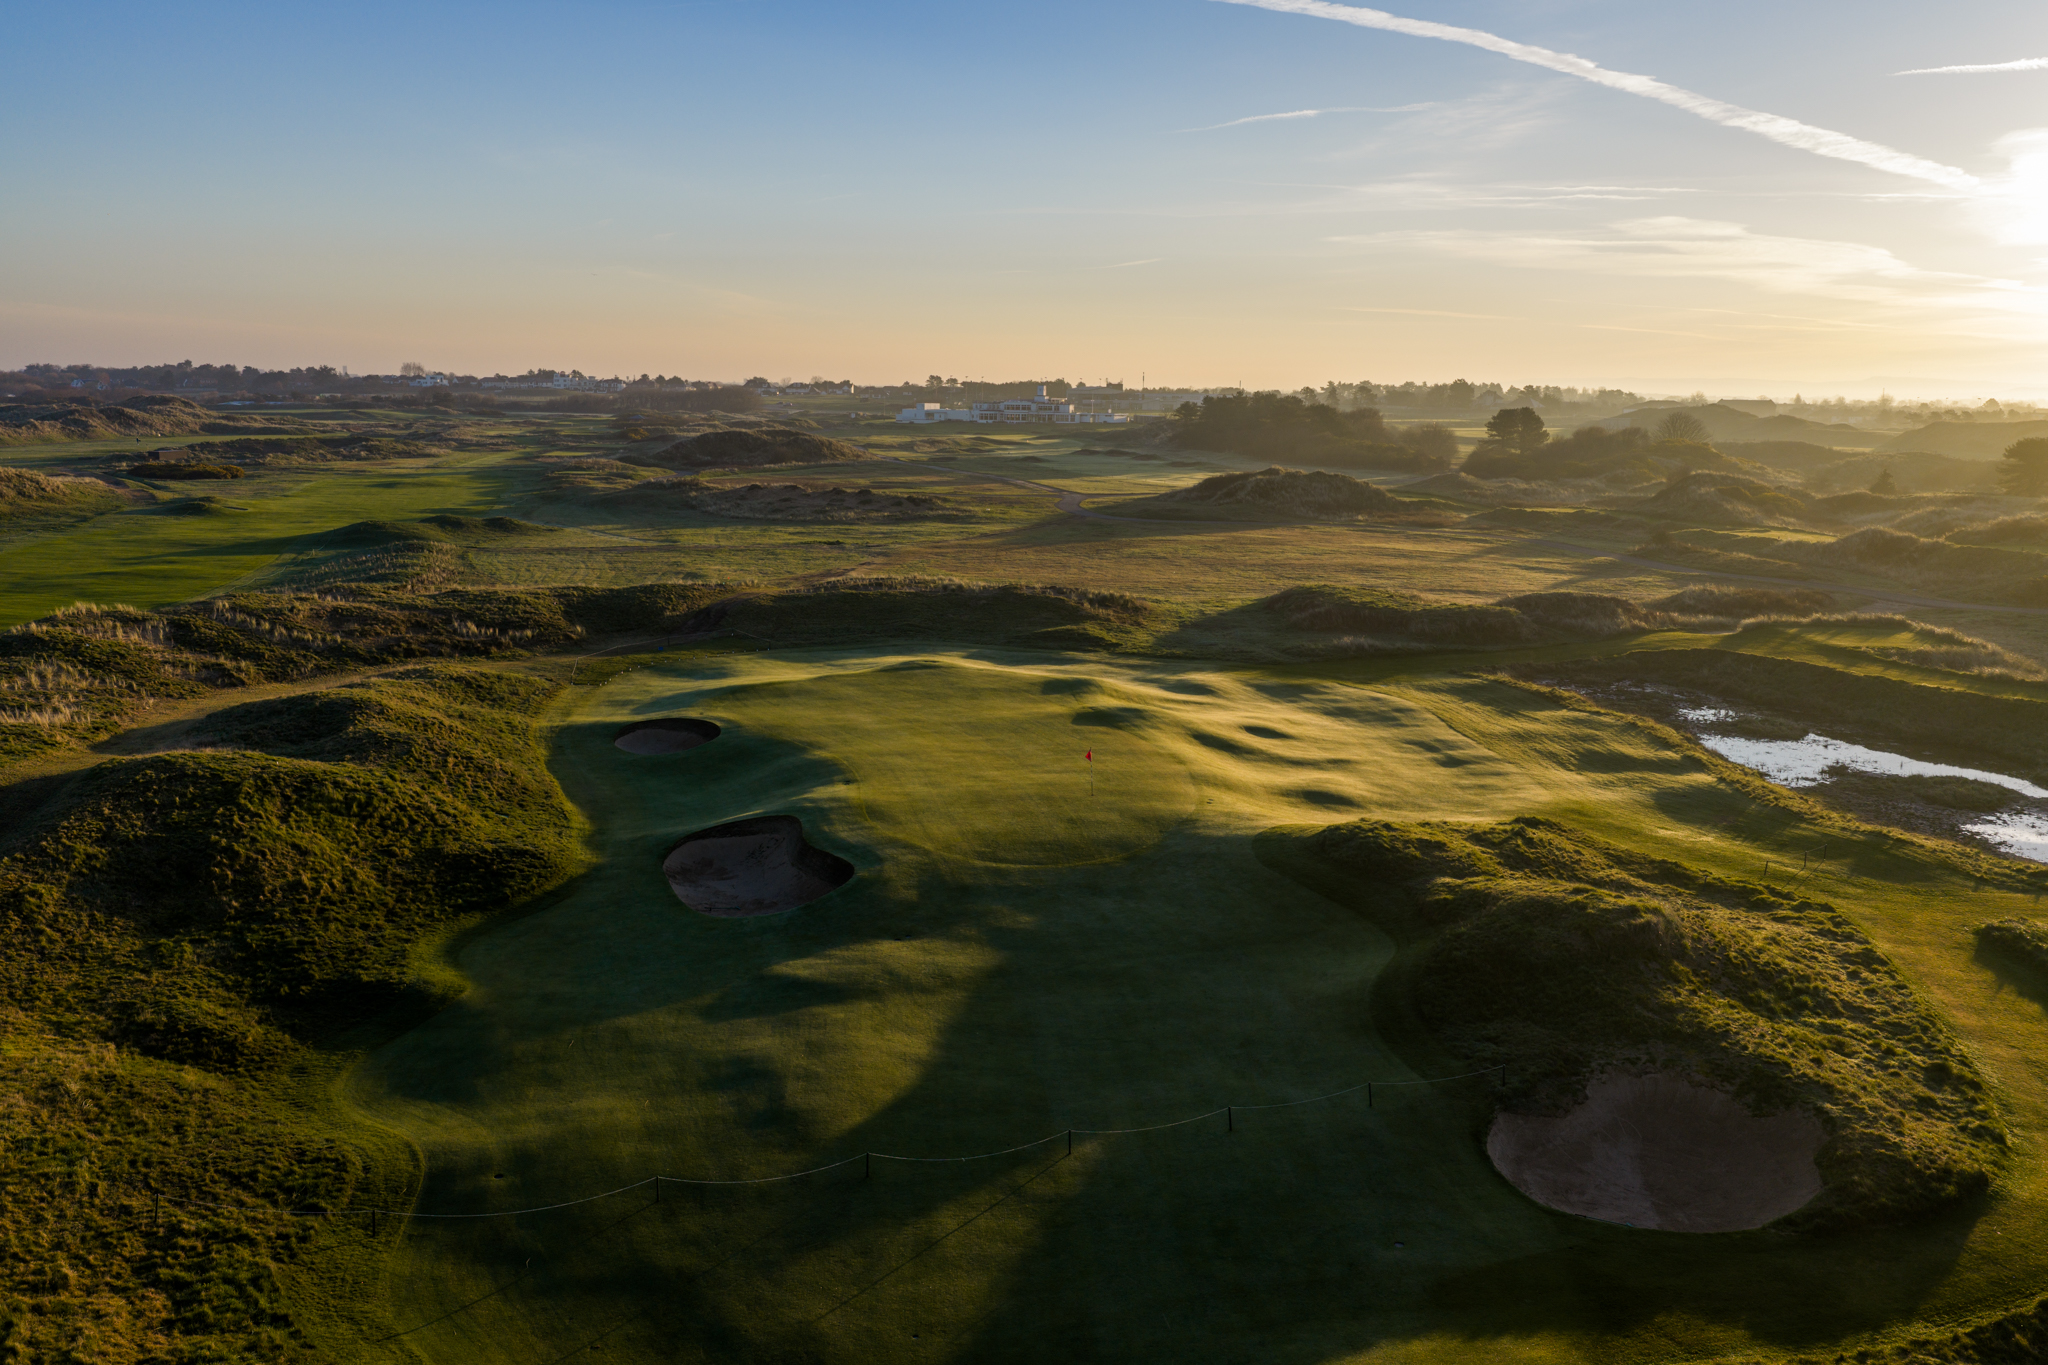
One of the core objectives of the Mackenzie & Ebert renovation project was to create more variety among the par 3s. Previously, three of the par 3s played in the same direction, and in certain wind conditions, players might find themselves hitting the same club into all four. Following the creation of the brand new 15th, that is no longer the case. The long 15th plays back toward the clubhouse and forces players to hit a long iron or wood from the back tee box, depending on the wind. Bunkers protect the left side of the green; one of the steepest runoff areas on the course protects the right.

.jpg)
.jpg)
Hole 16
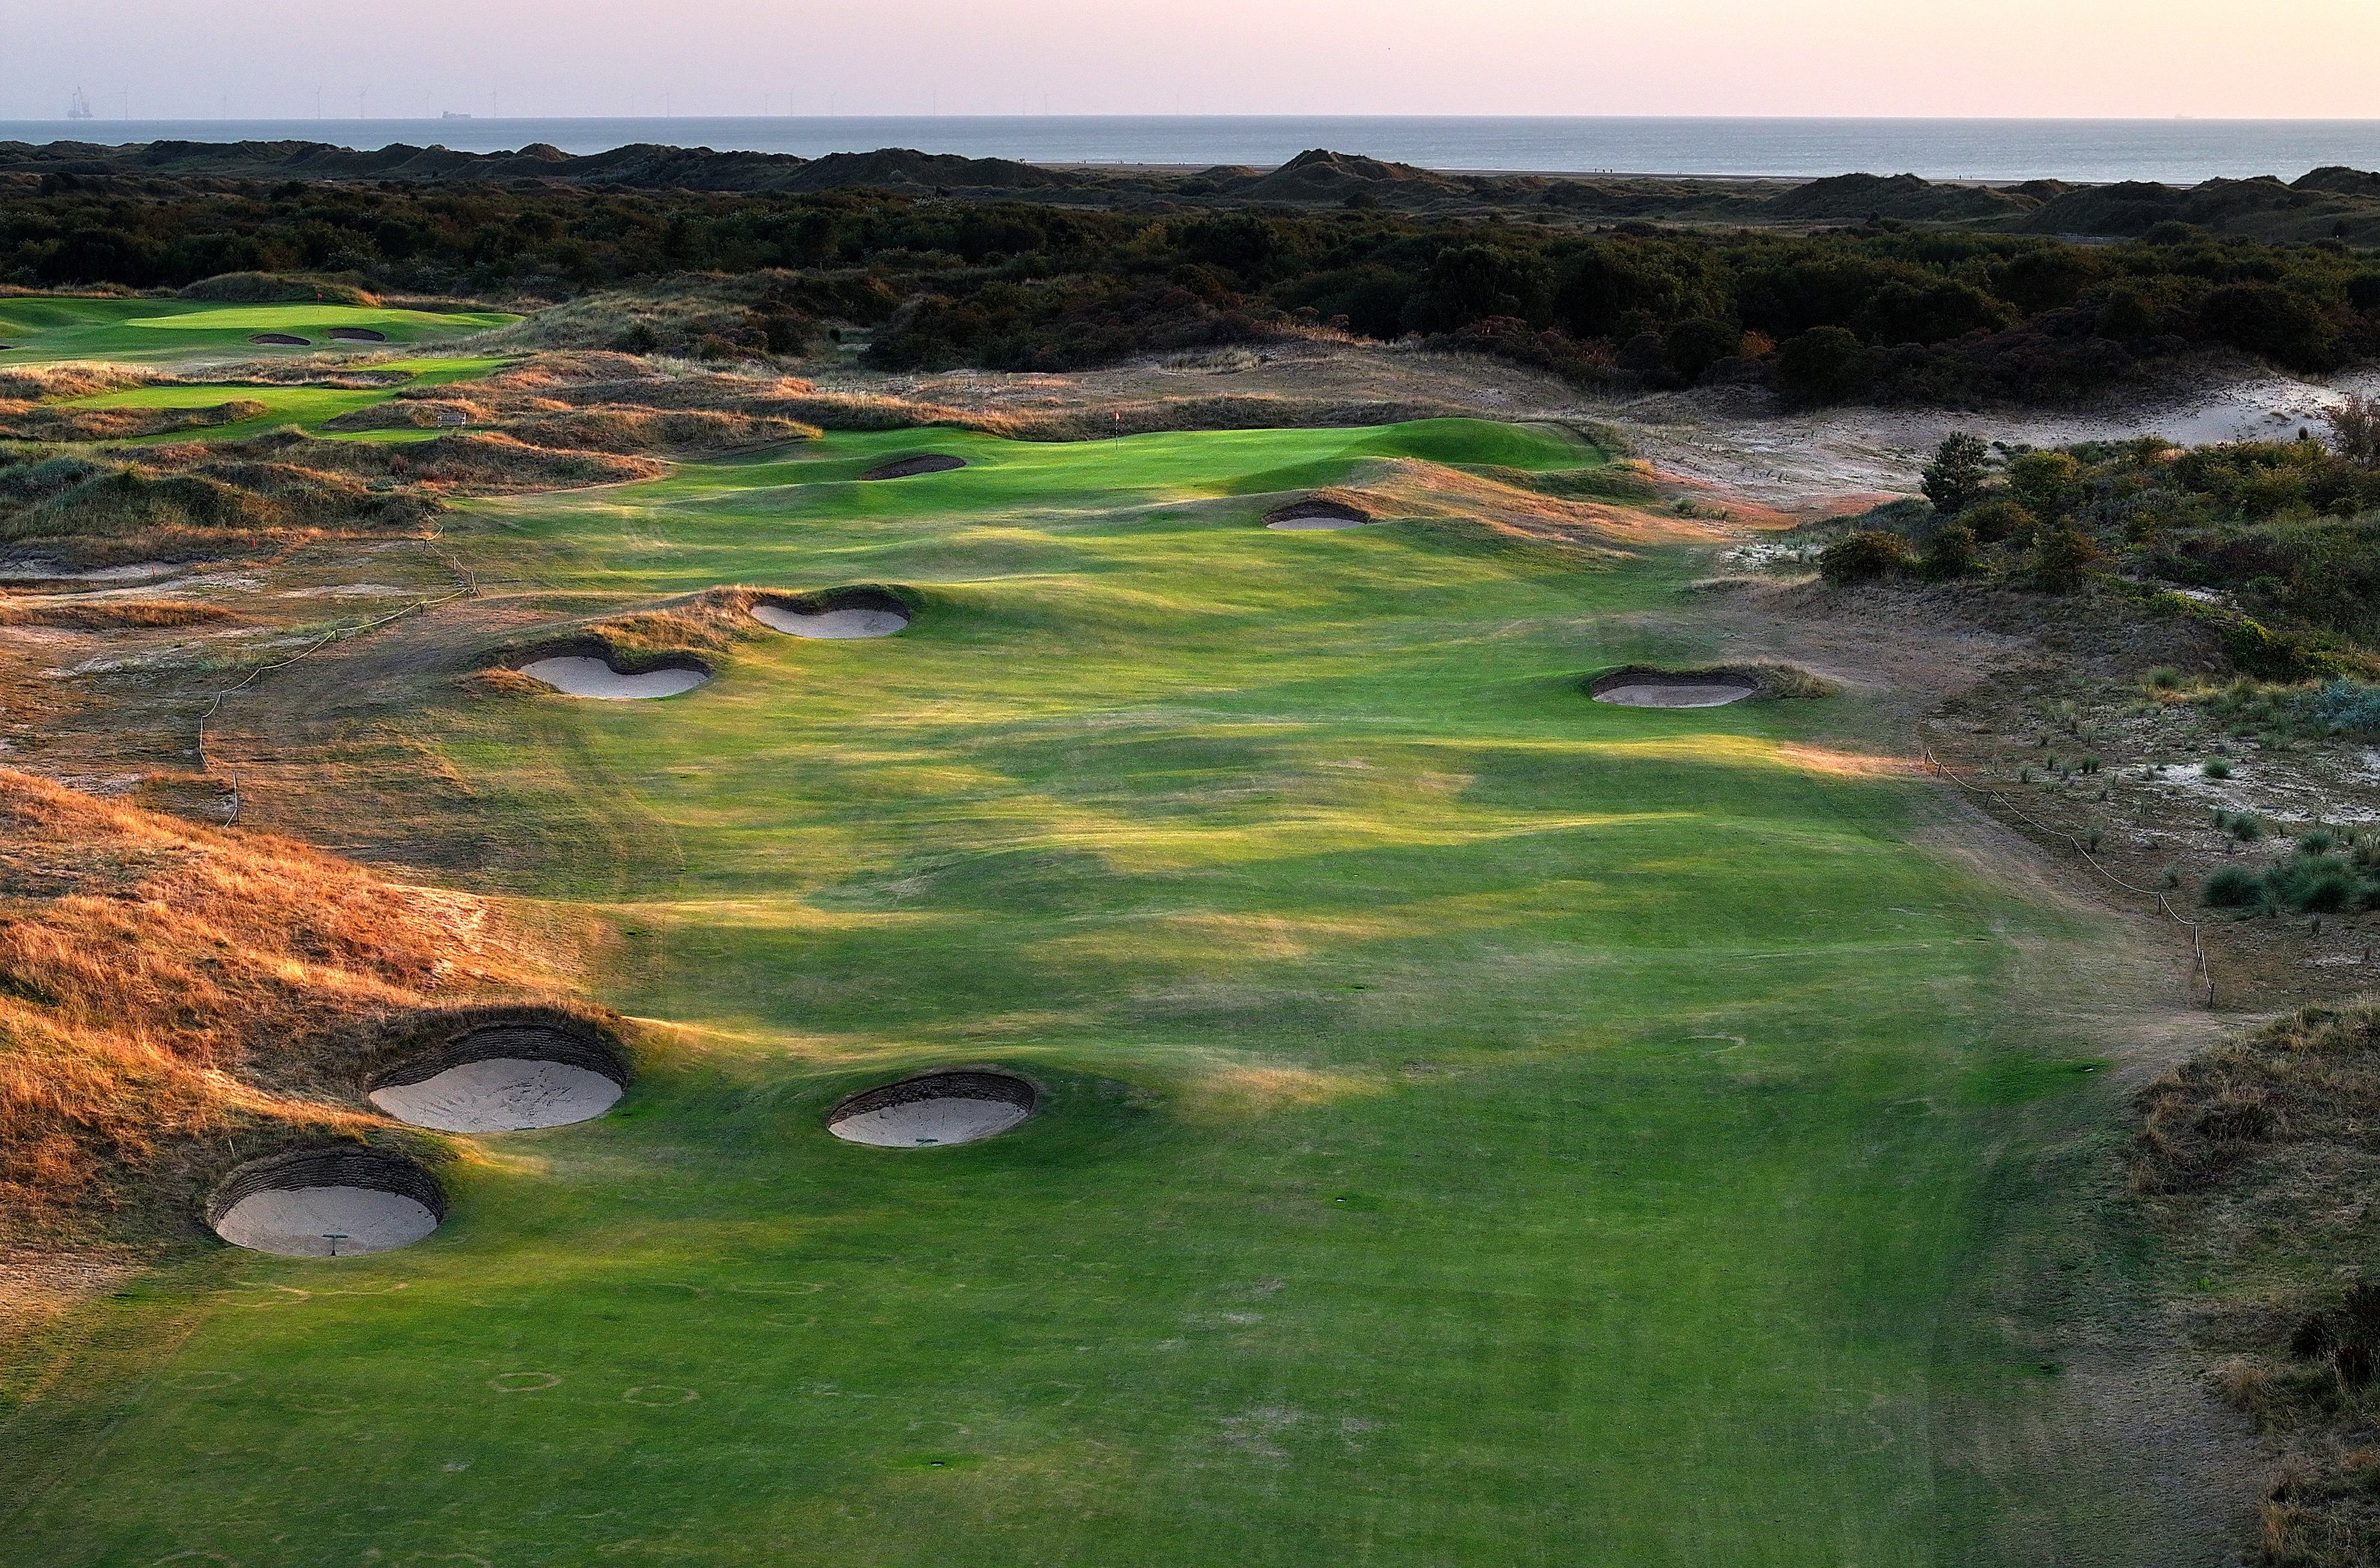
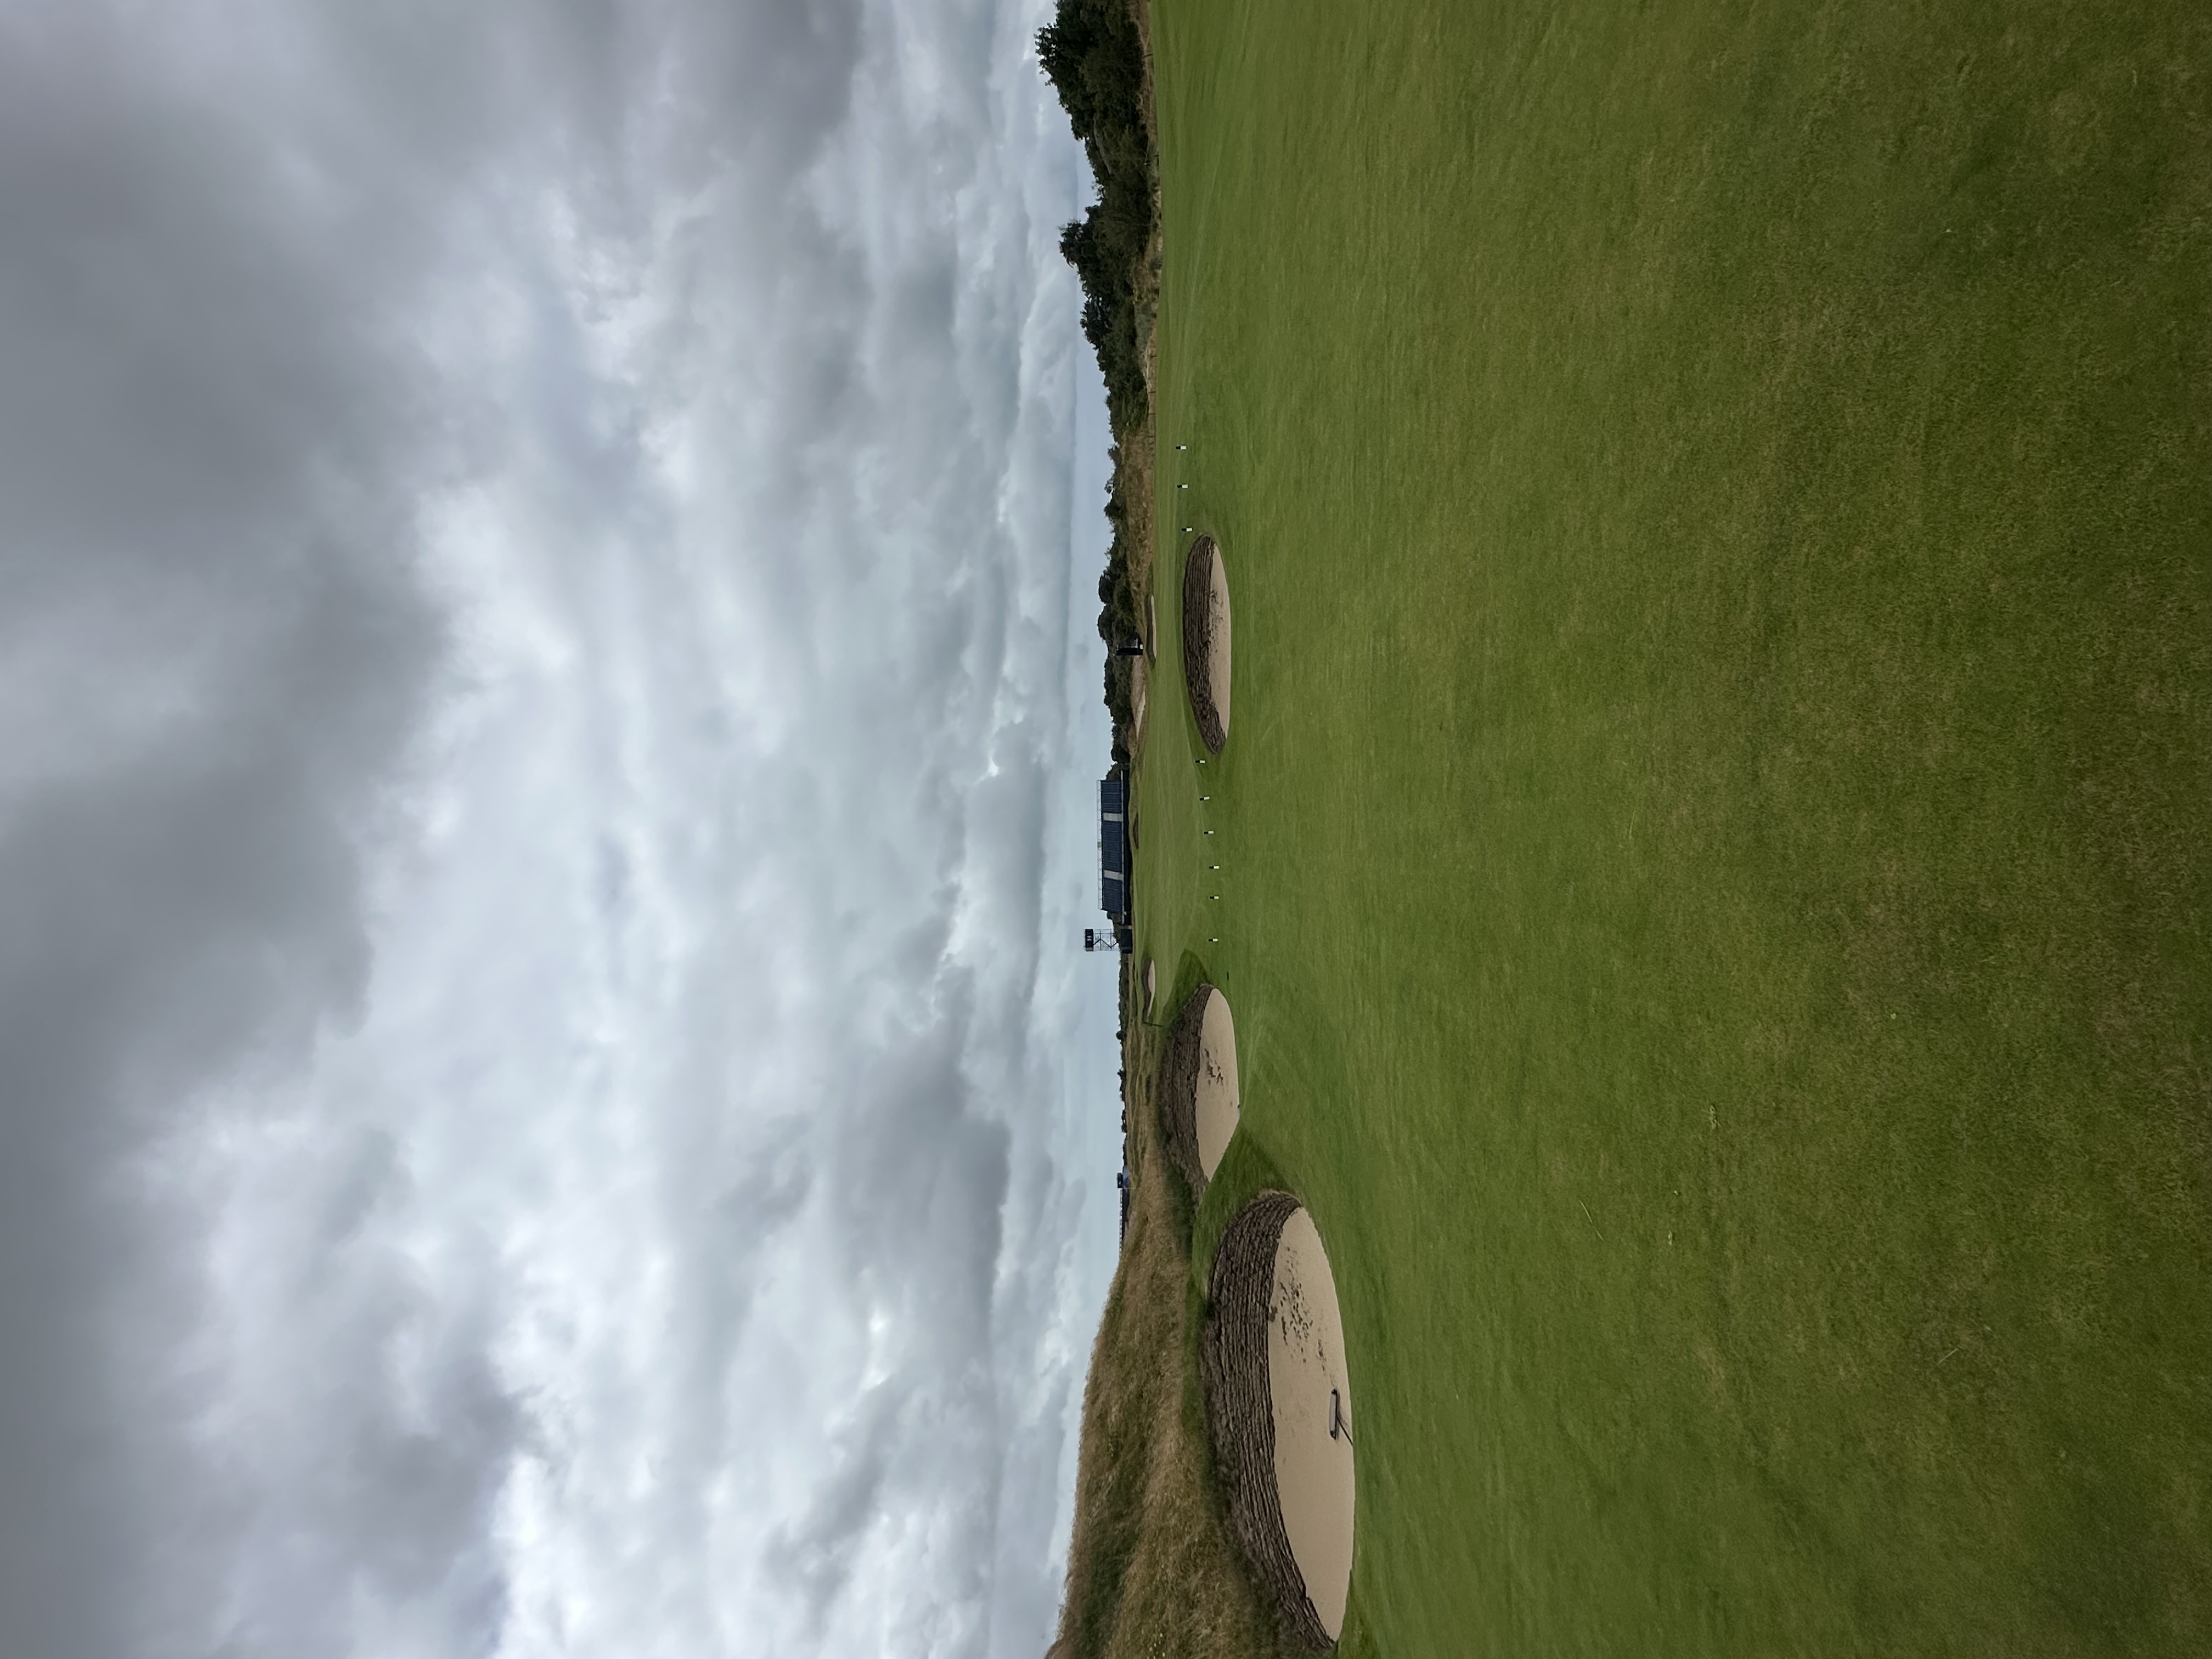
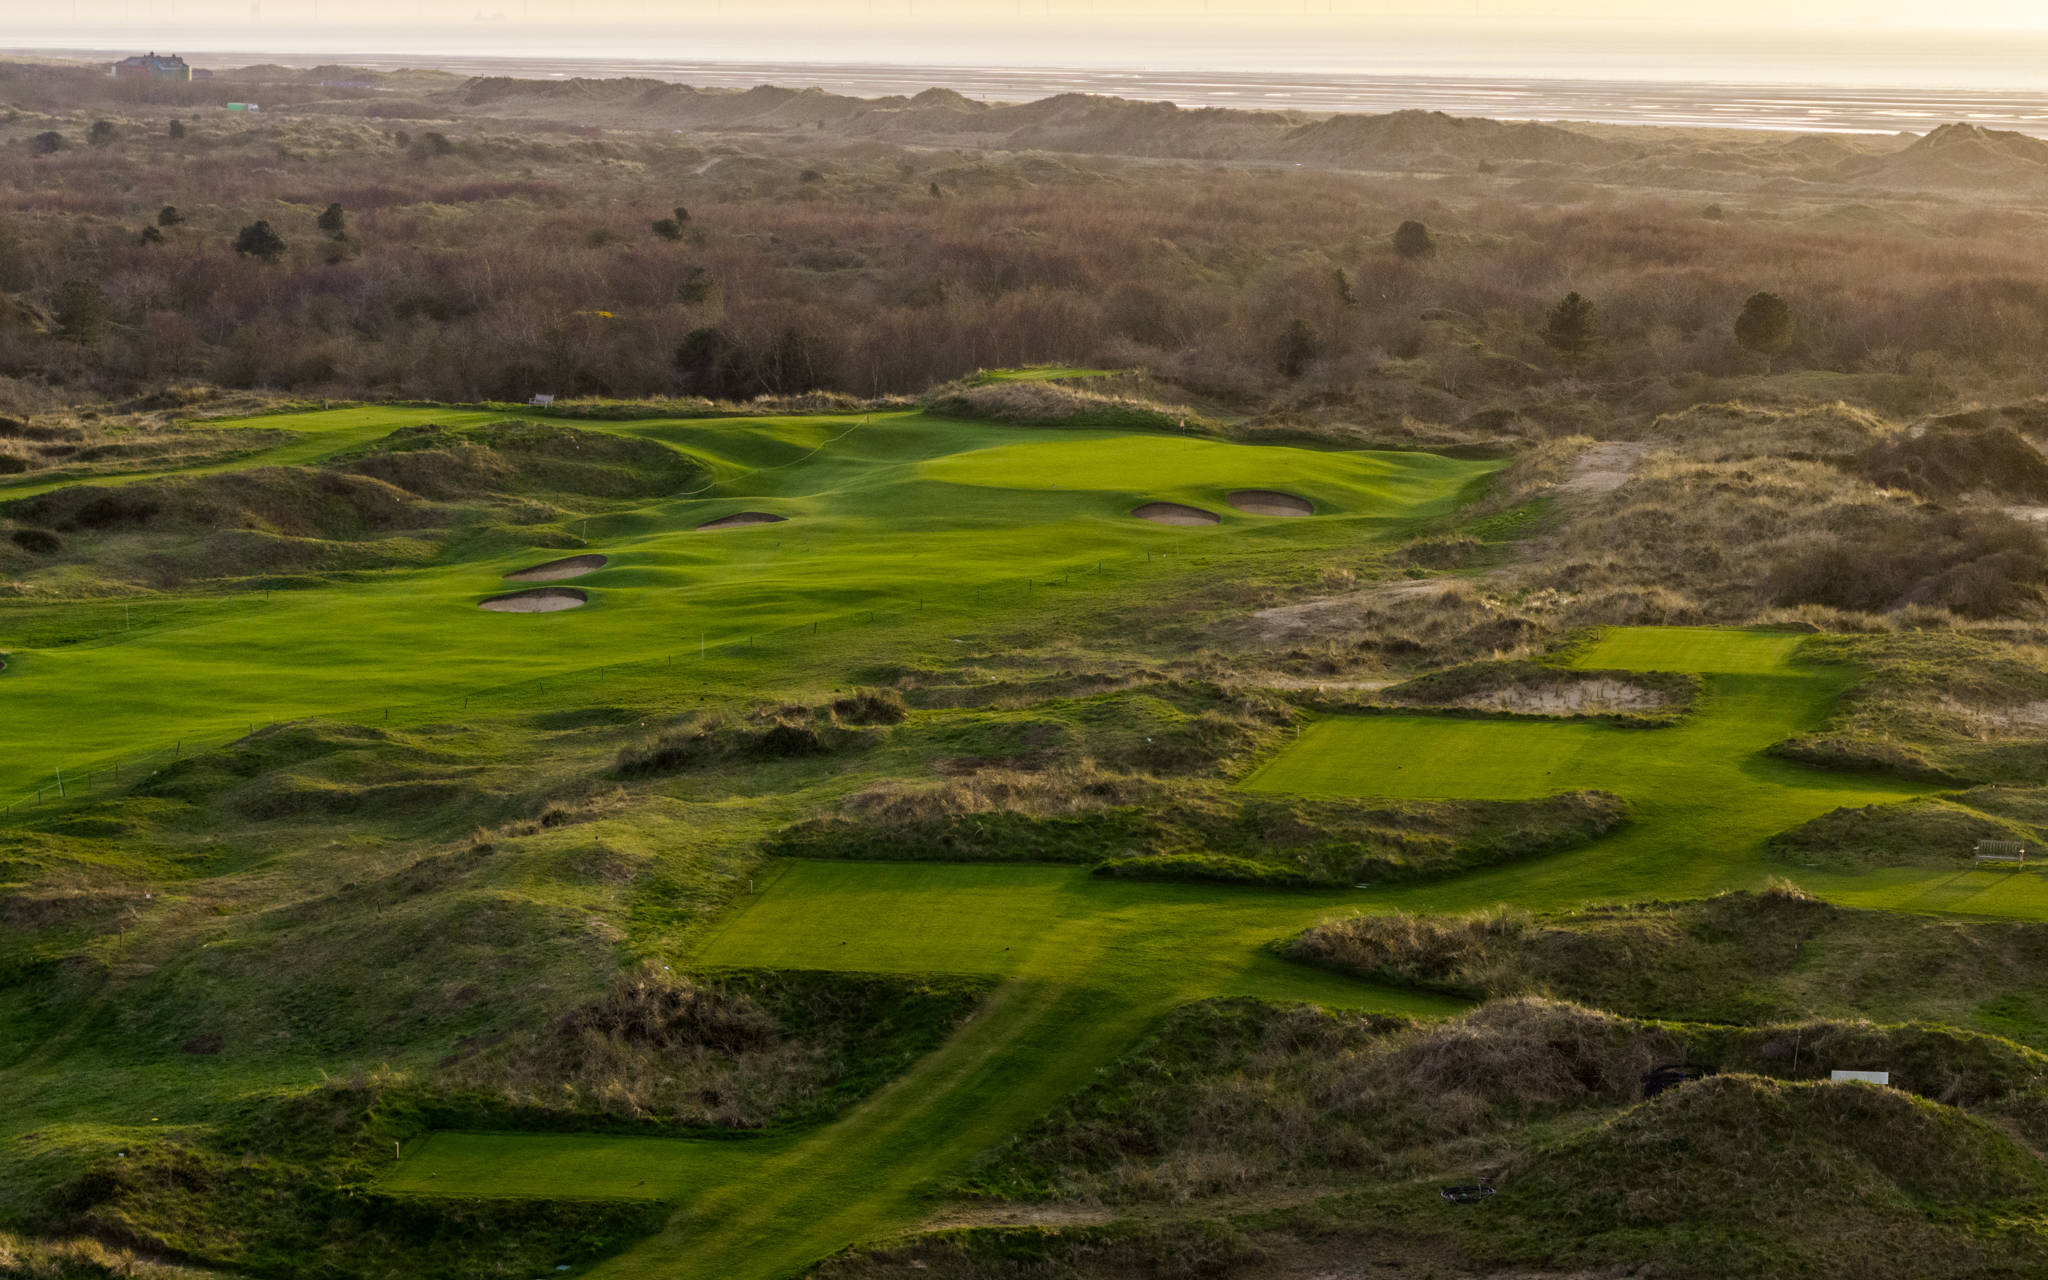
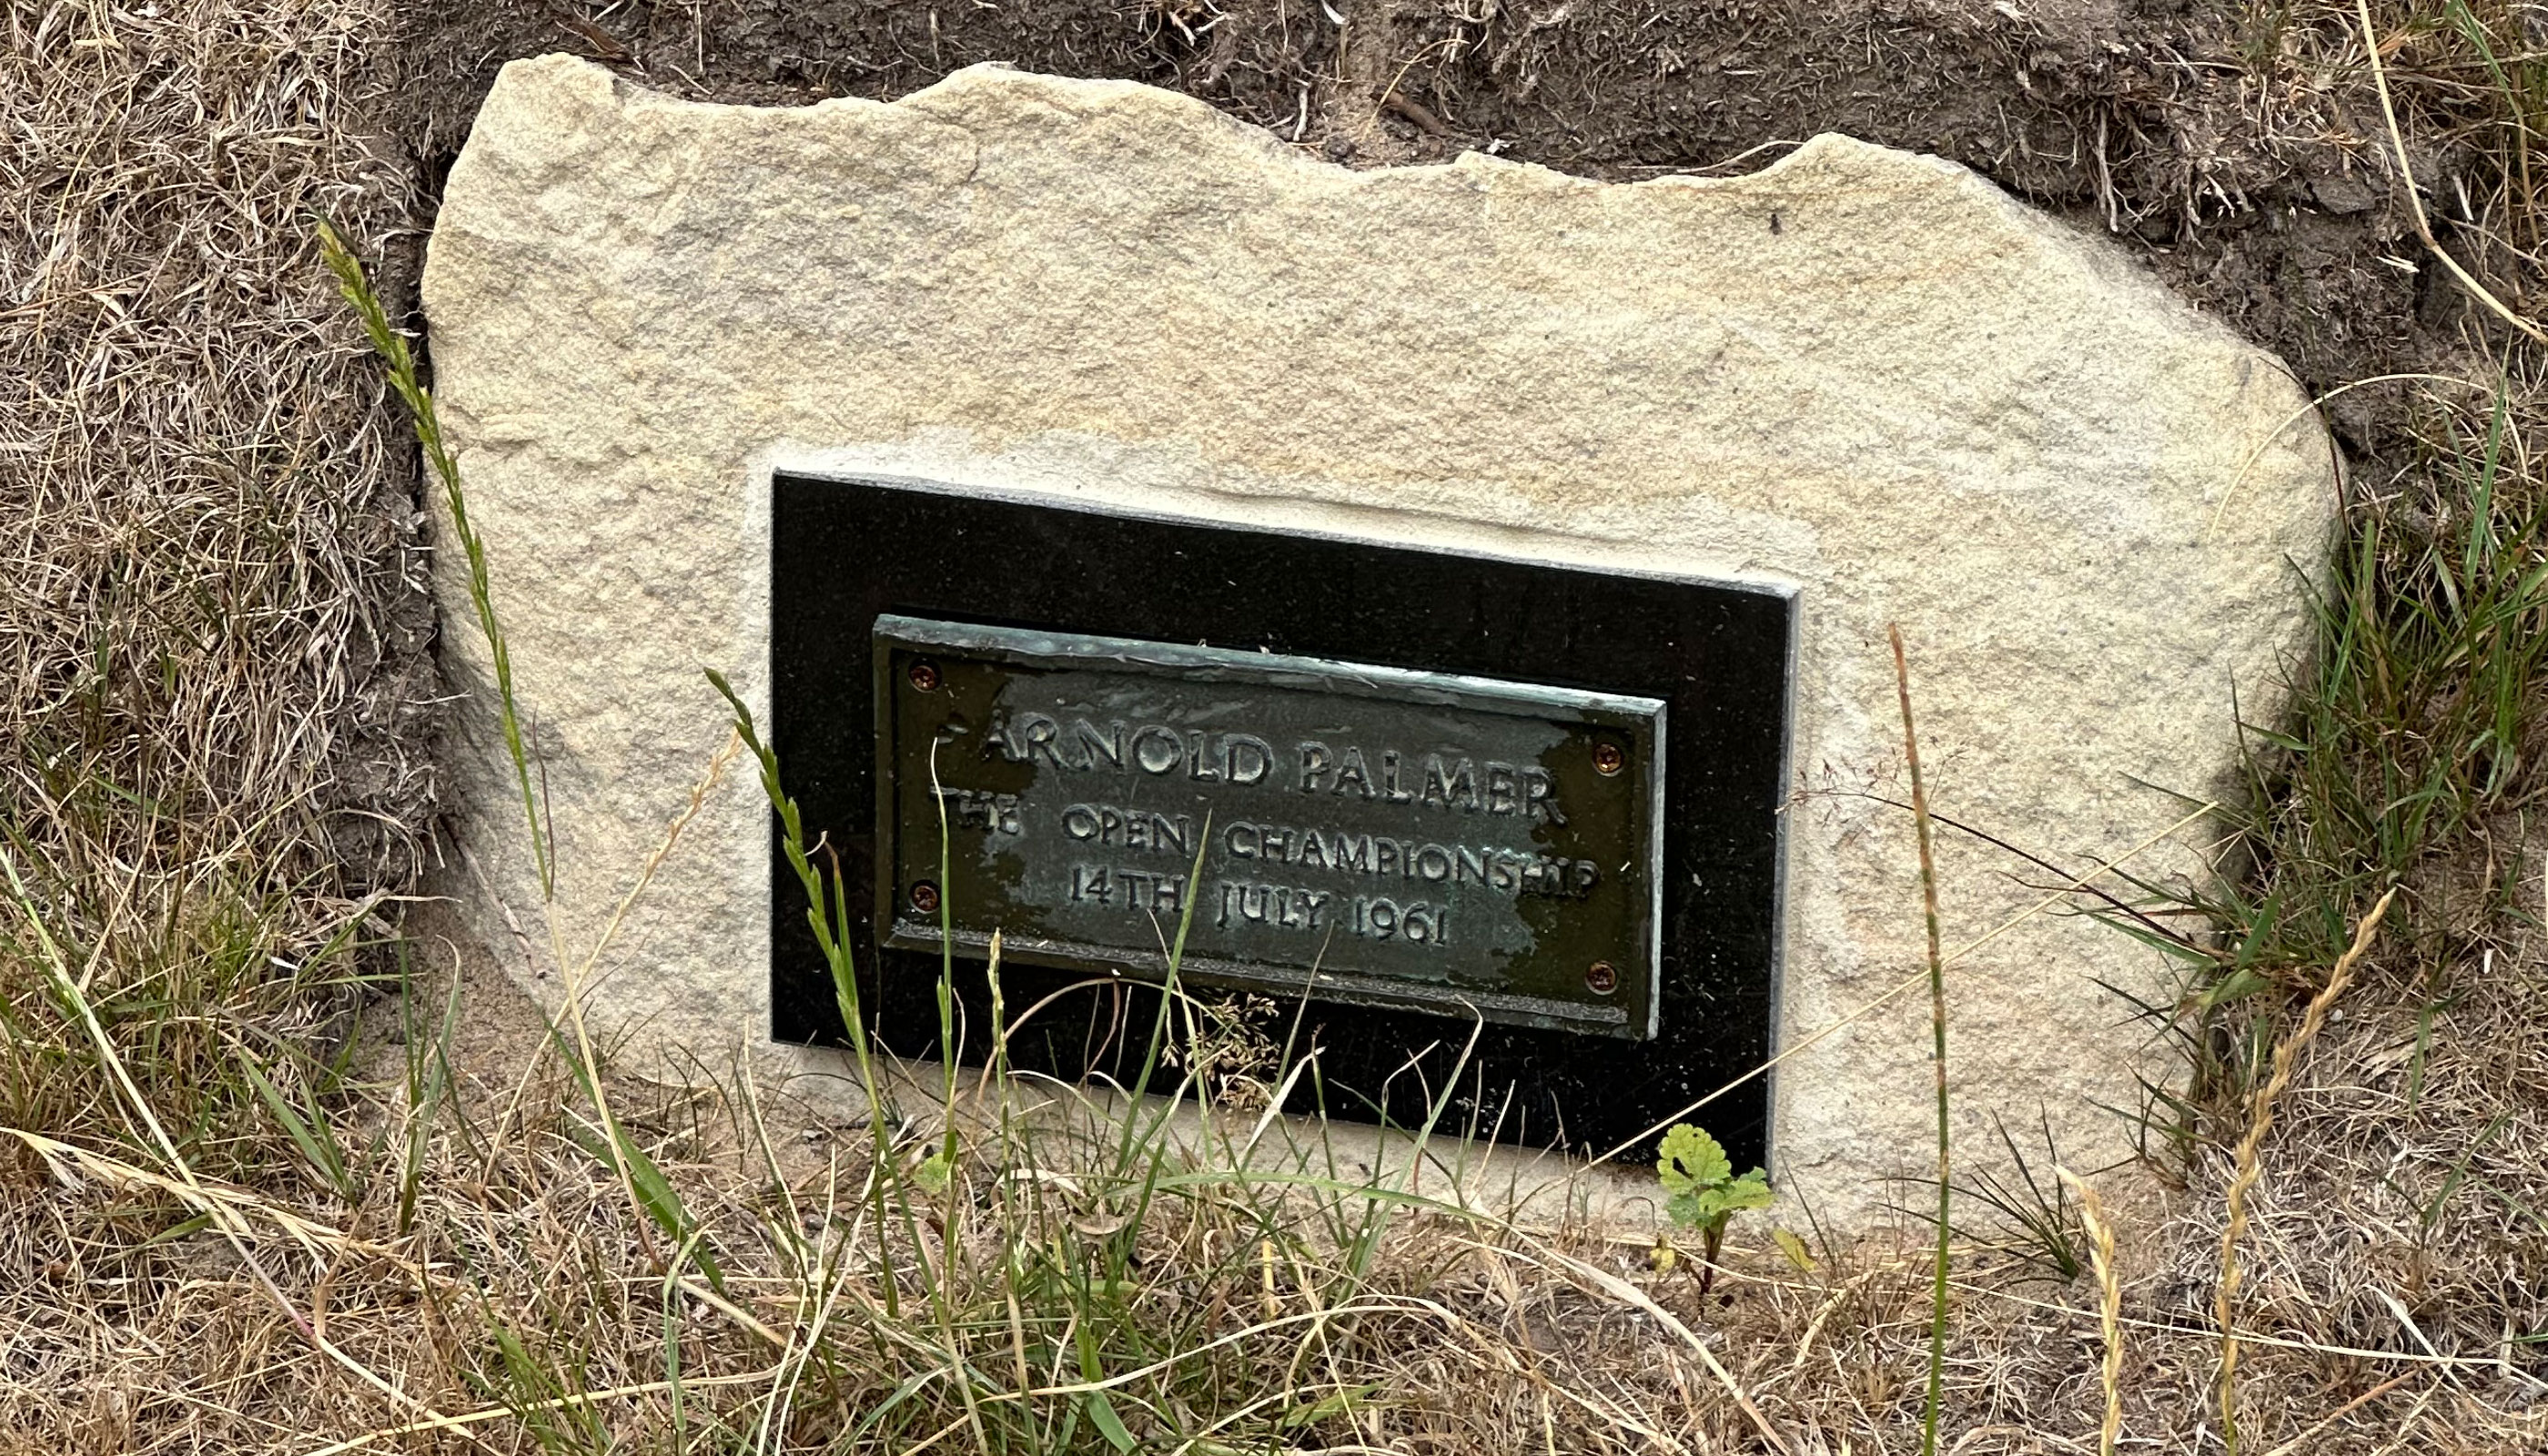
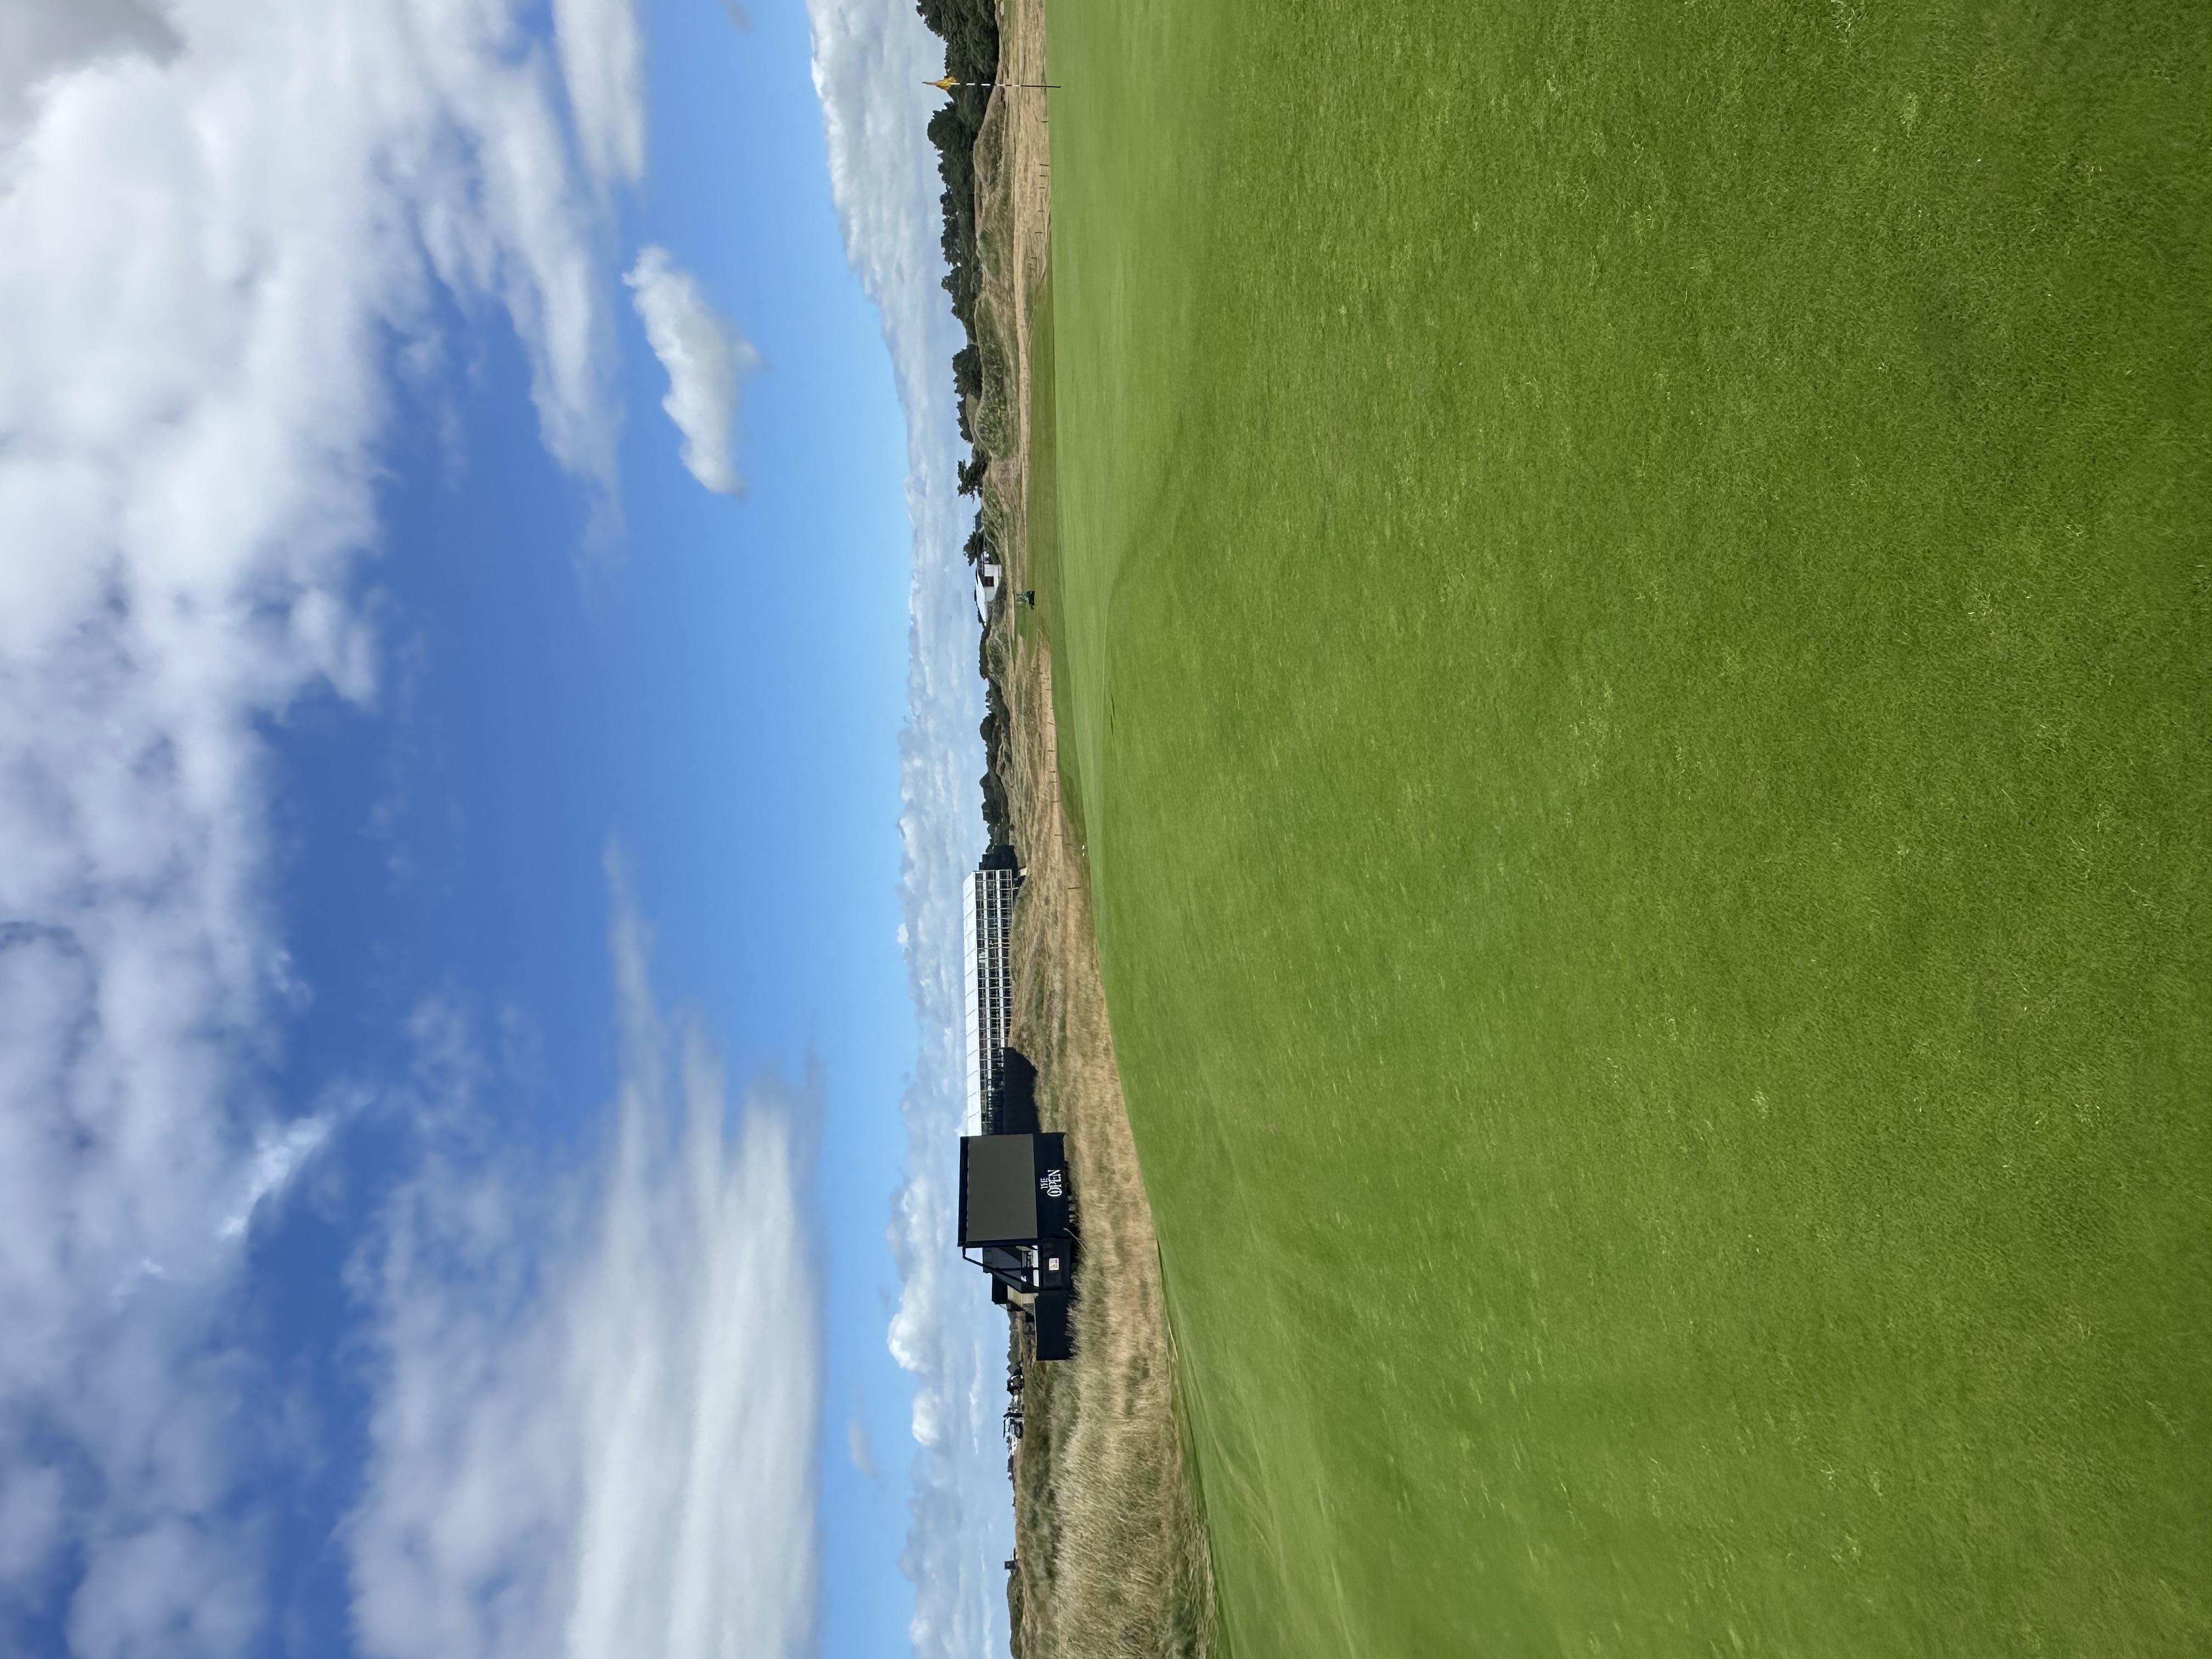
No. 16 contains a rare design feature at Royal Birkdale: a bunker in the middle of the fairway, 311 yards from the back tee. On most holes at Birkdale, bunkers are positioned left or right of the fairway. The short par 4 plays longer than its scorecard length, the approach shot back uphill and into the wind to an elevated green surrounded by severe runoff areas. Right of the fairway, a plaque commemorates a tremendous recovery shot Arnold Palmer hit with a 6-iron from a bush up and onto the green, a key moment in Palmer’s first Open Championship victory.
.jpg)
Hole 17
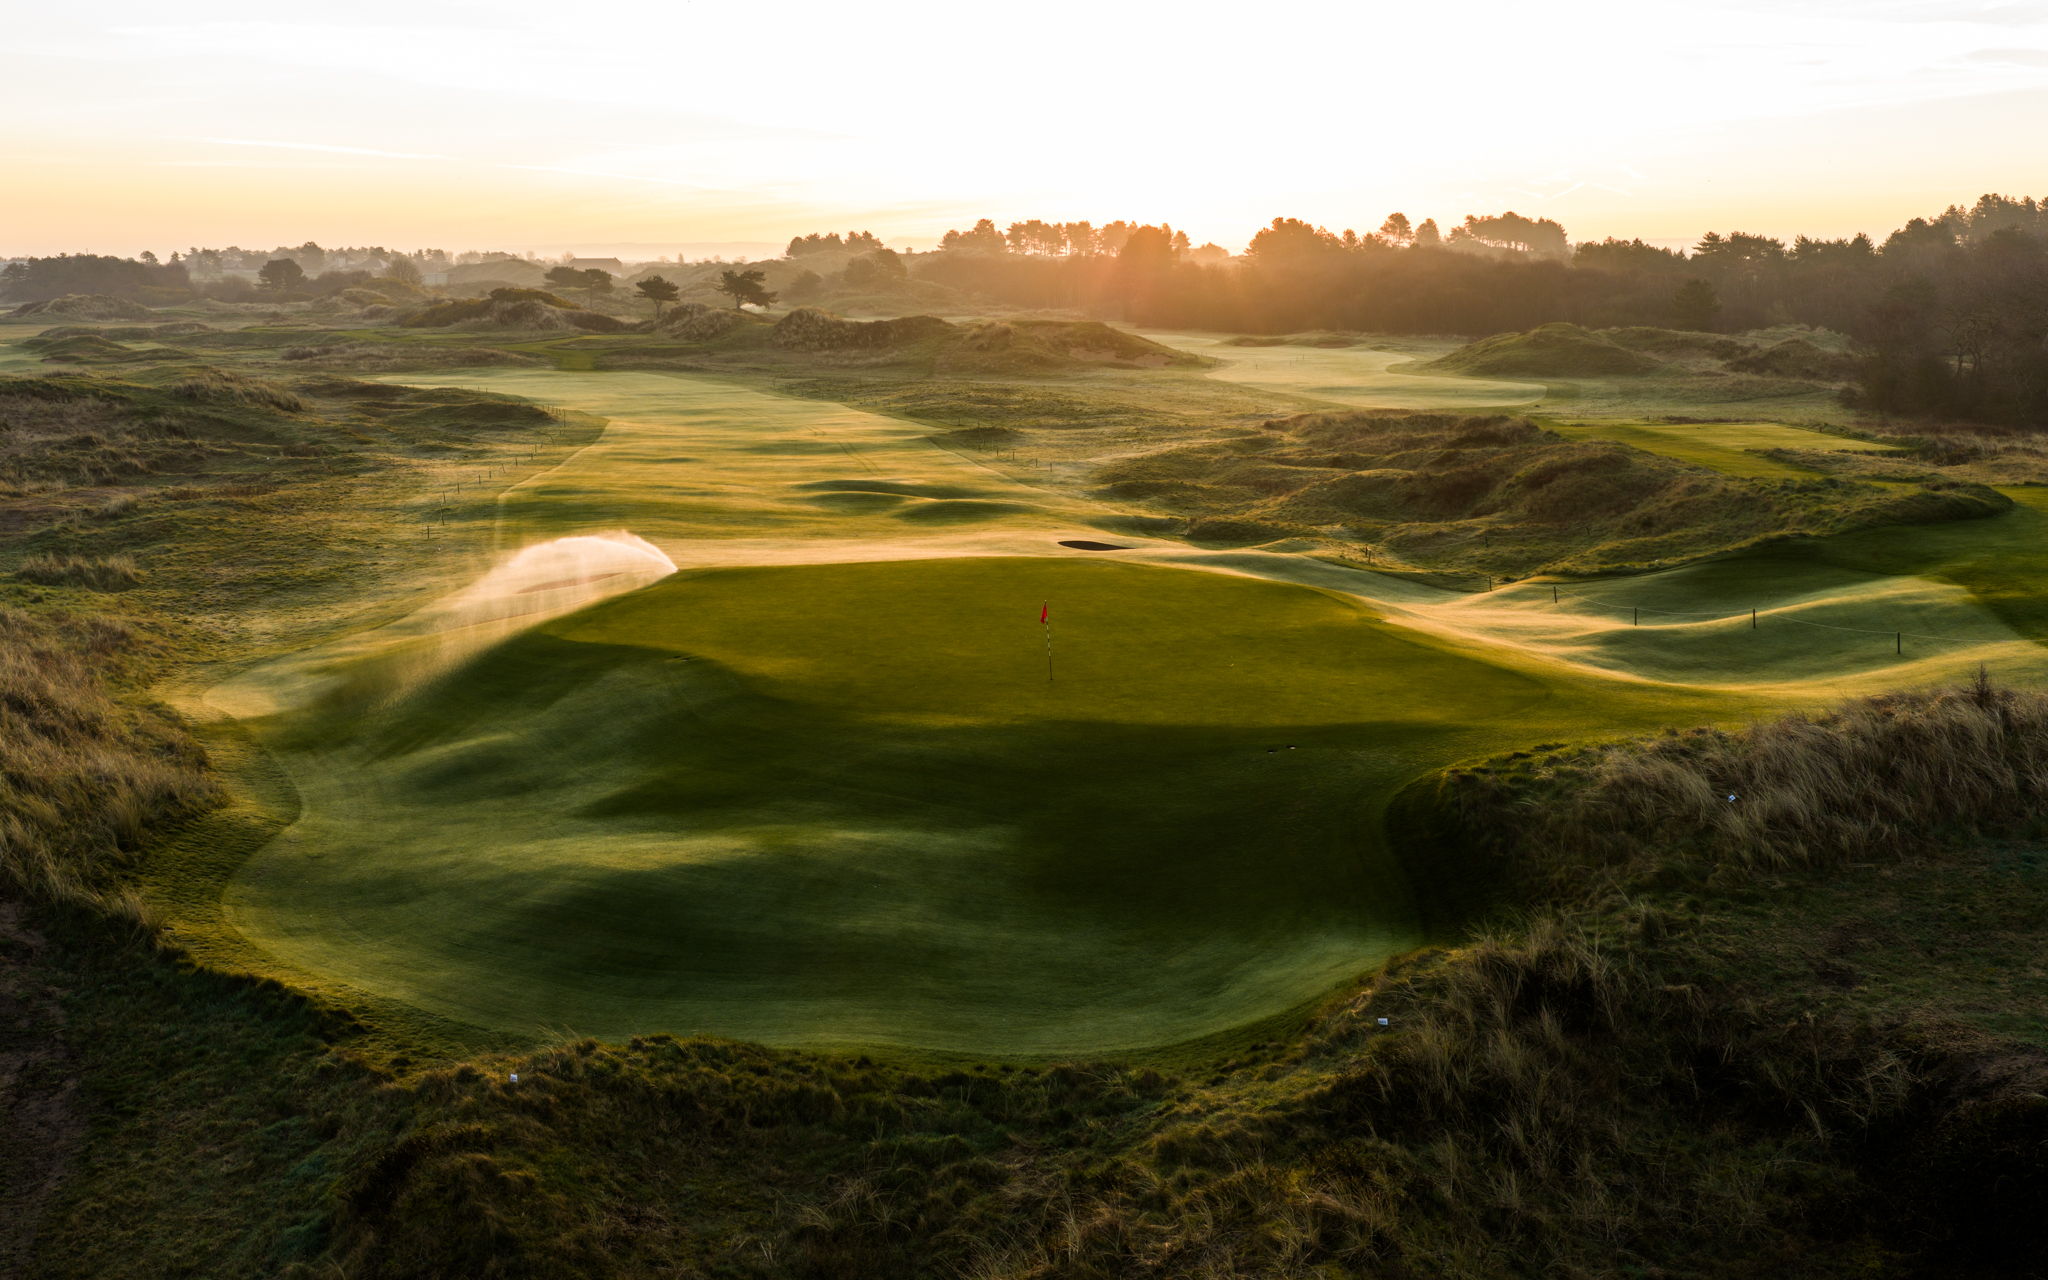
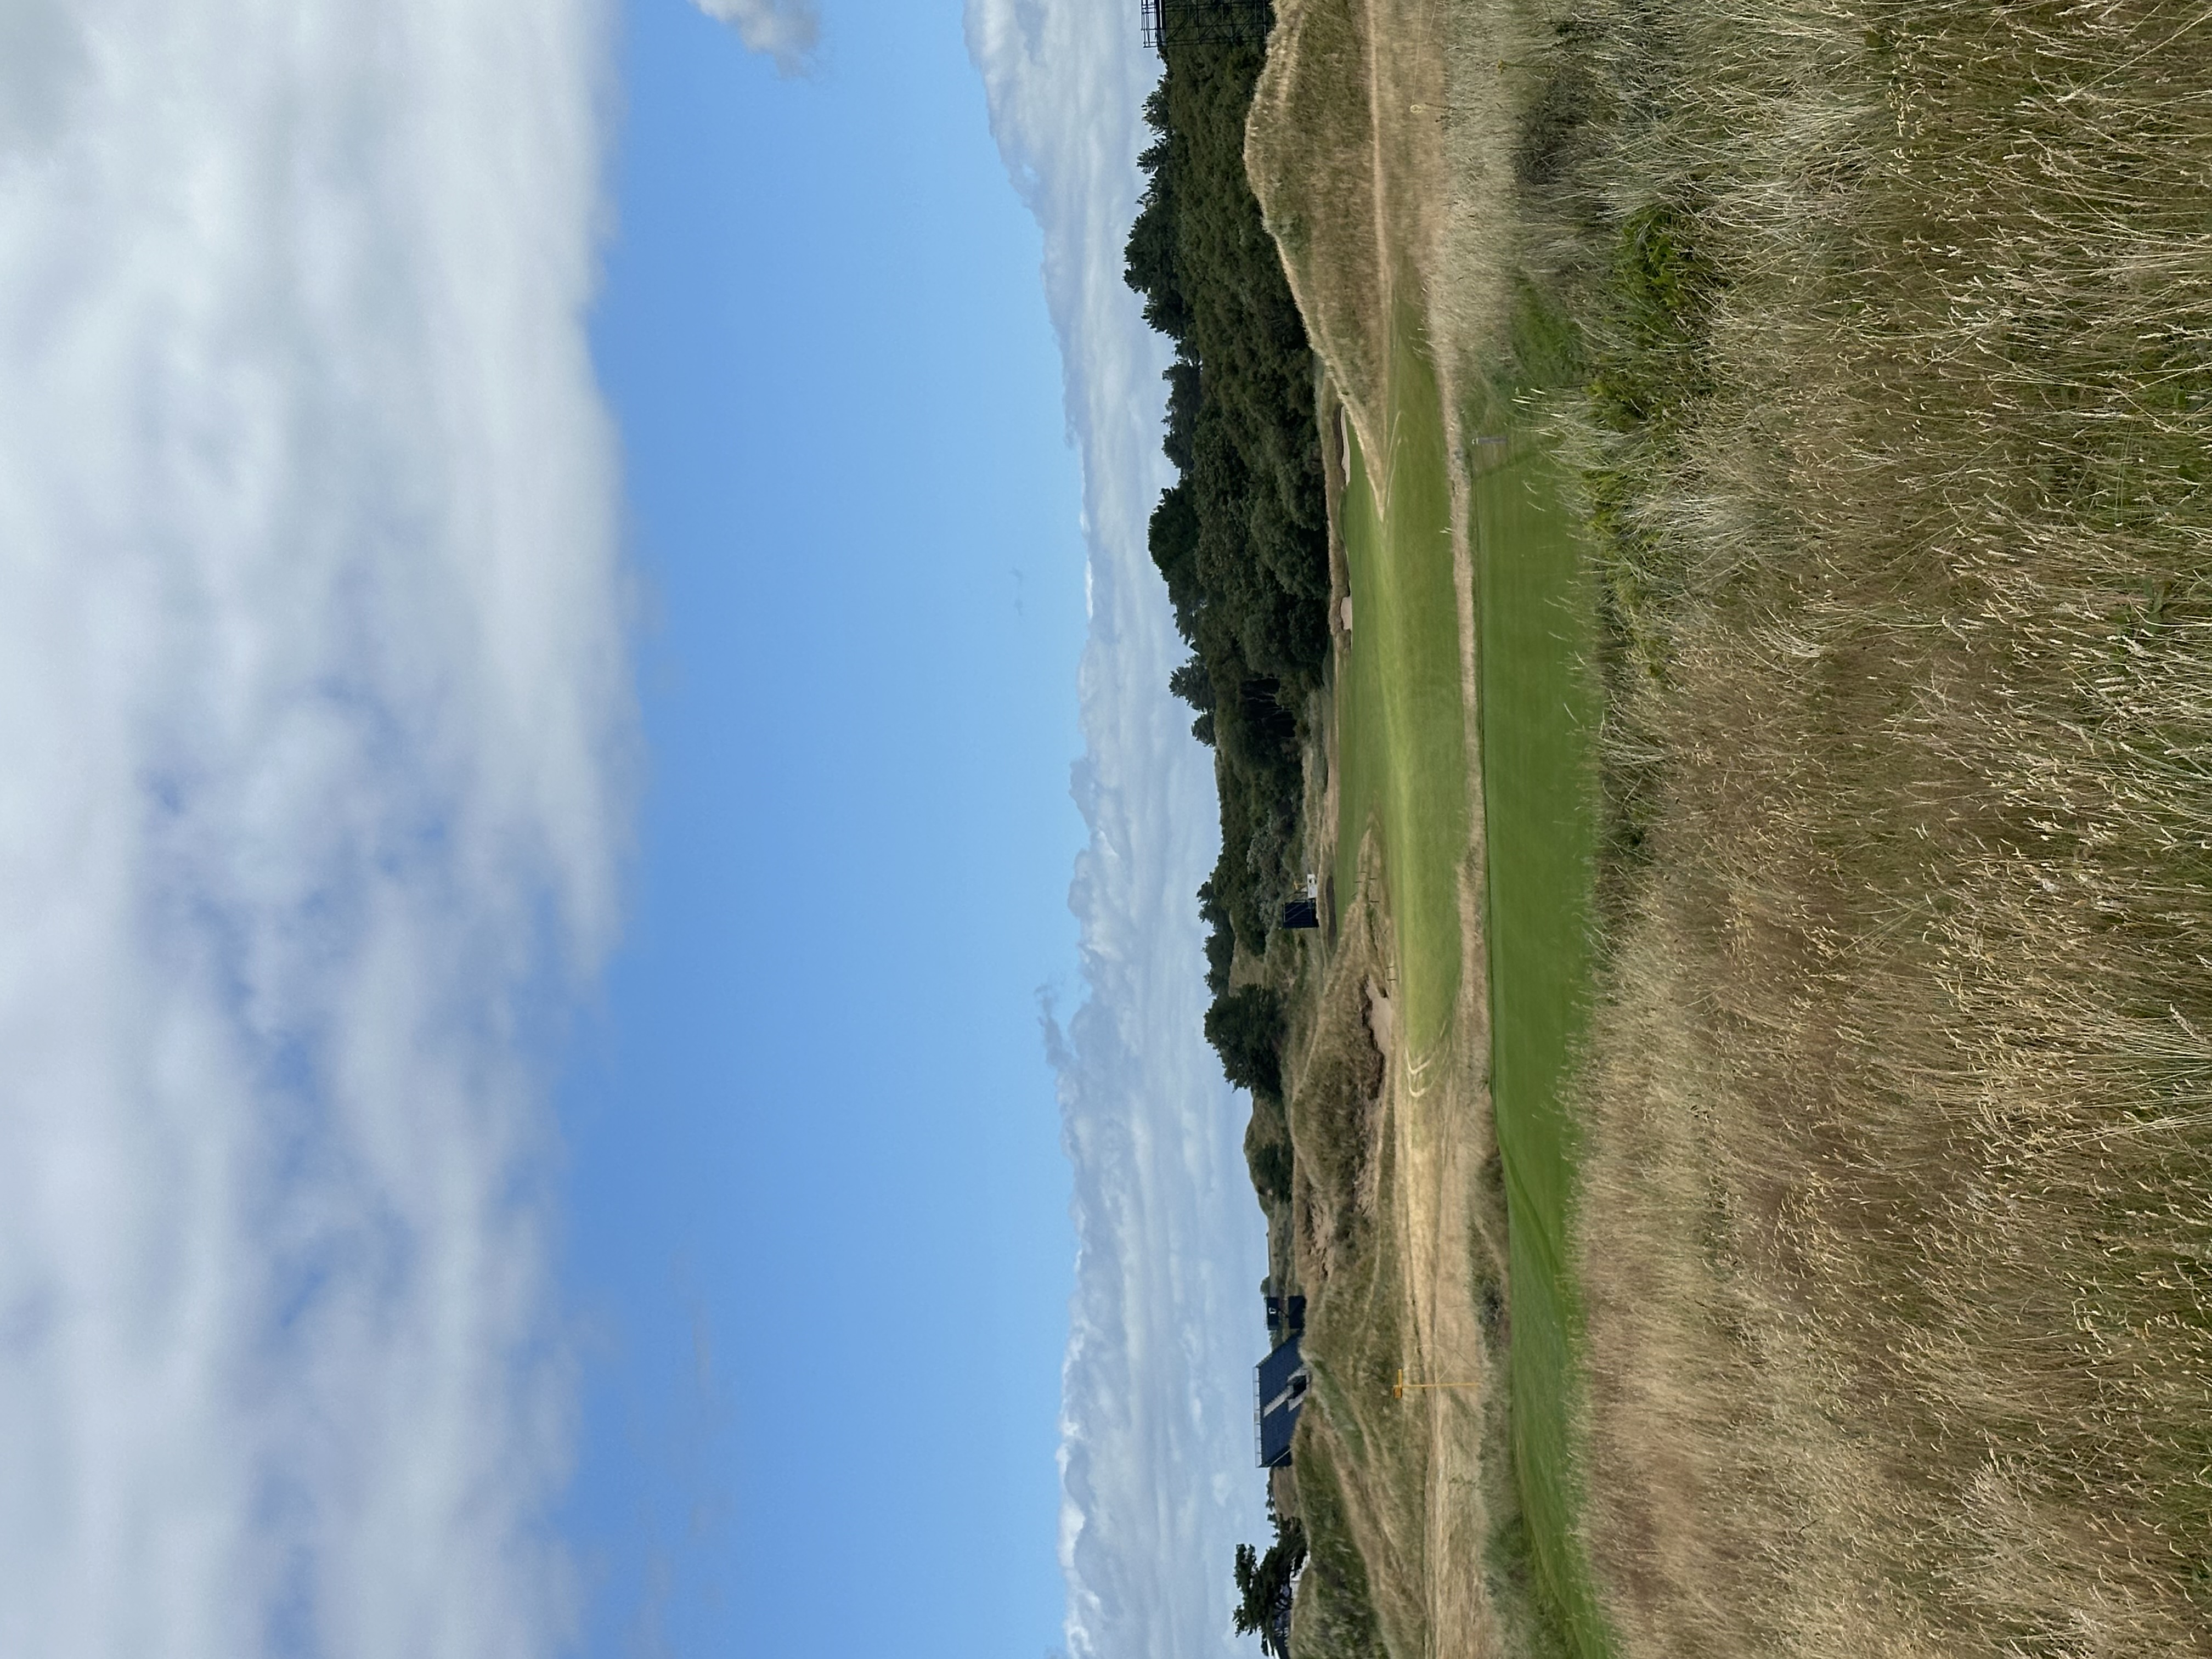
This long par 5 is one of the strongest and most exciting holes on the golf course. A massive blow-out bunker protects the left side of the fairway and can be carried by drives that fly more than 290 yards, readily achievable for most professional golfers with the prevailing helping wind. Tee shots that clear the blow-out bunker but steer too far left find dense vegetation. Tee shots that miss right can find one of two fairway bunkers, preventing a go-for-it-in-two opportunity. A narrow neck of fairway runs into a clever, back-to-front sloping green set beautifully among the dunescape. In 2008, Padraig Harrington hit one of the best shots of his career, a magnificent 278-yard 5-wood into No. 17 to set up an eagle and clinch his second consecutive Claret Jug.
.jpg)
.jpg)
.jpg)
.jpg)
Hole 18
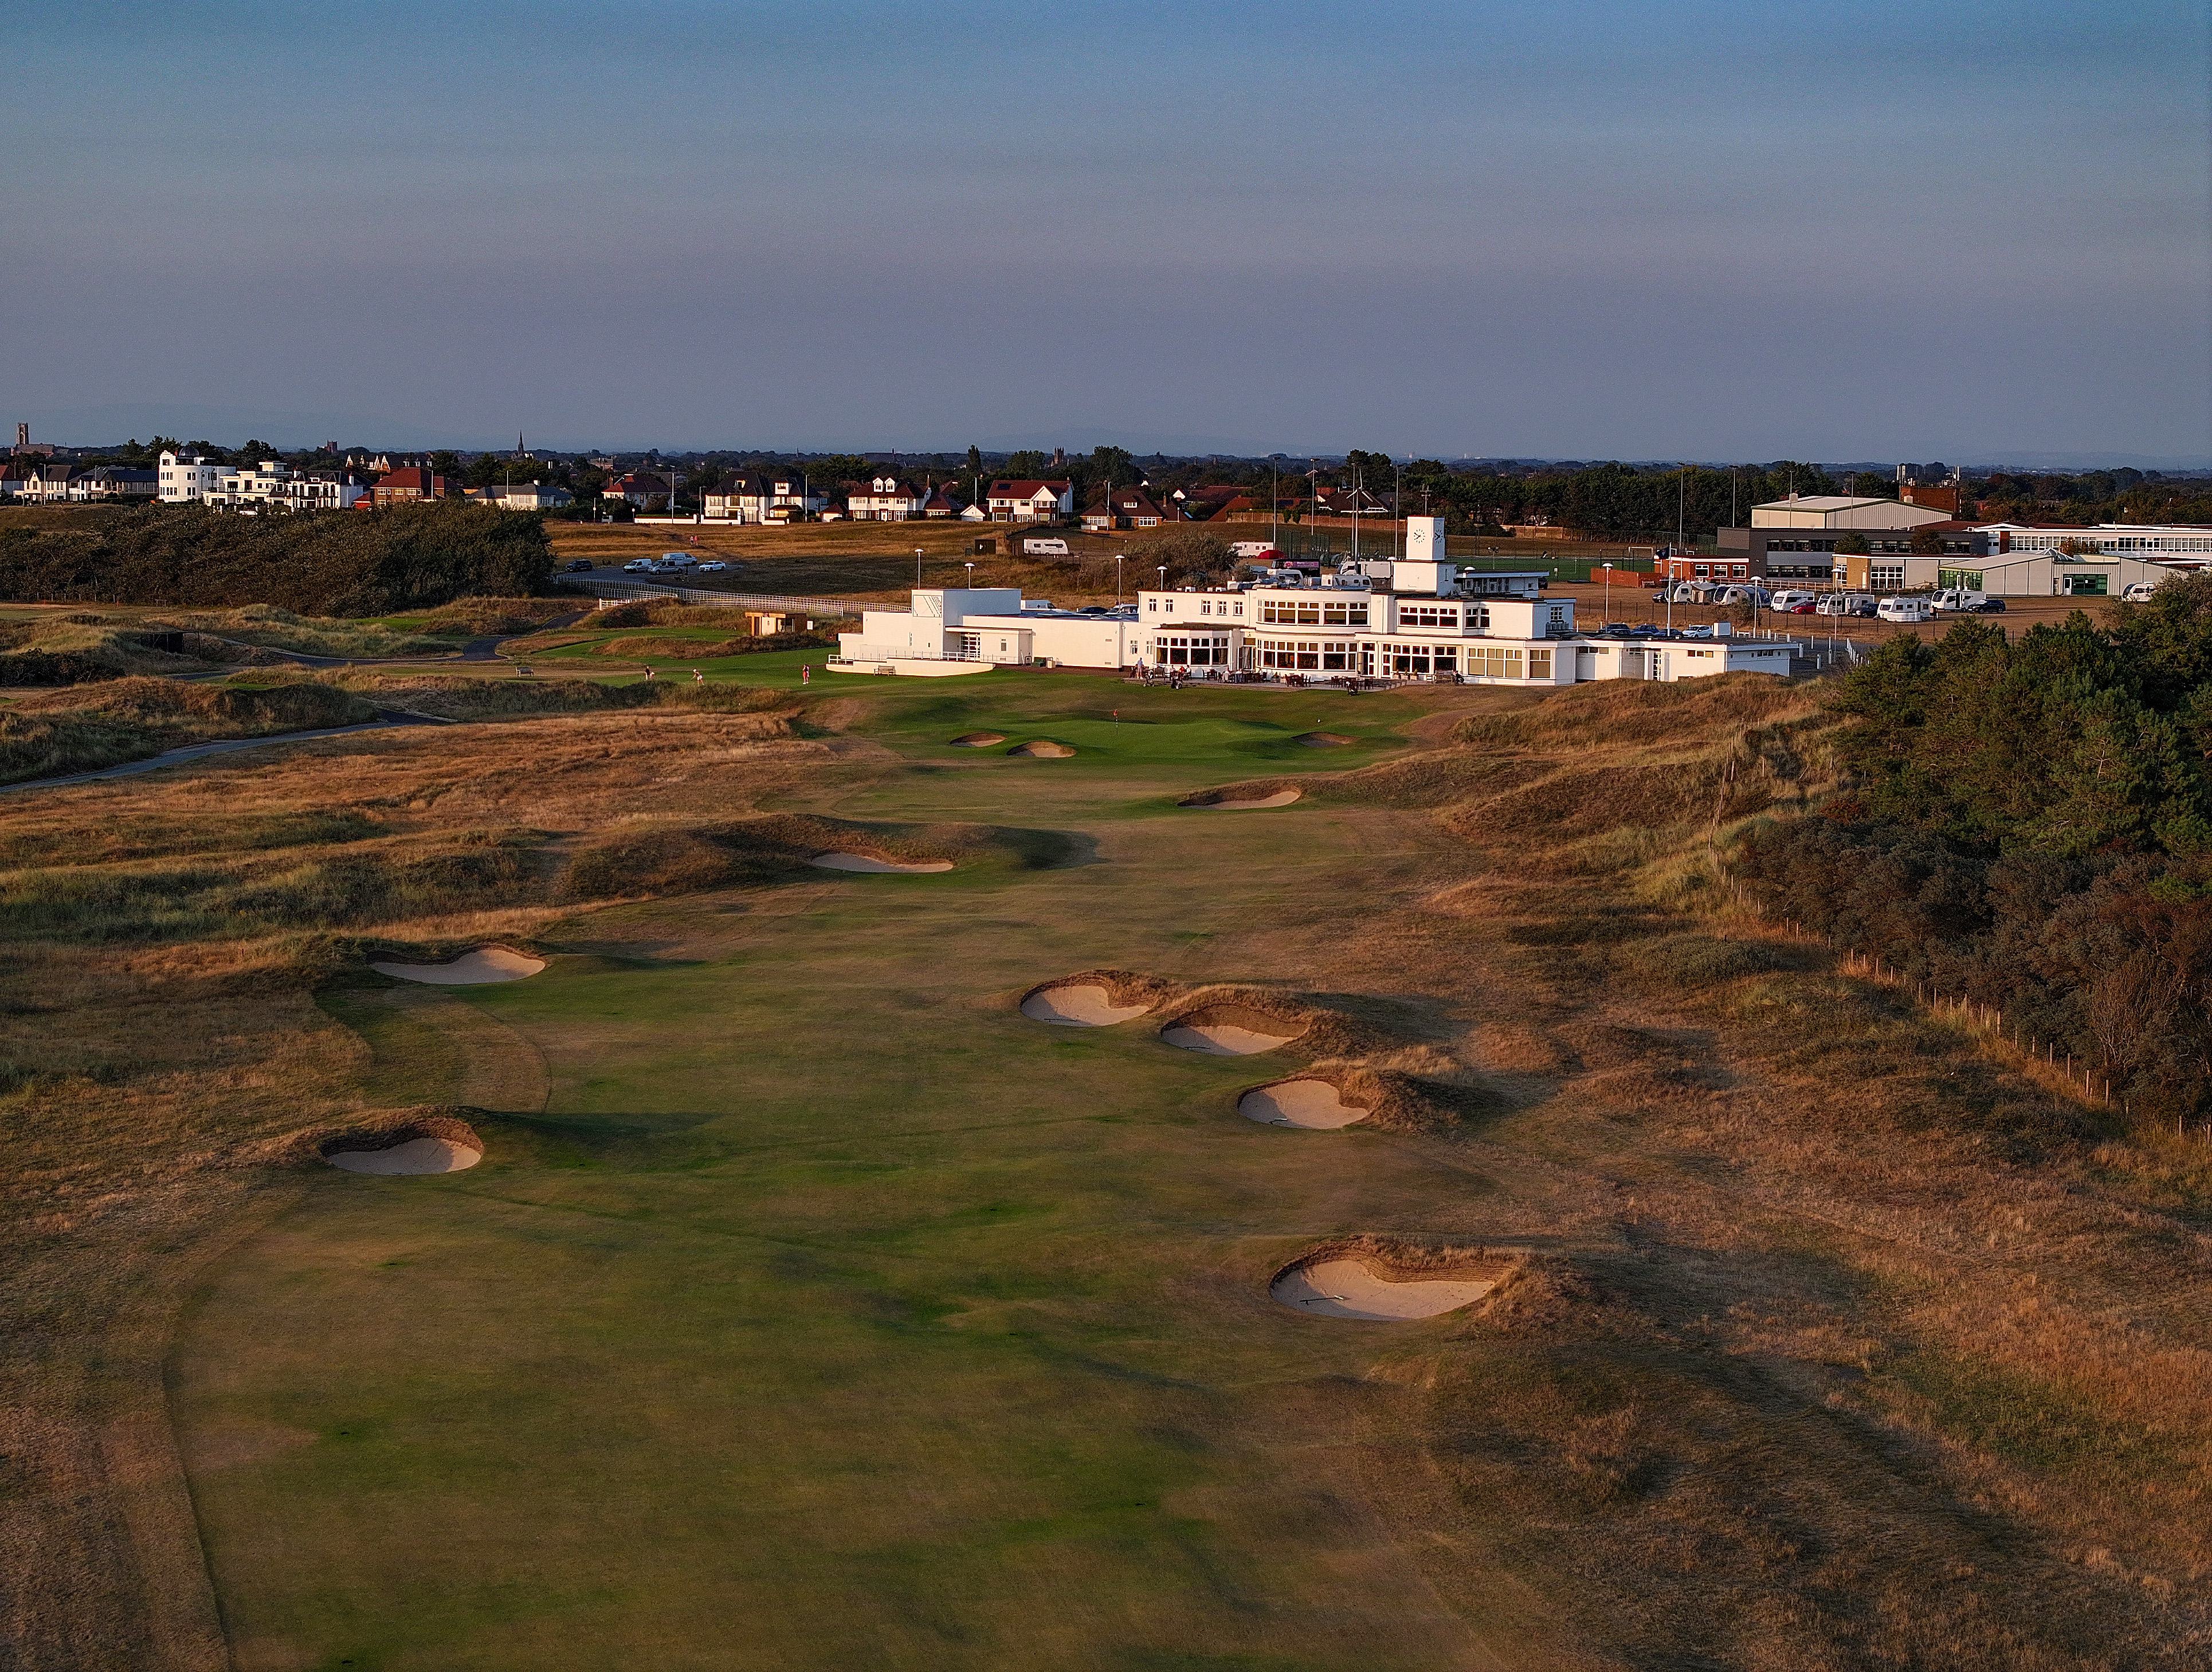
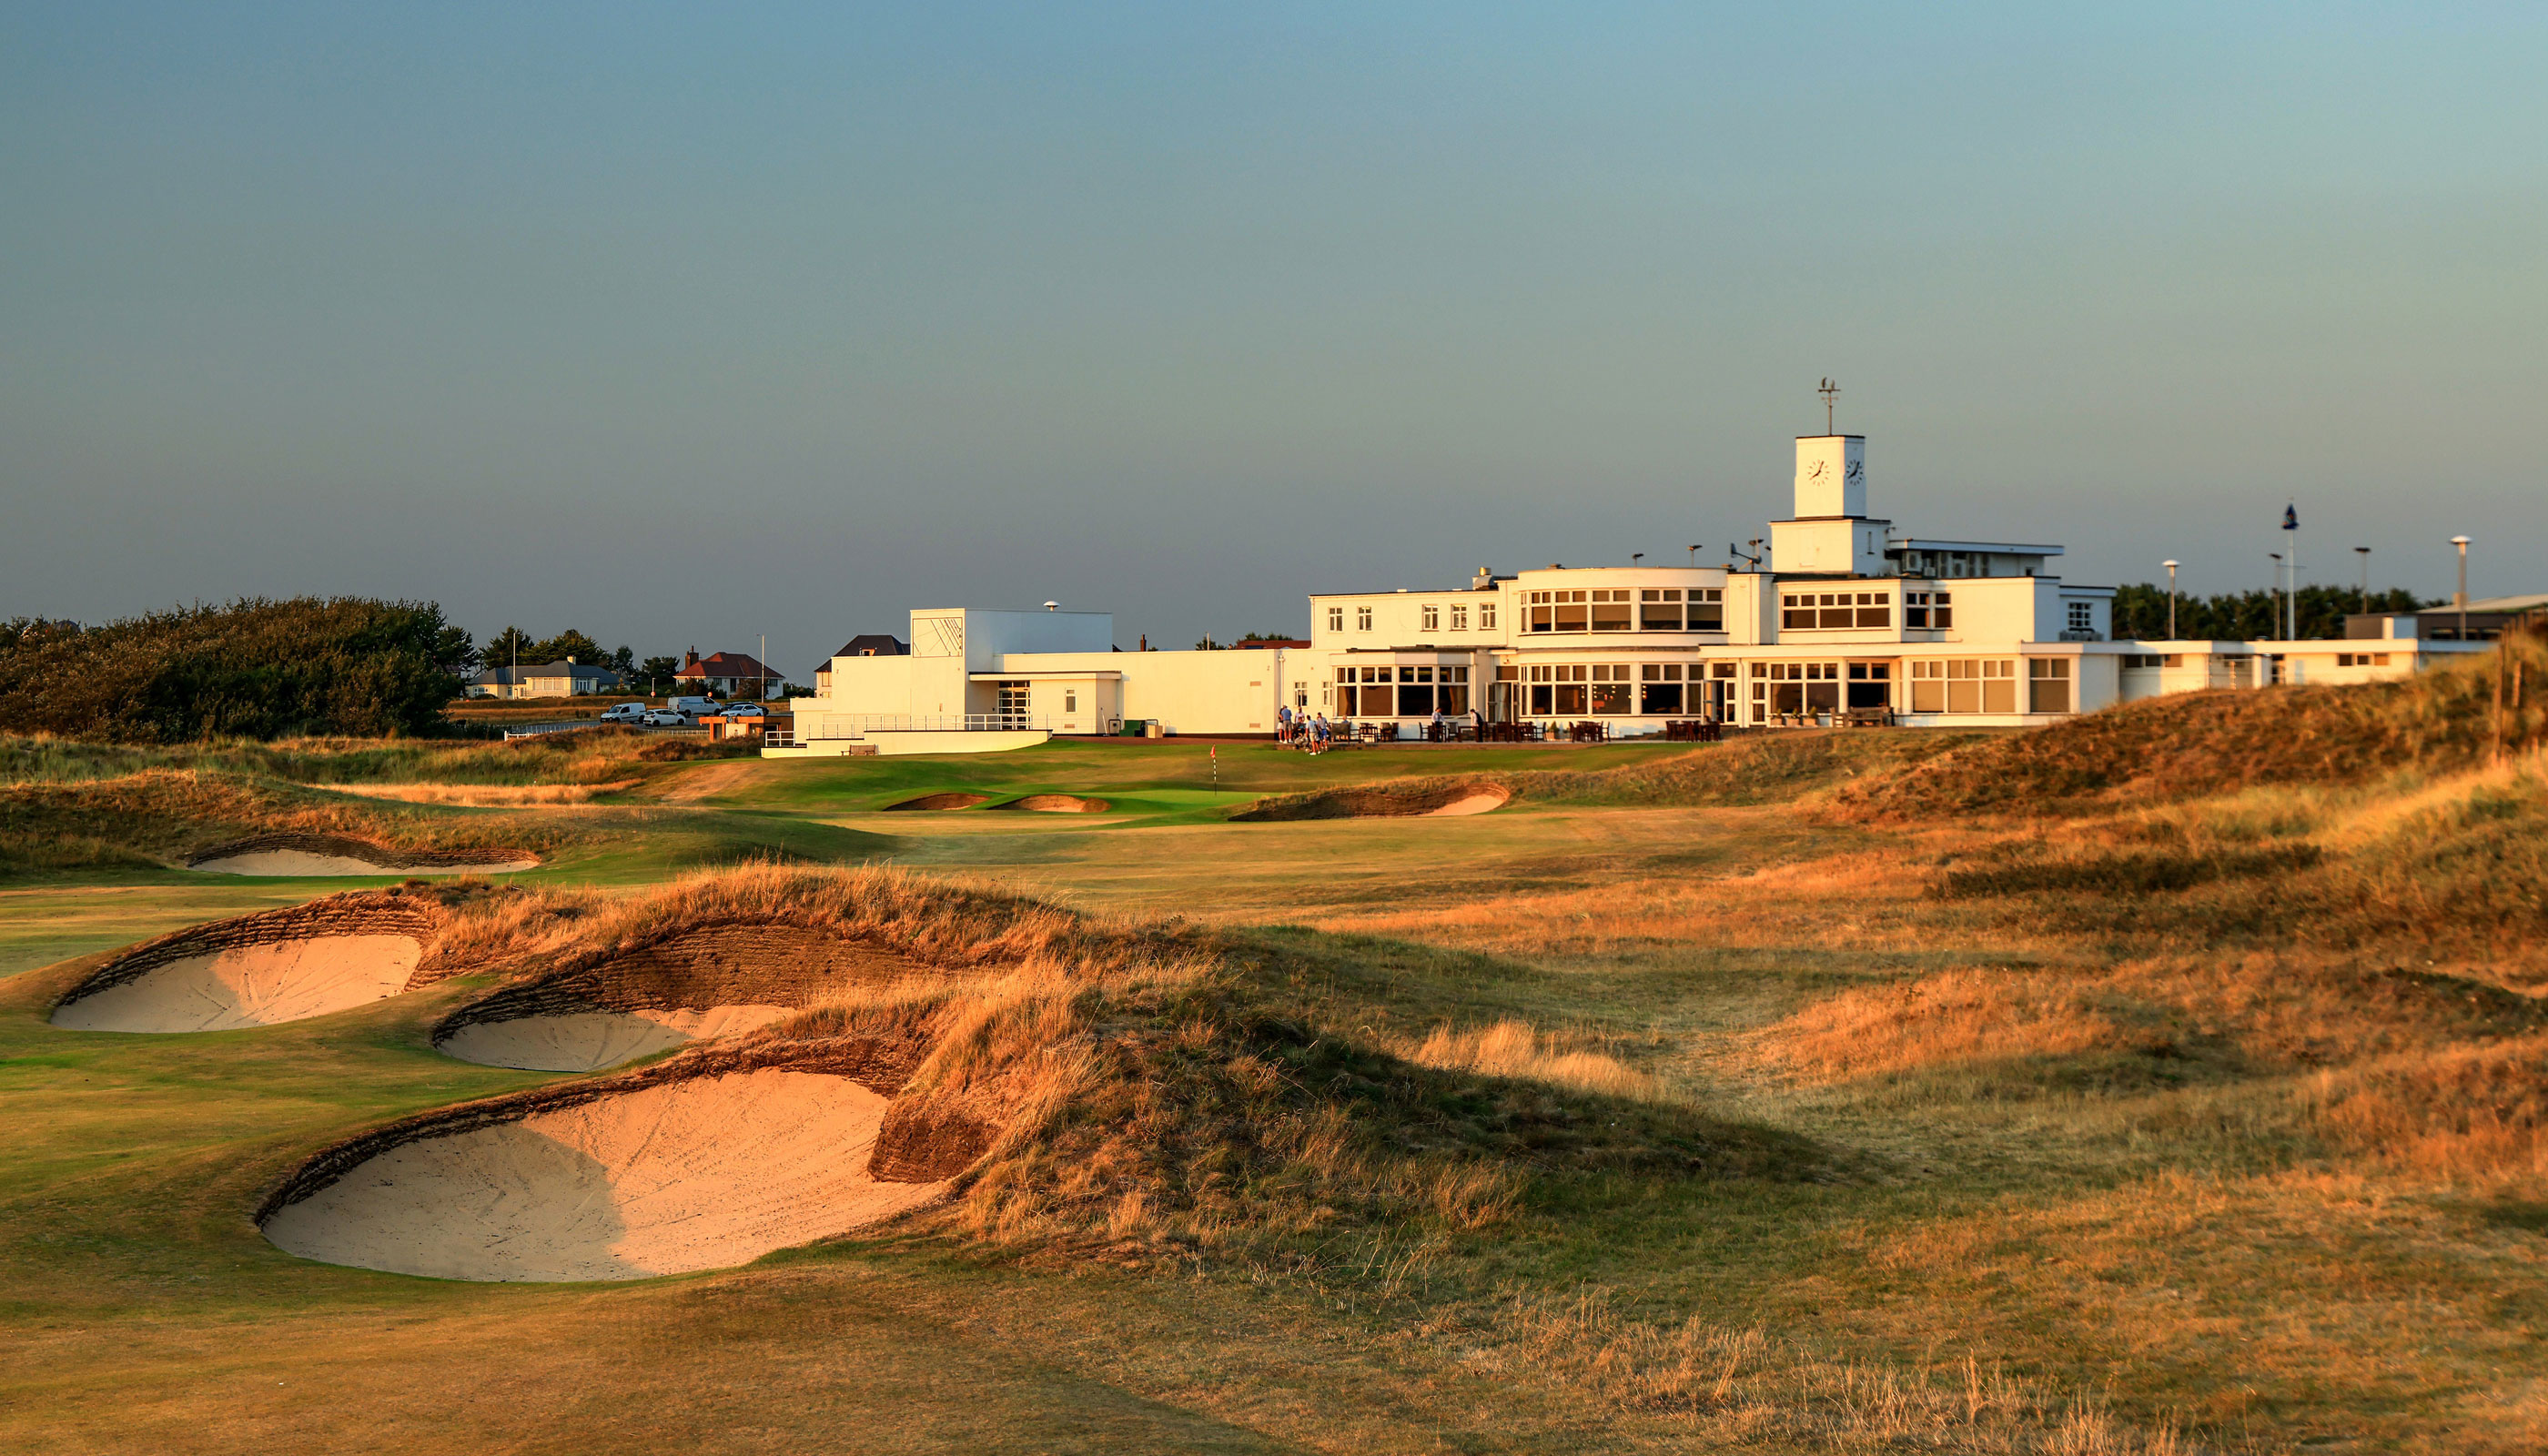
Normally a par 5 for regular member play, the long par-4 18th asks a simple question: after a full day of battling the elements and one of the most challenging courses on the Open rota, can you make one final committed swing off the tee and find a fairway lined with trouble? The narrow 18th winds gently to the right and is defended by fairway bunkers on both the left and right, like many other holes on the golf course. A well-executed drive leaves a short to mid iron with a helping breeze, up to a narrow-mouthed green framed by the picturesque Art Deco clubhouse welcoming players back home.
.jpg)
.jpg)
.jpg)
.jpg)
.jpg)