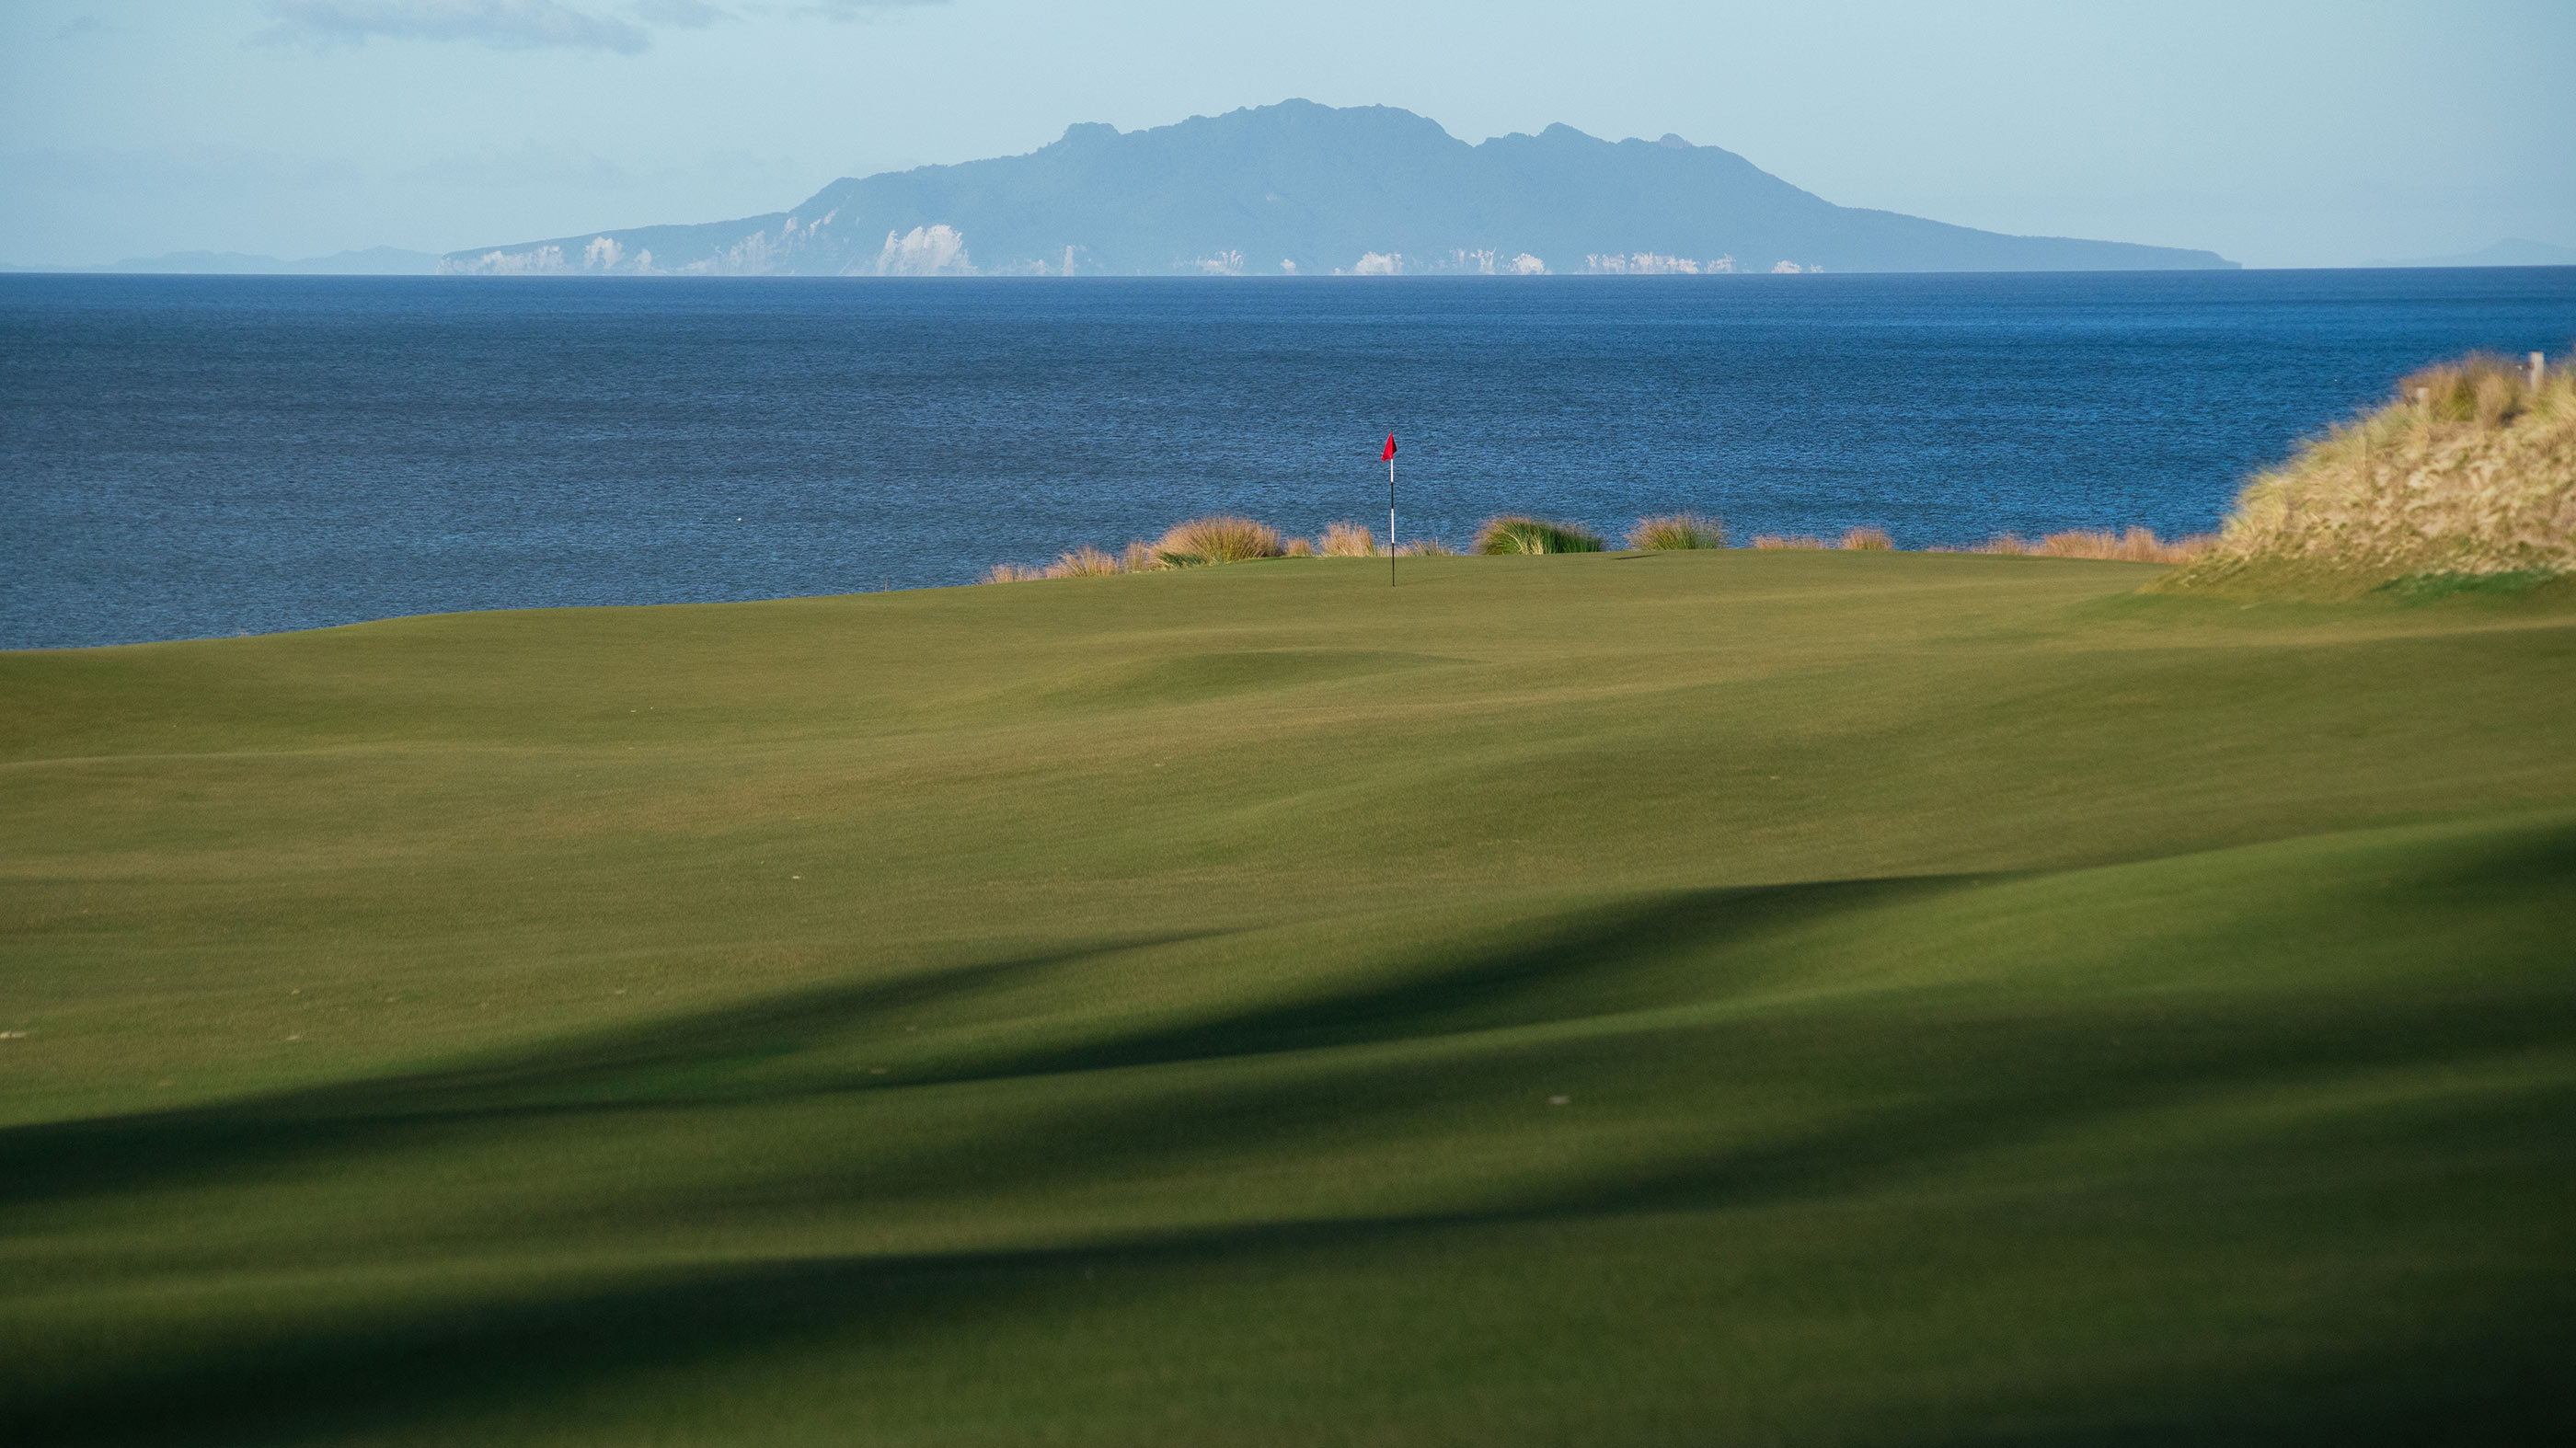
Hole 1
A gentle uphill opener that warms you up, but study the green carefully as the micro-movements are subtle.

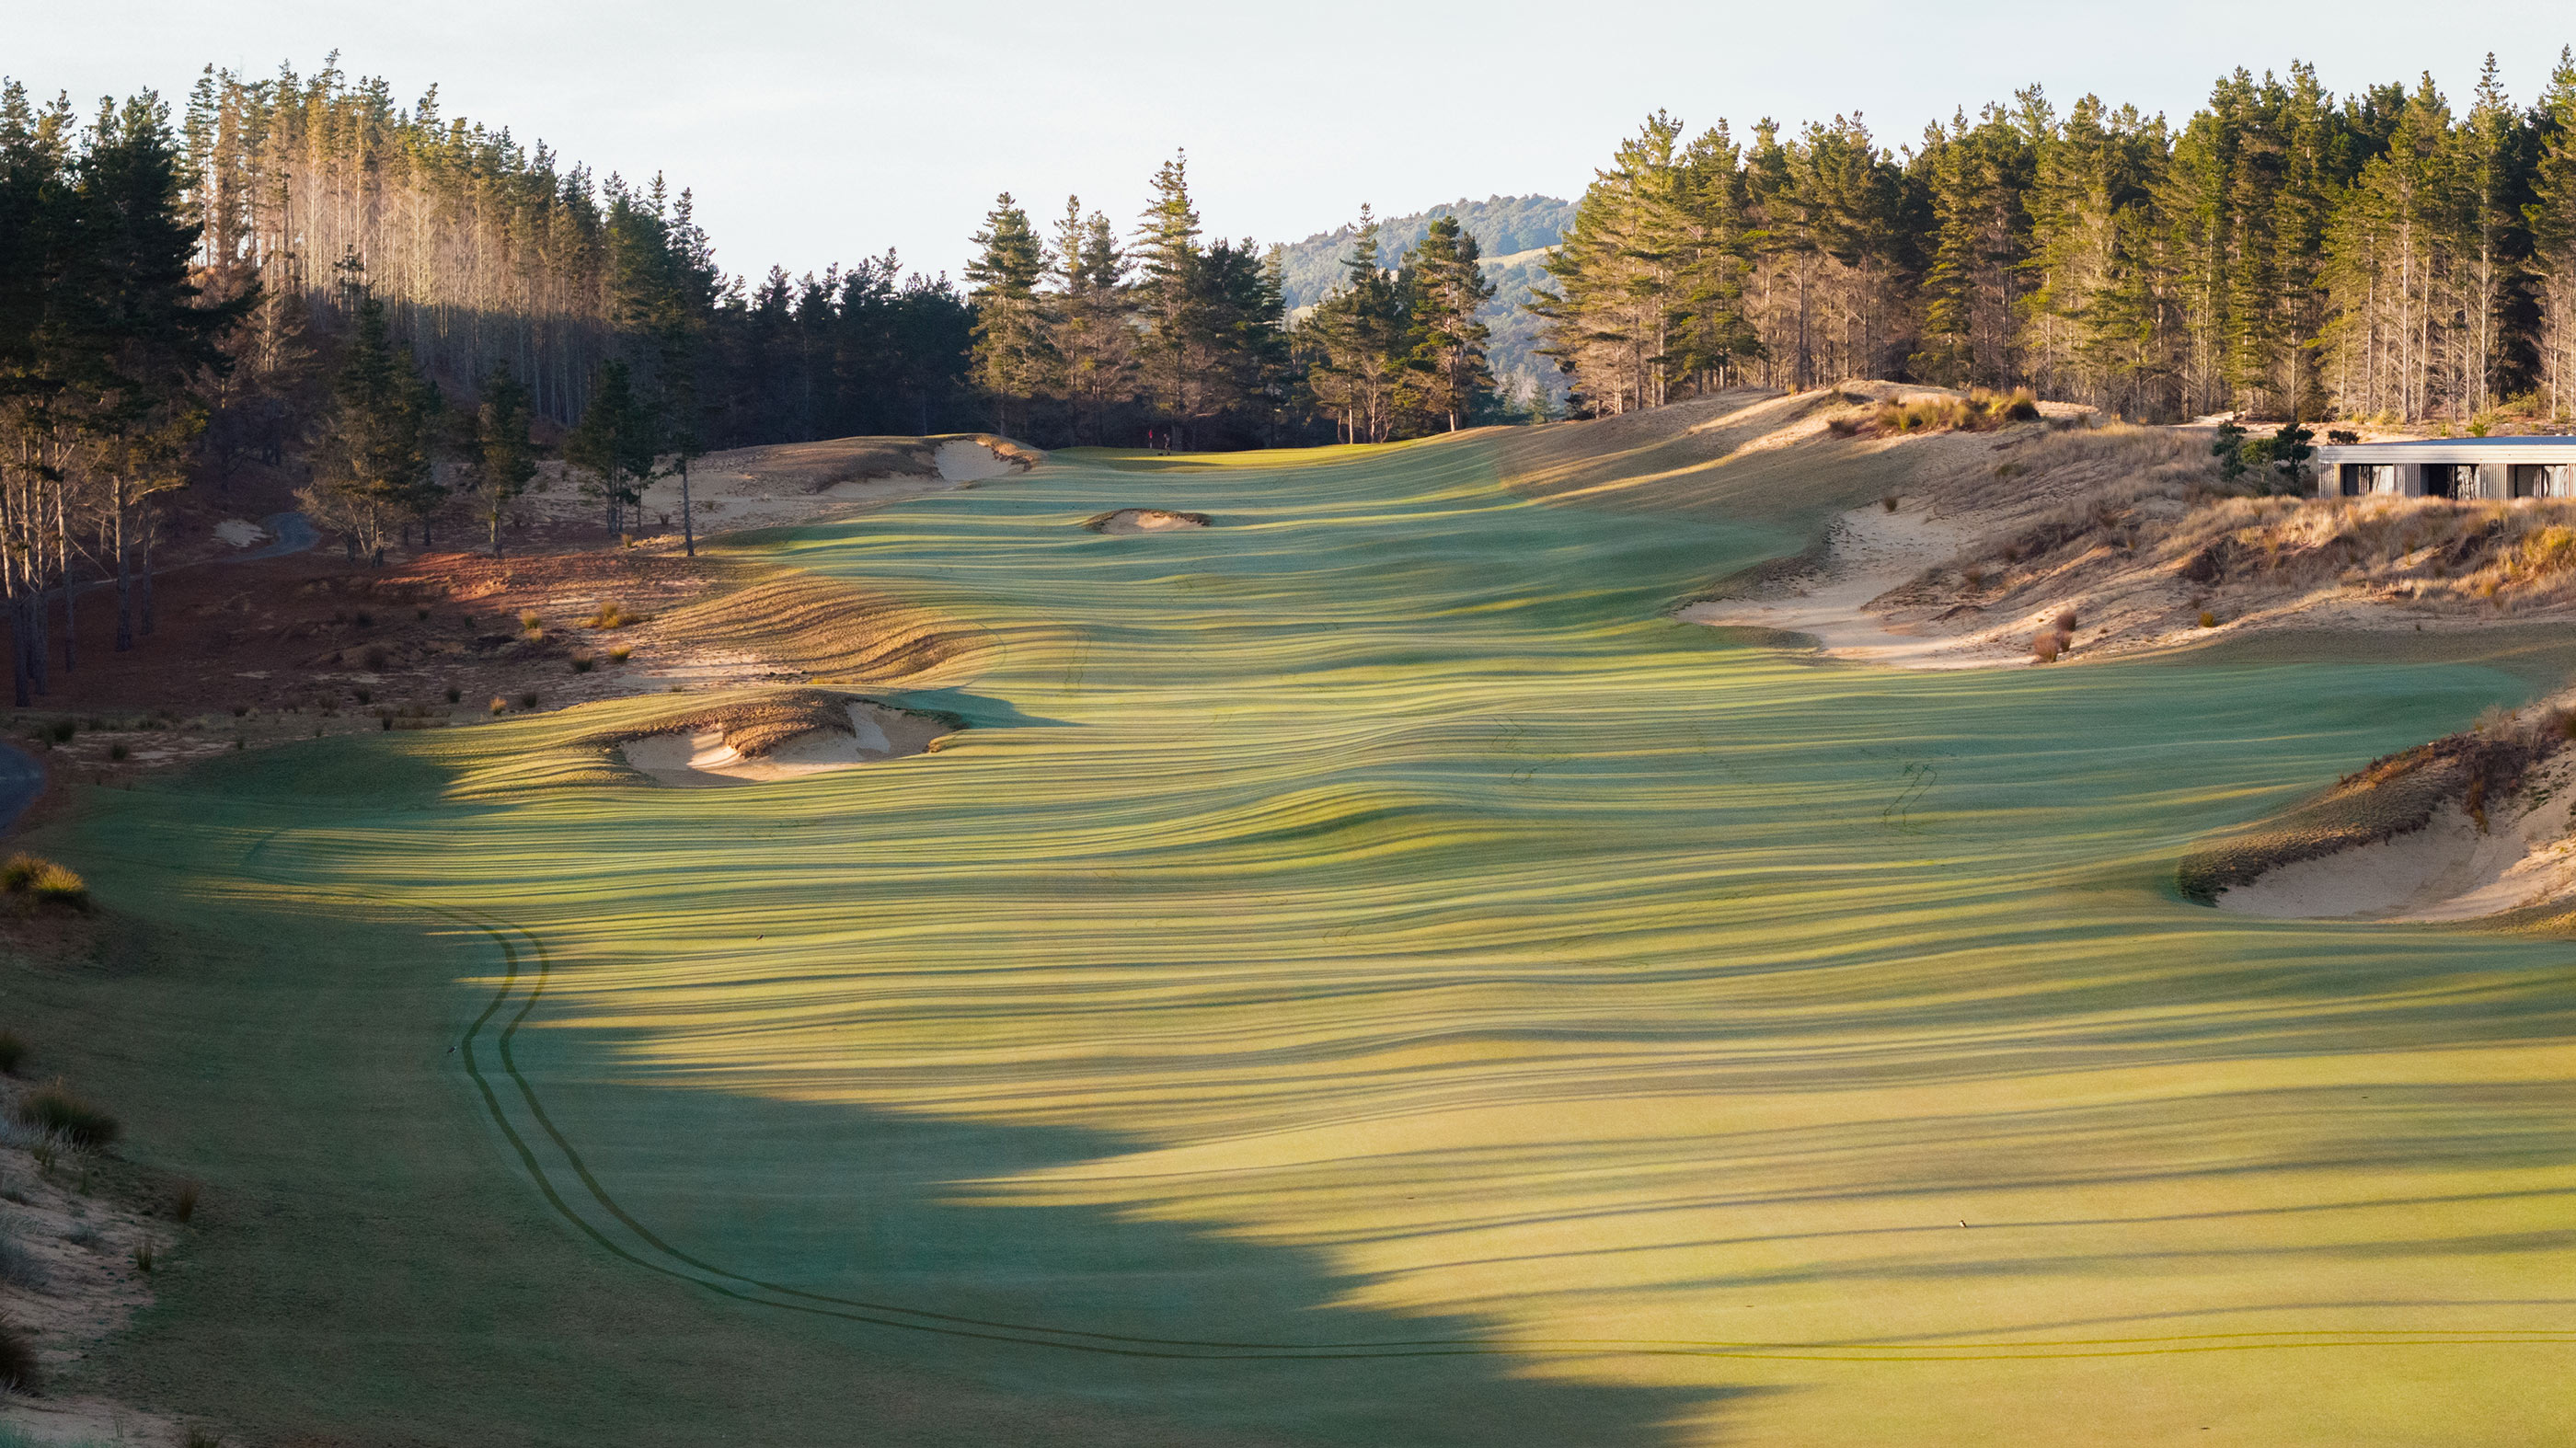

Hole 2
The splendid second feels like it belongs on Bandon Trails as it heads deeper inland towards the tall pines. Hug the deep waste area on the right and you’ll be rewarded with more funneling contours than the left side of the fairway.


Hole 3
The sunken green site on top of the large hill is reminiscent of a volcano's crater. Tee shots to the right will face a frighteningly blind shot, and the left is more visible. After finishing out, prepare your eyeballs as you walk to the fourth tee.


Hole 4
As you leave the third green, one of the most spectacular views of the ocean greets you as you crest the main dune ridgeline. Despite being at the highest point on the course, the fairway tumbles downhill so steeply that the landing zone becomes blind, leaving you slightly uncomfortable. Enjoy the long walk to the green and look for helping contours around the putting surface to funnel your ball close.
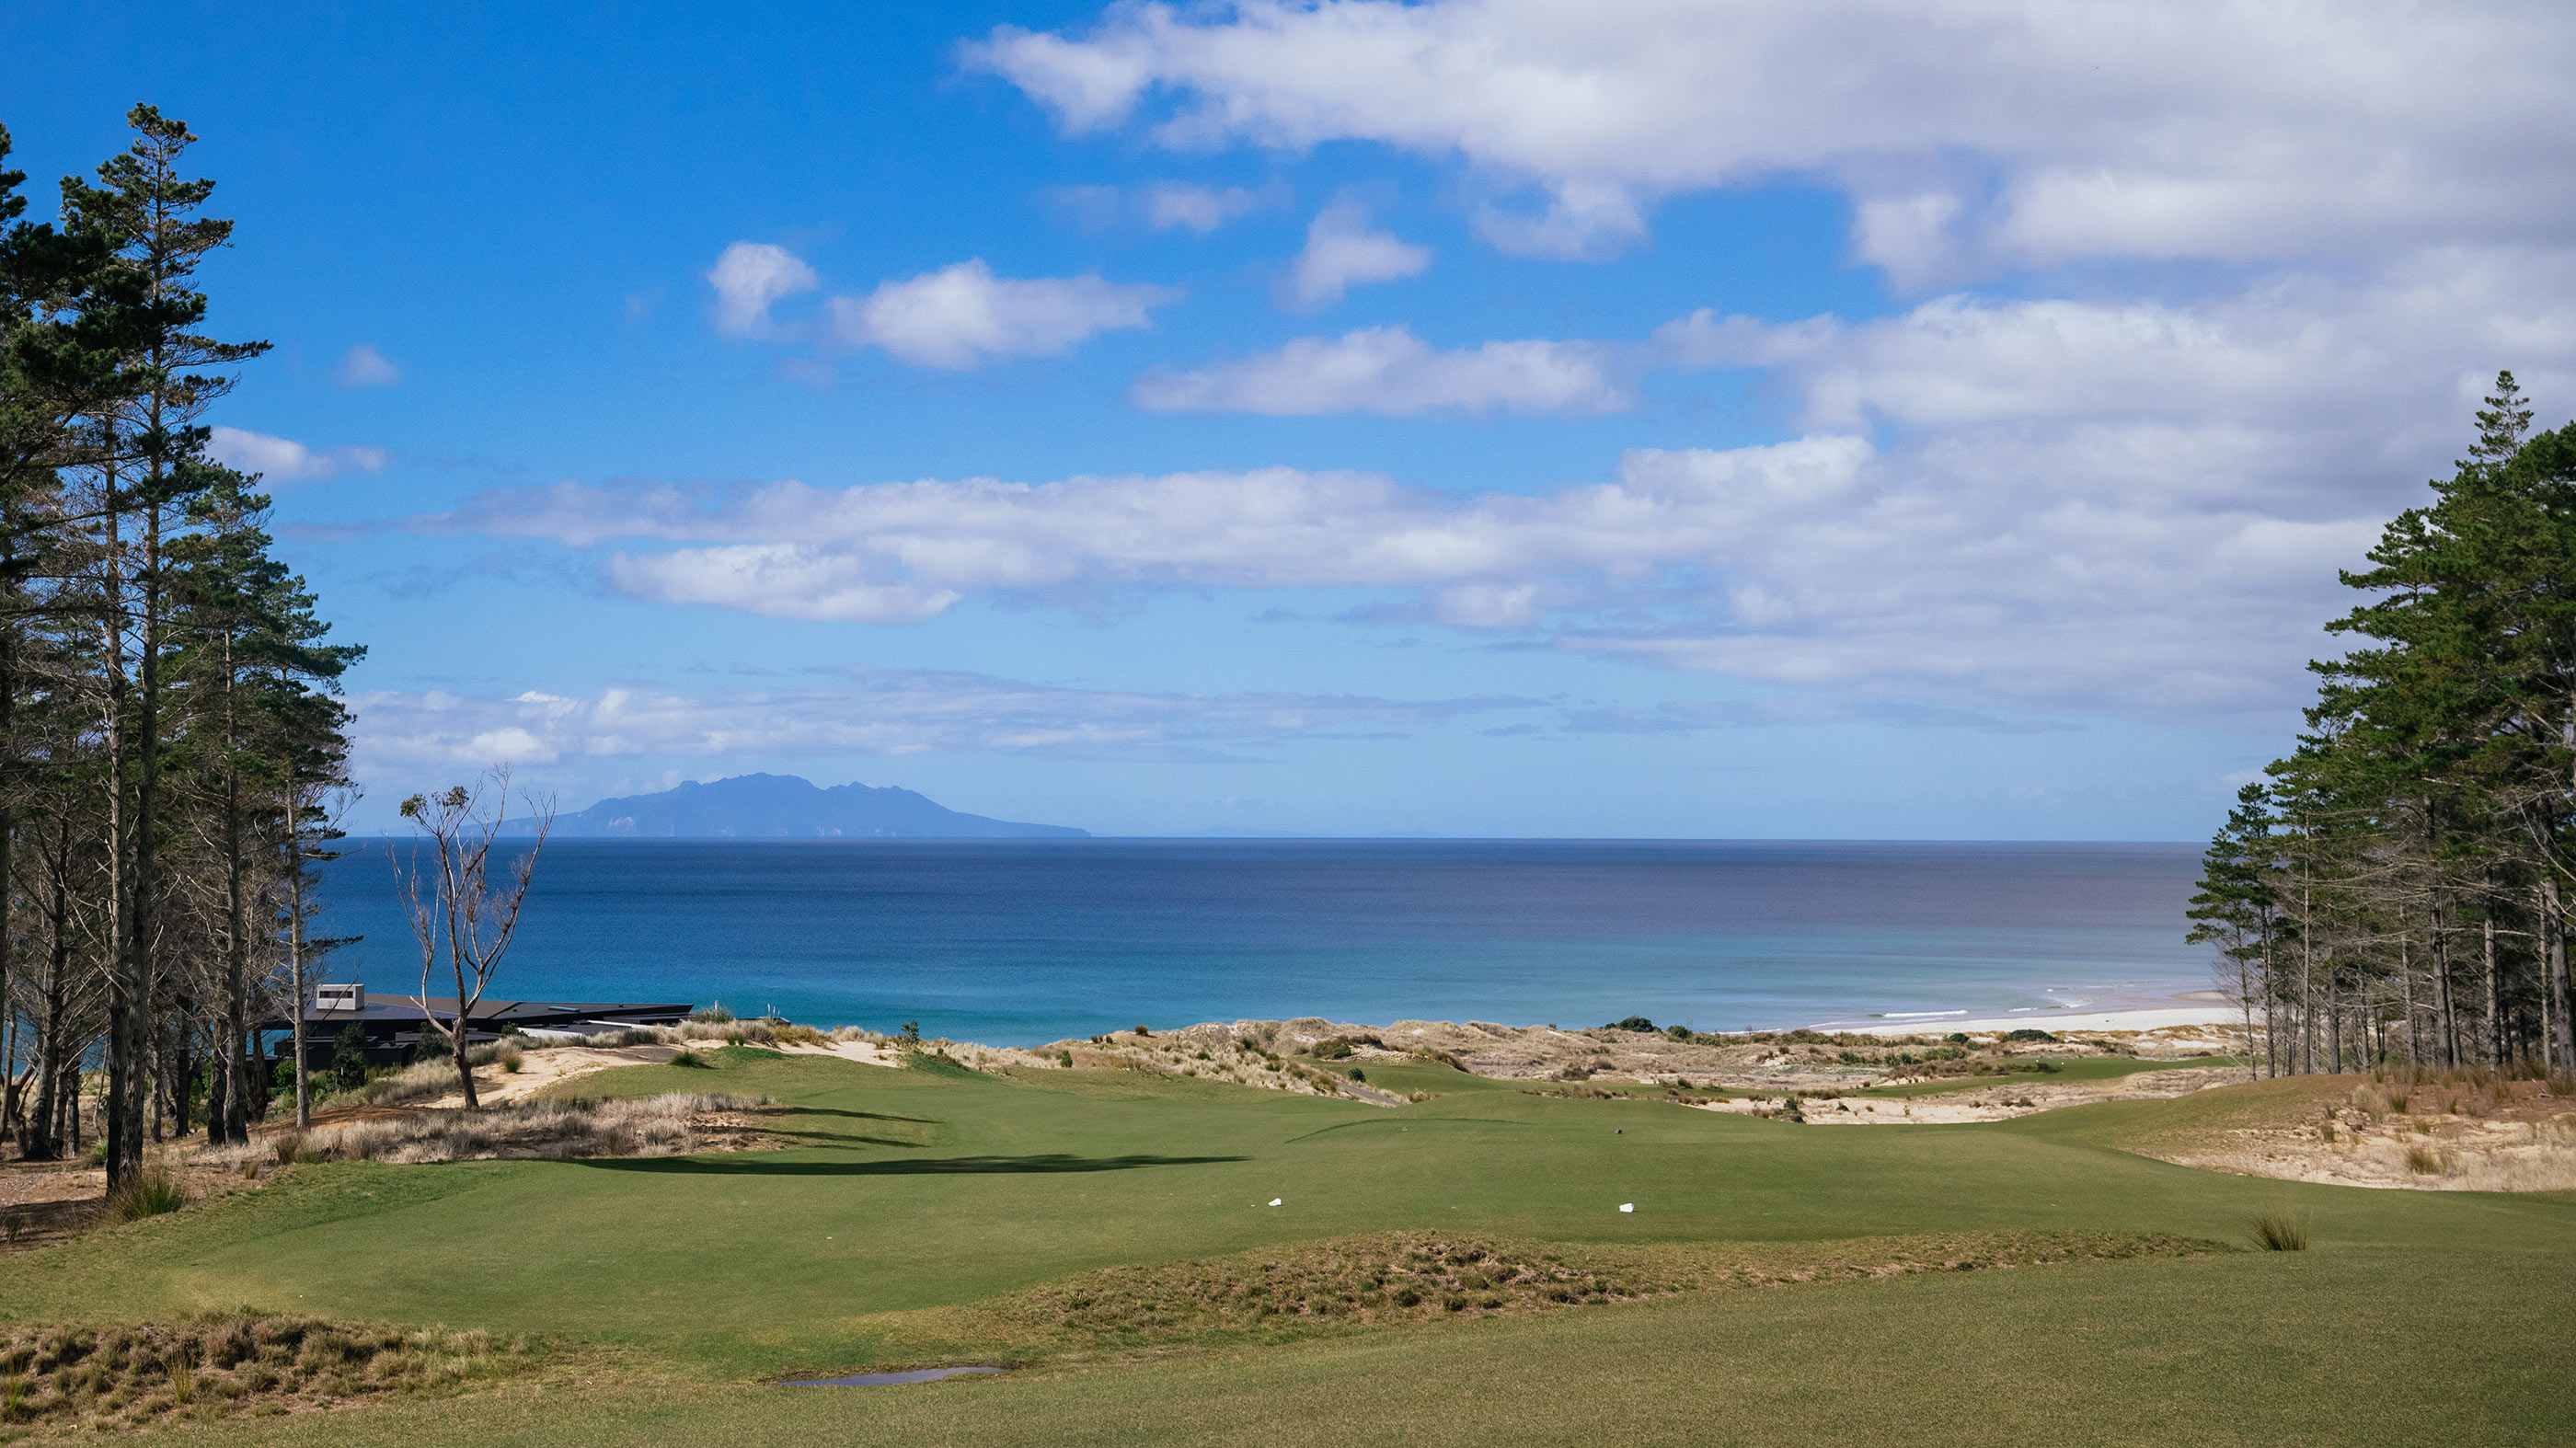


Hole 5
As beautiful as the fifth is sitting up against the estuary and exposed dunescape beyond, this par 3 is a bear. The green tilts away ever so slightly, so you must strike the ball well to hold the green. Anything off the surface will make for a difficult par.


Hole 6
Take on the carry over the blowout bunker to shorten the hole dramatically or hit it out right for a safe line. The green is unique with a bowl-shaped back section, making the front pins slightly more difficult.


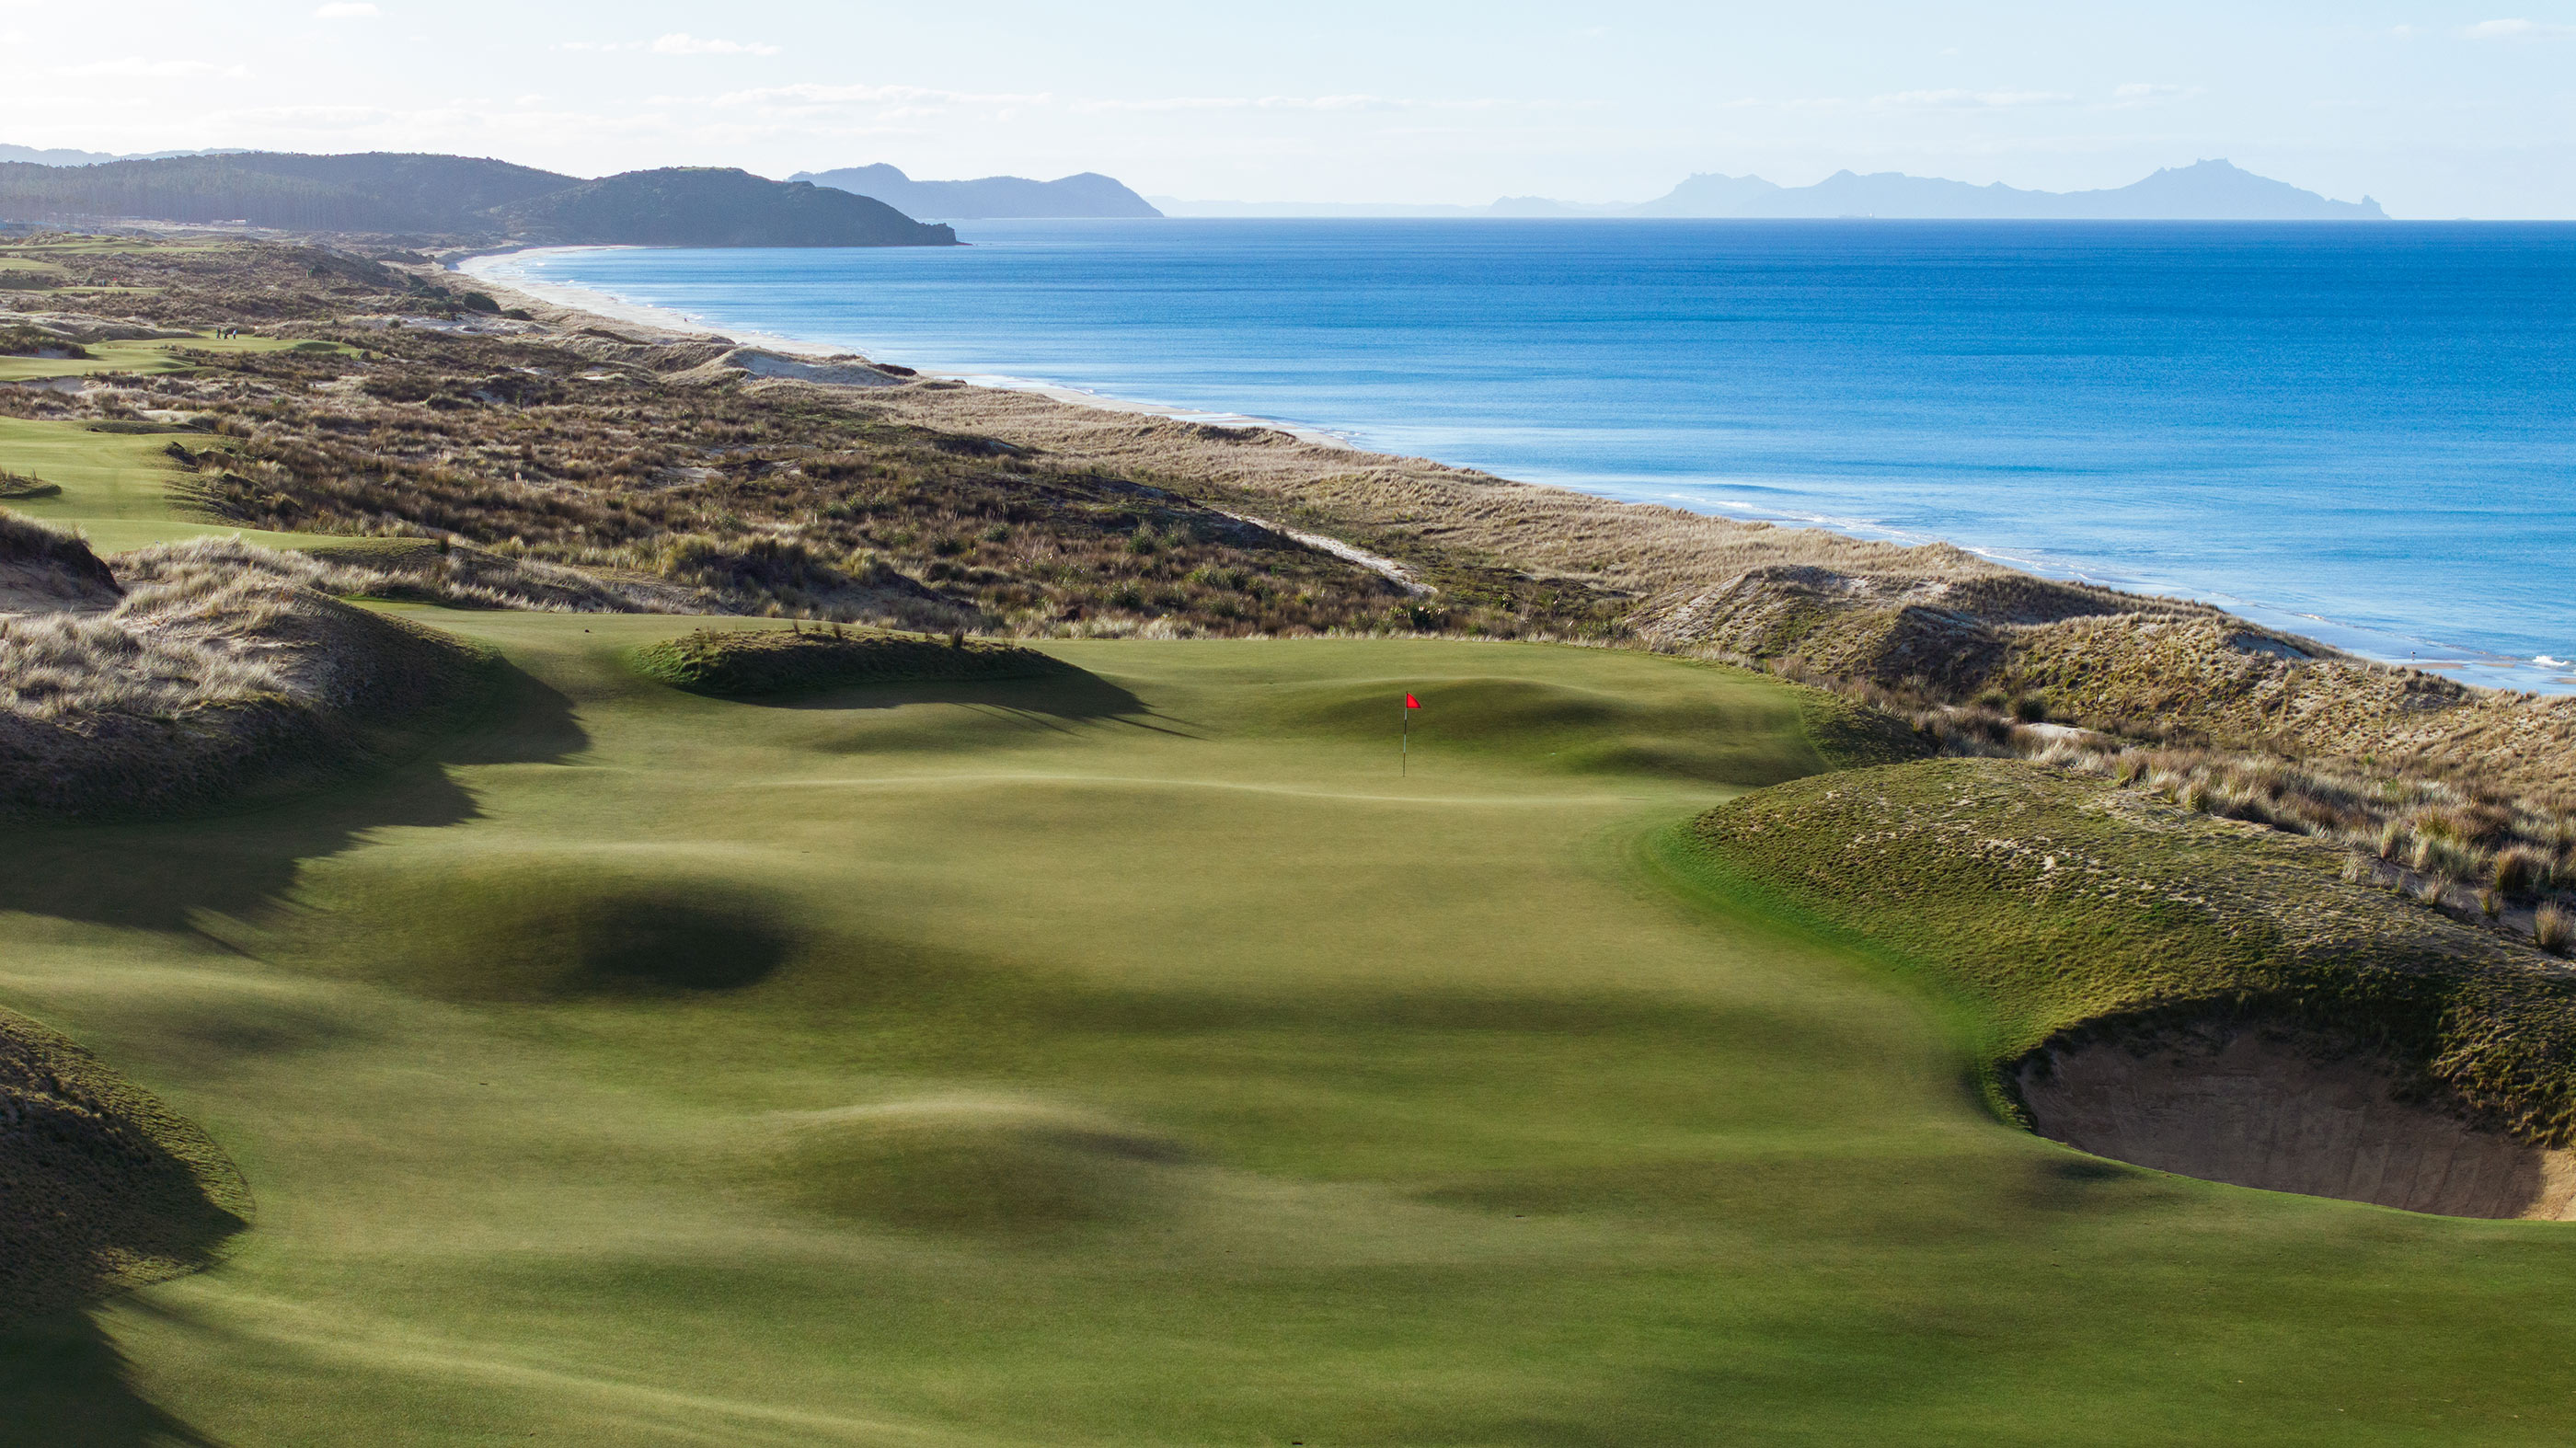


Hole 7
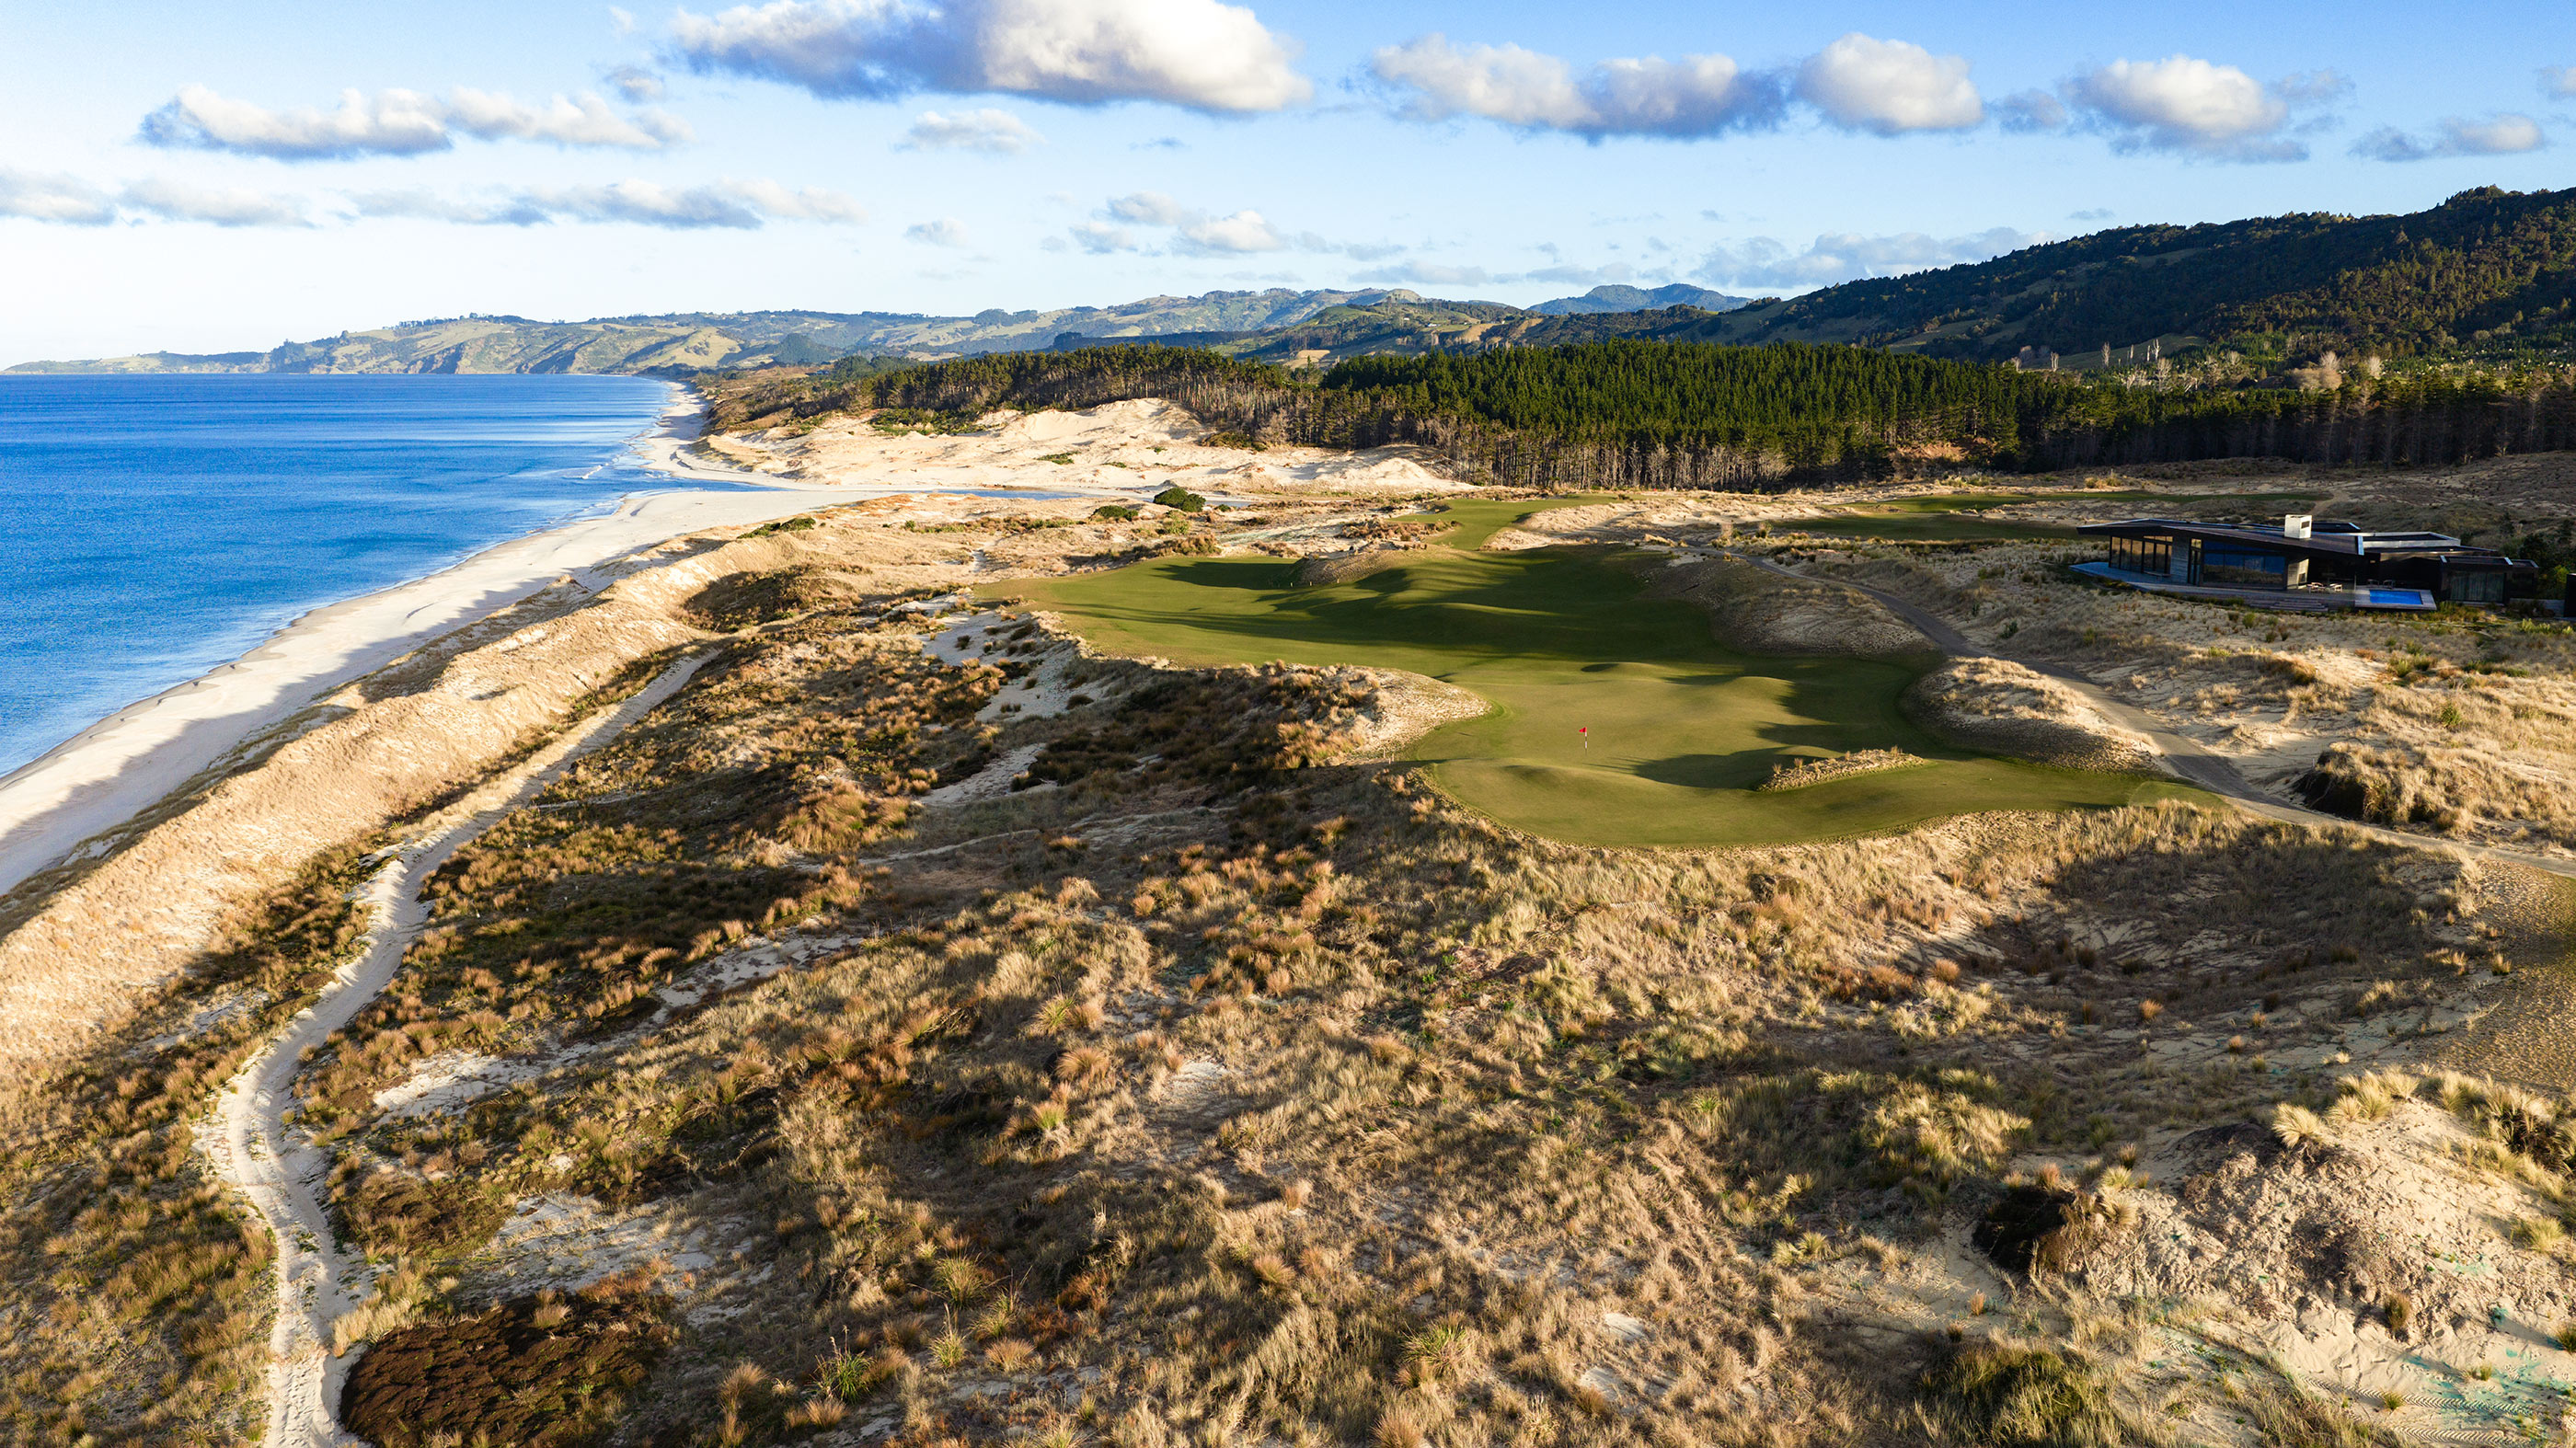
Whatever you do, don’t miss right. This lengthy golf hole ends at a wonderfully shaped green, and the land short of it slopes down towards the surface, allowing for fun, ground-running approach shots.


Hole 8
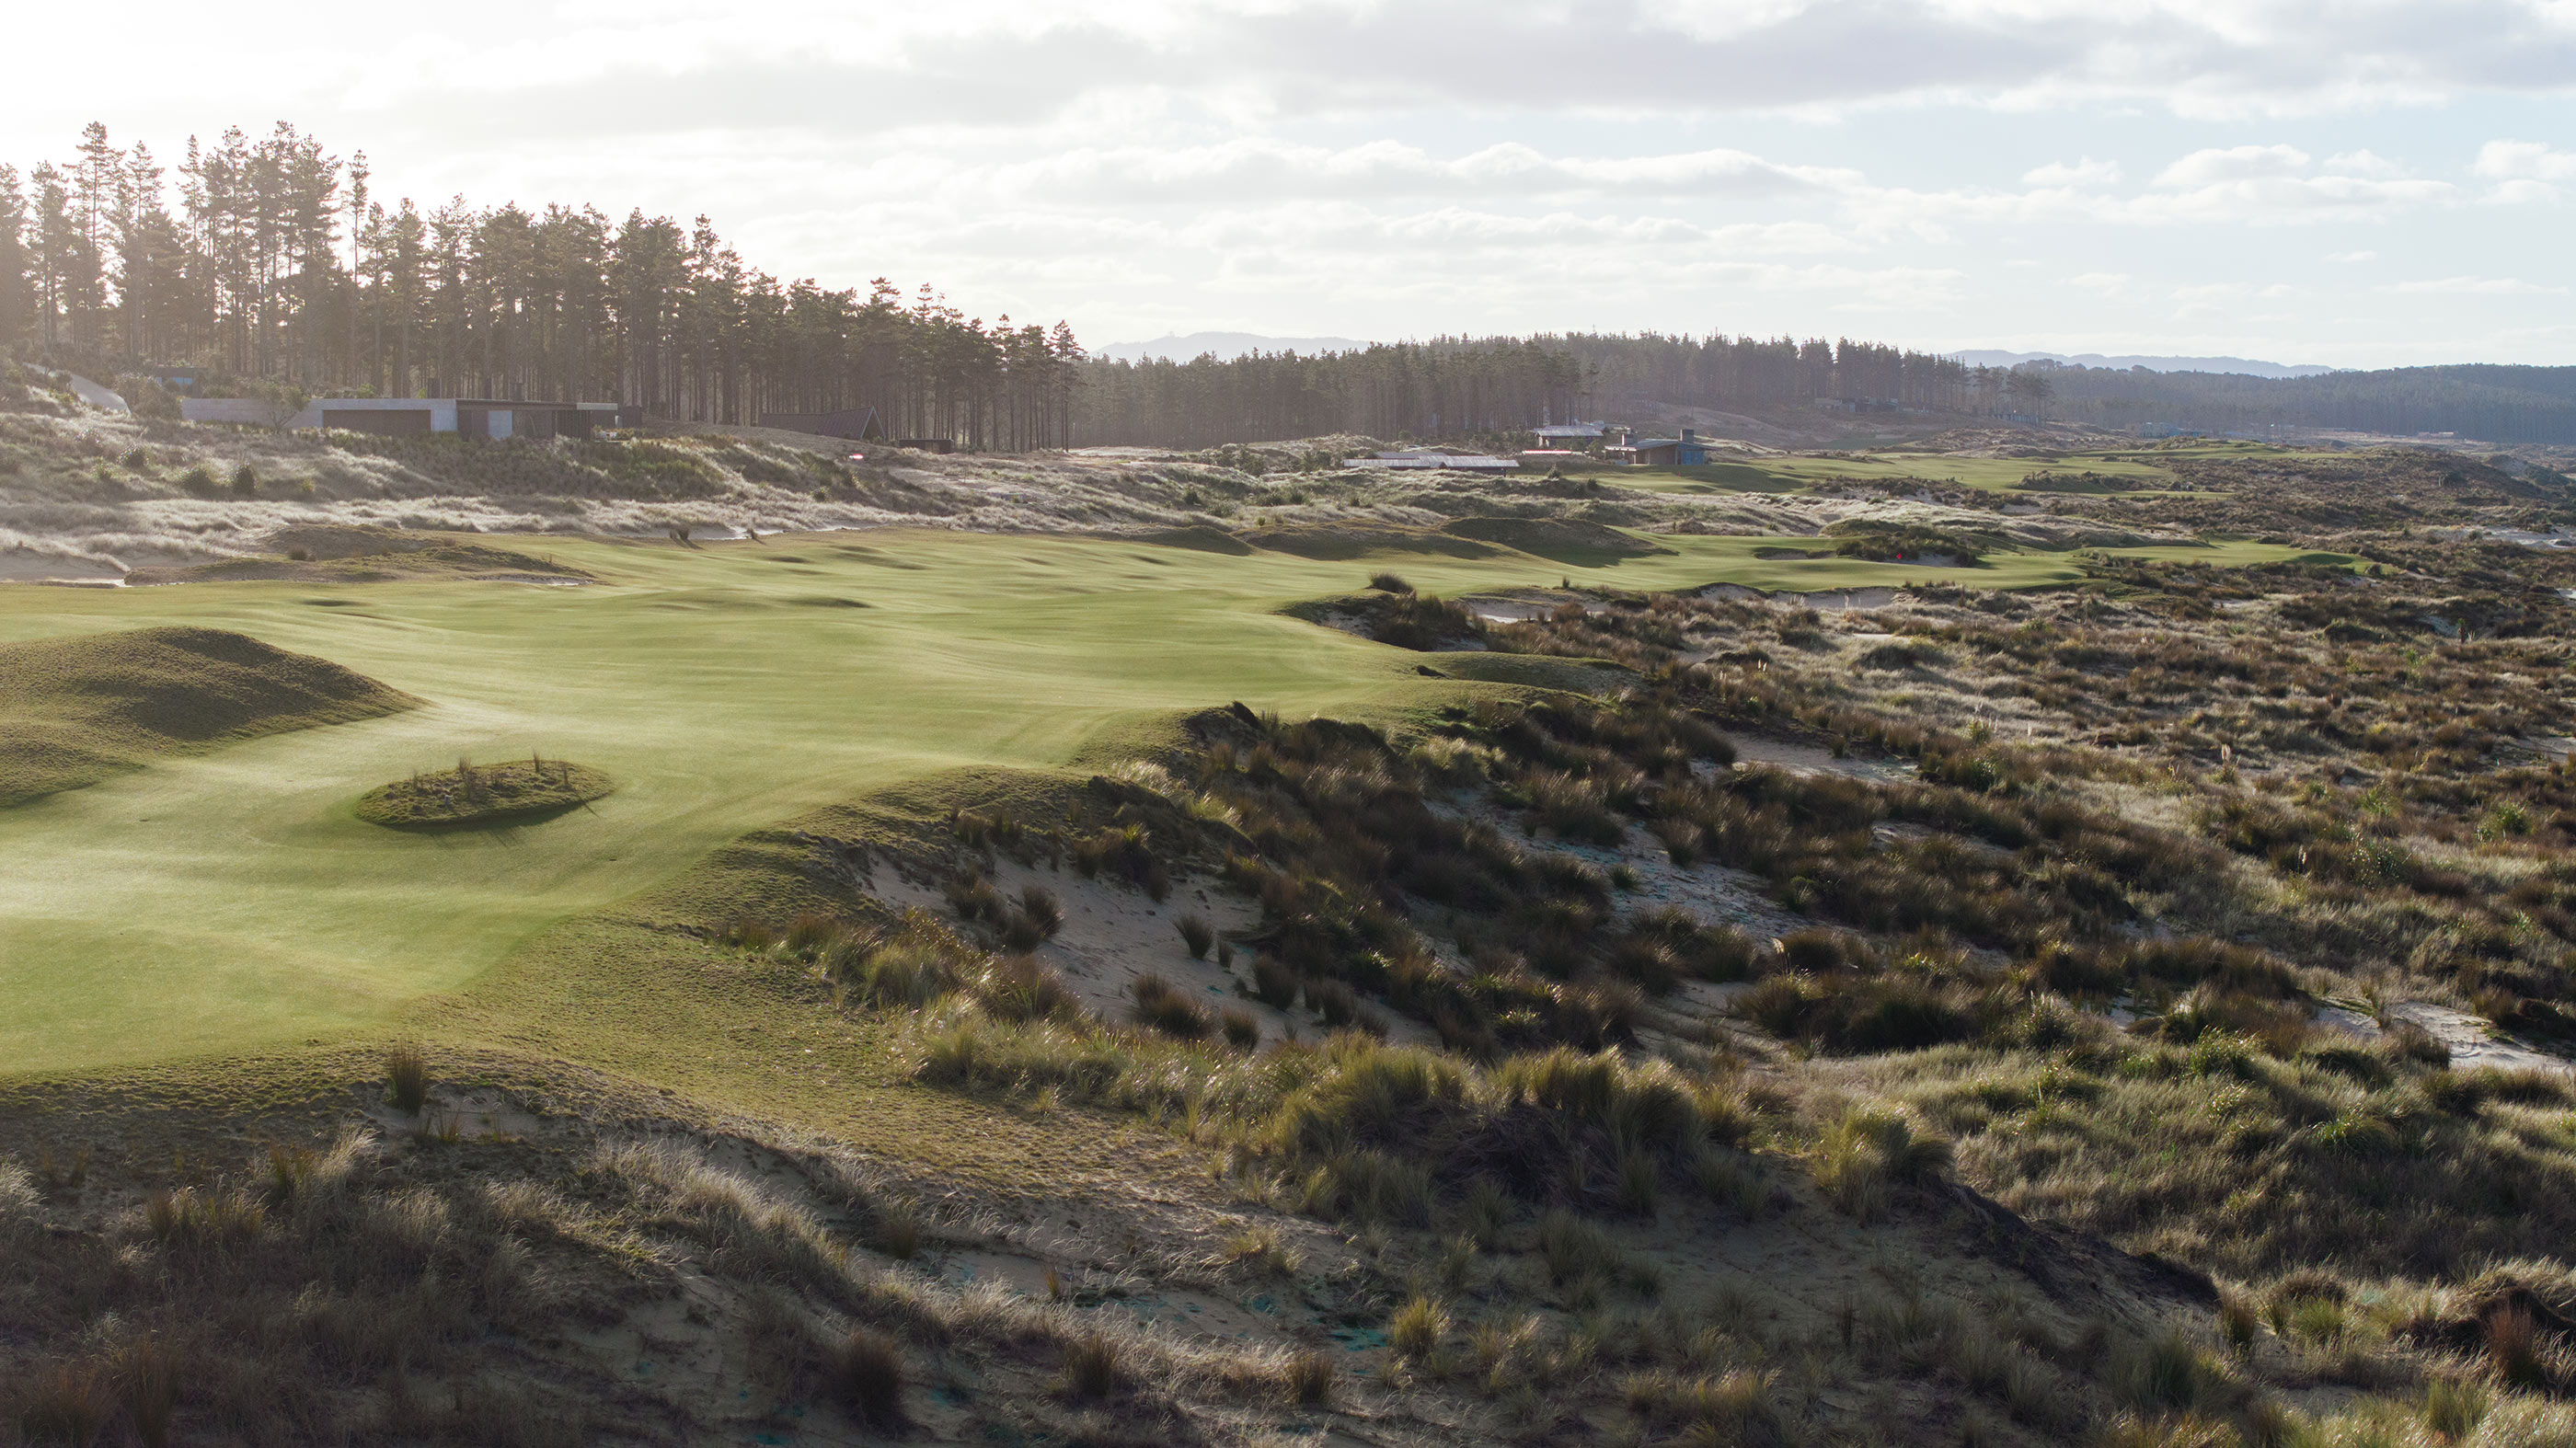
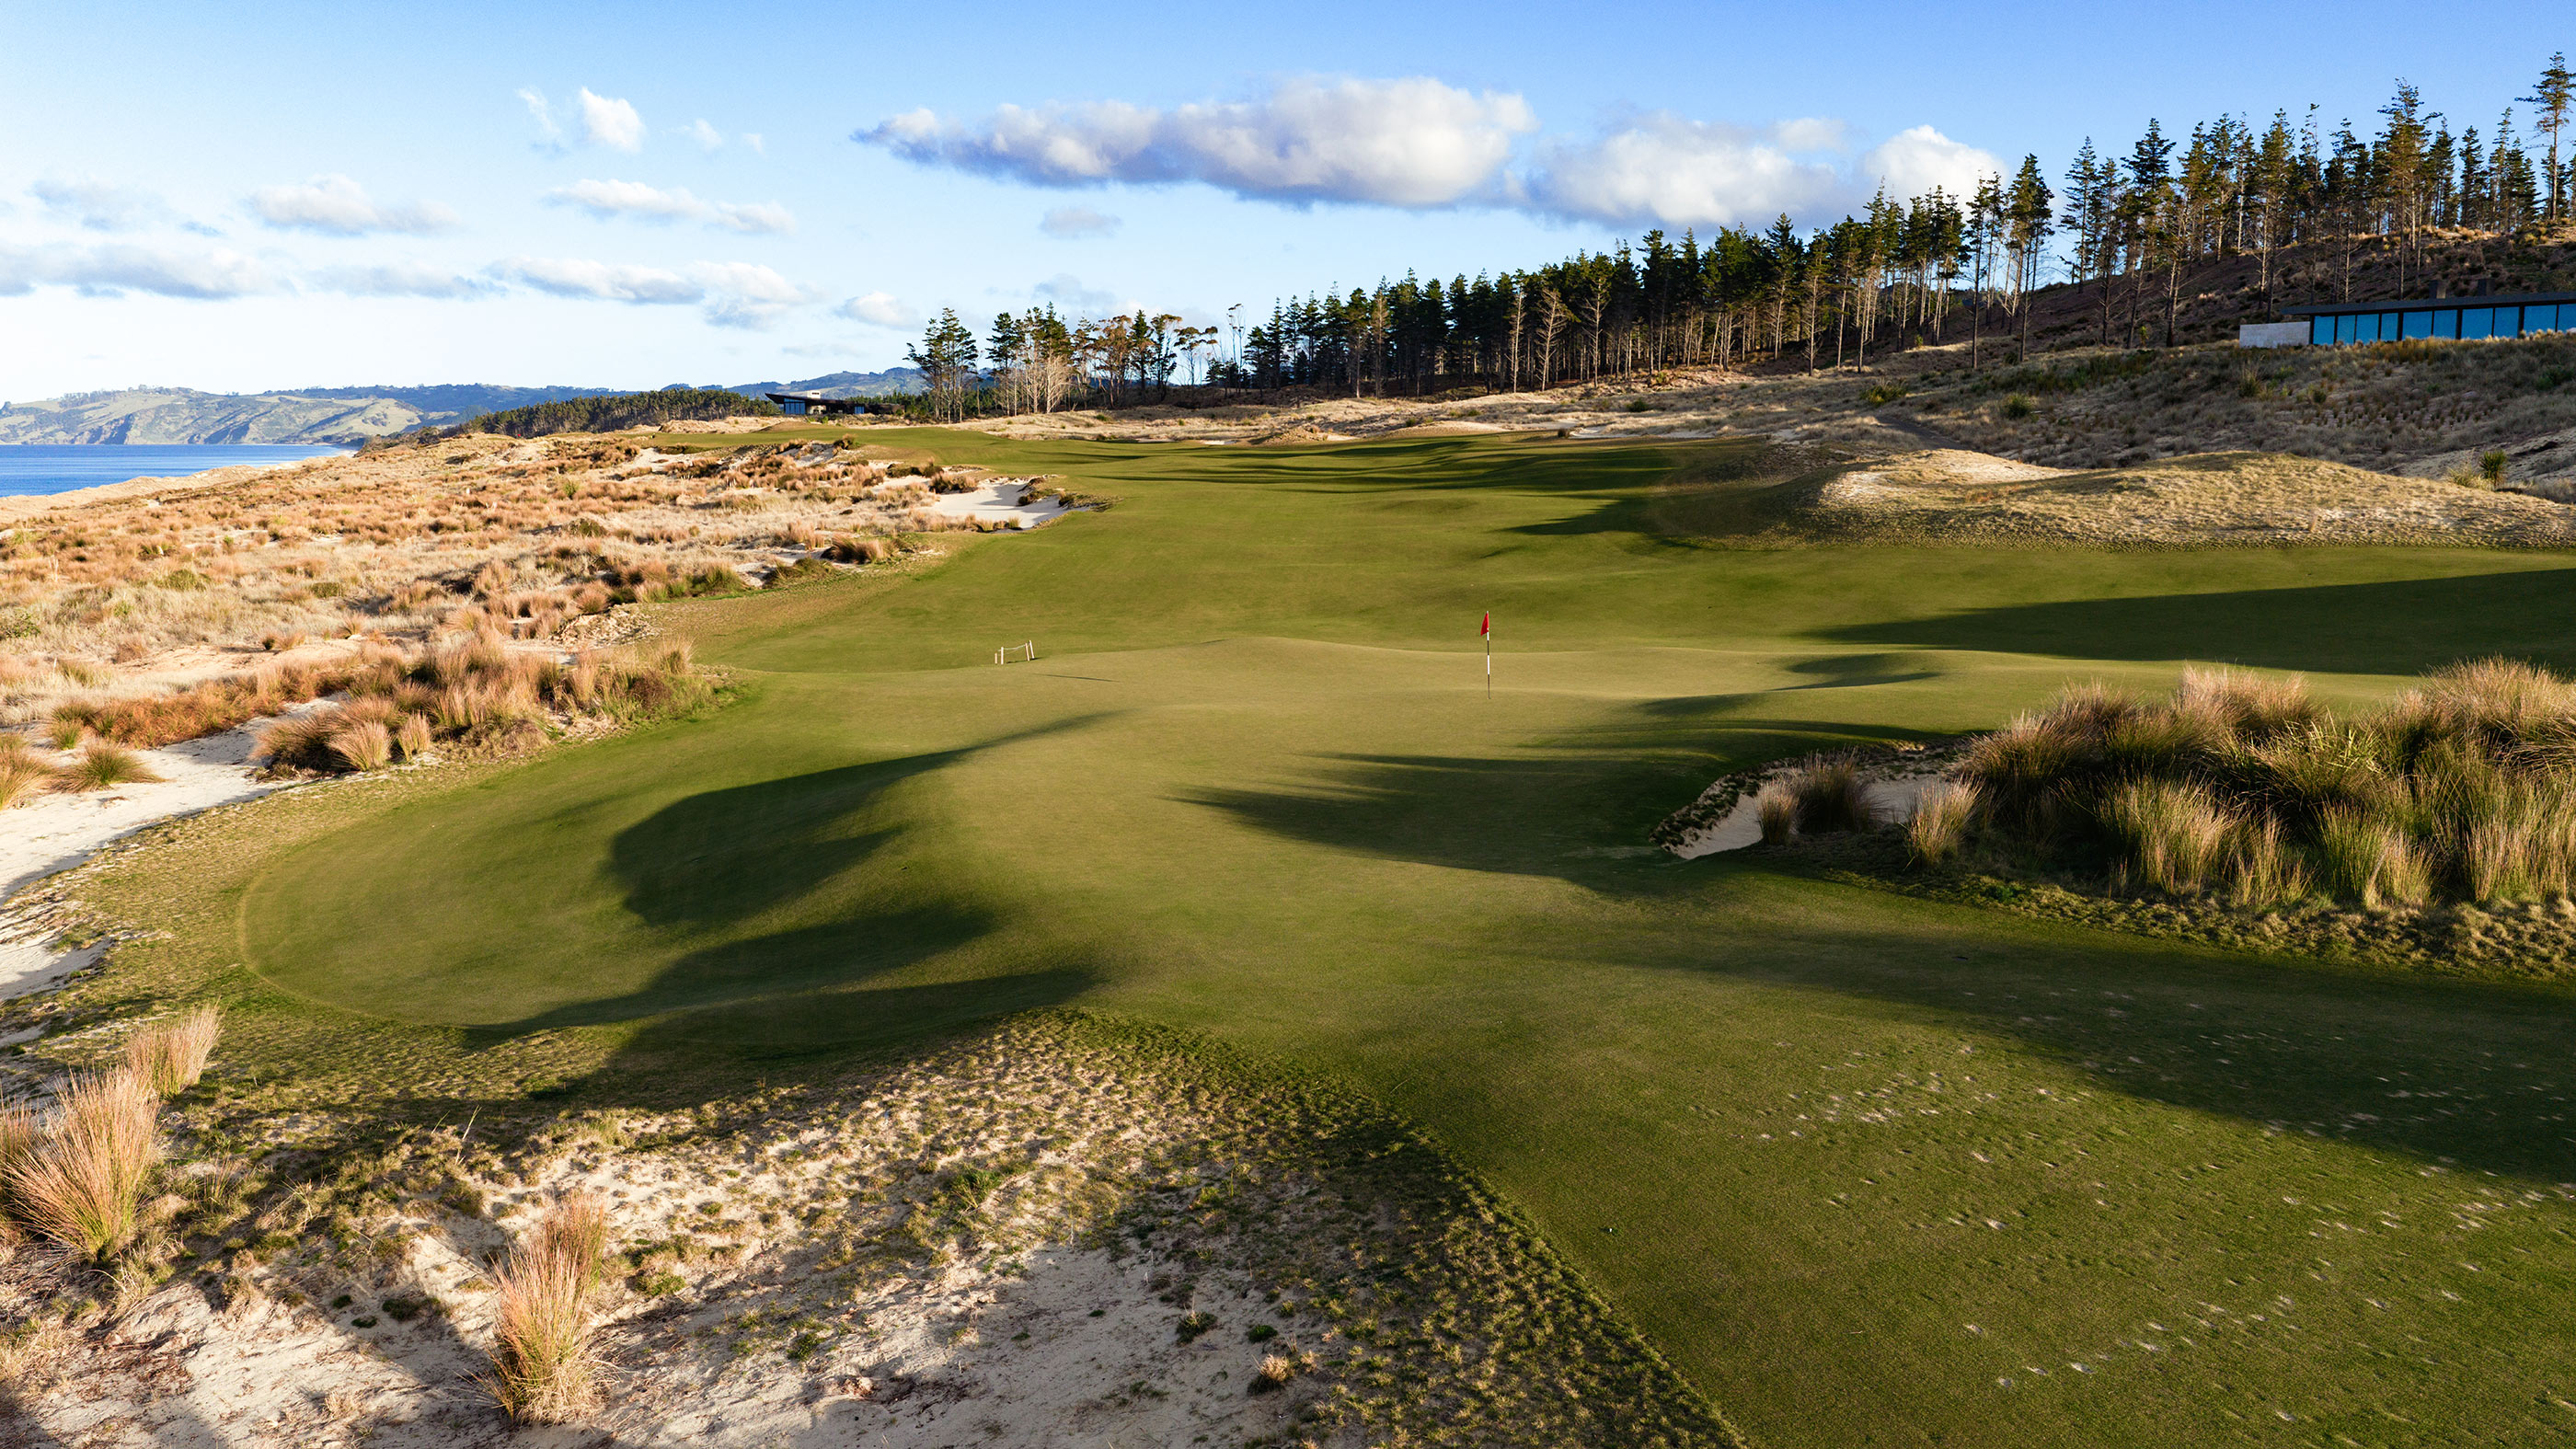
No. 8 feels quite simple at first glance, but after a few plays, the various options to reach certain pins become apparent, allowing for creative shot-making.



Hole 9
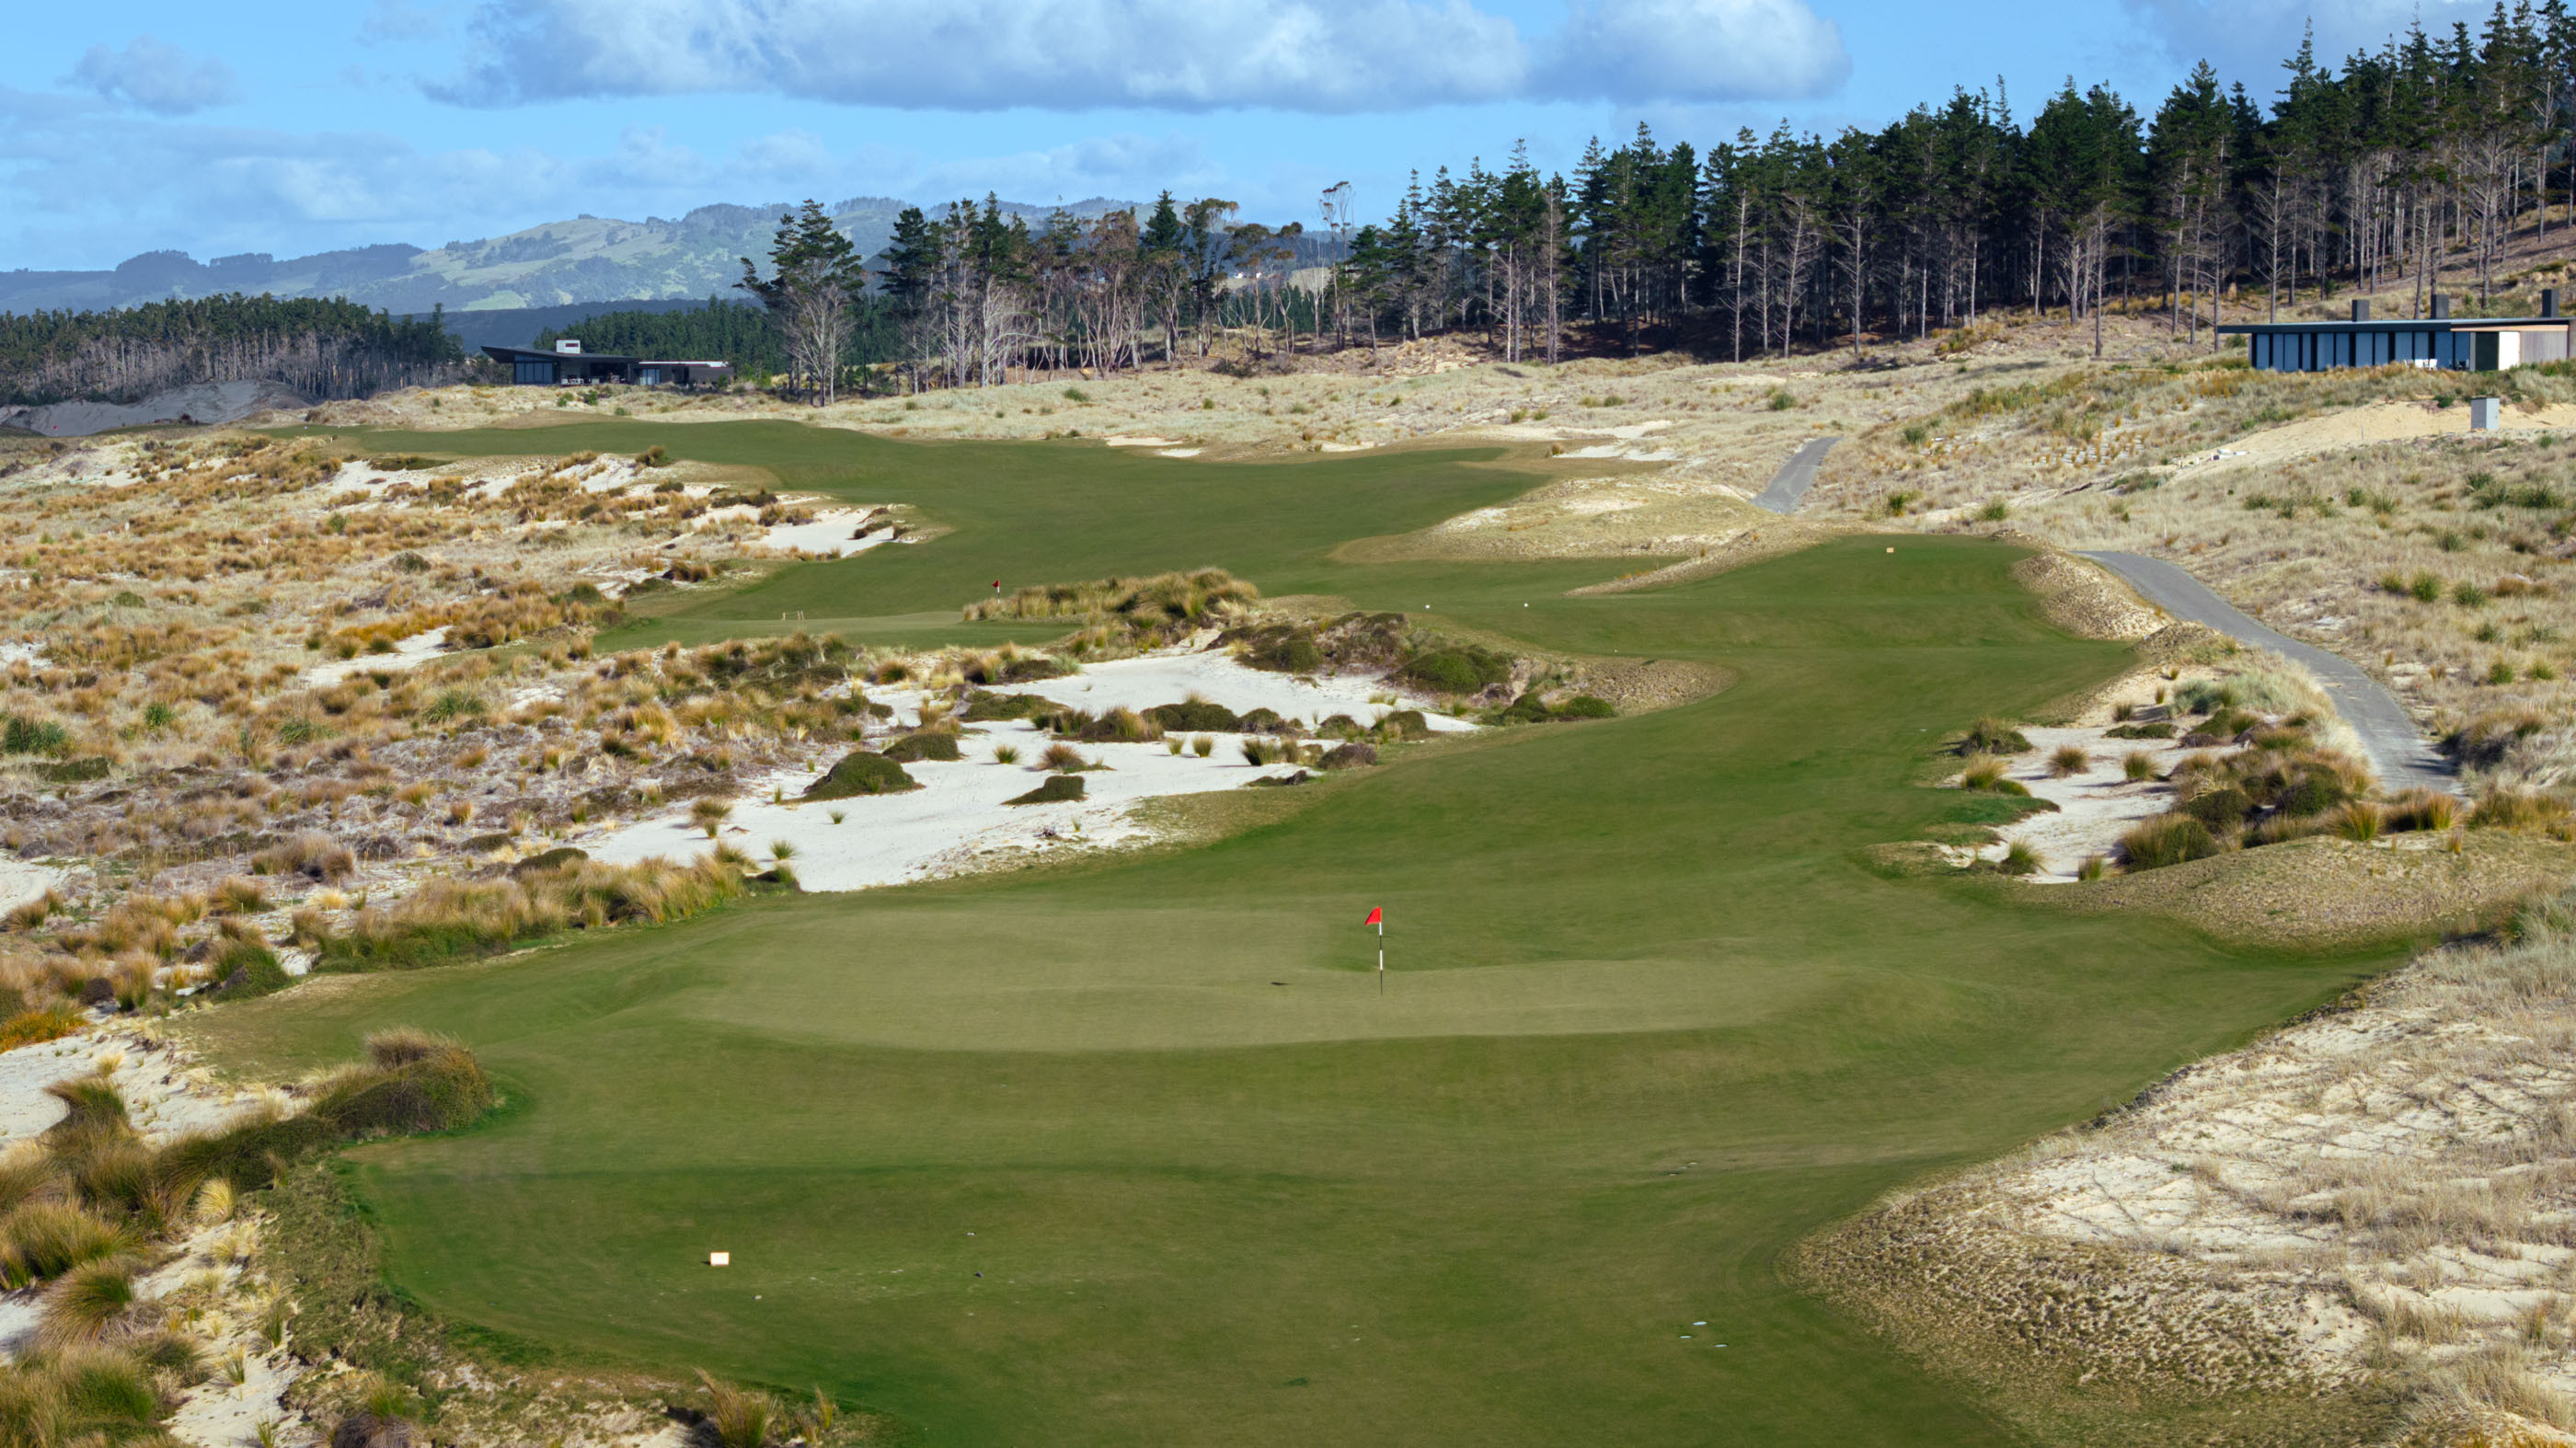
A large waste area jutting into the fairway will take driver out of most players' hands. Keeping the ball up the left will give you a clear view of the green, but you must control your distance to find the correct tier and avoid the terrifying short-right miss.


Hole 10
The 10th hole’s departure from the coast creates a shift in perspective to start the second nine. This fallaway green seamlessly sits down in the landscape, and a central ridge divides the surface into two sections.
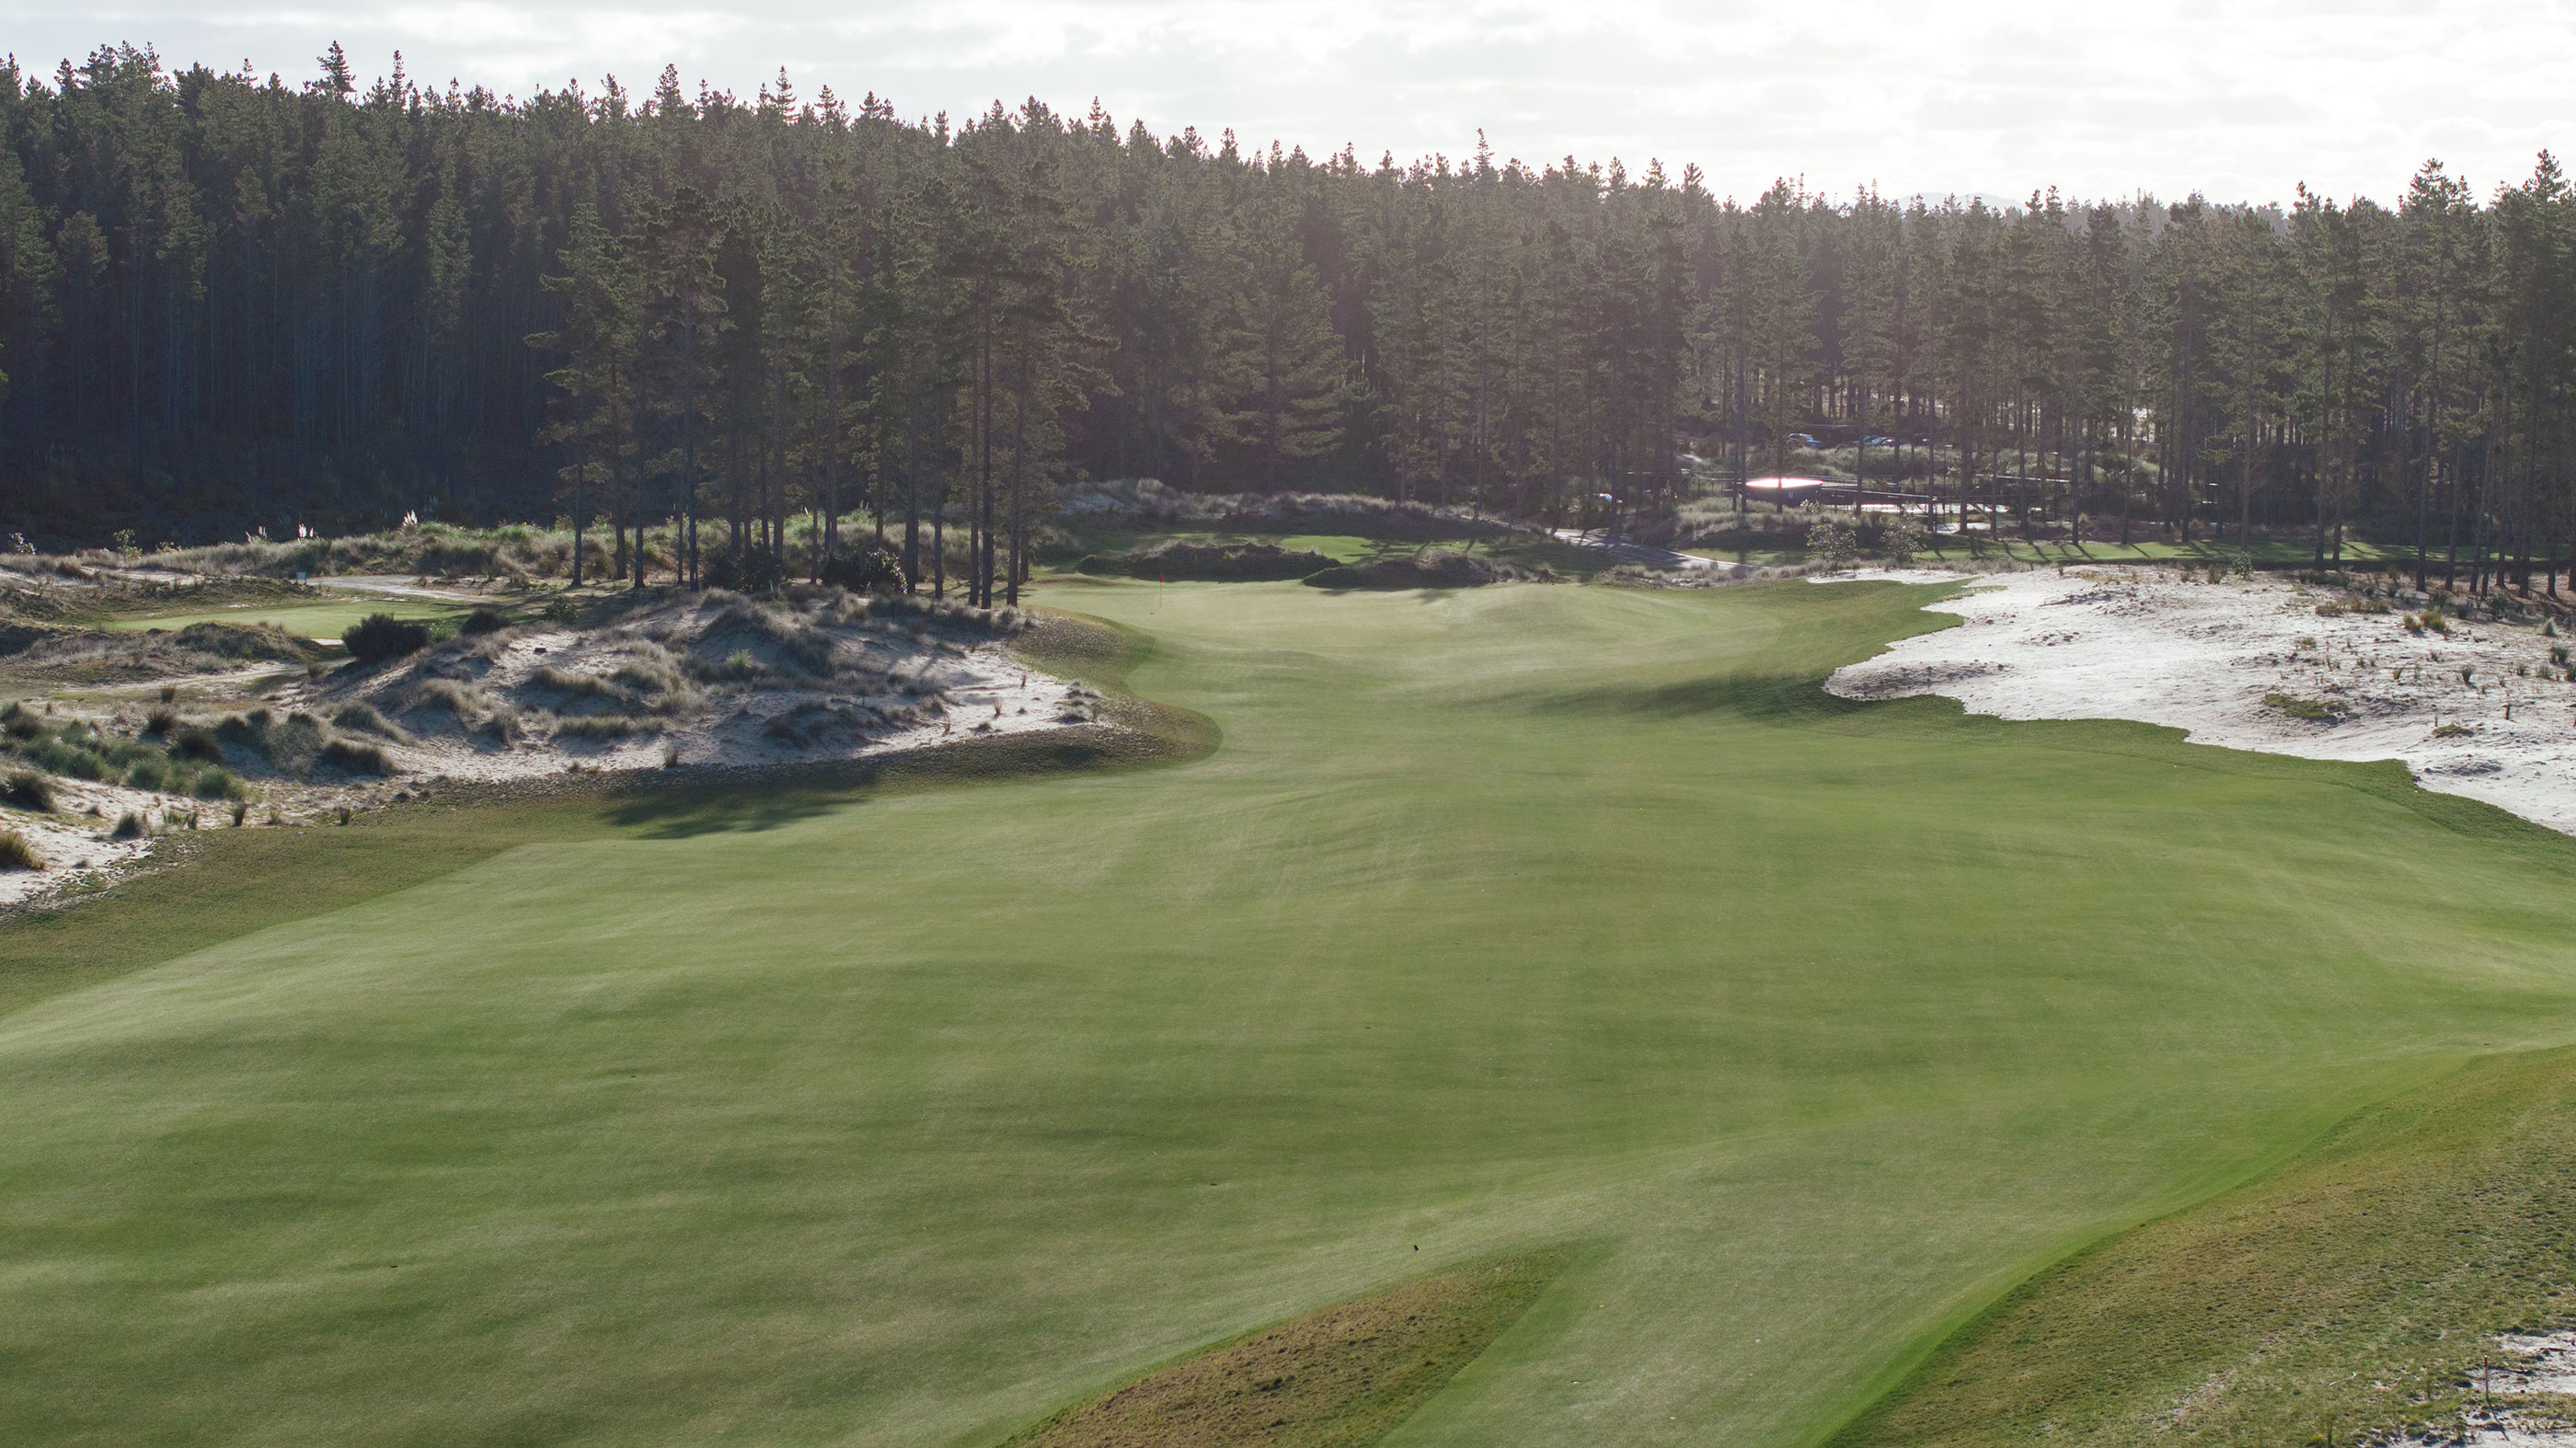


Hole 11
Were you missing the ocean? No. 11 heads straight back towards the water and the green is benched into a dune that acts as a hub for the second nine. The centerline fairway bunker was added in 2026 to create a little more interest off the tee and challenge longer players.


Hole 12
Three mounds short of the green direct ground-running shots to certain pin locations, similar to the 15th at Sand Valley. While the housing beyond the green detracts from the natural beauty of the landscape, this is still an awesome long par 3.

Hole 13
Favorite Hole
No. 13, par 5, 557 yards
A beautiful-looking golf hole that my colleague Cameron Hurdus said “looks like it could be a hole at Cypress Point.” While this is an apt visual comparison, the 13th at Te Arai immediately struck me as a sibling to the 14th at Sand Hills in regard to the strategic design. Both of these are very scorable par 5s with small greens perched into a sand dune.
At just 480 yards from the main teeing area, the 13th is very gettable but requires two great shots. Precision is demanded off the tee as No. 13 has one of the narrowest fairways on the course. The hole then elegantly snakes through the large dunes nearly 50 feet uphill to a delightfully tiny green site that’s less than 4,000 square feet and effectively even smaller. Like 14 at Sand Hills, bunkers flank the back left and front right of the green, making the angle of approach from the left side most desirable to hold the green and get the ball close. Shots that miss long will be severely punished. This is a rare golf hole that is equally beautiful and strategic.


Hole 14
Don’t let the scorecard yardage fool you because there’s no easy way to birdie this hole. Laying up to the narrow fairway and wedging it close for birdie feels just as challenging as knocking one on the green. The elevated putting surface forces you to be precise. Shots that miss right will shed 20-plus yards away from the green, and misses left will settle in deep waste areas.


Hole 15
With so many stunning holes on the second nine, the 15th feels a bit more ho-hum, but once again a fantastic green site gives the hole plenty of interest.


Hole 16
If you didn’t cash in on No. 14, the 16th gives you another chance. The heart-shaped green means playing to the opposite side of the flagstick will provide the best approach angle into the green. A bulbous central ridge divides the green in two, so make sure to find the correct level.


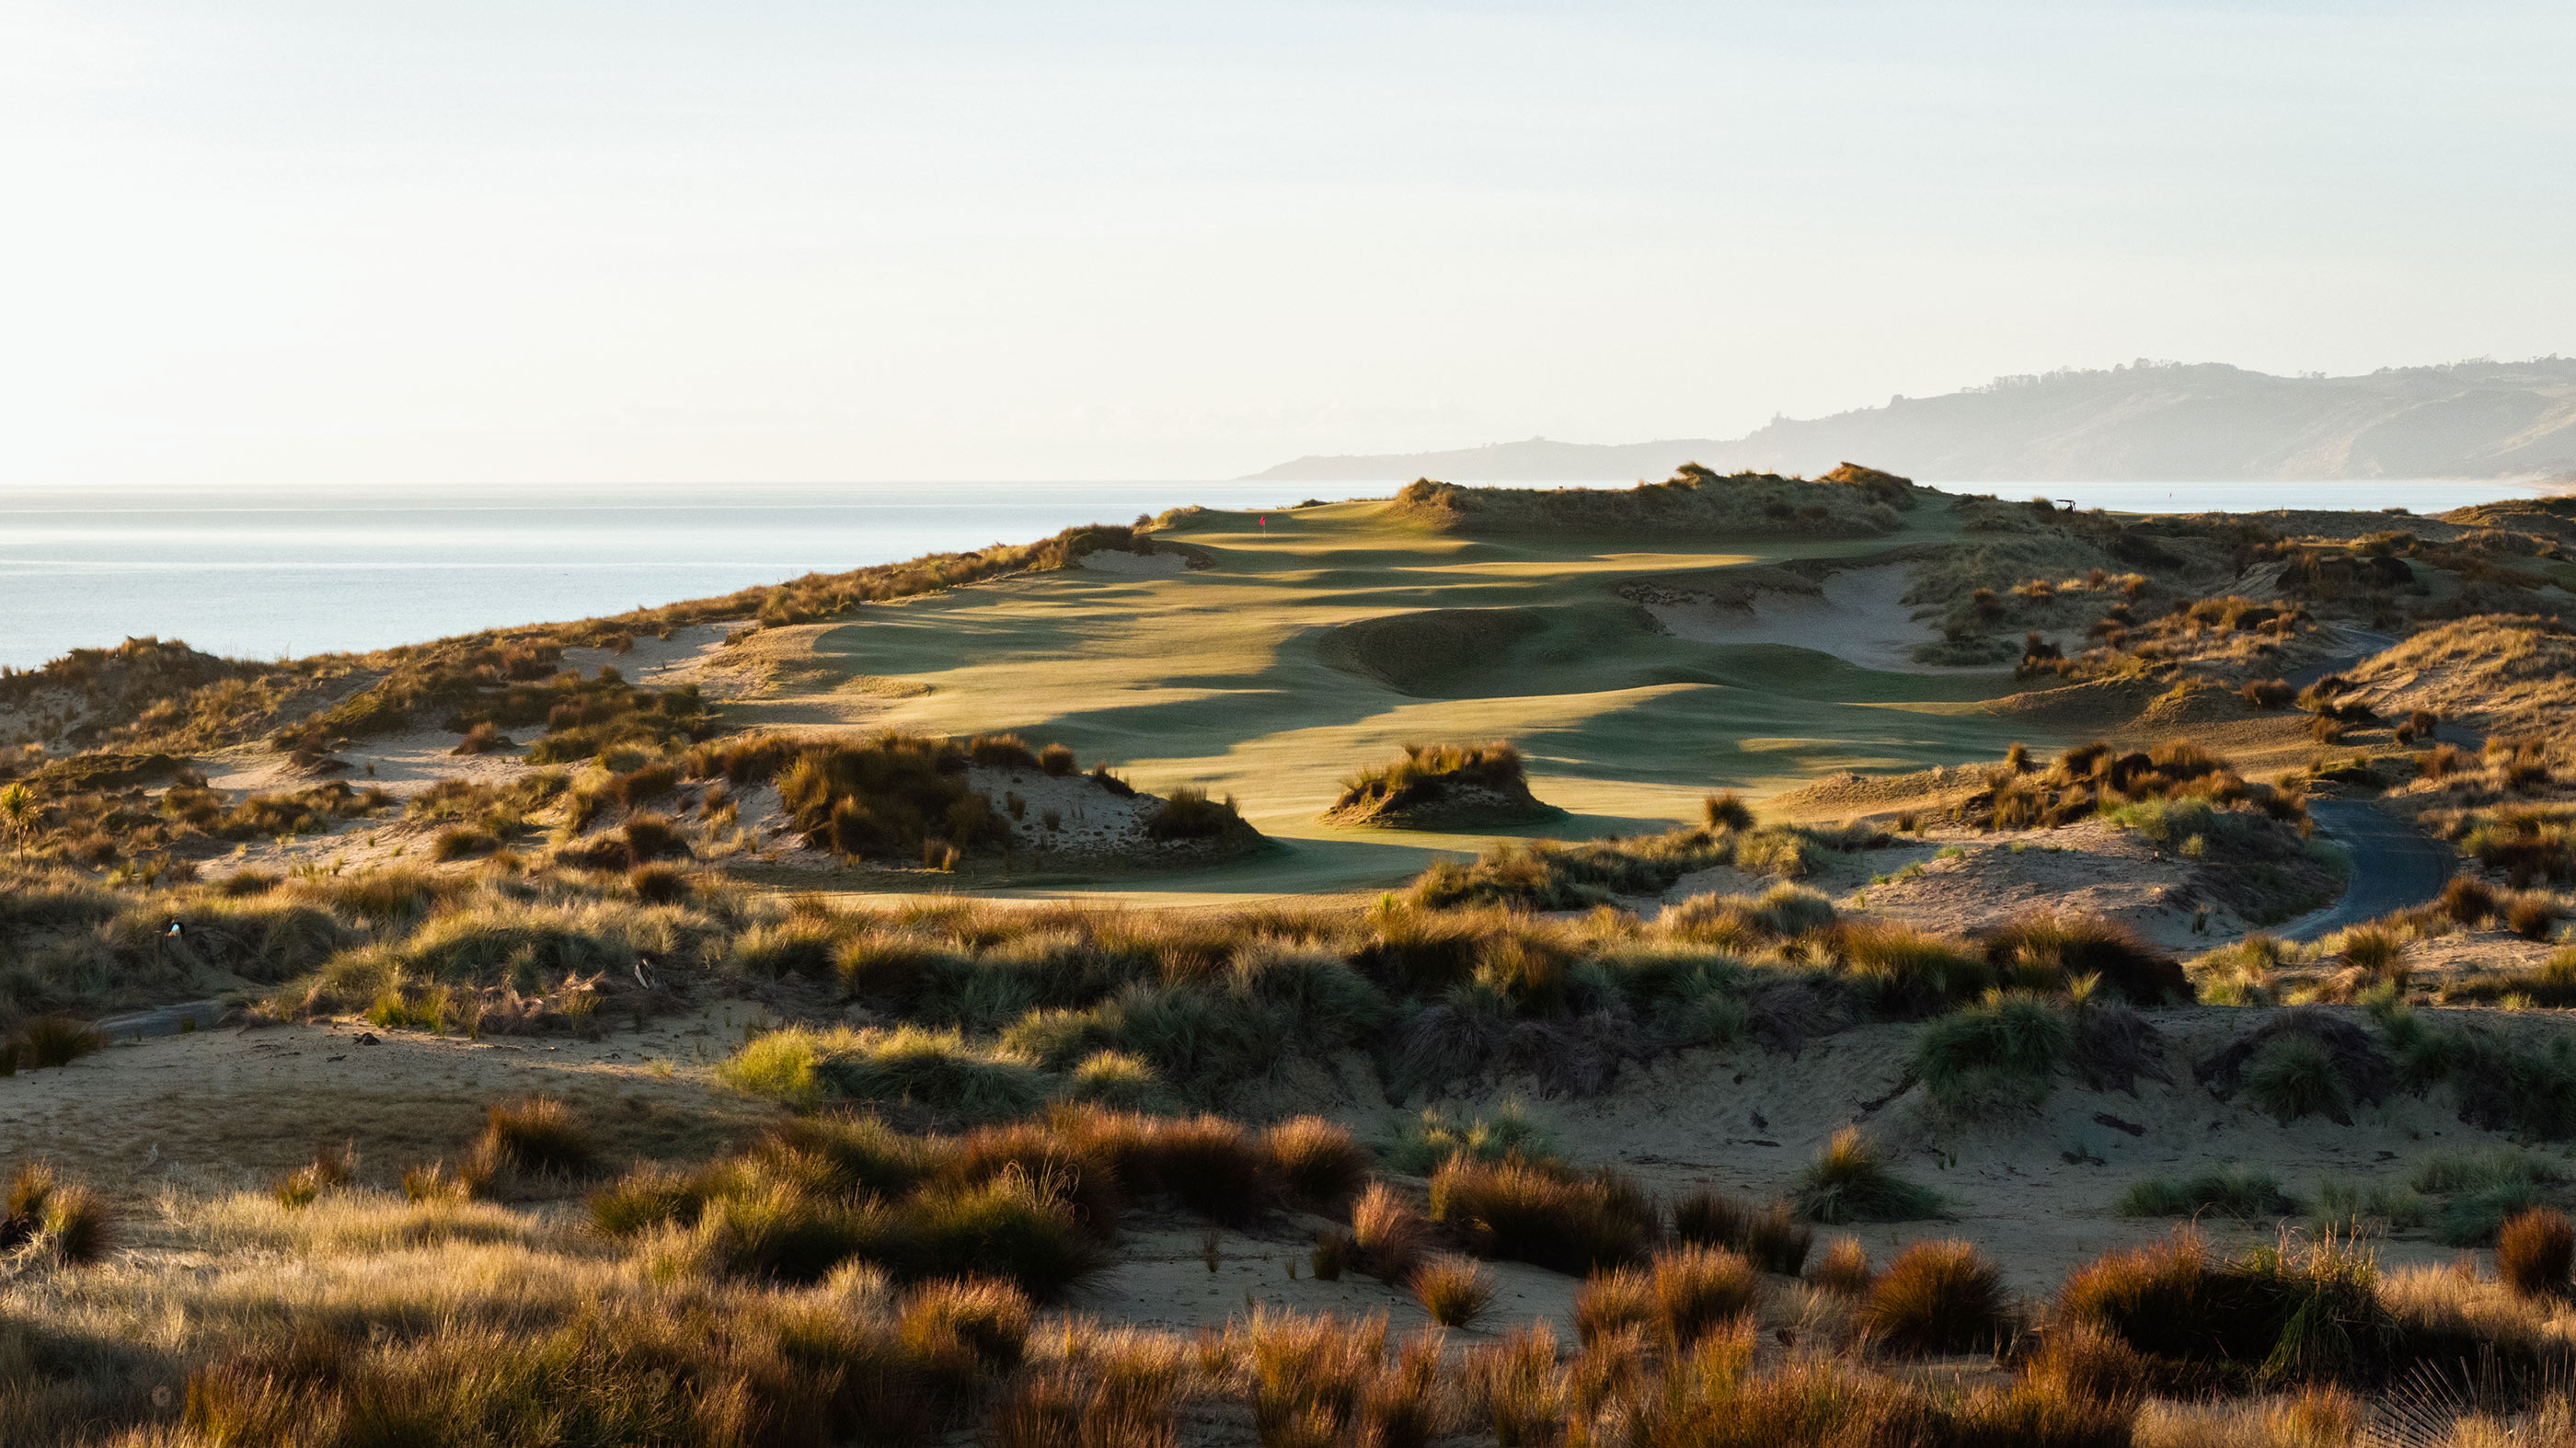


Hole 17
Everything you could ask for in a short par 3: Incredible views, punishment for near misses, and a Bill Coore masterpiece green with the most subtle internal pockets for various pin locations. 10/10. No notes.


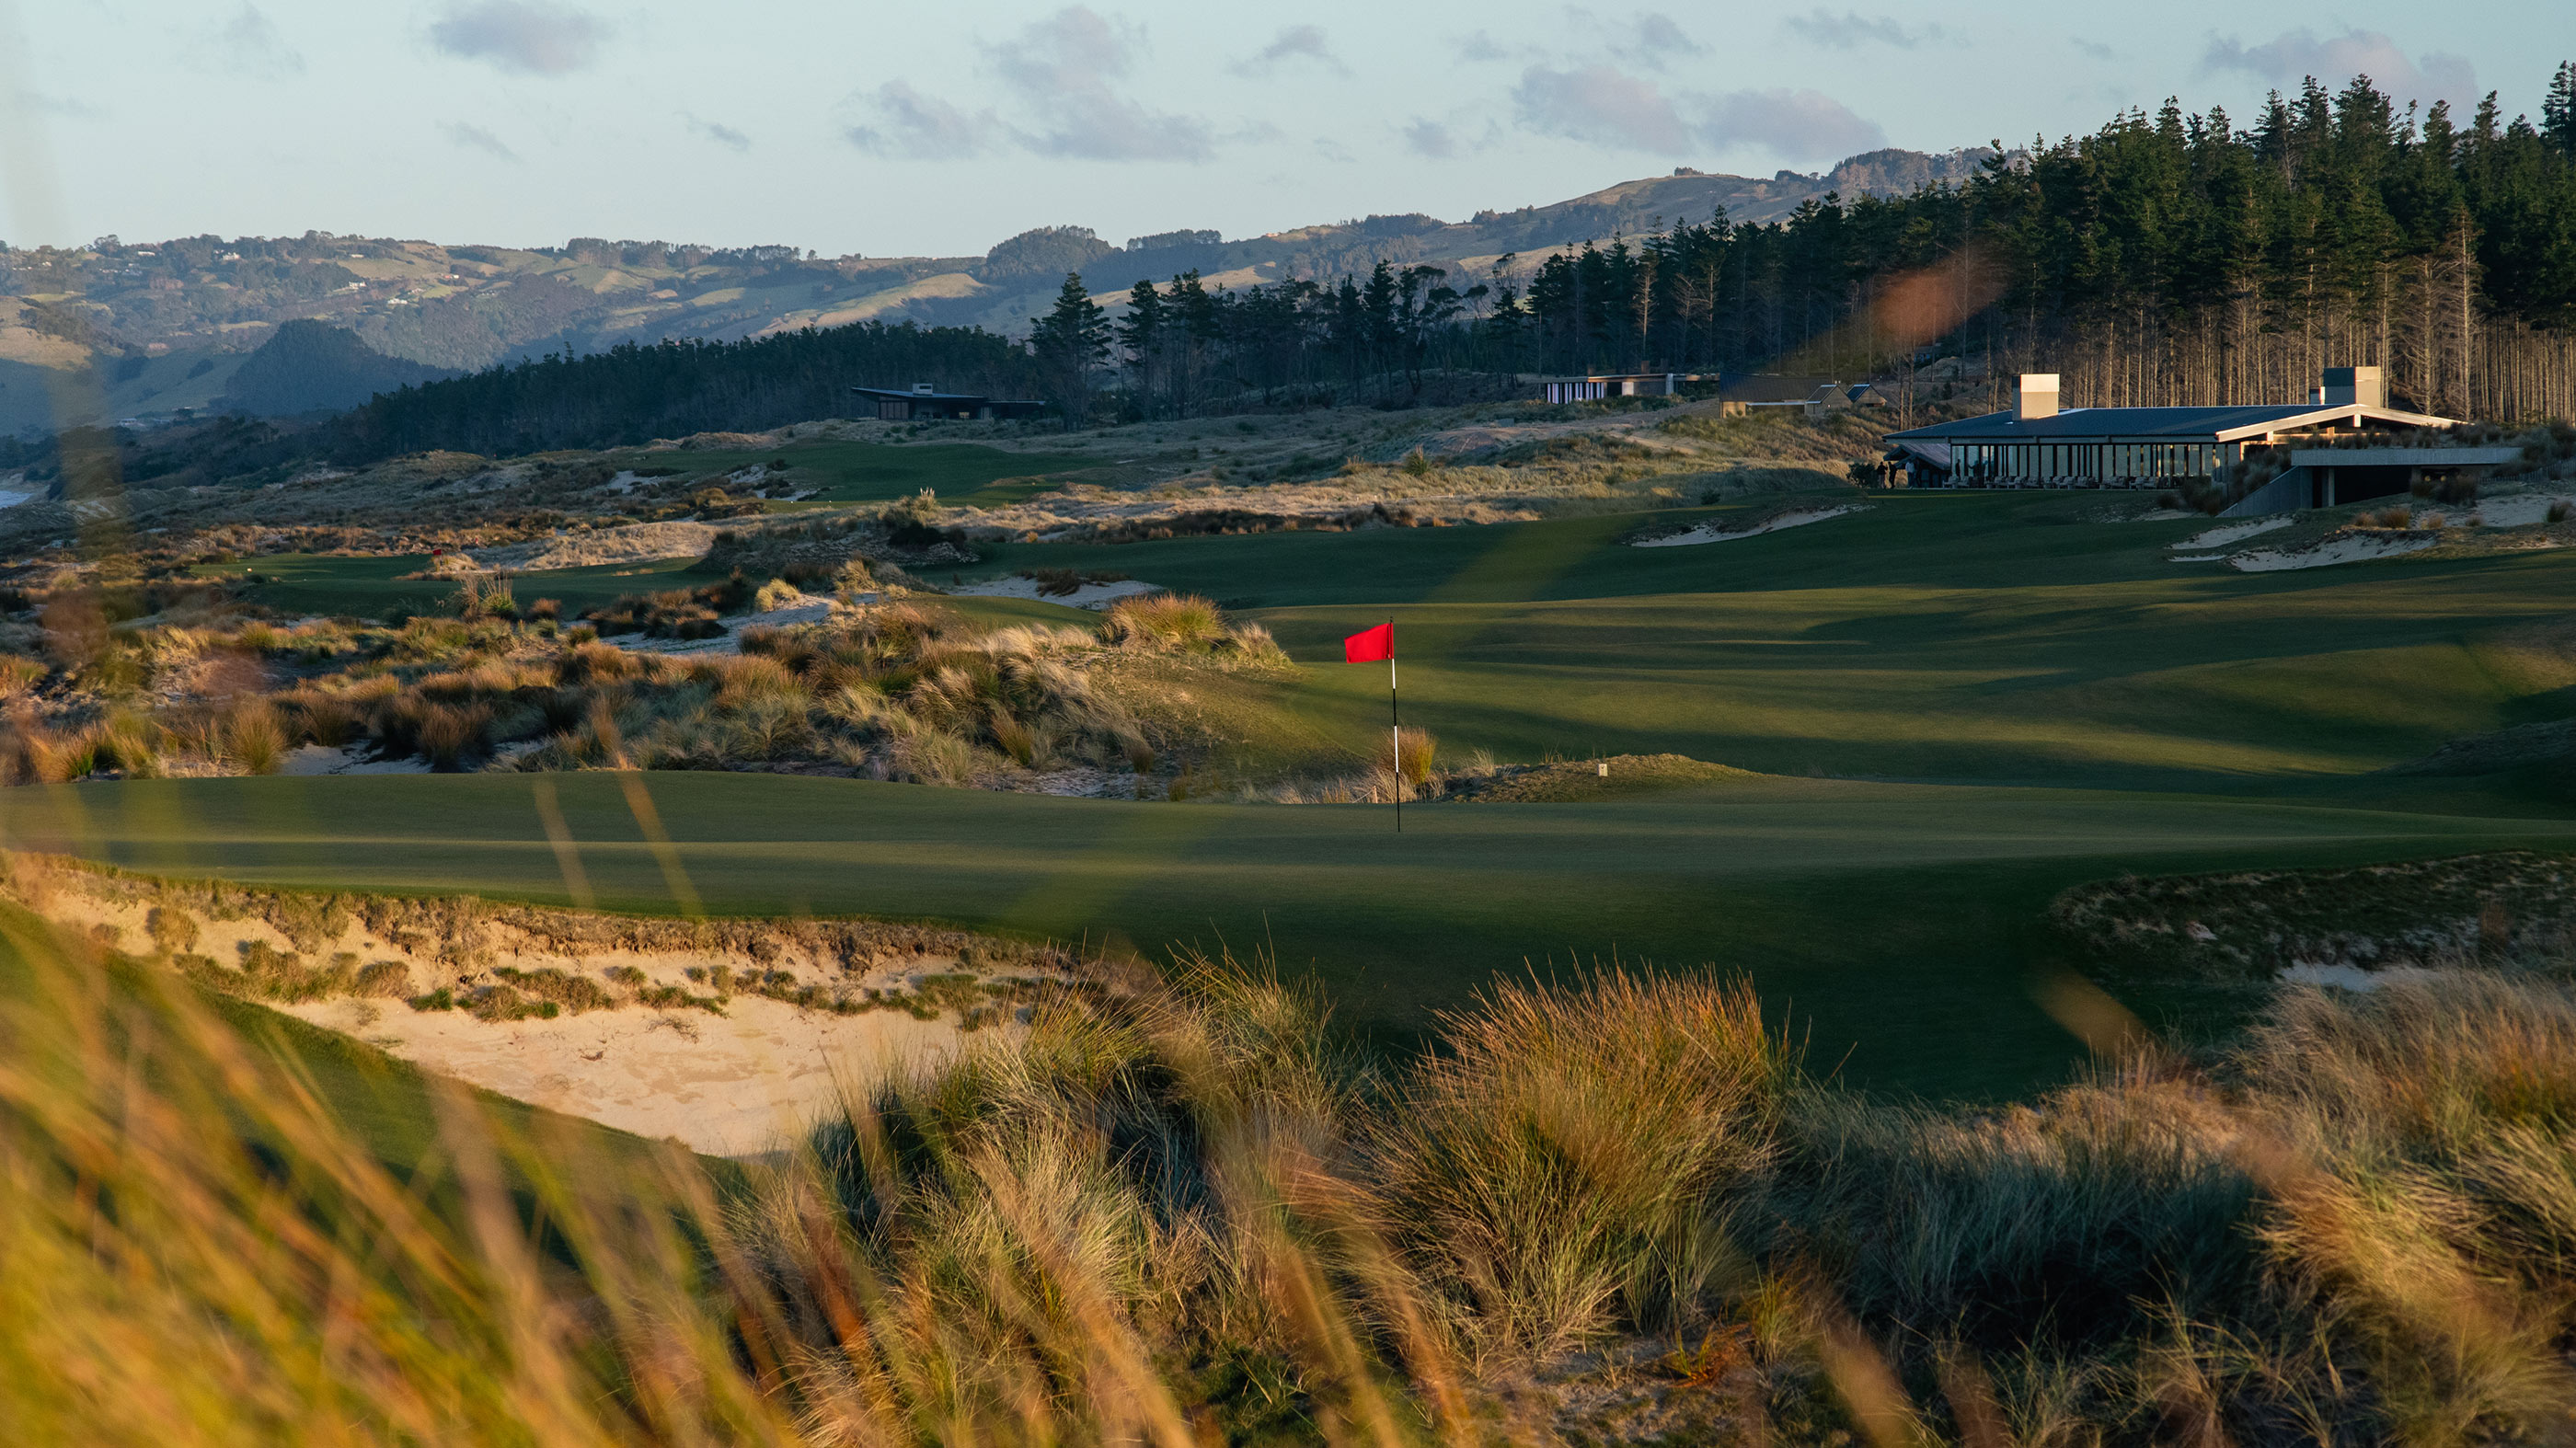


Hole 18
The 18th brings you back closer to baseline after the cerebral stretch of Nos. 13-17. Laying back short of the sunken pit that fronts the green requires restraint, but provides a great angle to this tilted putting surface. Playing out too far right only creates headaches.