Hole 1
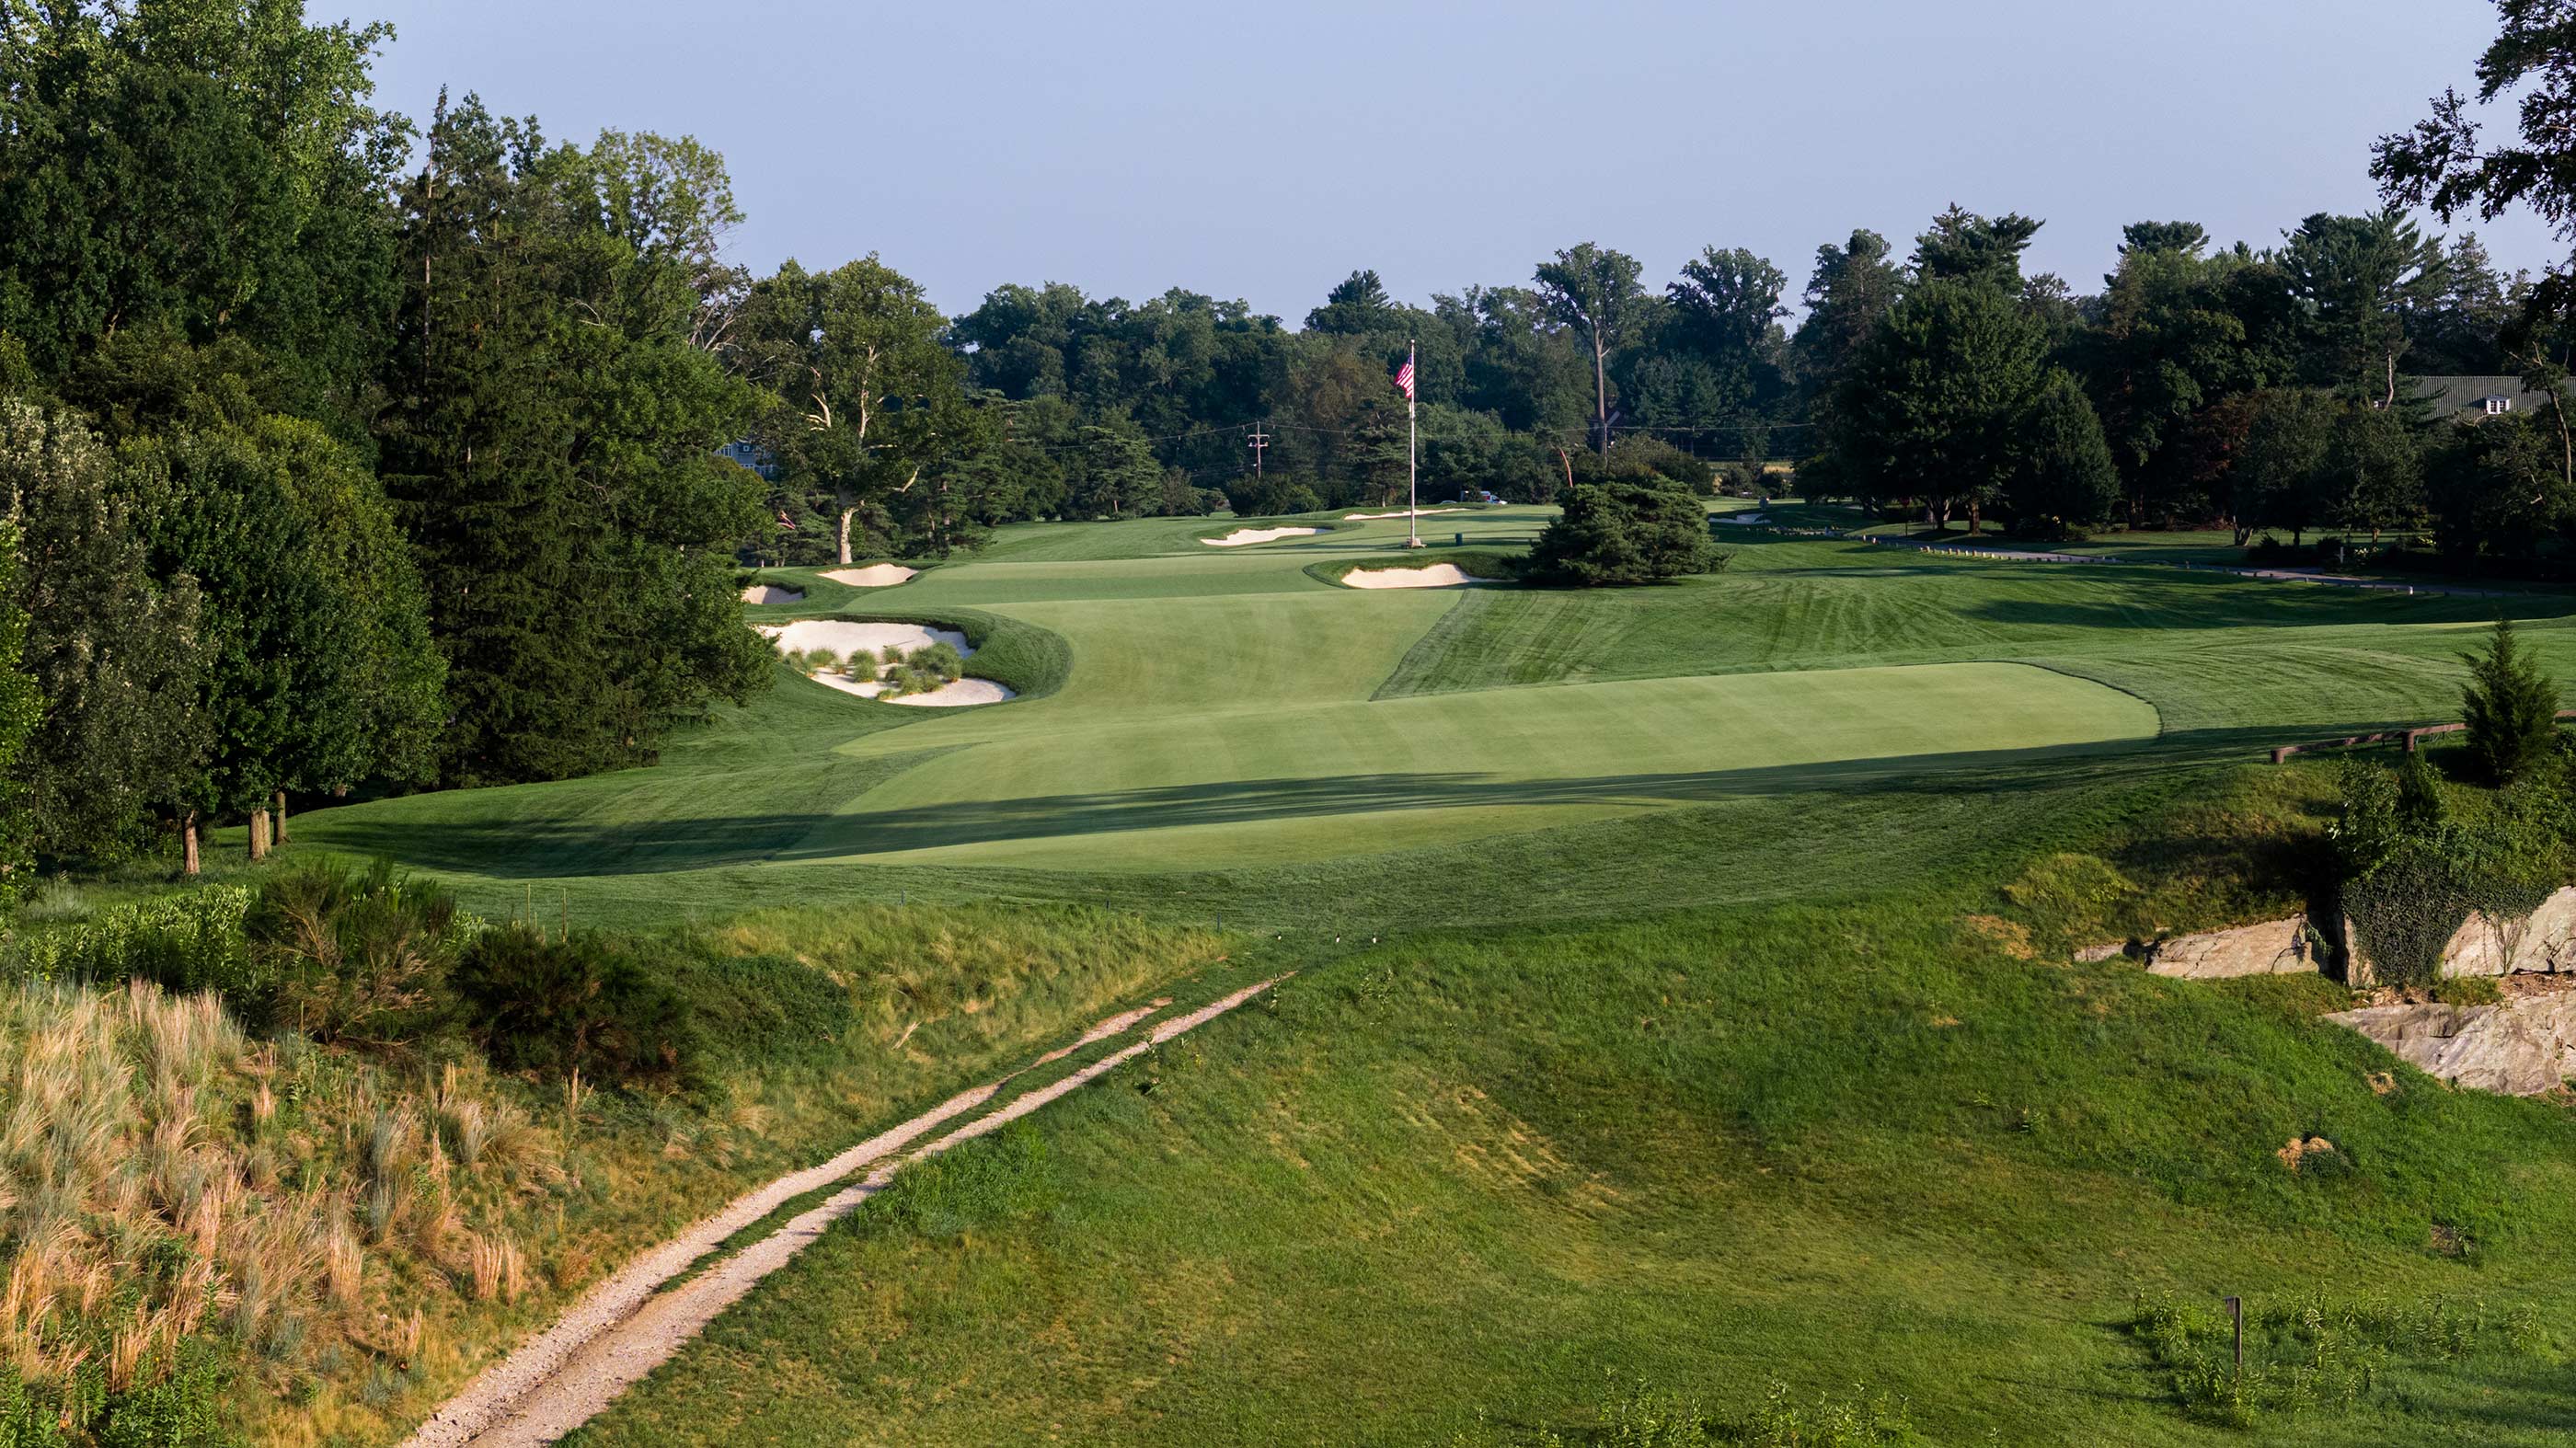
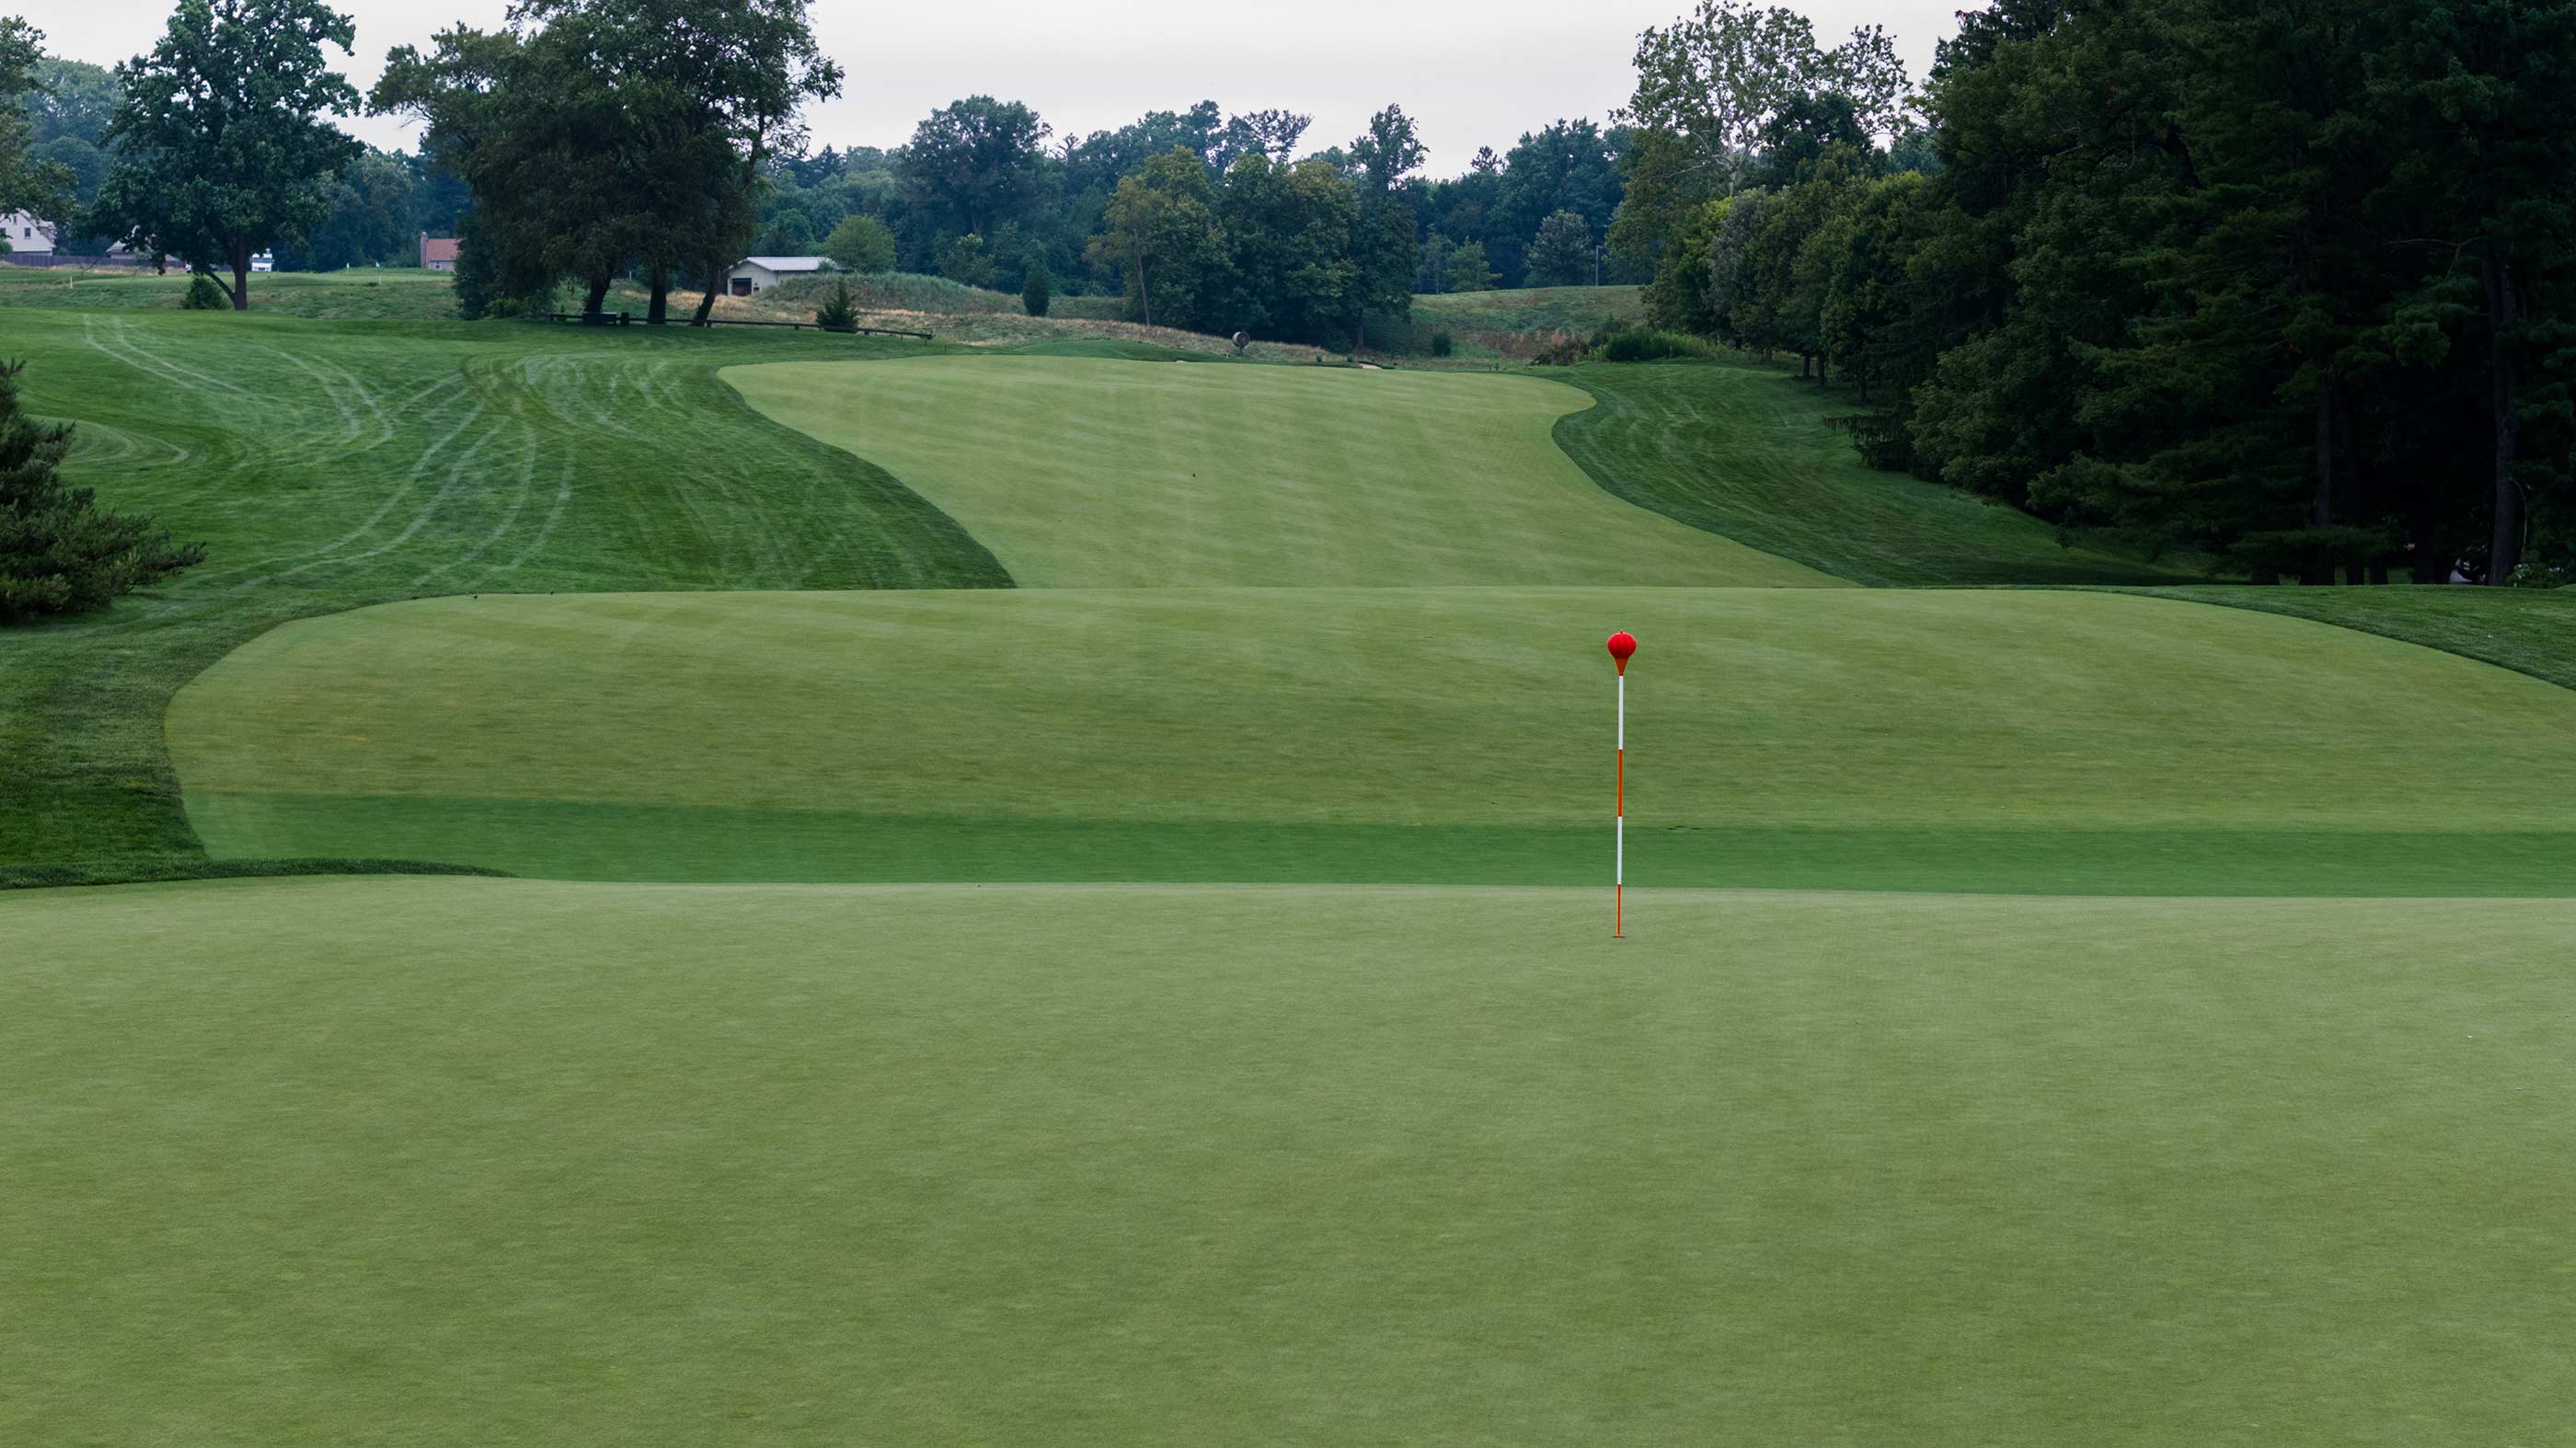
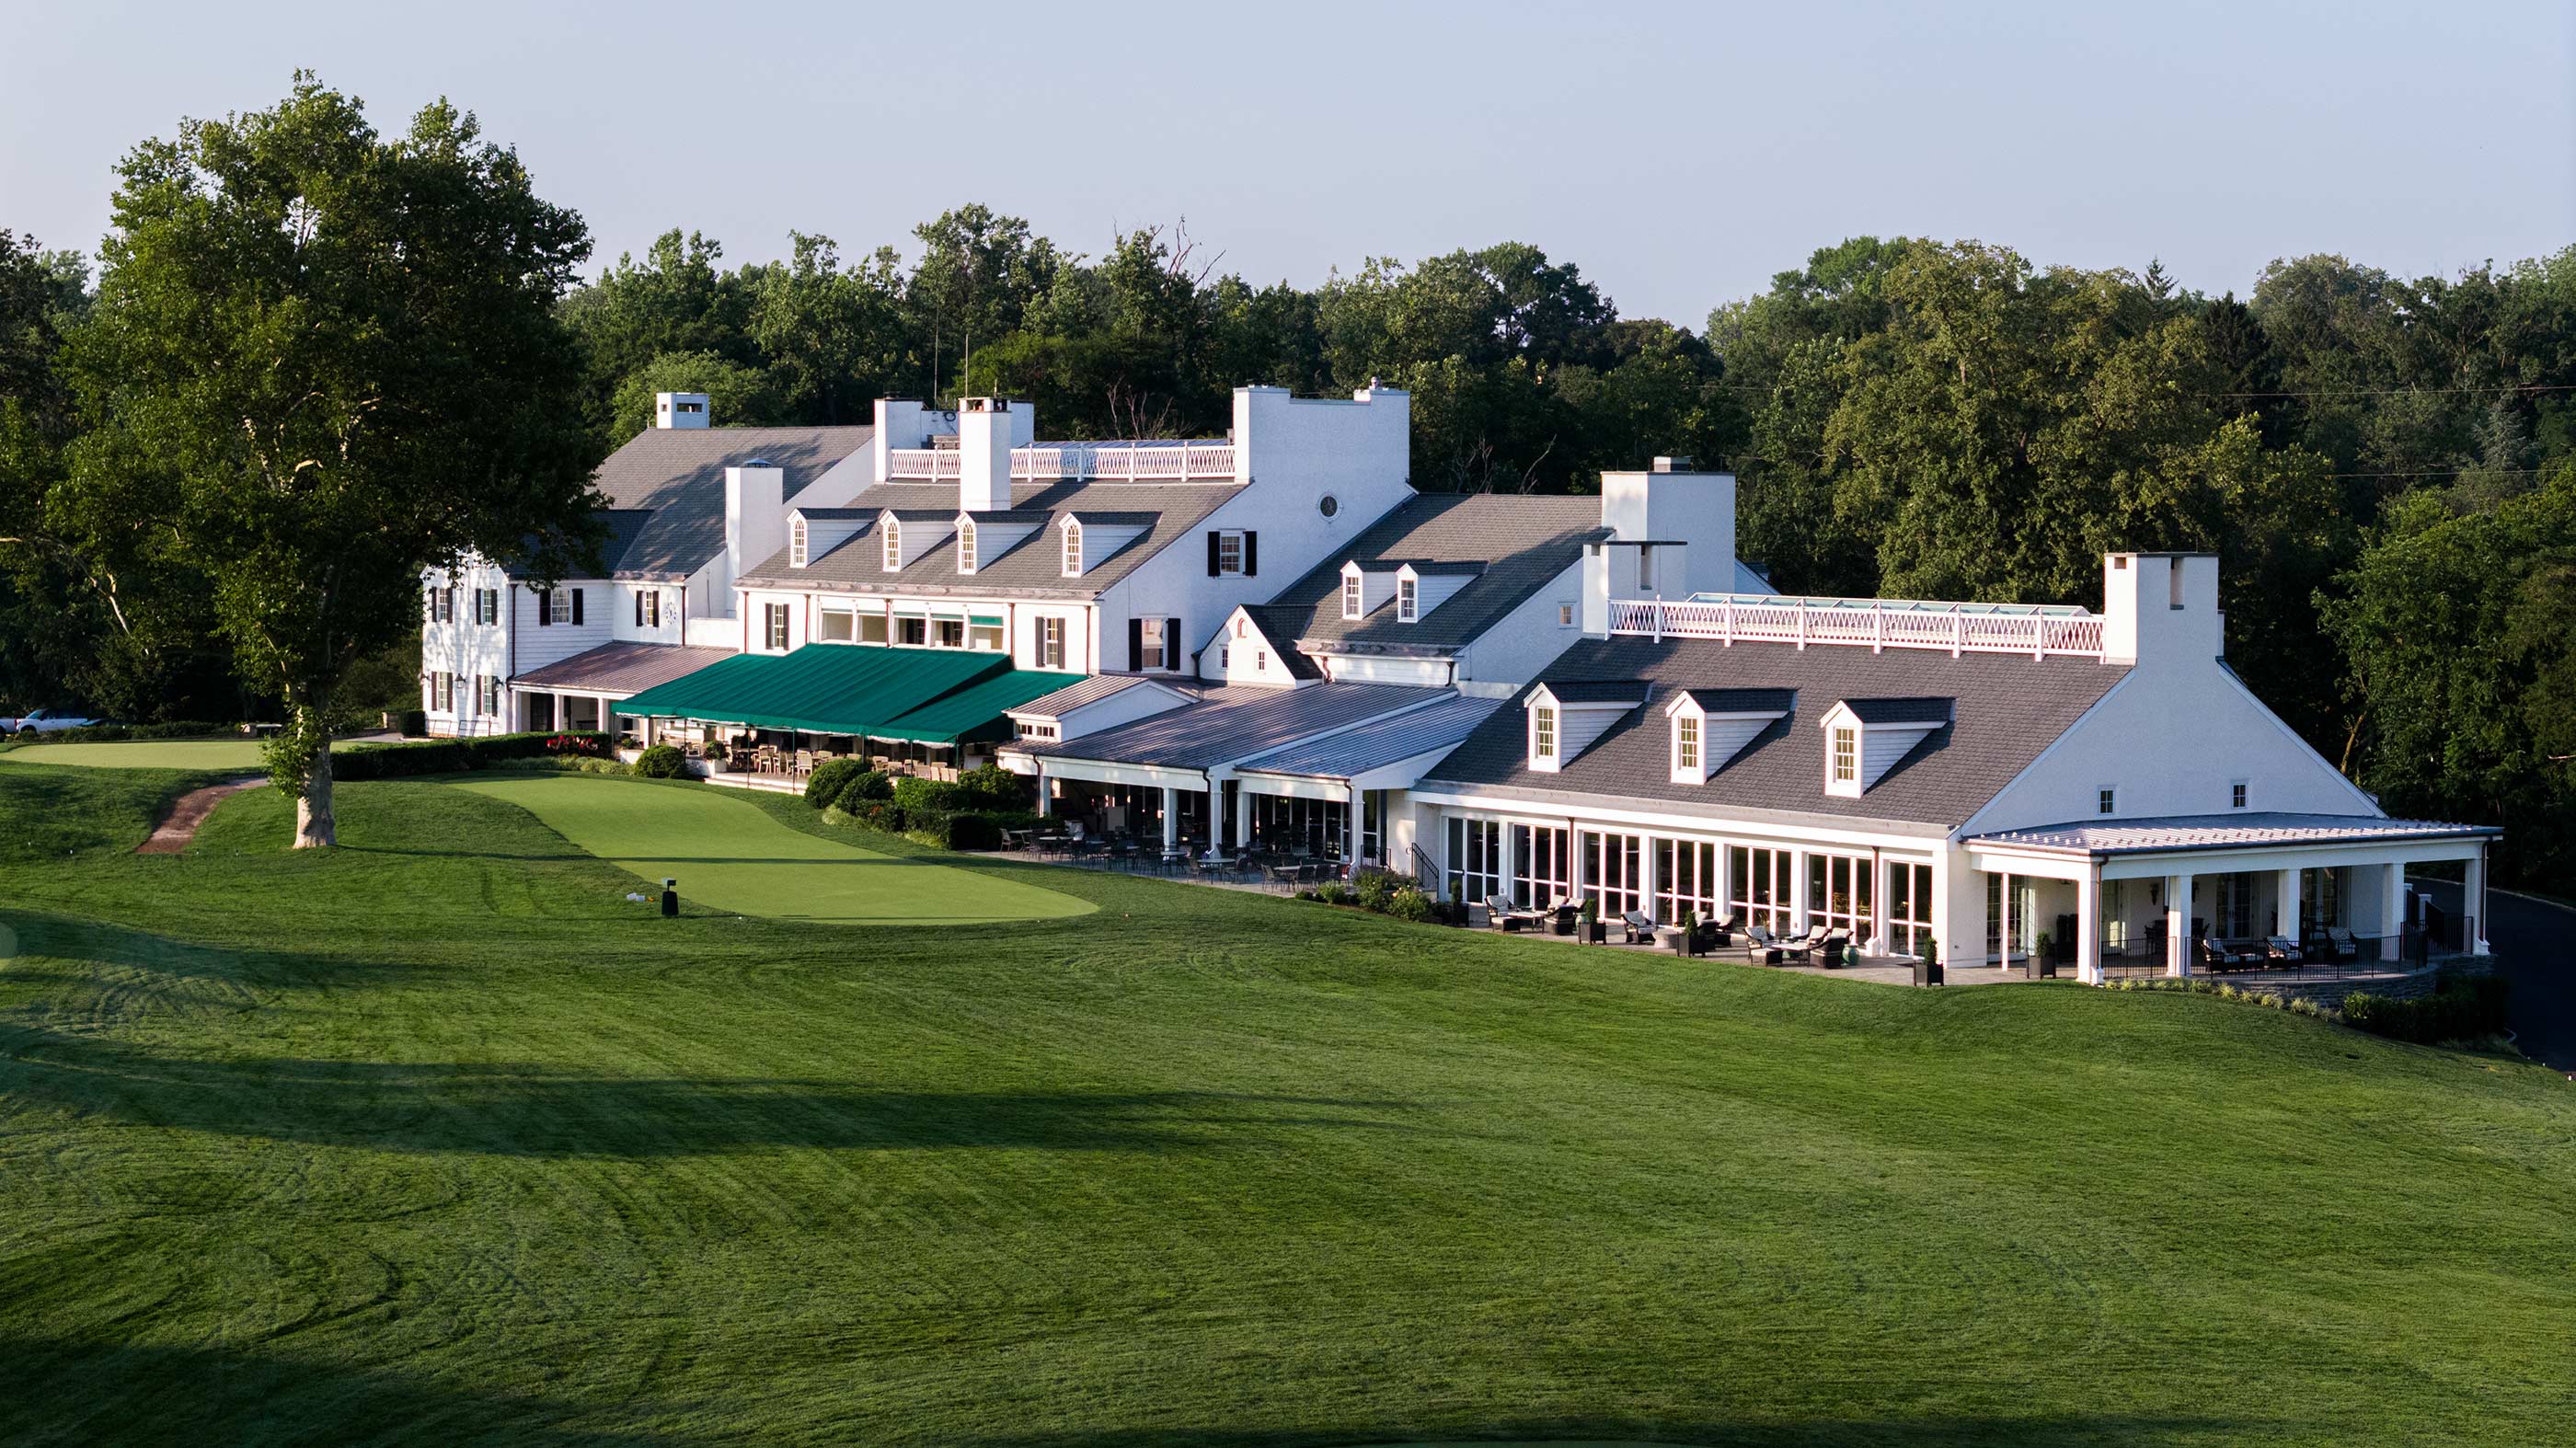
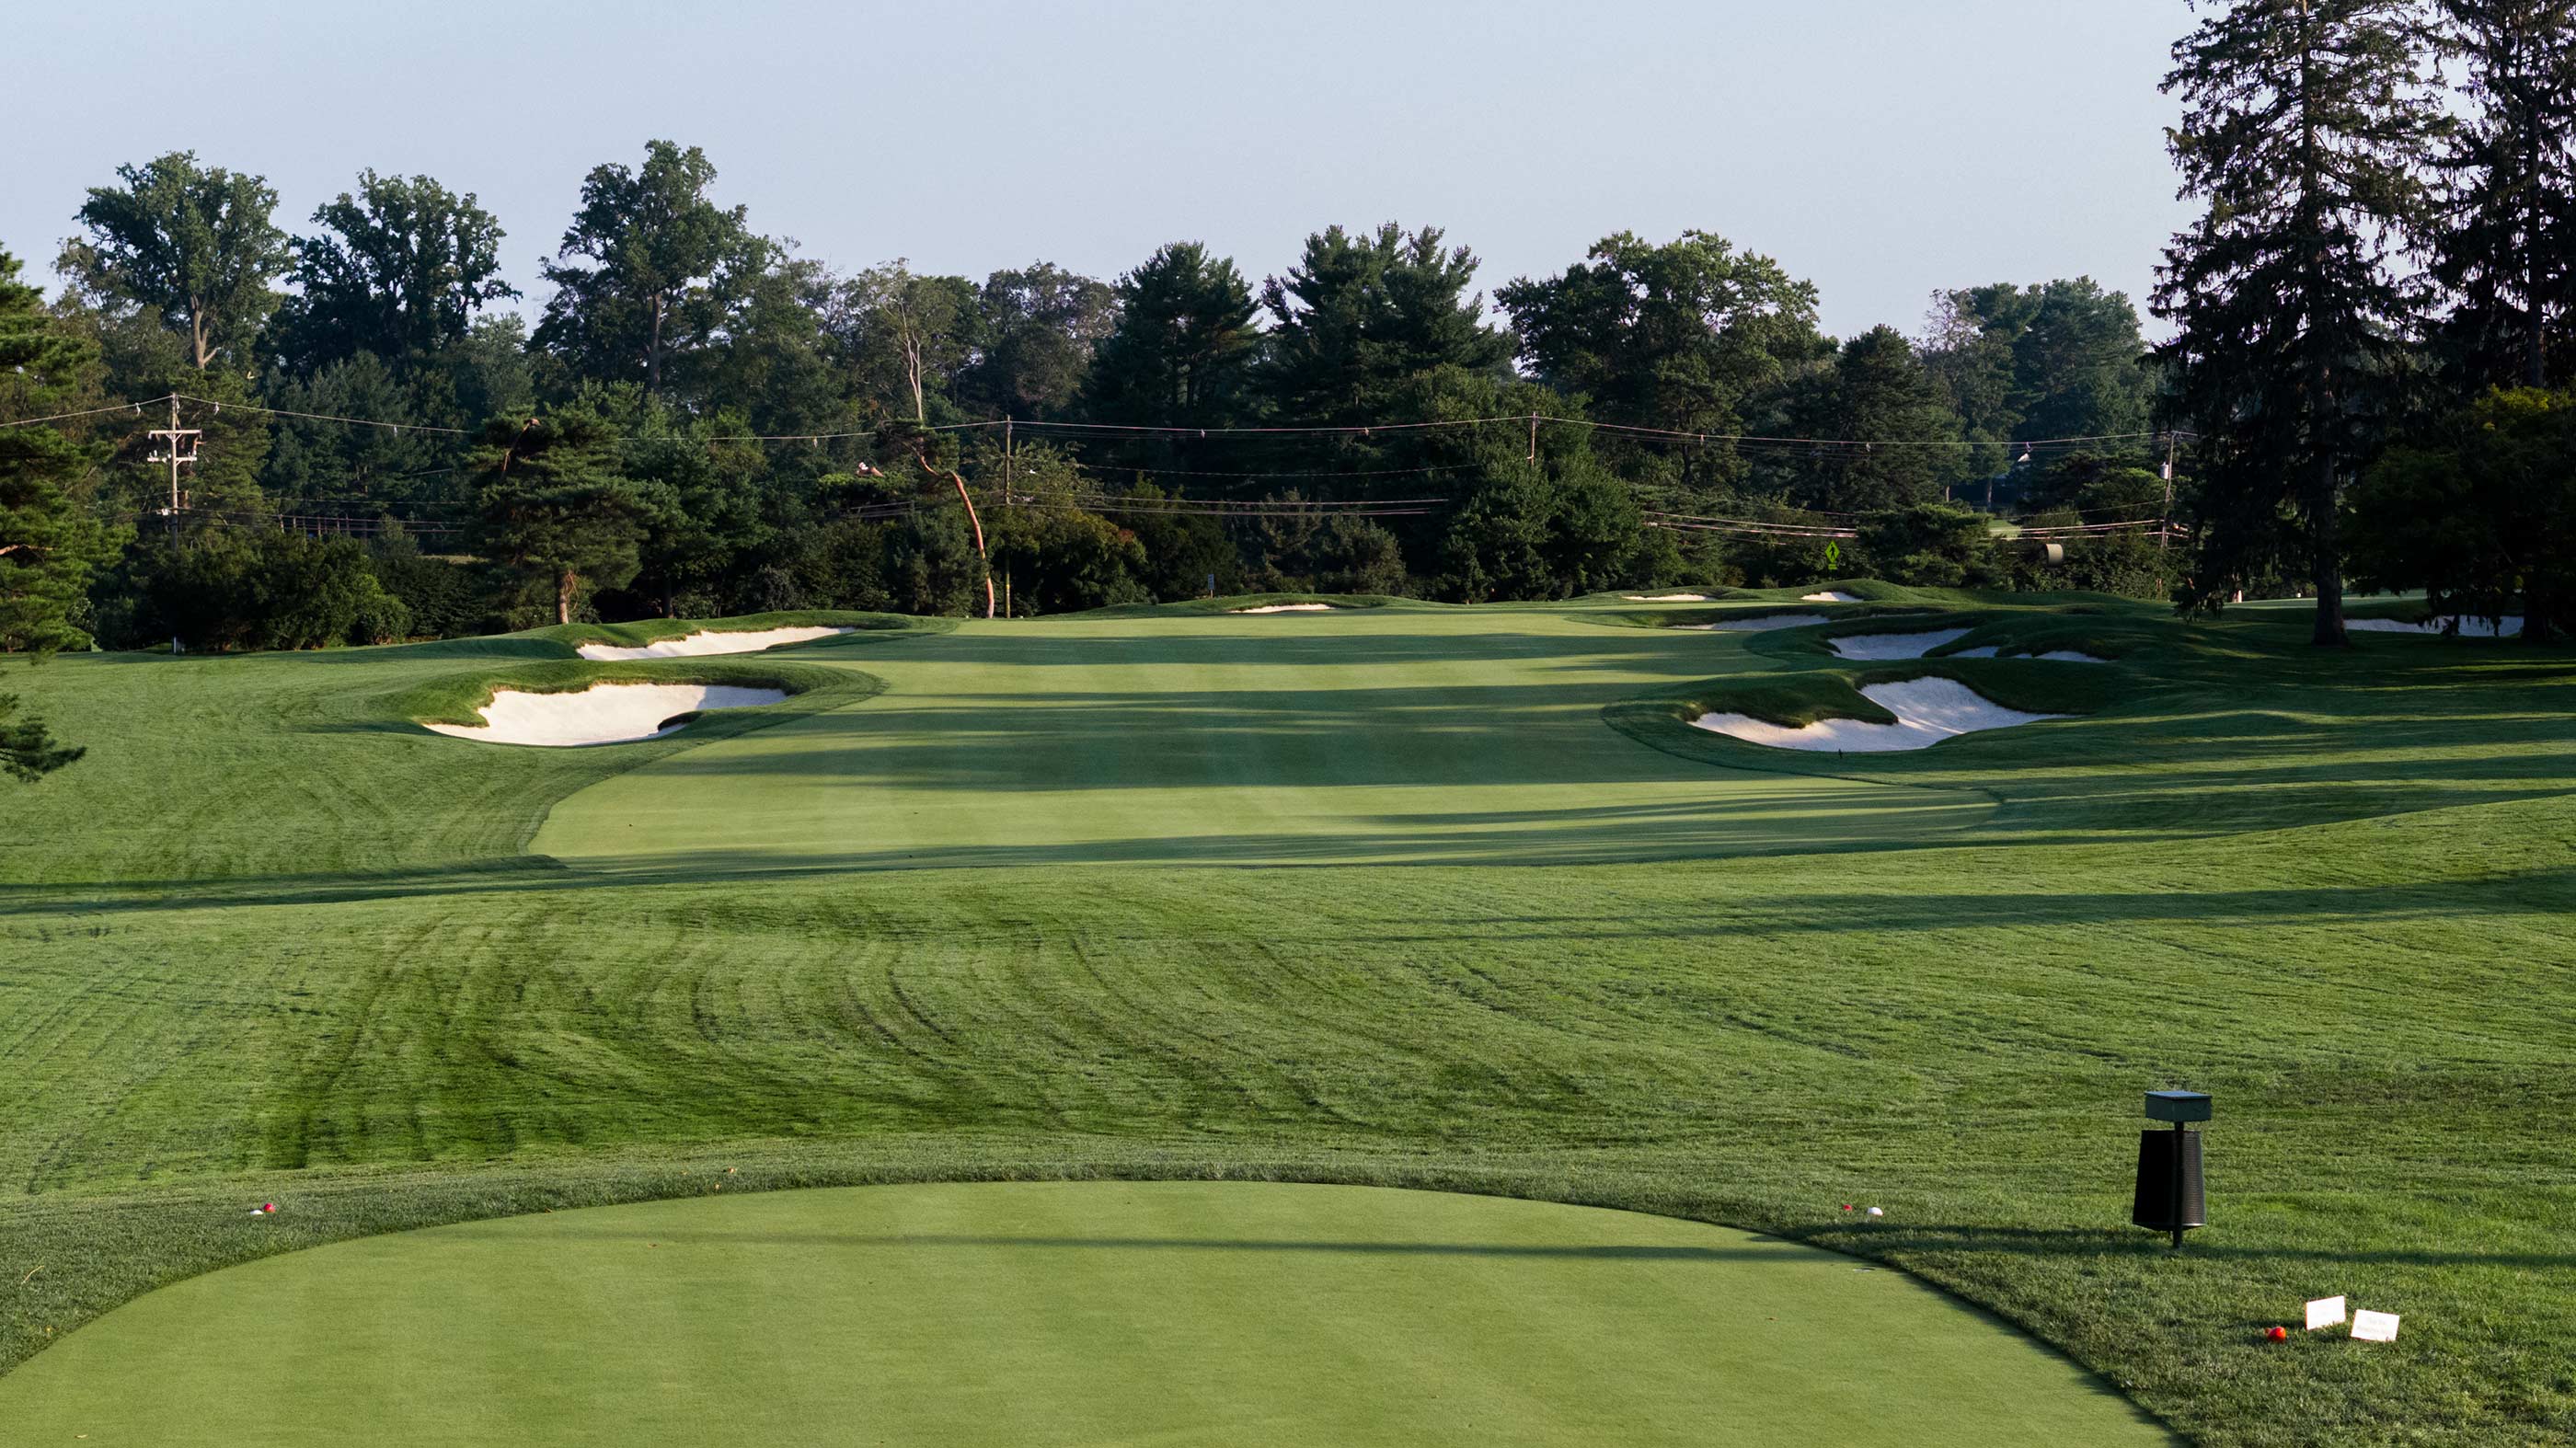
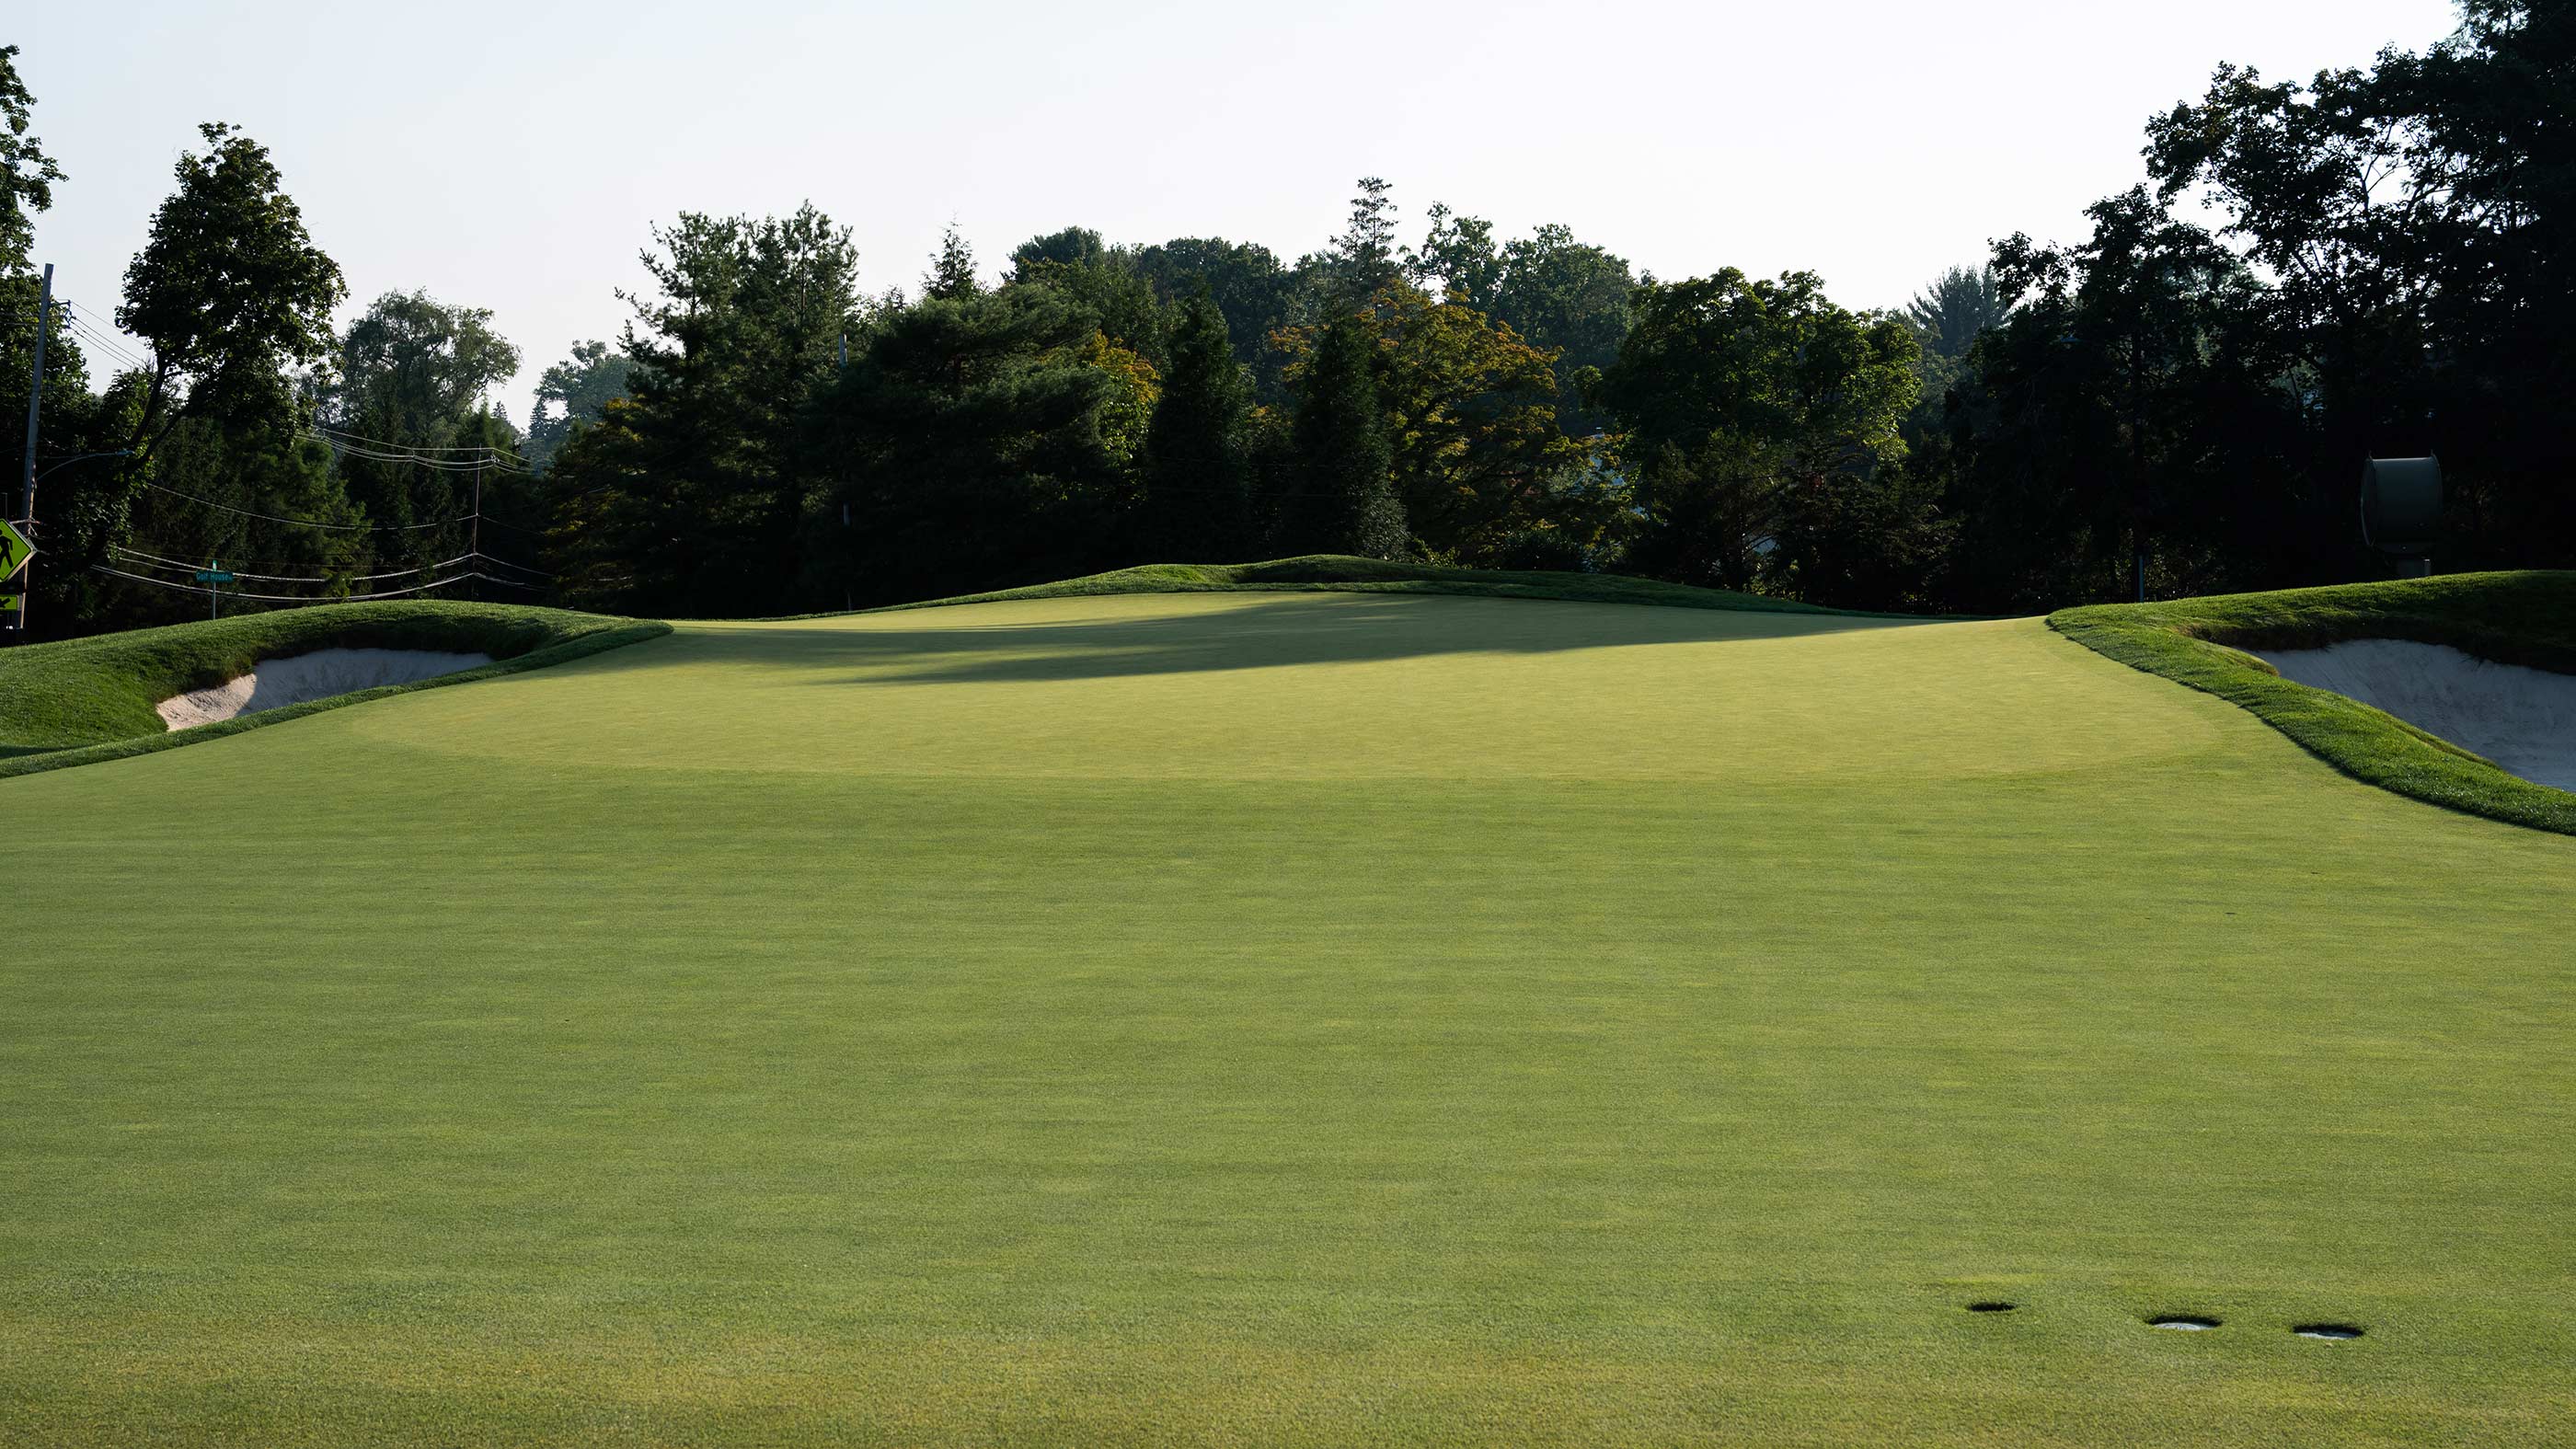
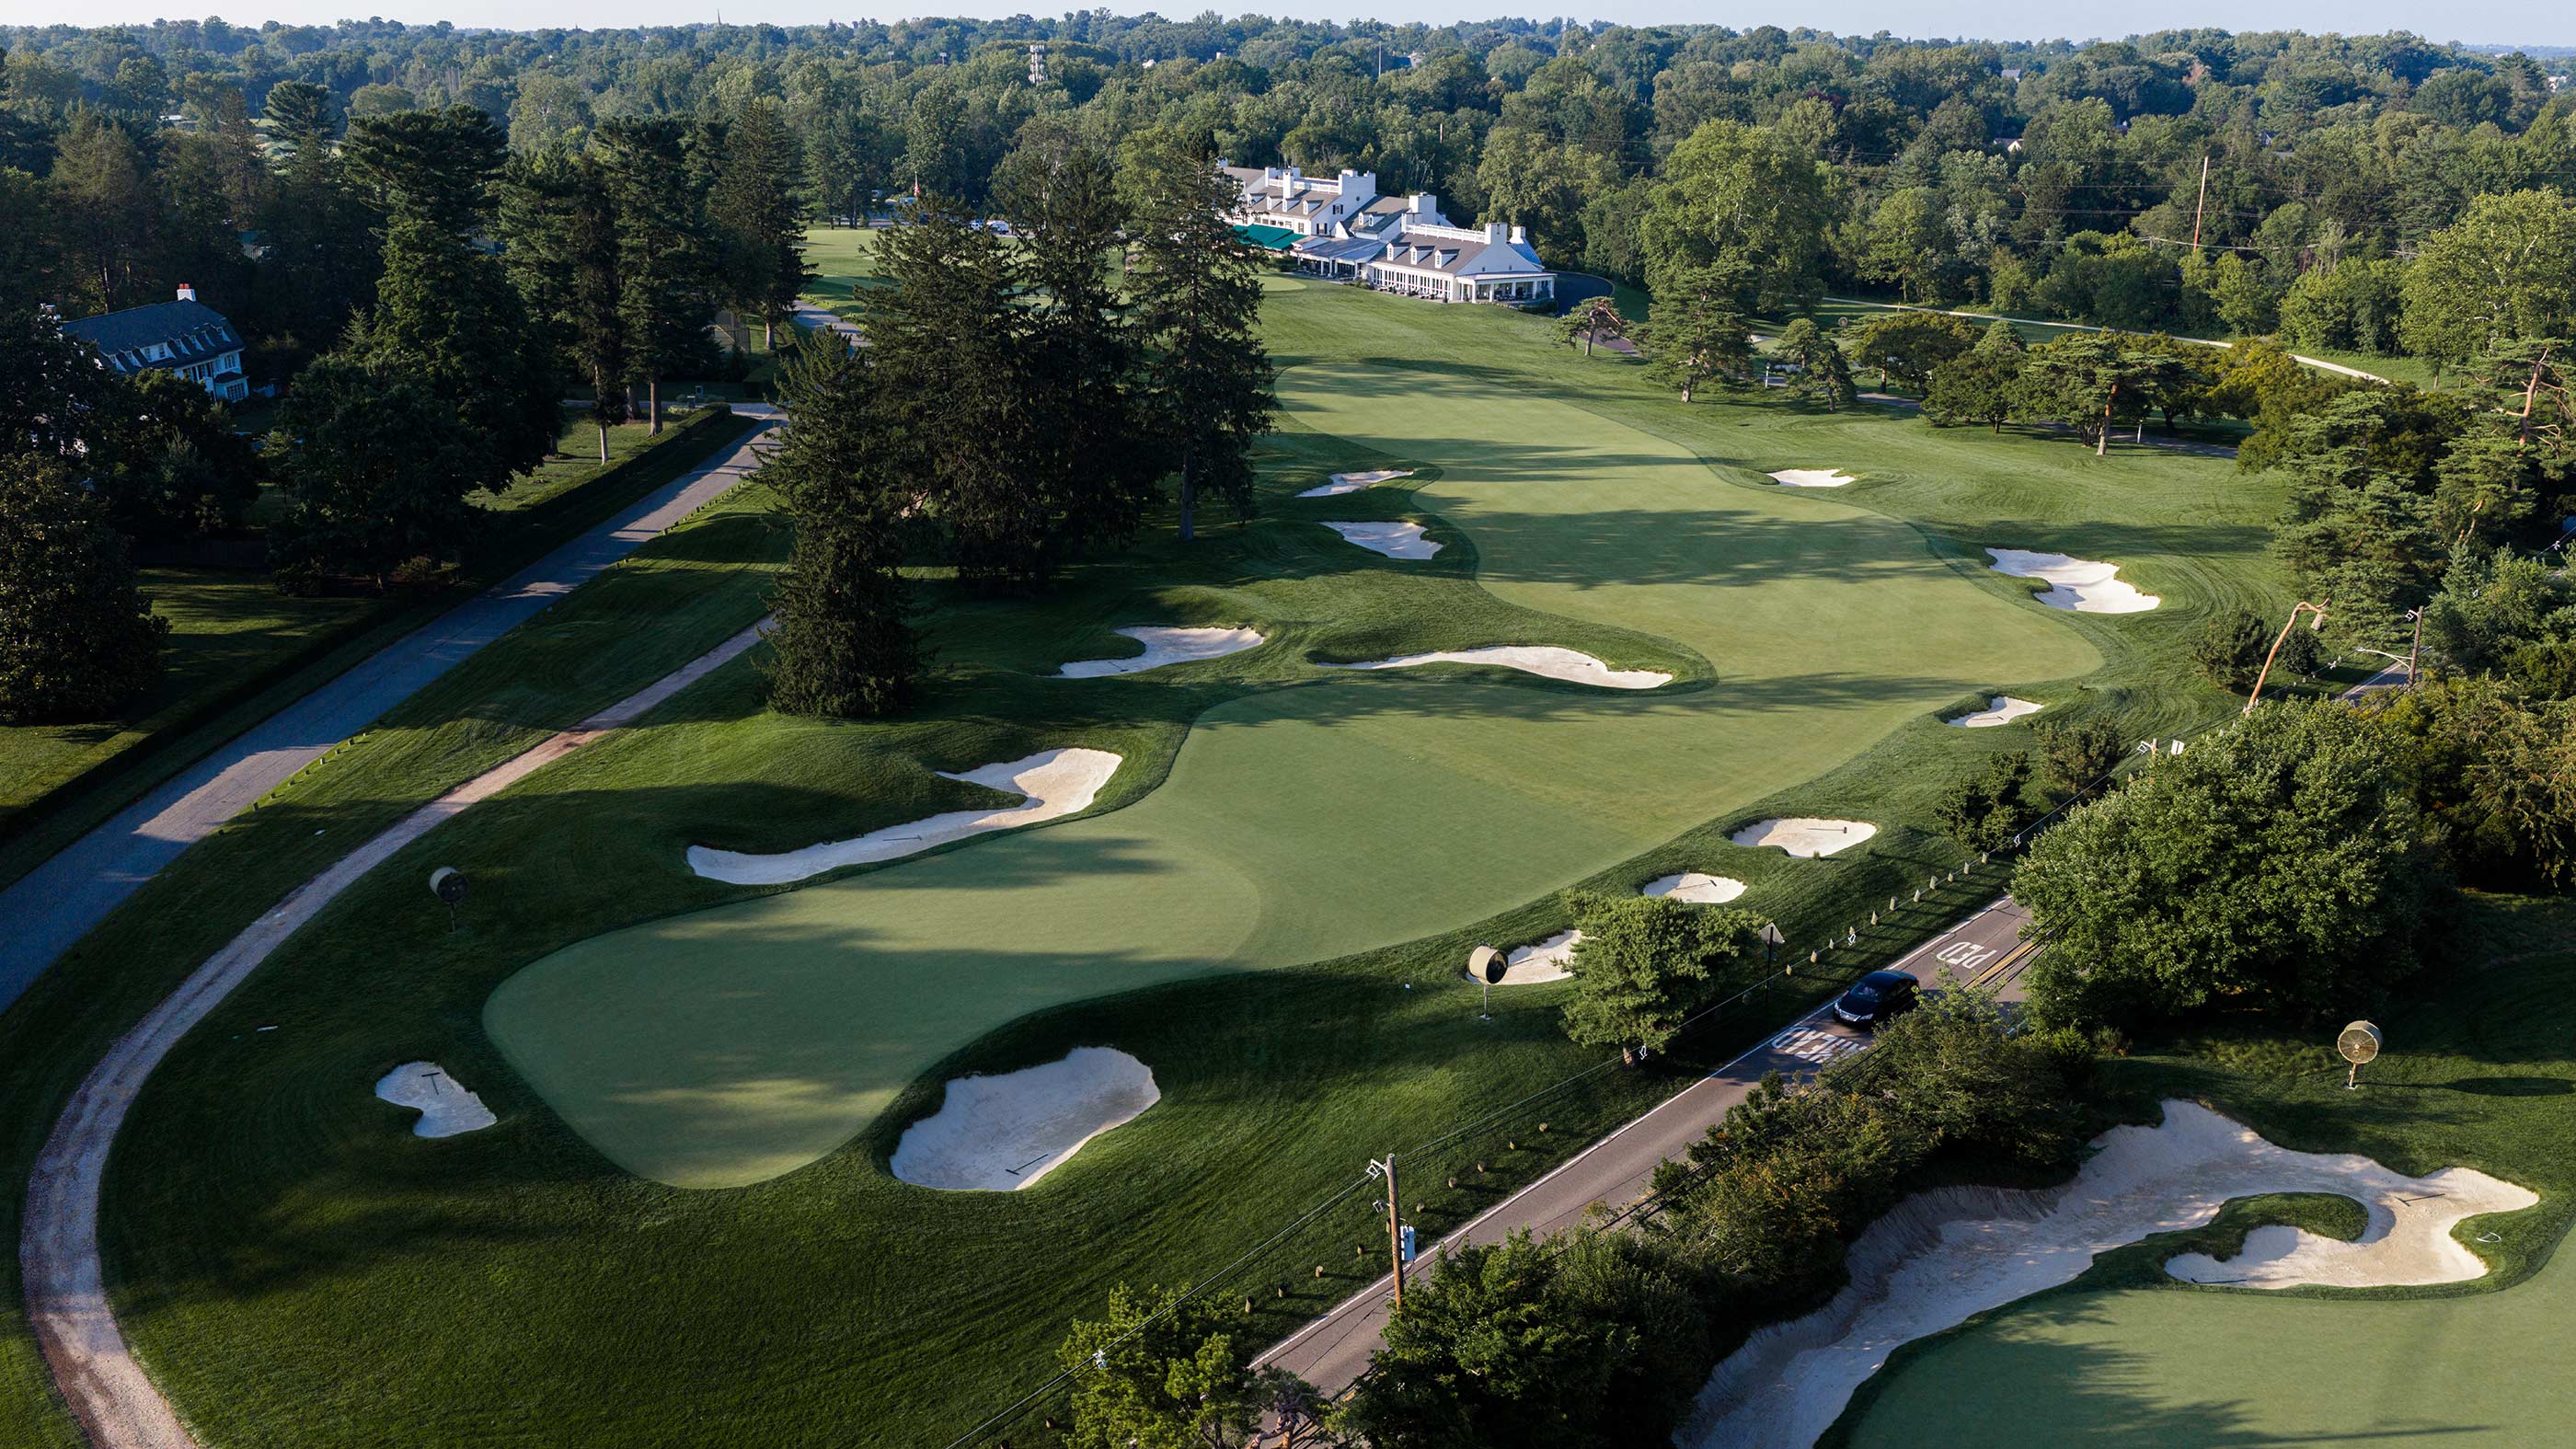
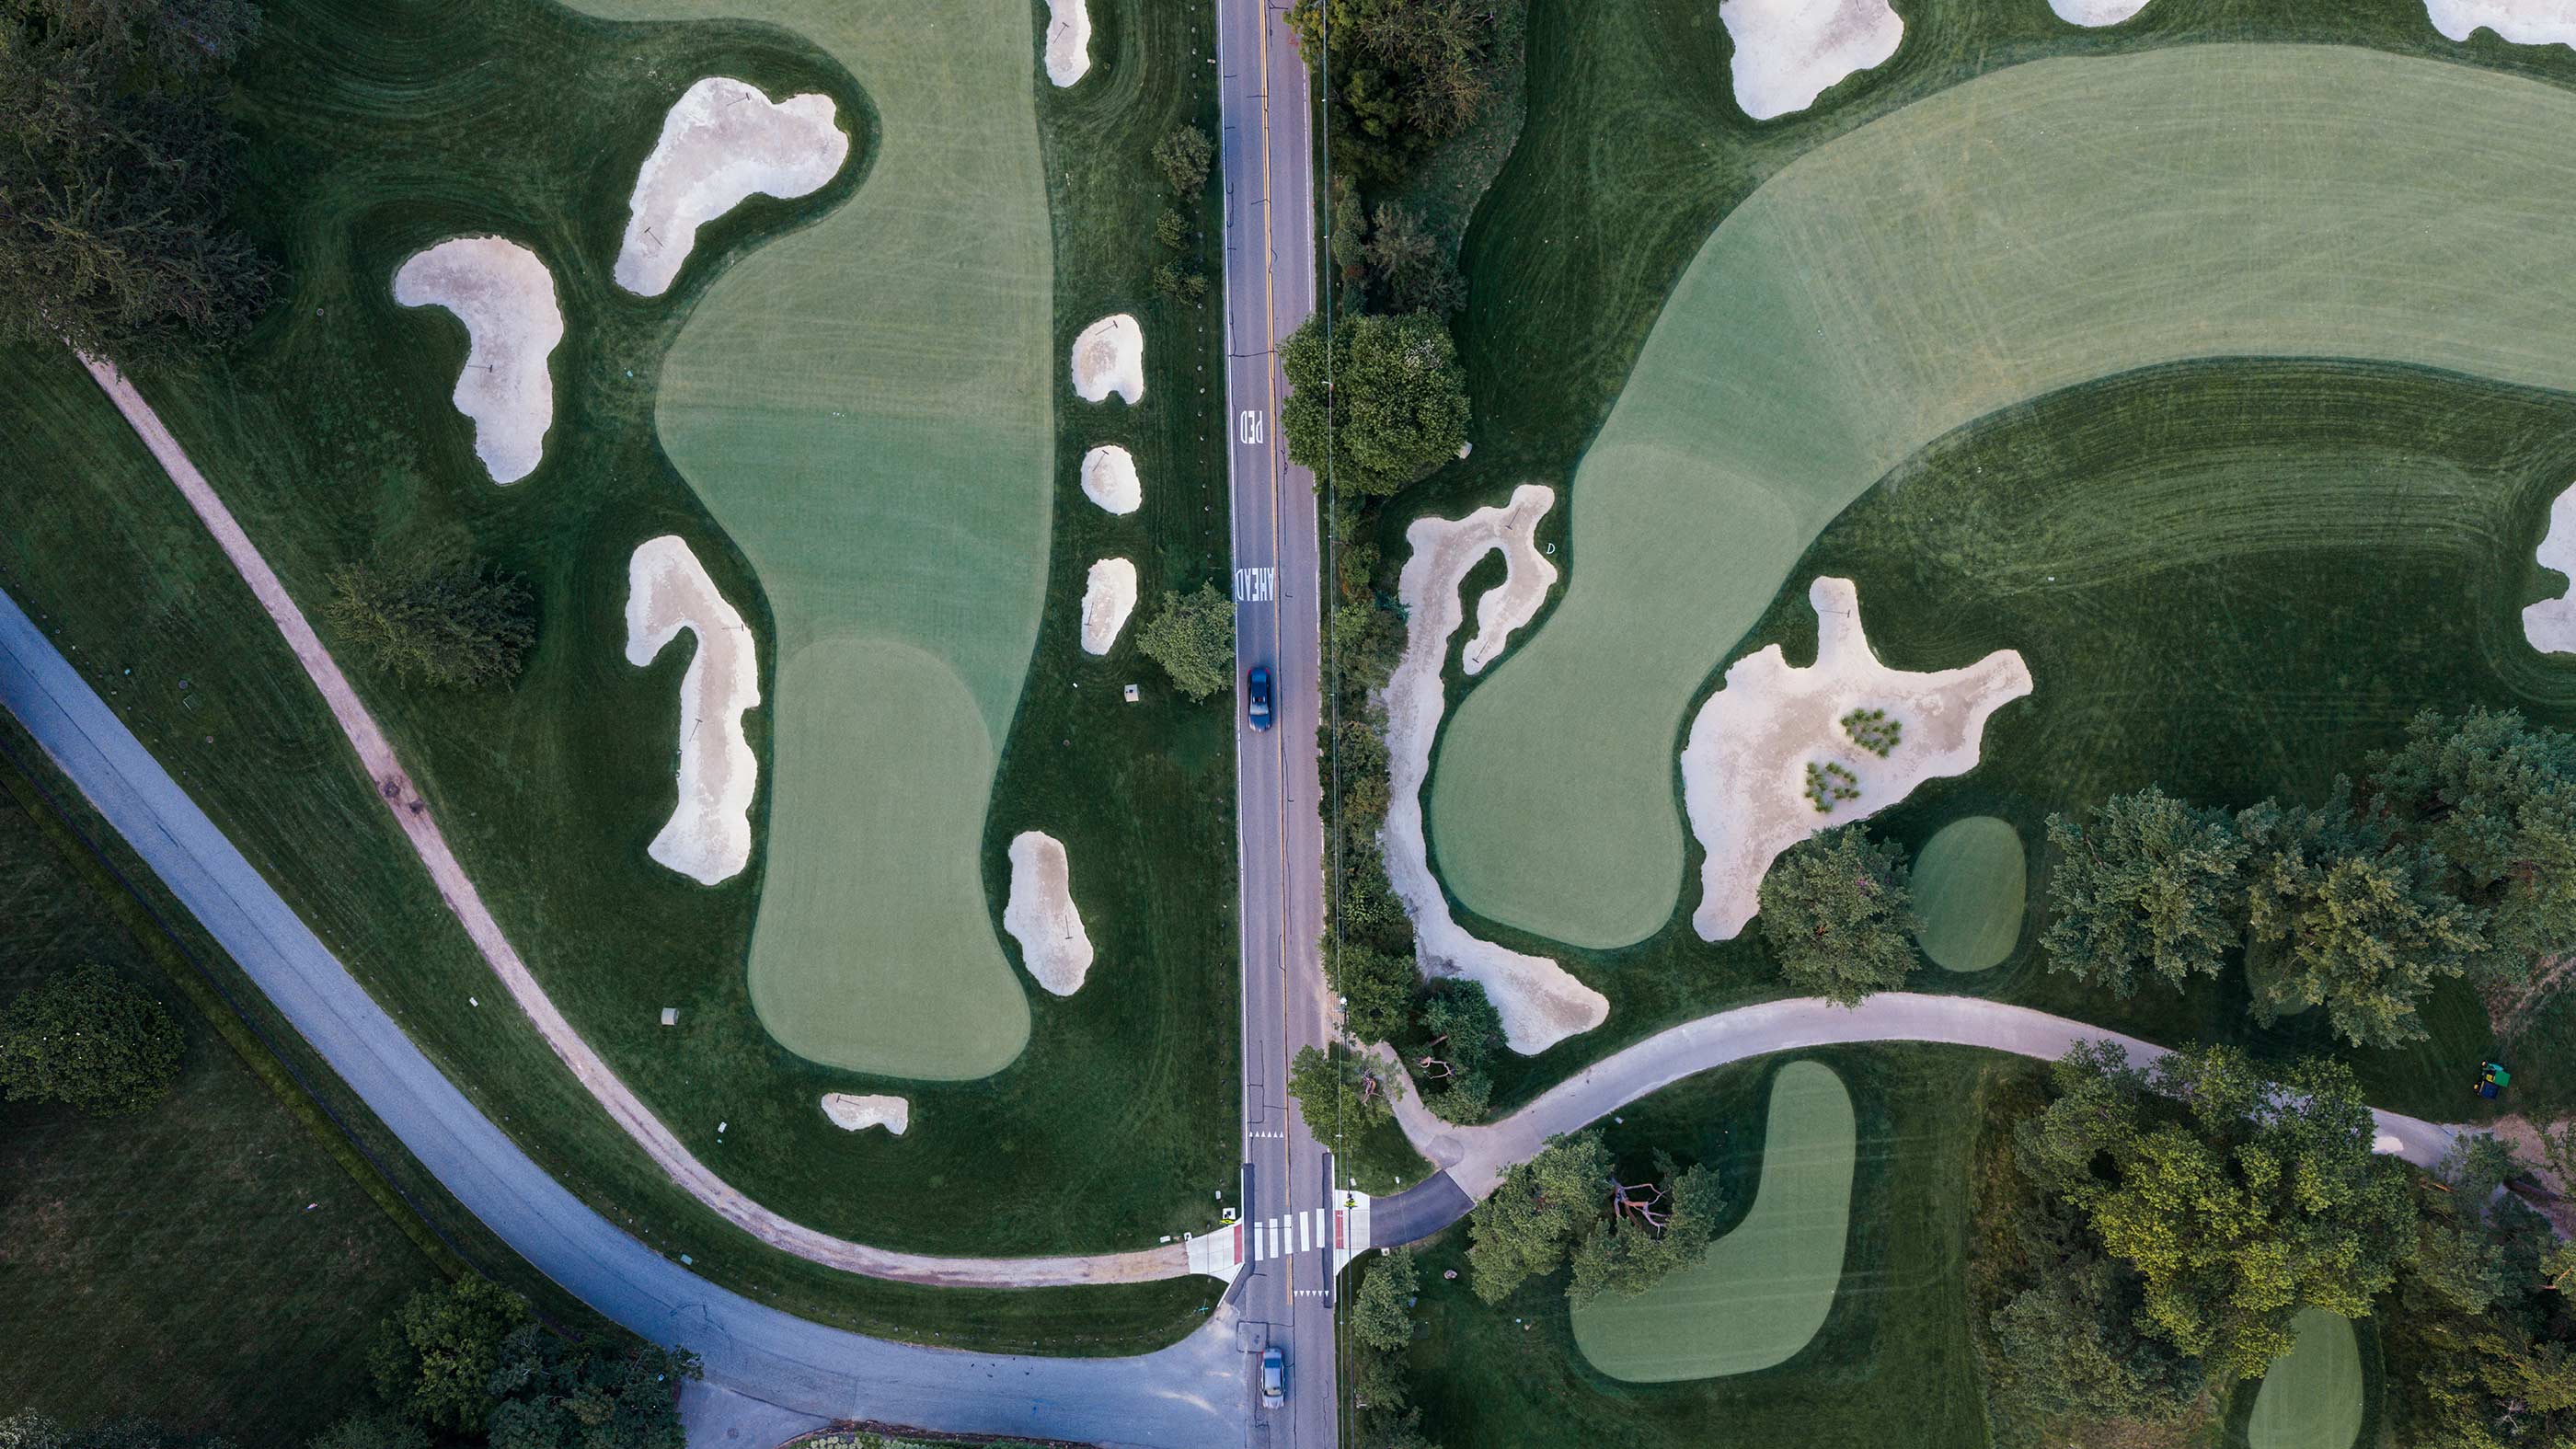
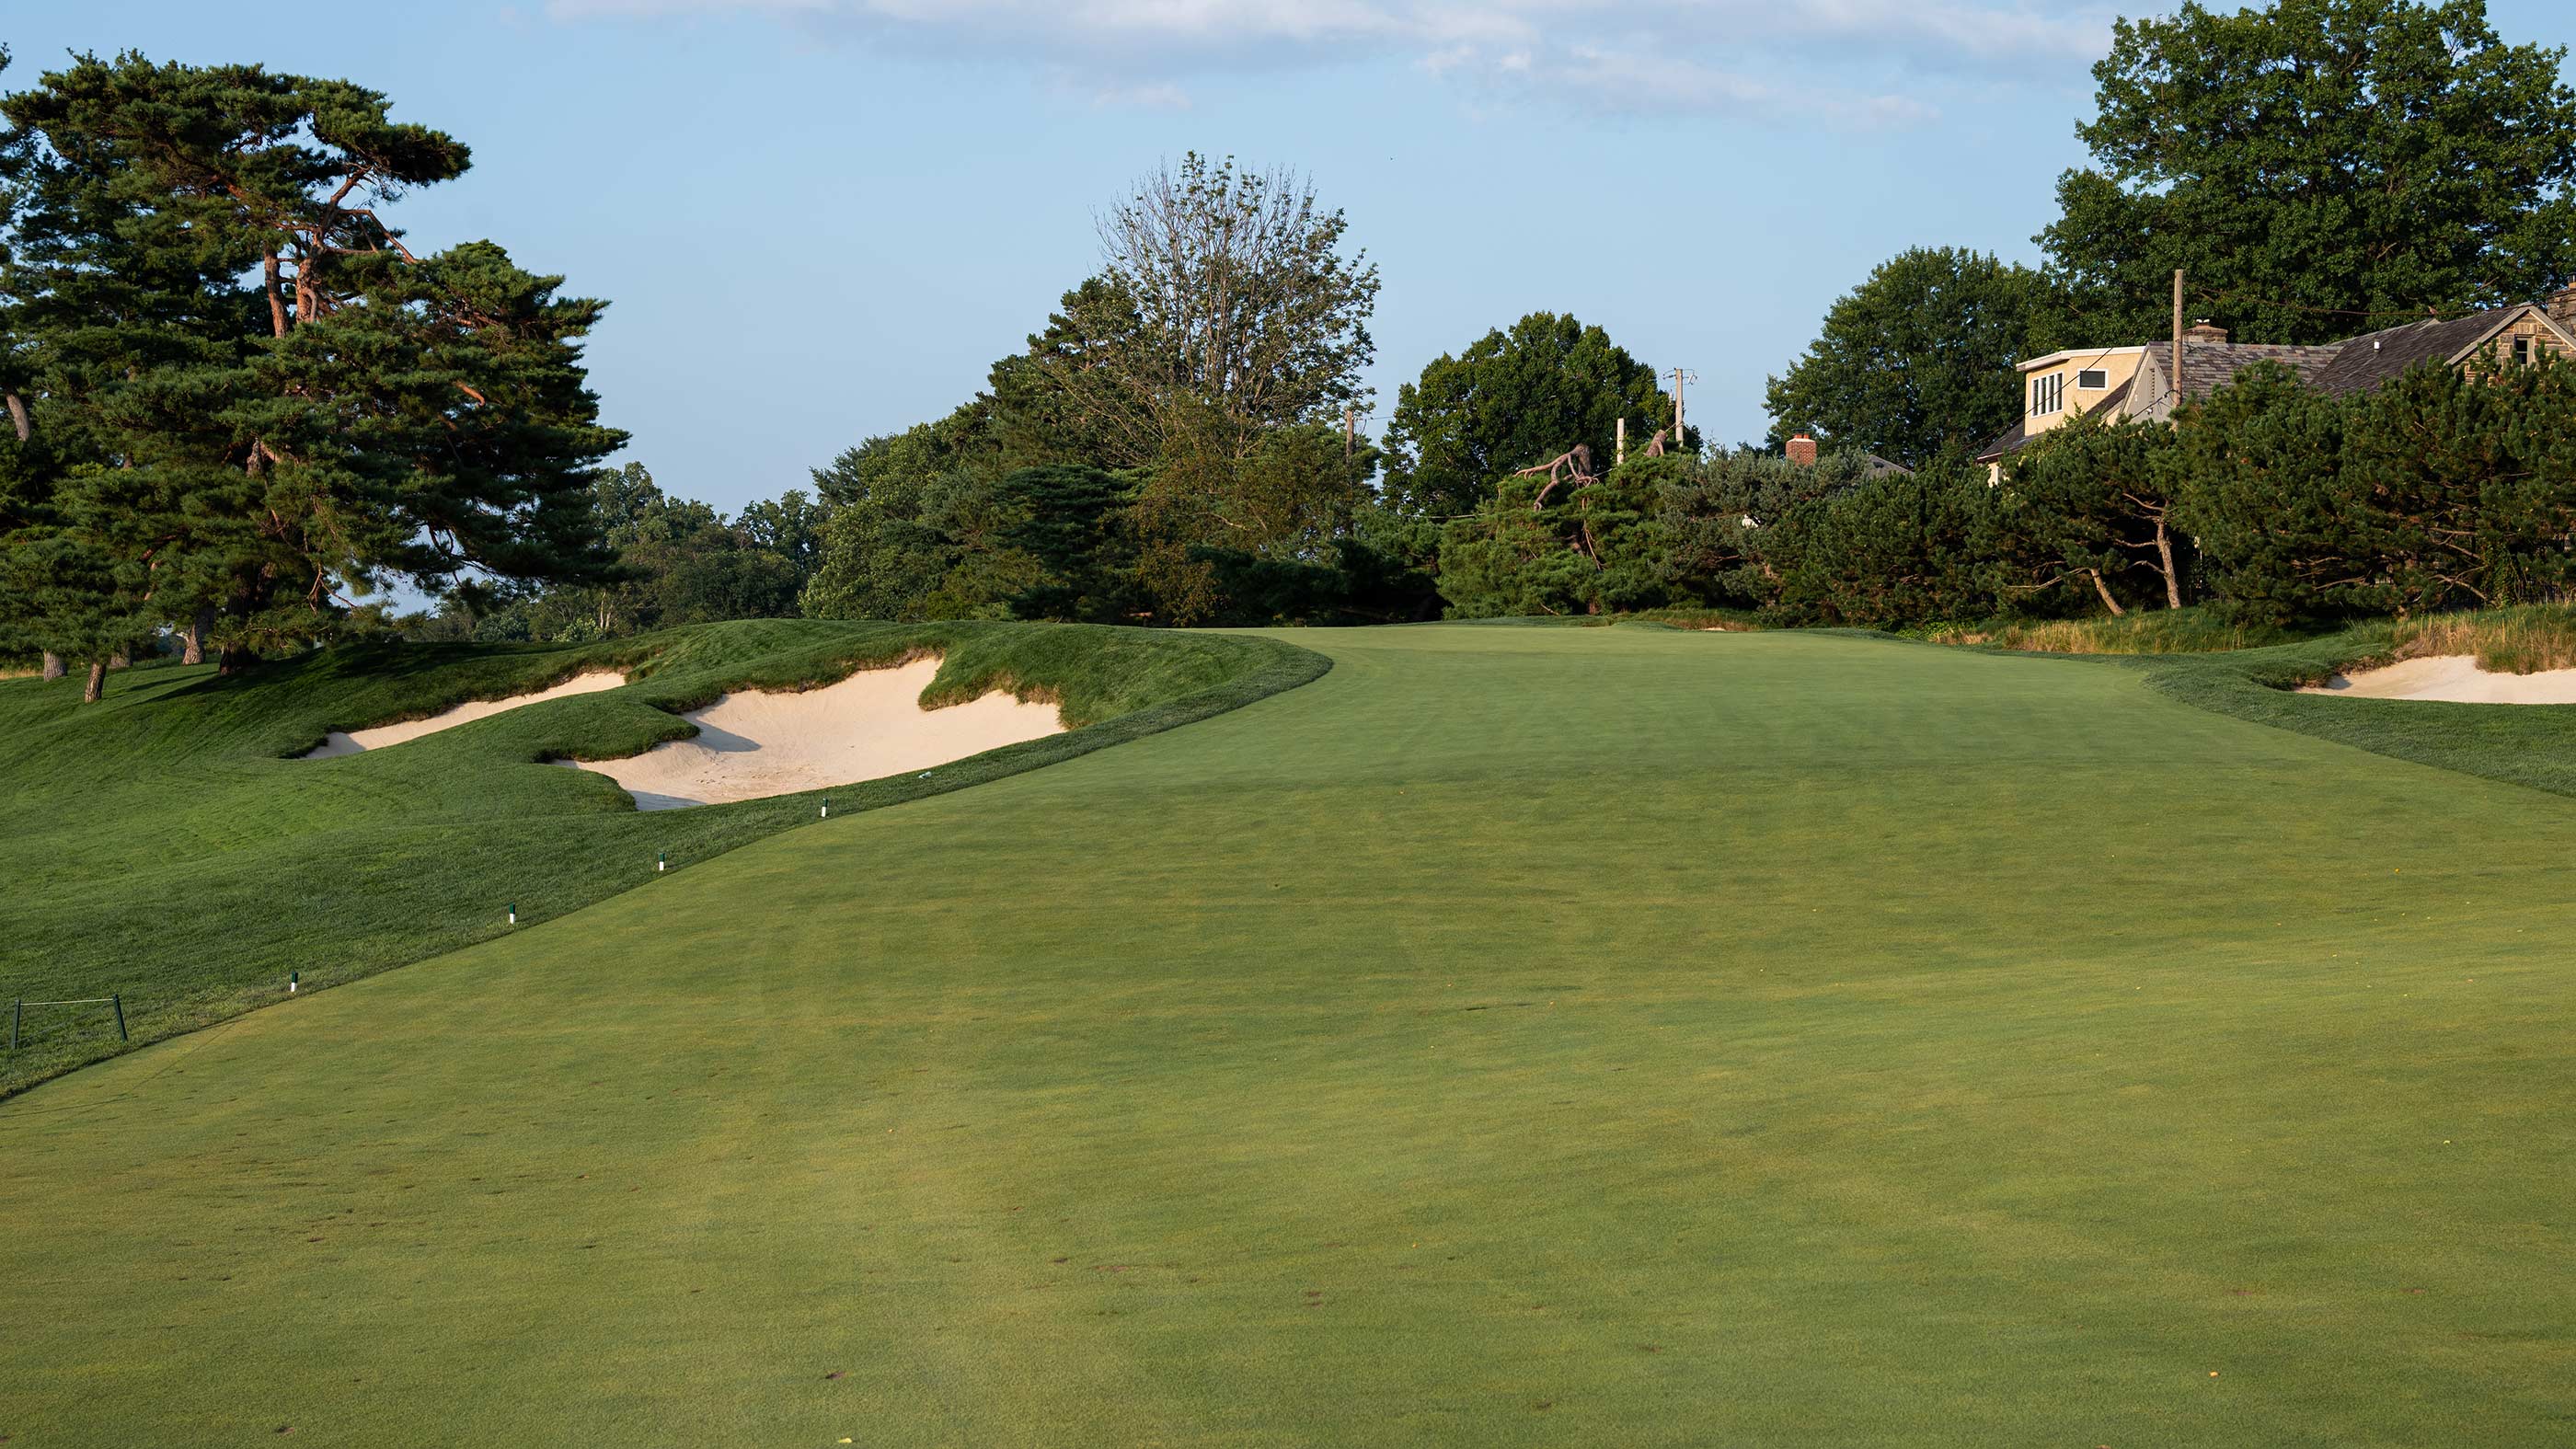
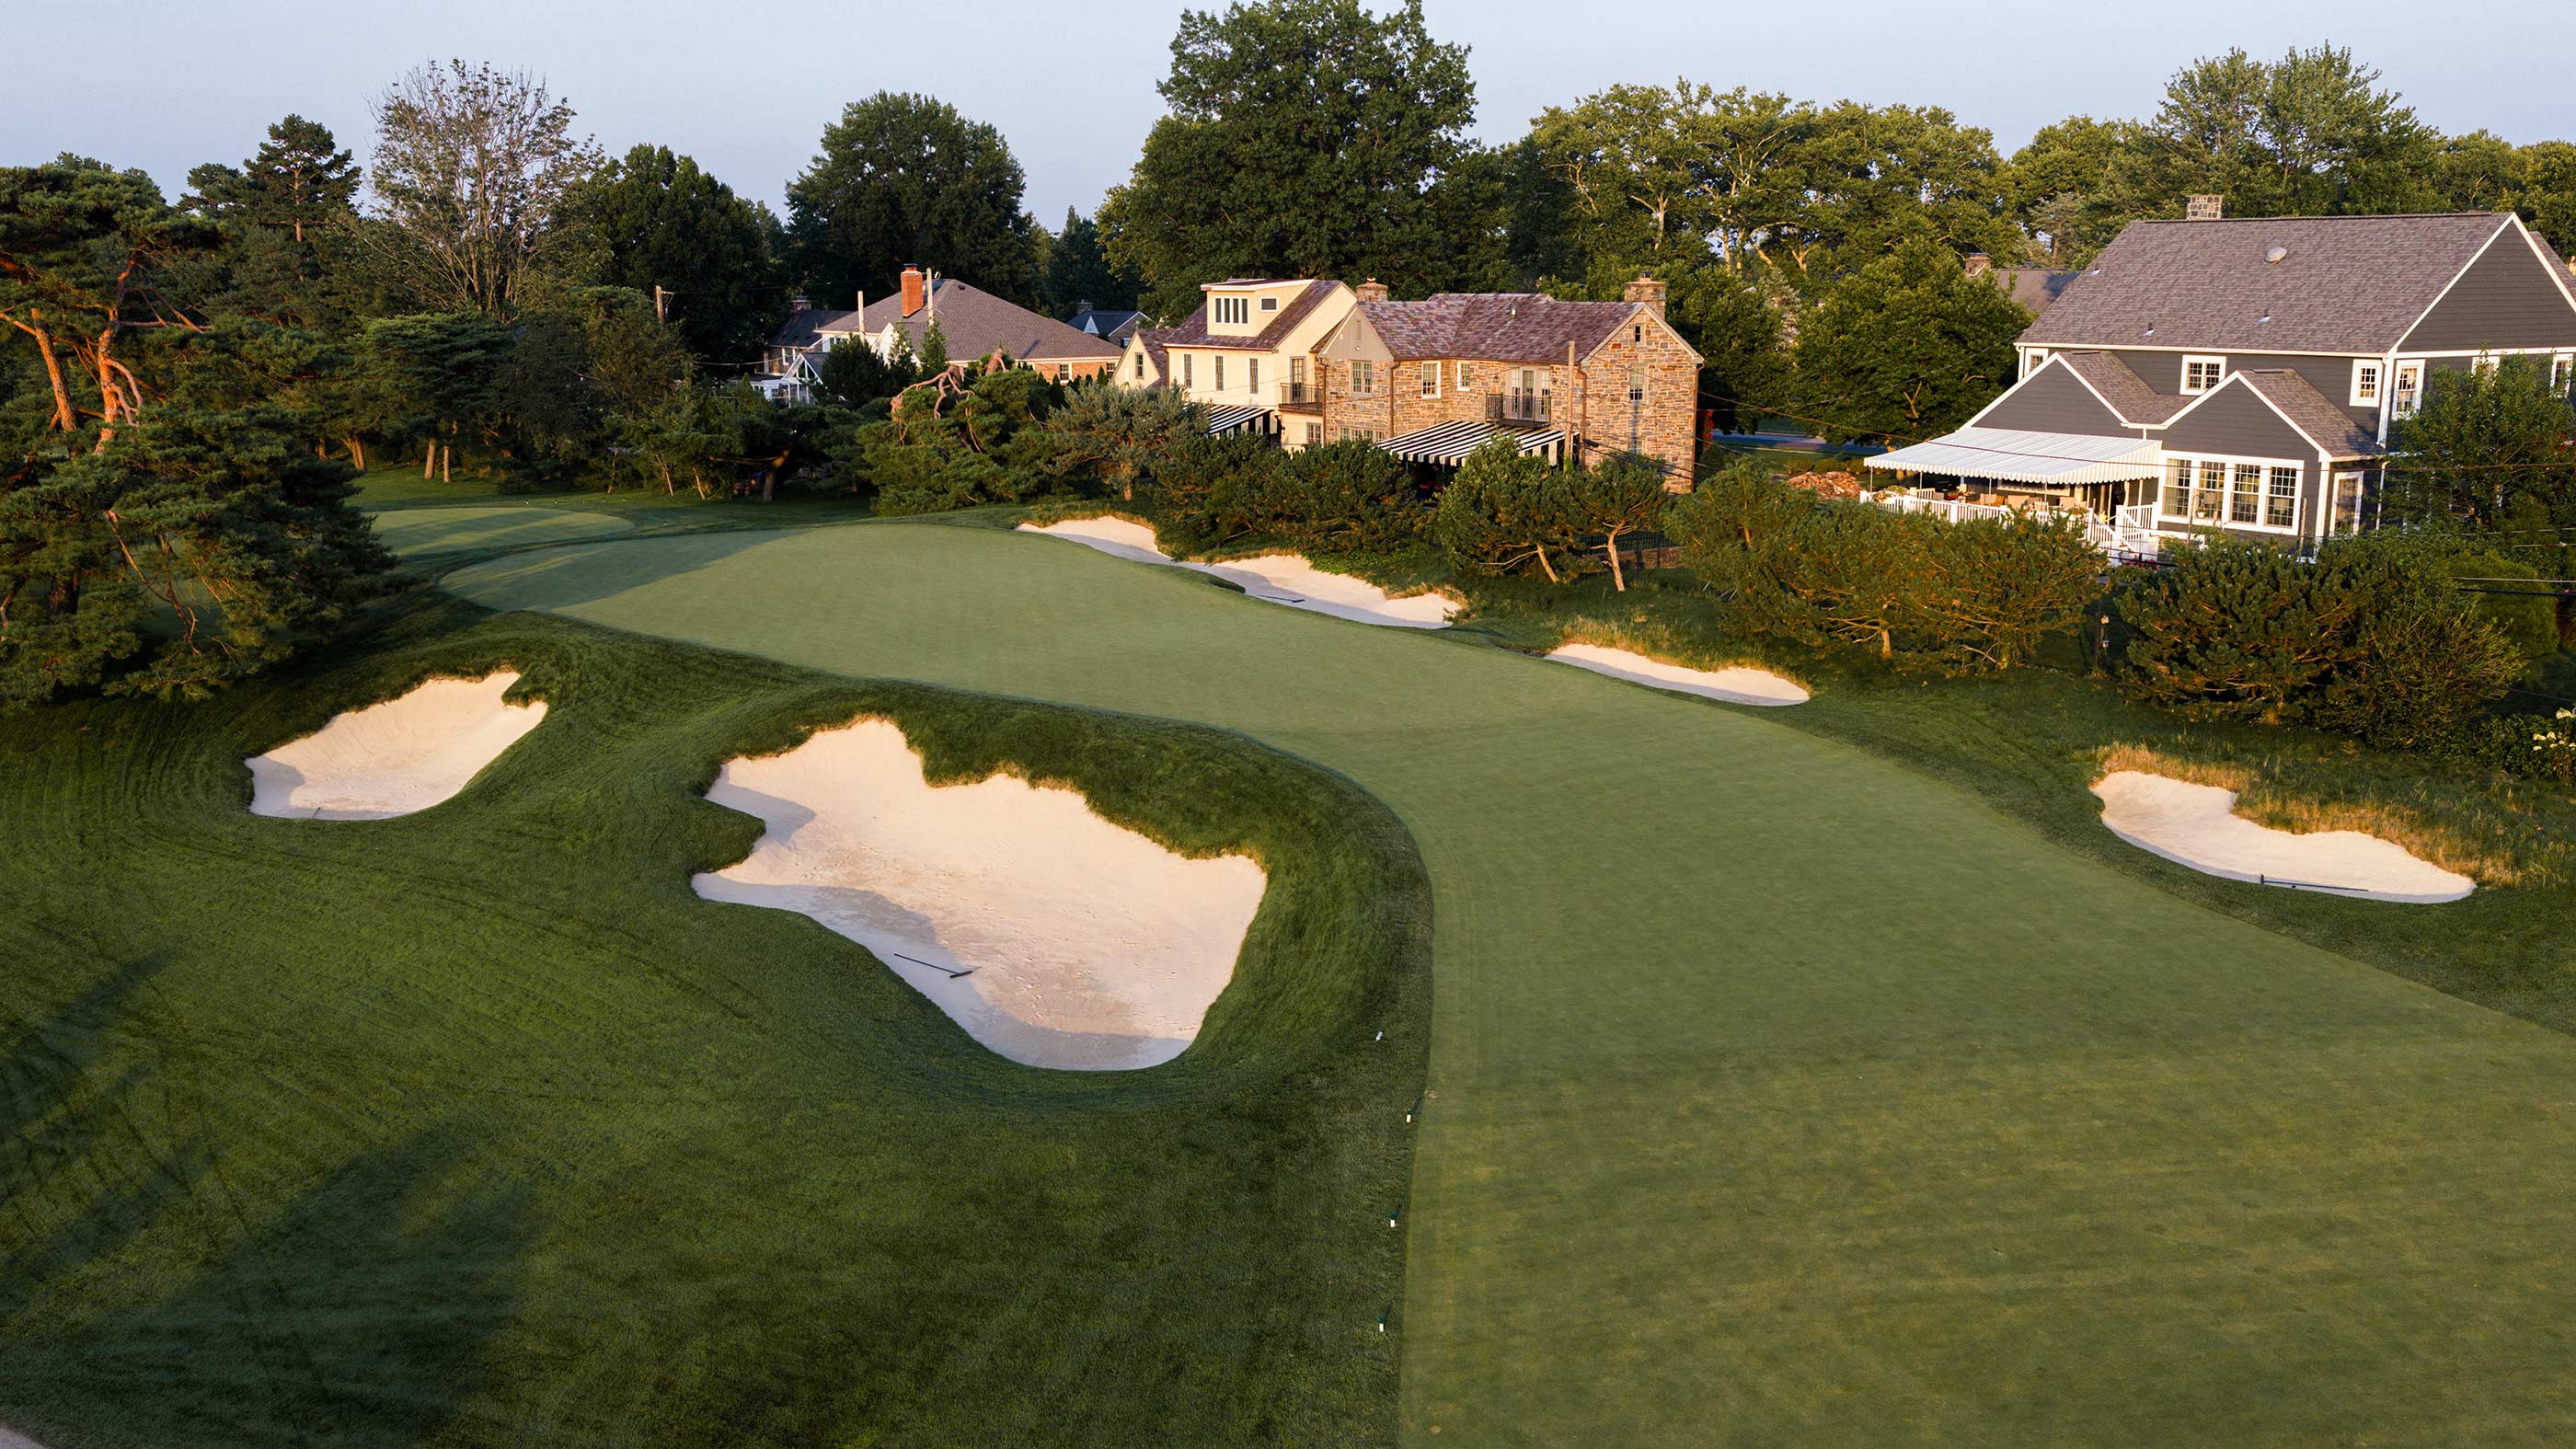
On the scorecard, the first hole on the East Course looks like a classic “gentle handshake” opener. But this short par 4 is tricky in a few ways: 1) the tee box sits almost flush against the clubhouse patio, giving already nervous golfers a zap of stage fright; 2) the green is shallow and tilts away from the most accessible parts of the fairway; and 3) overly aggressive tee shots may bound onto Ardmore Avenue.
Historical note: This was one of the last holes to come together during William Flynn’s two-decade stewardship of the course. Before the 1930 U.S. Amateur, Flynn moved the tee to the other side of the clubhouse and replaced the original dogleg-left par 4 with today’s dogleg-right par 4.


Hole 2
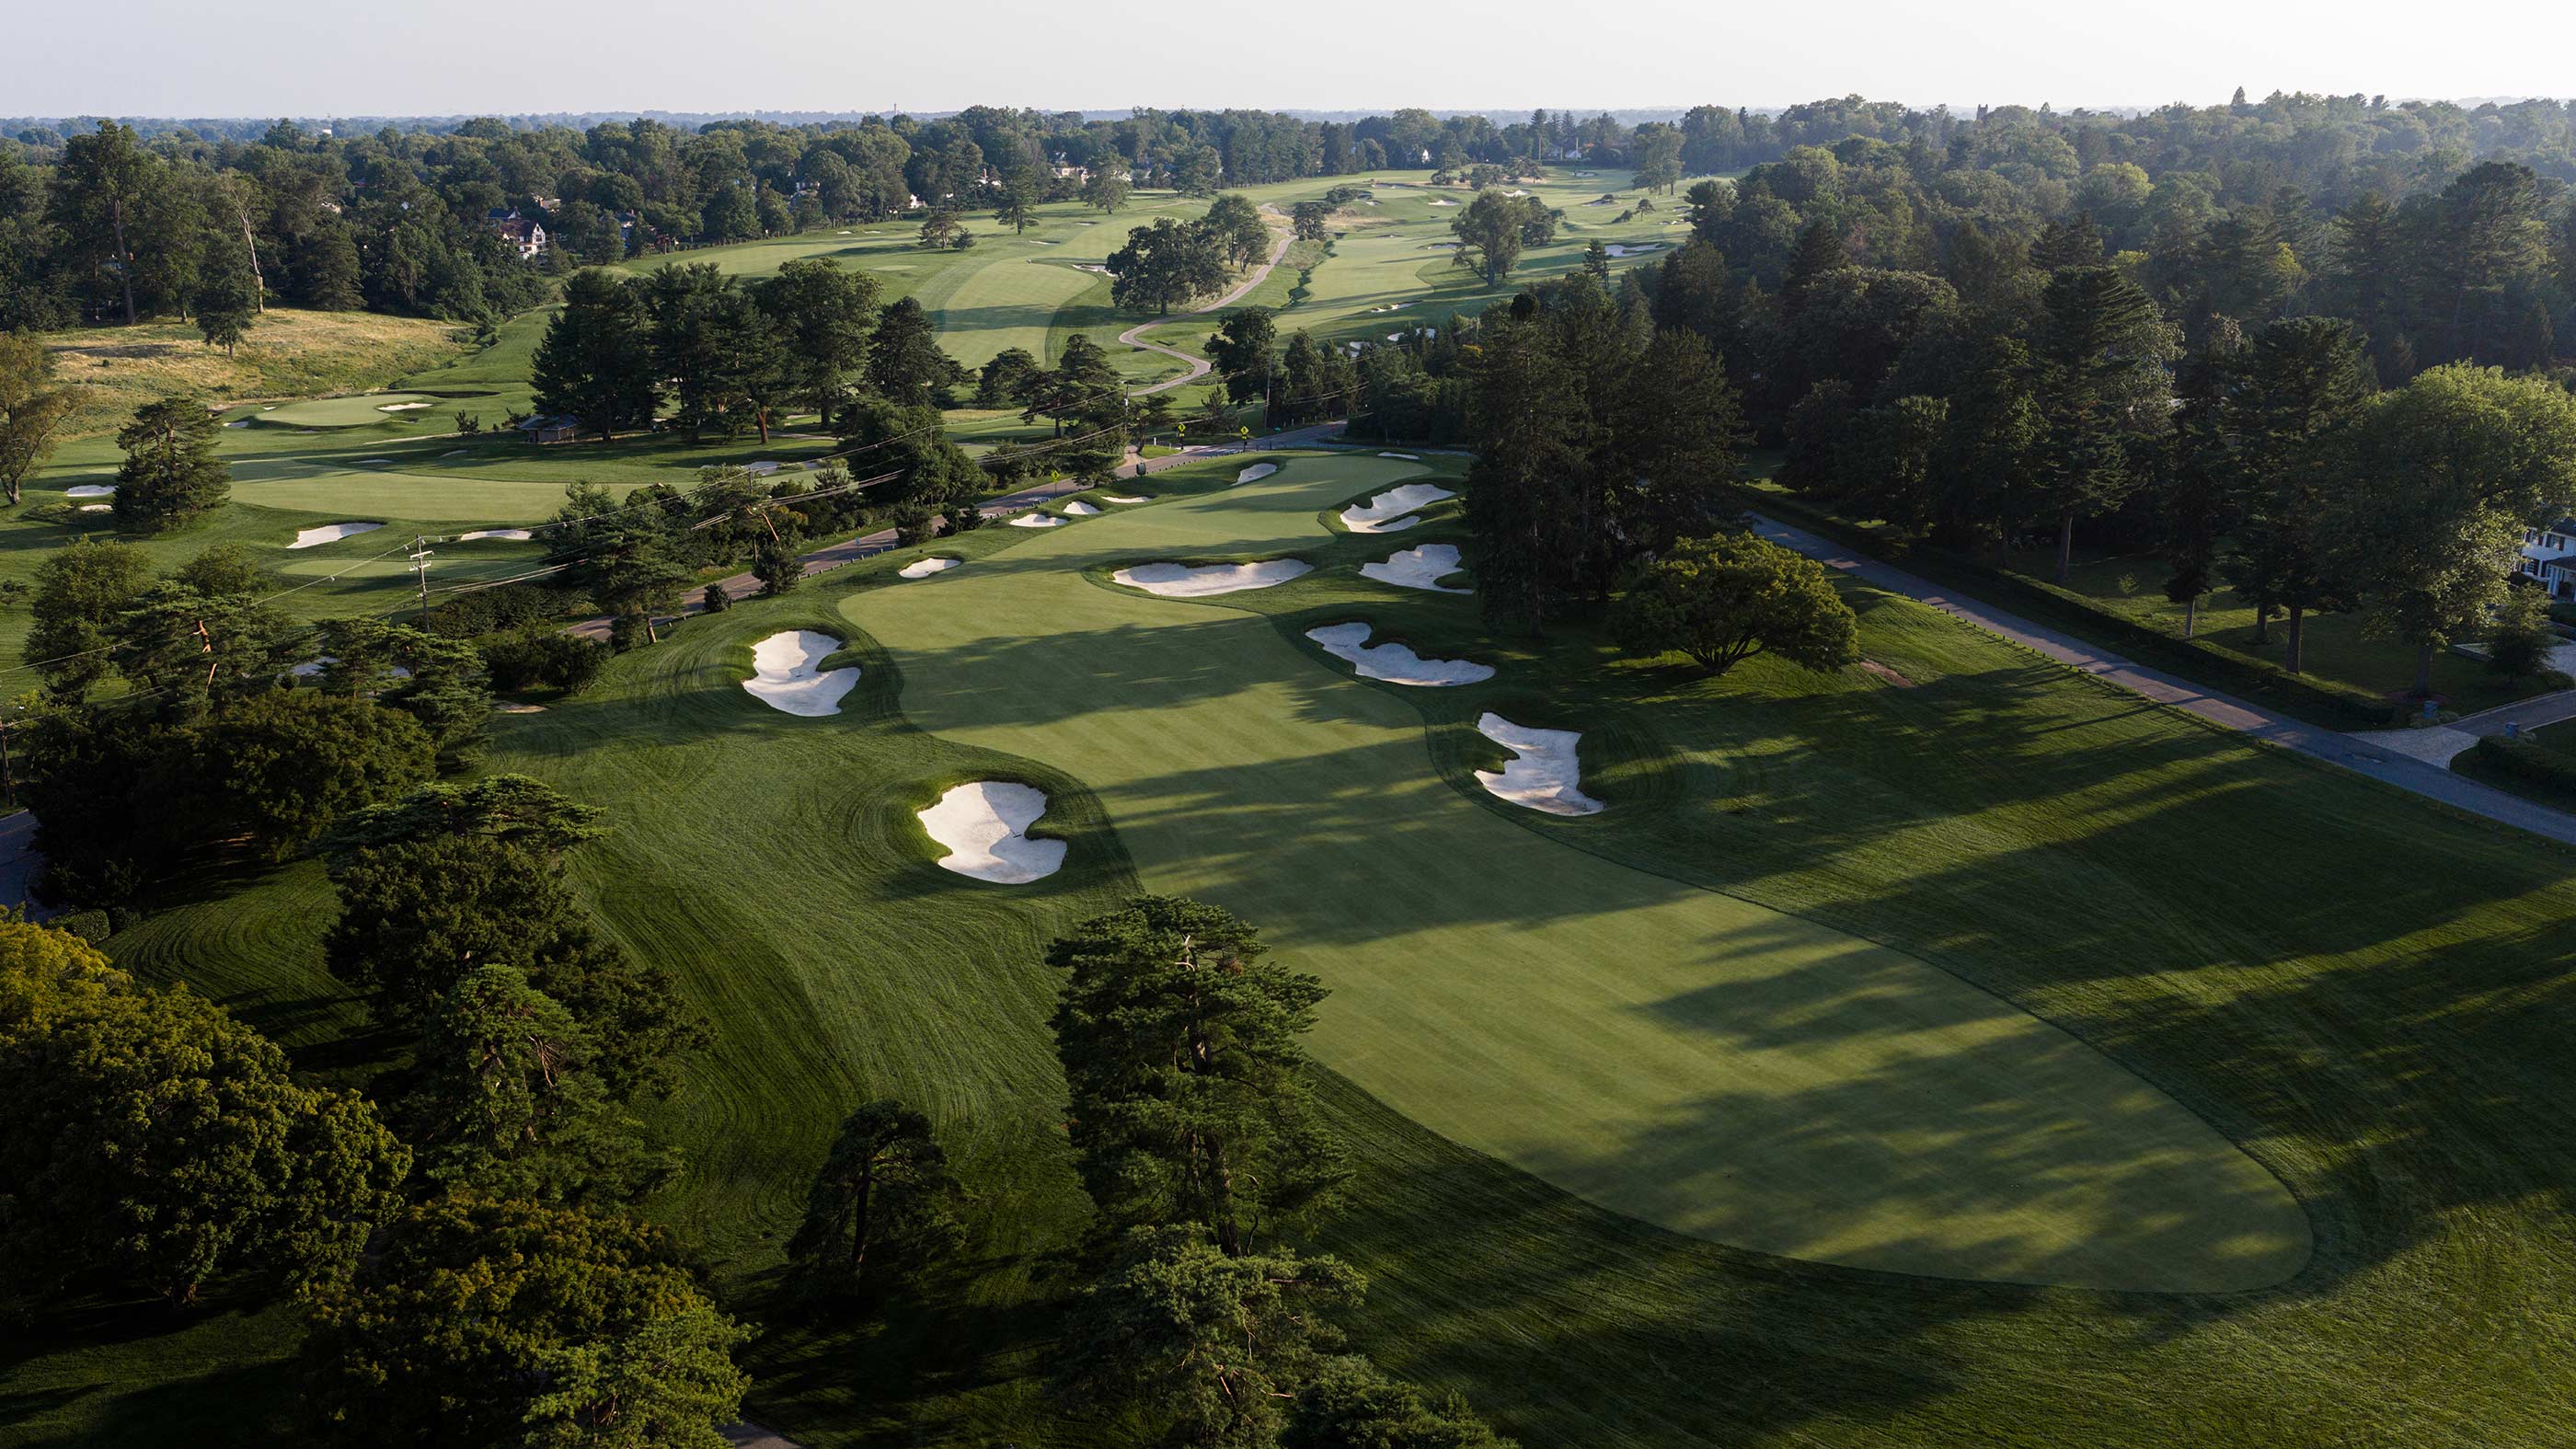
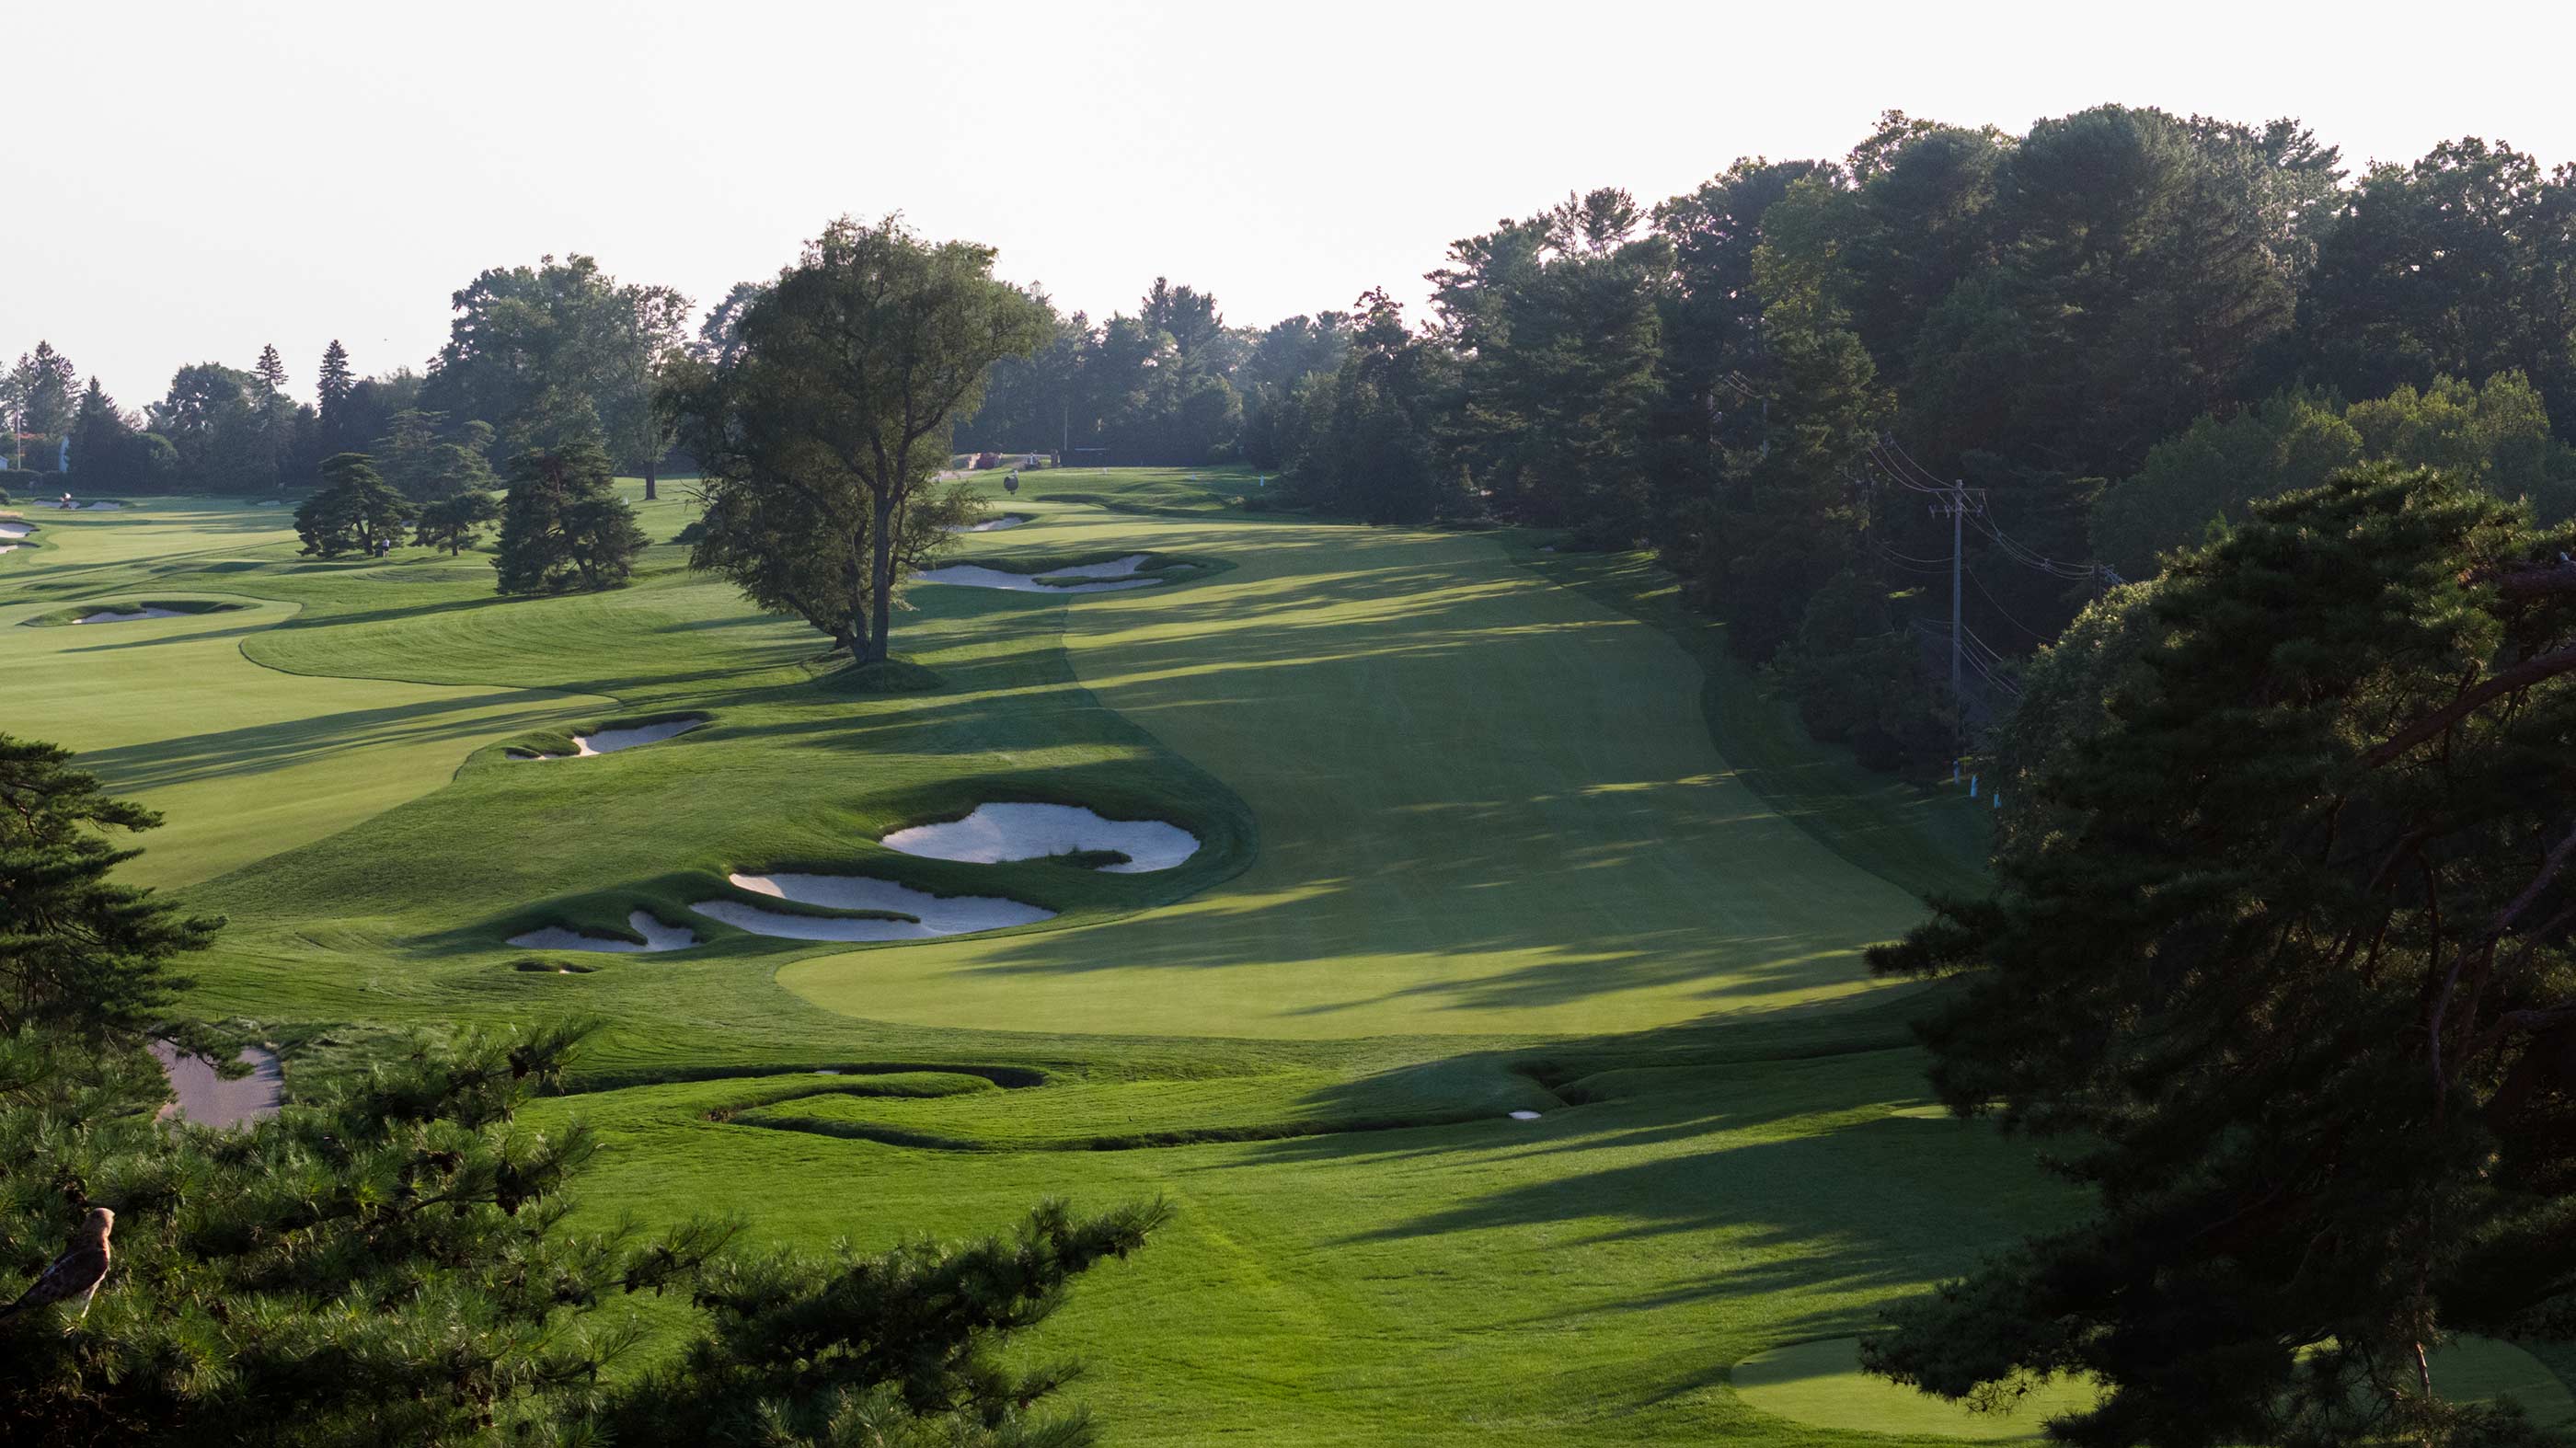
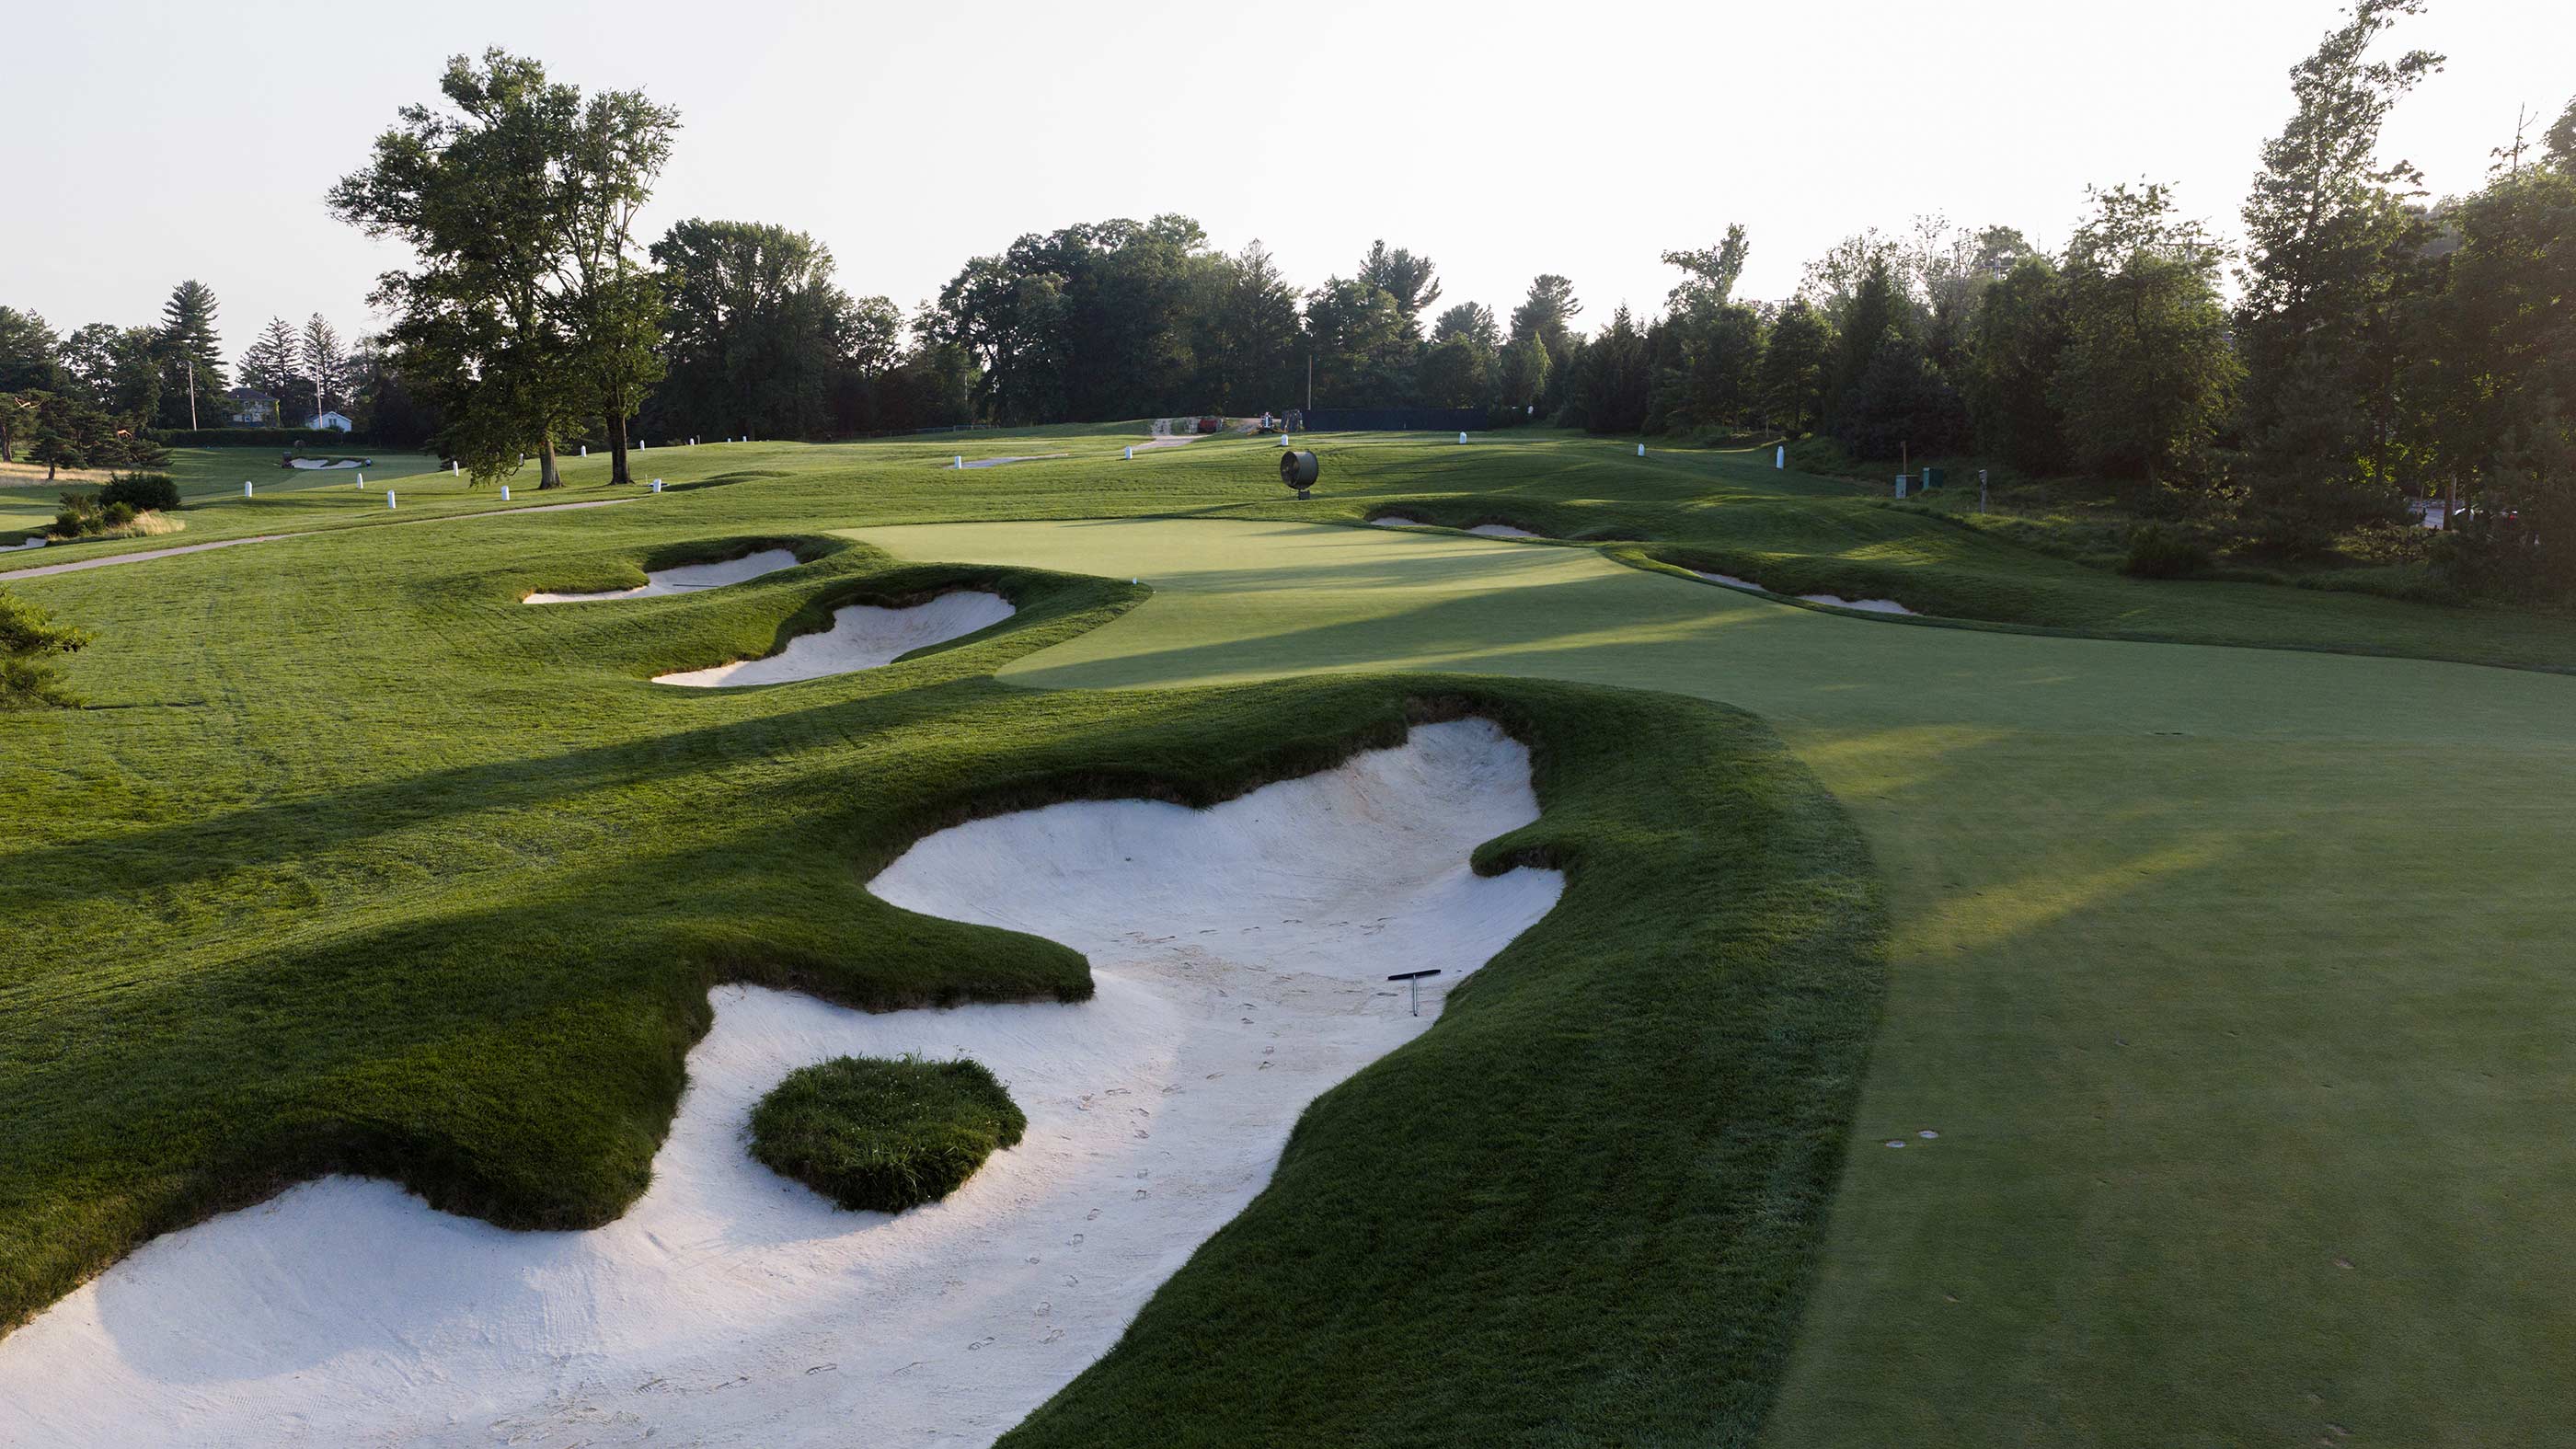
Golf Digest editor Jerry Tarde once wrote that Merion East is structured like a multi-genre three-act play: "the drama of the first six demanding holes, the comedy of the next seven, and the tragedy of the last five." The first hole, located on the clubhouse side of Ardmore Avenue, functions as a kind of prologue. It is really on the second hole that the East Course's opening act begins. This par 5 treks uphill all the way, with the road lurking on the right. Because of the OB threat, players frequently find themselves in the big, deep bunkers on the left.

Hole 3
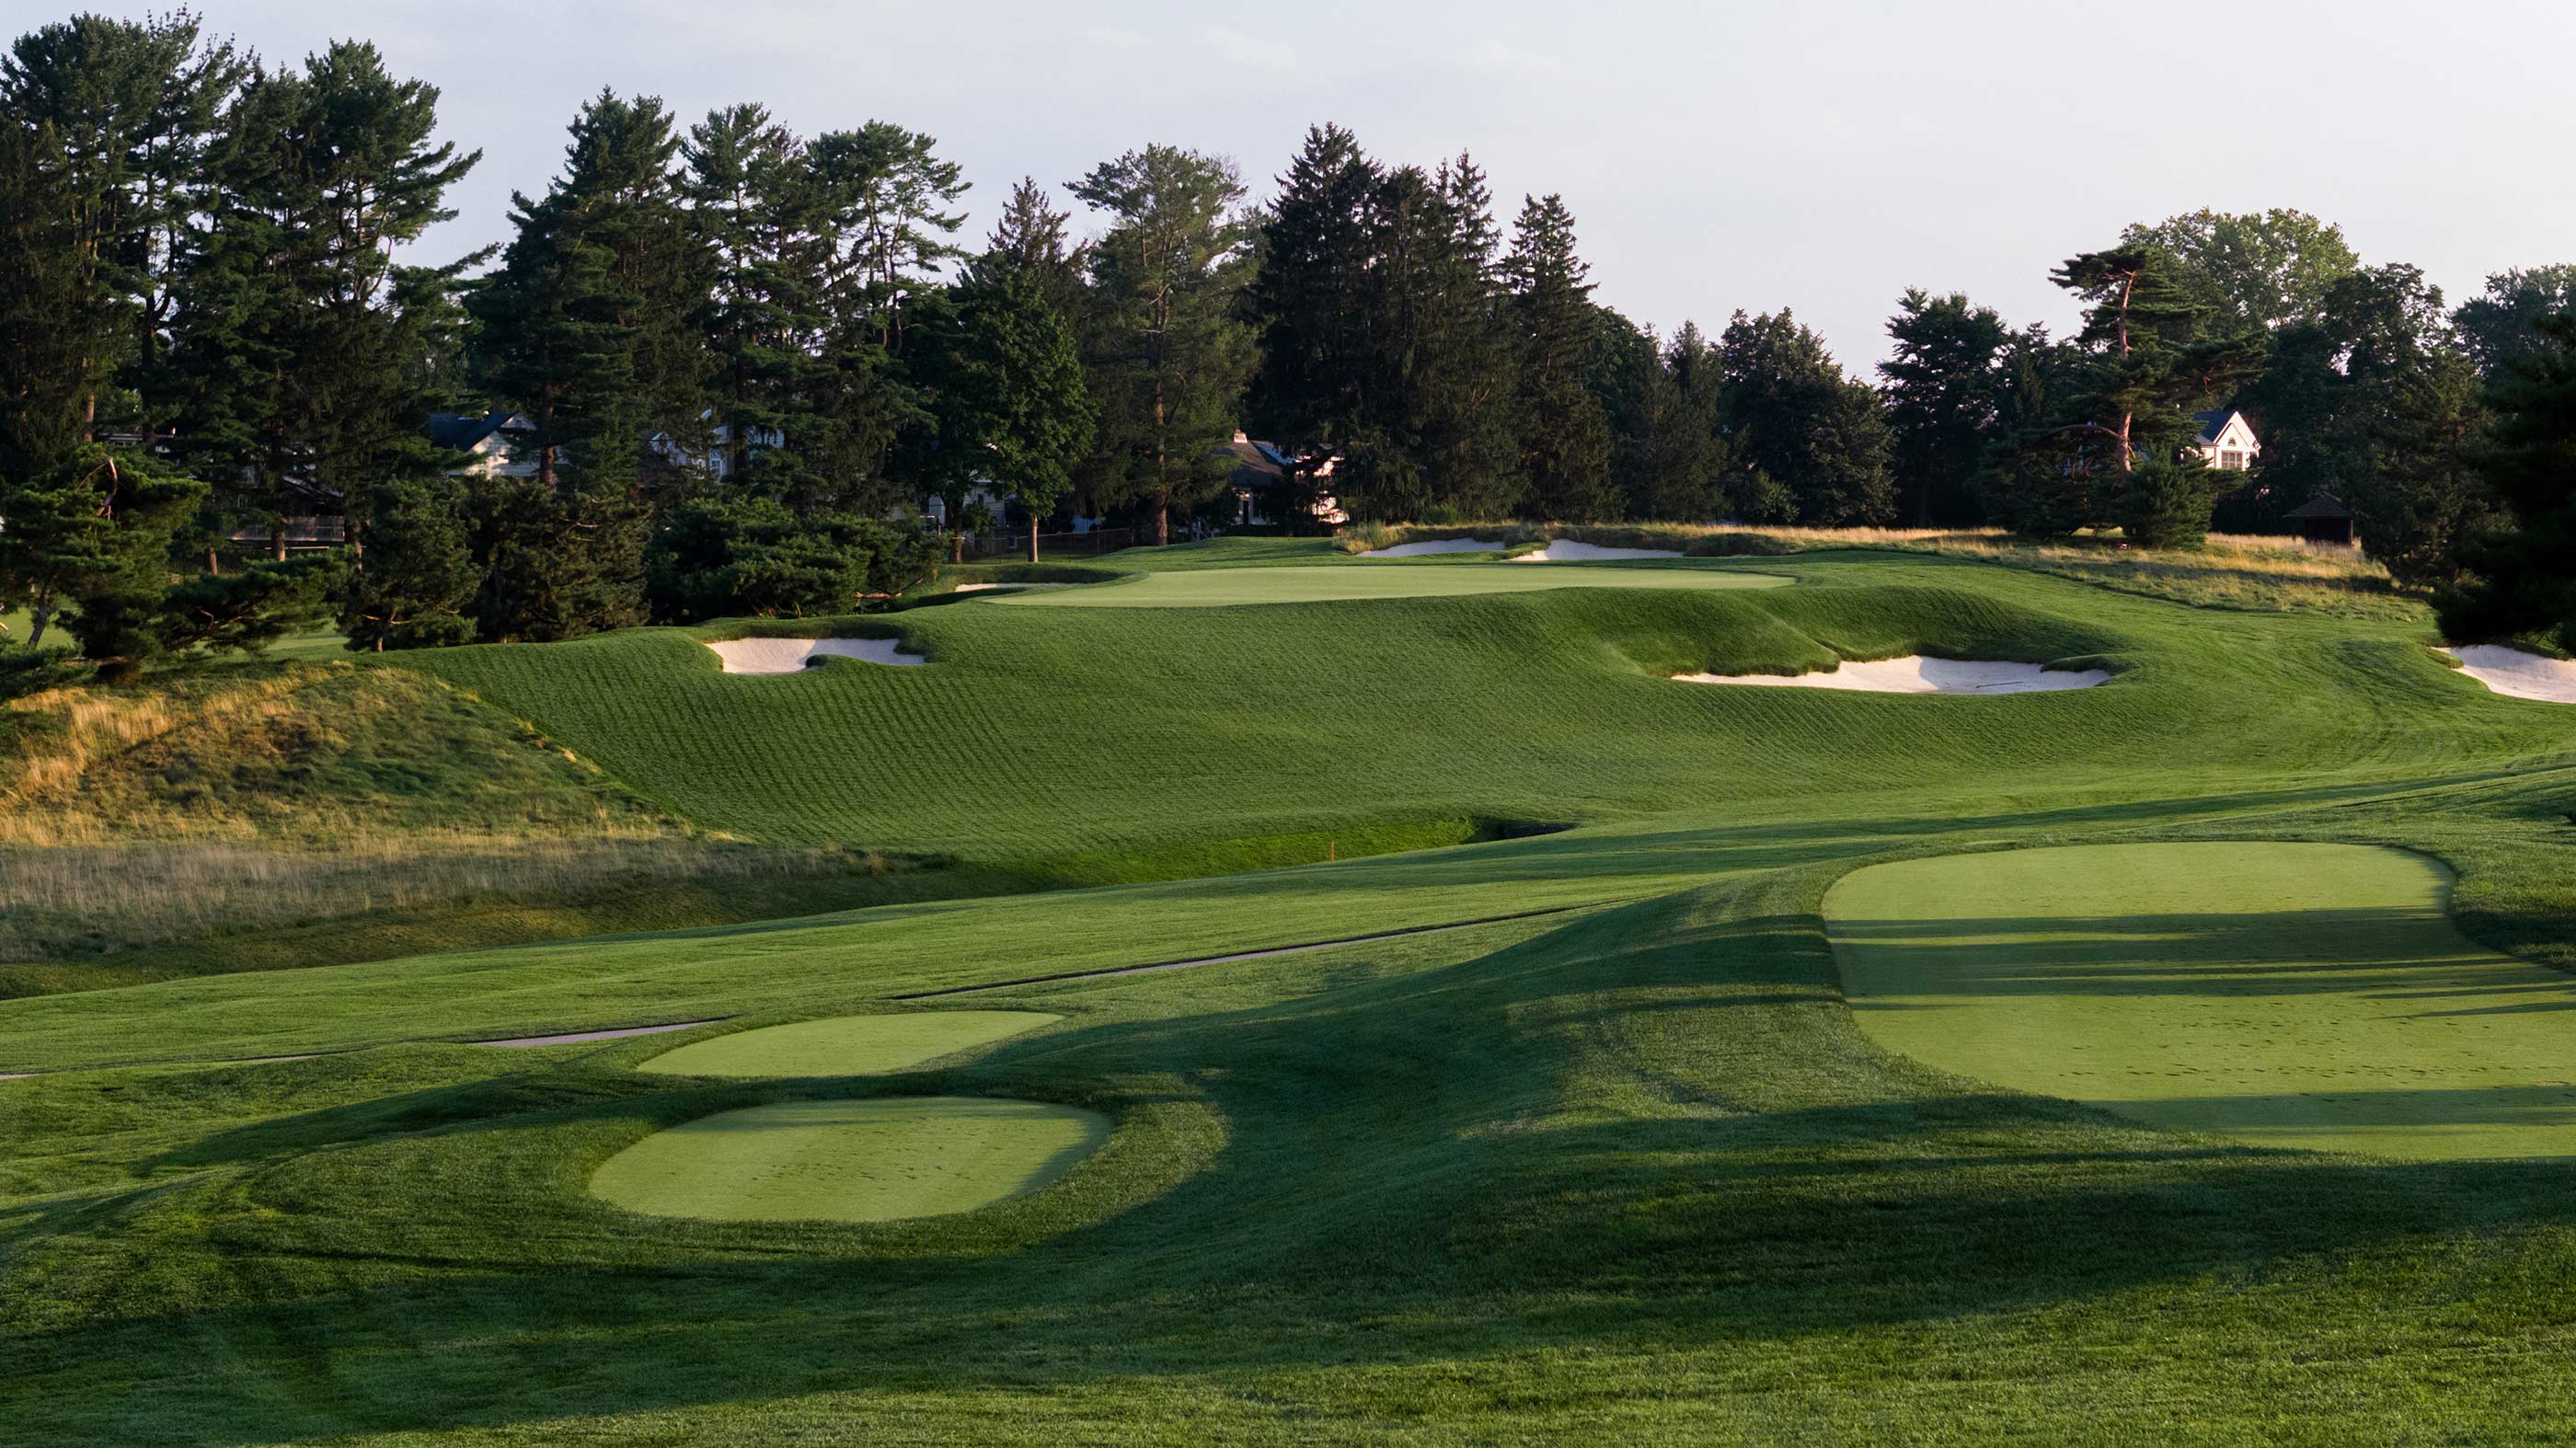
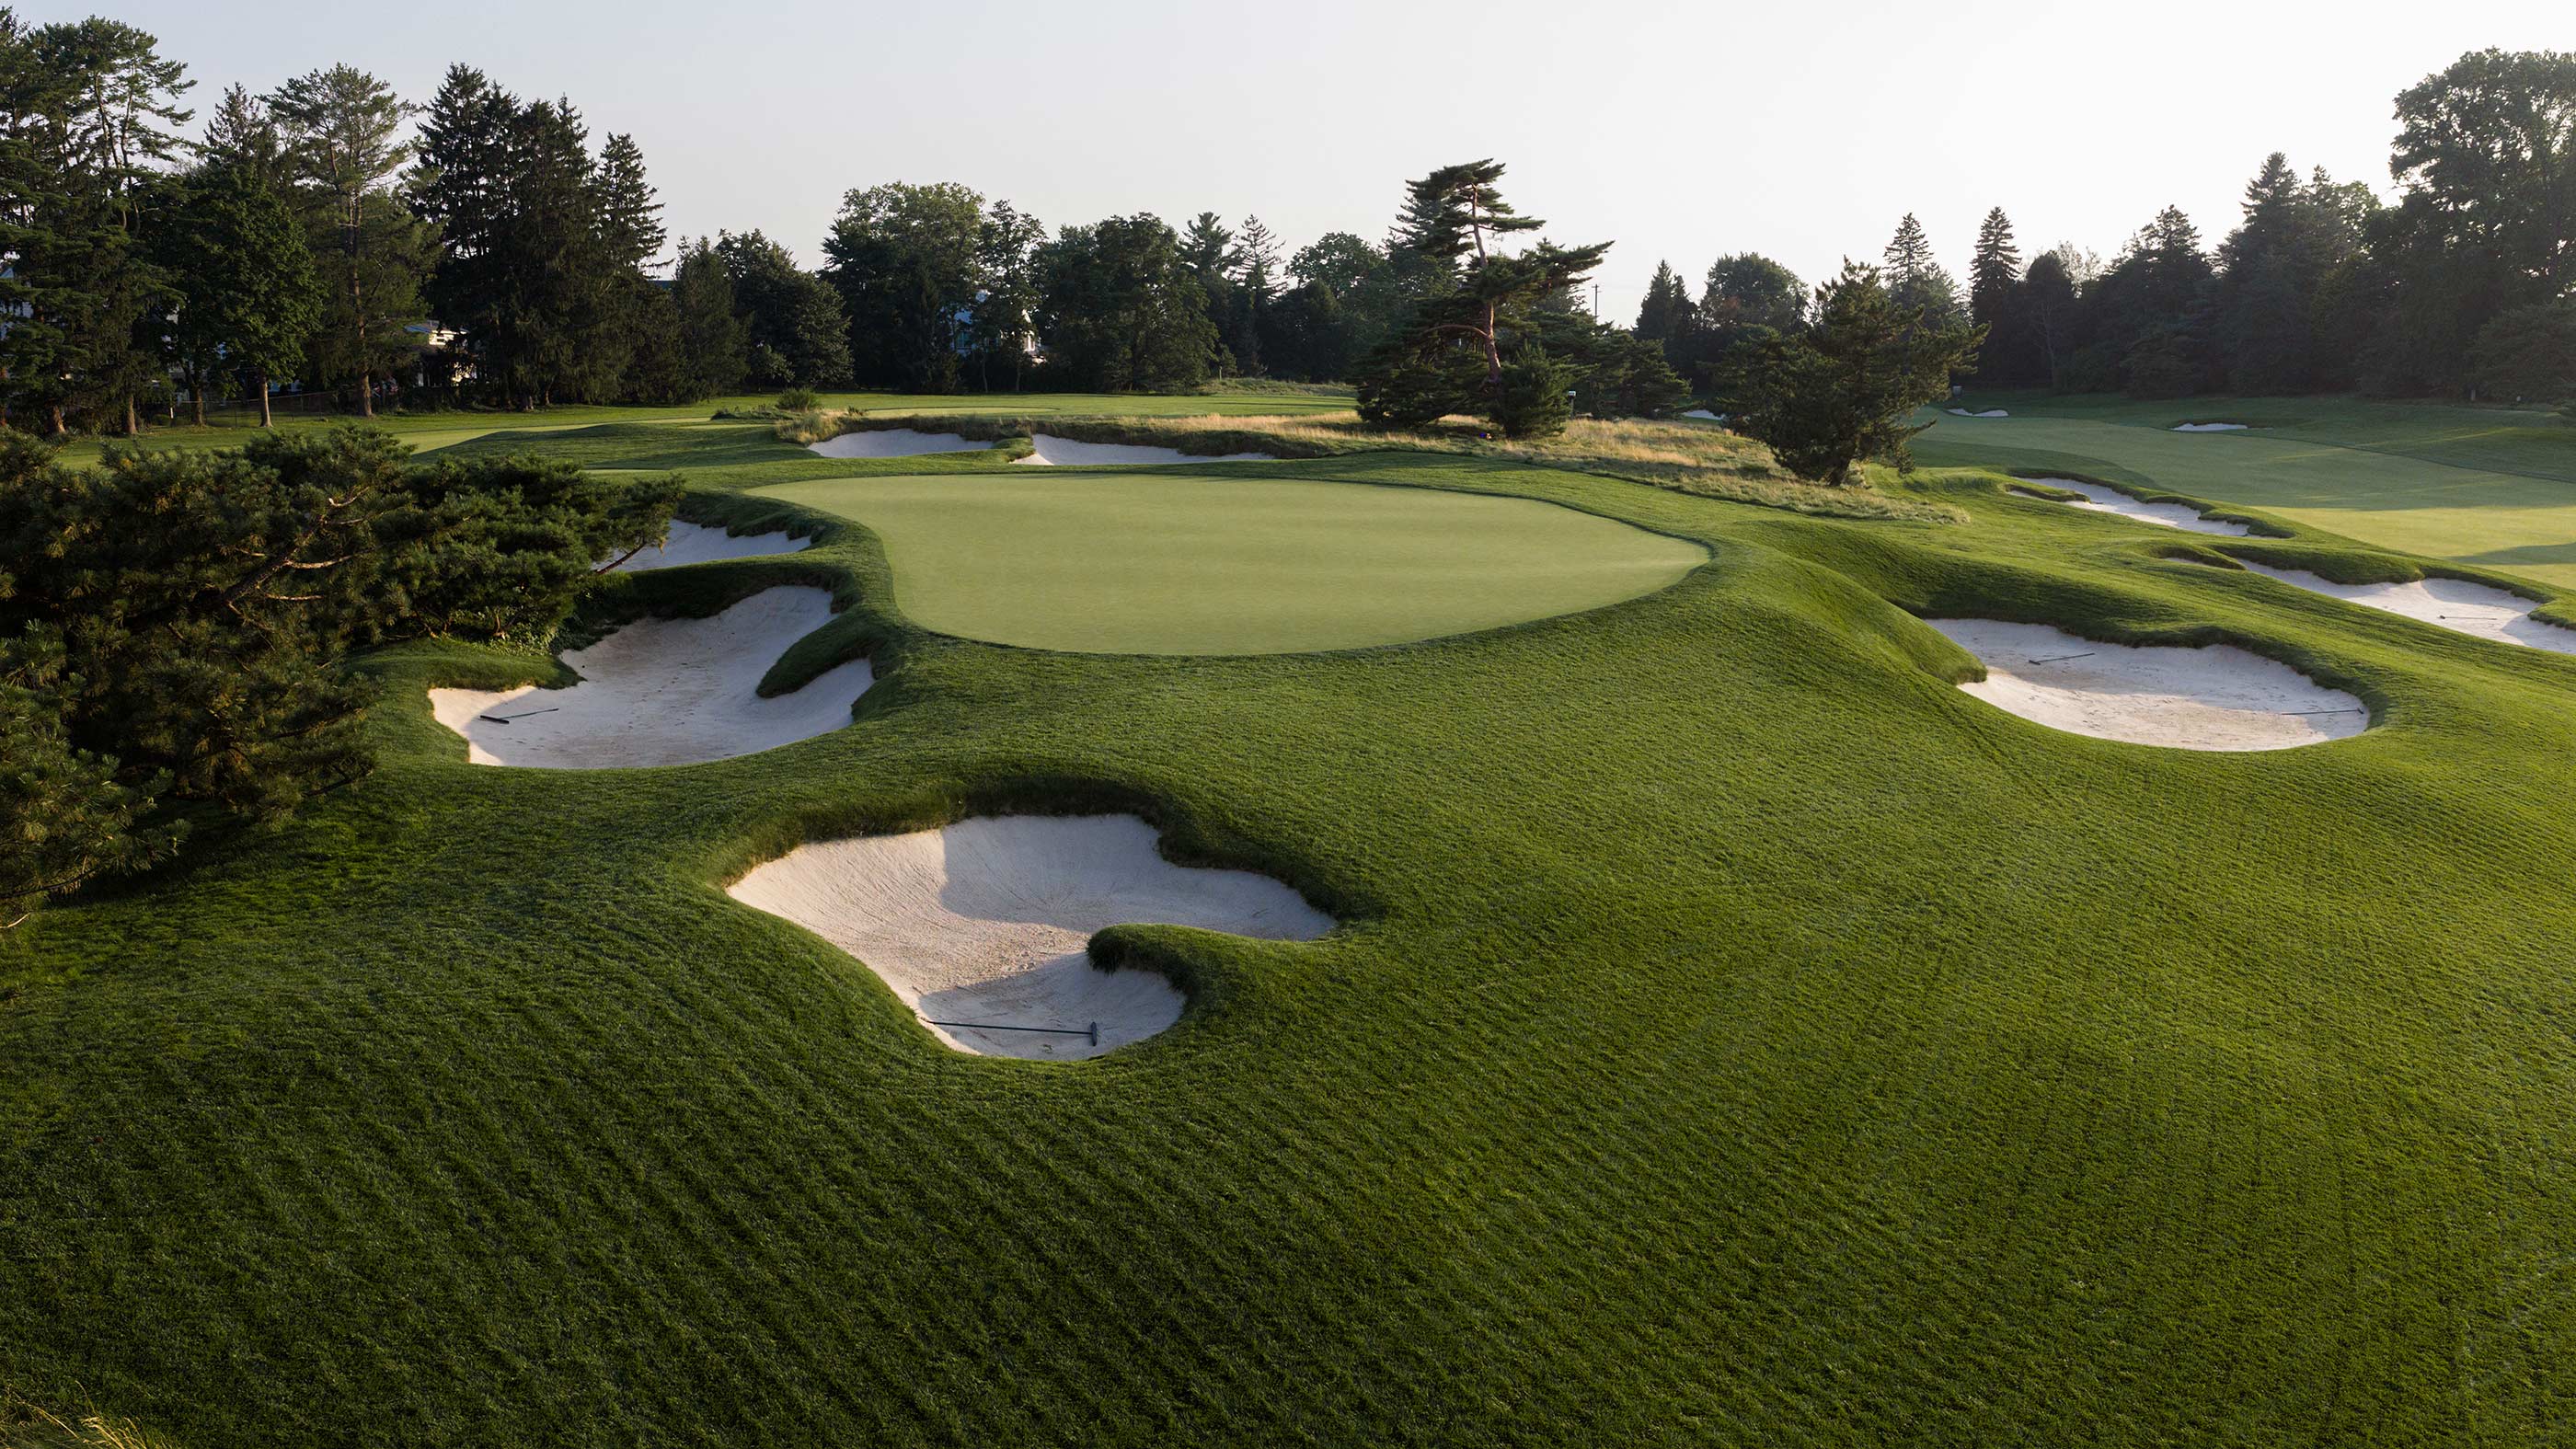
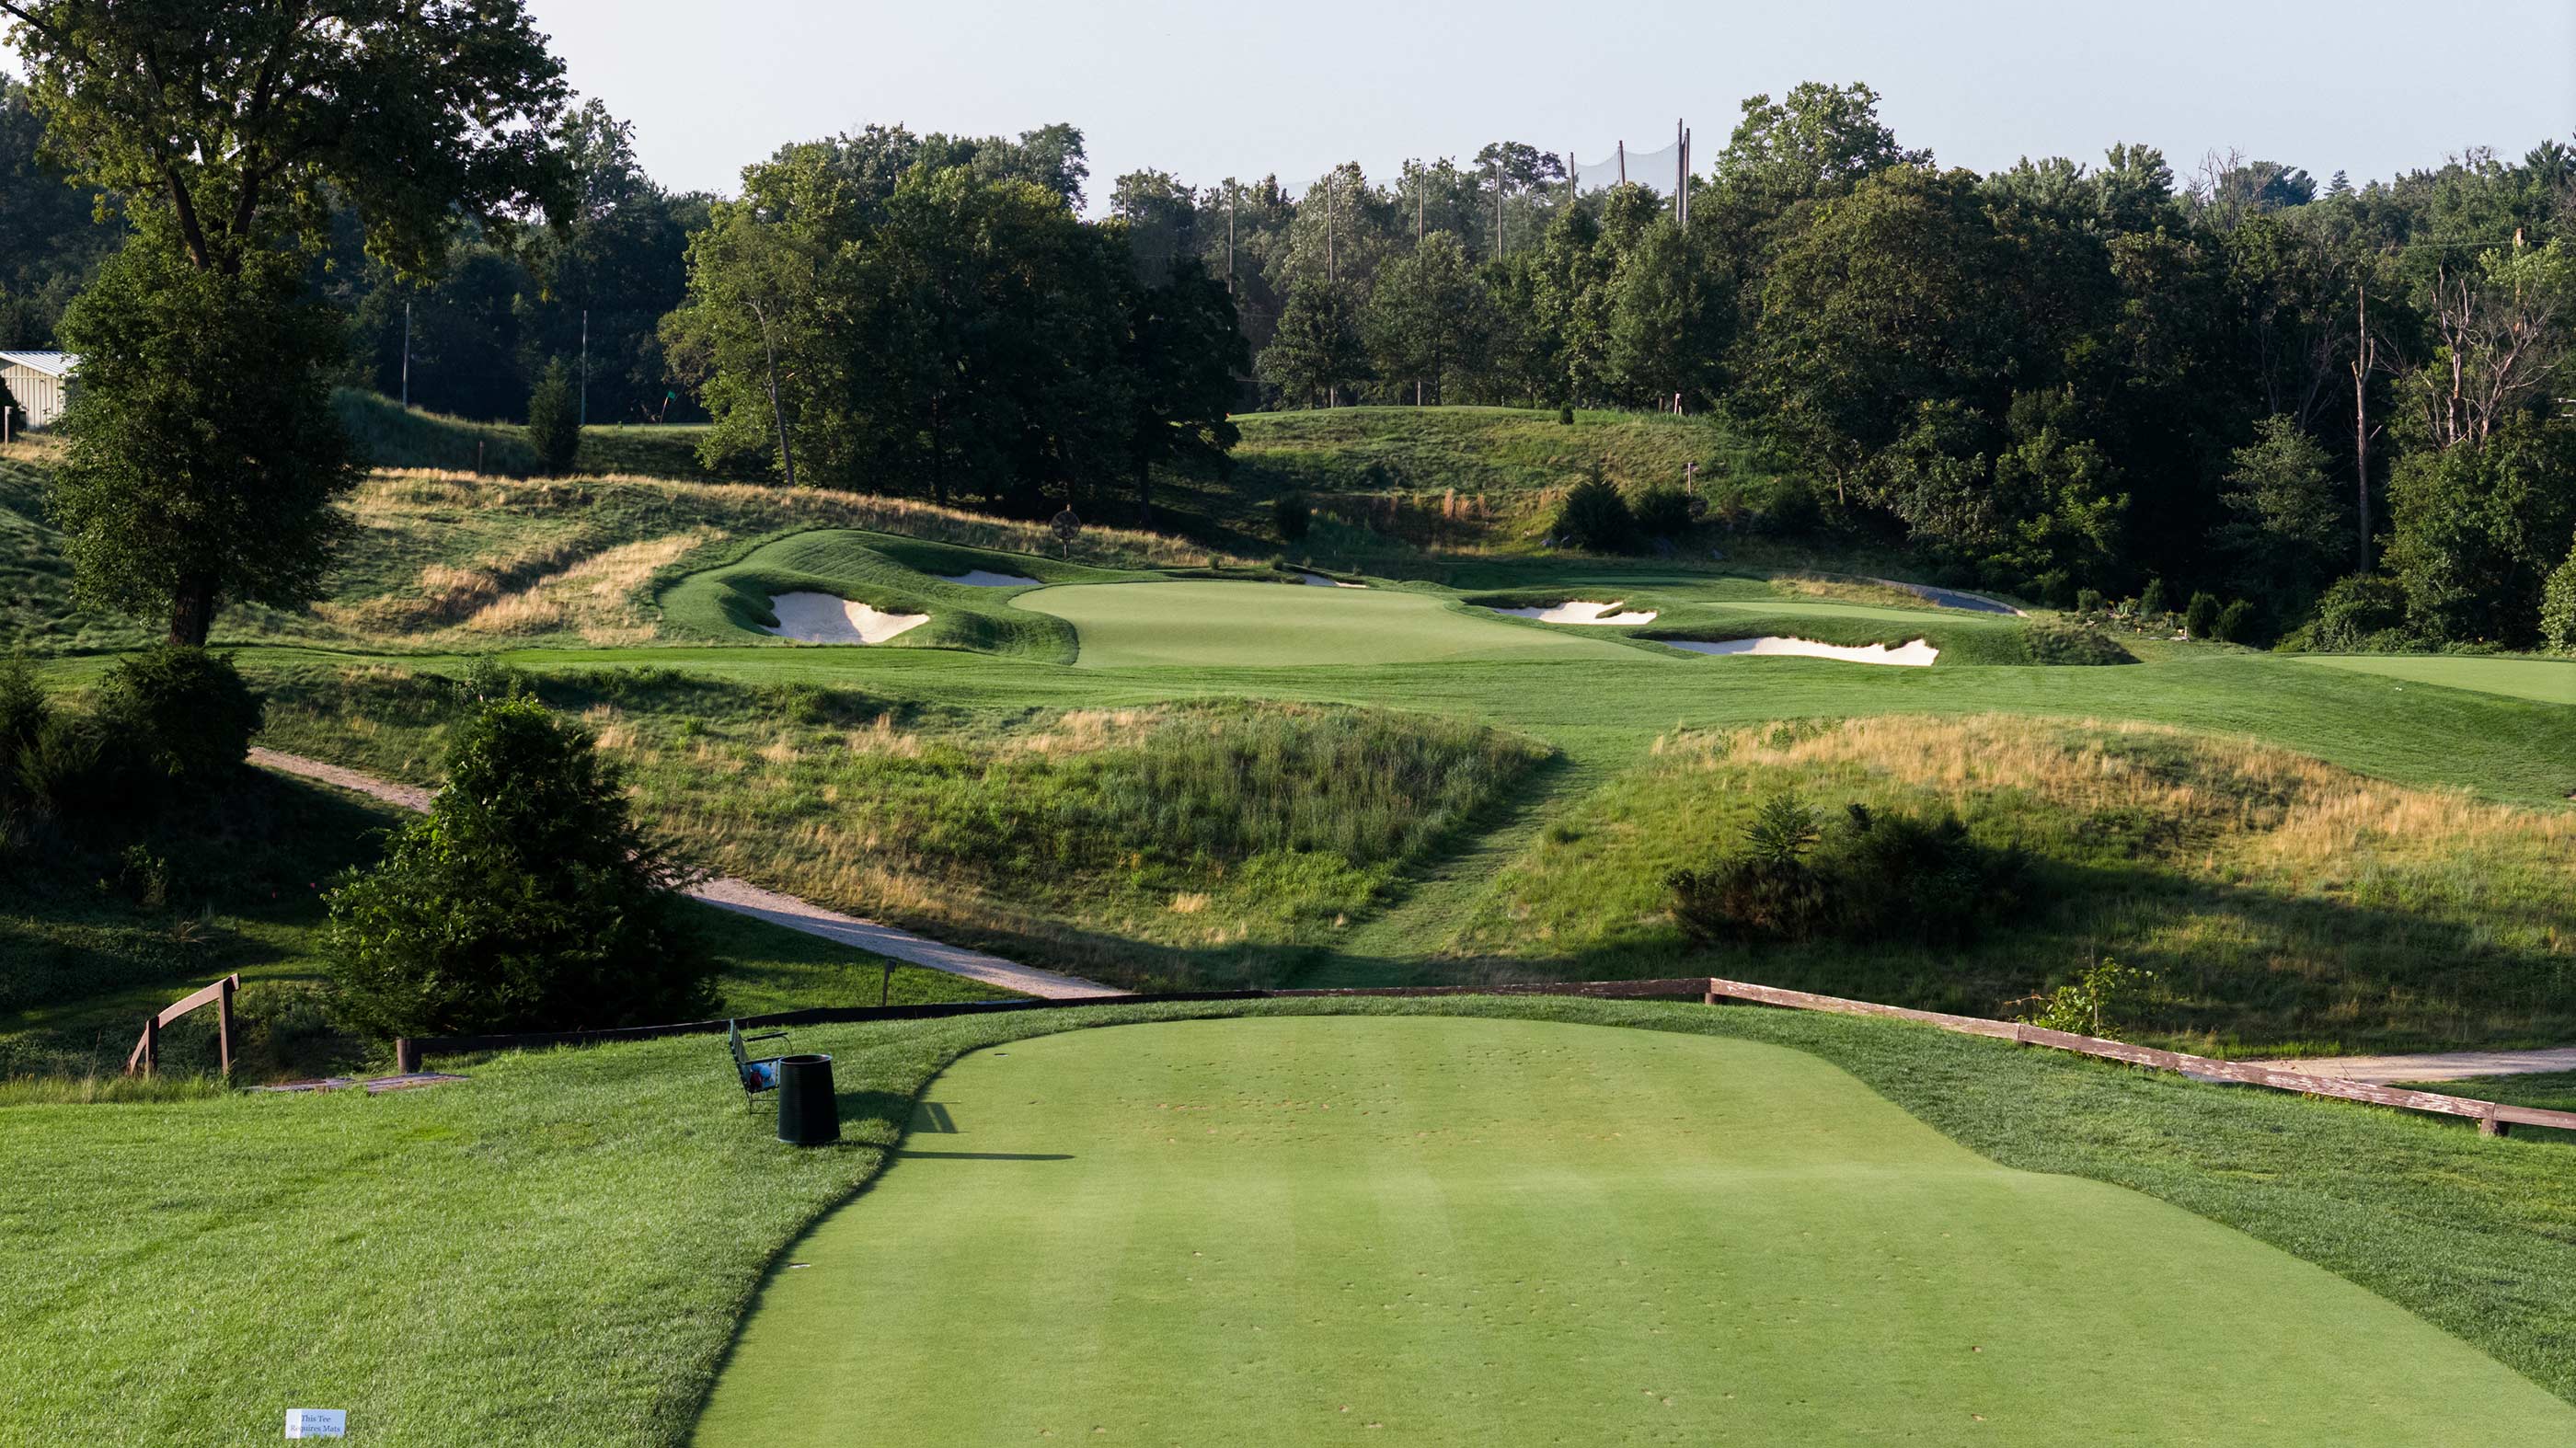
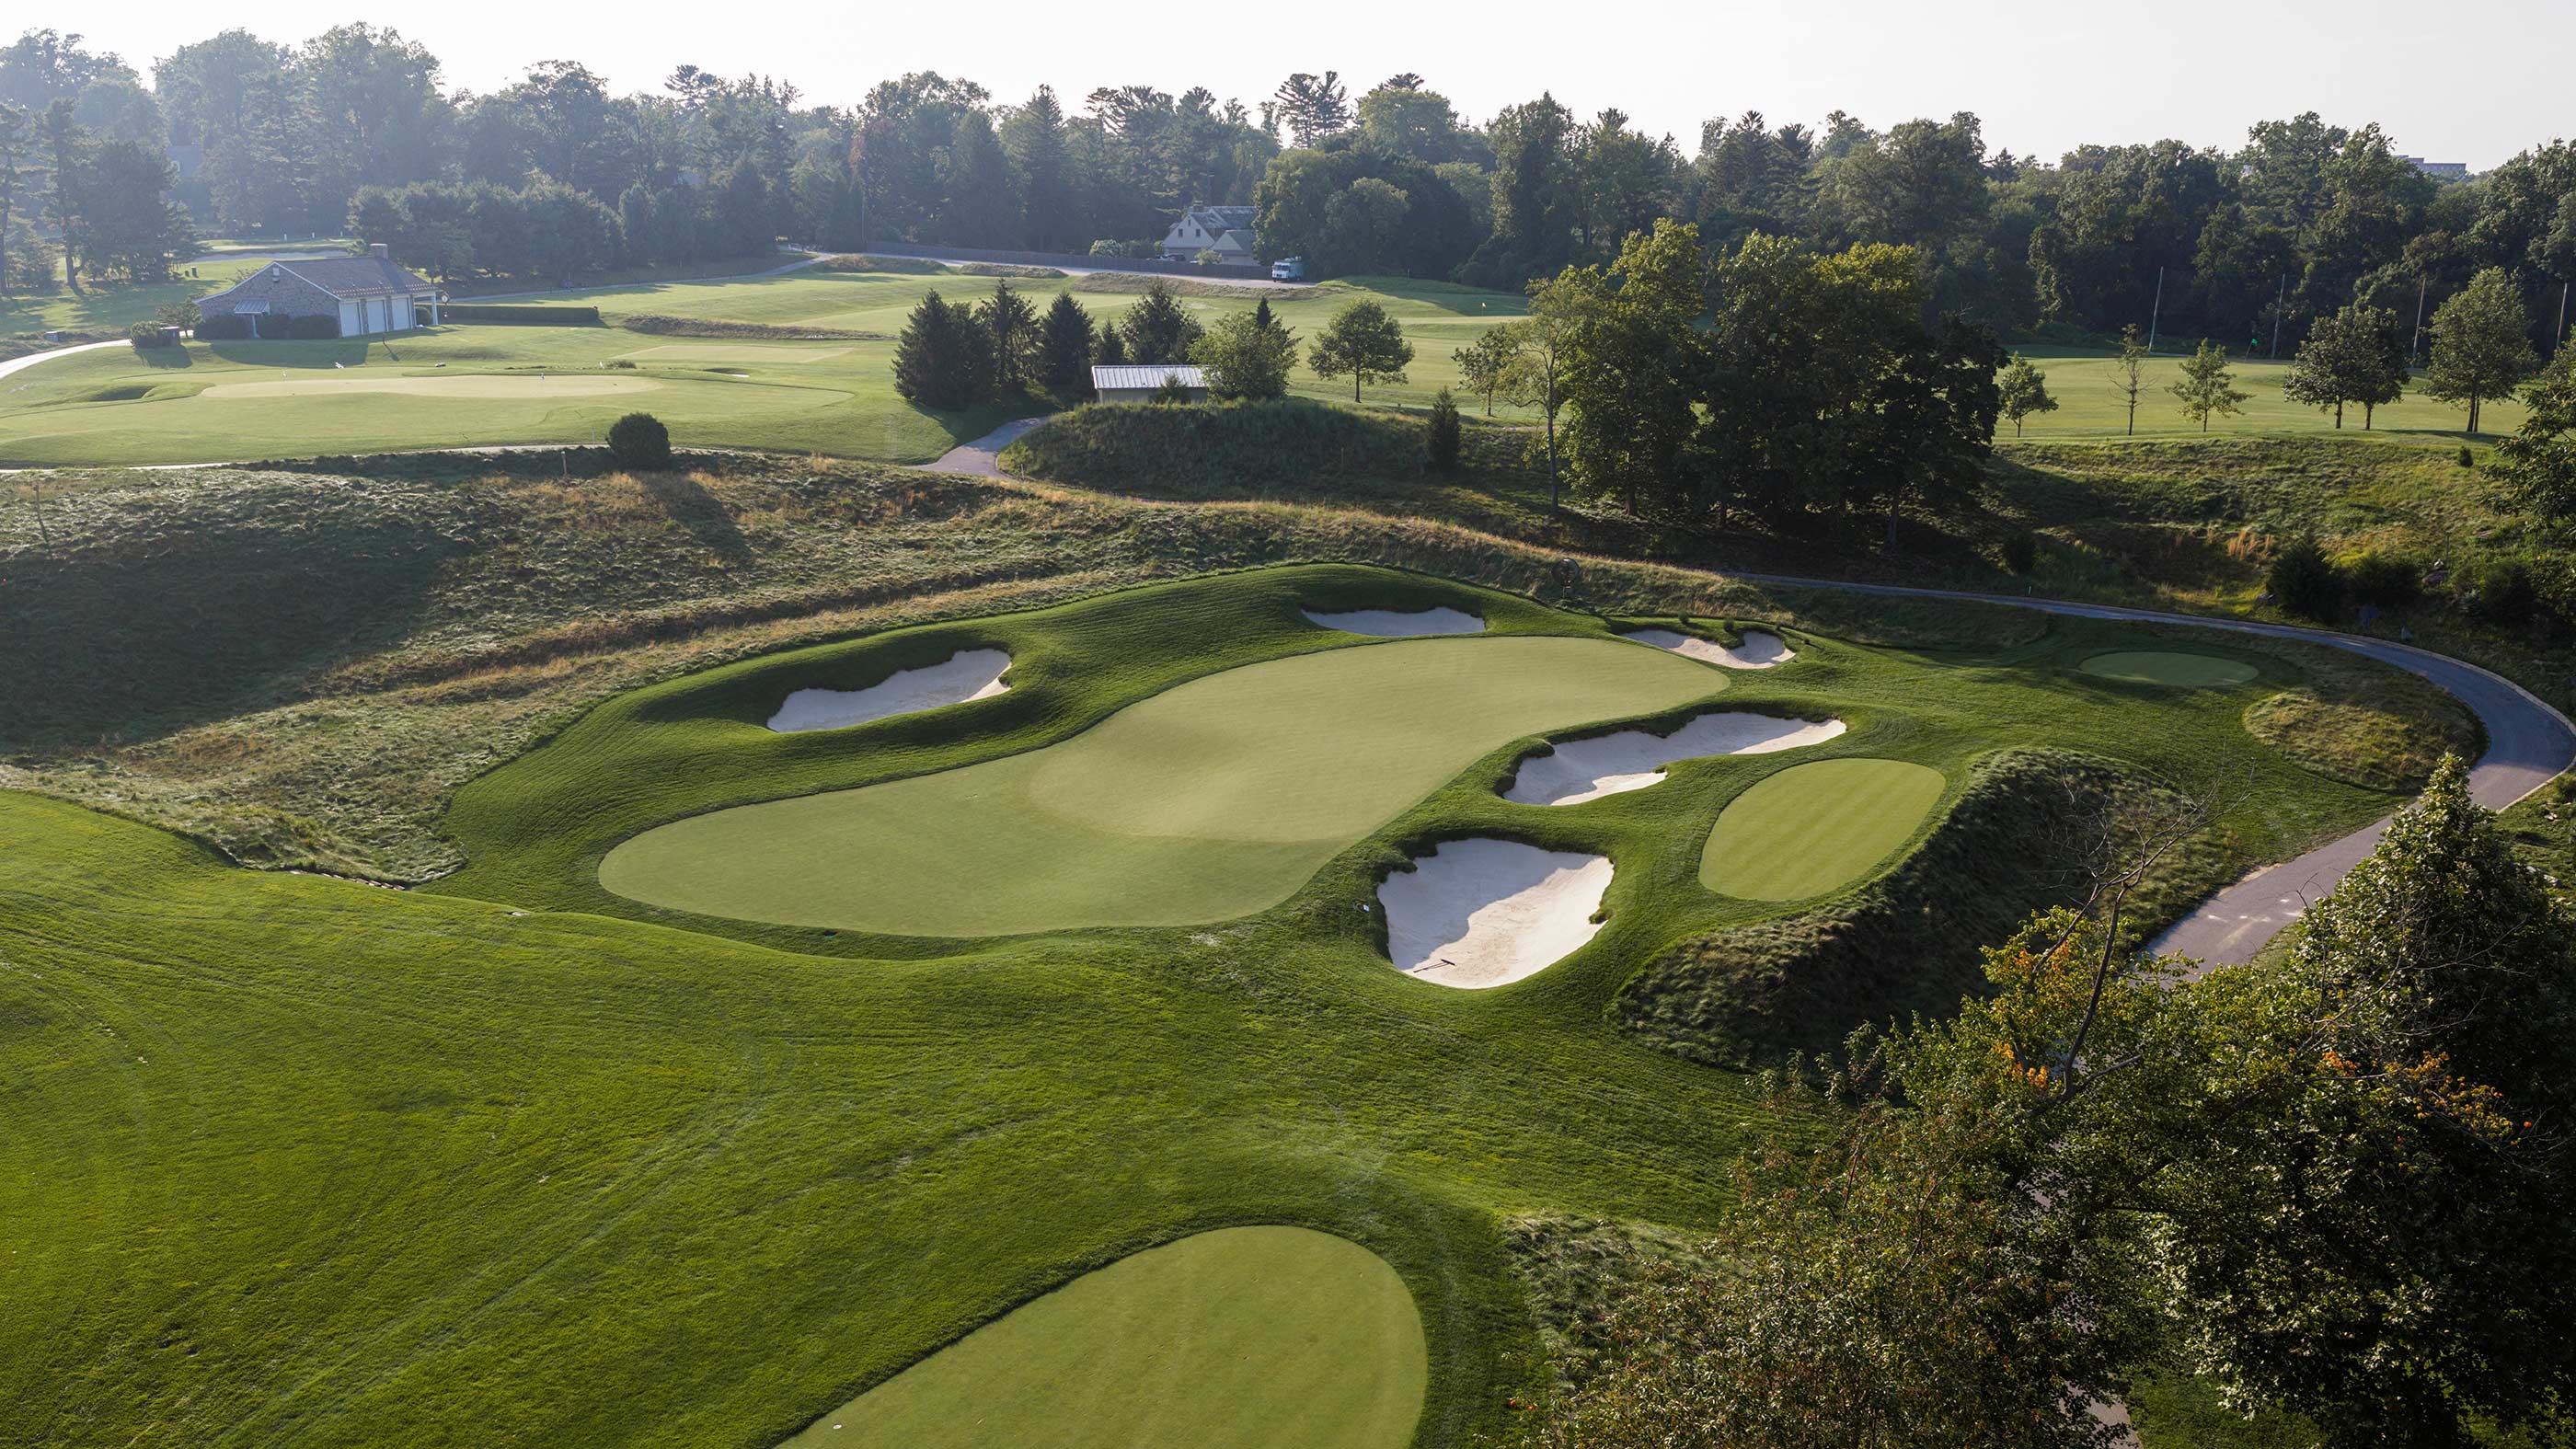
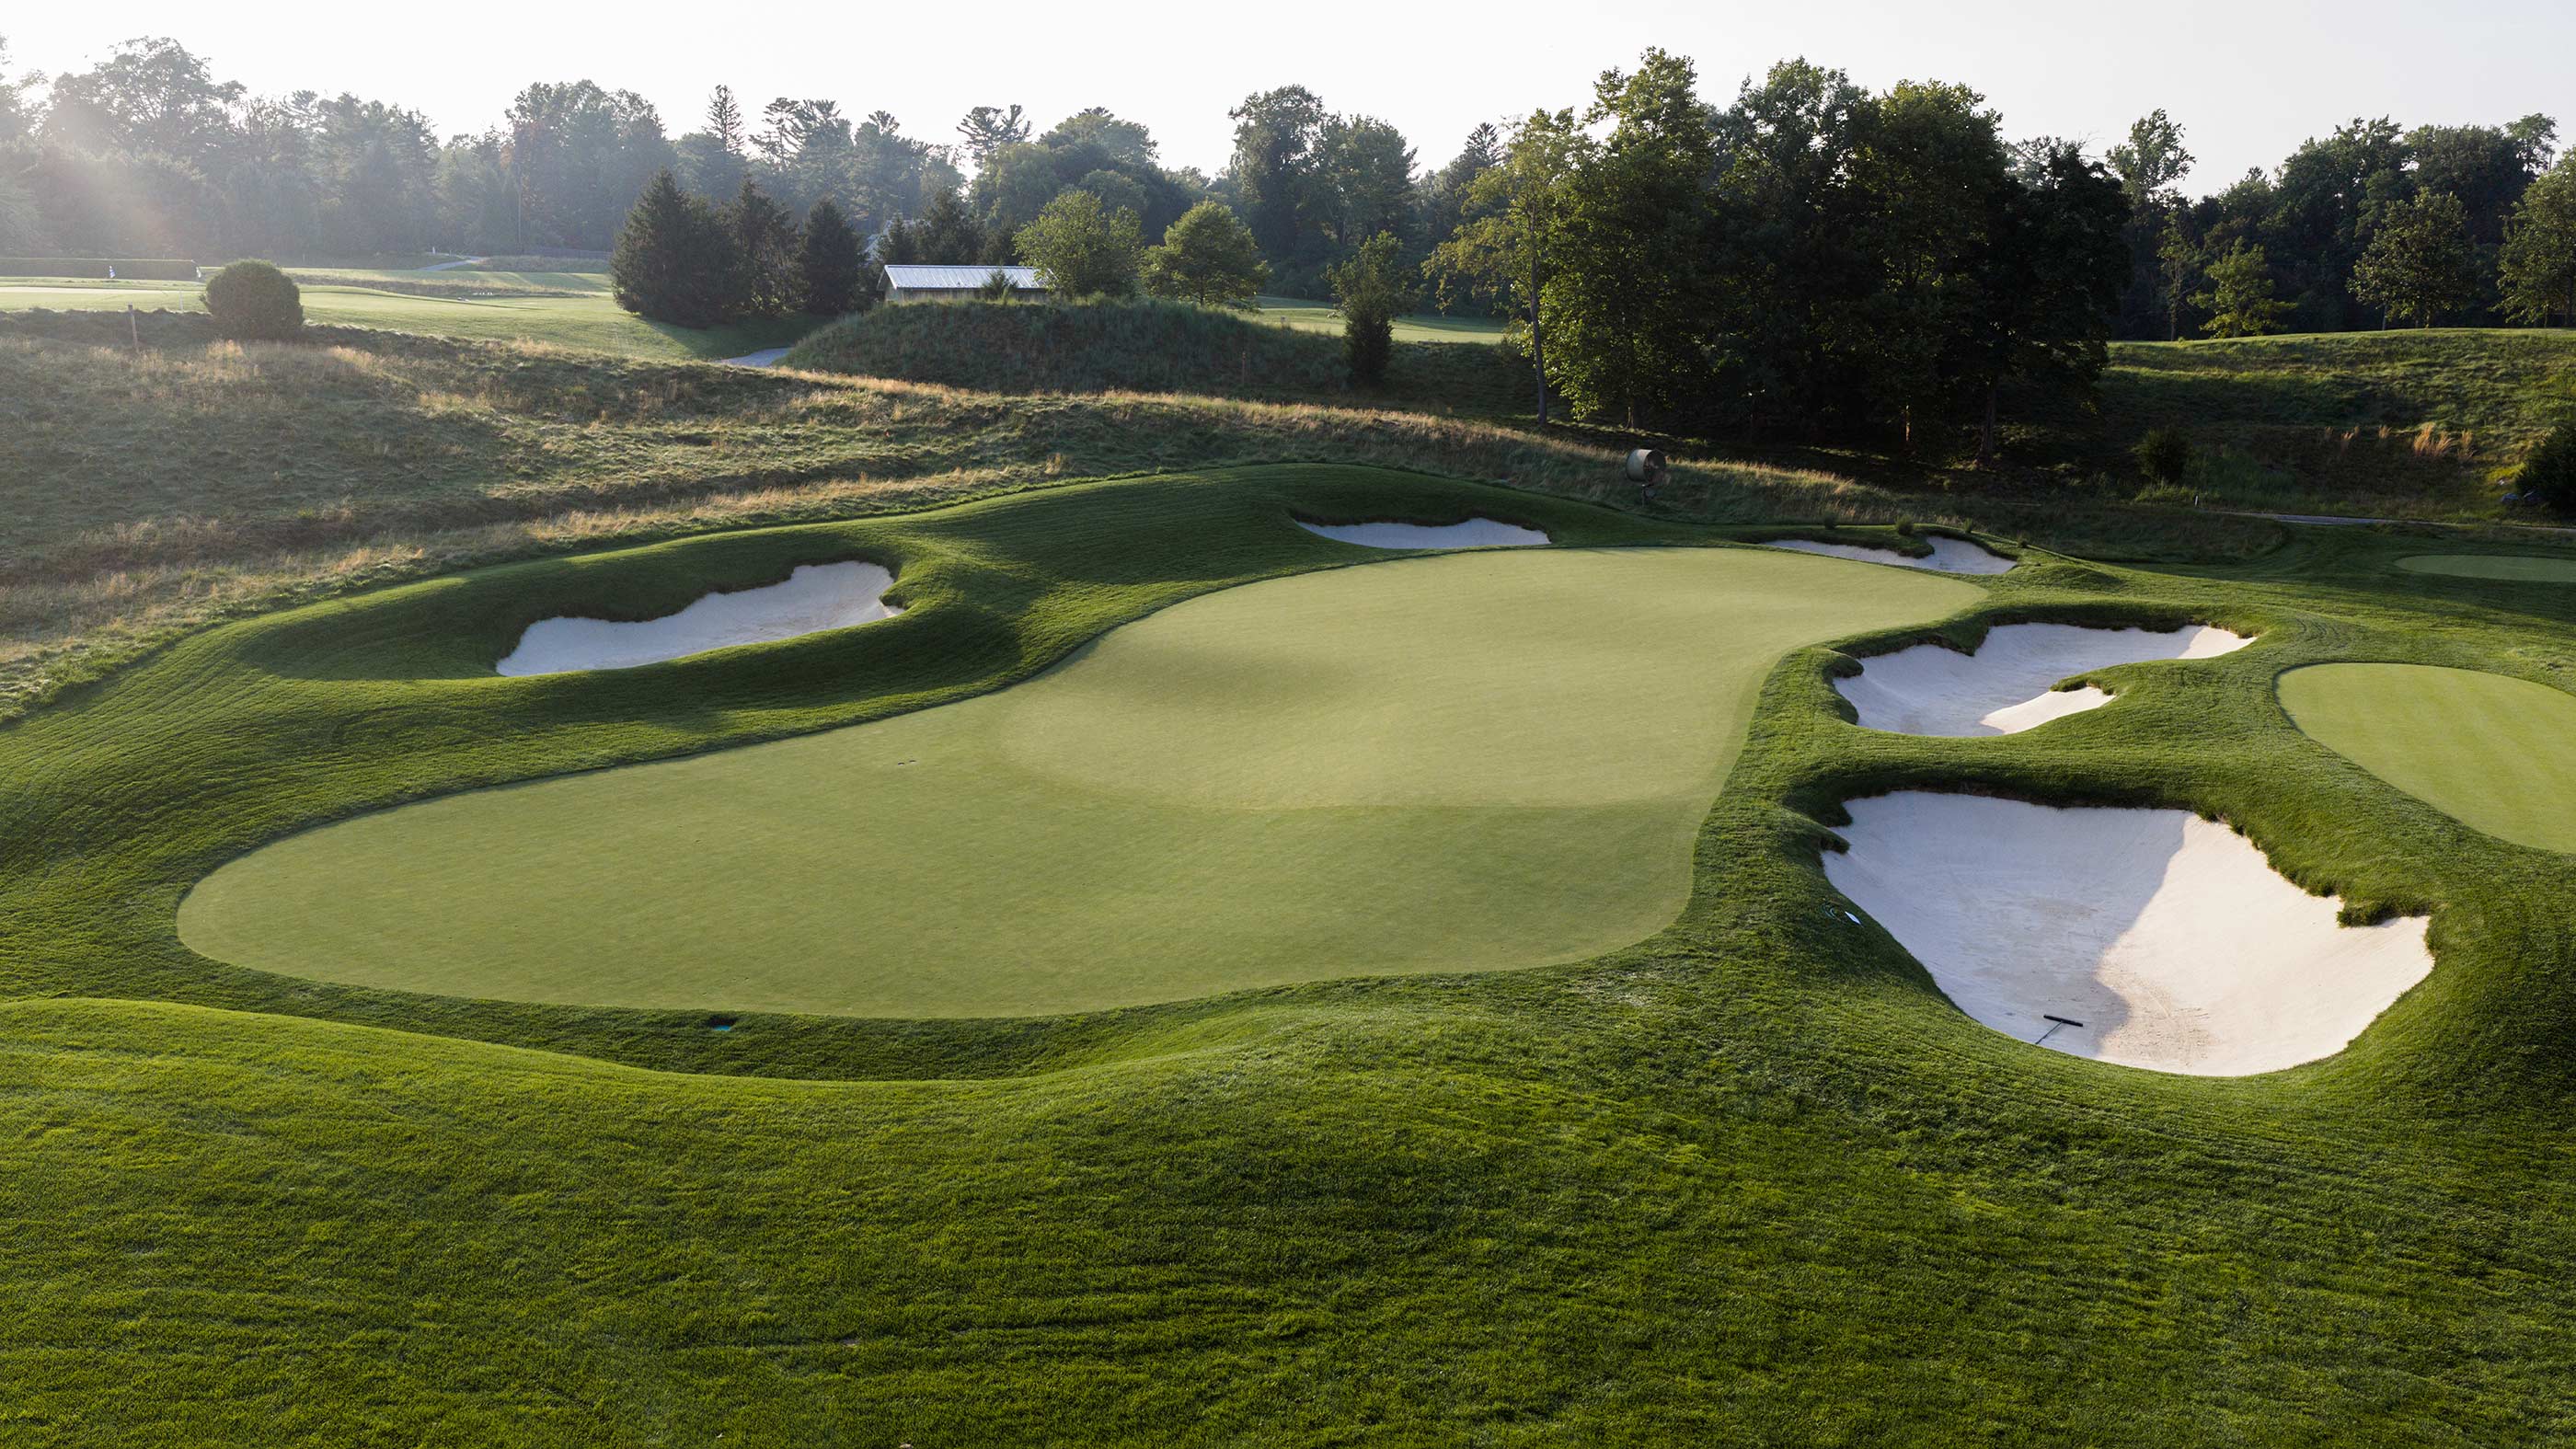
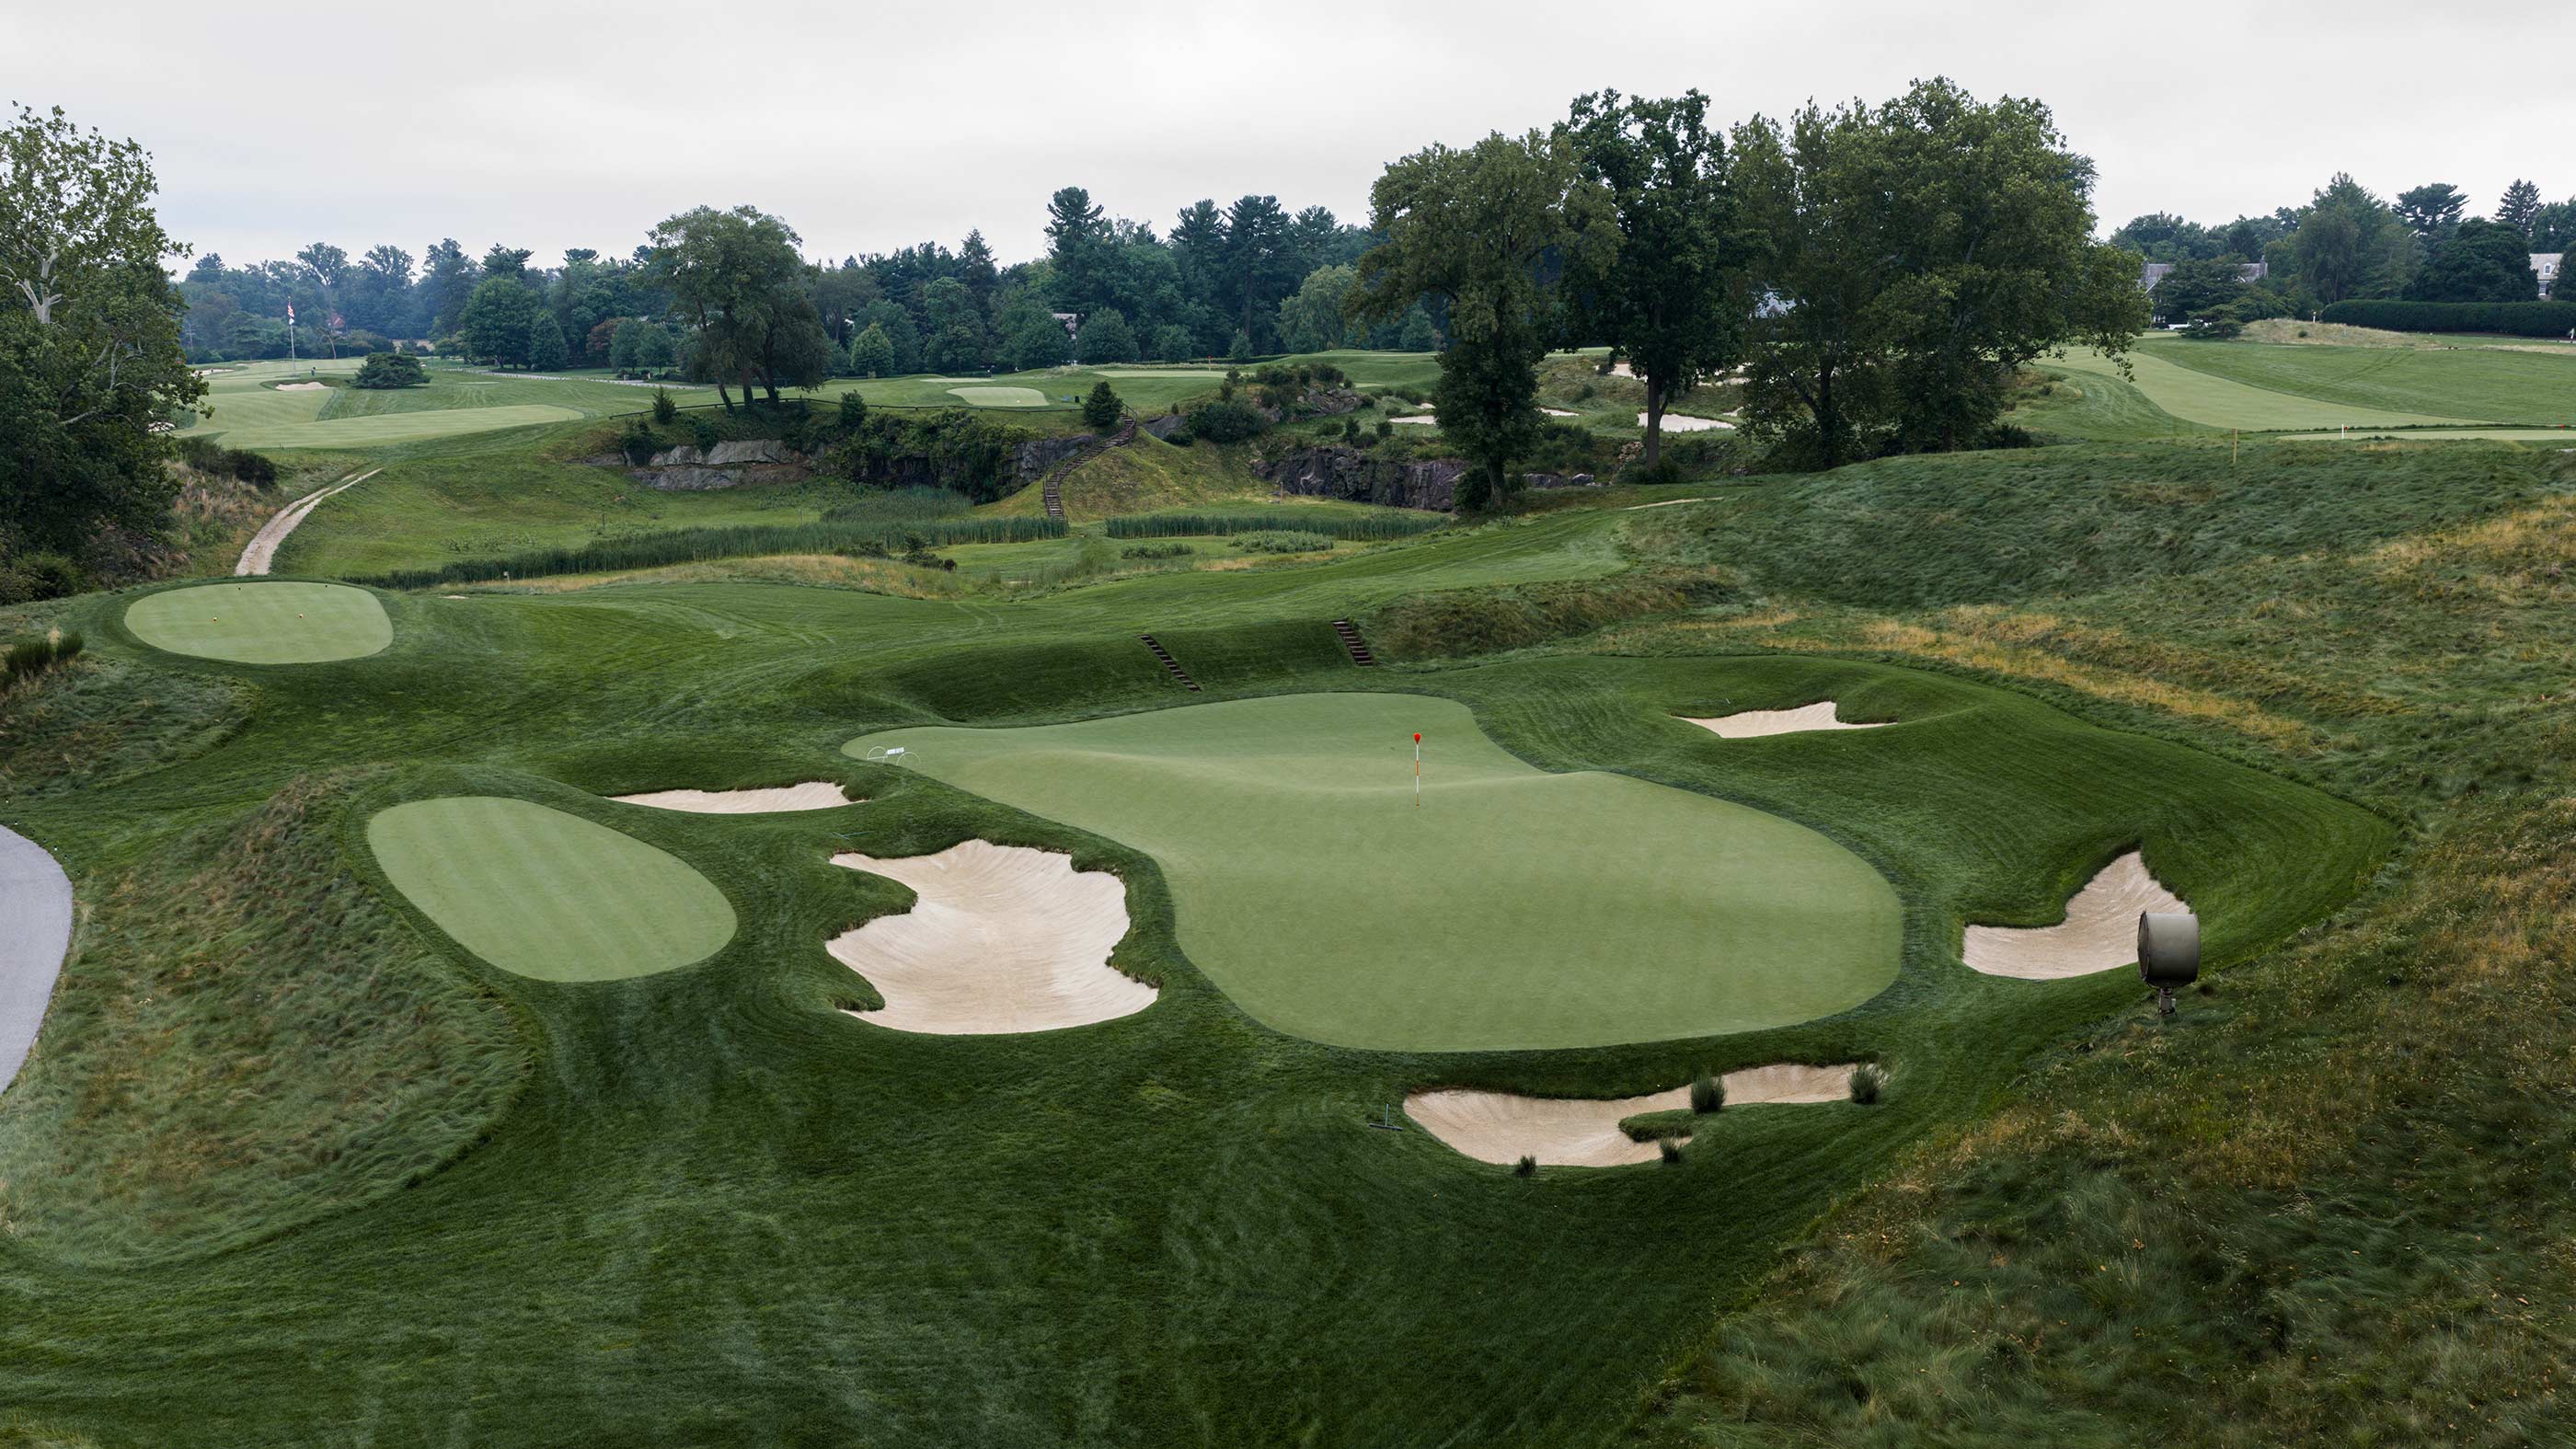
This formidable par 3 plays across a stream-carved valley to an angled green perched on a ledge. The putting surface is one of the largest on the course, but its strong back-to-front tilt and internal ripples make two-putts challenging.

Hole 4
Merion East’s second and last par 5 unfurls over a terrific piece of ground. The tee shot is played across a gully and to an adjoining ridge, with only the start of the fairway visible. The second shot is mostly blind, too; a massive, rugged cross bunker creates an infinity effect at the crest of the ridge. From there, the fairway races downhill toward a green draped across an upslope on the other side of a stream. Adventurous golf.



Hole 5
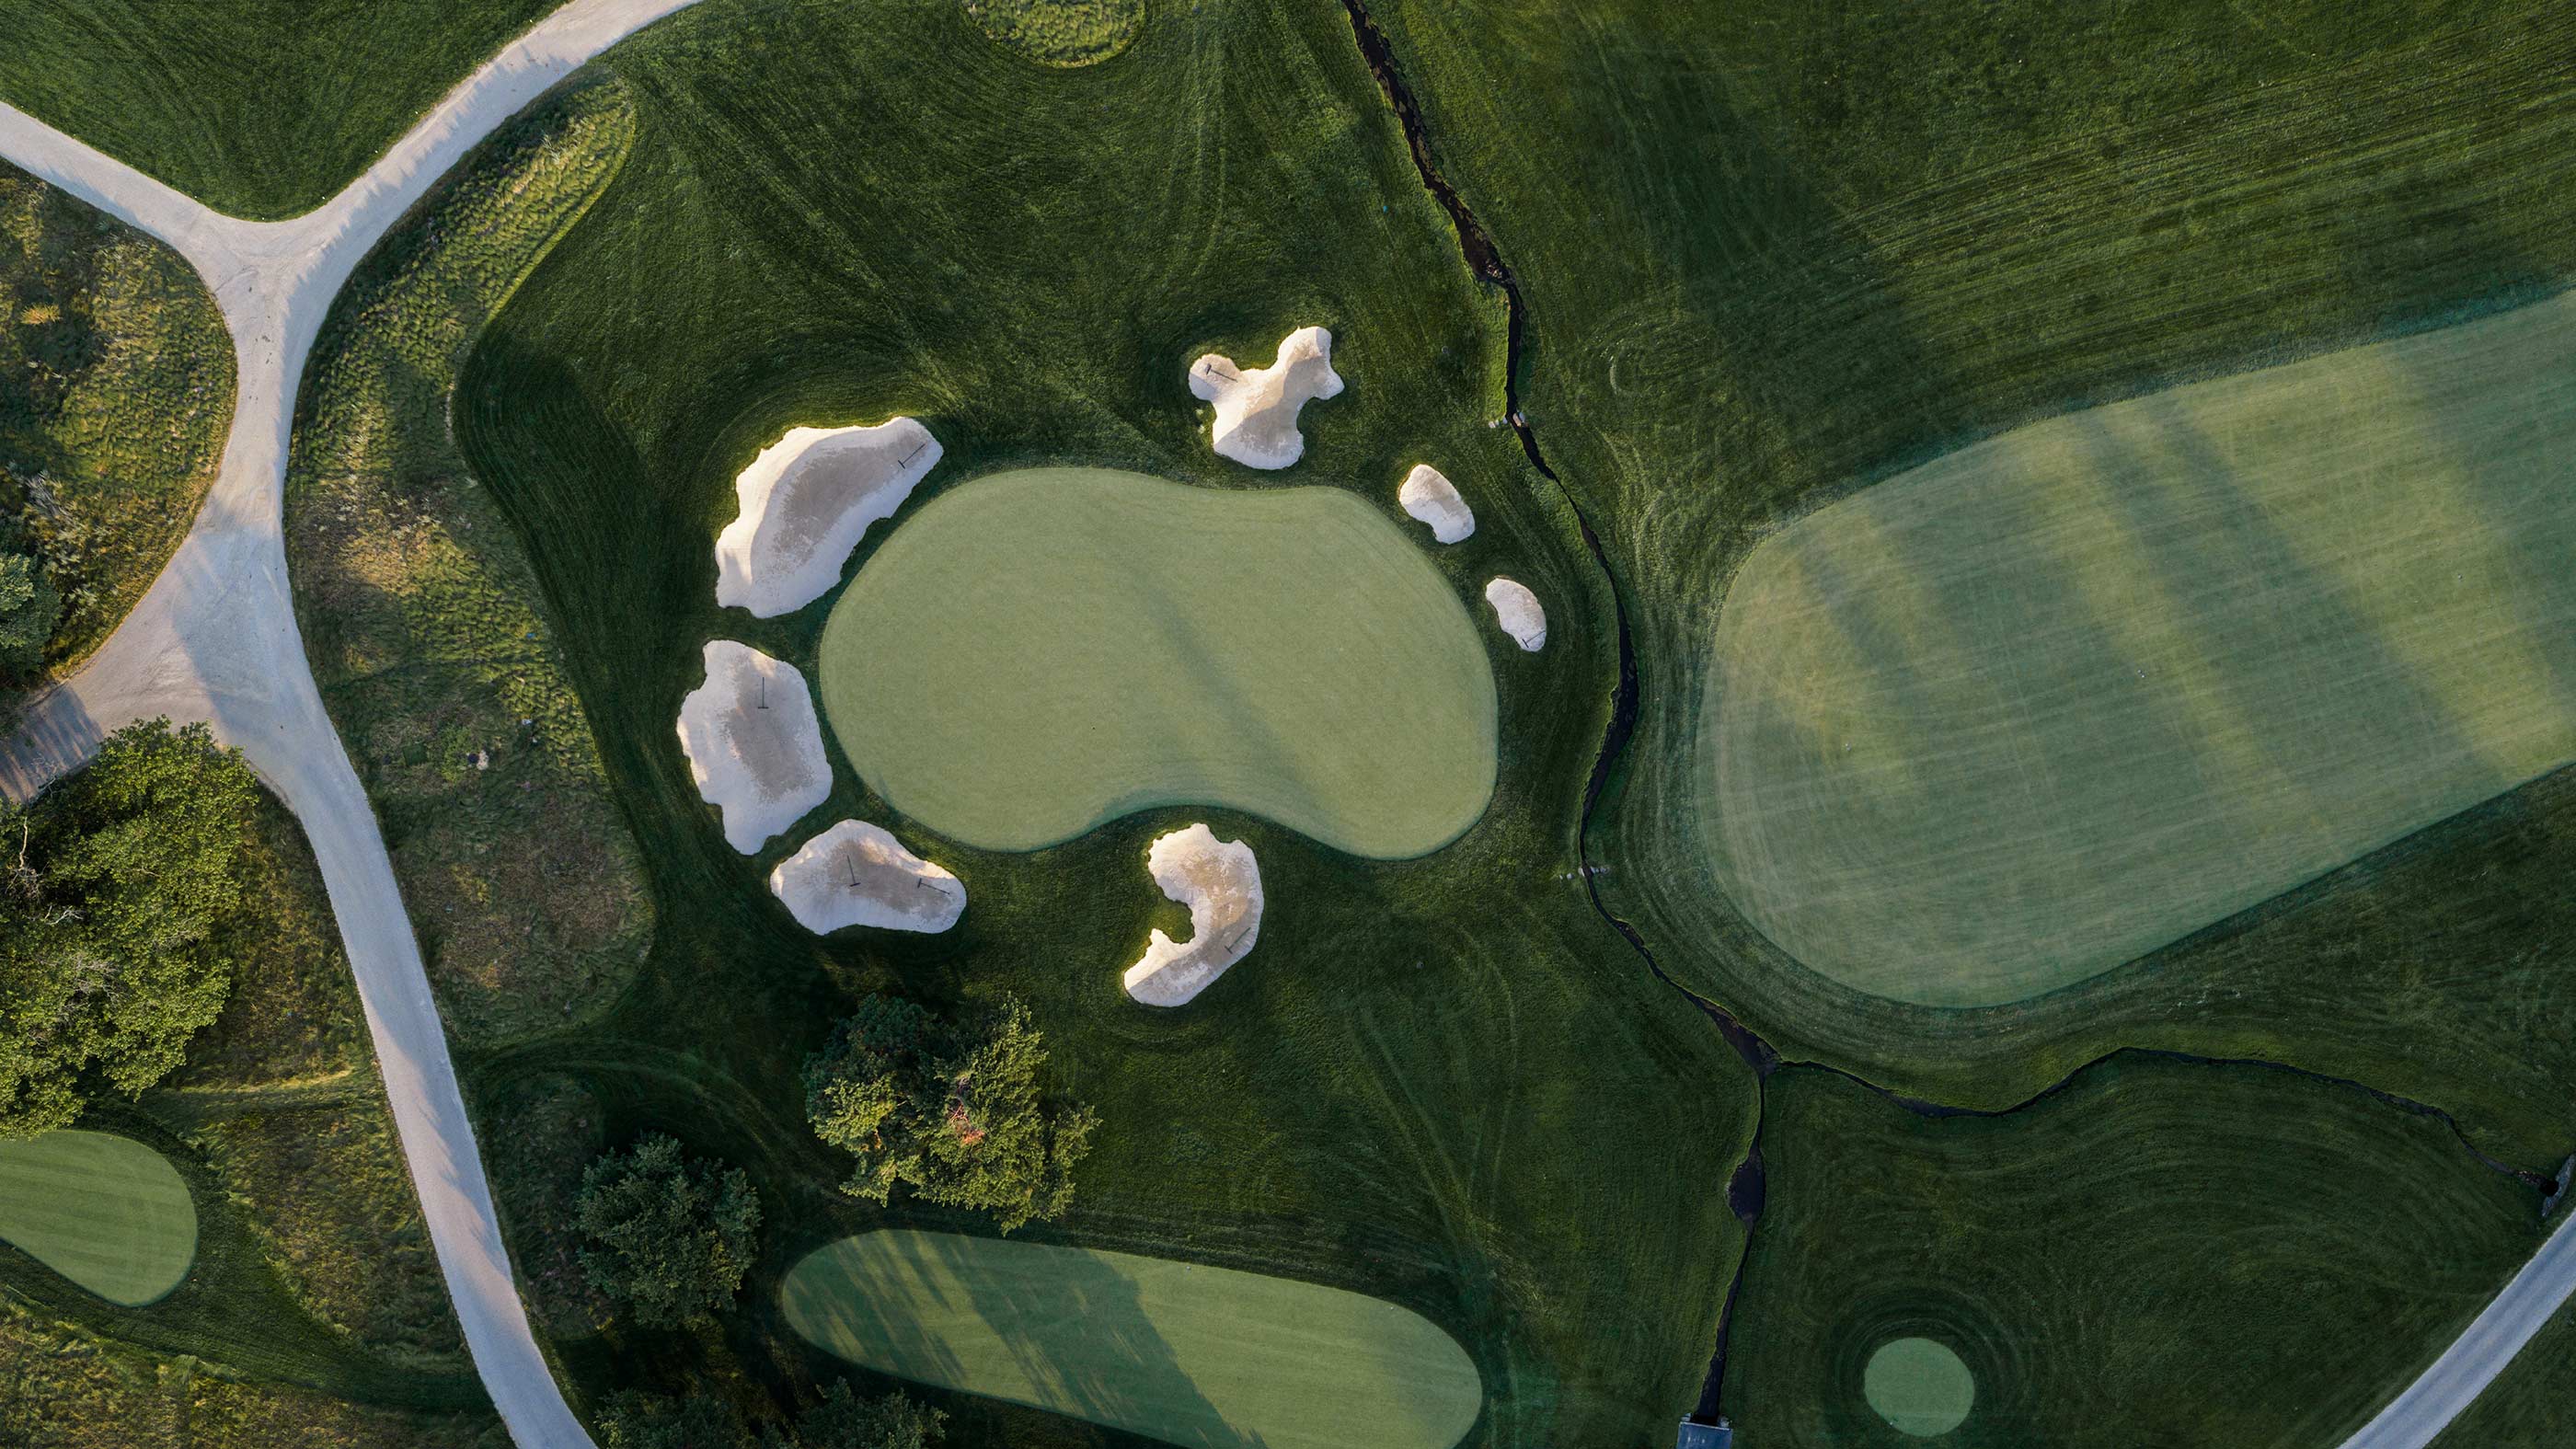
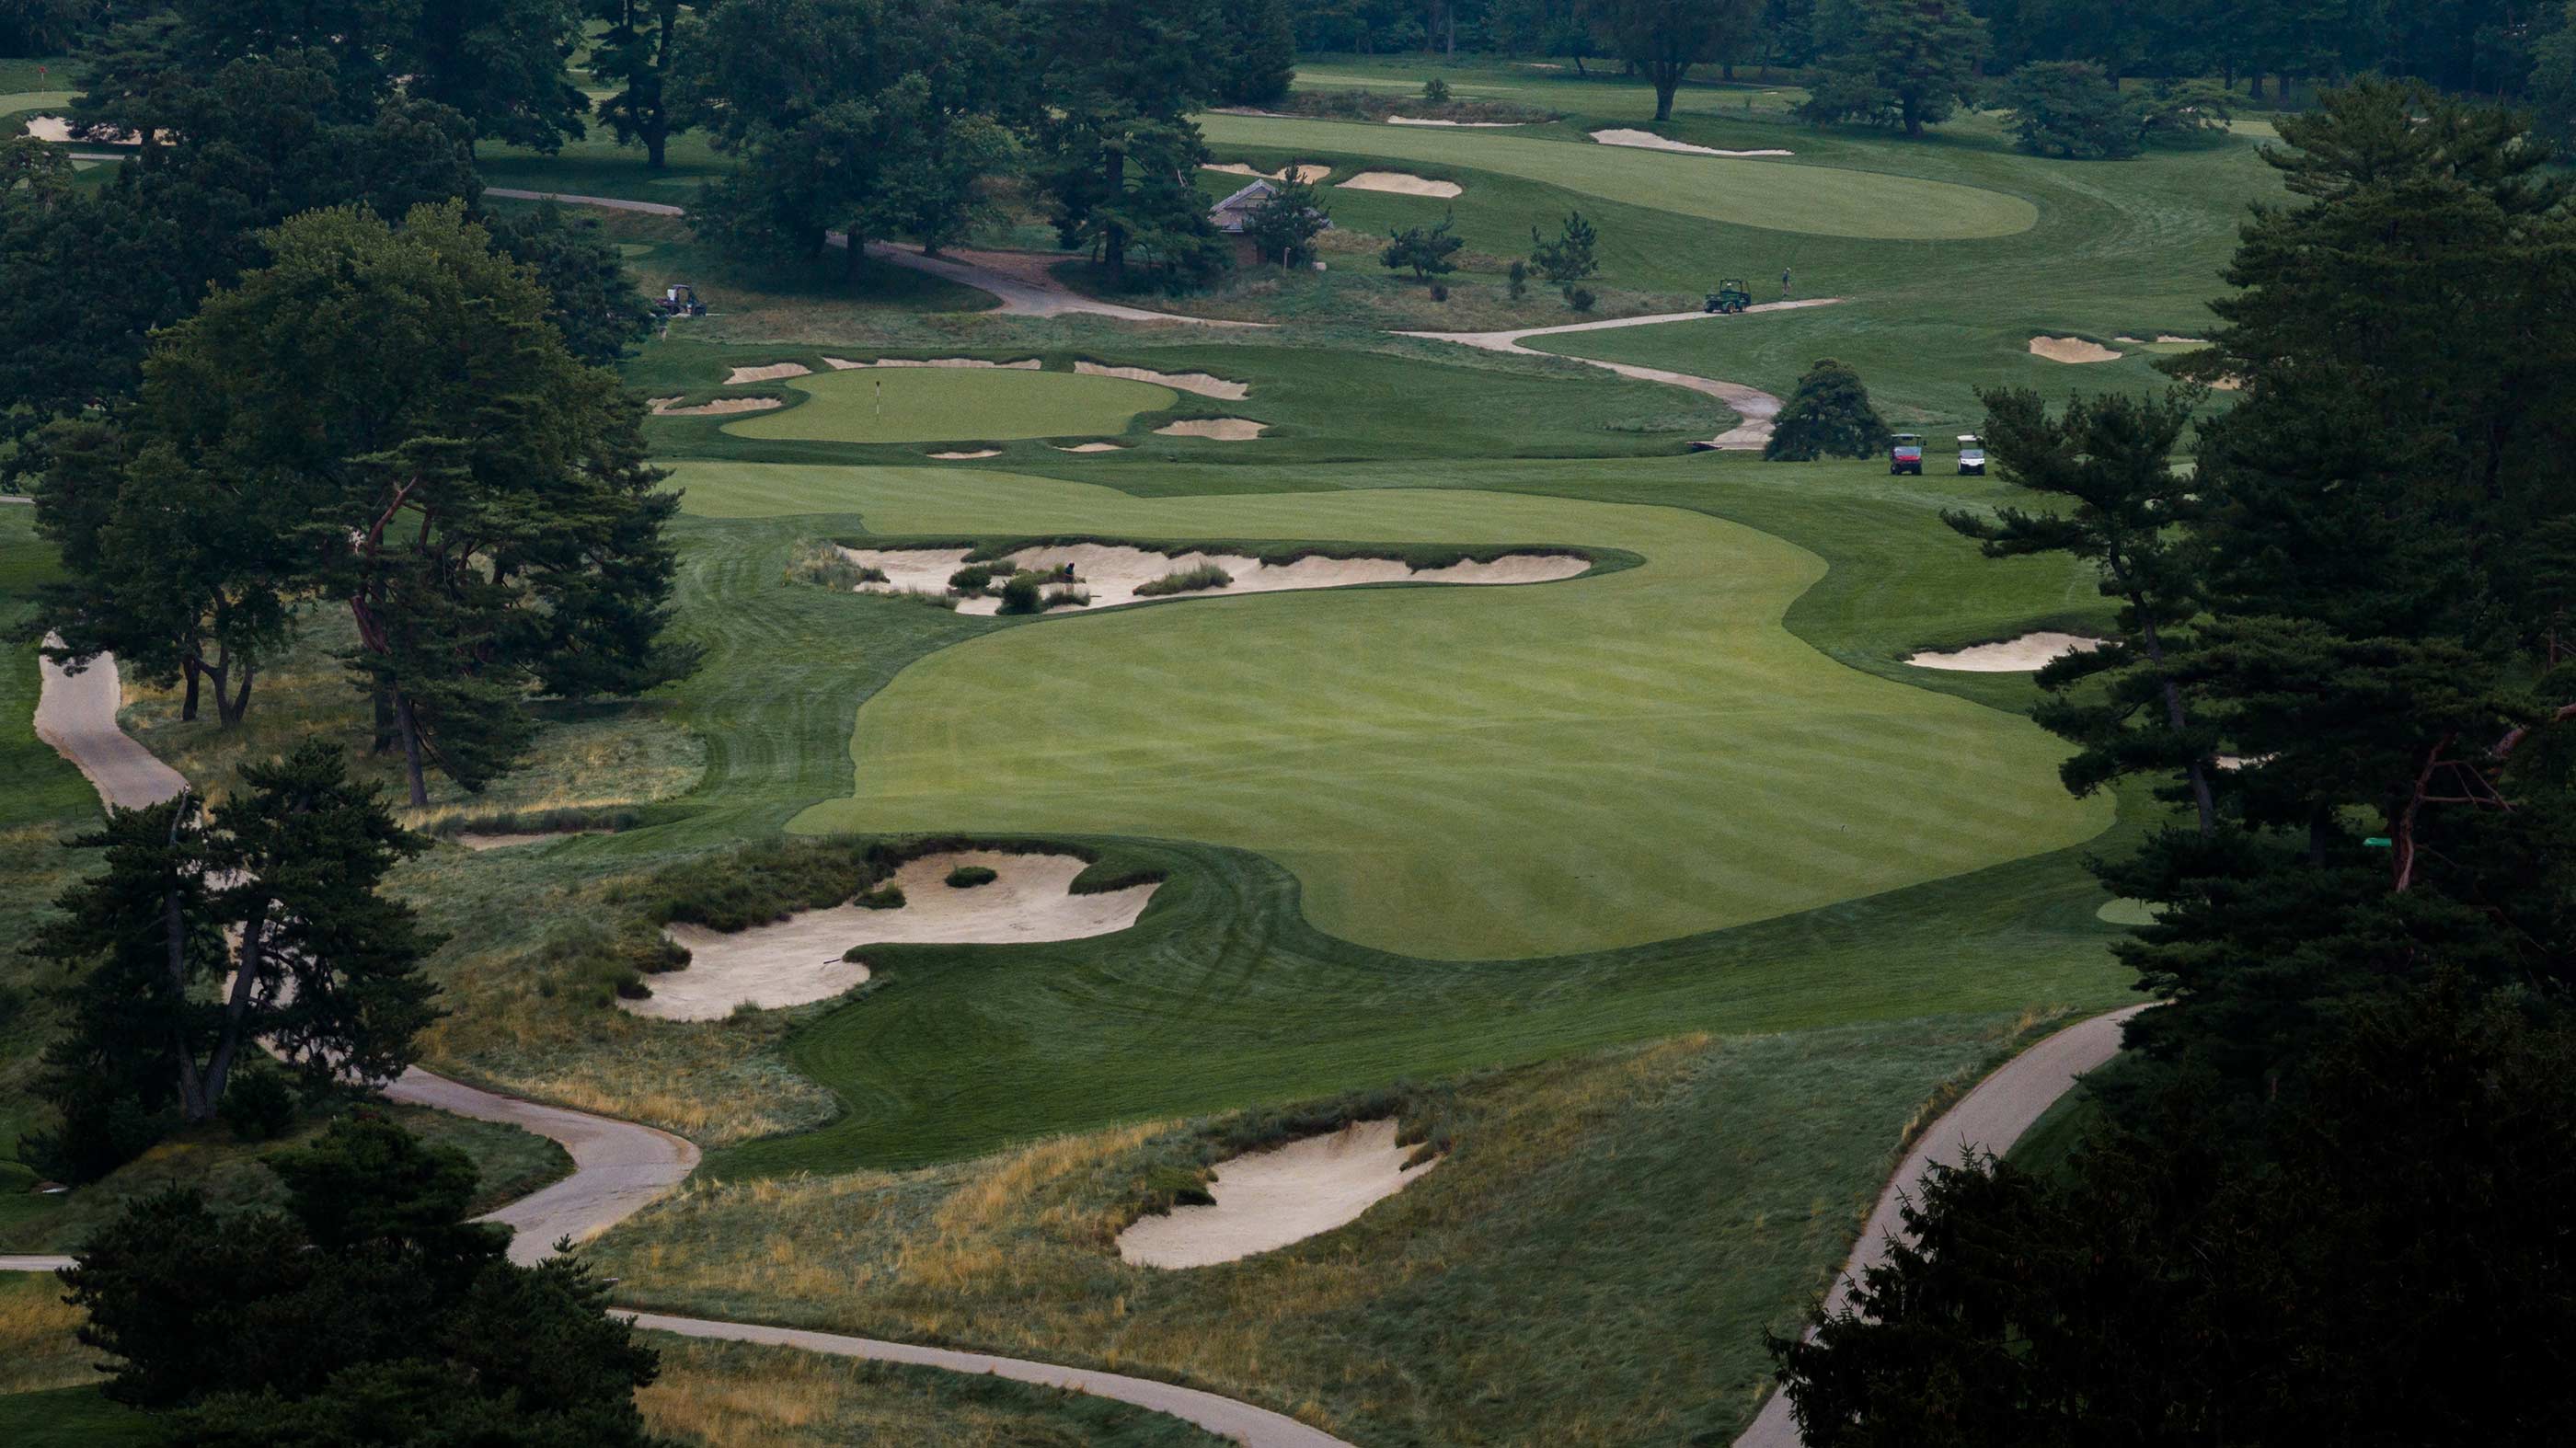
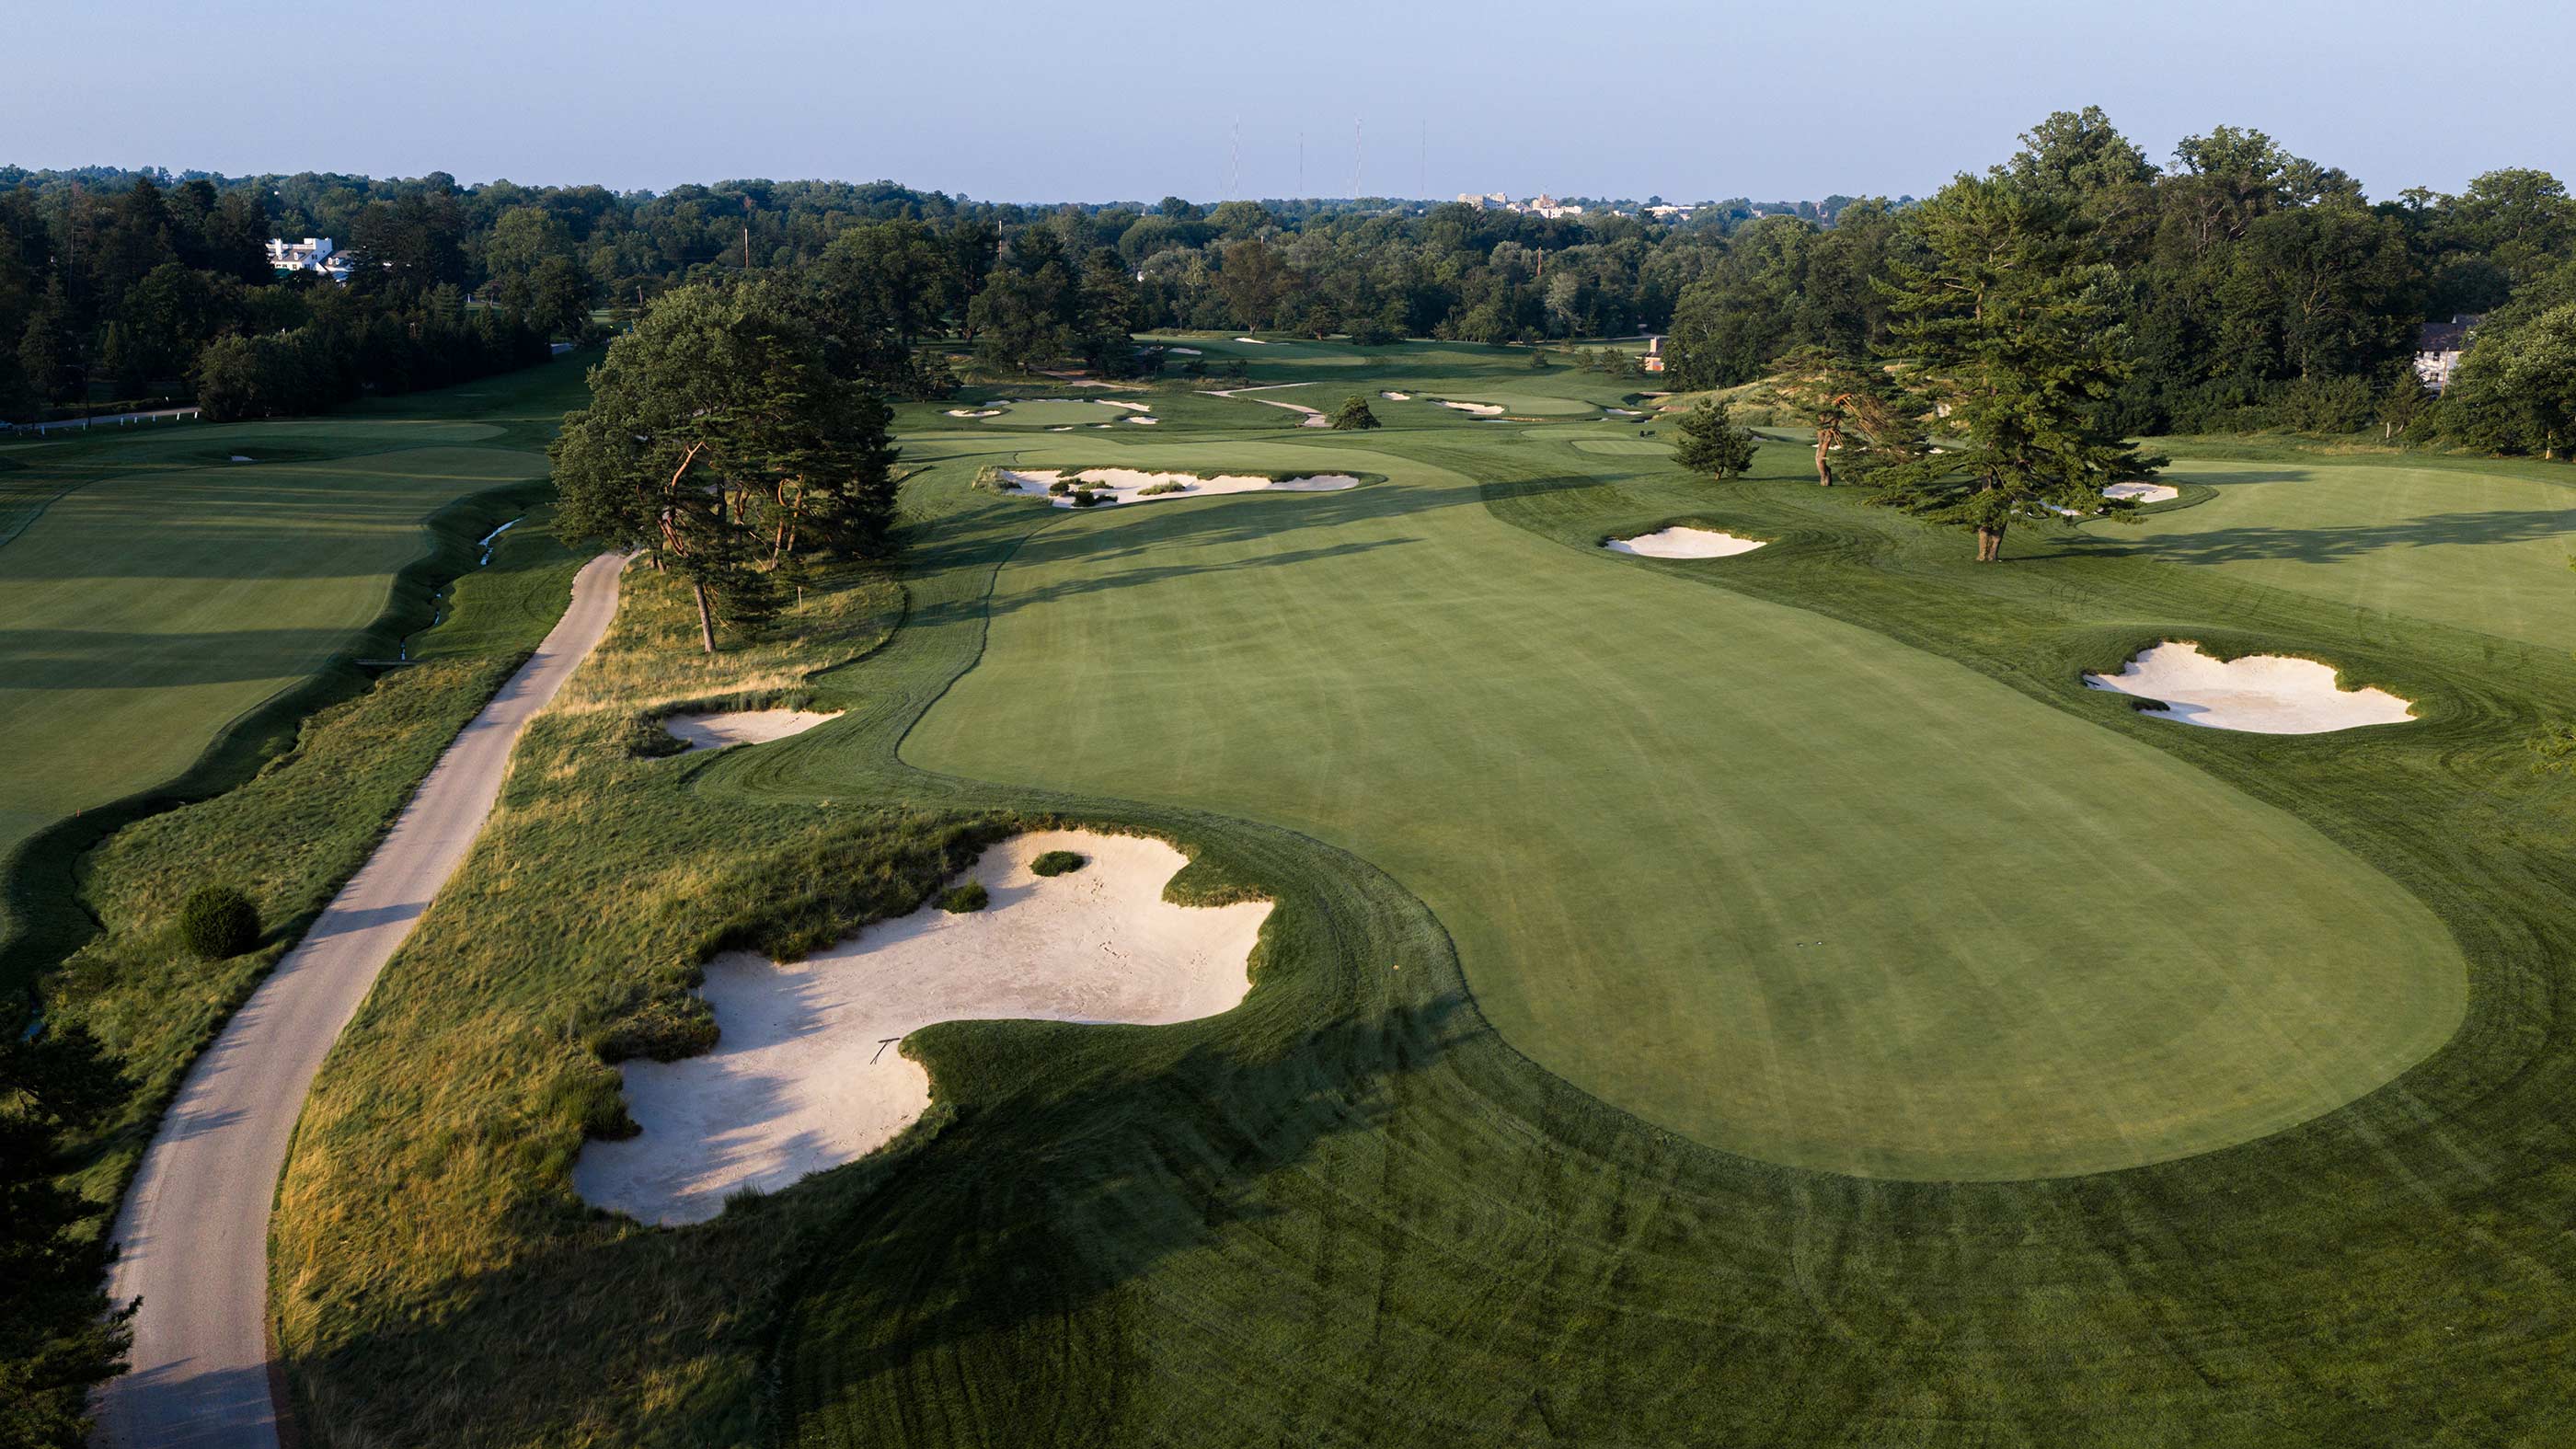
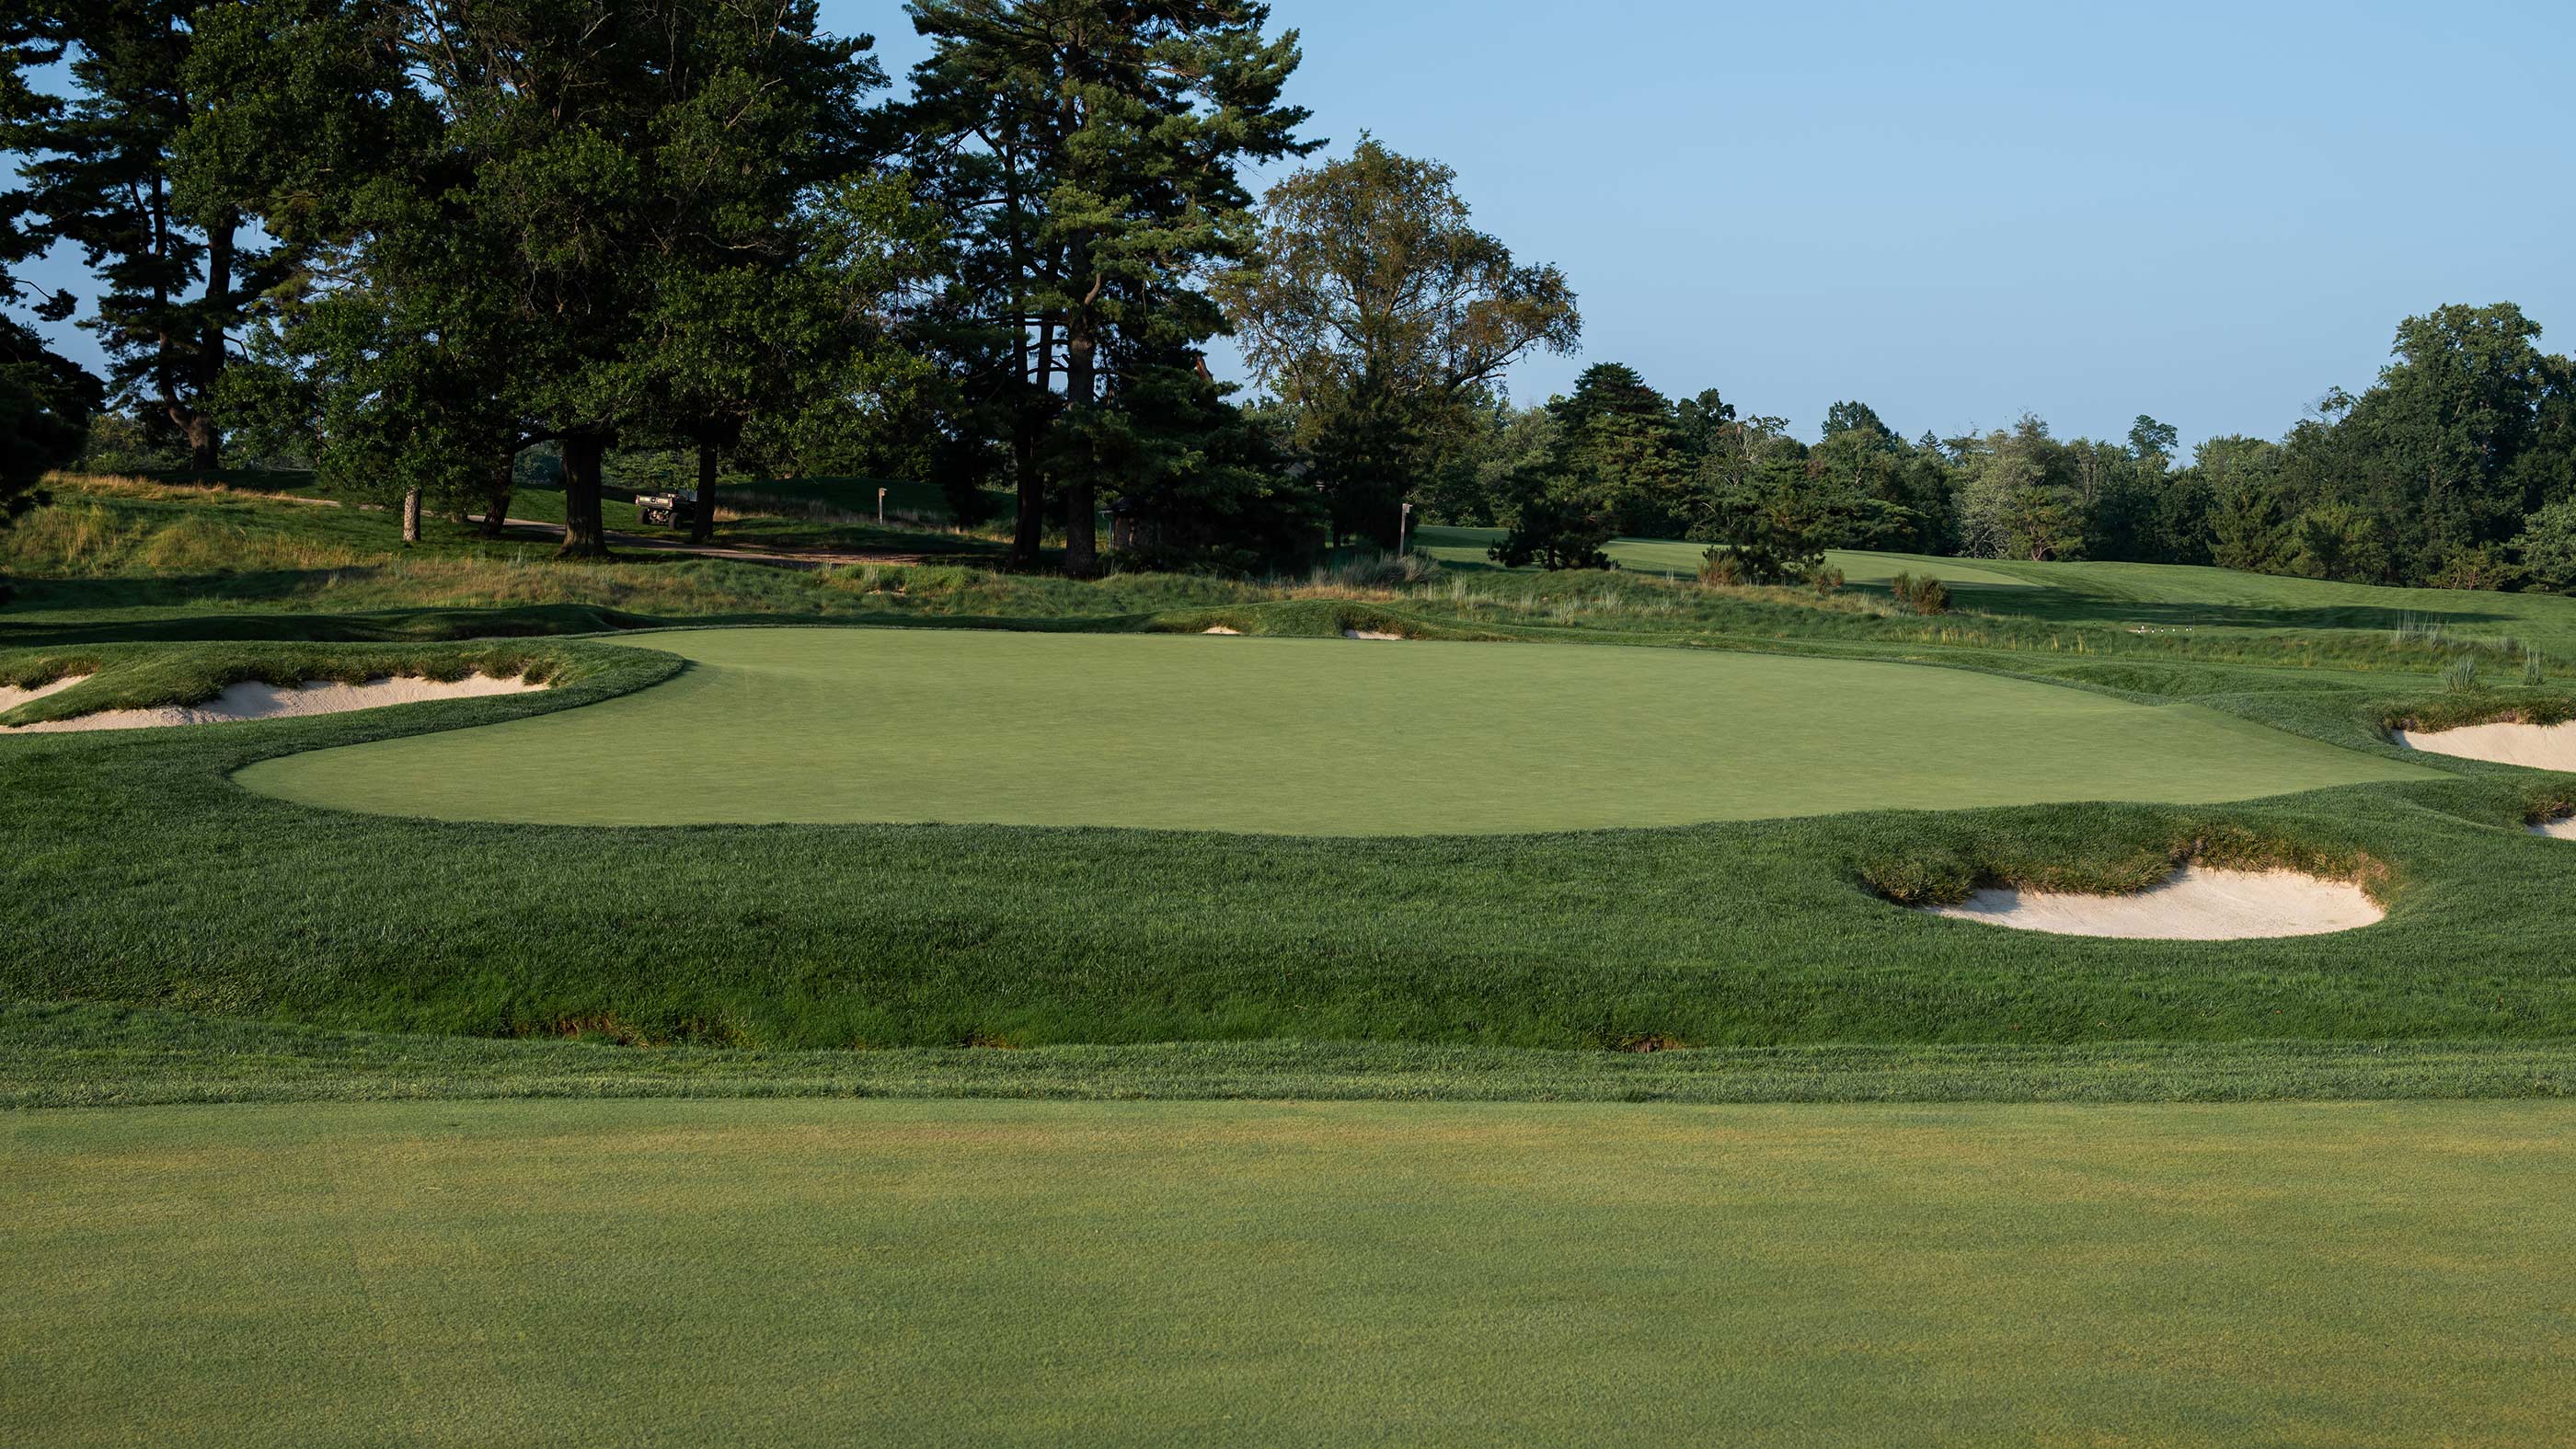
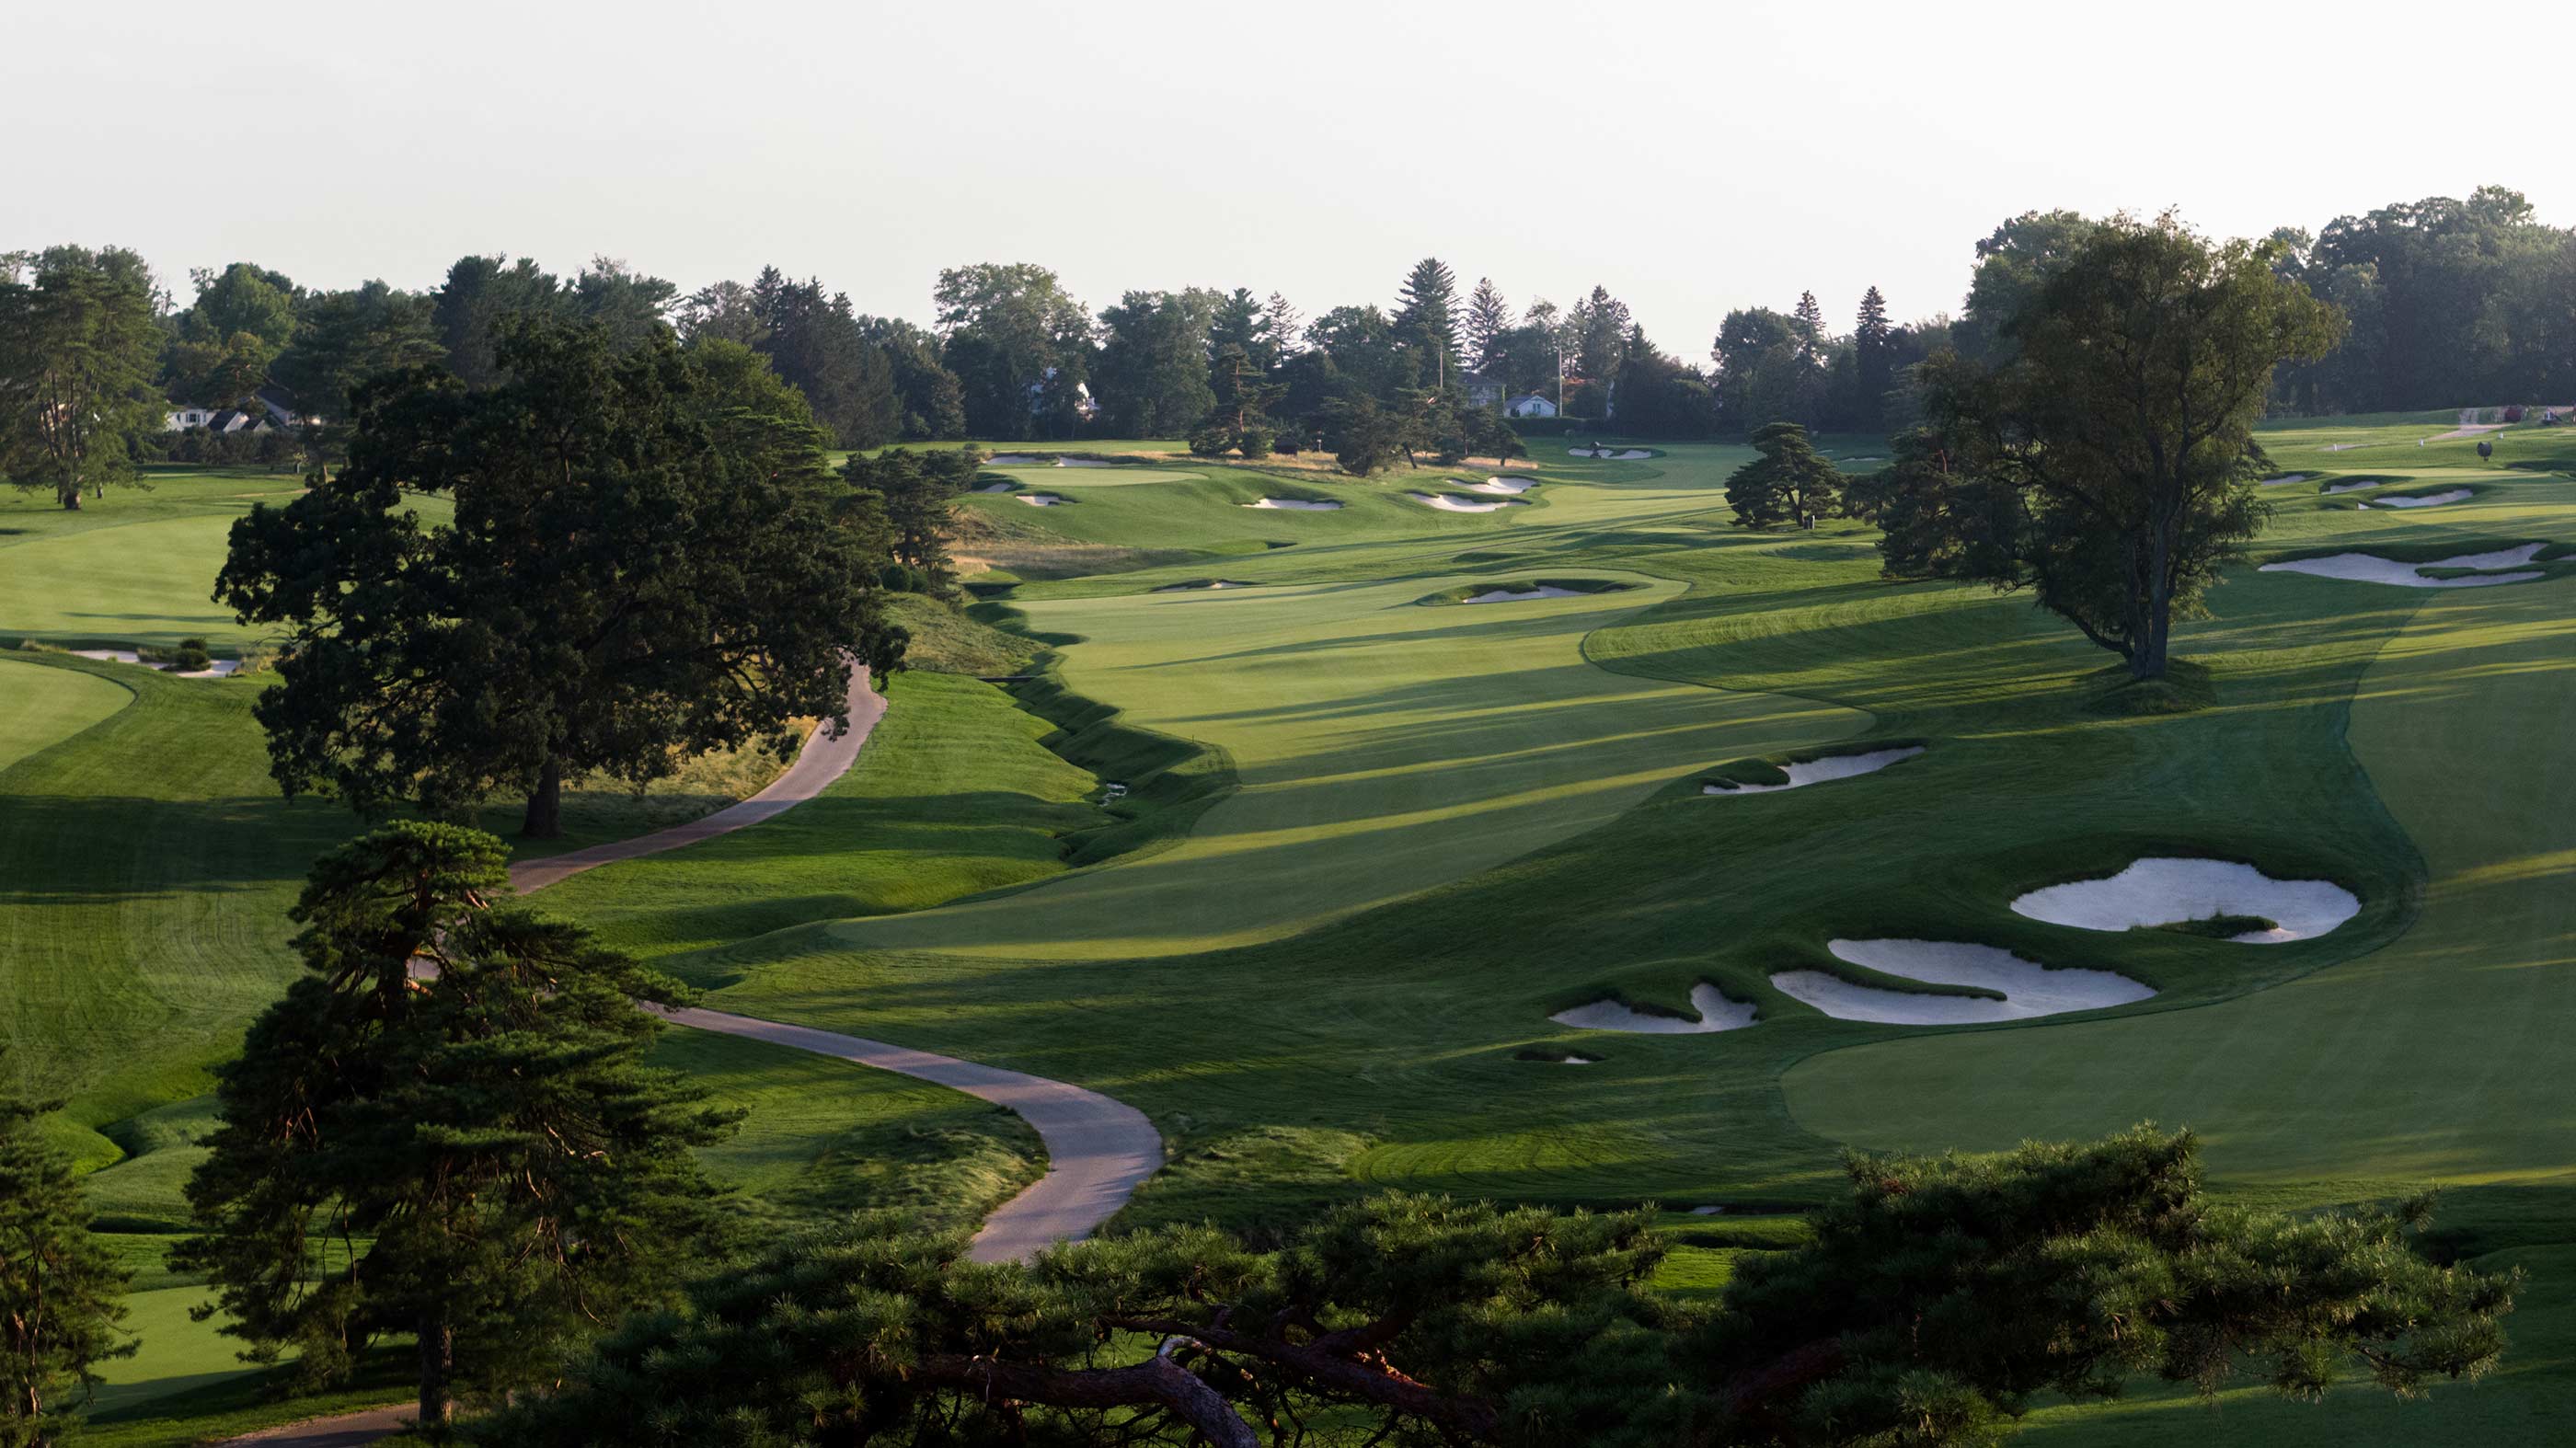
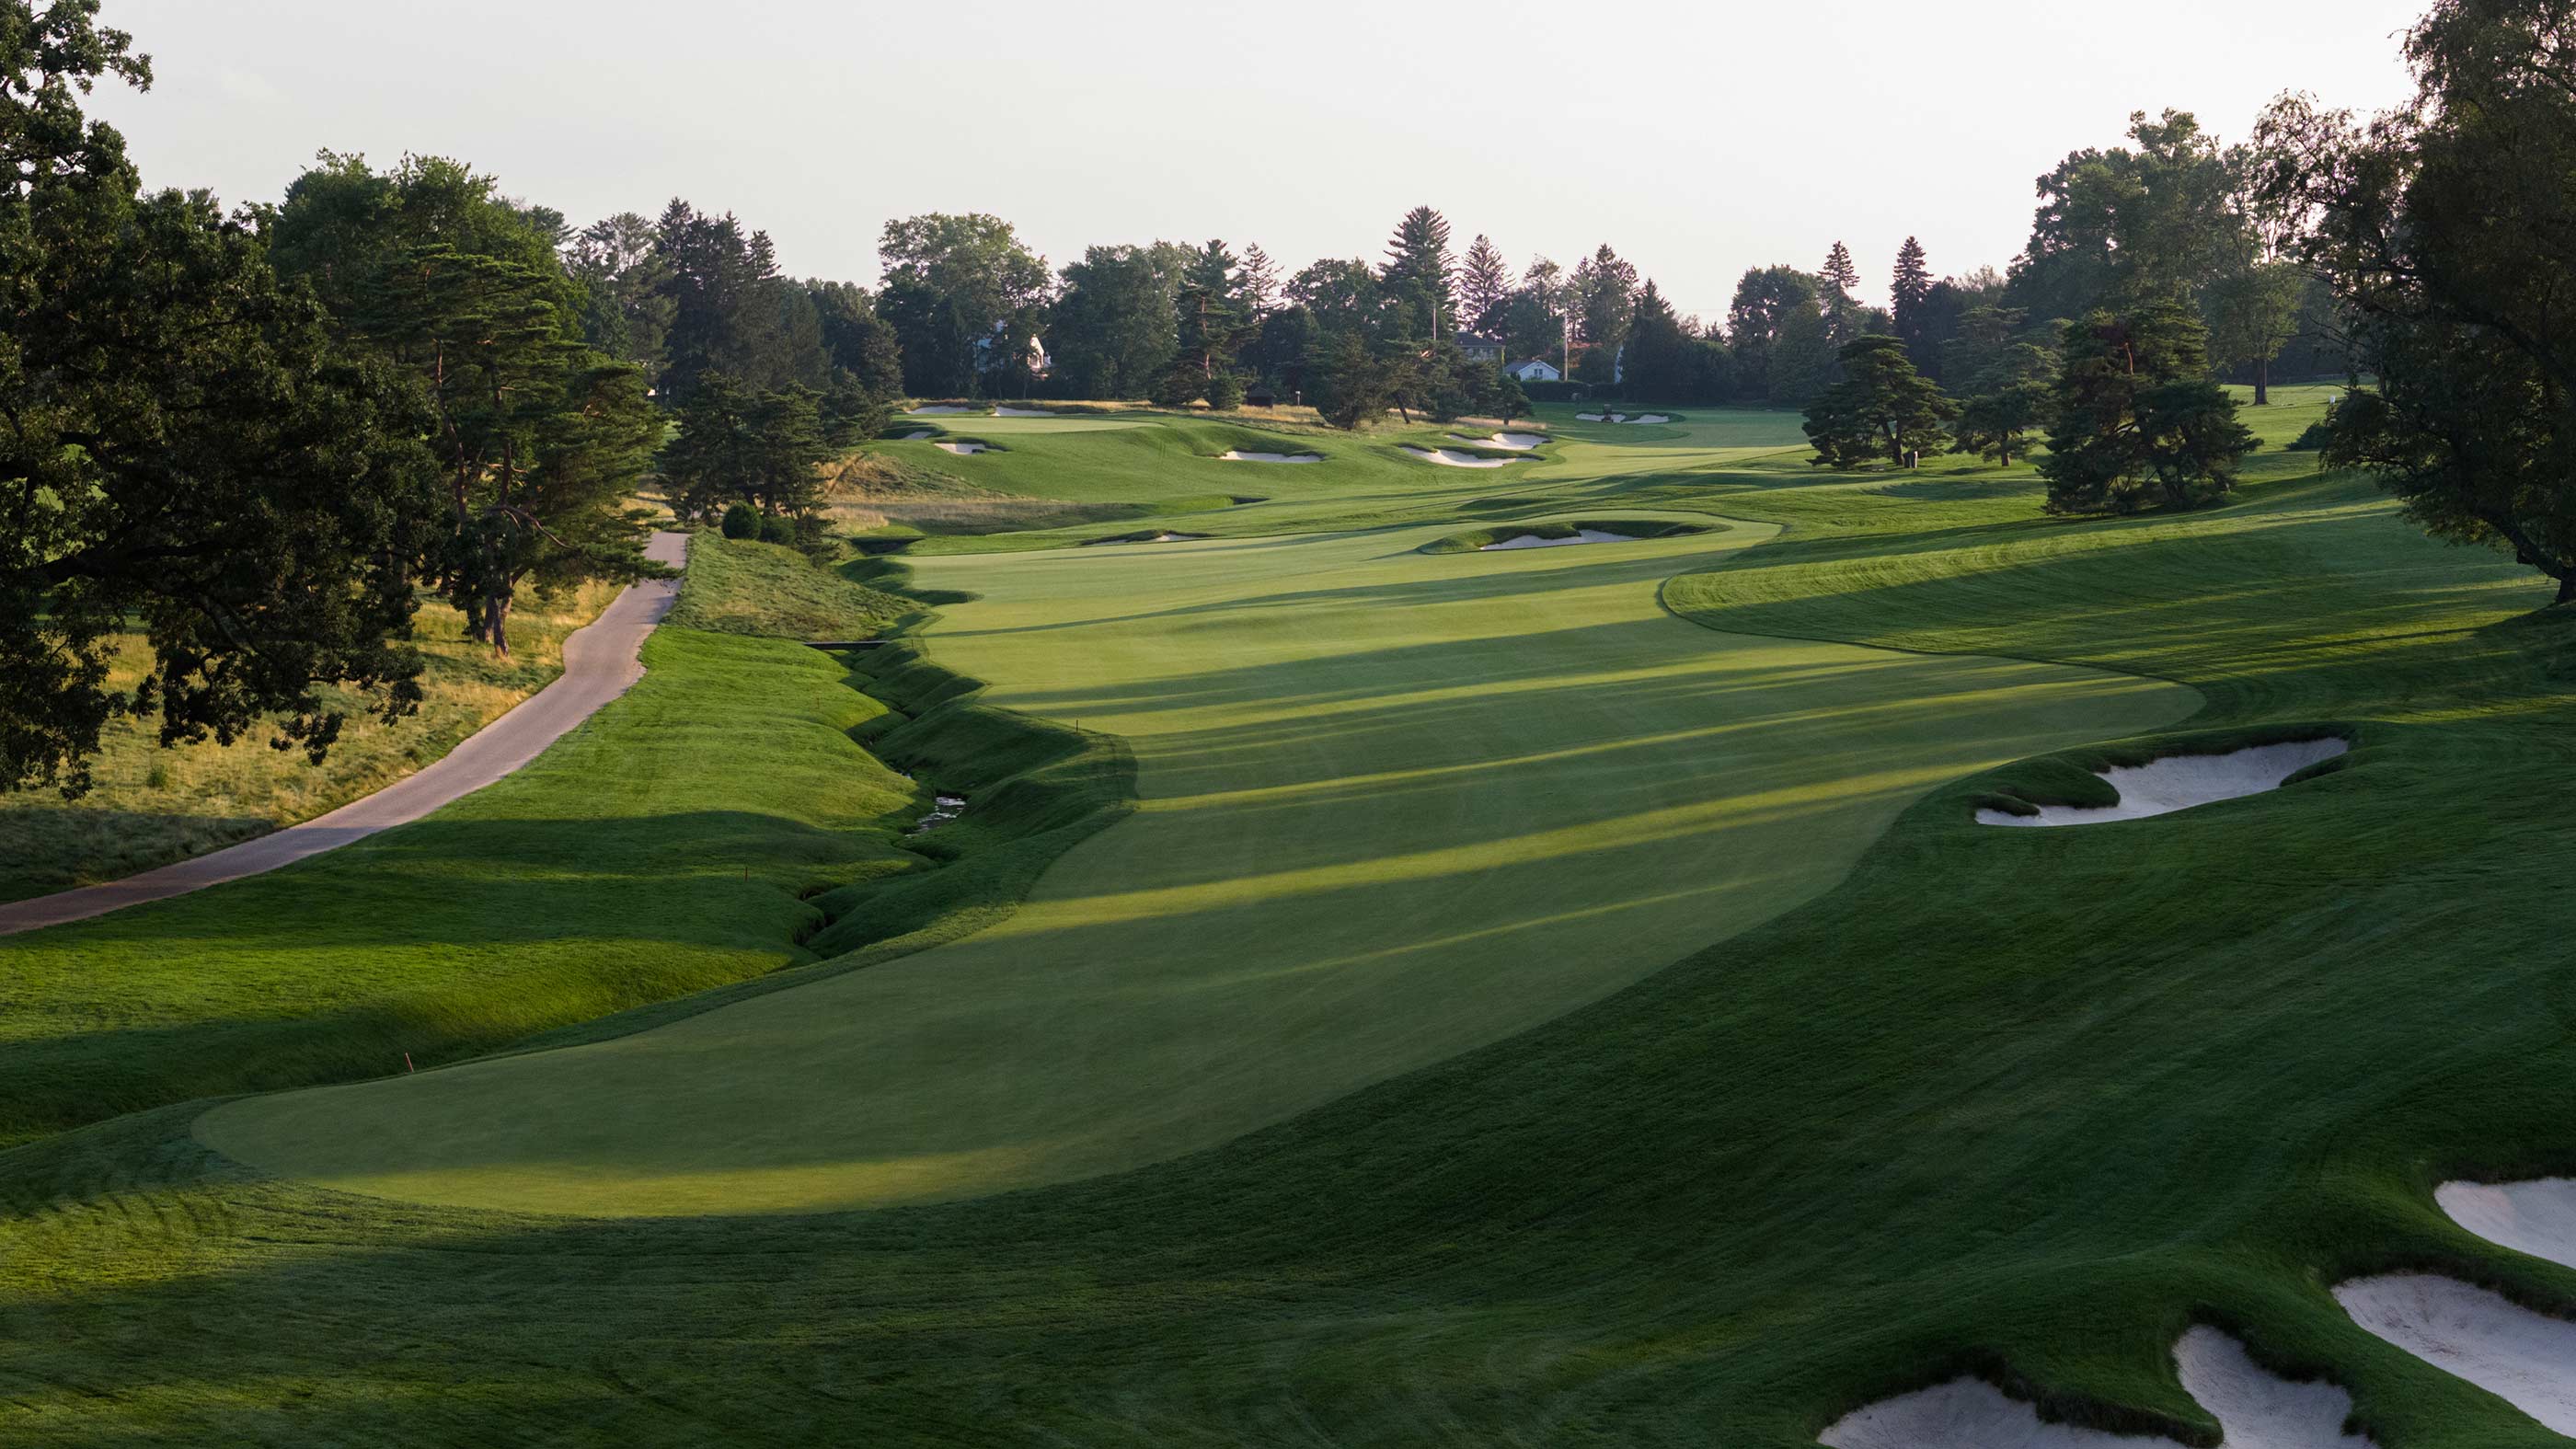
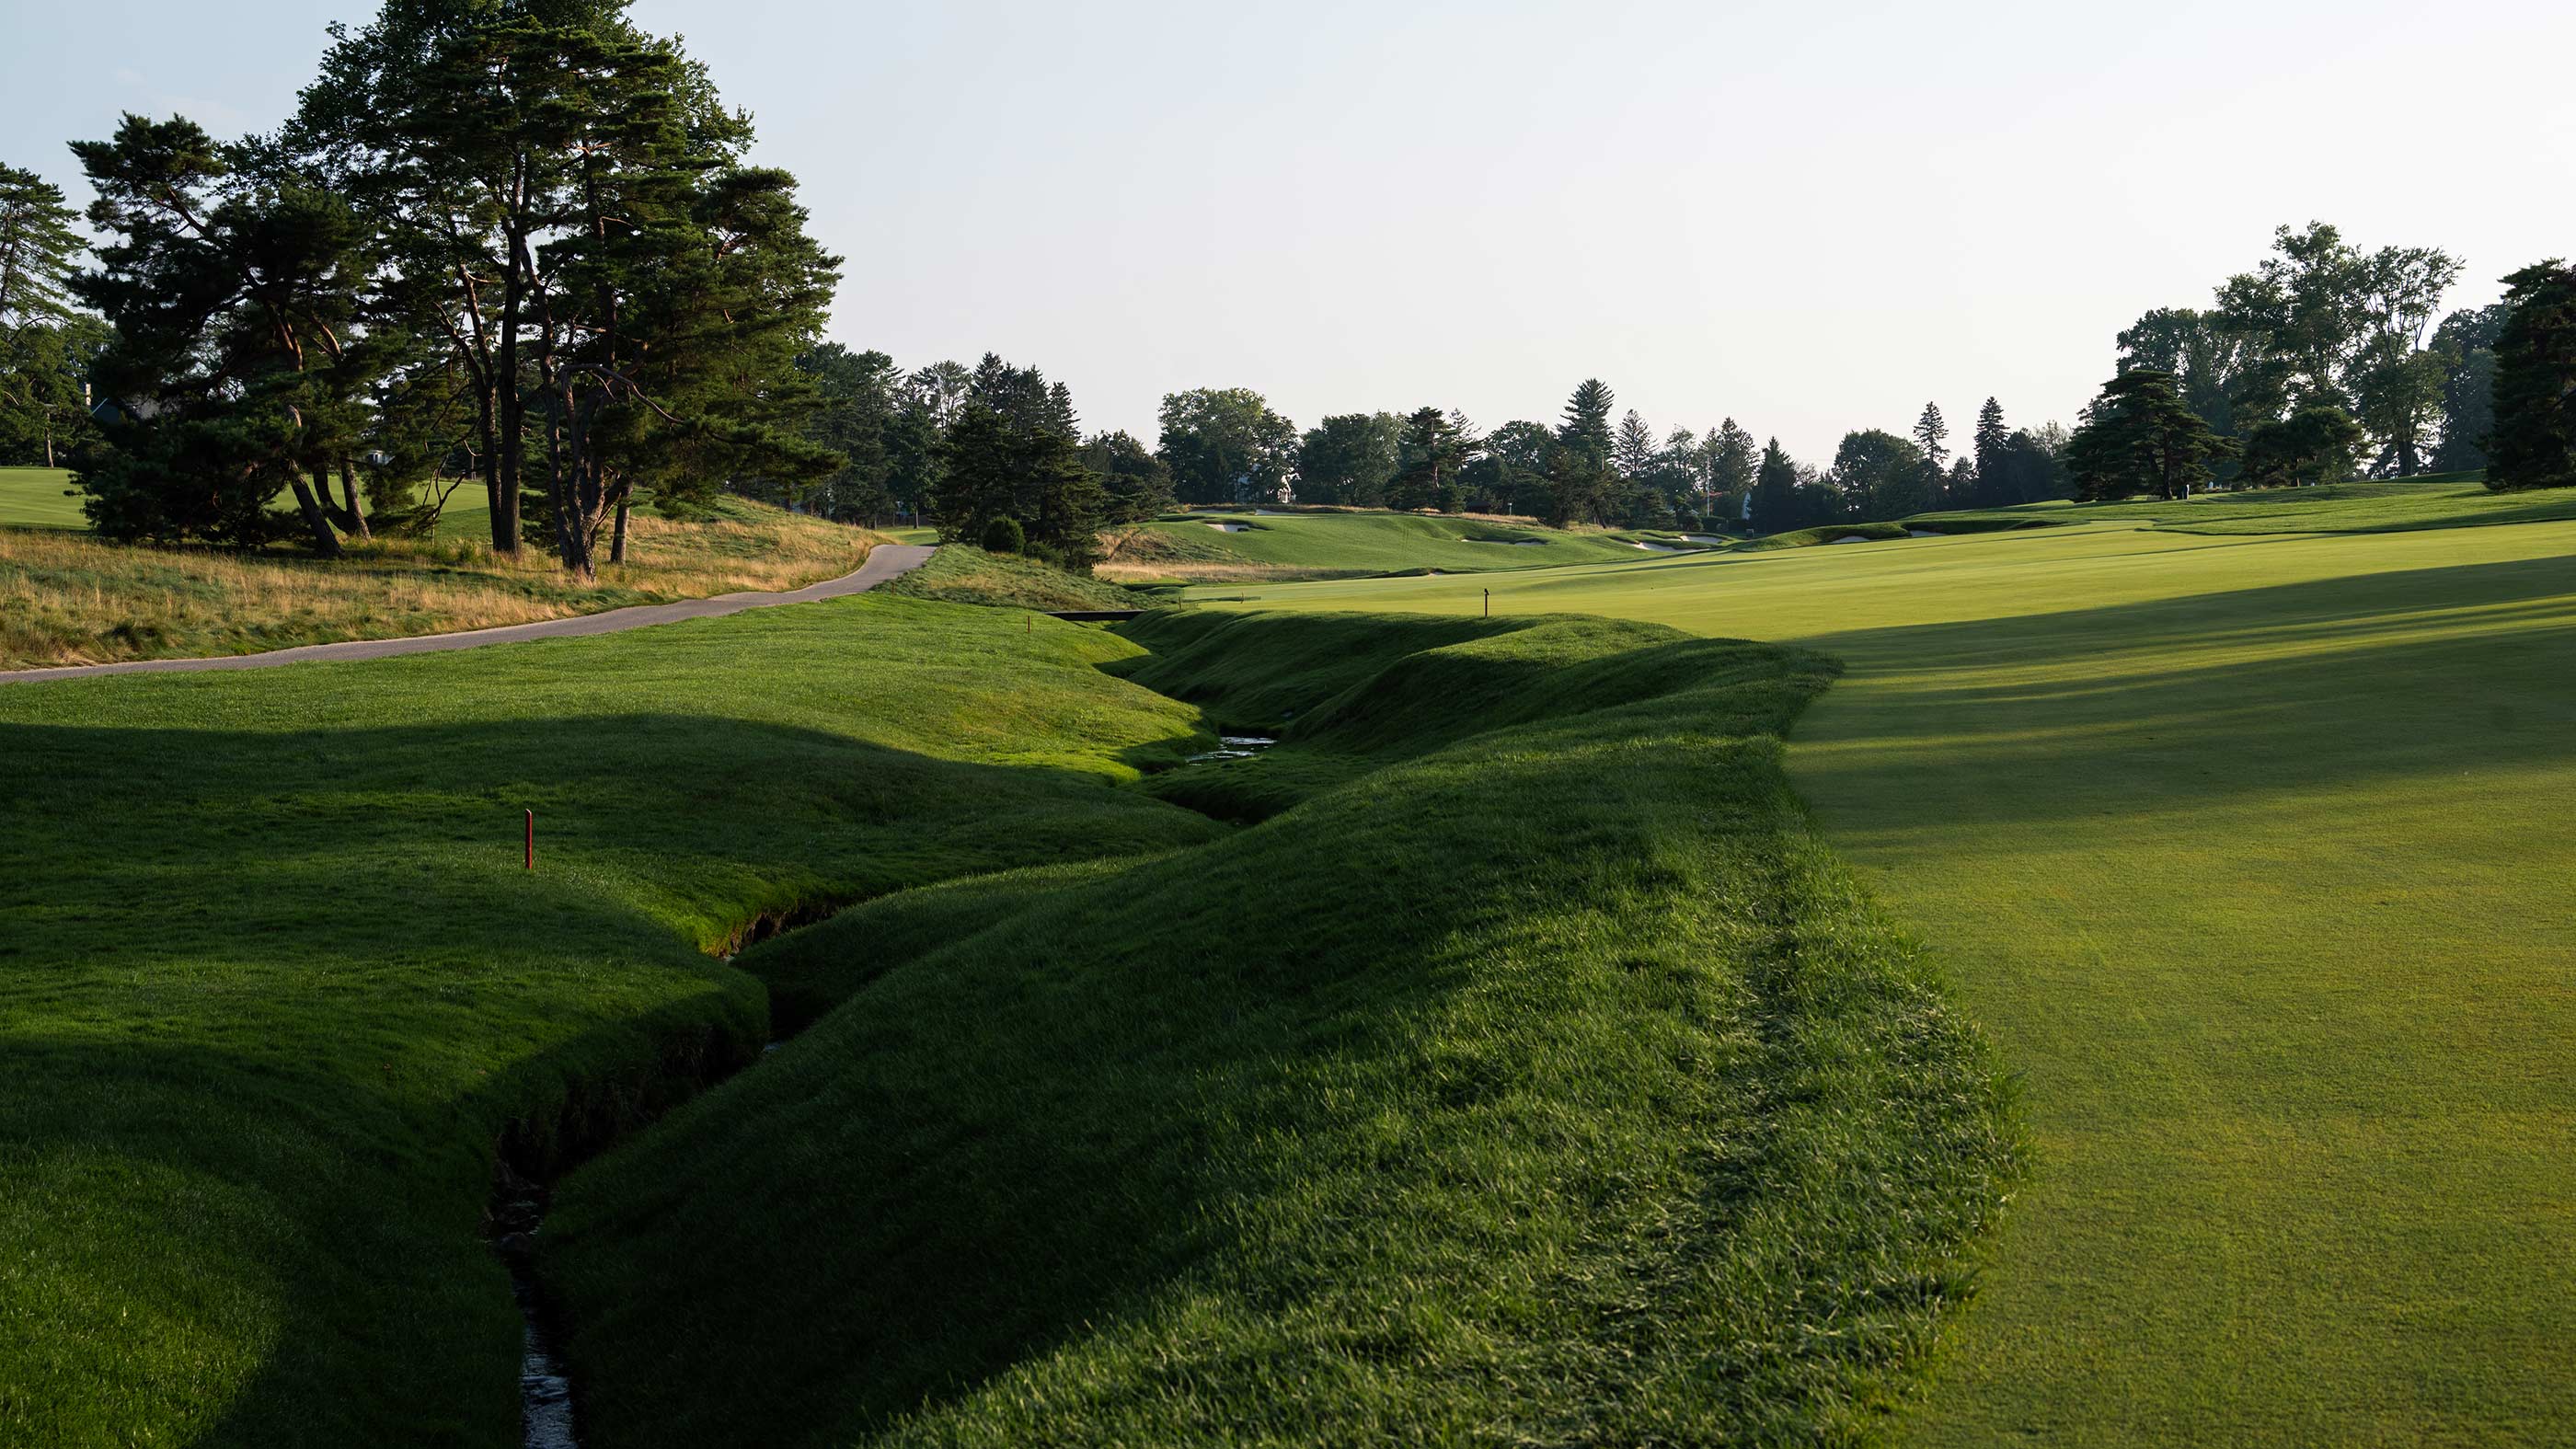
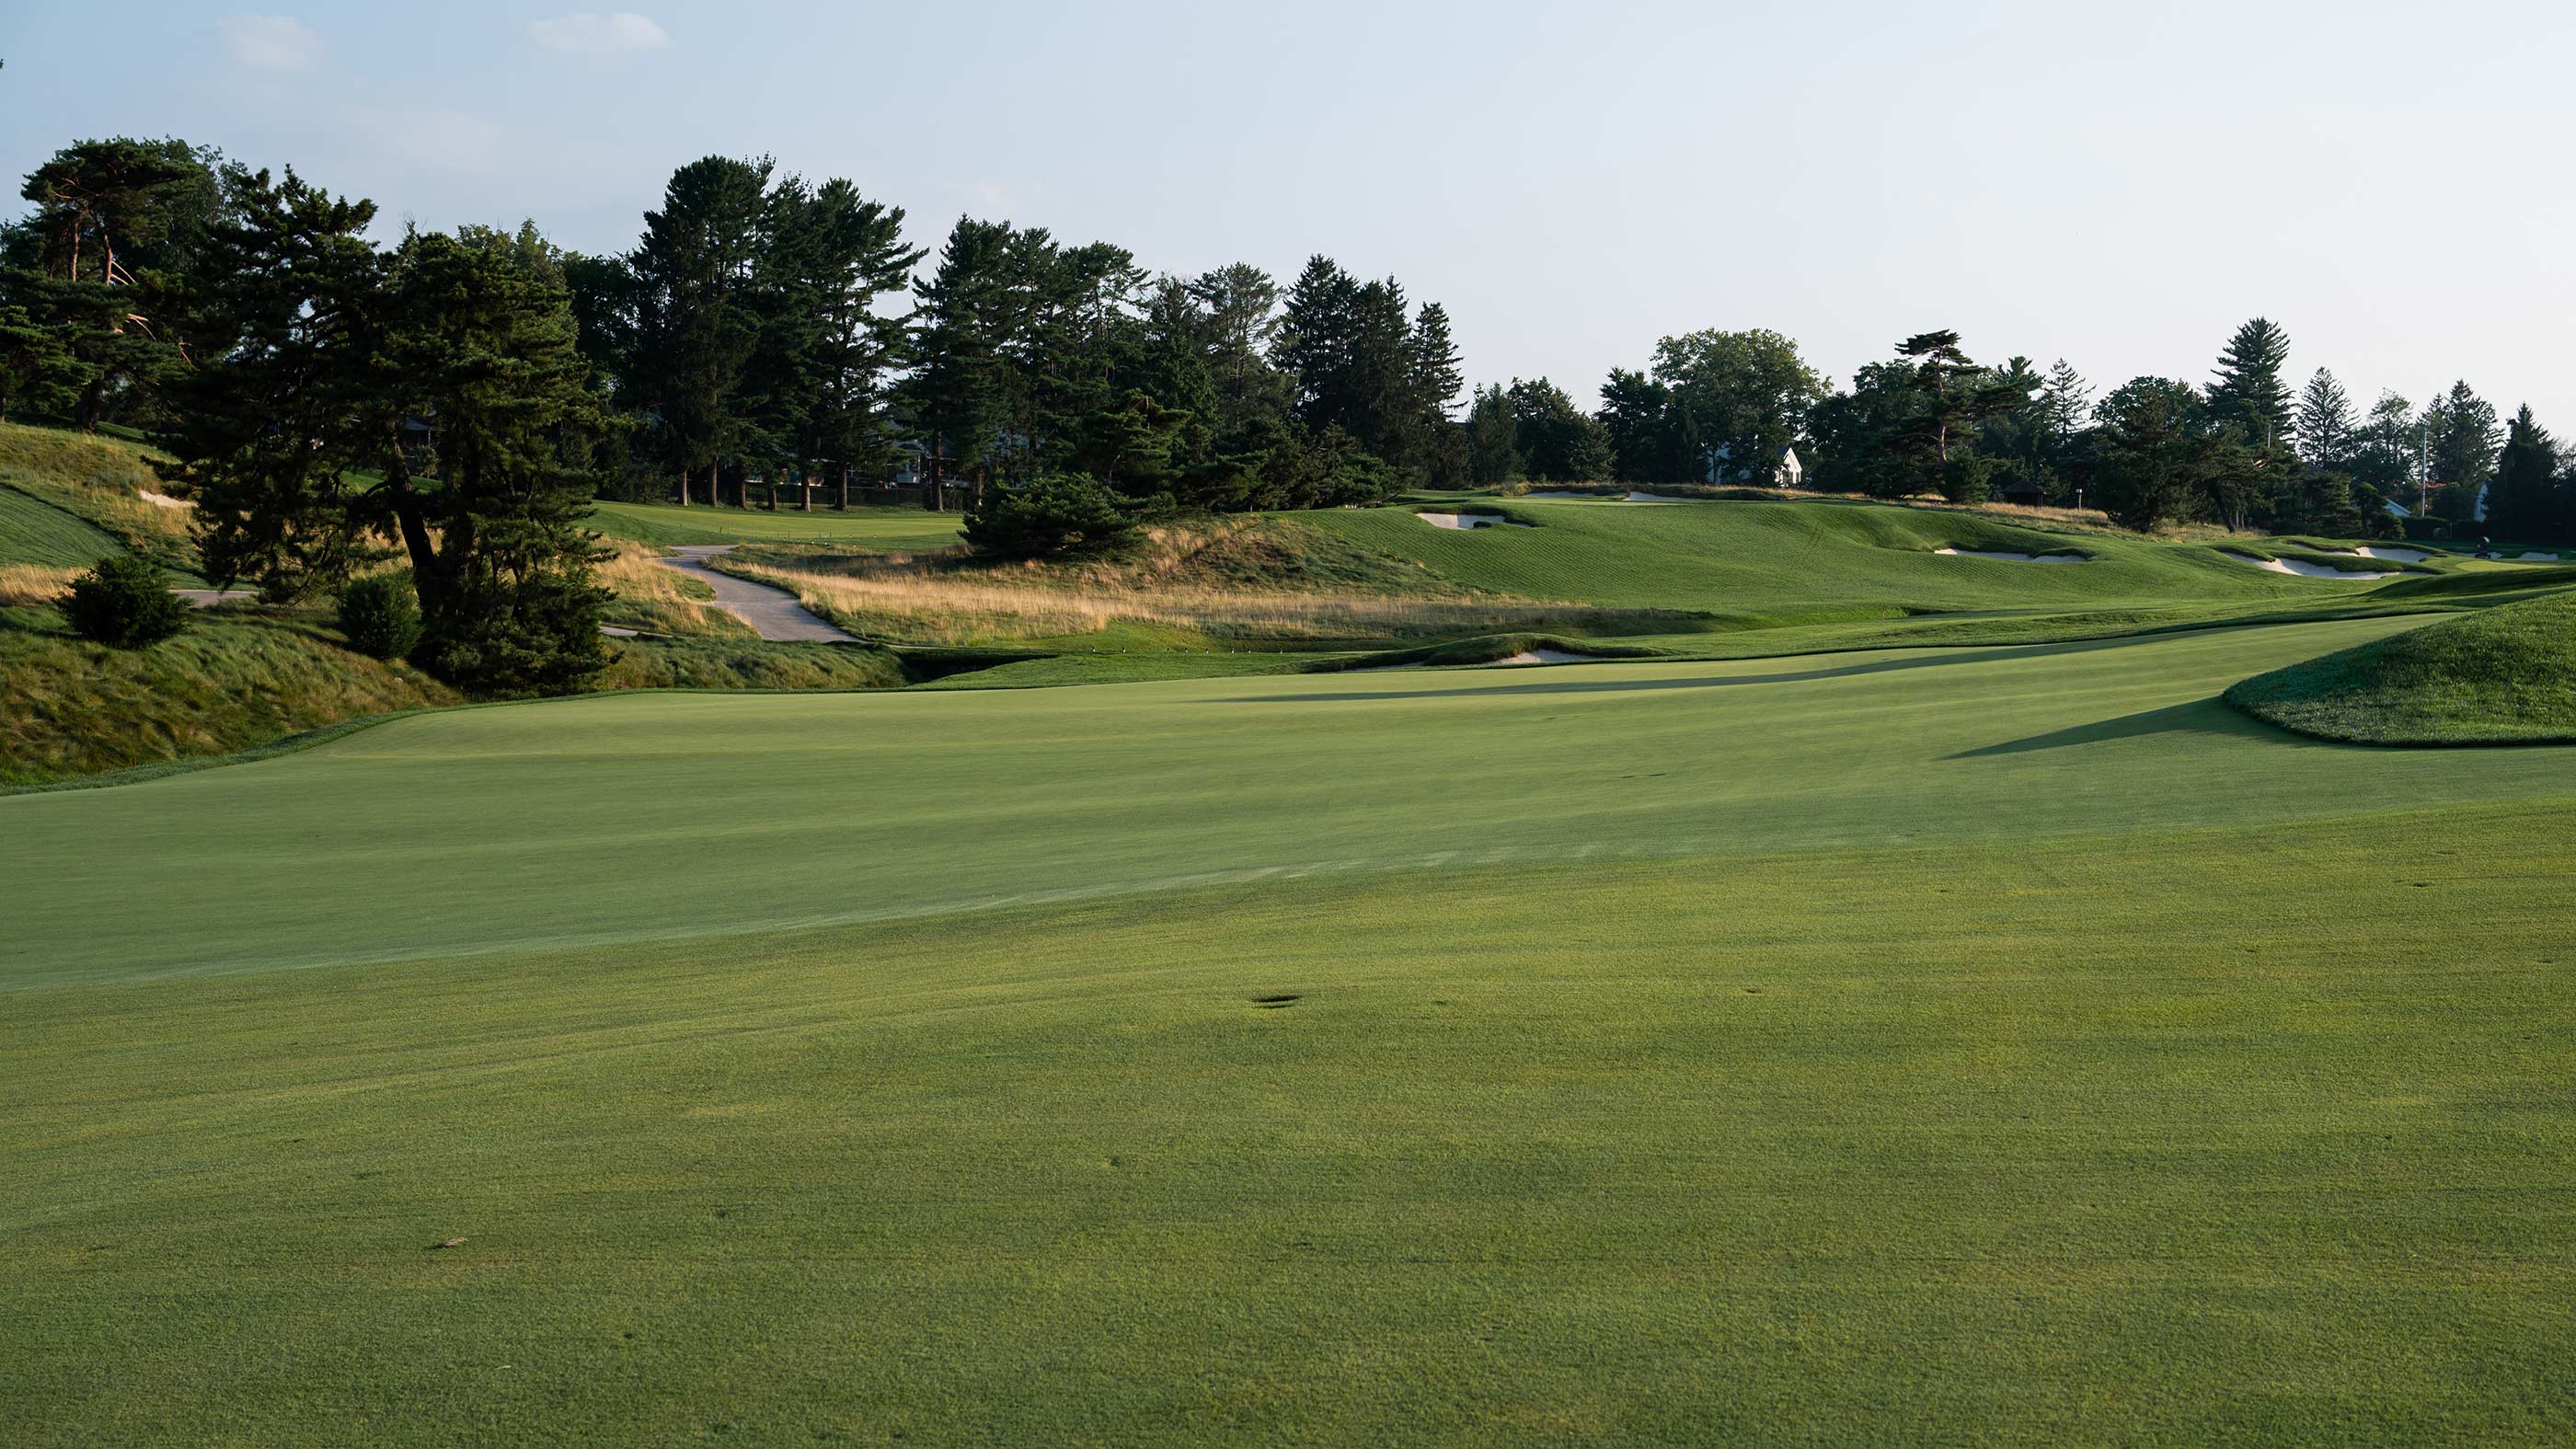
This brilliant par 4 is about one simple thing: tilt. Both fairway and green slope strongly from right to left, spilling into a creek. Along the left edge of the fairway, close to the water, you will find a relatively level stance as well as a friendly angle into the cant of the green. If you shy away from the stream, you will face a stack of difficulties: a sidehill lie, likely in the rough, that encourages a dangerous right-to-left shot shape; a forced carry over a bunker short-right of the green; and a putting surface that screams away from you, toward the water.
Golf architecture isn’t quantum physics. Sometimes a severe tilt, along with an architect smart enough to let land dictate design, is enough.
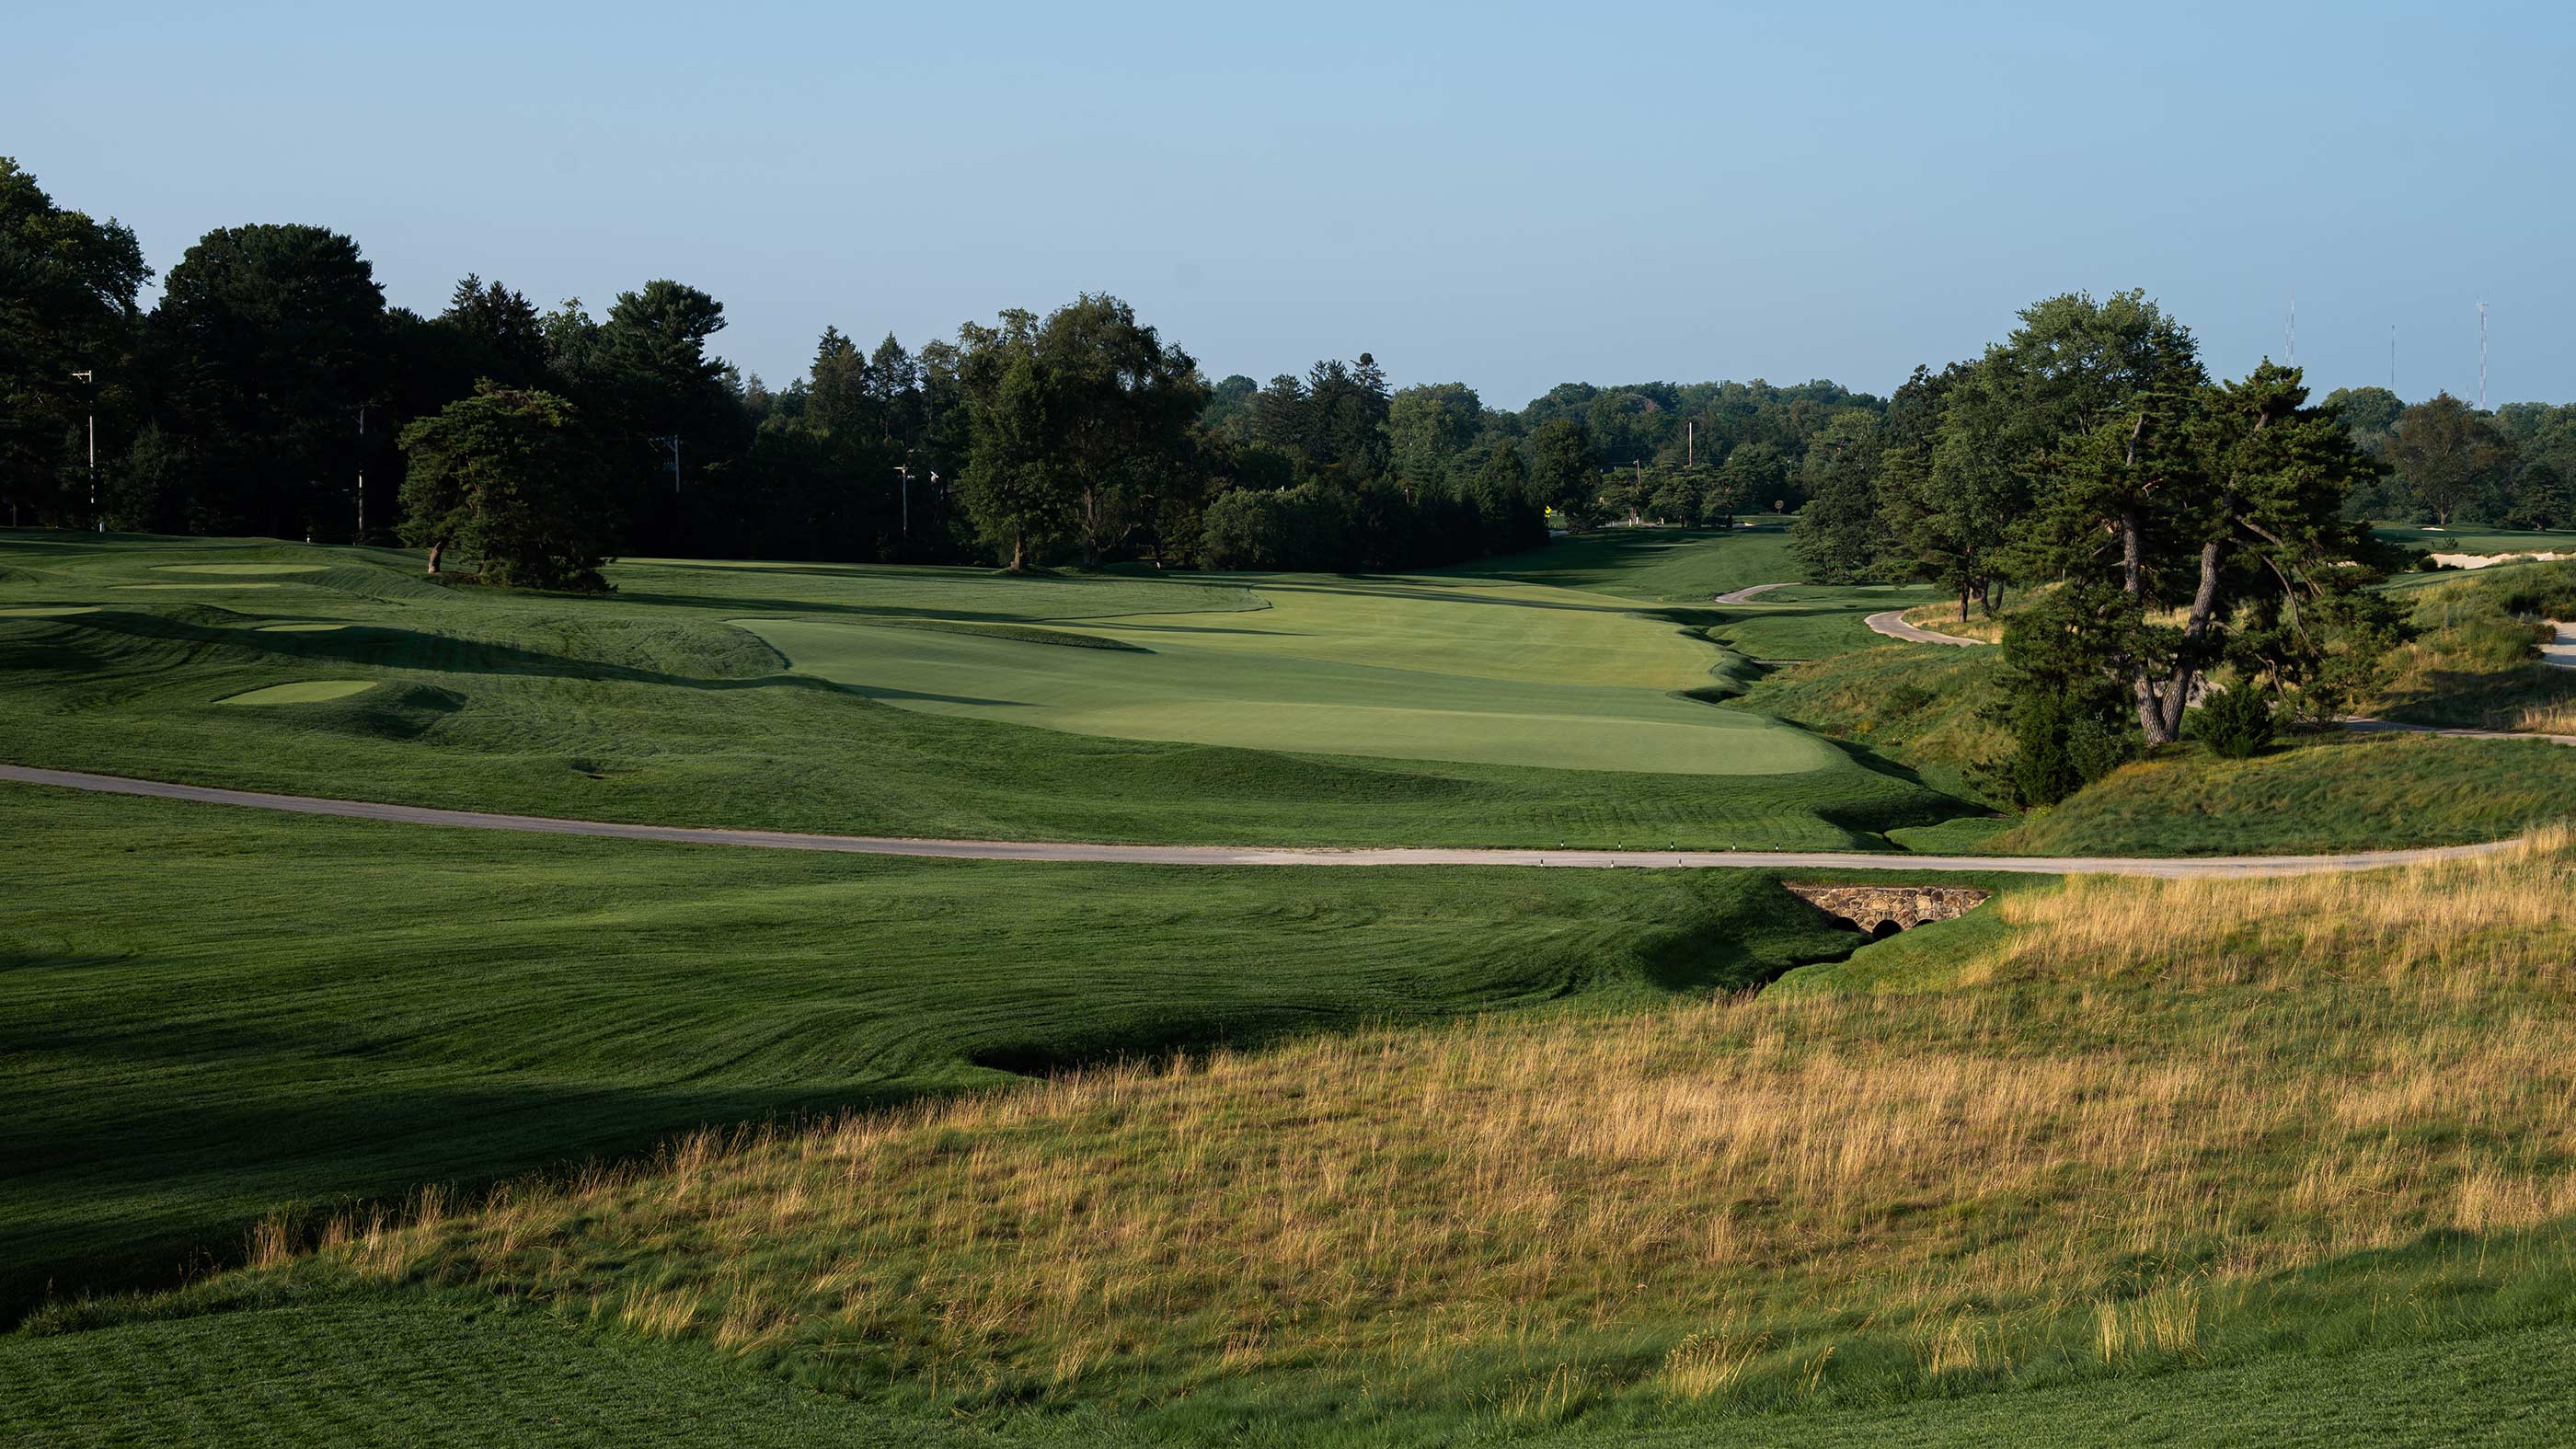
Hole 6
In 1915, the Philadelphia Evening Ledger called this long, uphill par 4 “a reproduction of the famous ‘road hole,’ the 17th hole at St. Andrews.” If you squint at the East Course’s sixth hole, you might see some Road-ish character in the tee shot, which skirts by a corner formed by a property line. Otherwise, the similarities between the two par 4s (both ex-par 5s, incidentally) are vague at best.

Hole 7
This short 4 opens the East Course’s sporty second act, labeled “comedy” by Jerry Tarde. From the tee, players can see the ridgetop green but not the fairway, which is tucked into a valley. The narrow, stepped putting surface opens to the right, rewarding those who don’t steer too far away from the out-of-bounds line.


Hole 8
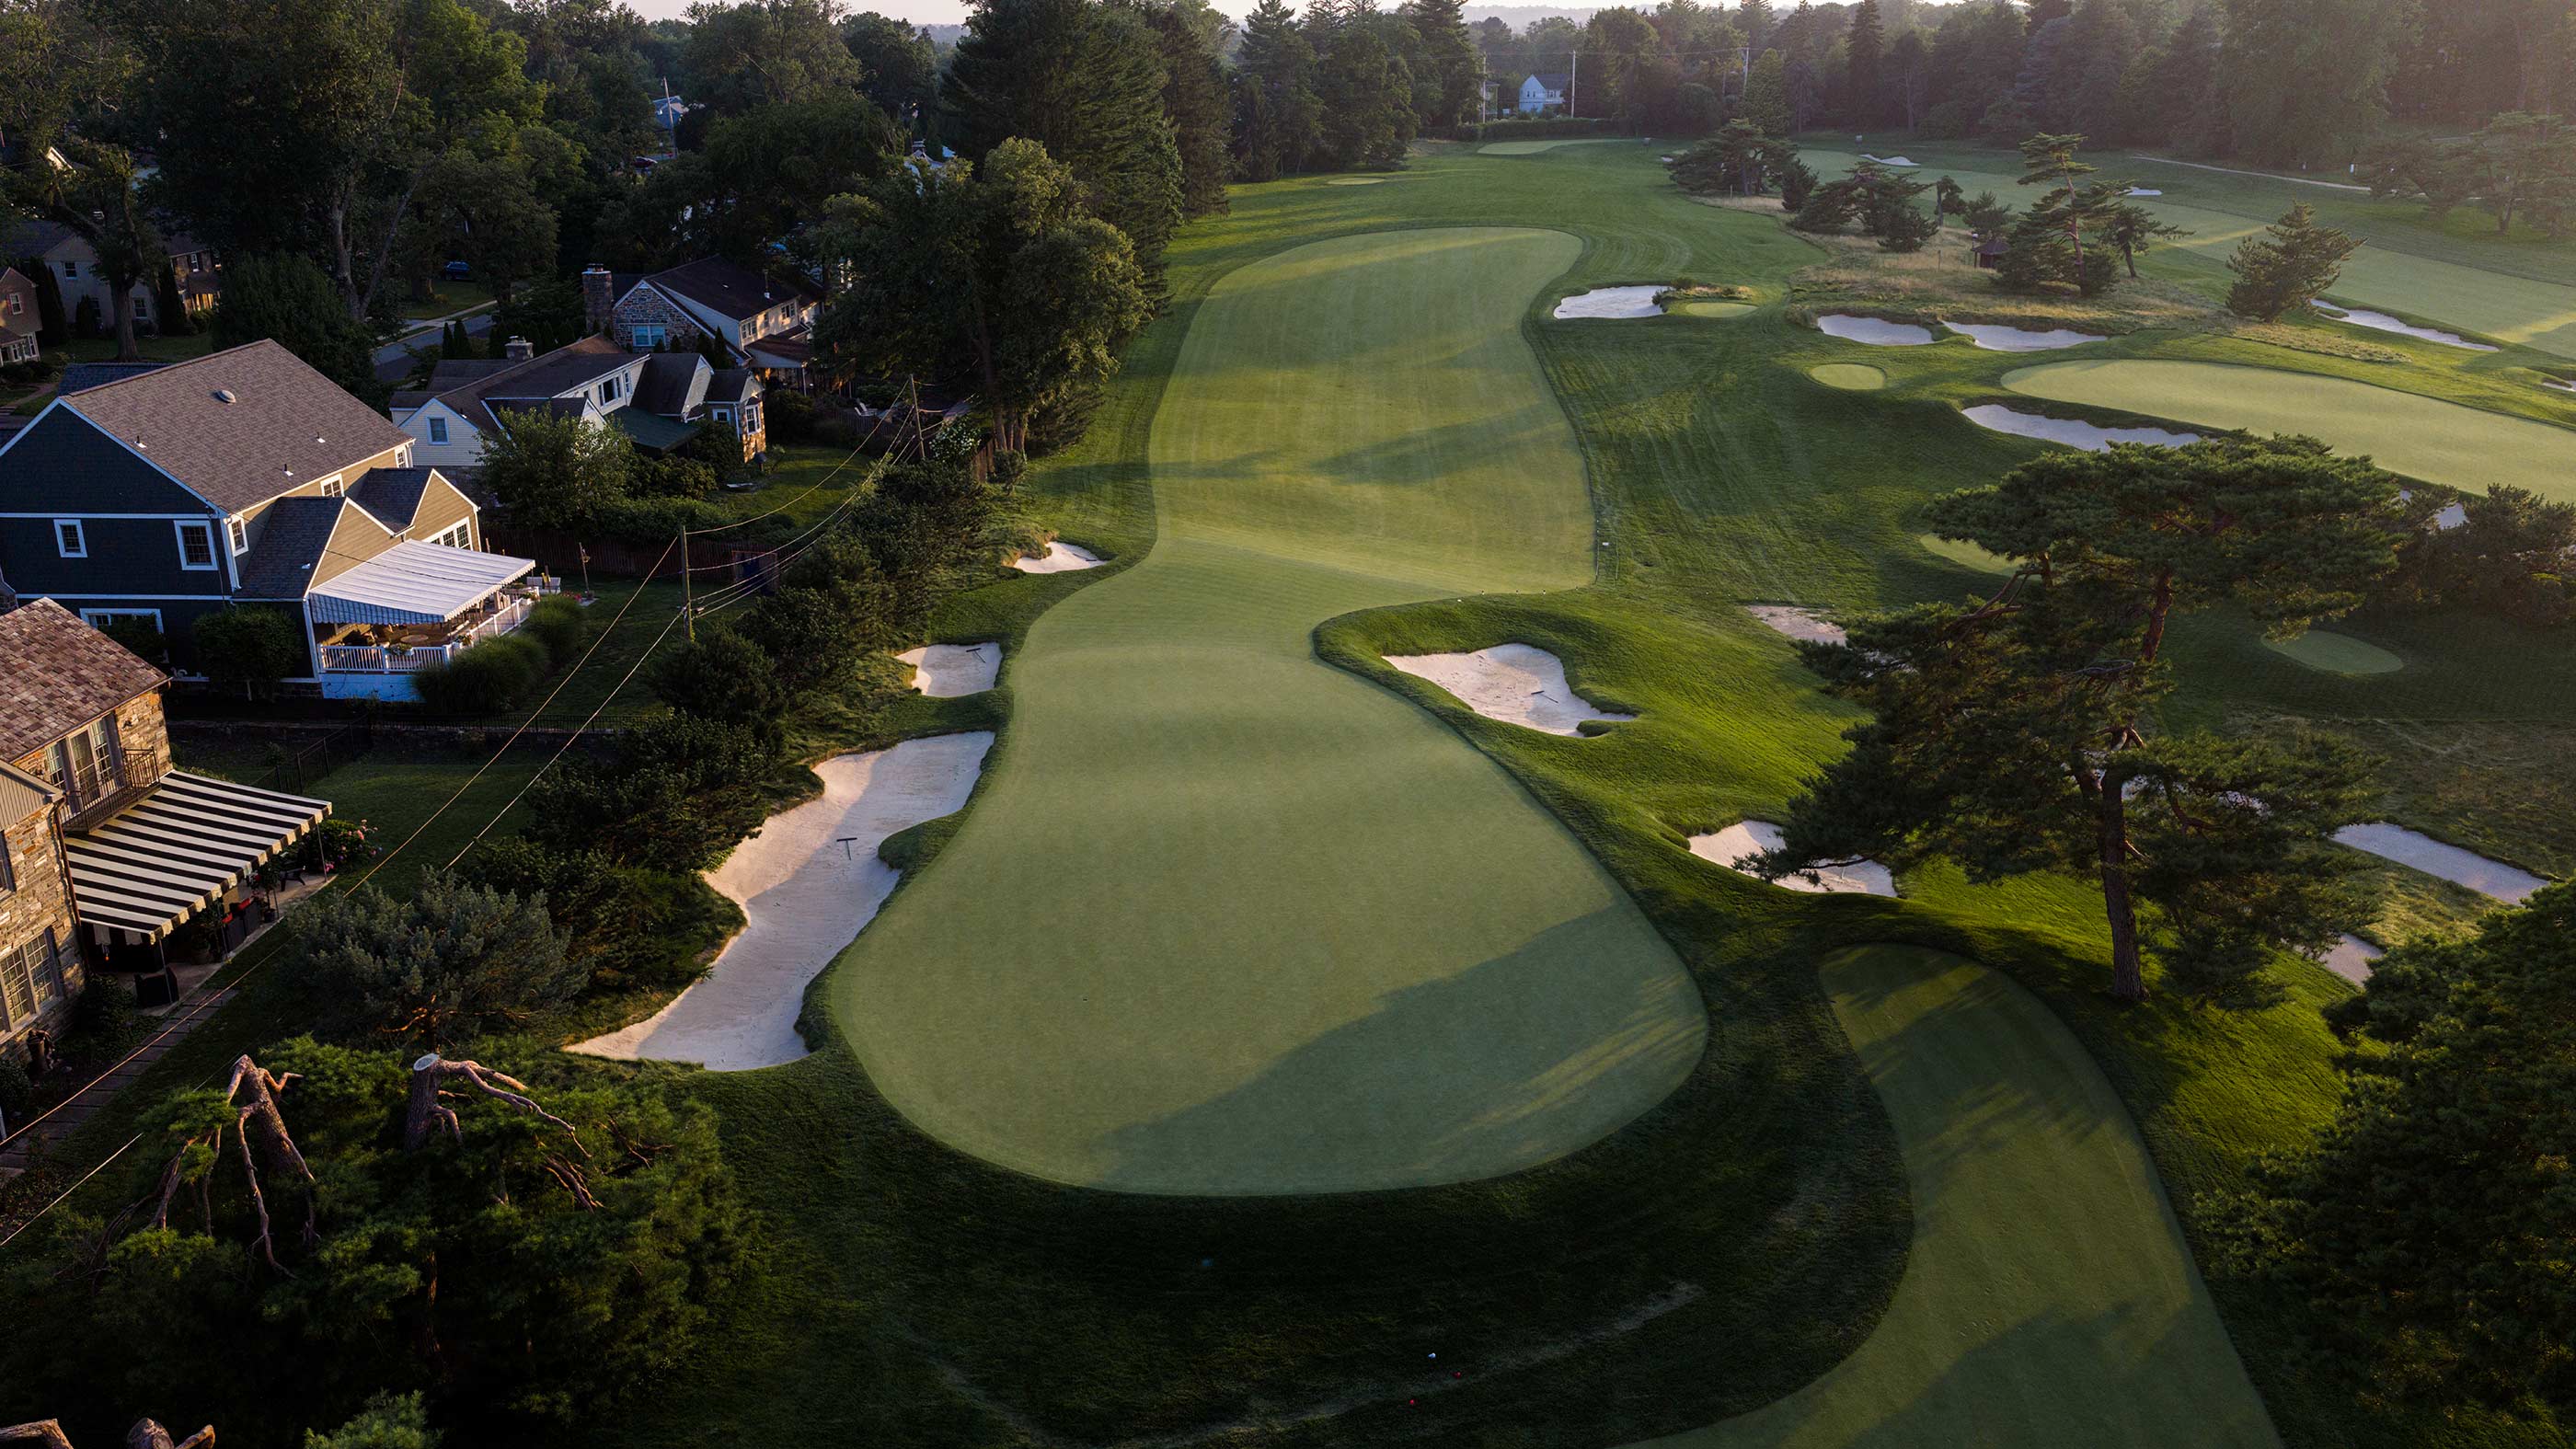
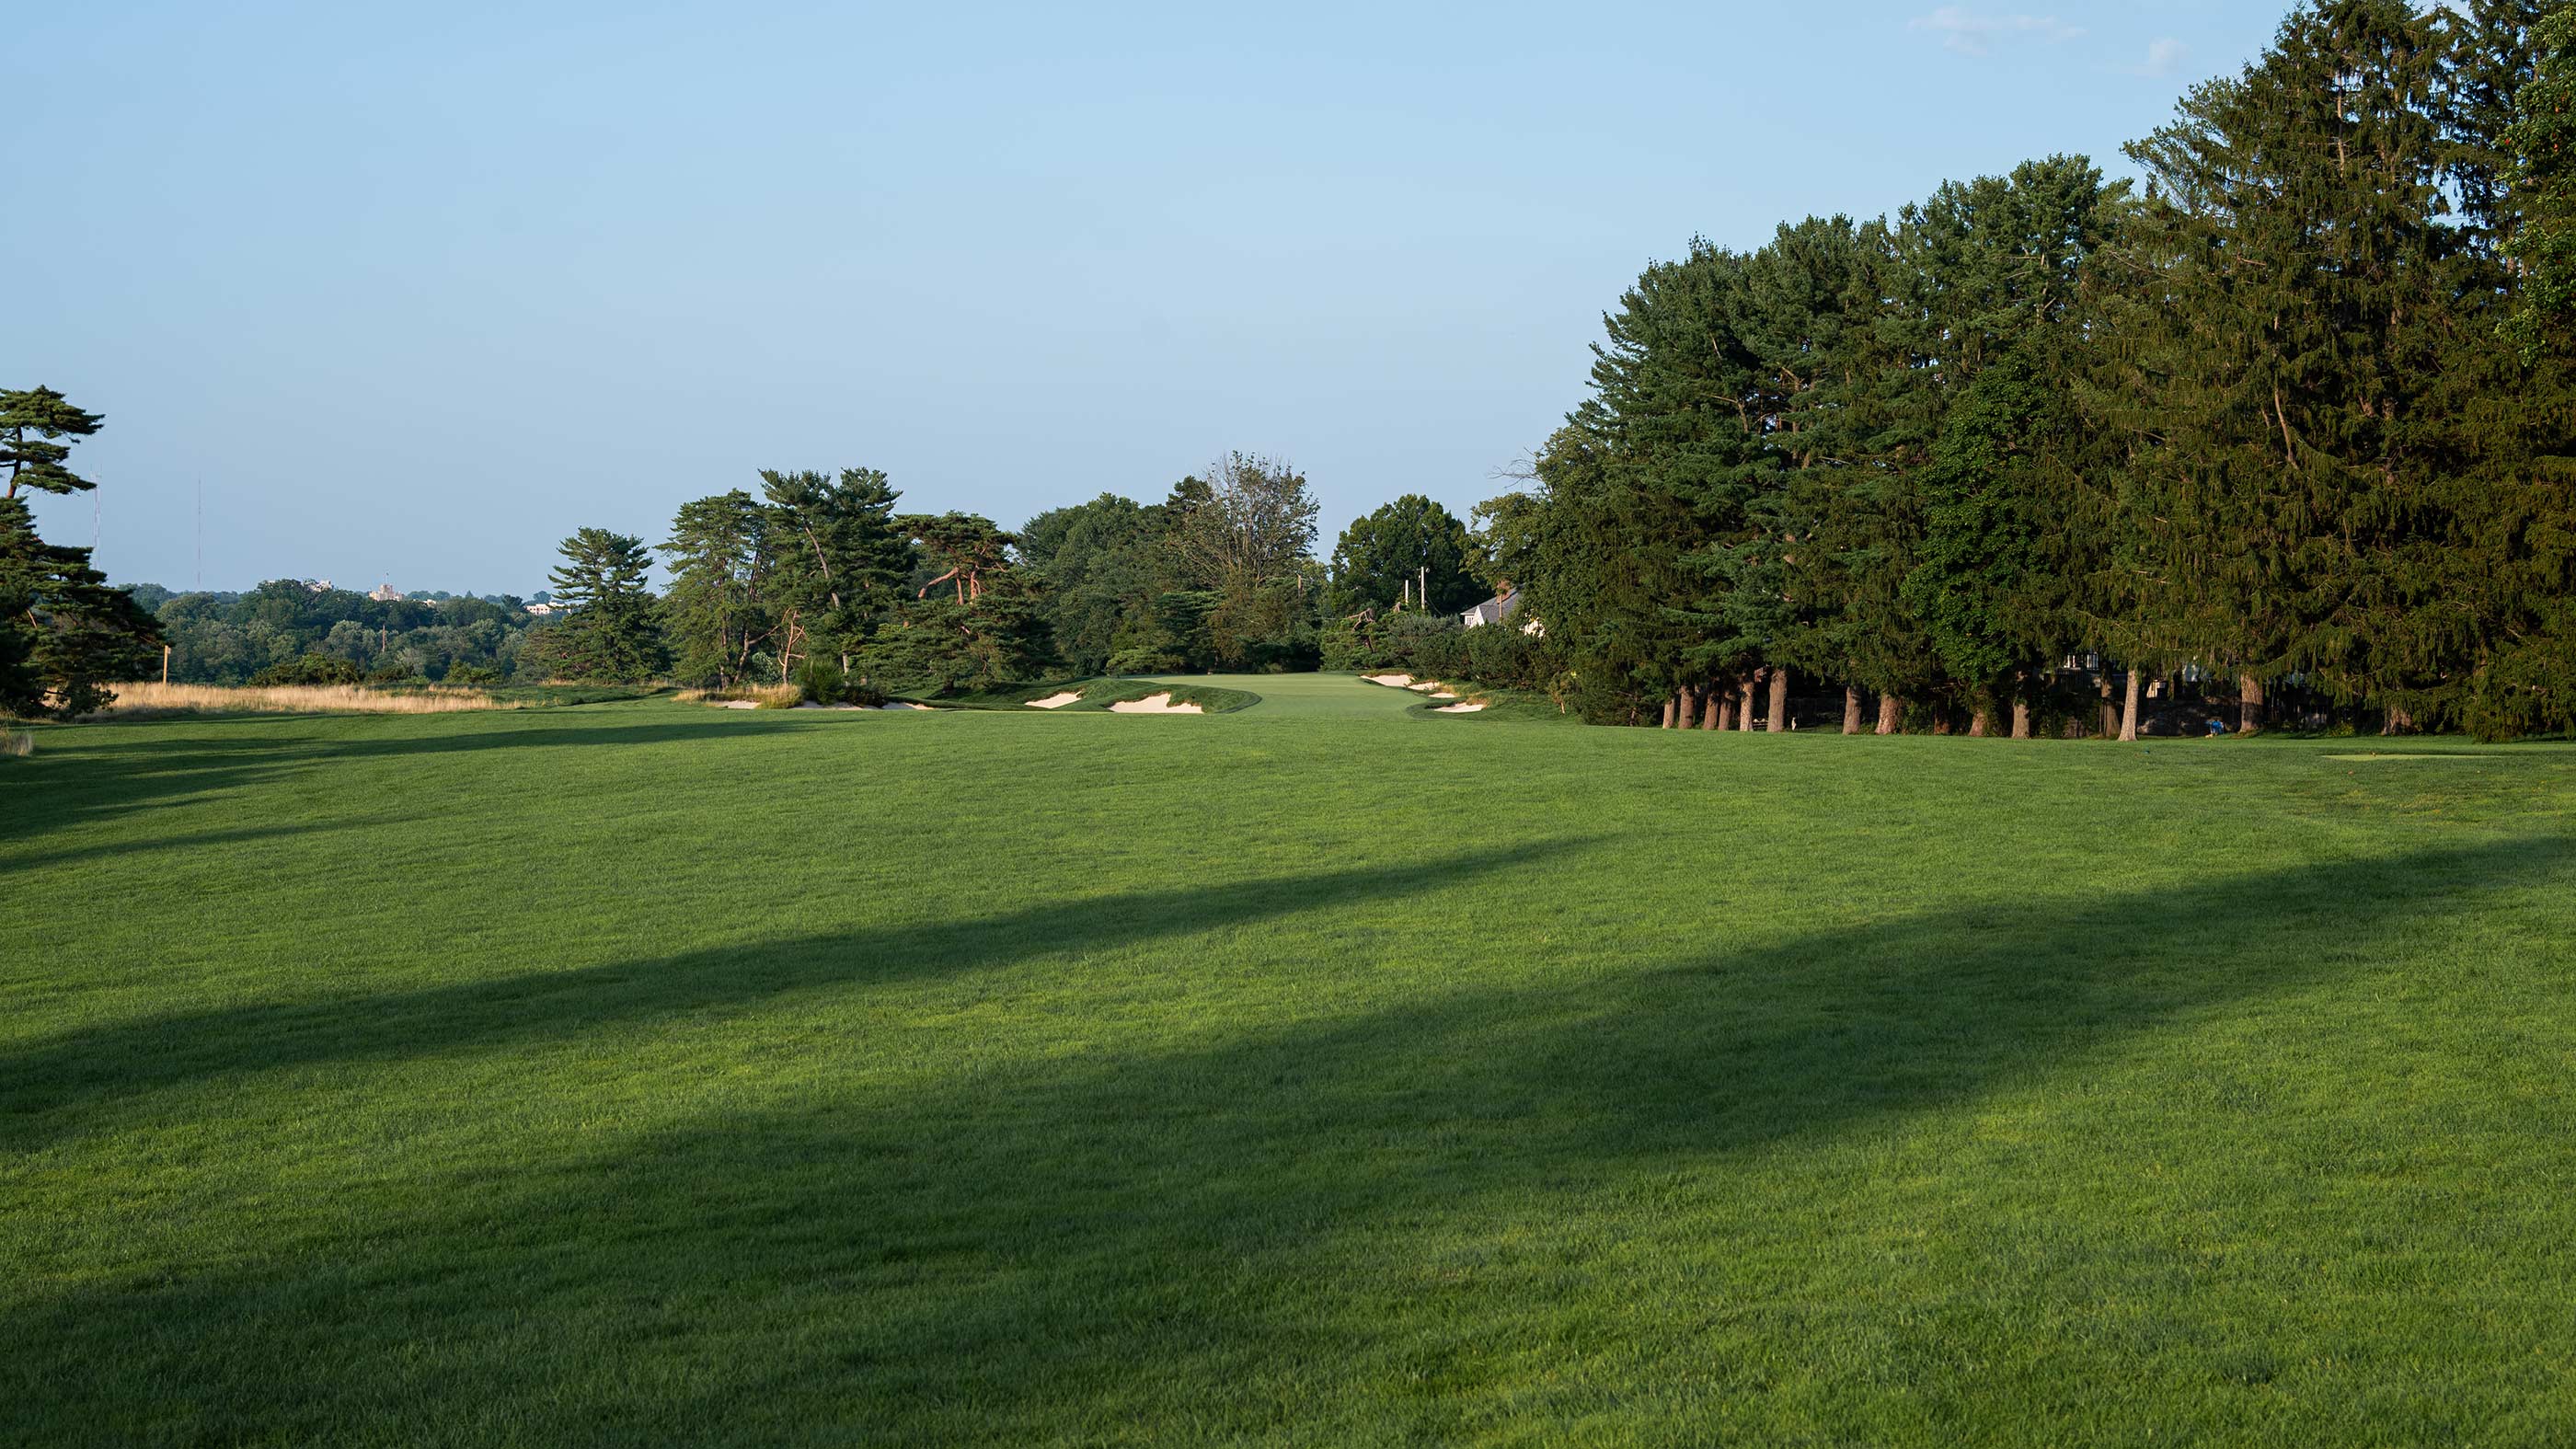
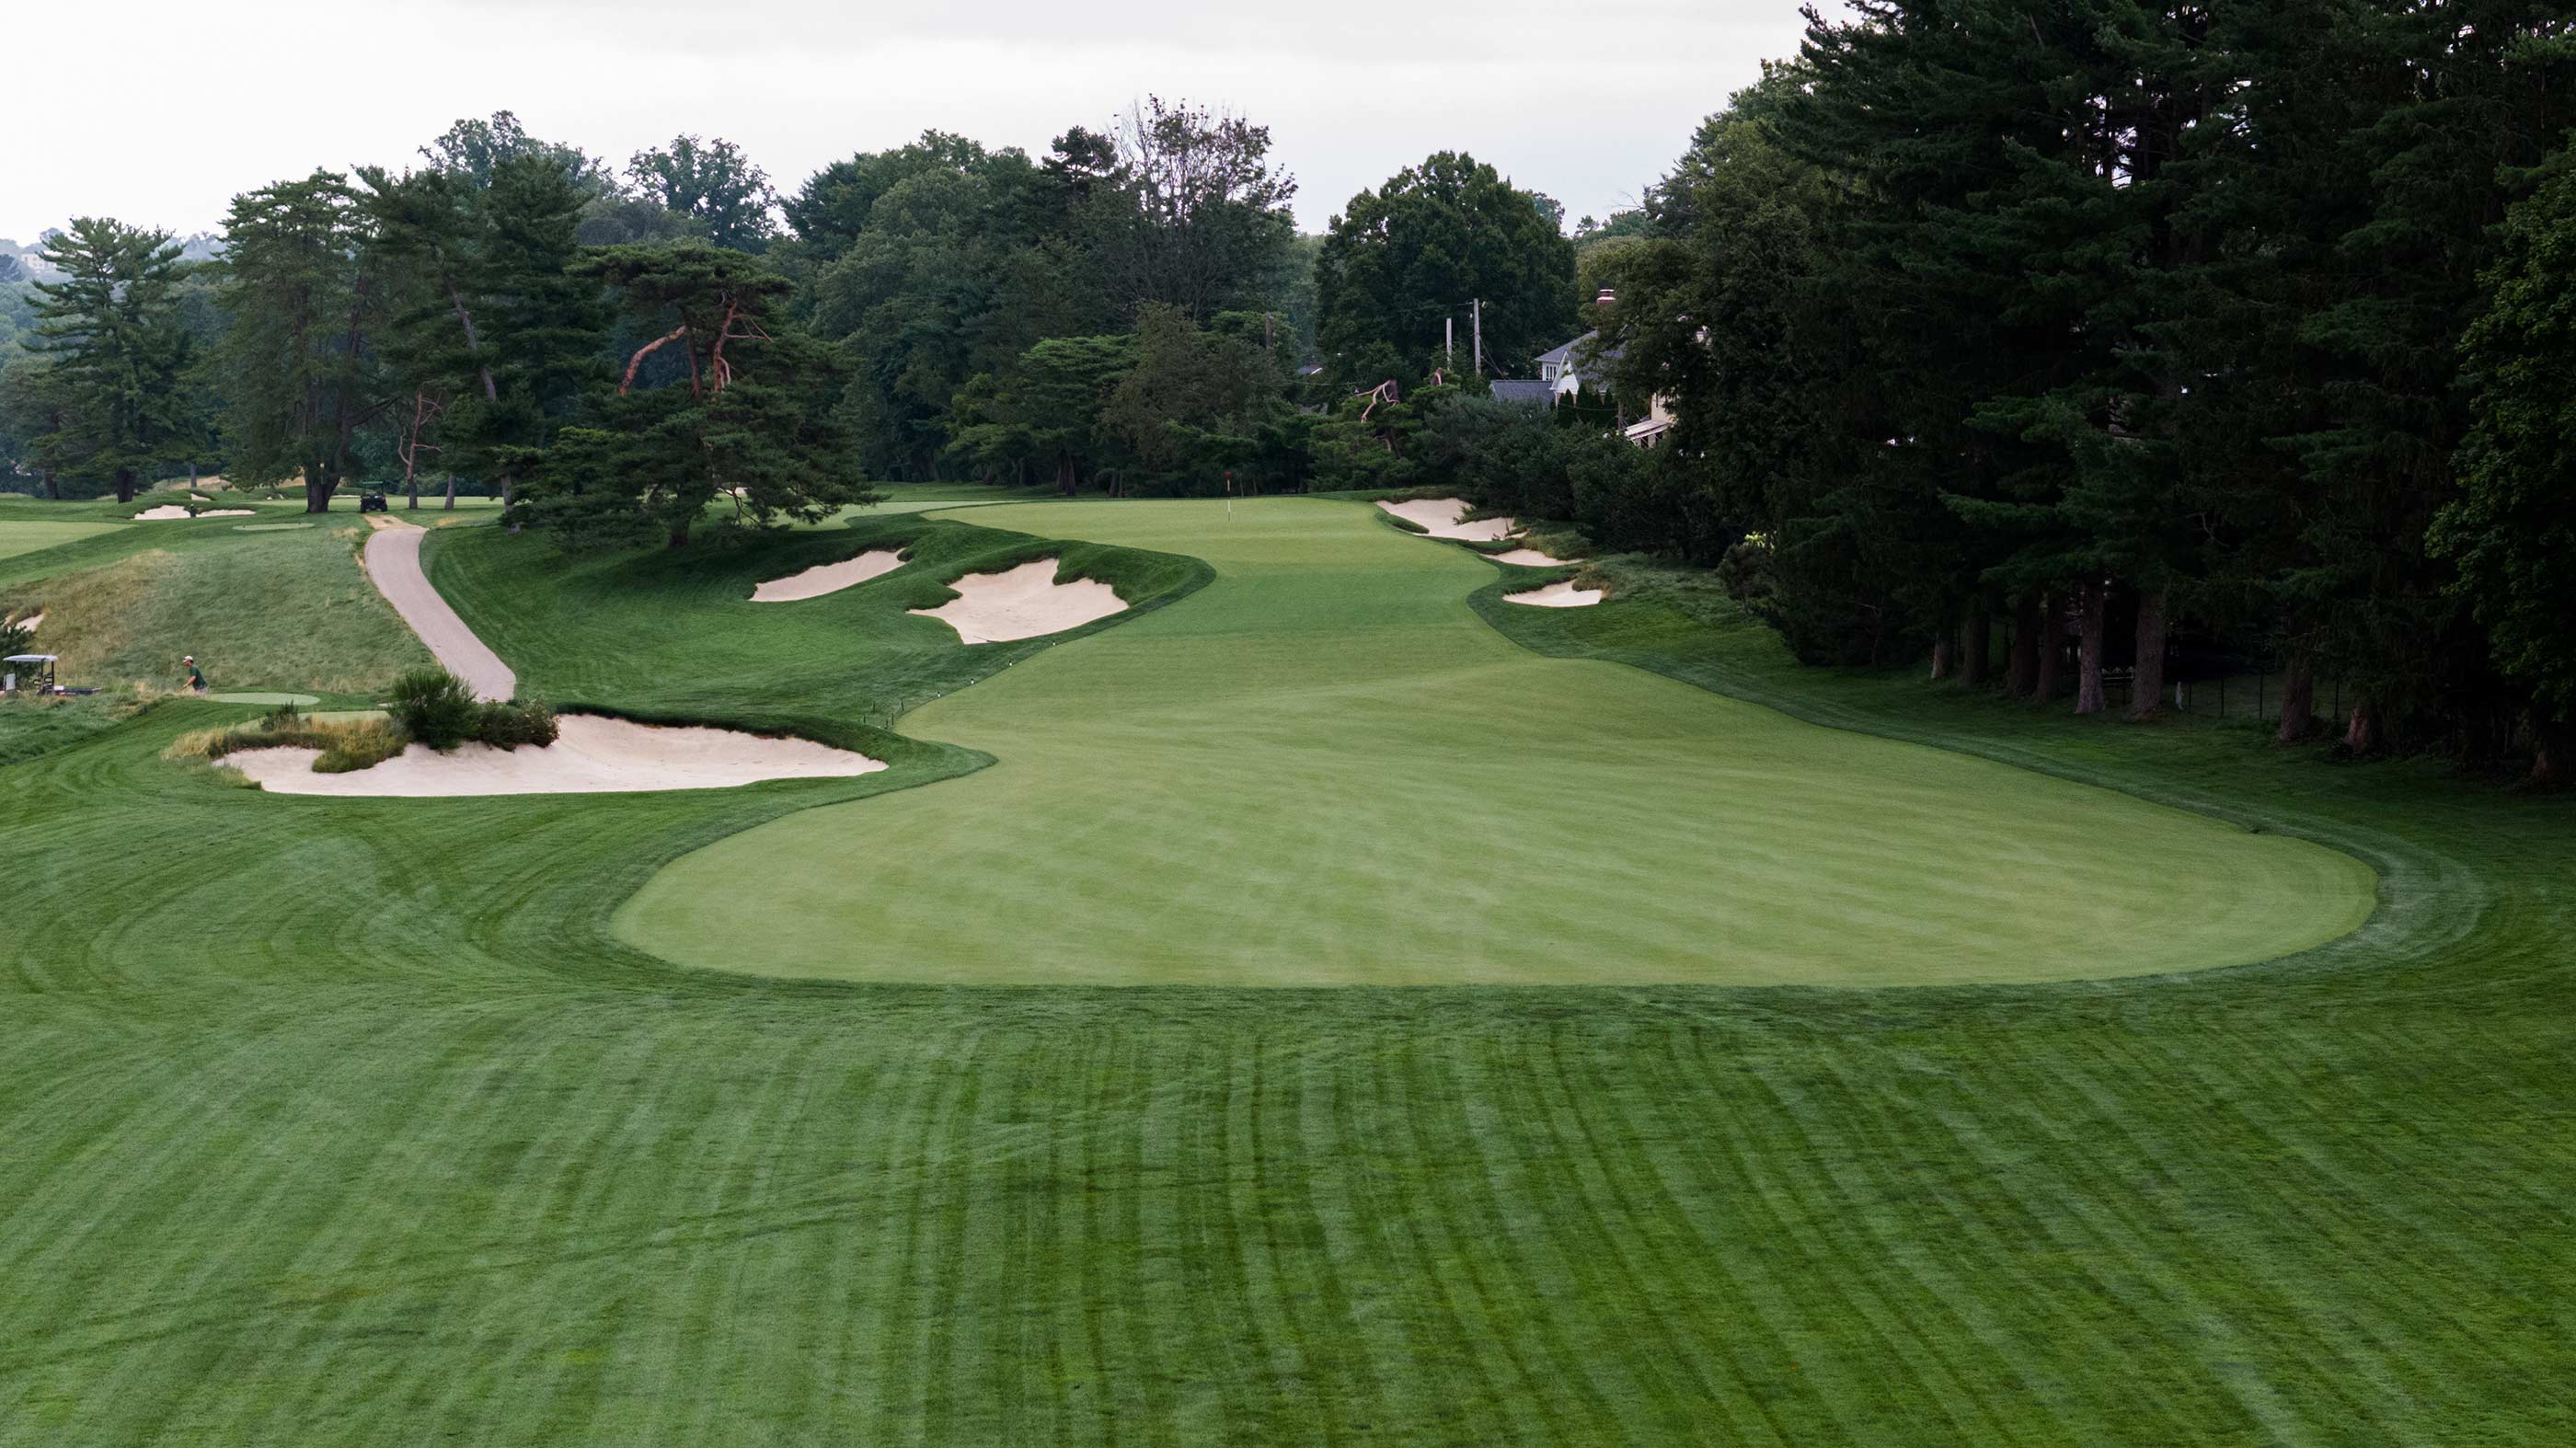
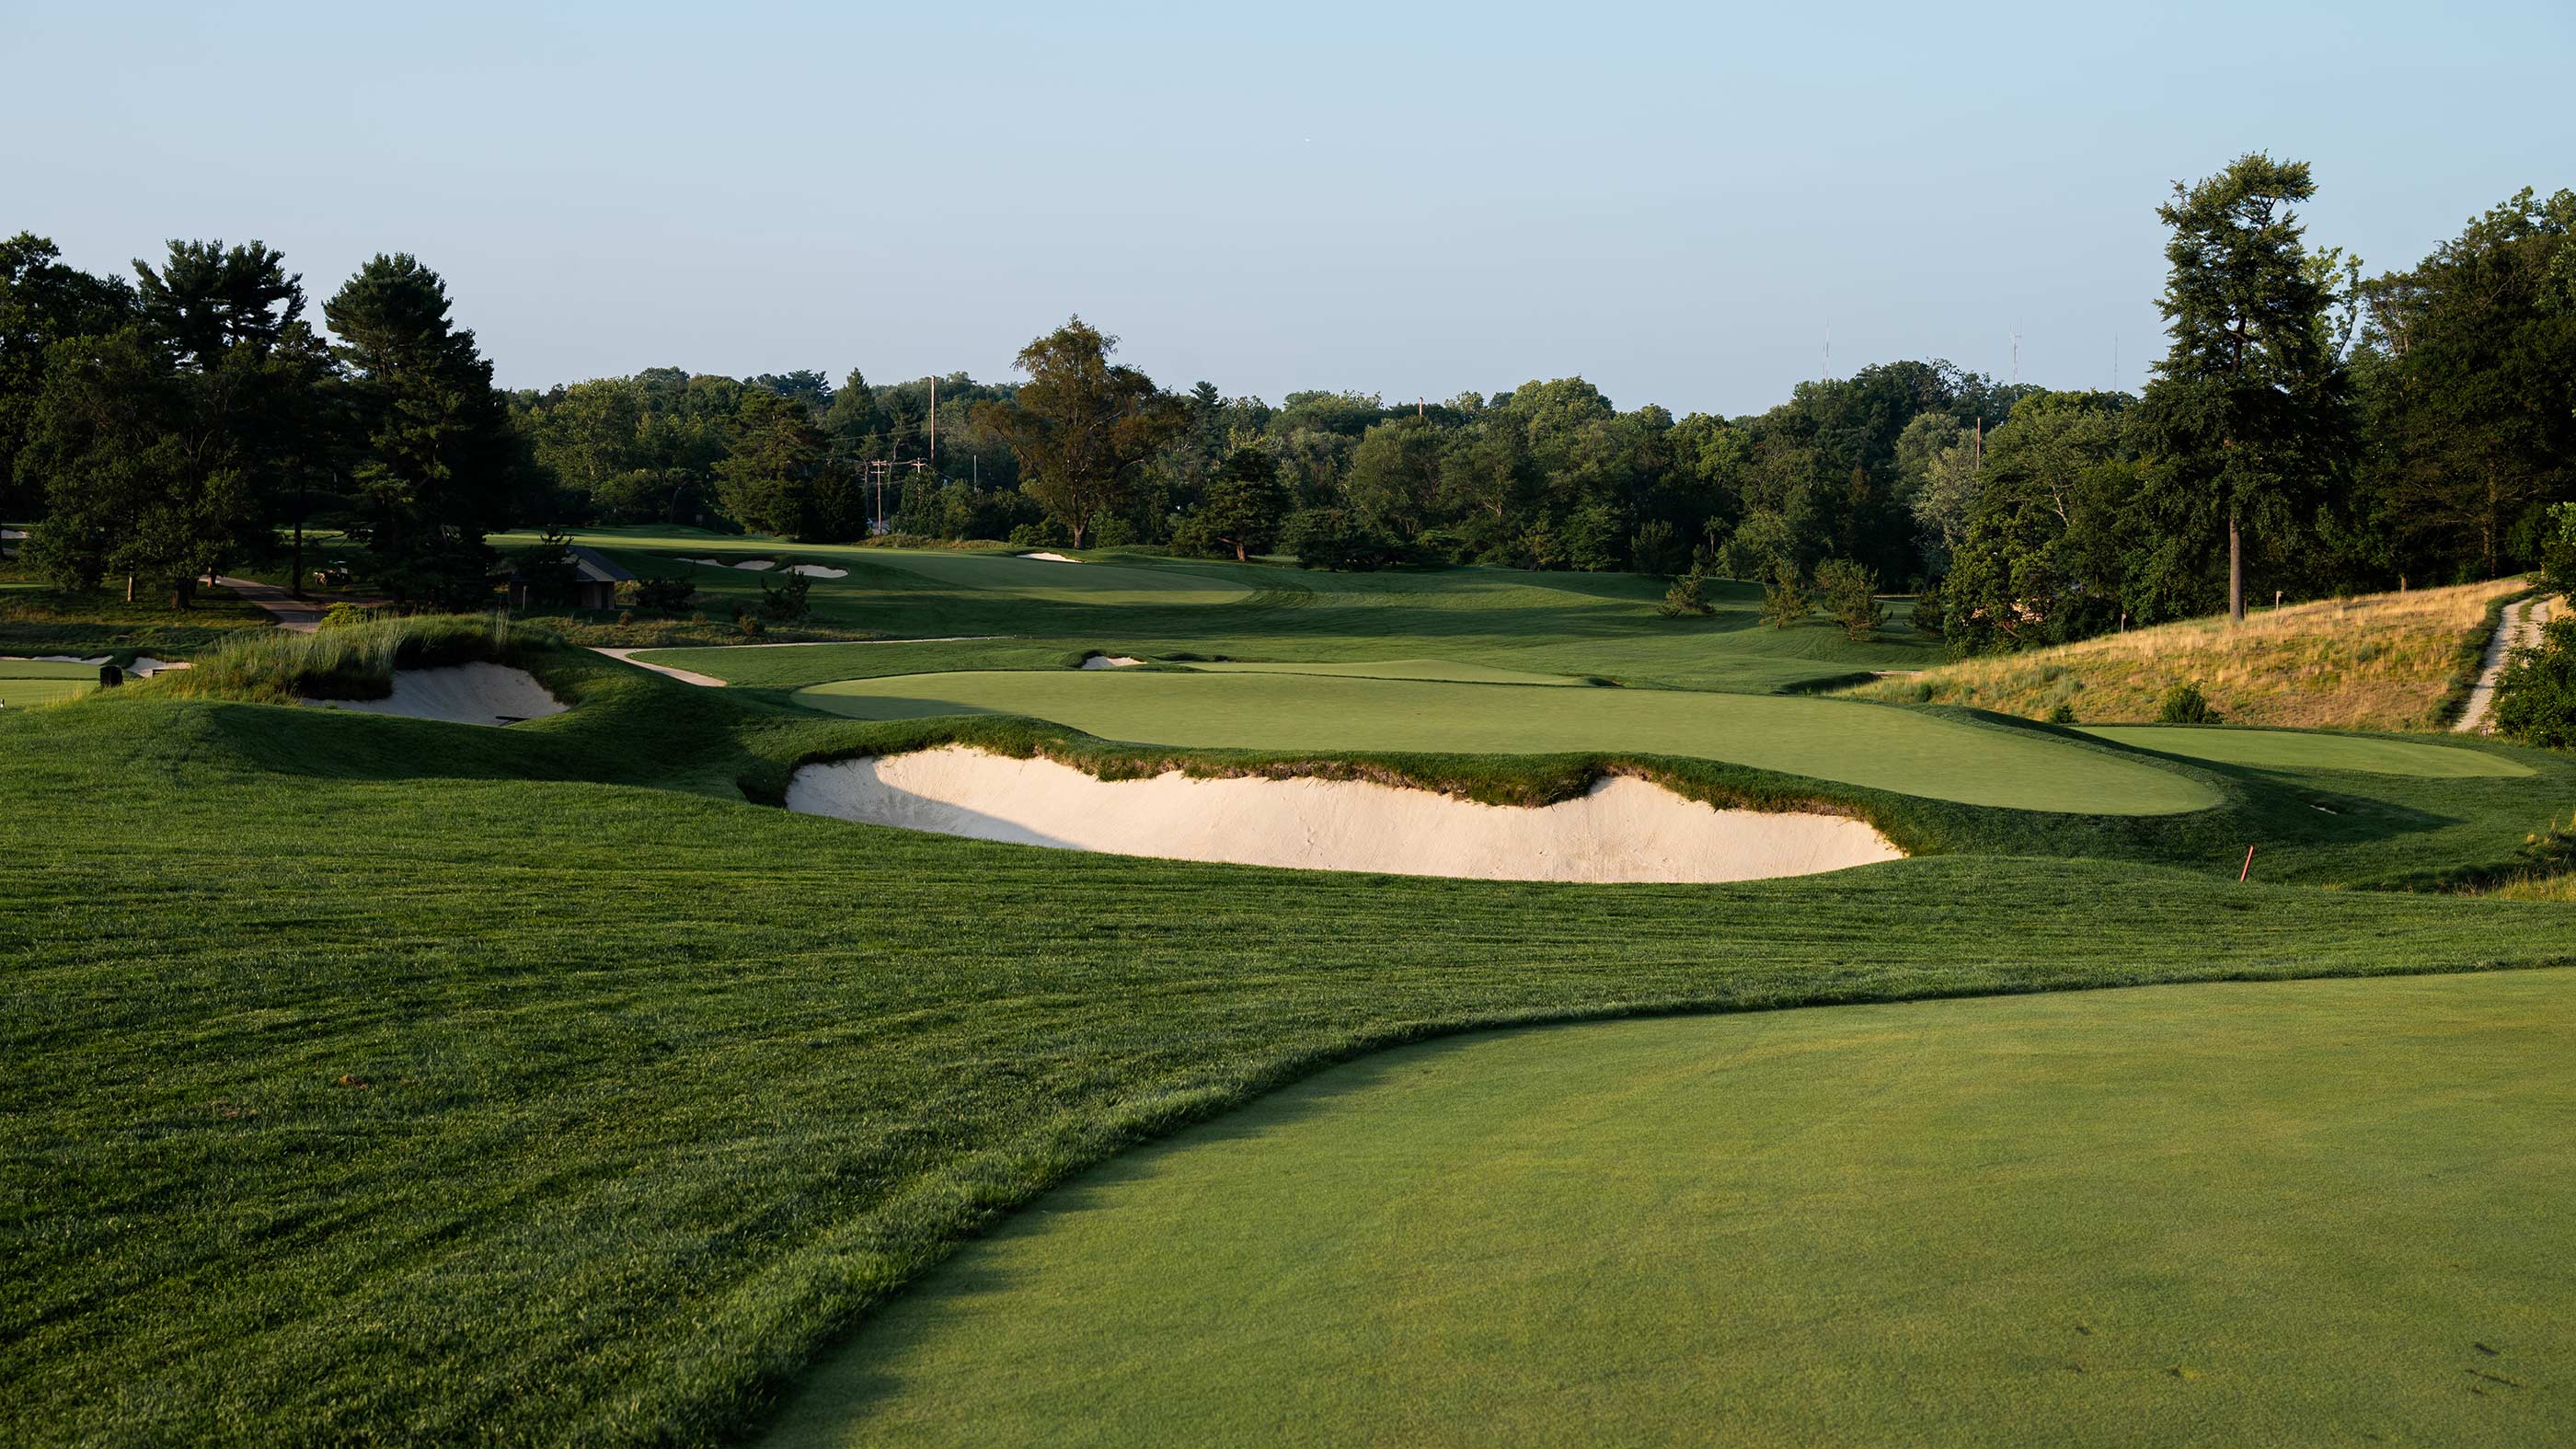
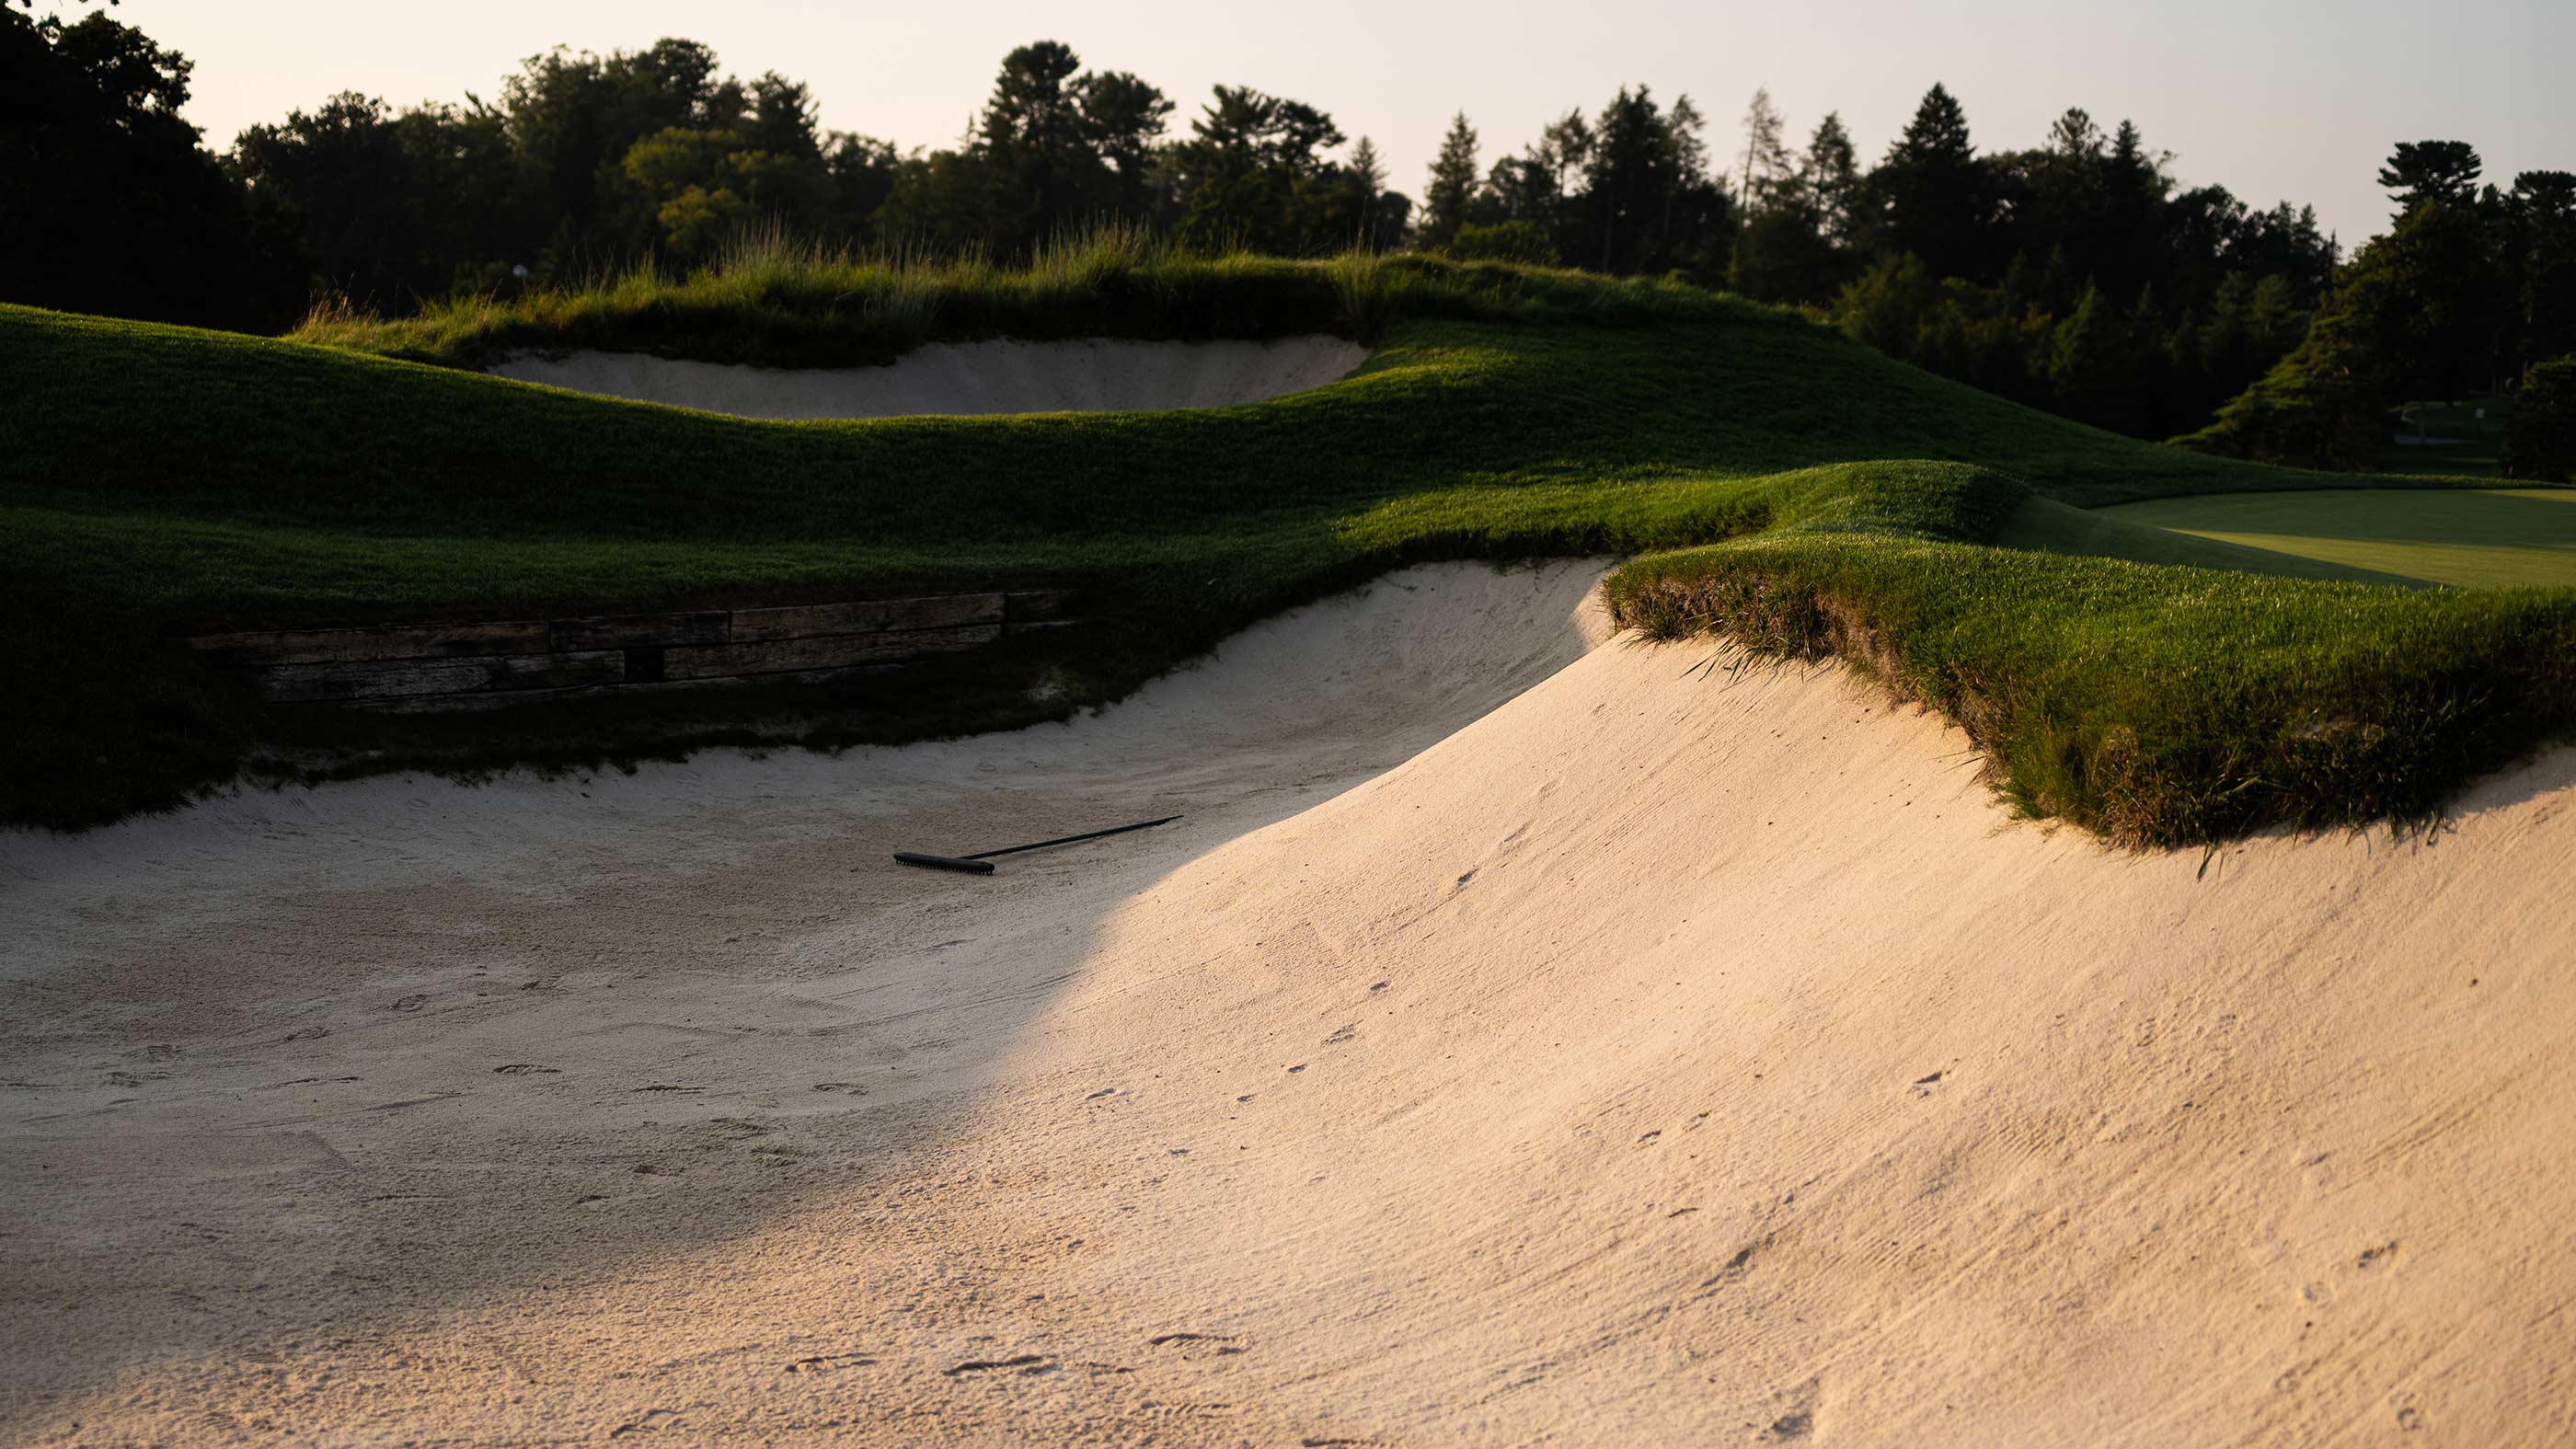
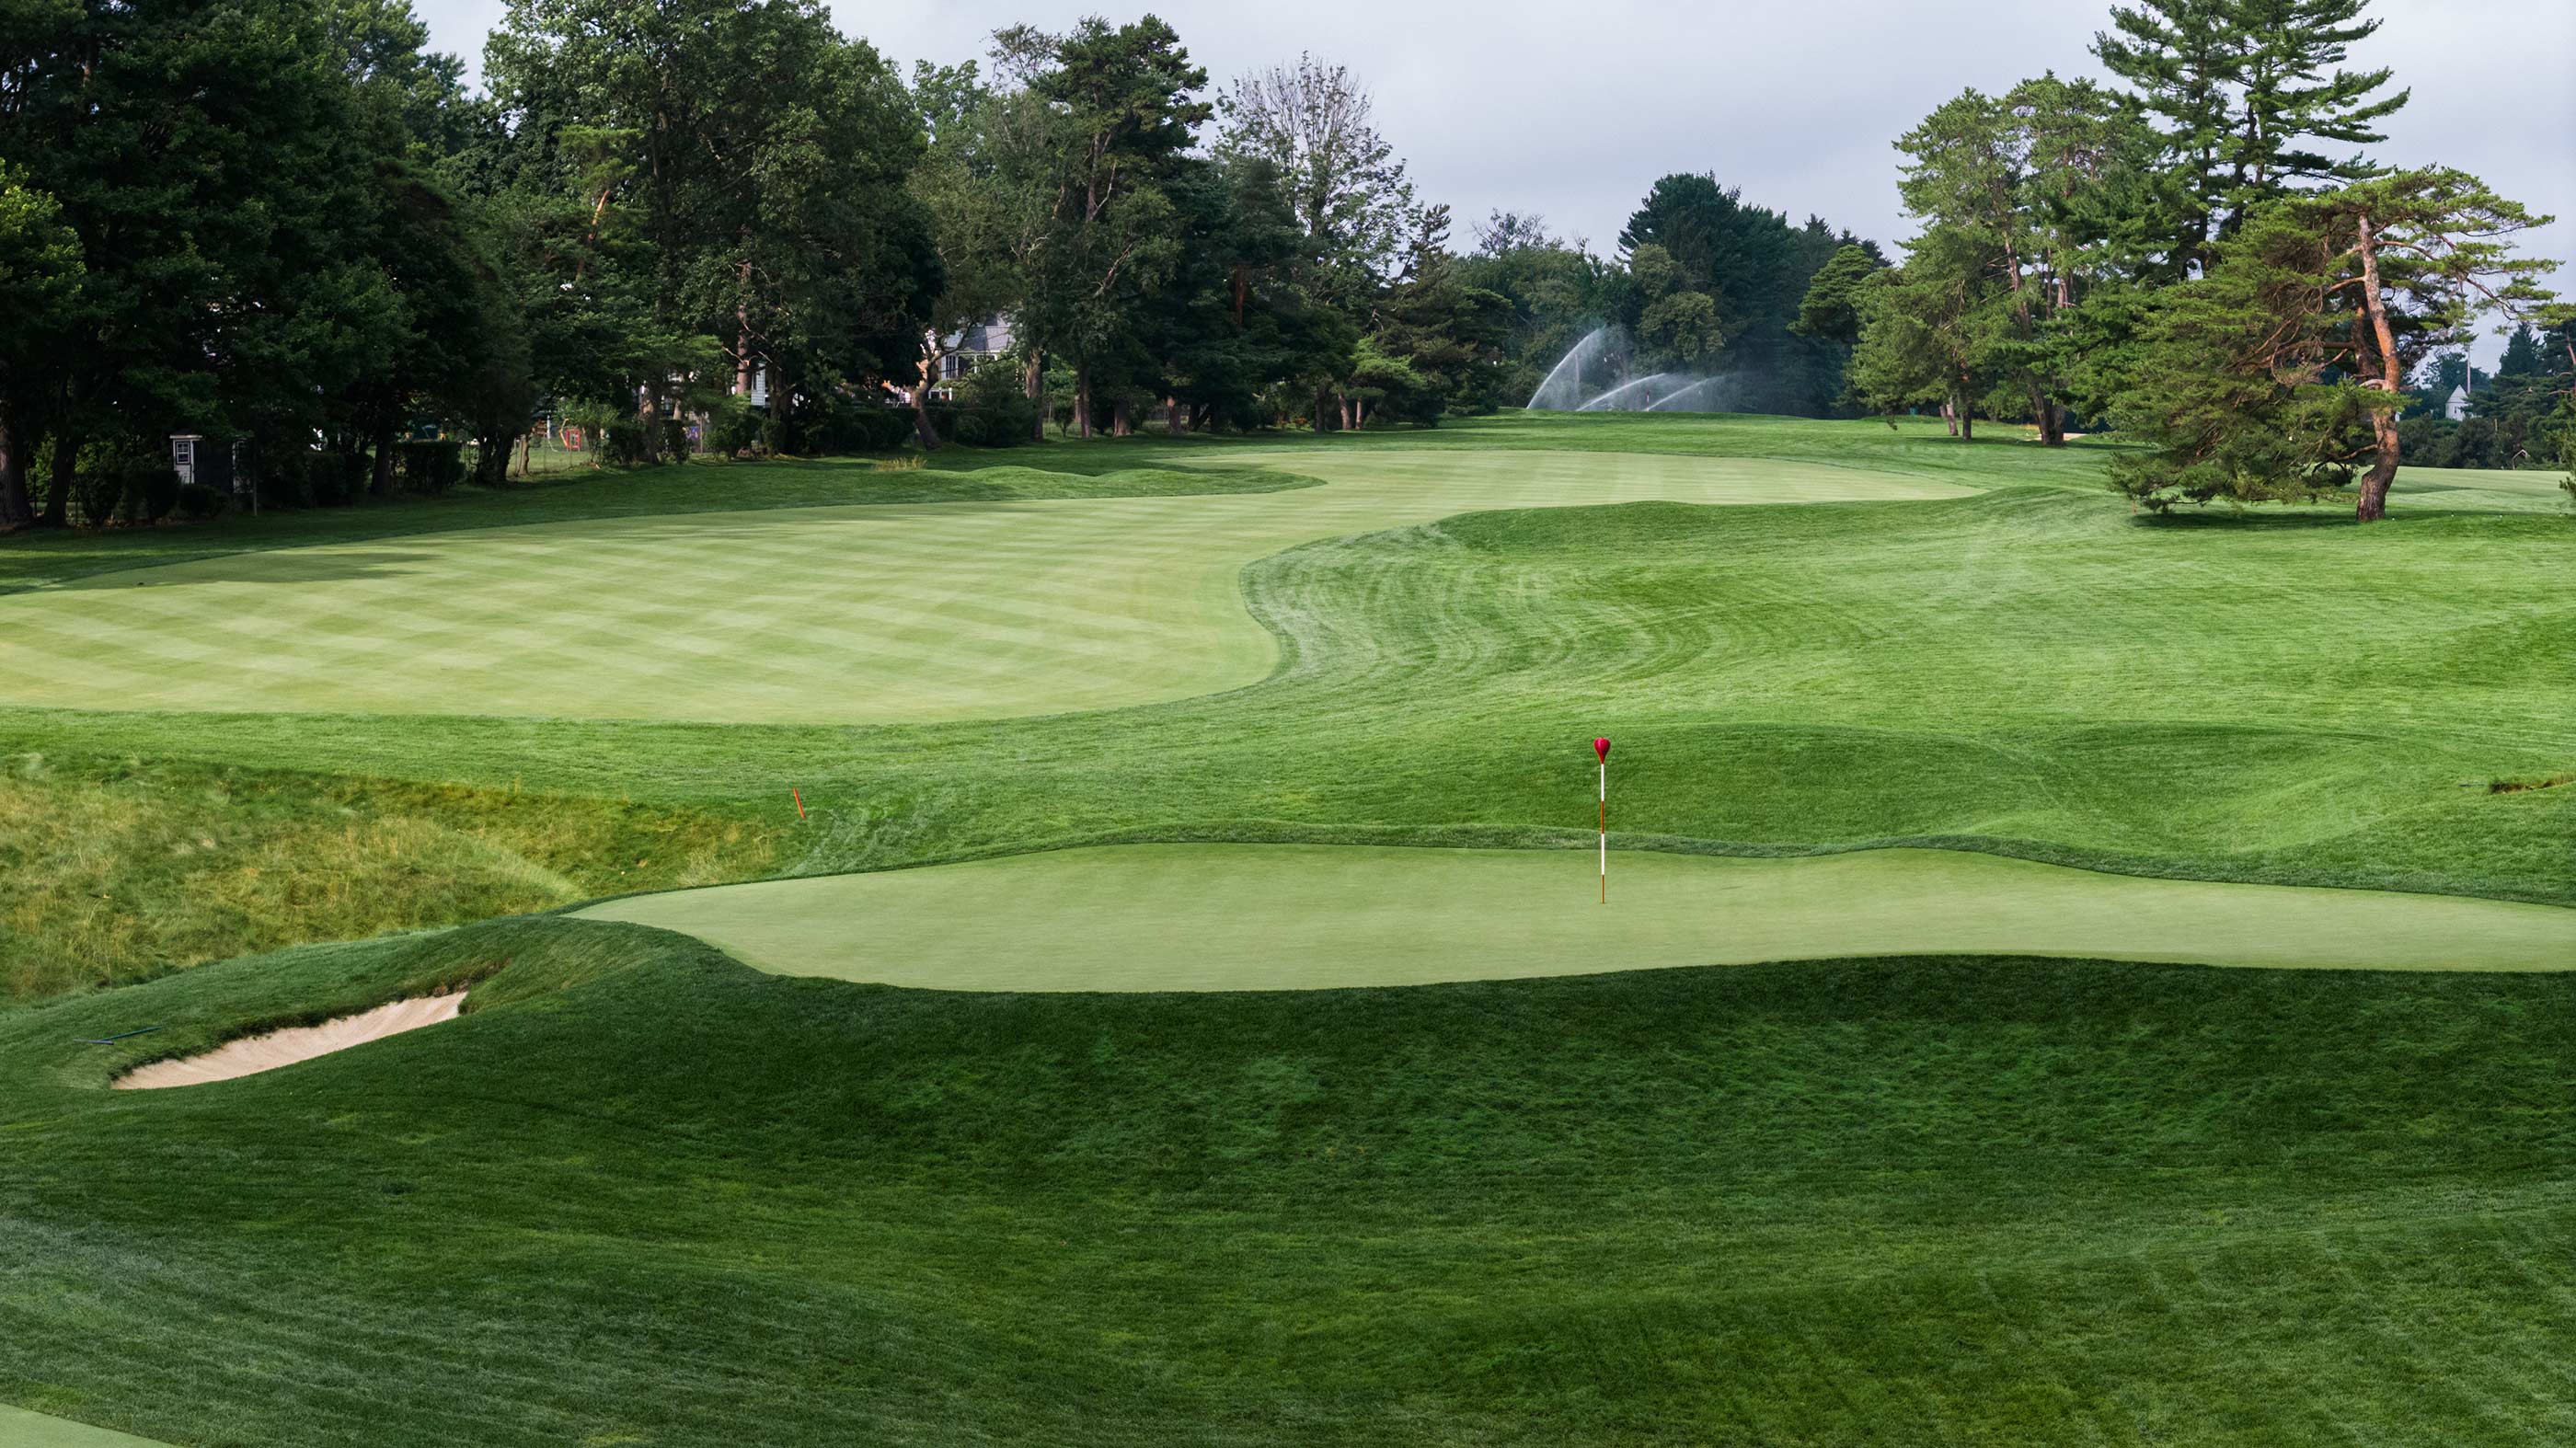
My favorite of the four short par 4s in Merion East’s middle stretch, the eighth sits on top of the same hill that defines the neighboring fourth hole. The fairway forms a backward “S,” with one landing zone short left and another long right, both largely obscured from the tee. A pair of fairway bunkers provides the main visual orientation. While the long-right landing zone offers a shorter approach, it is guarded by the property boundary on the right.


Hole 9
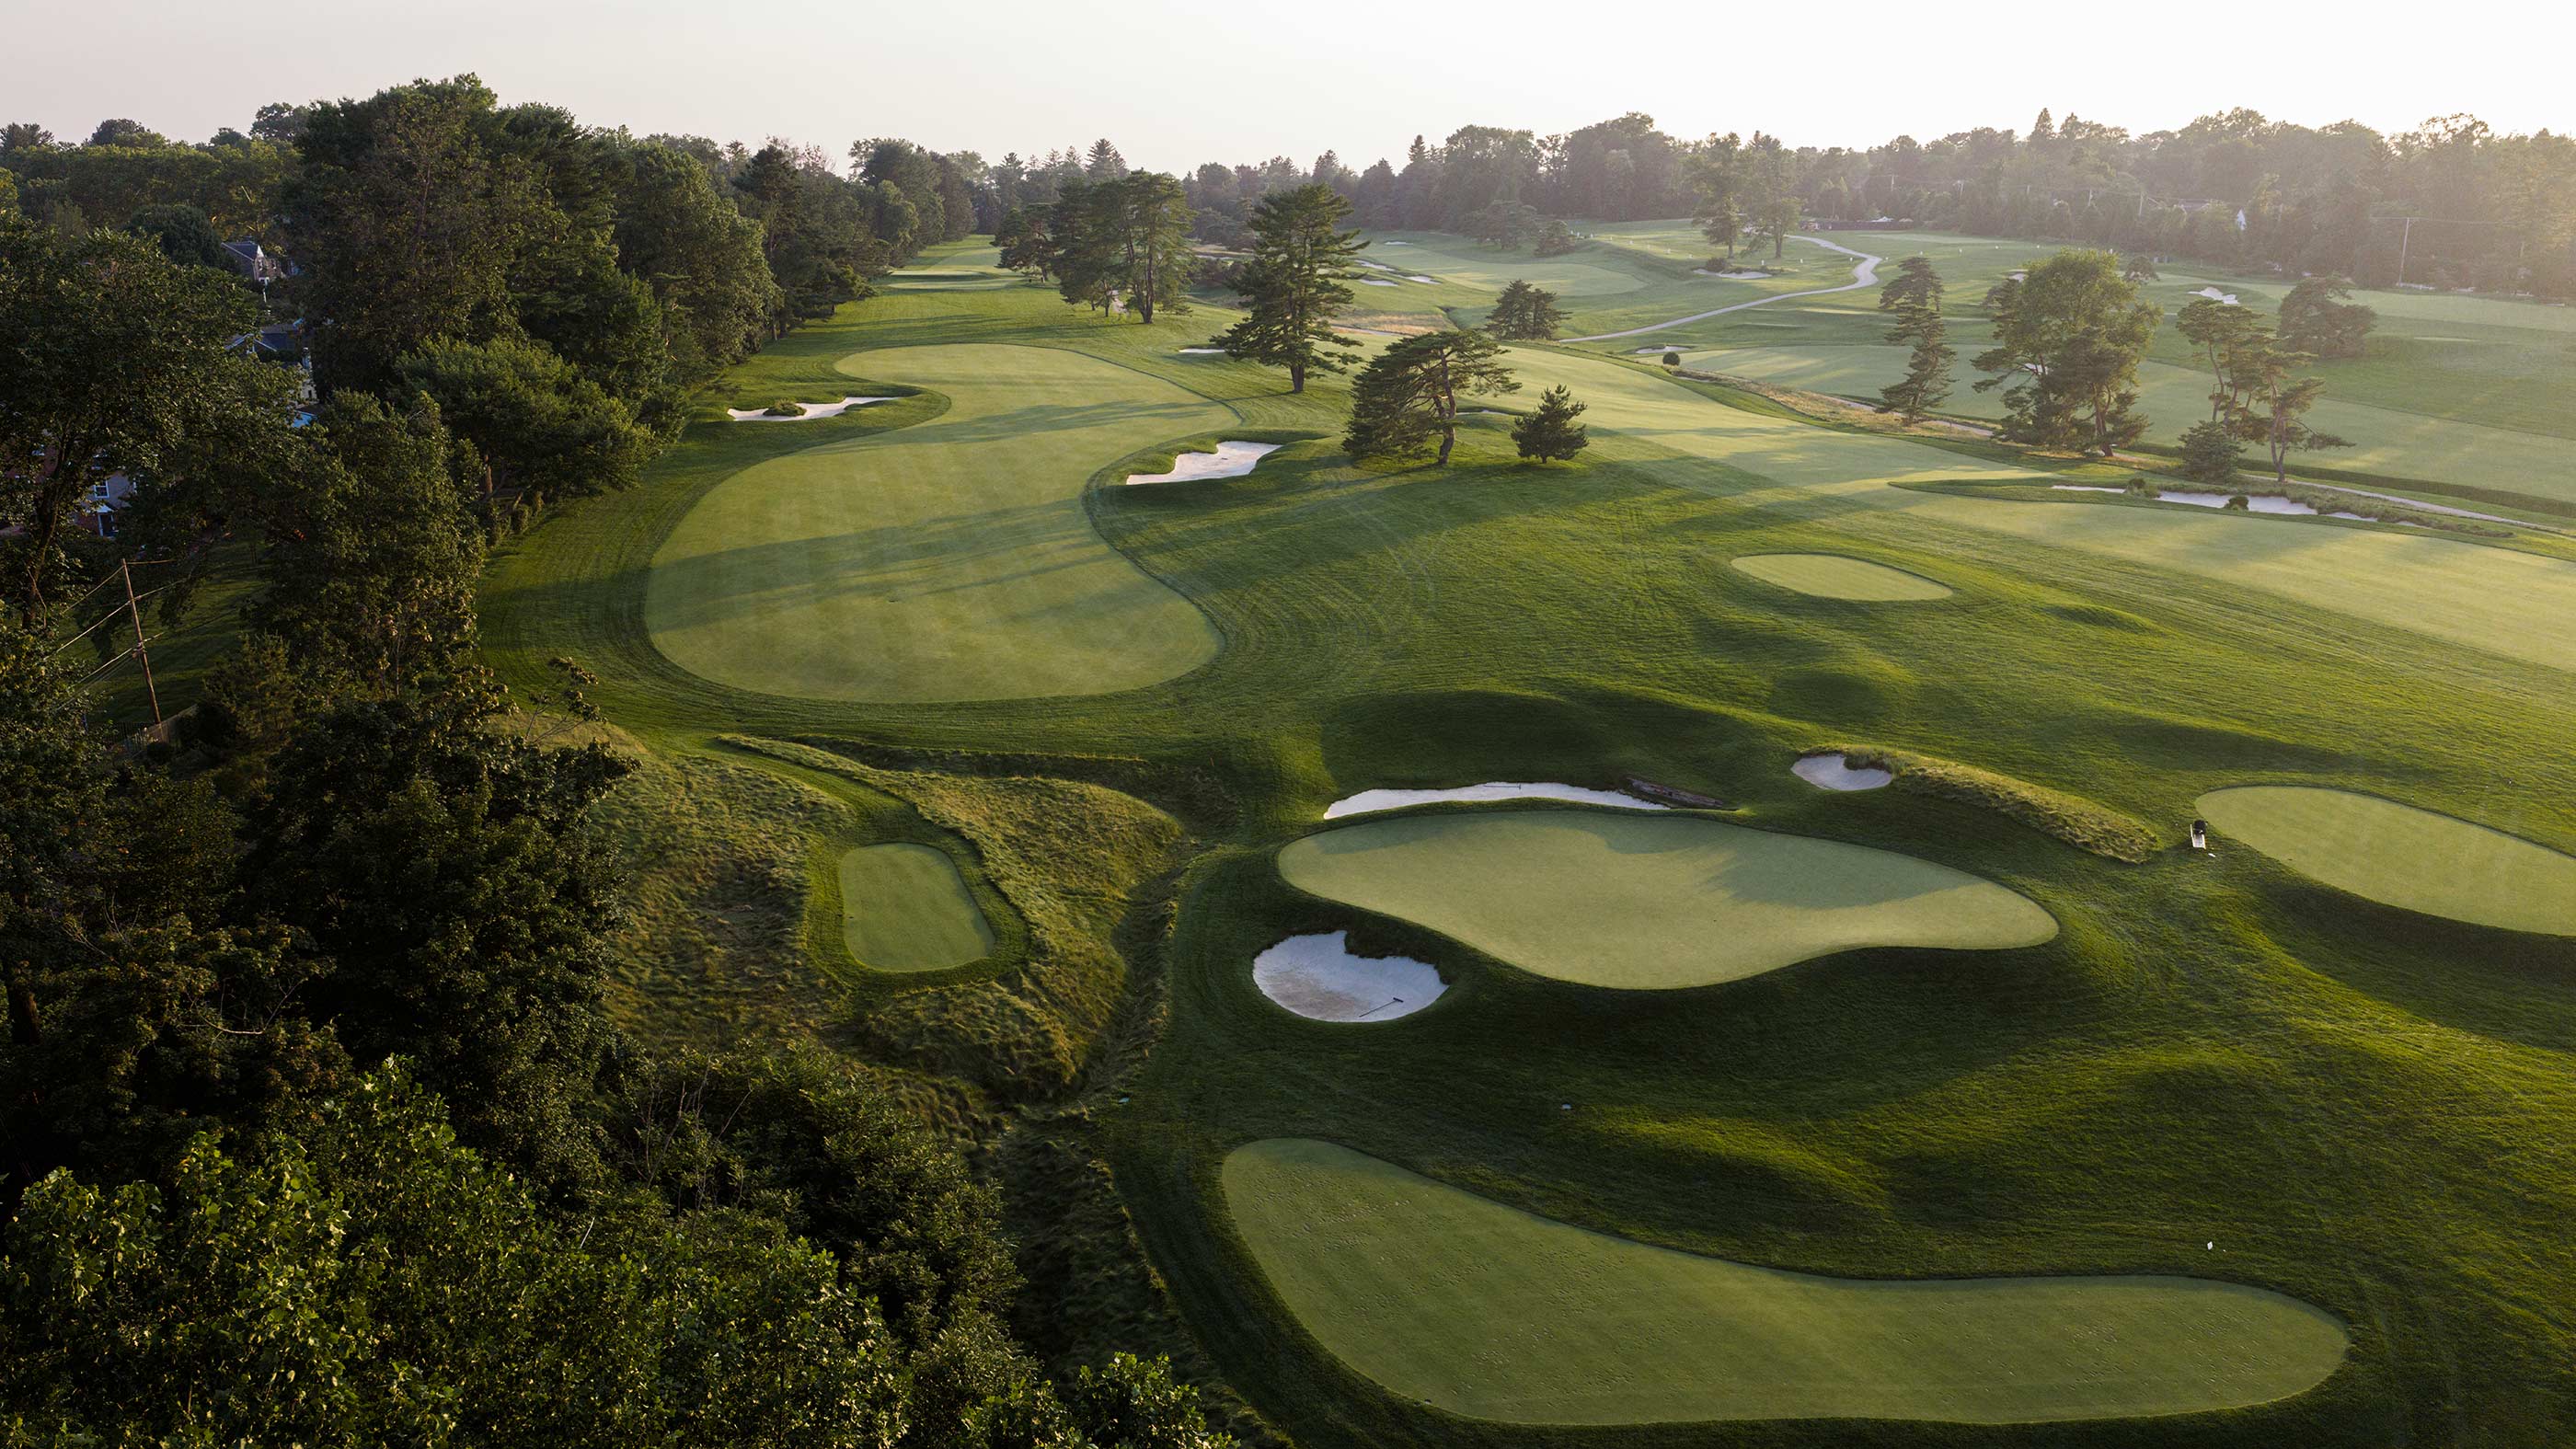
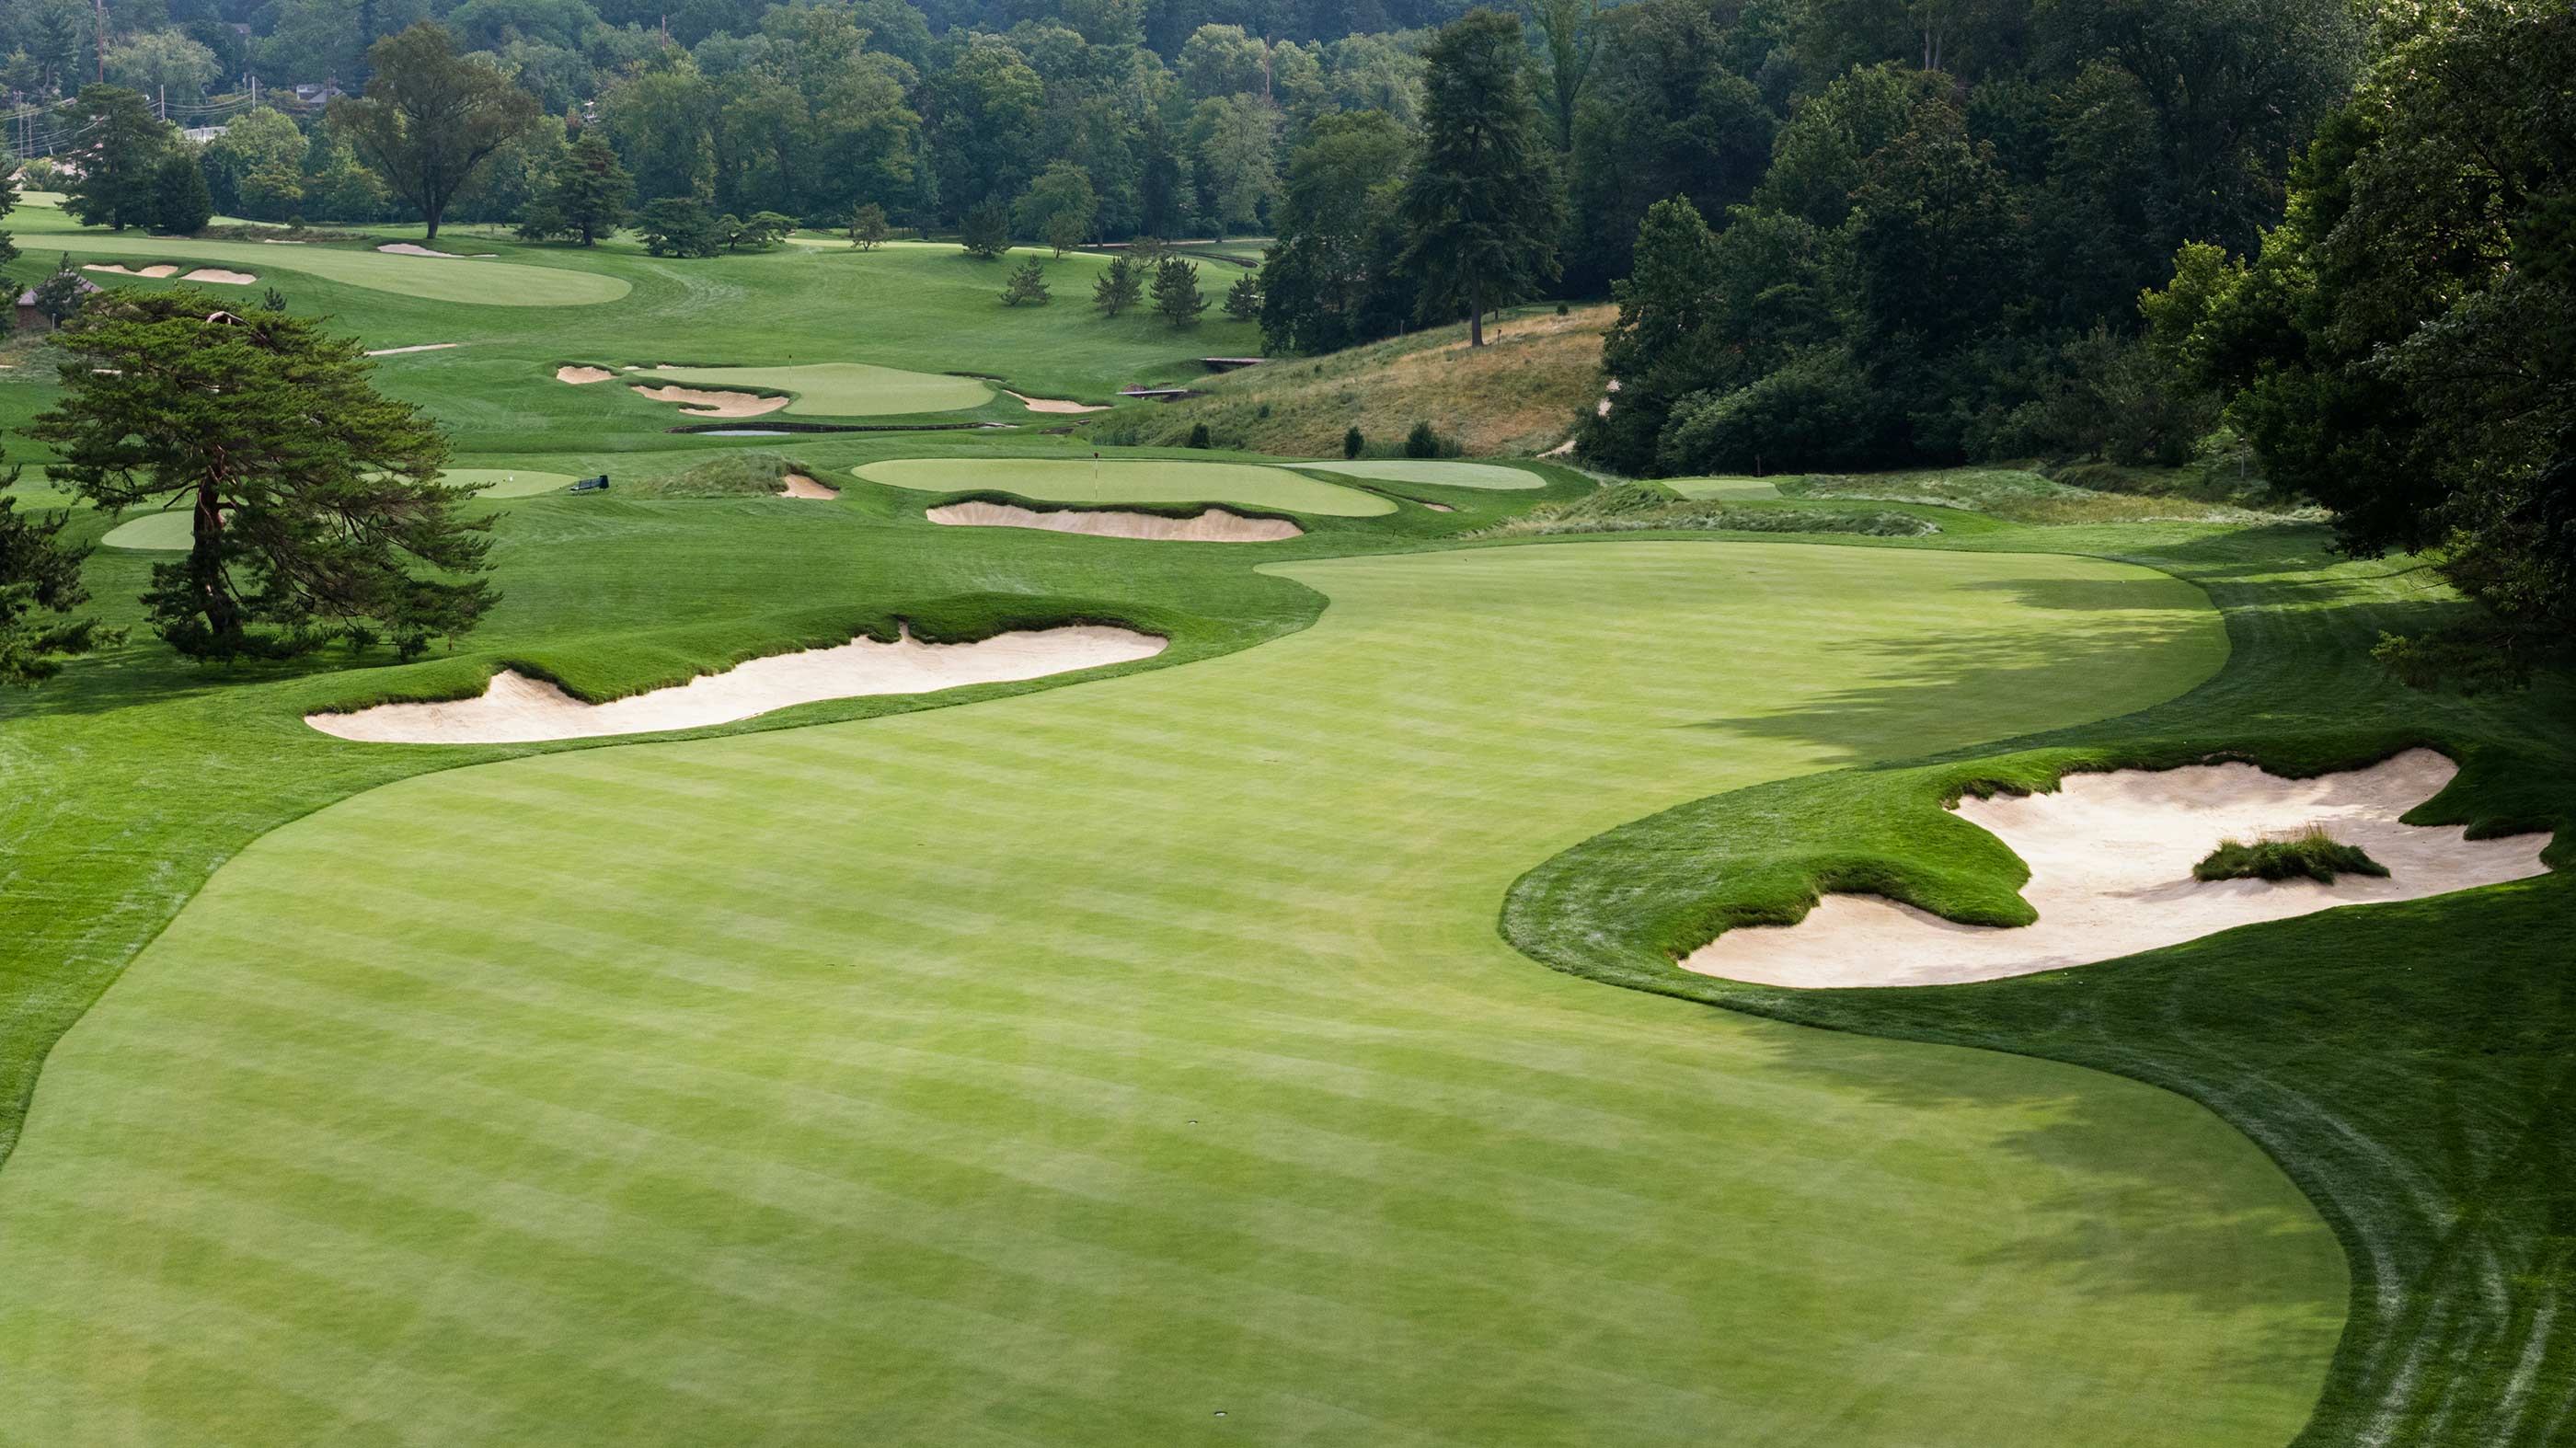
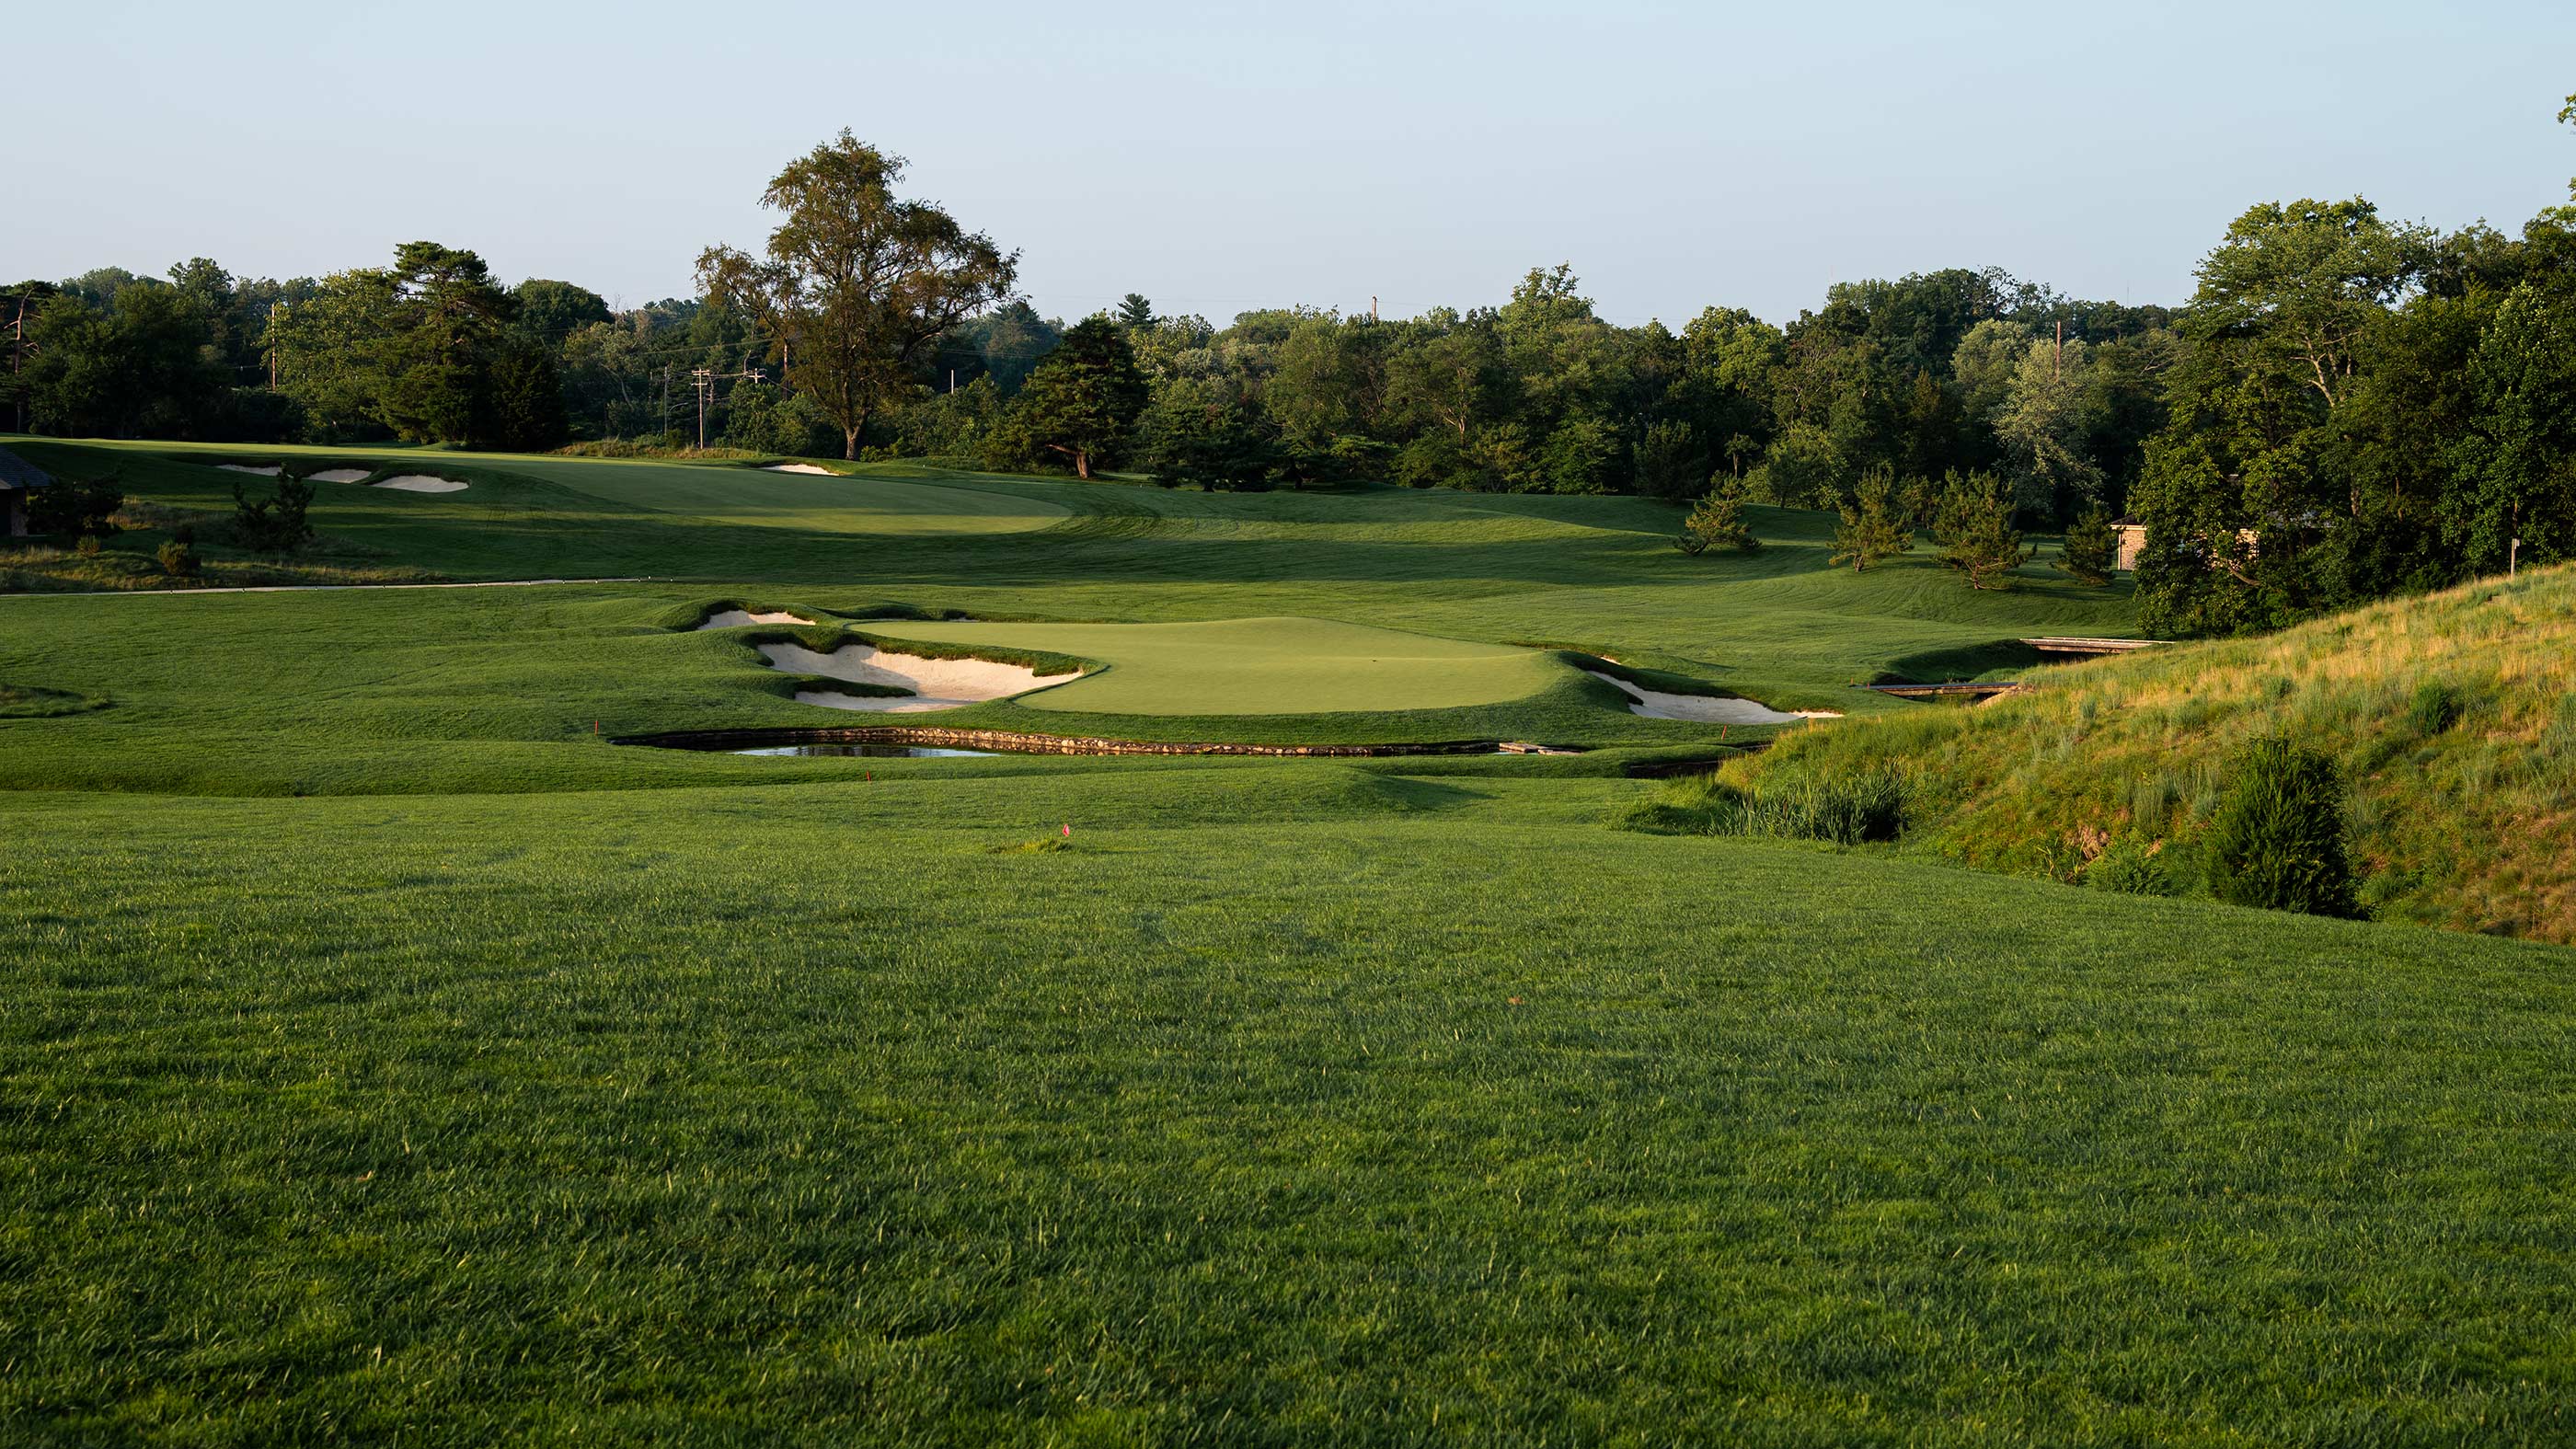
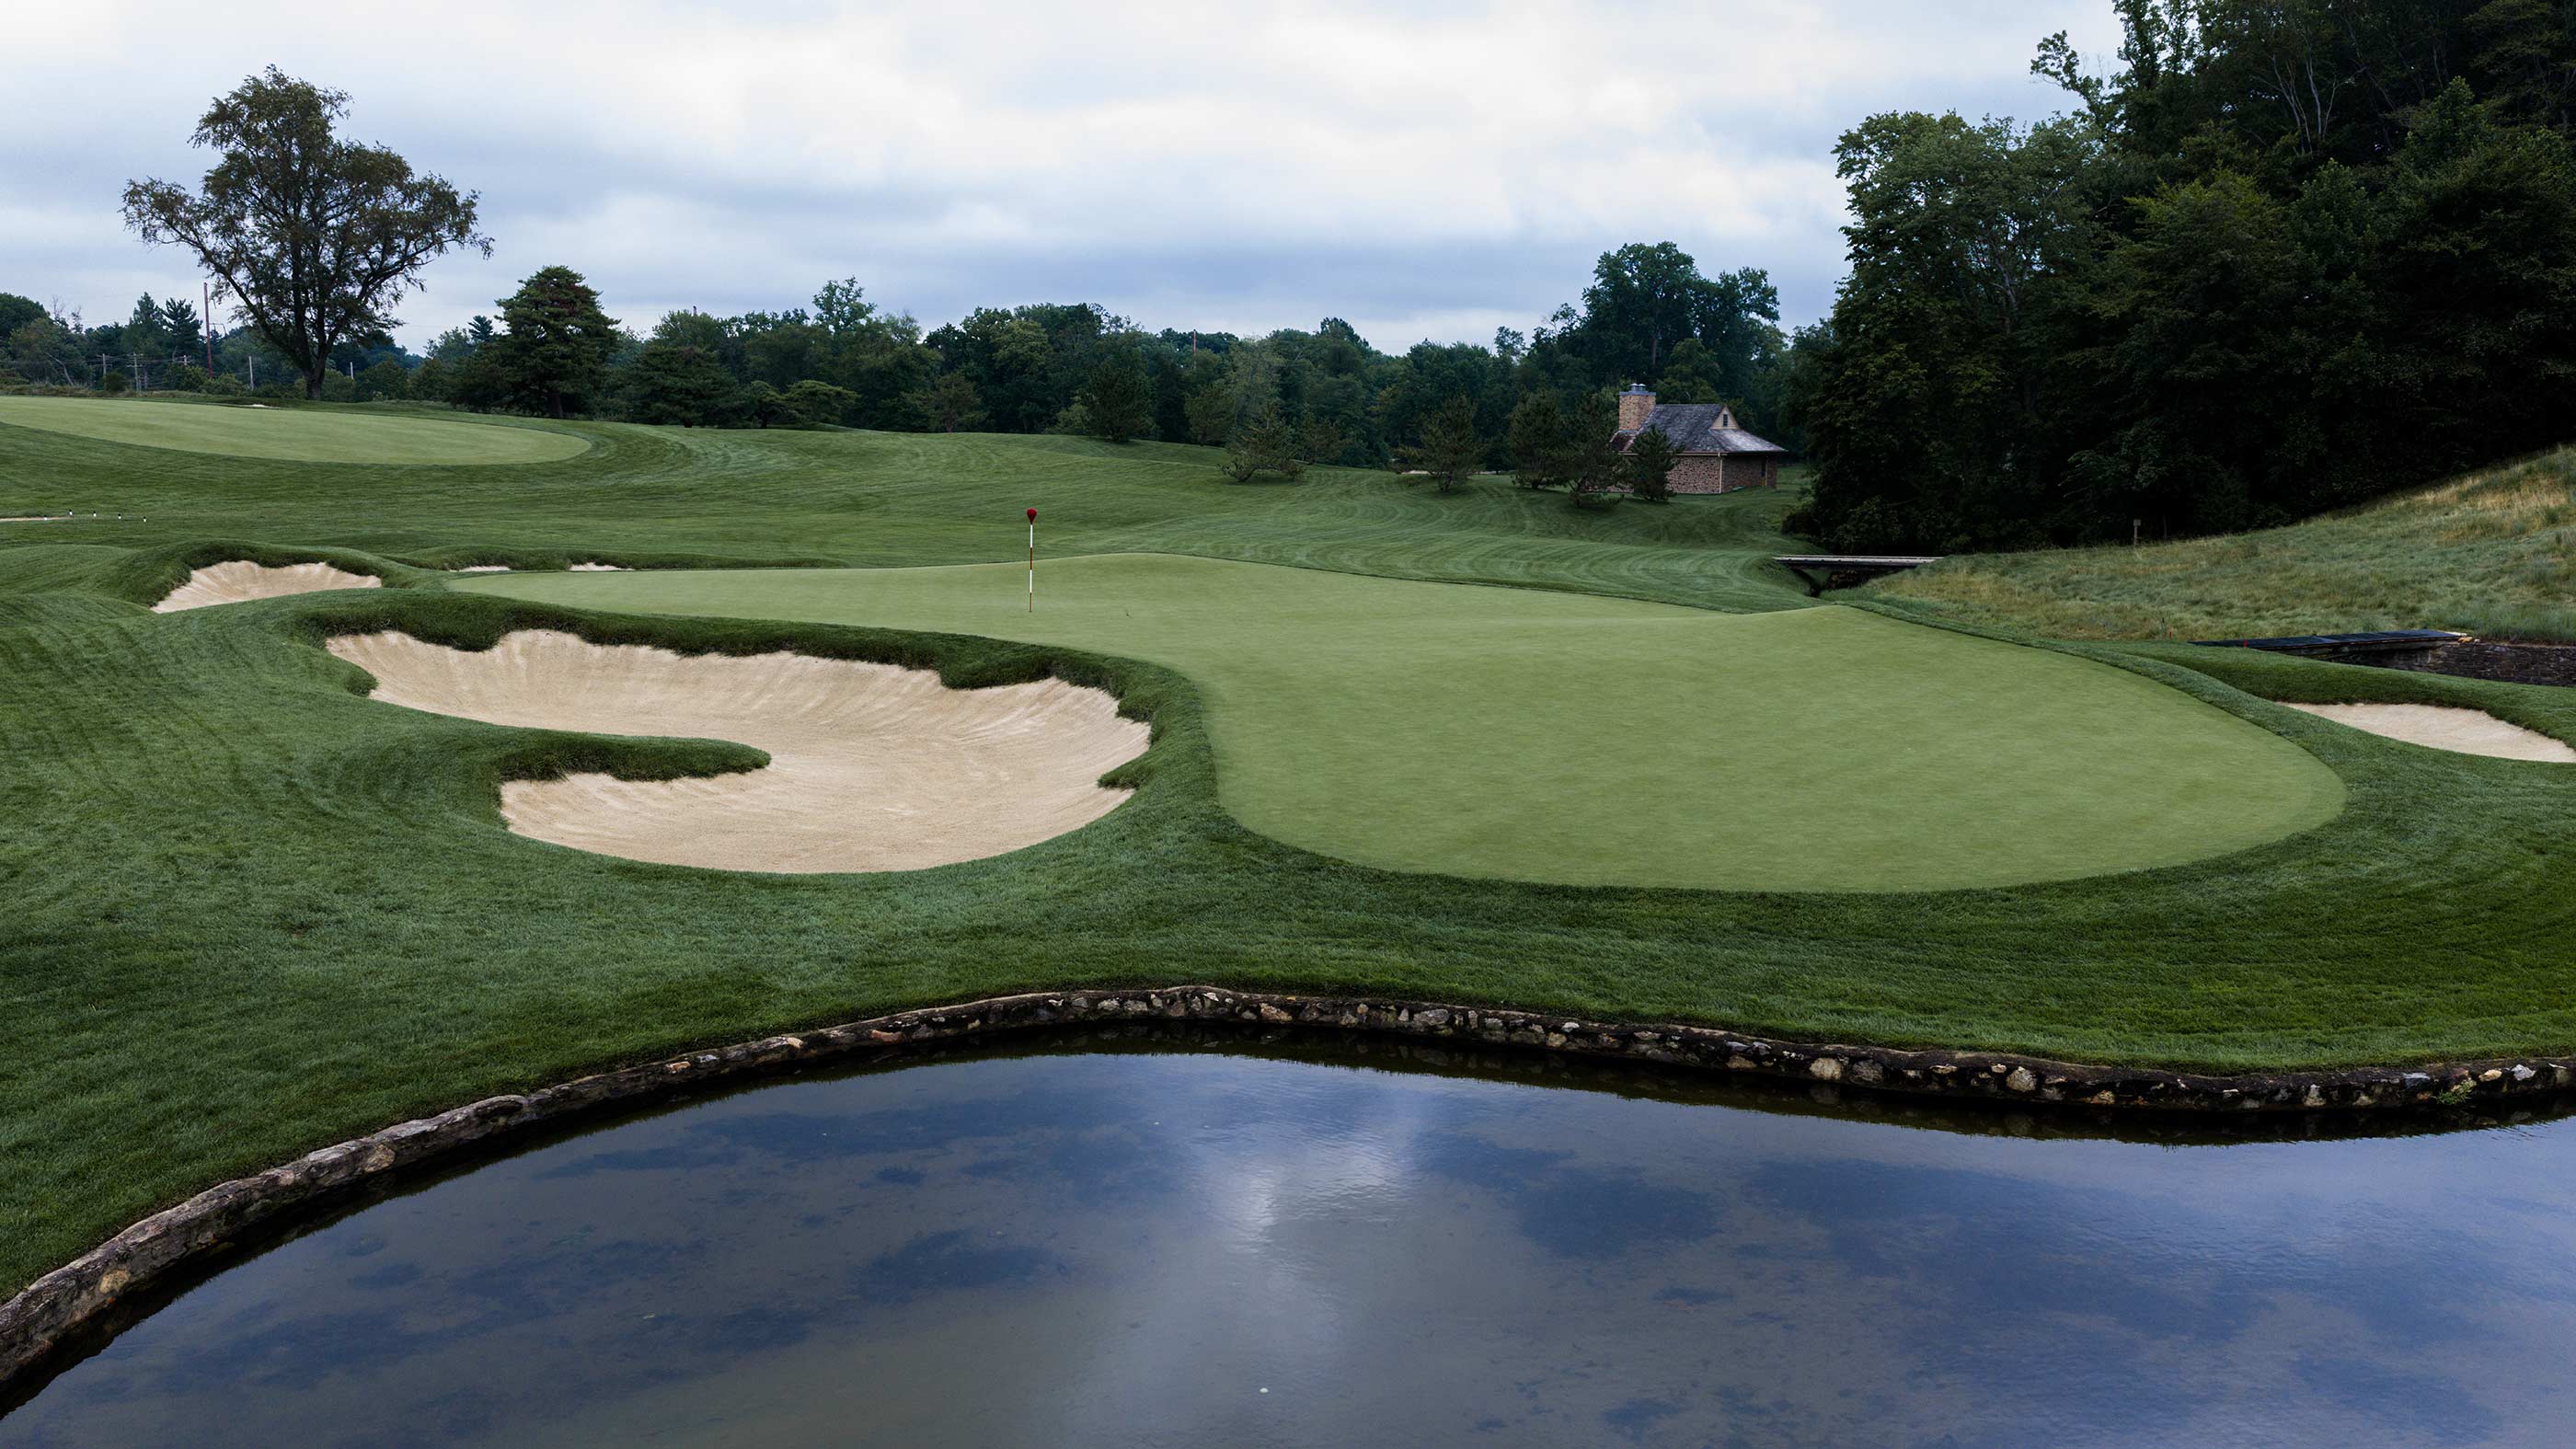
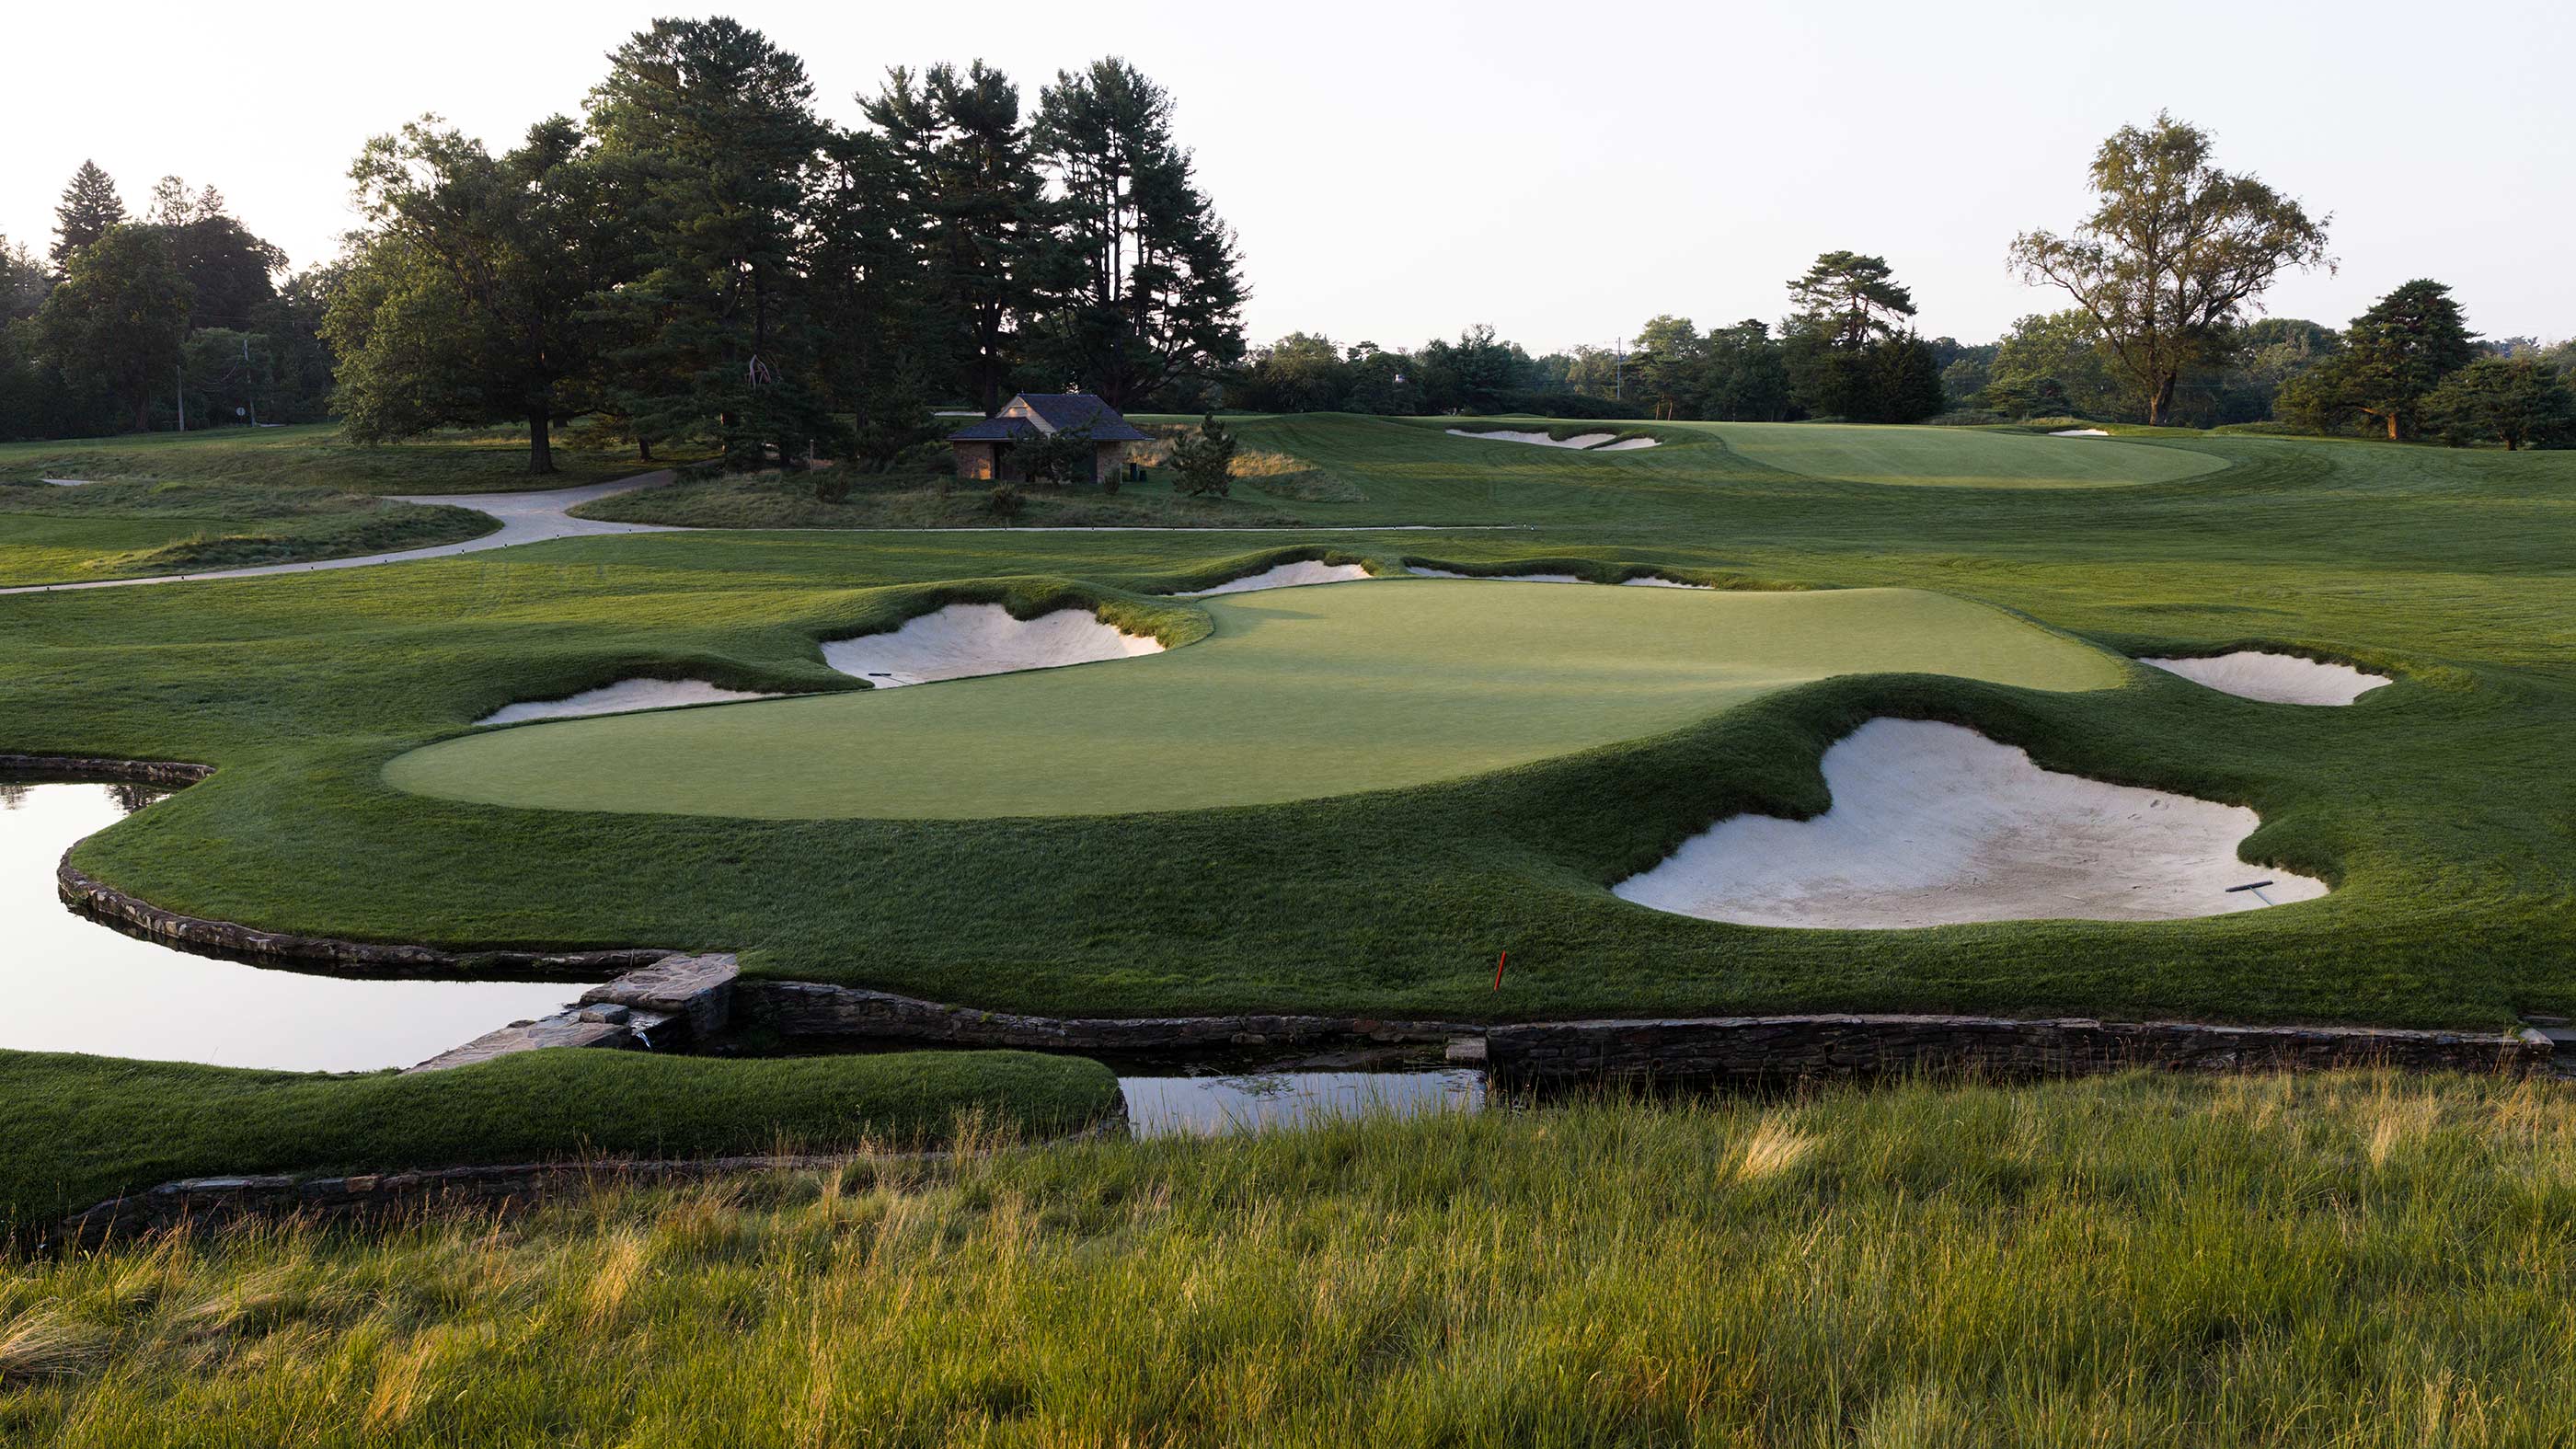
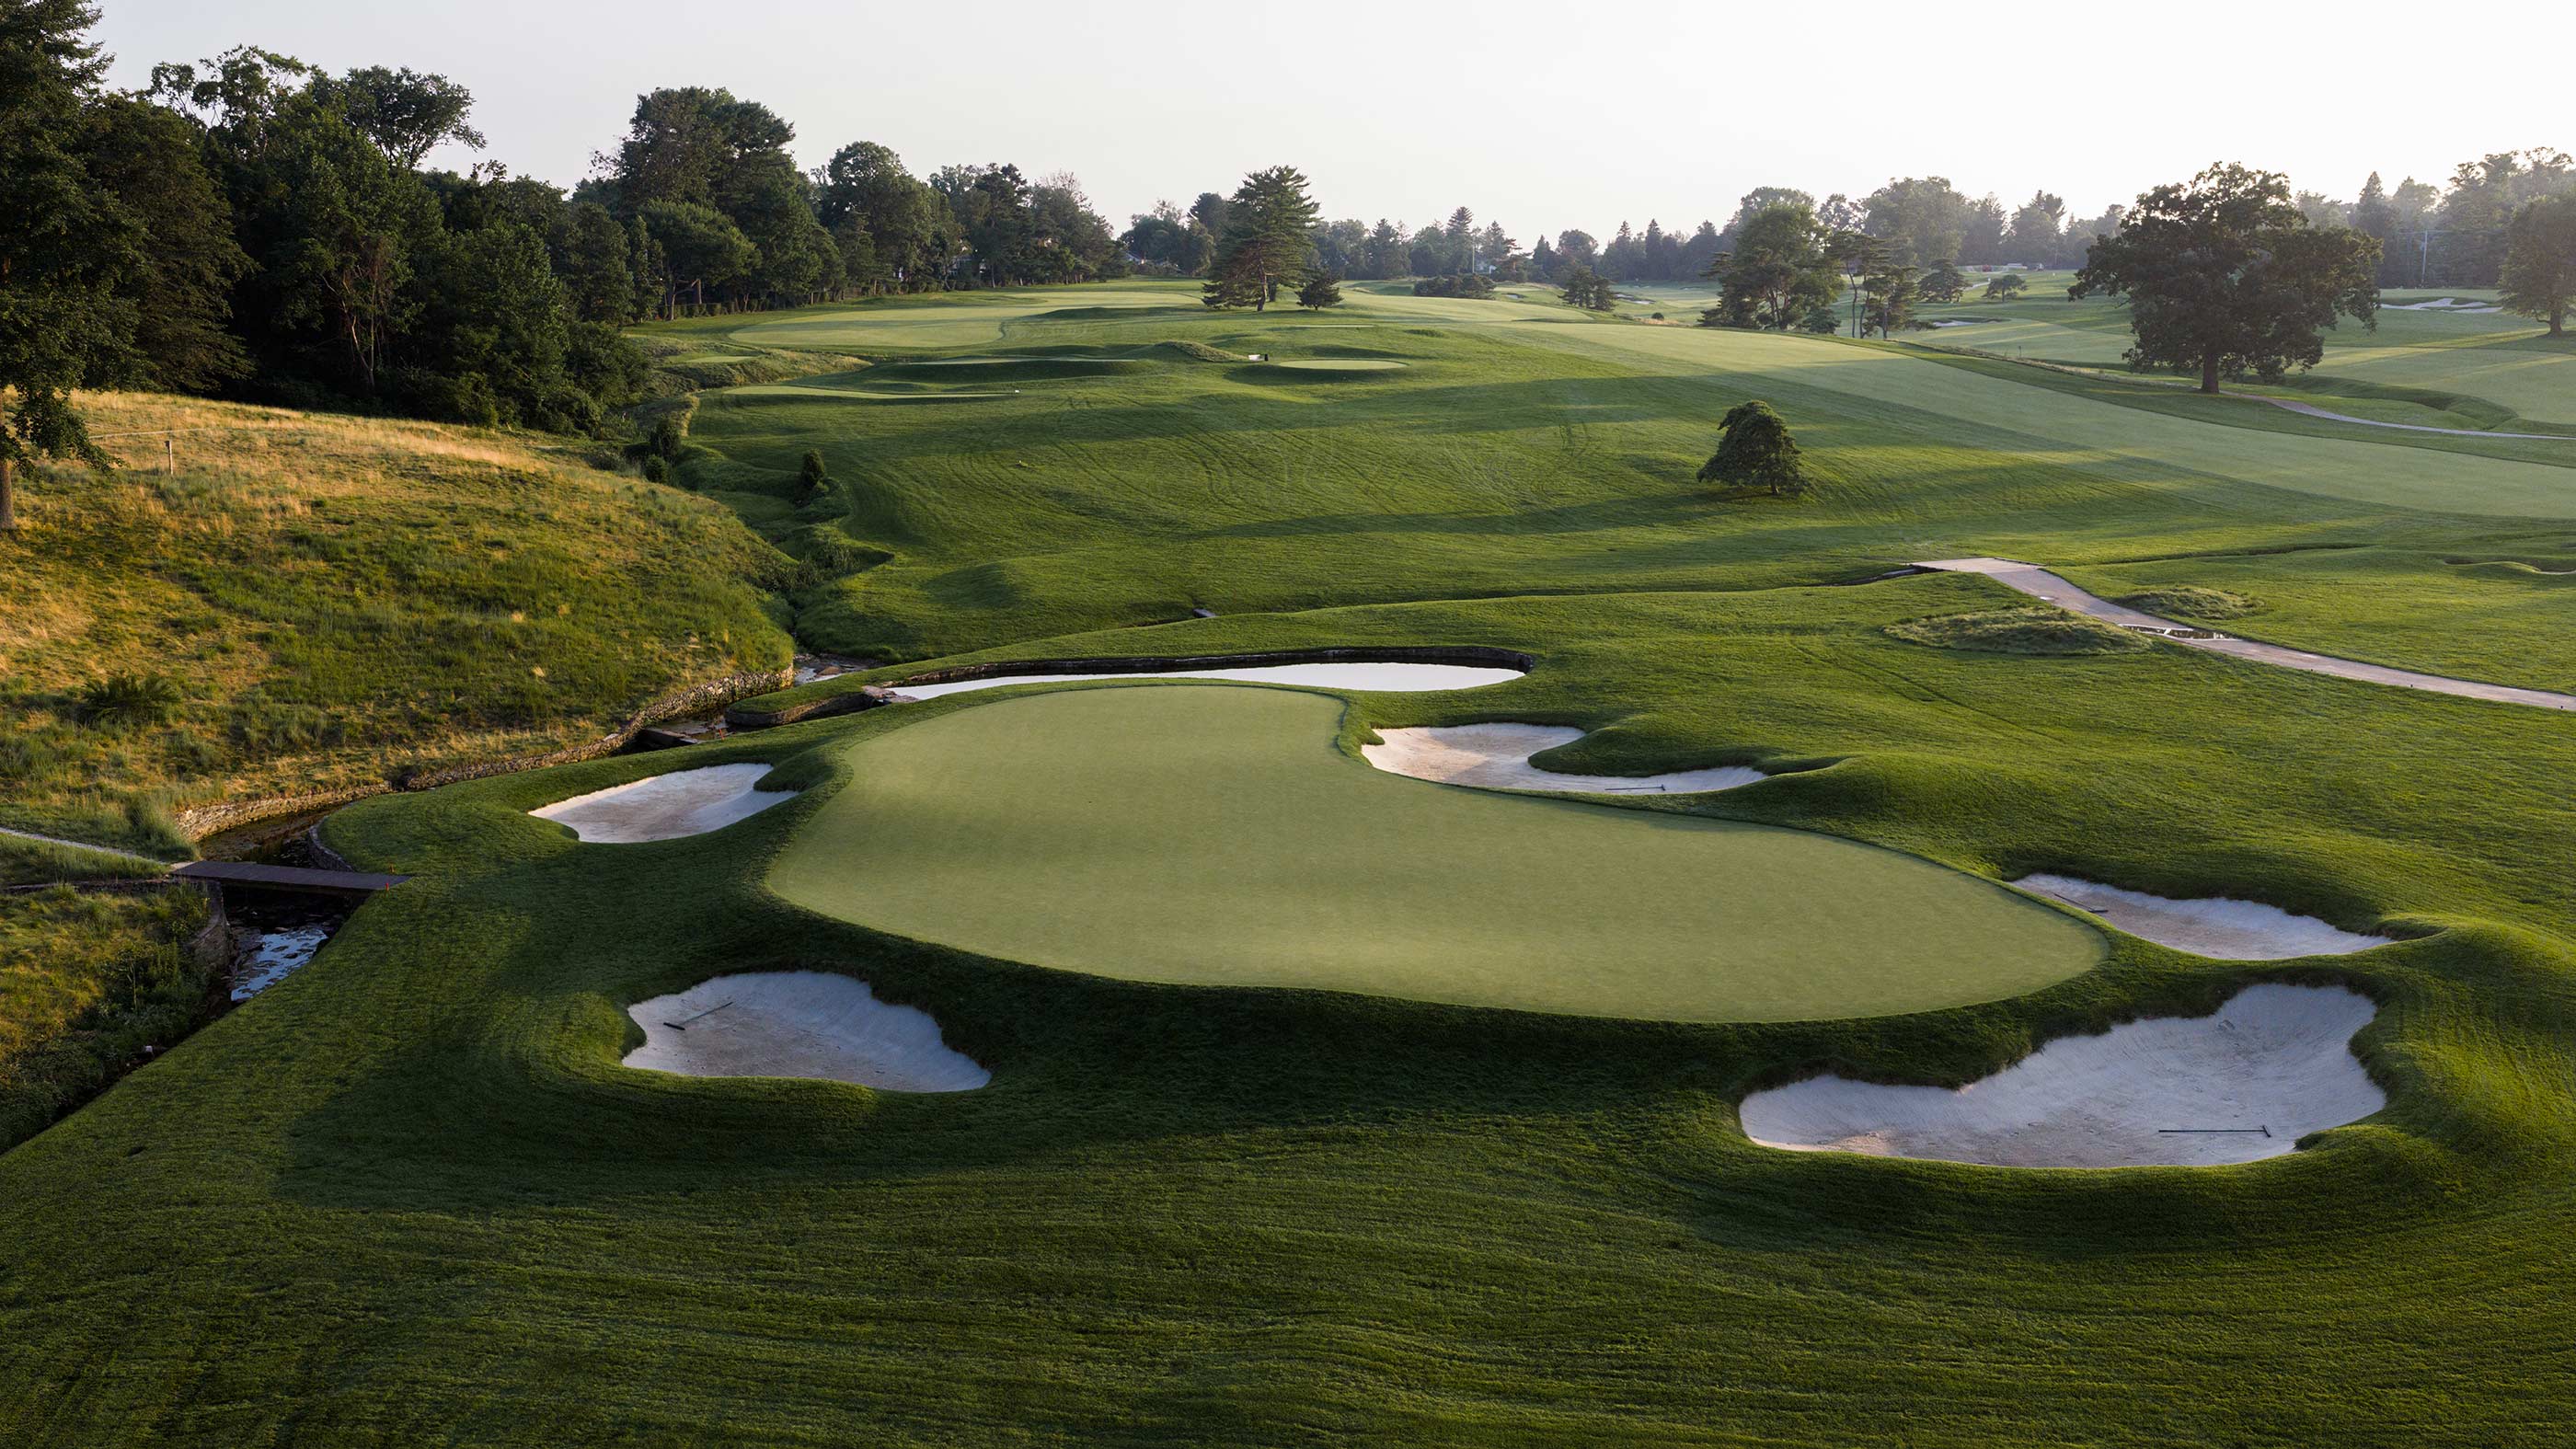
One of the East Course’s most photogenic holes, the par-3 ninth plays downhill to a green fronted by an artificial offshoot of a natural creek. The cashew-shaped putting surface is intricate by Merion’s standards, with internal rolls that swoop up into exterior hummocks.

Hole 10
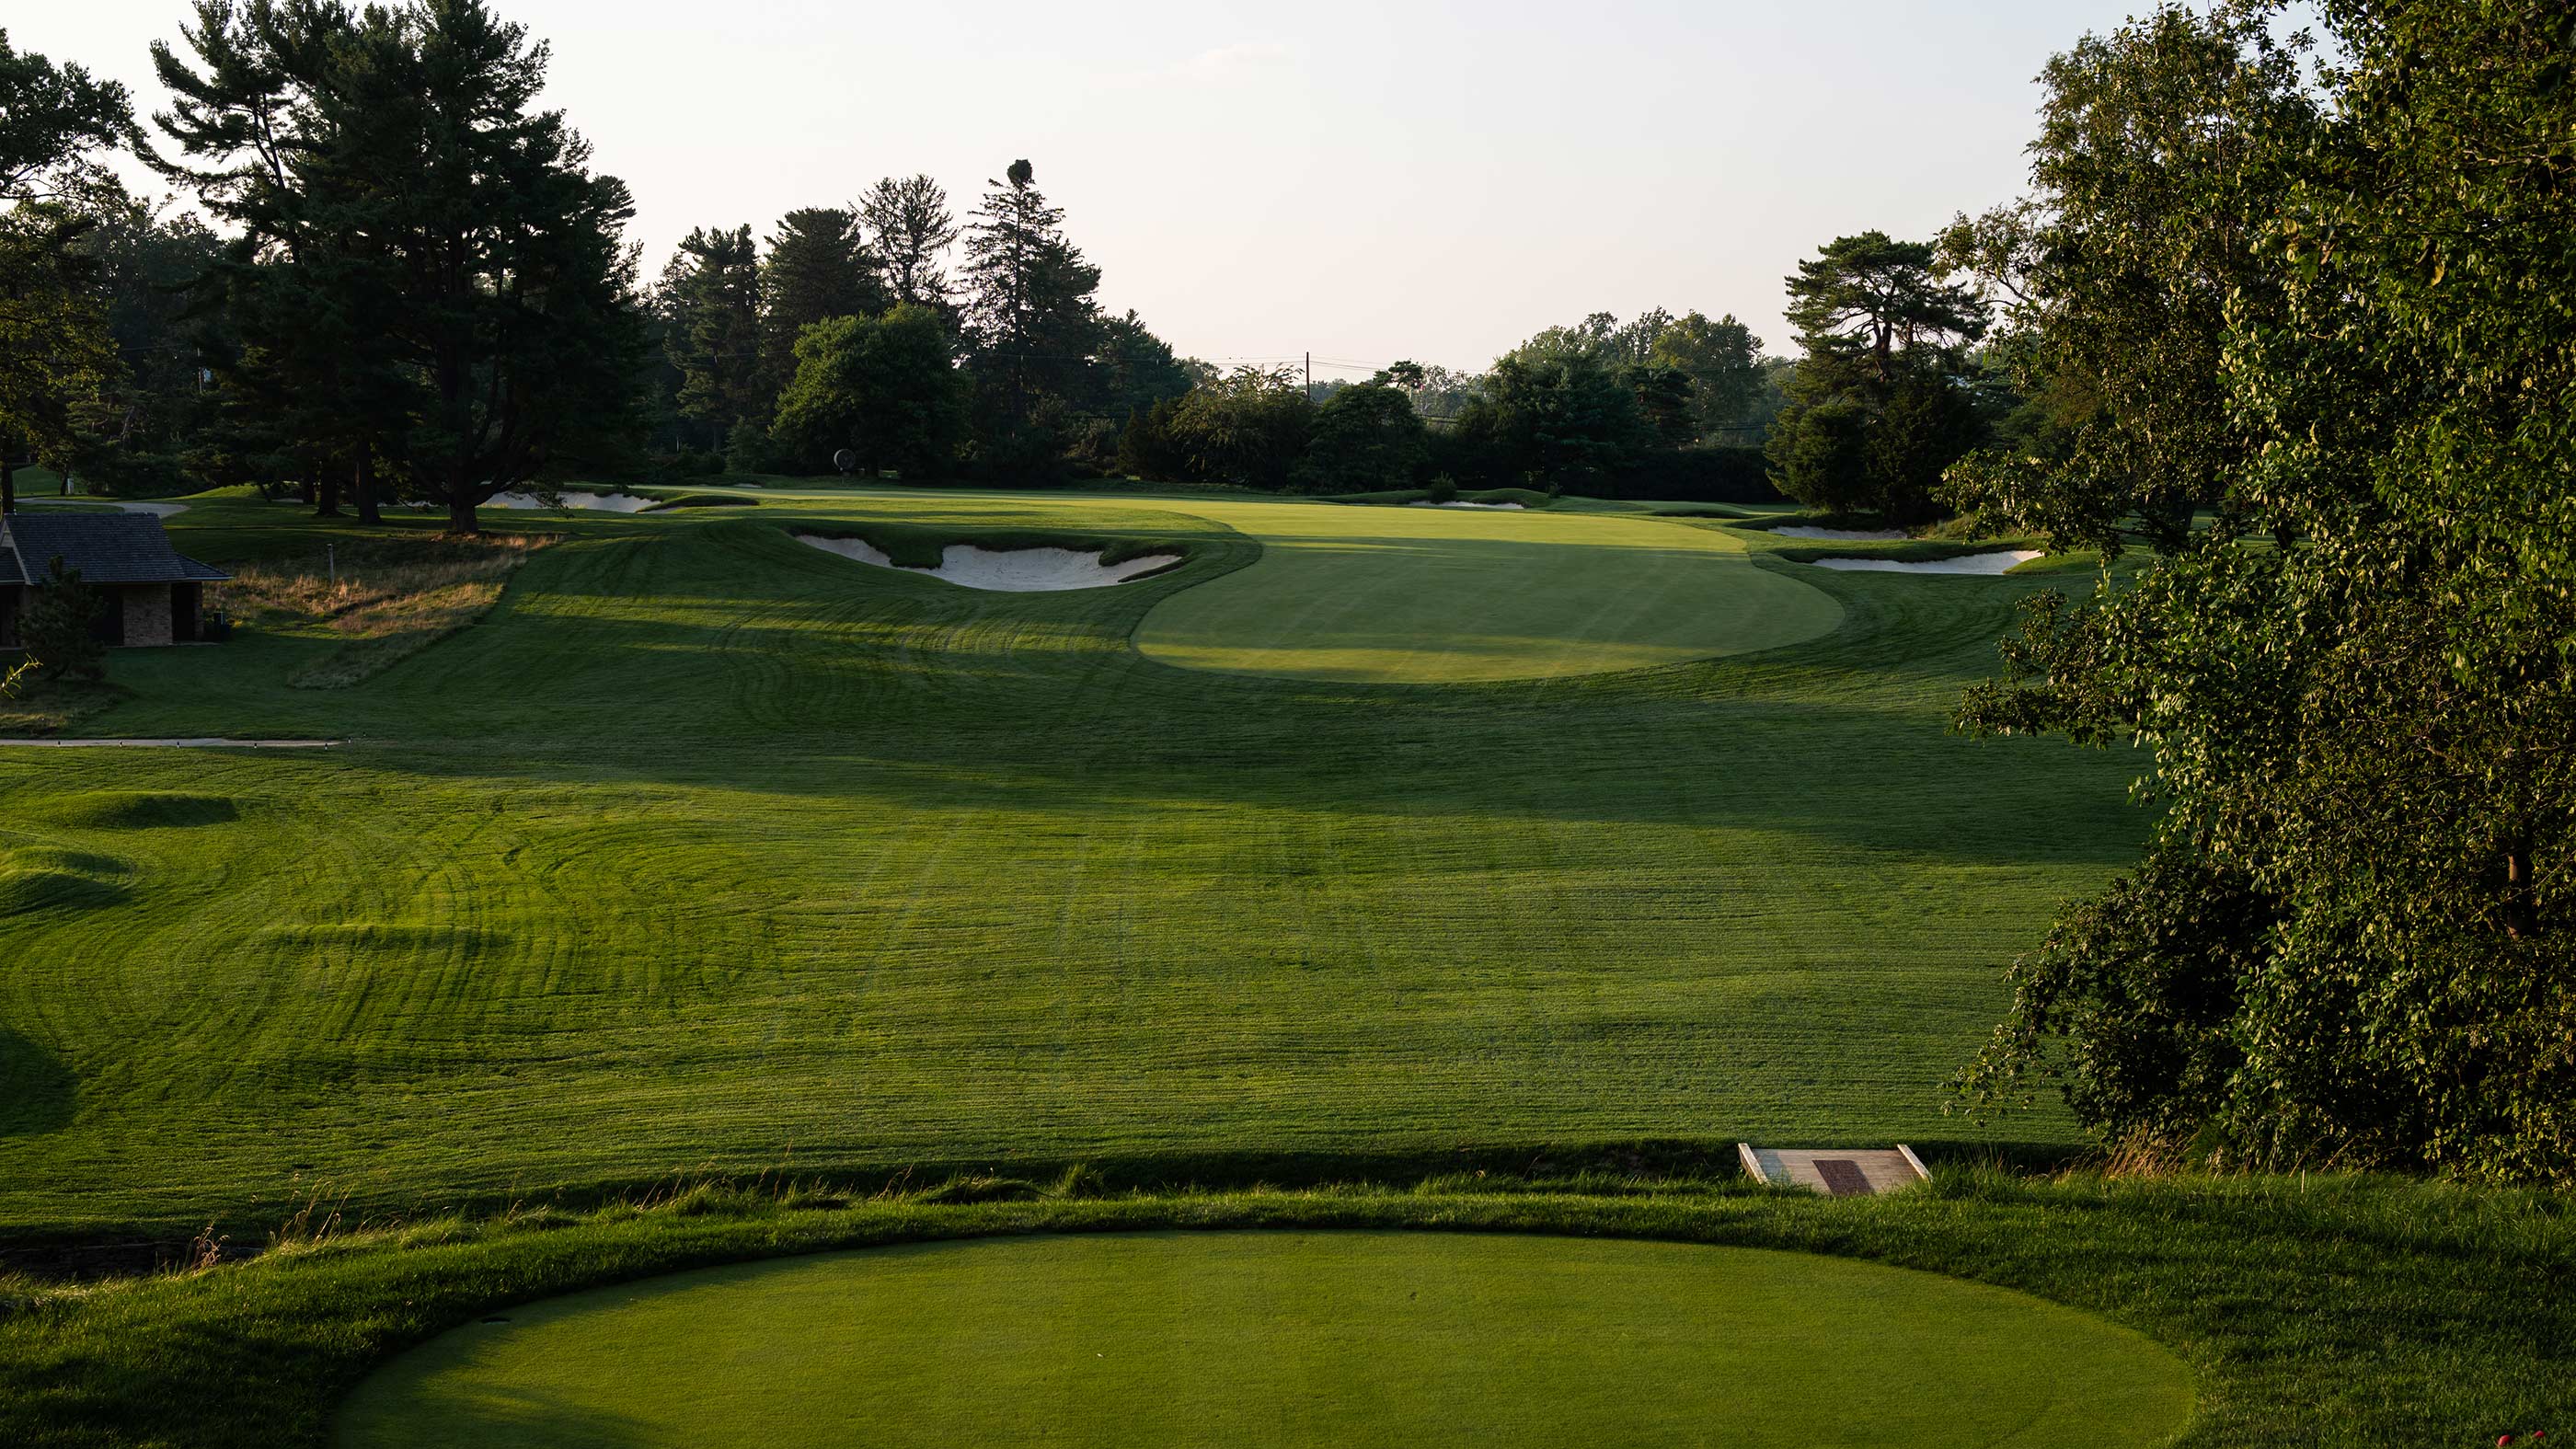
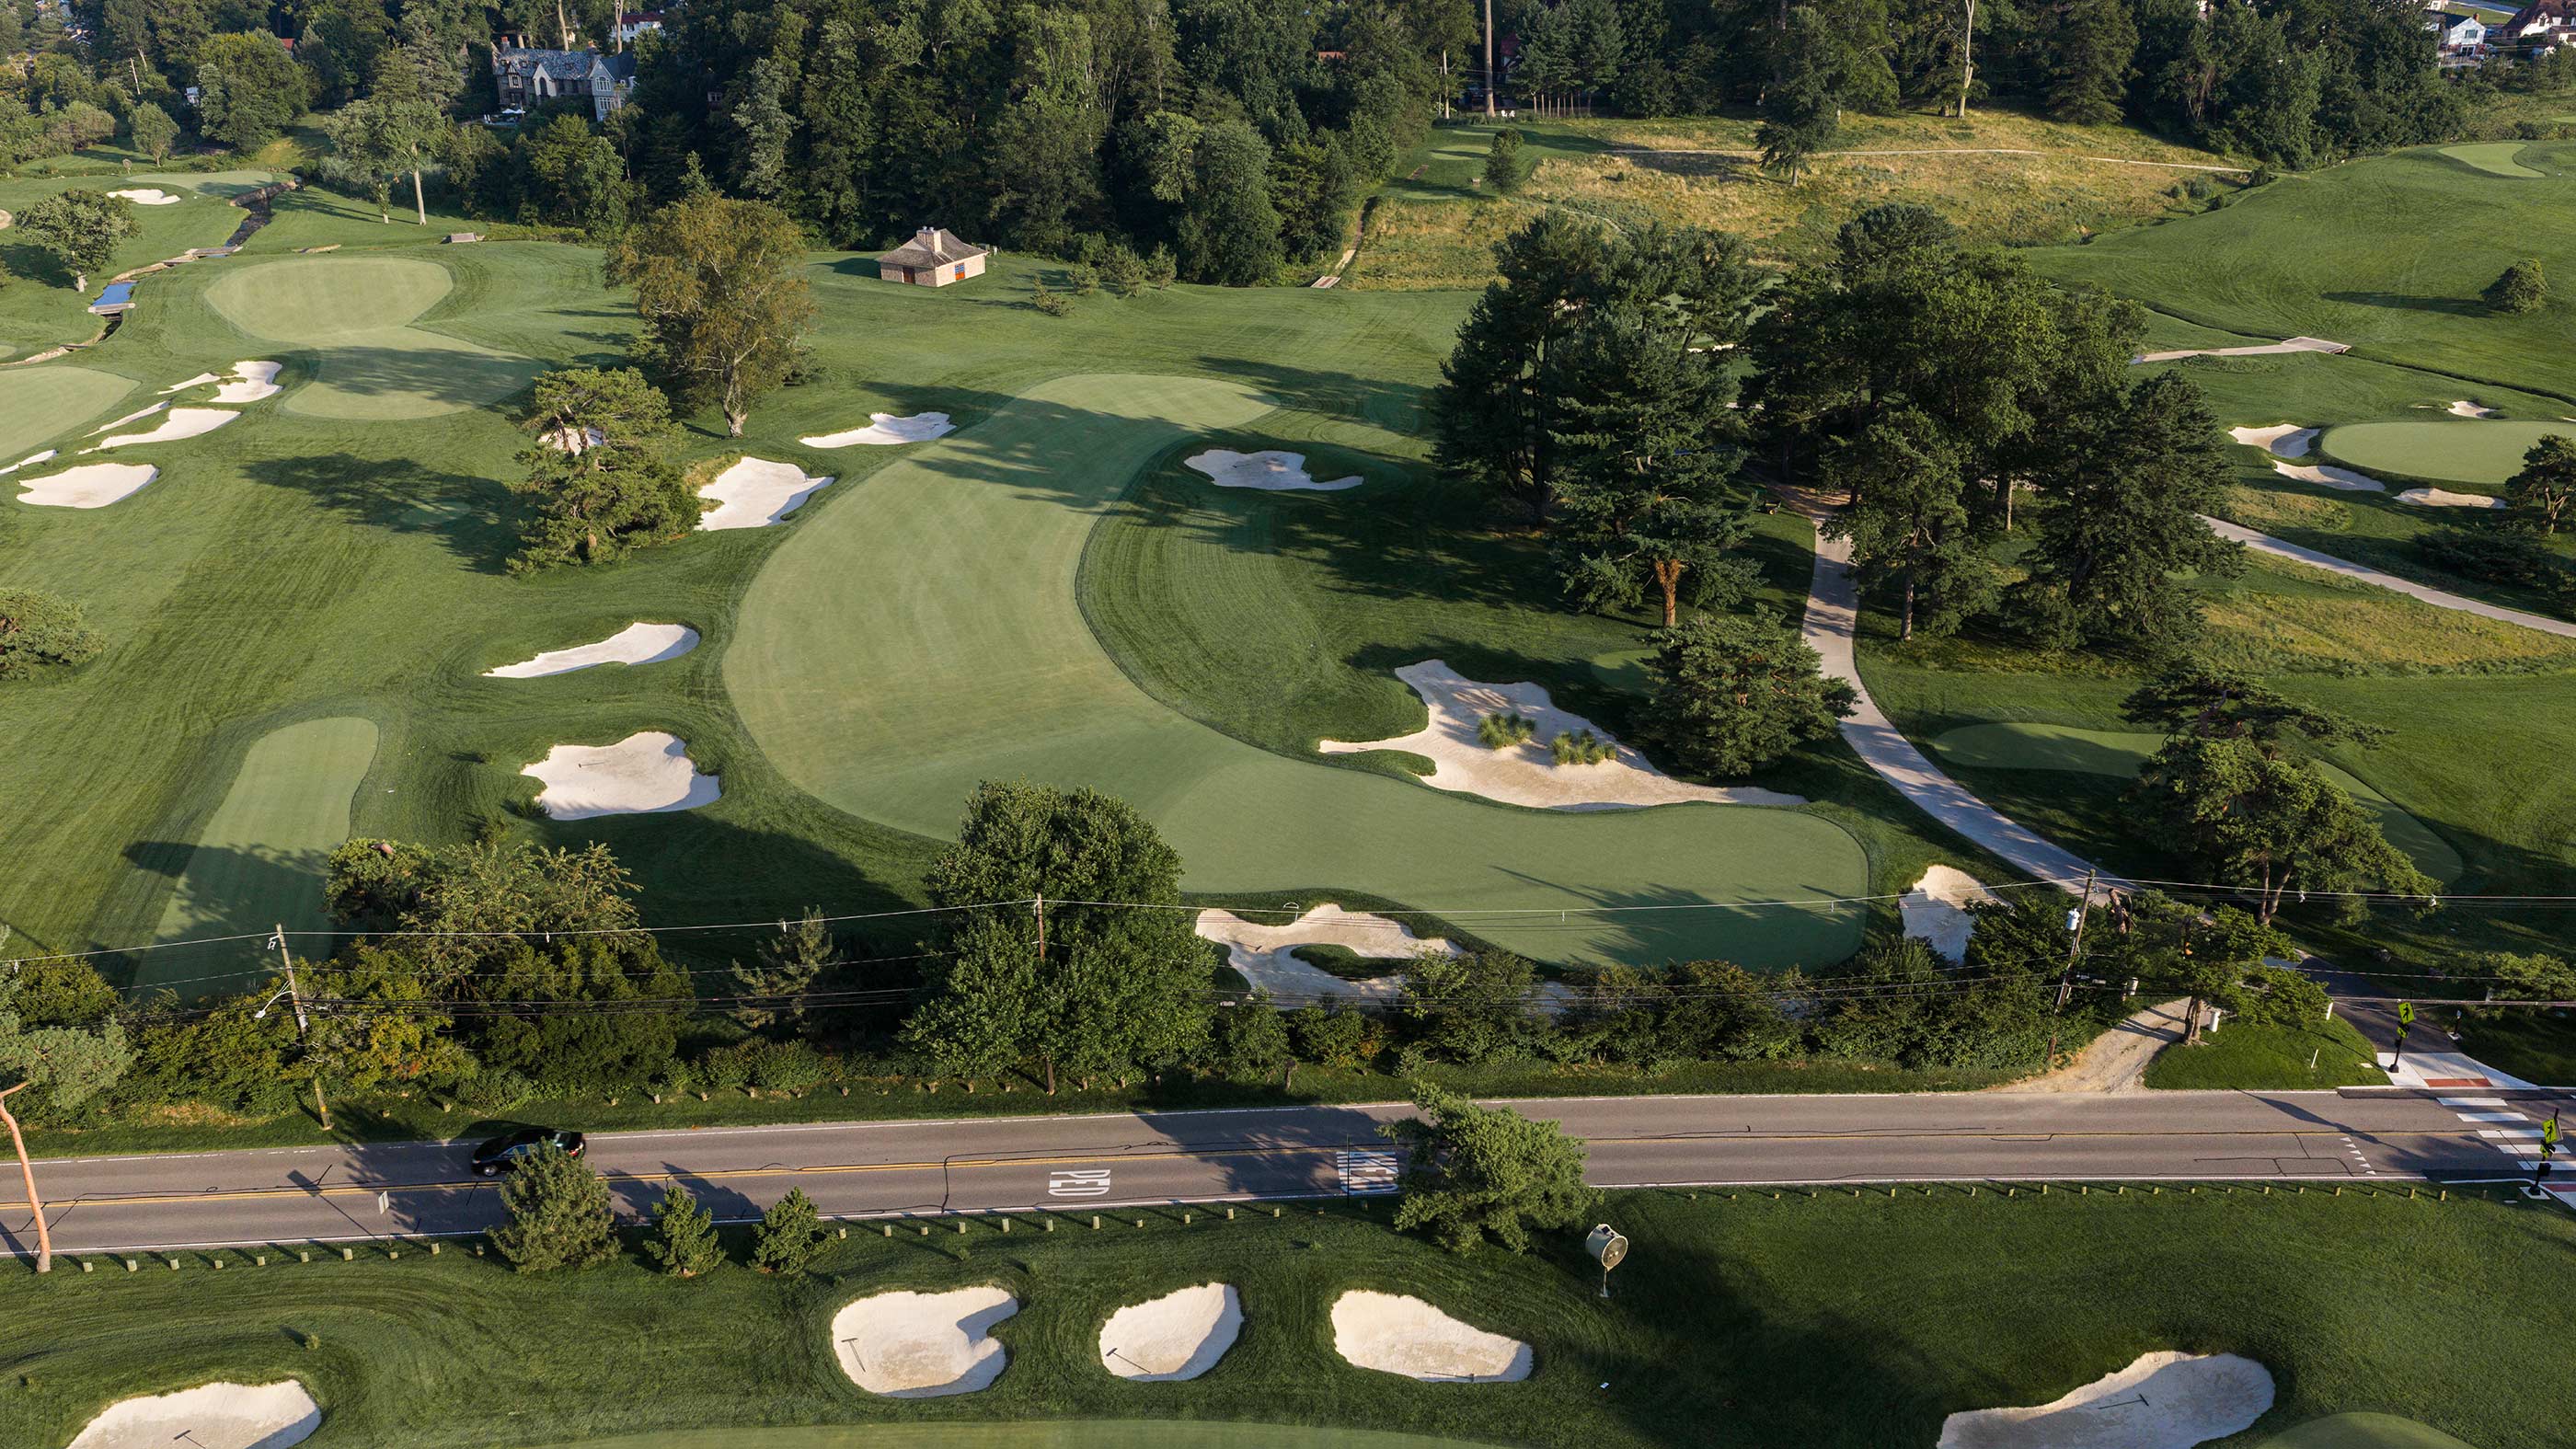
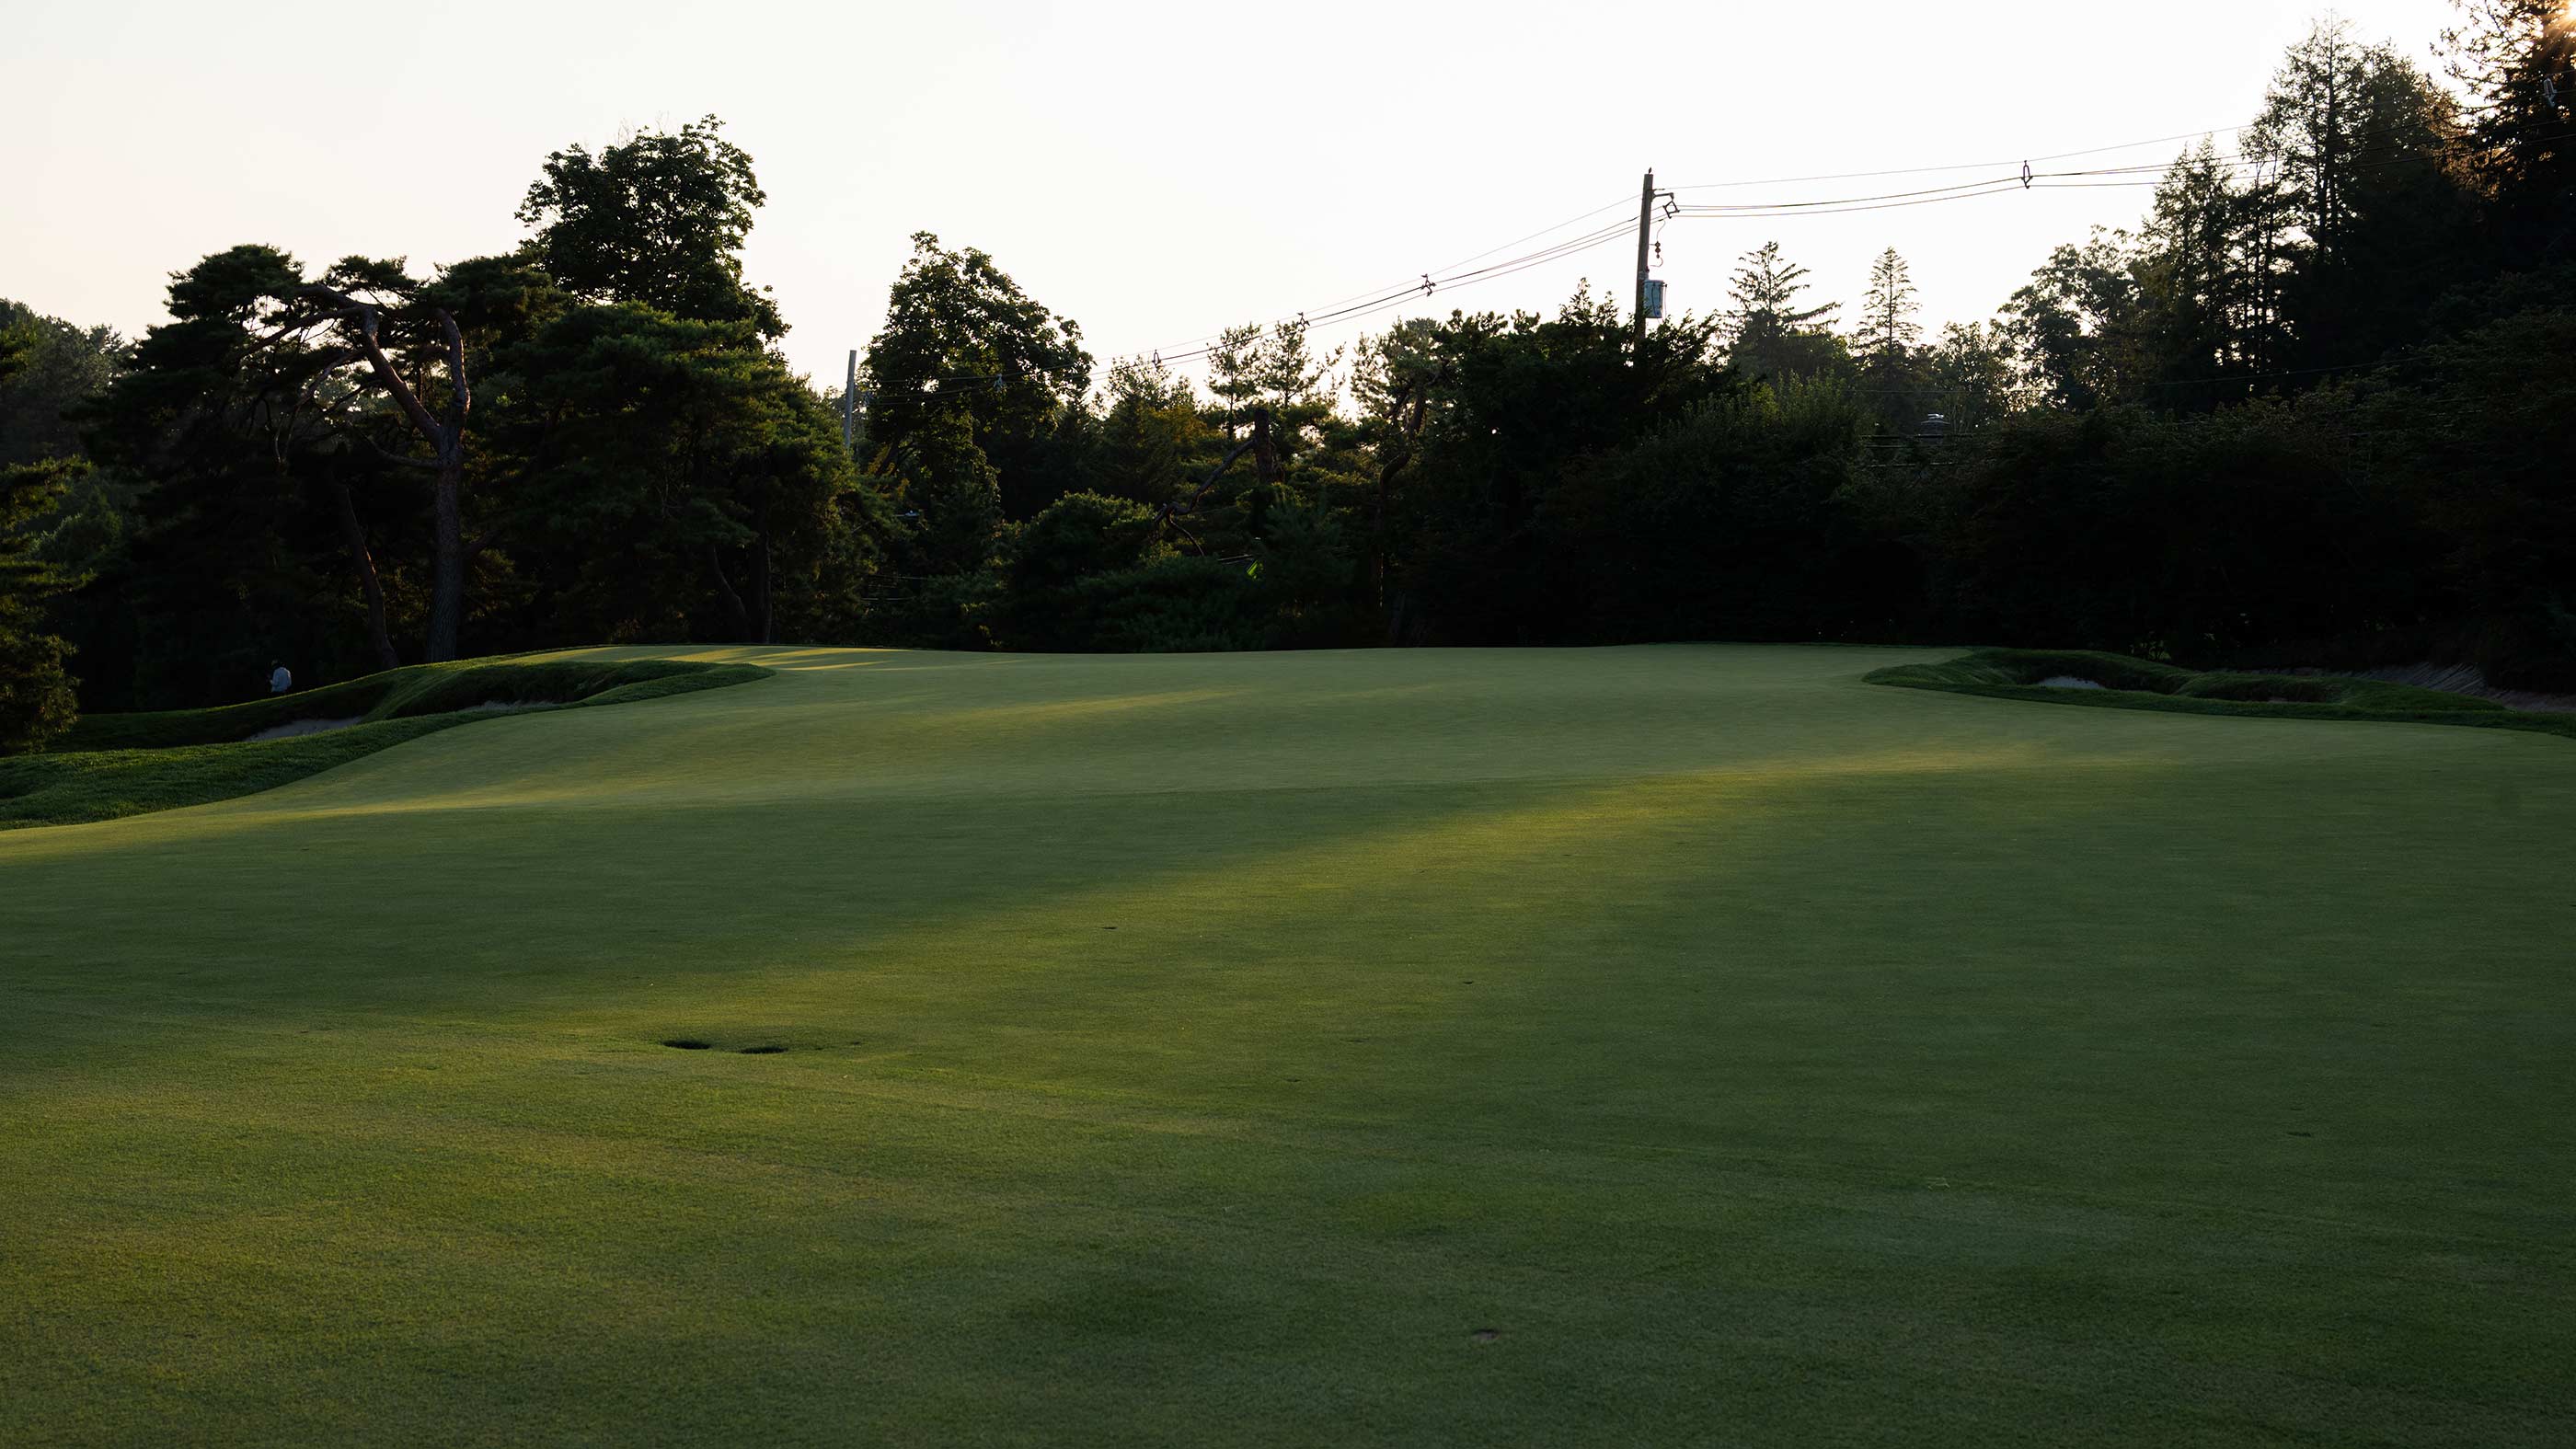
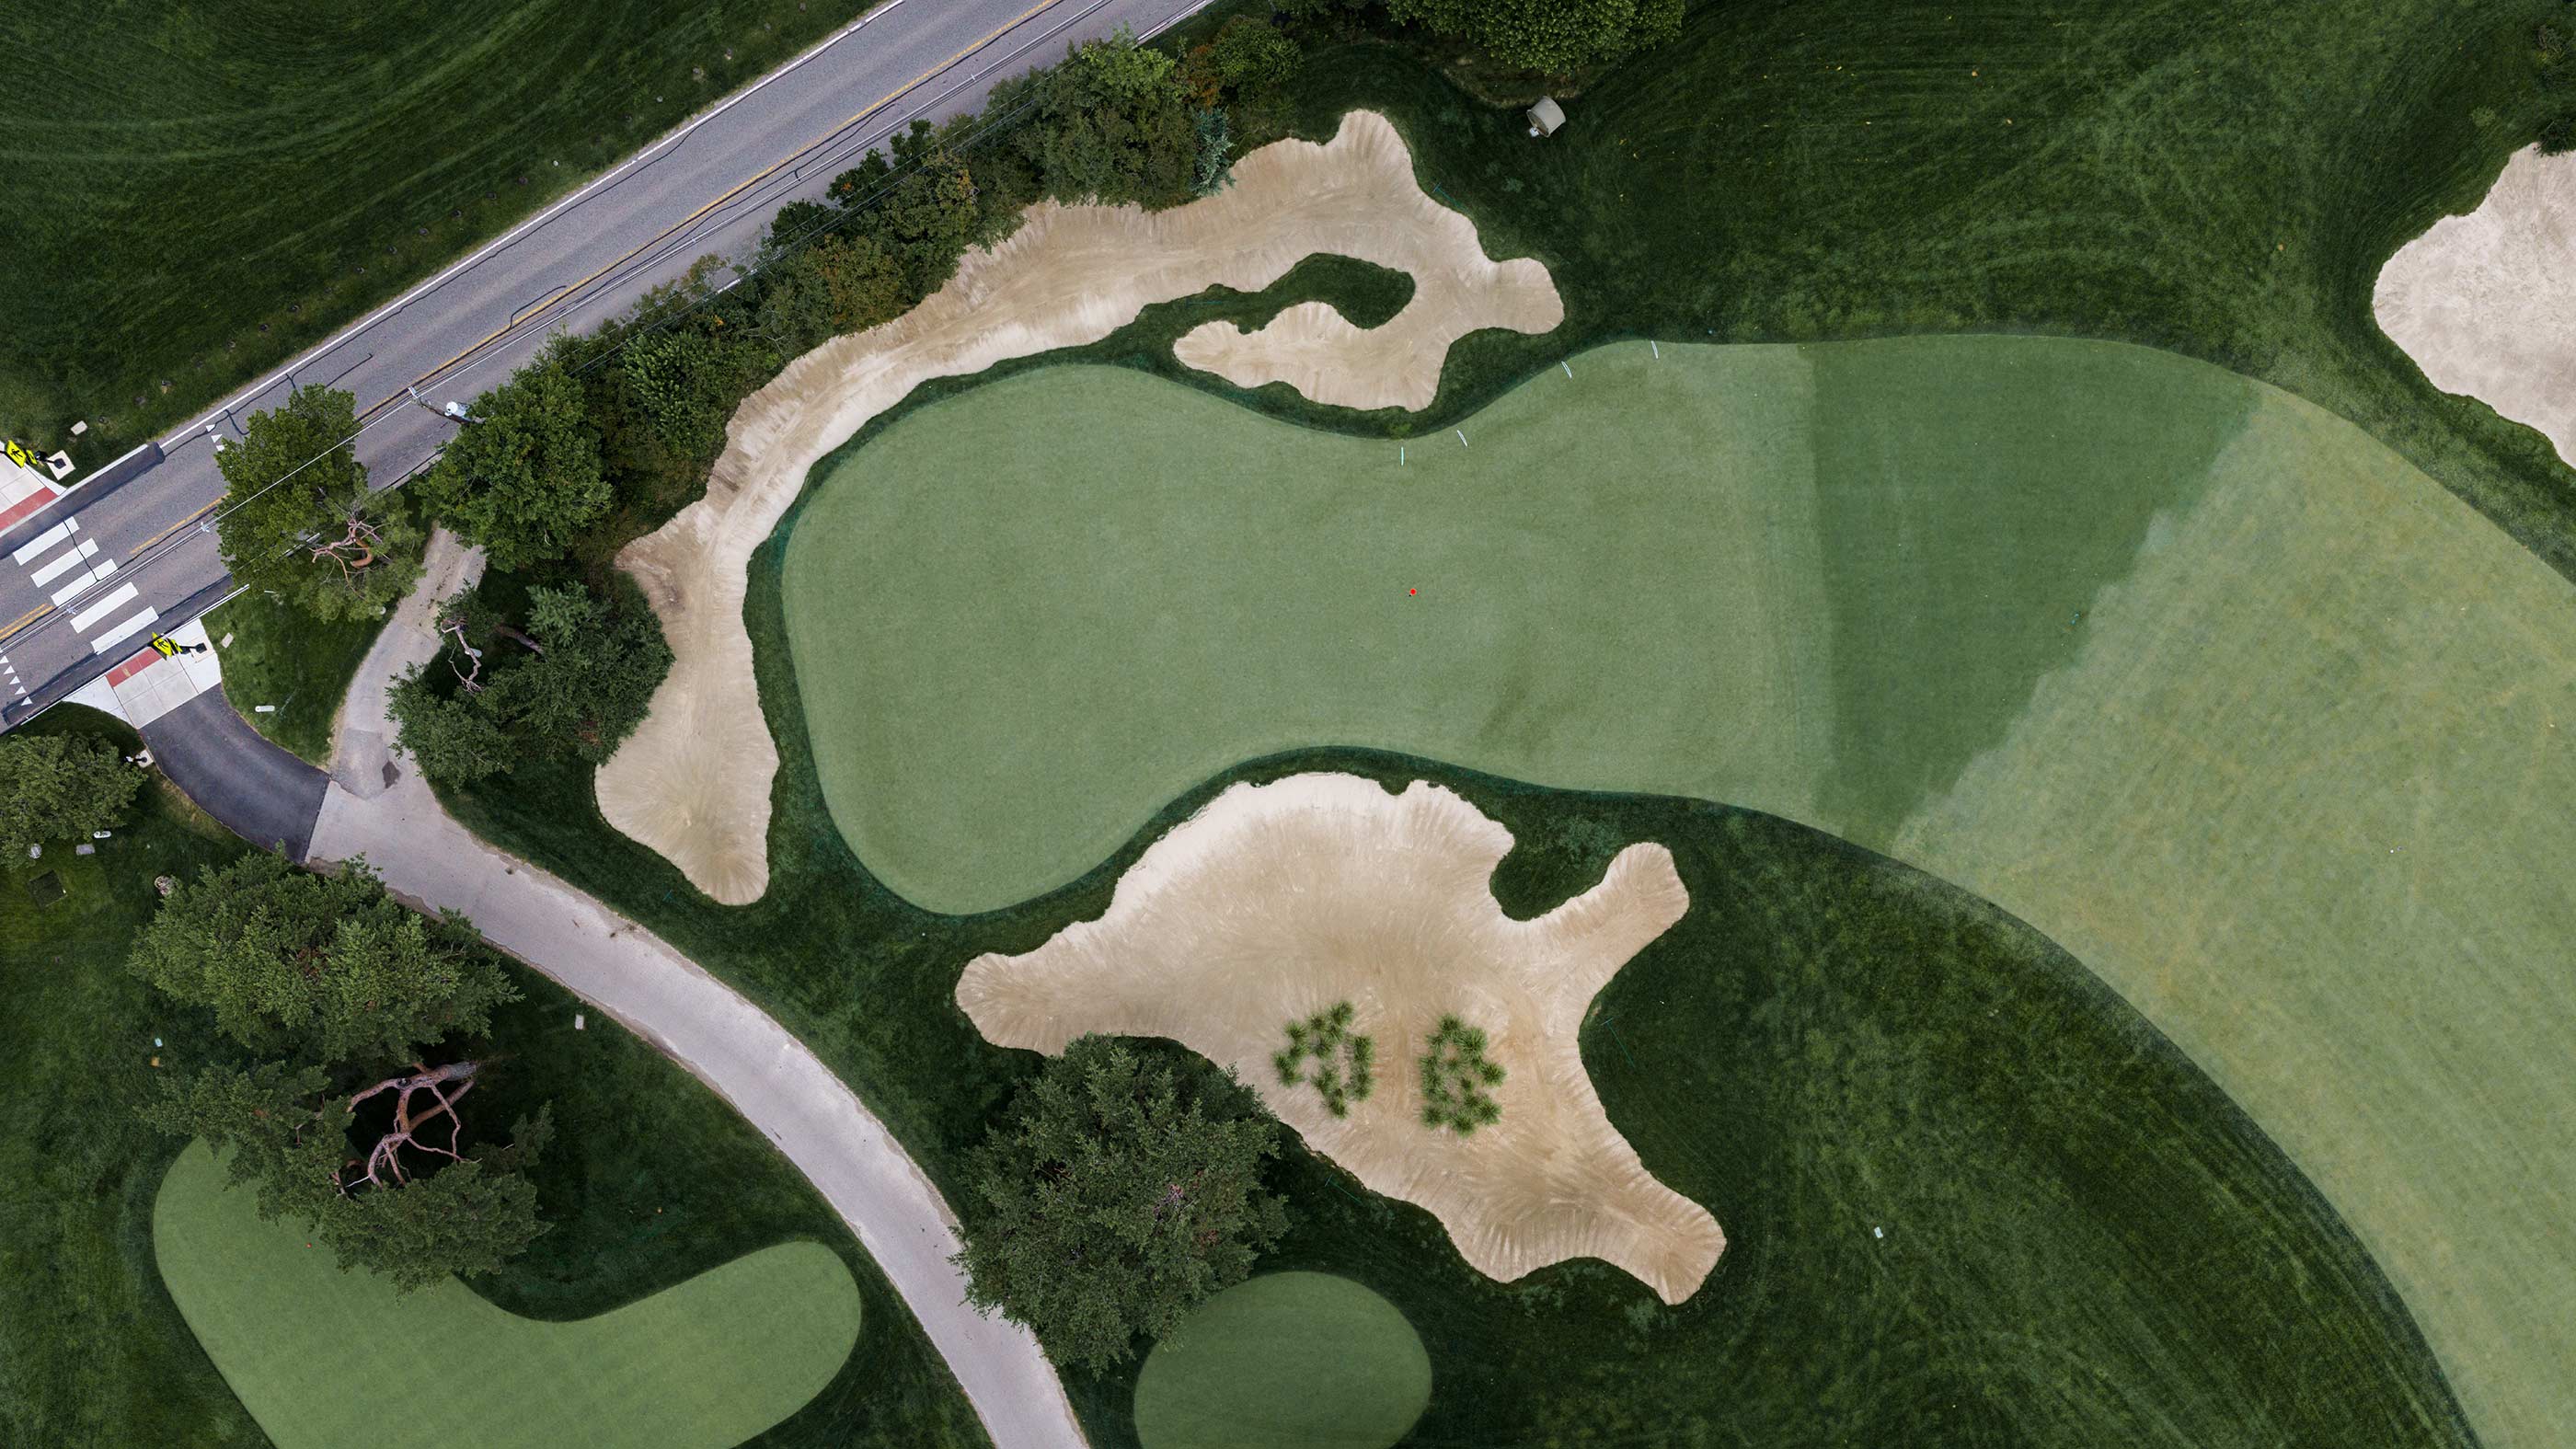
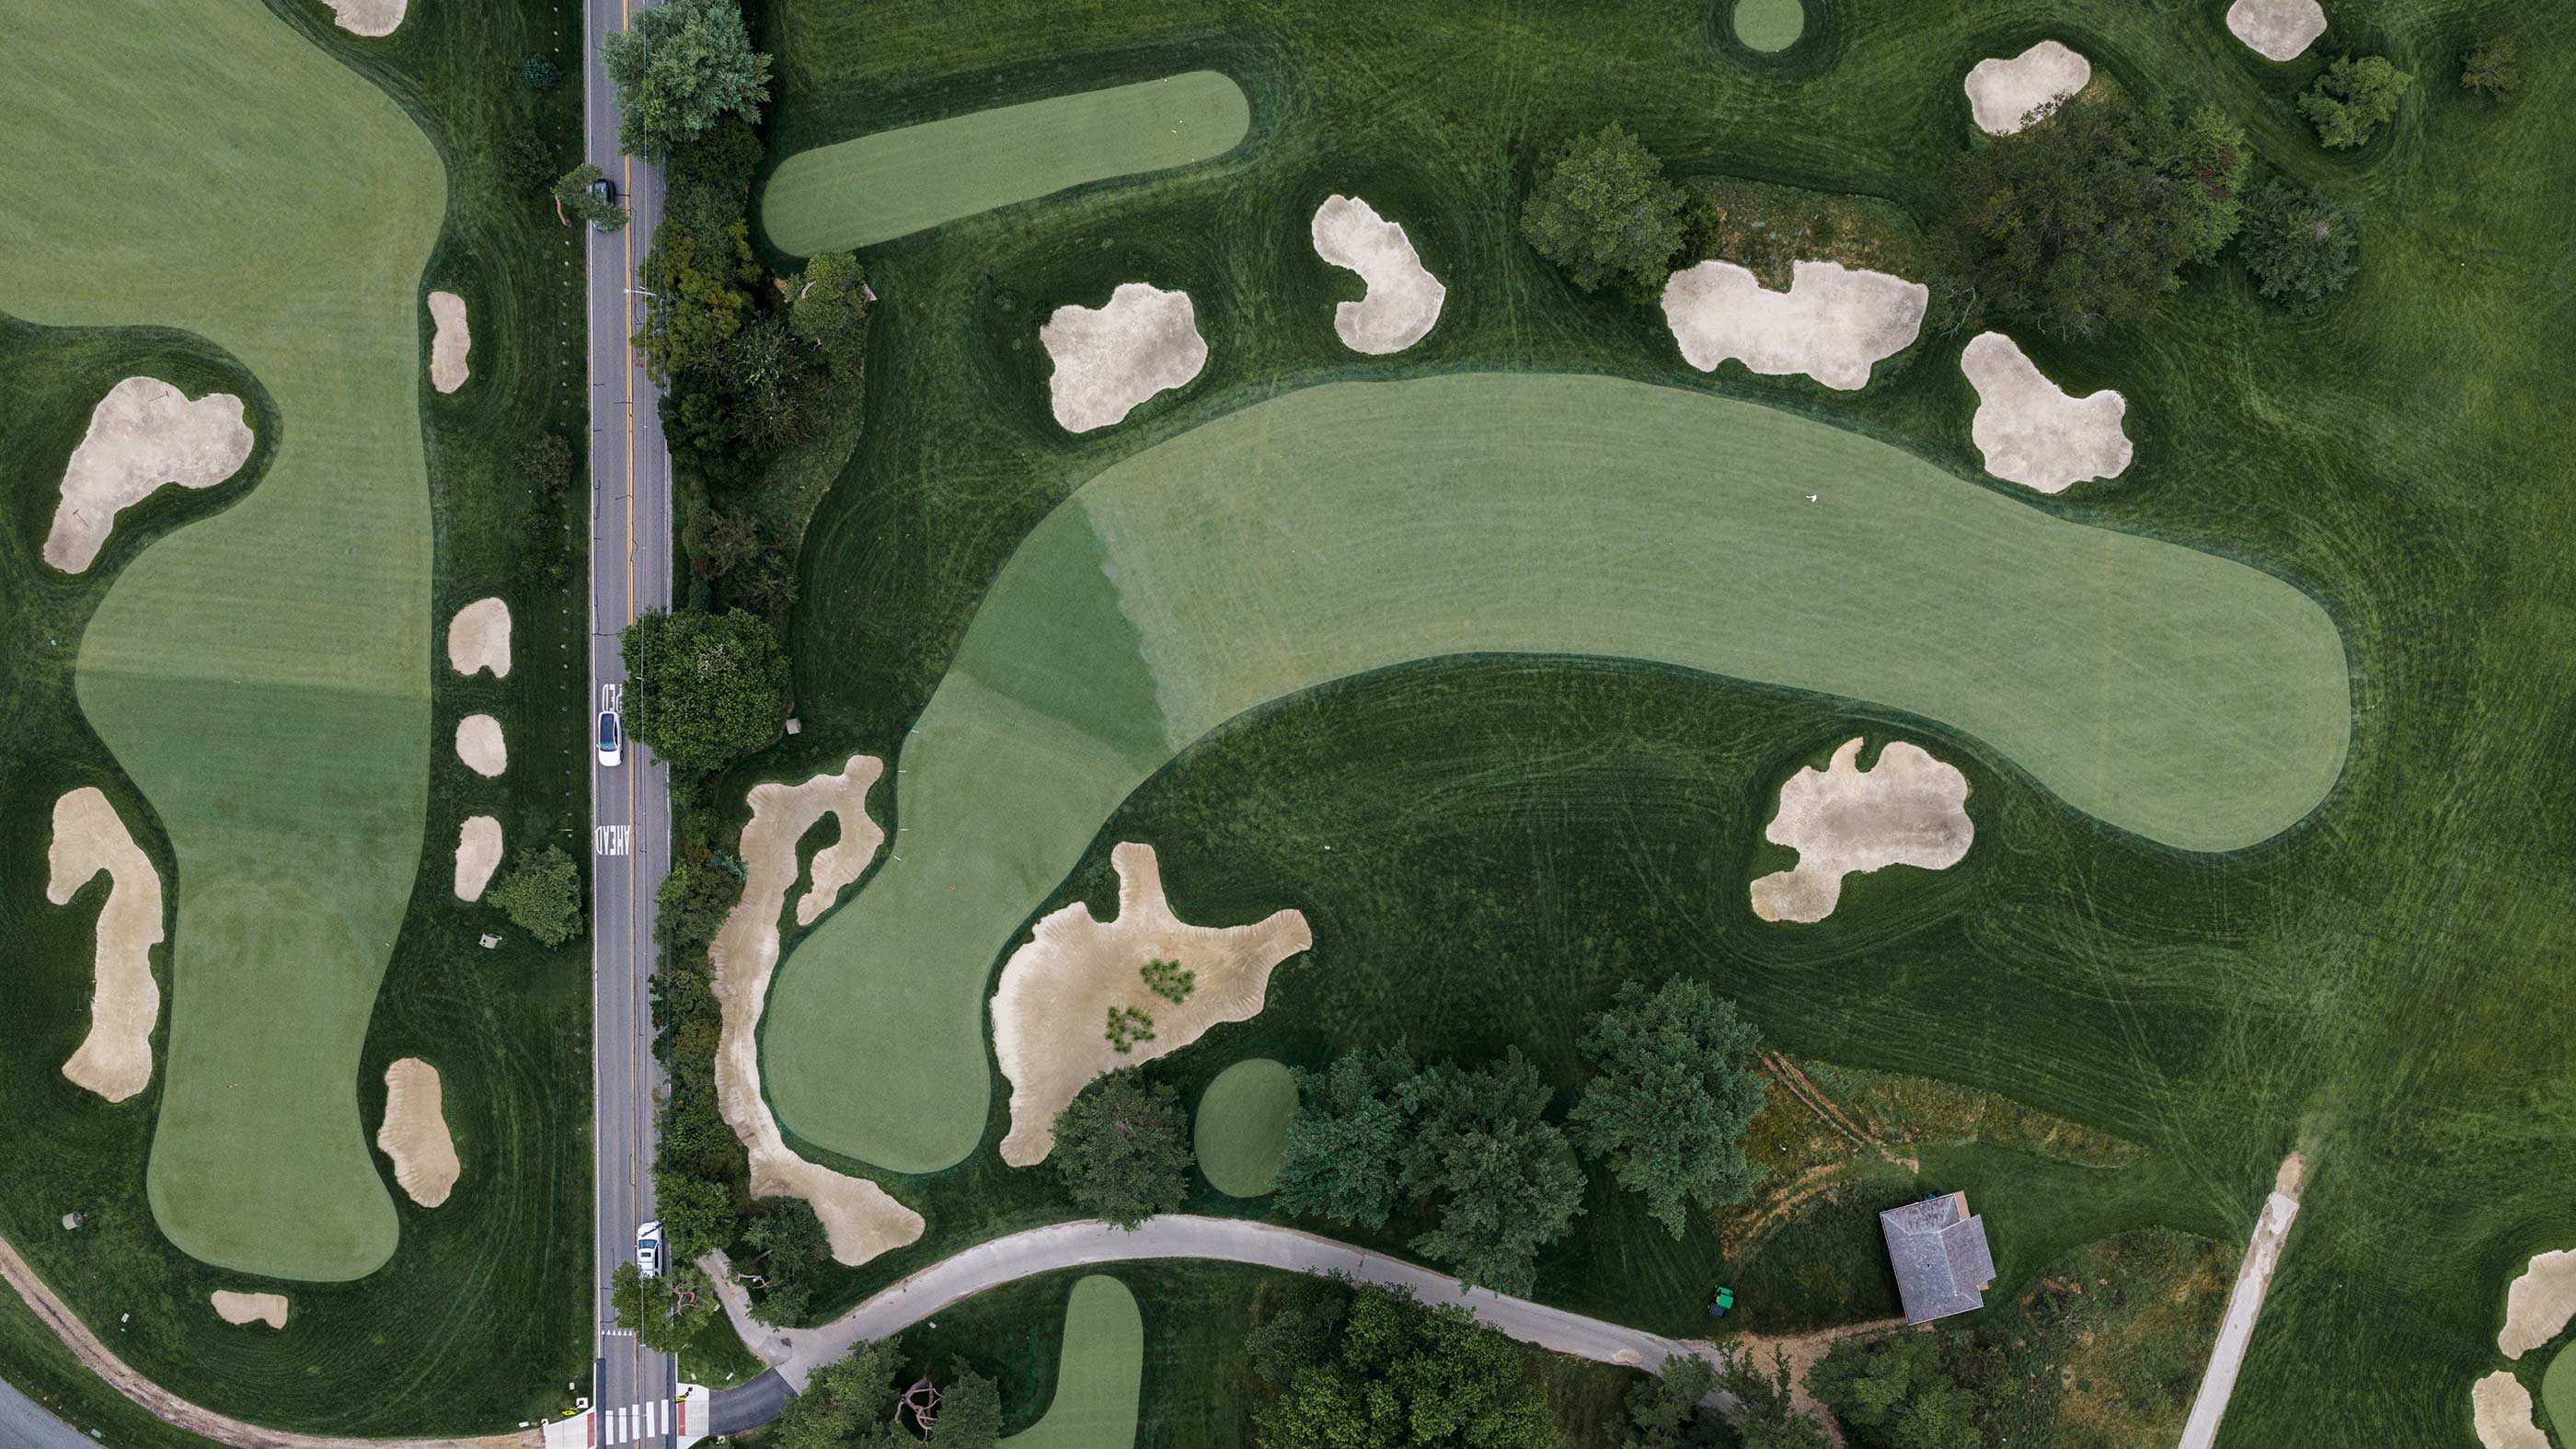
The paddock containing Nos. 2 through 10 on the East Course is just 300 yards wide from north to south. For that reason, almost all of the holes travel east-west. The lone exception is the short par-4 10th, which uses every bit of available space on the north-south axis. Both the back tee box and the green are shoved against property lines.
Today's longest players will try to drive the 10th green most of the time, but their distance control had better be spot-on. OB looms long, and coming up short results in a delicate recovery to a shallow target, either from rough or the front bunker. A much better angle greets those who lay up to the right.
Hole 11
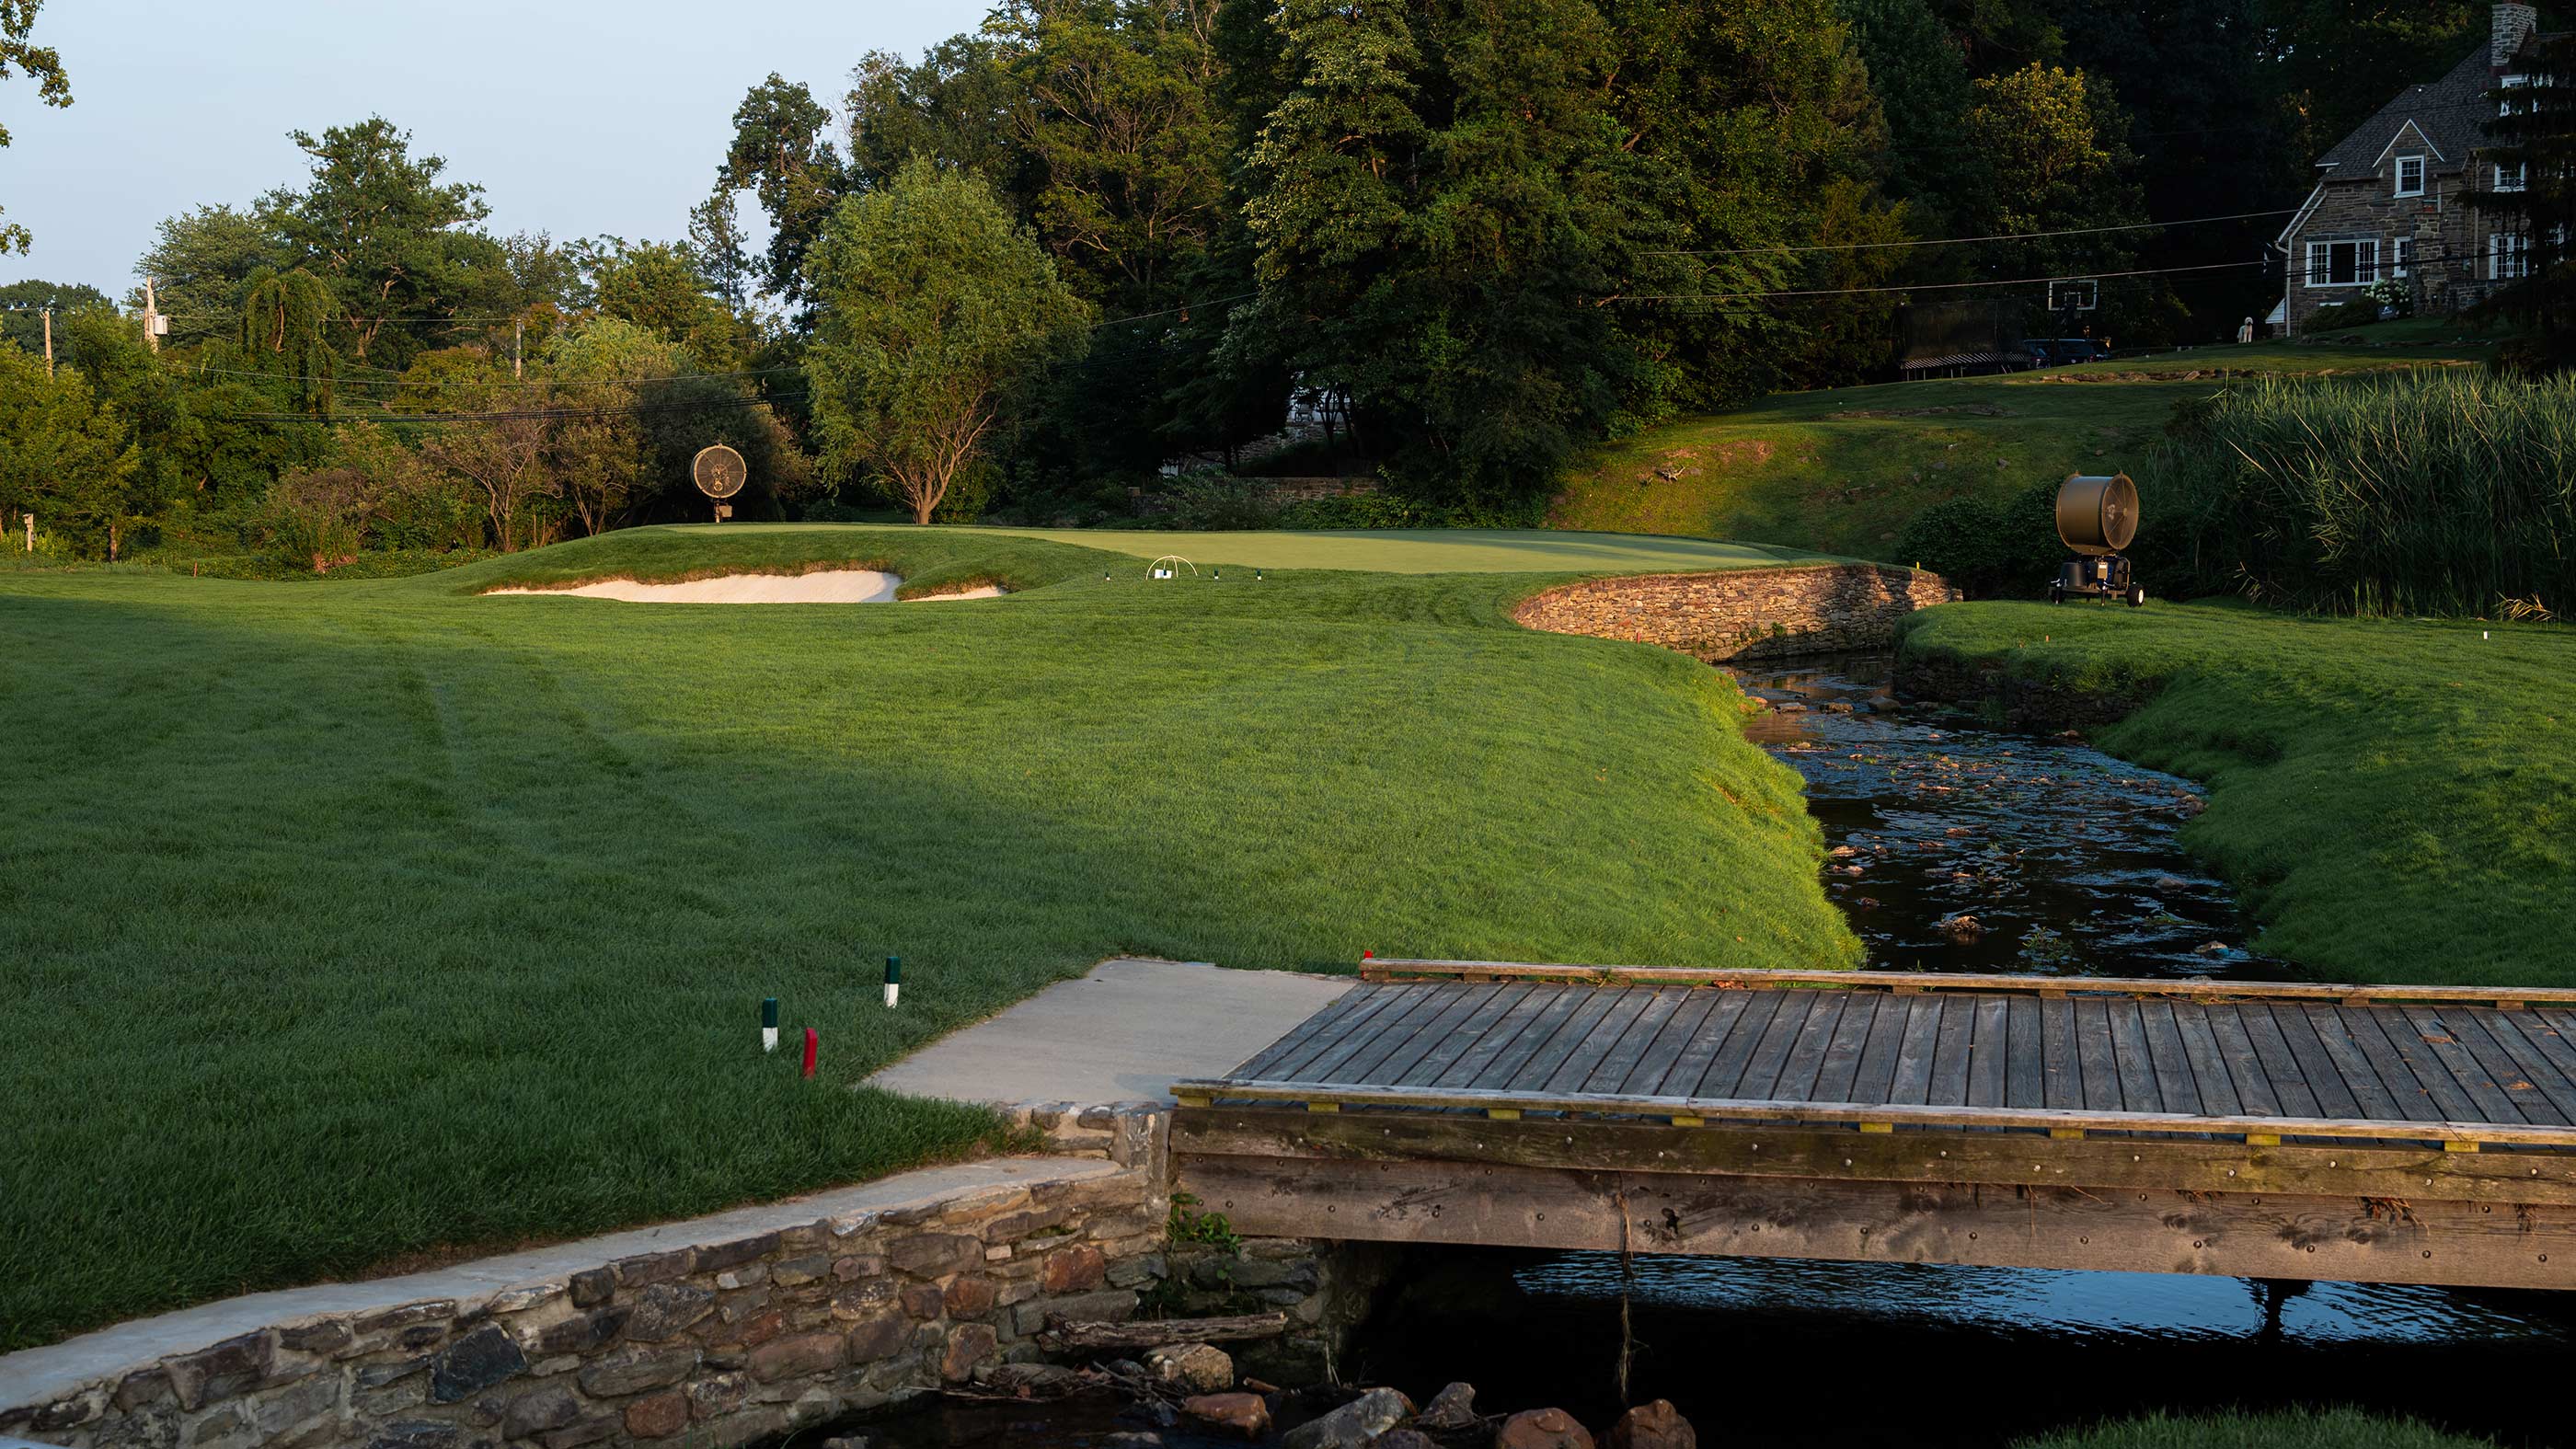
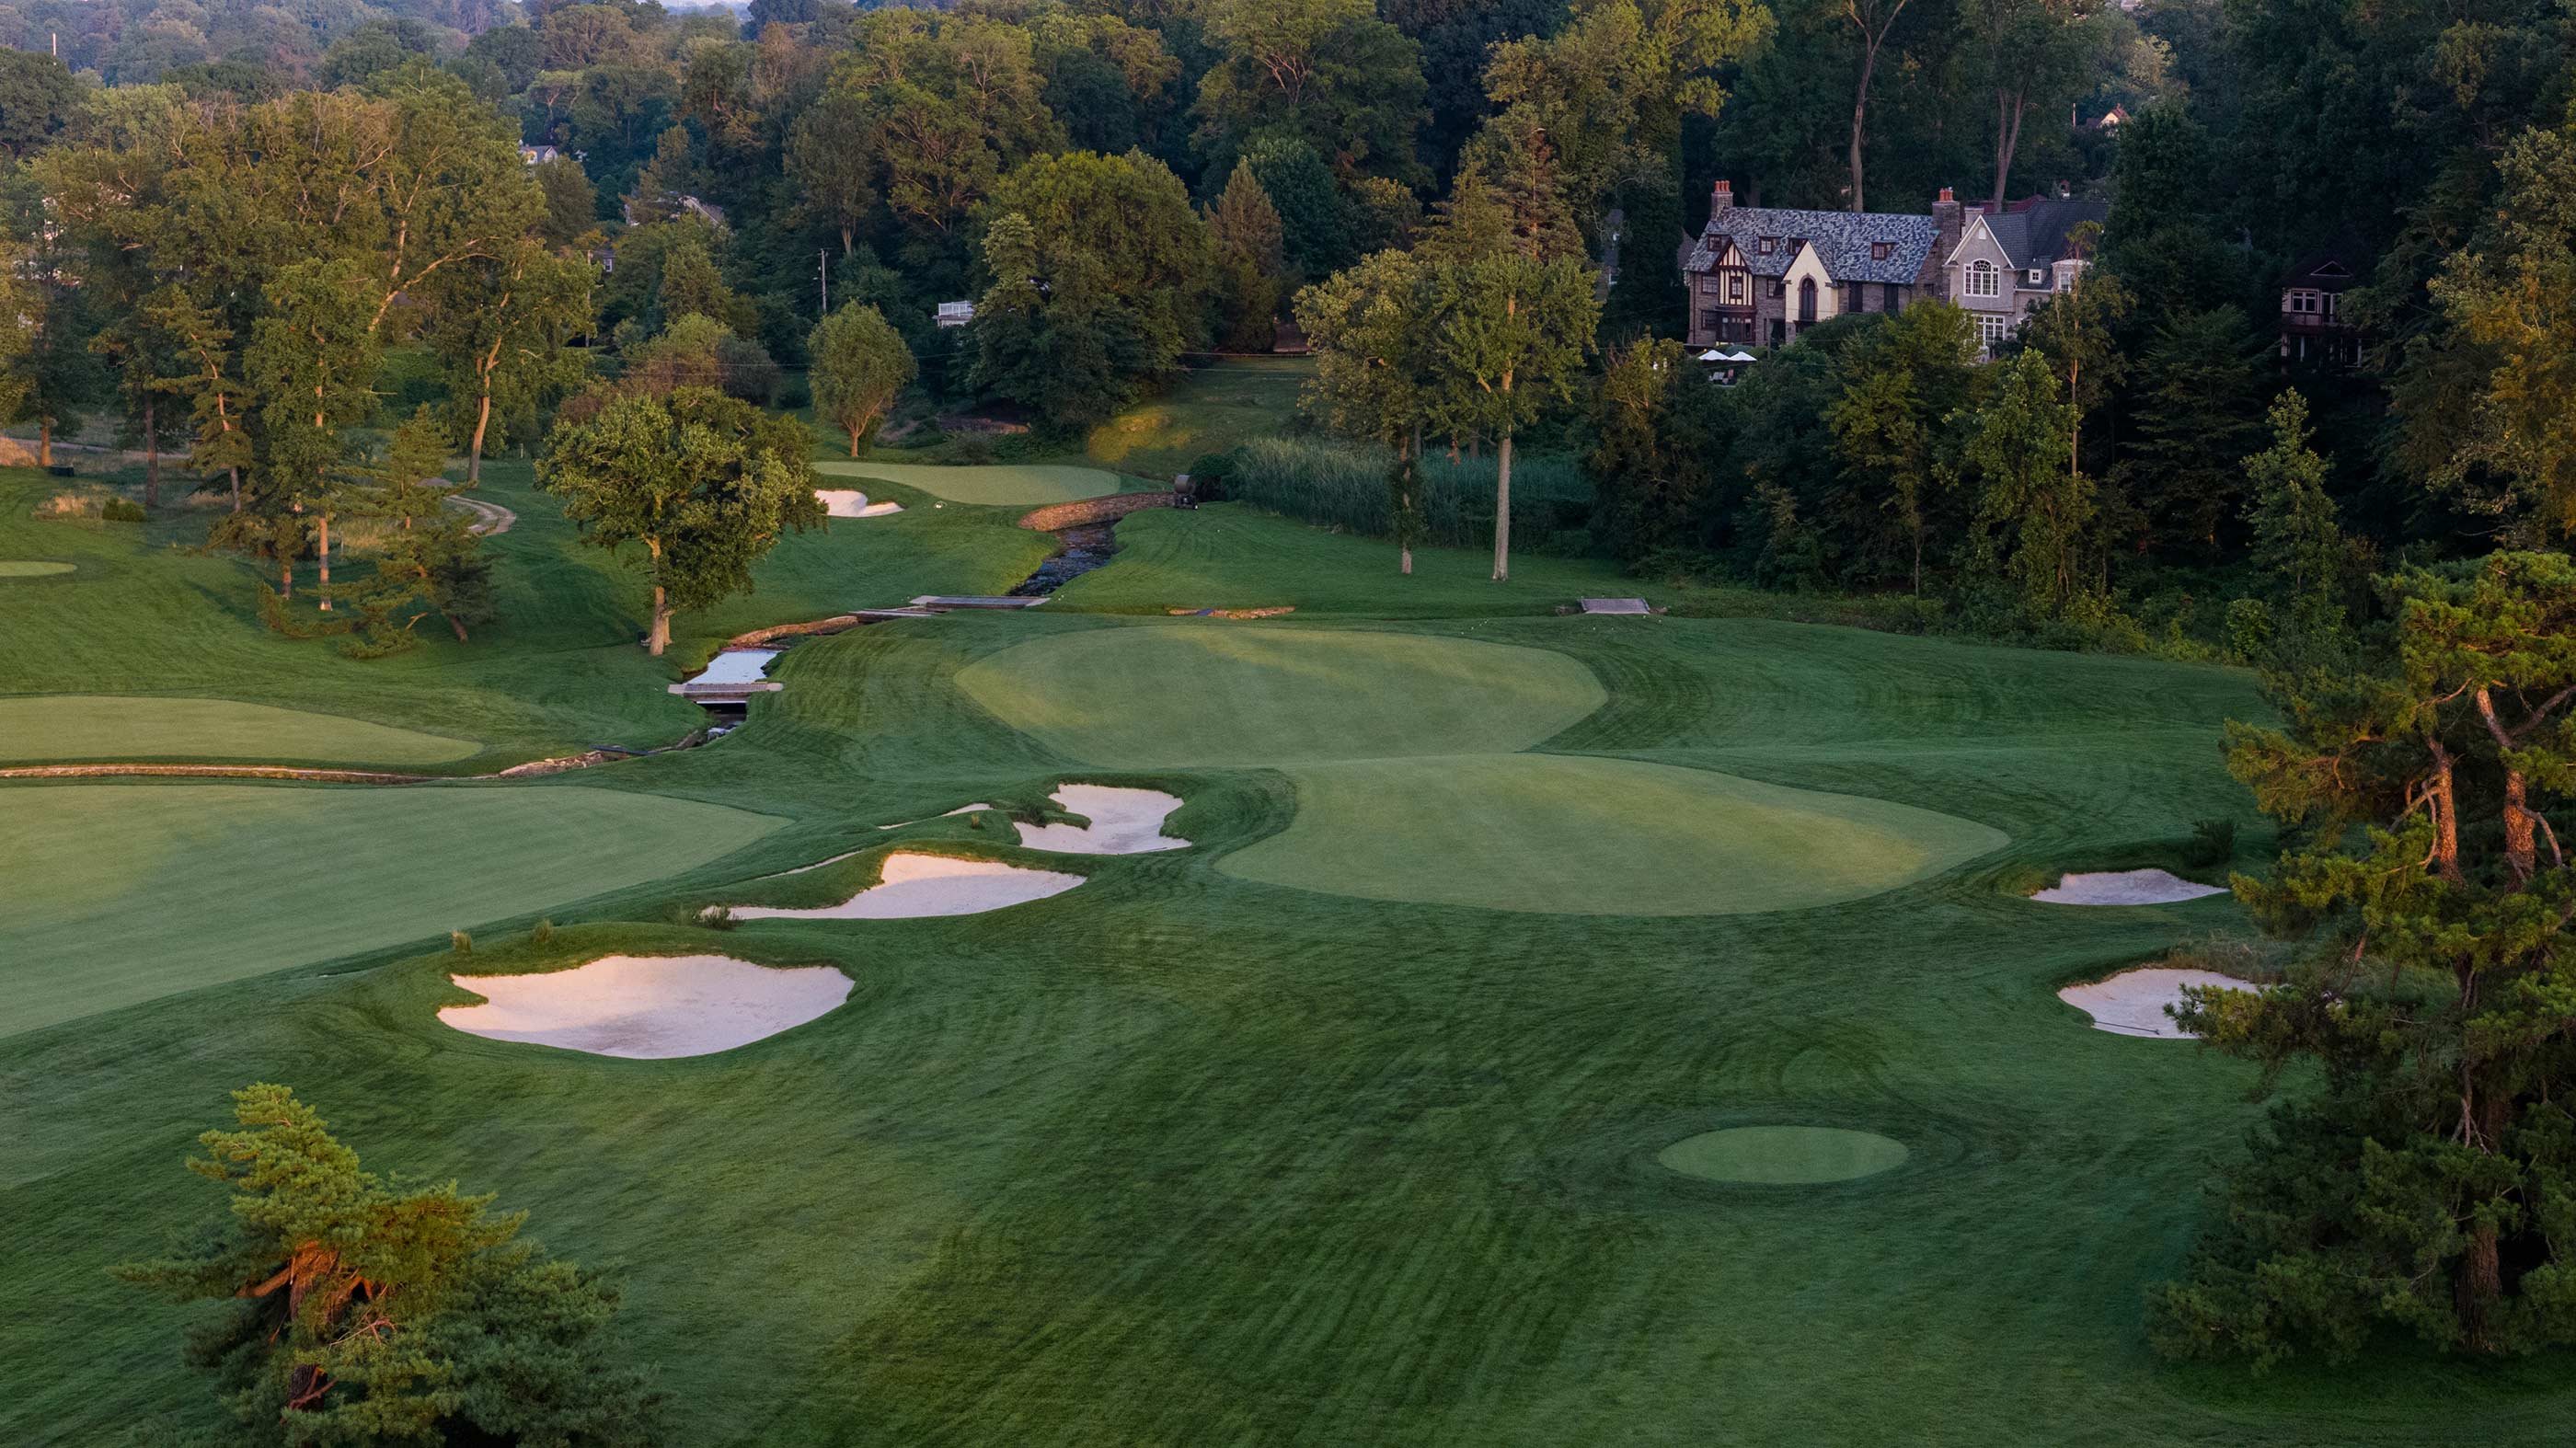
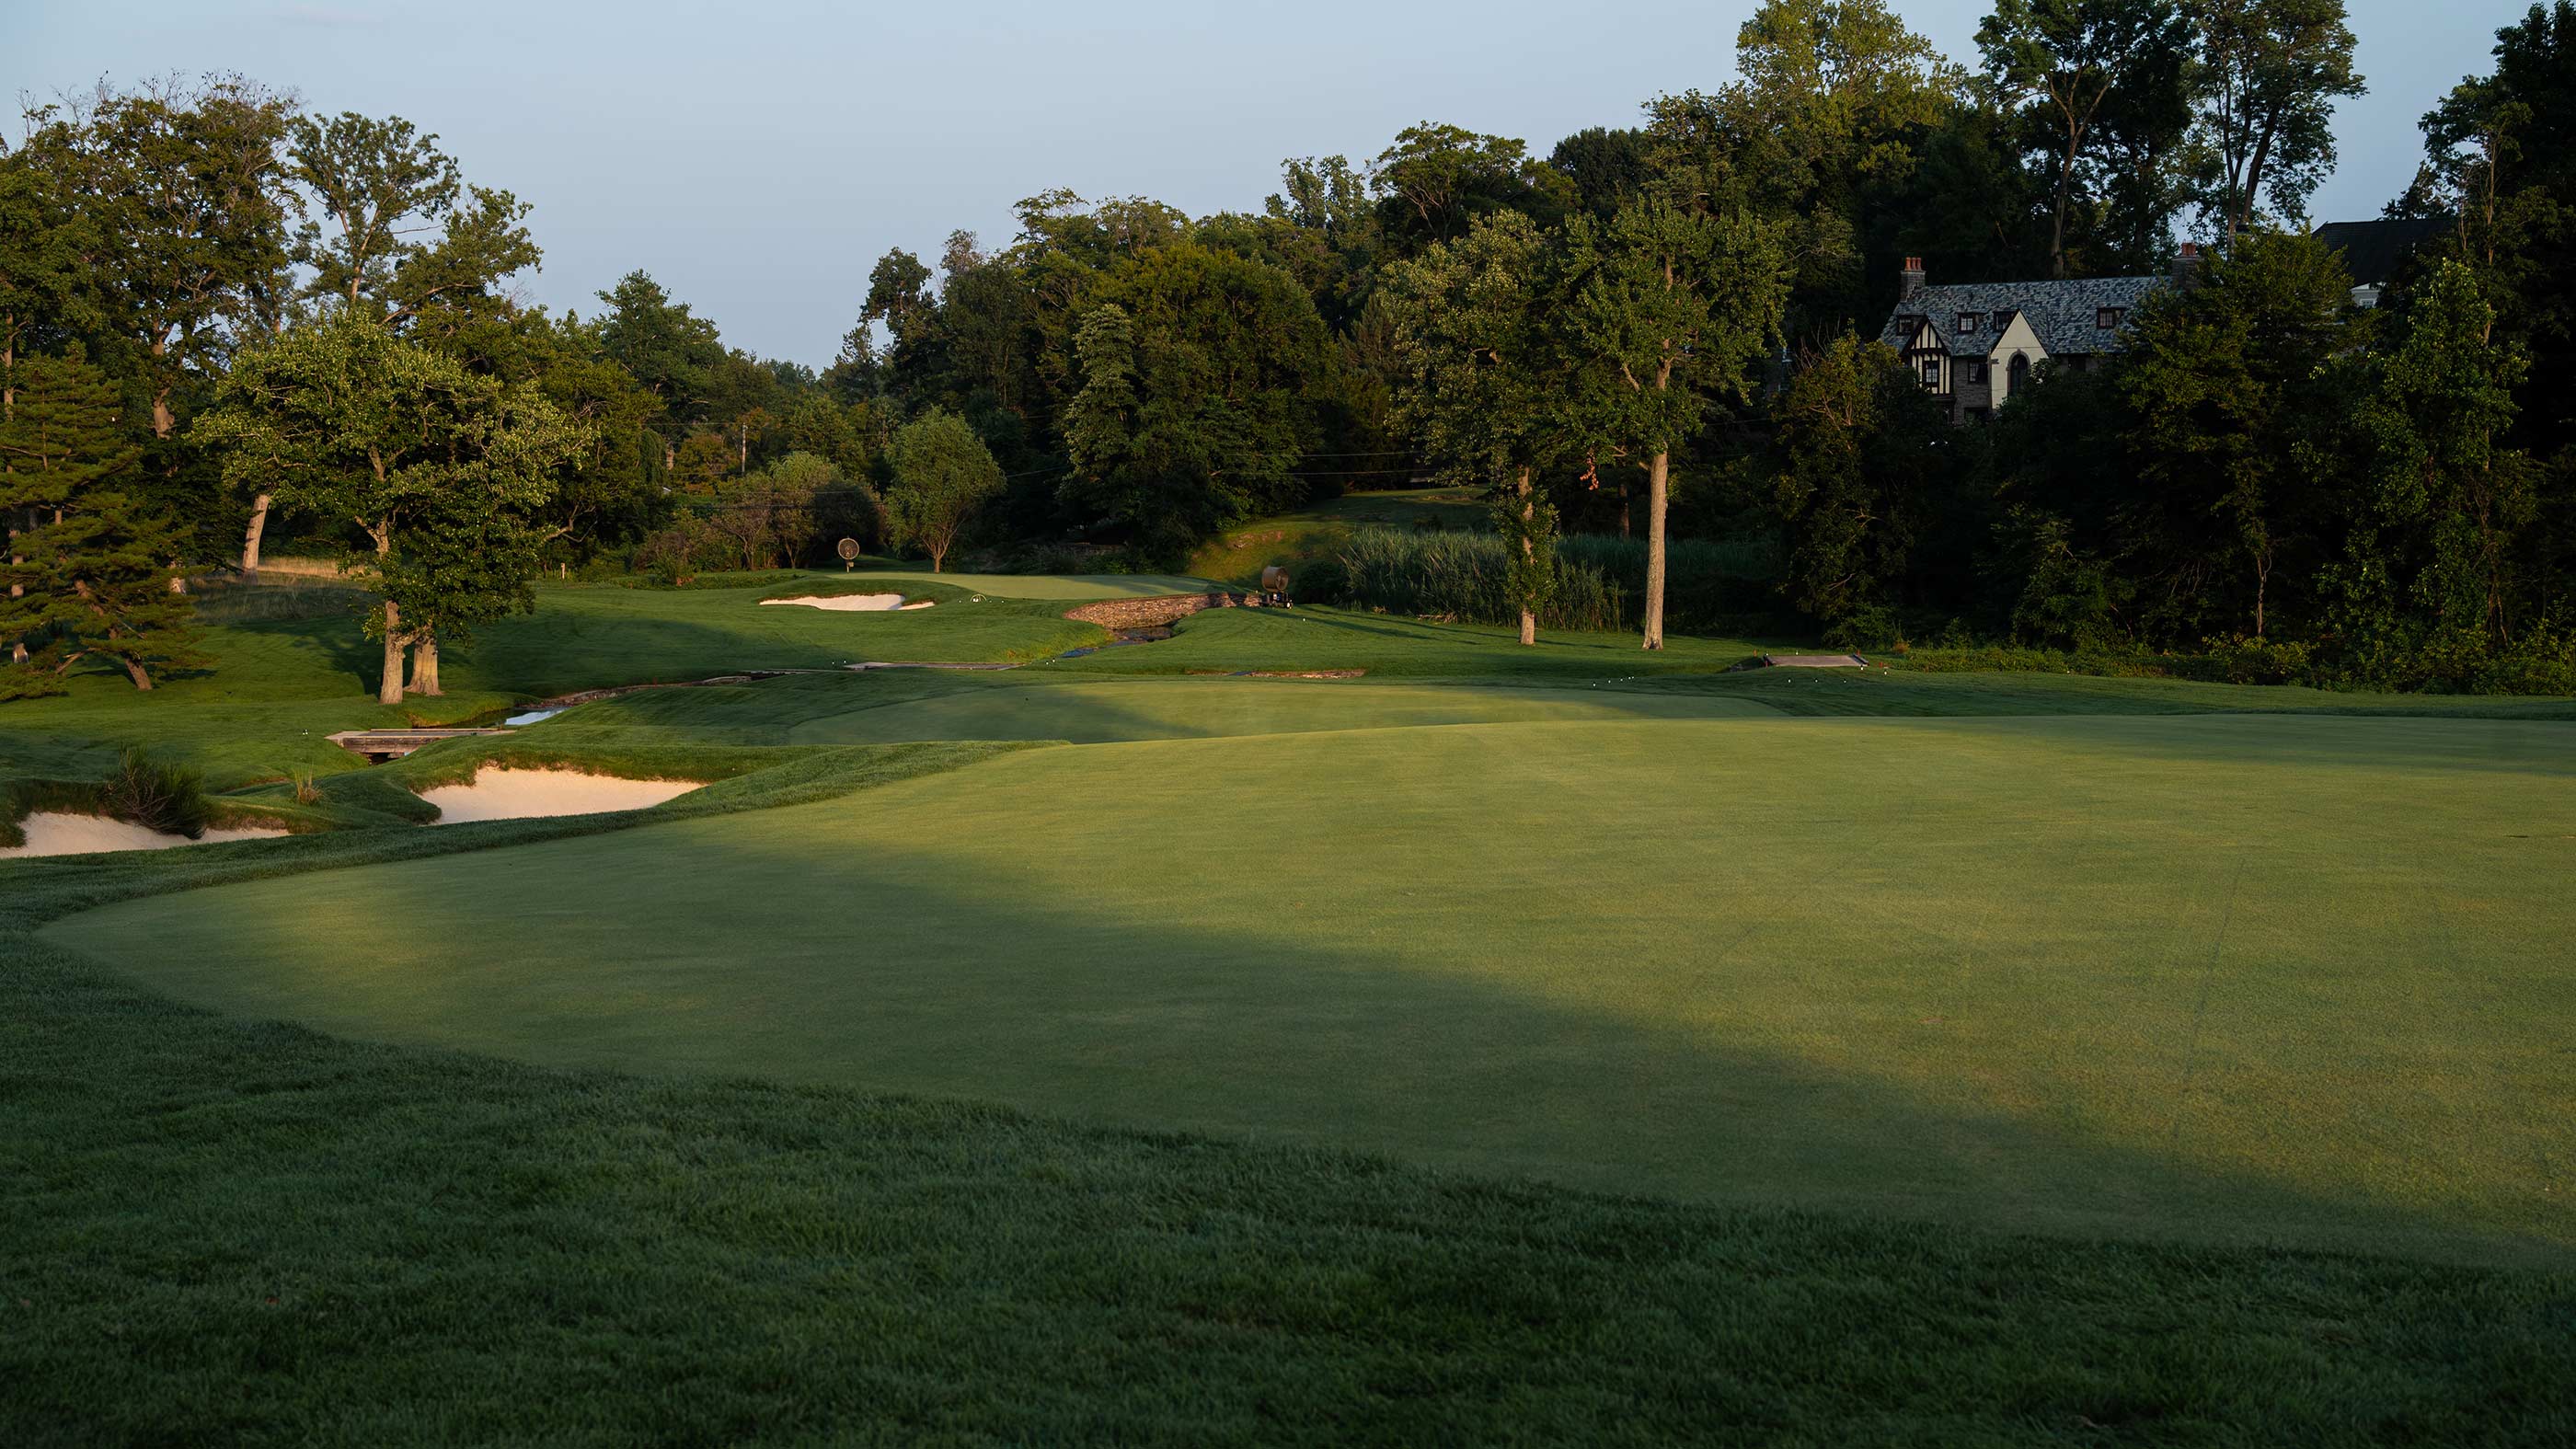
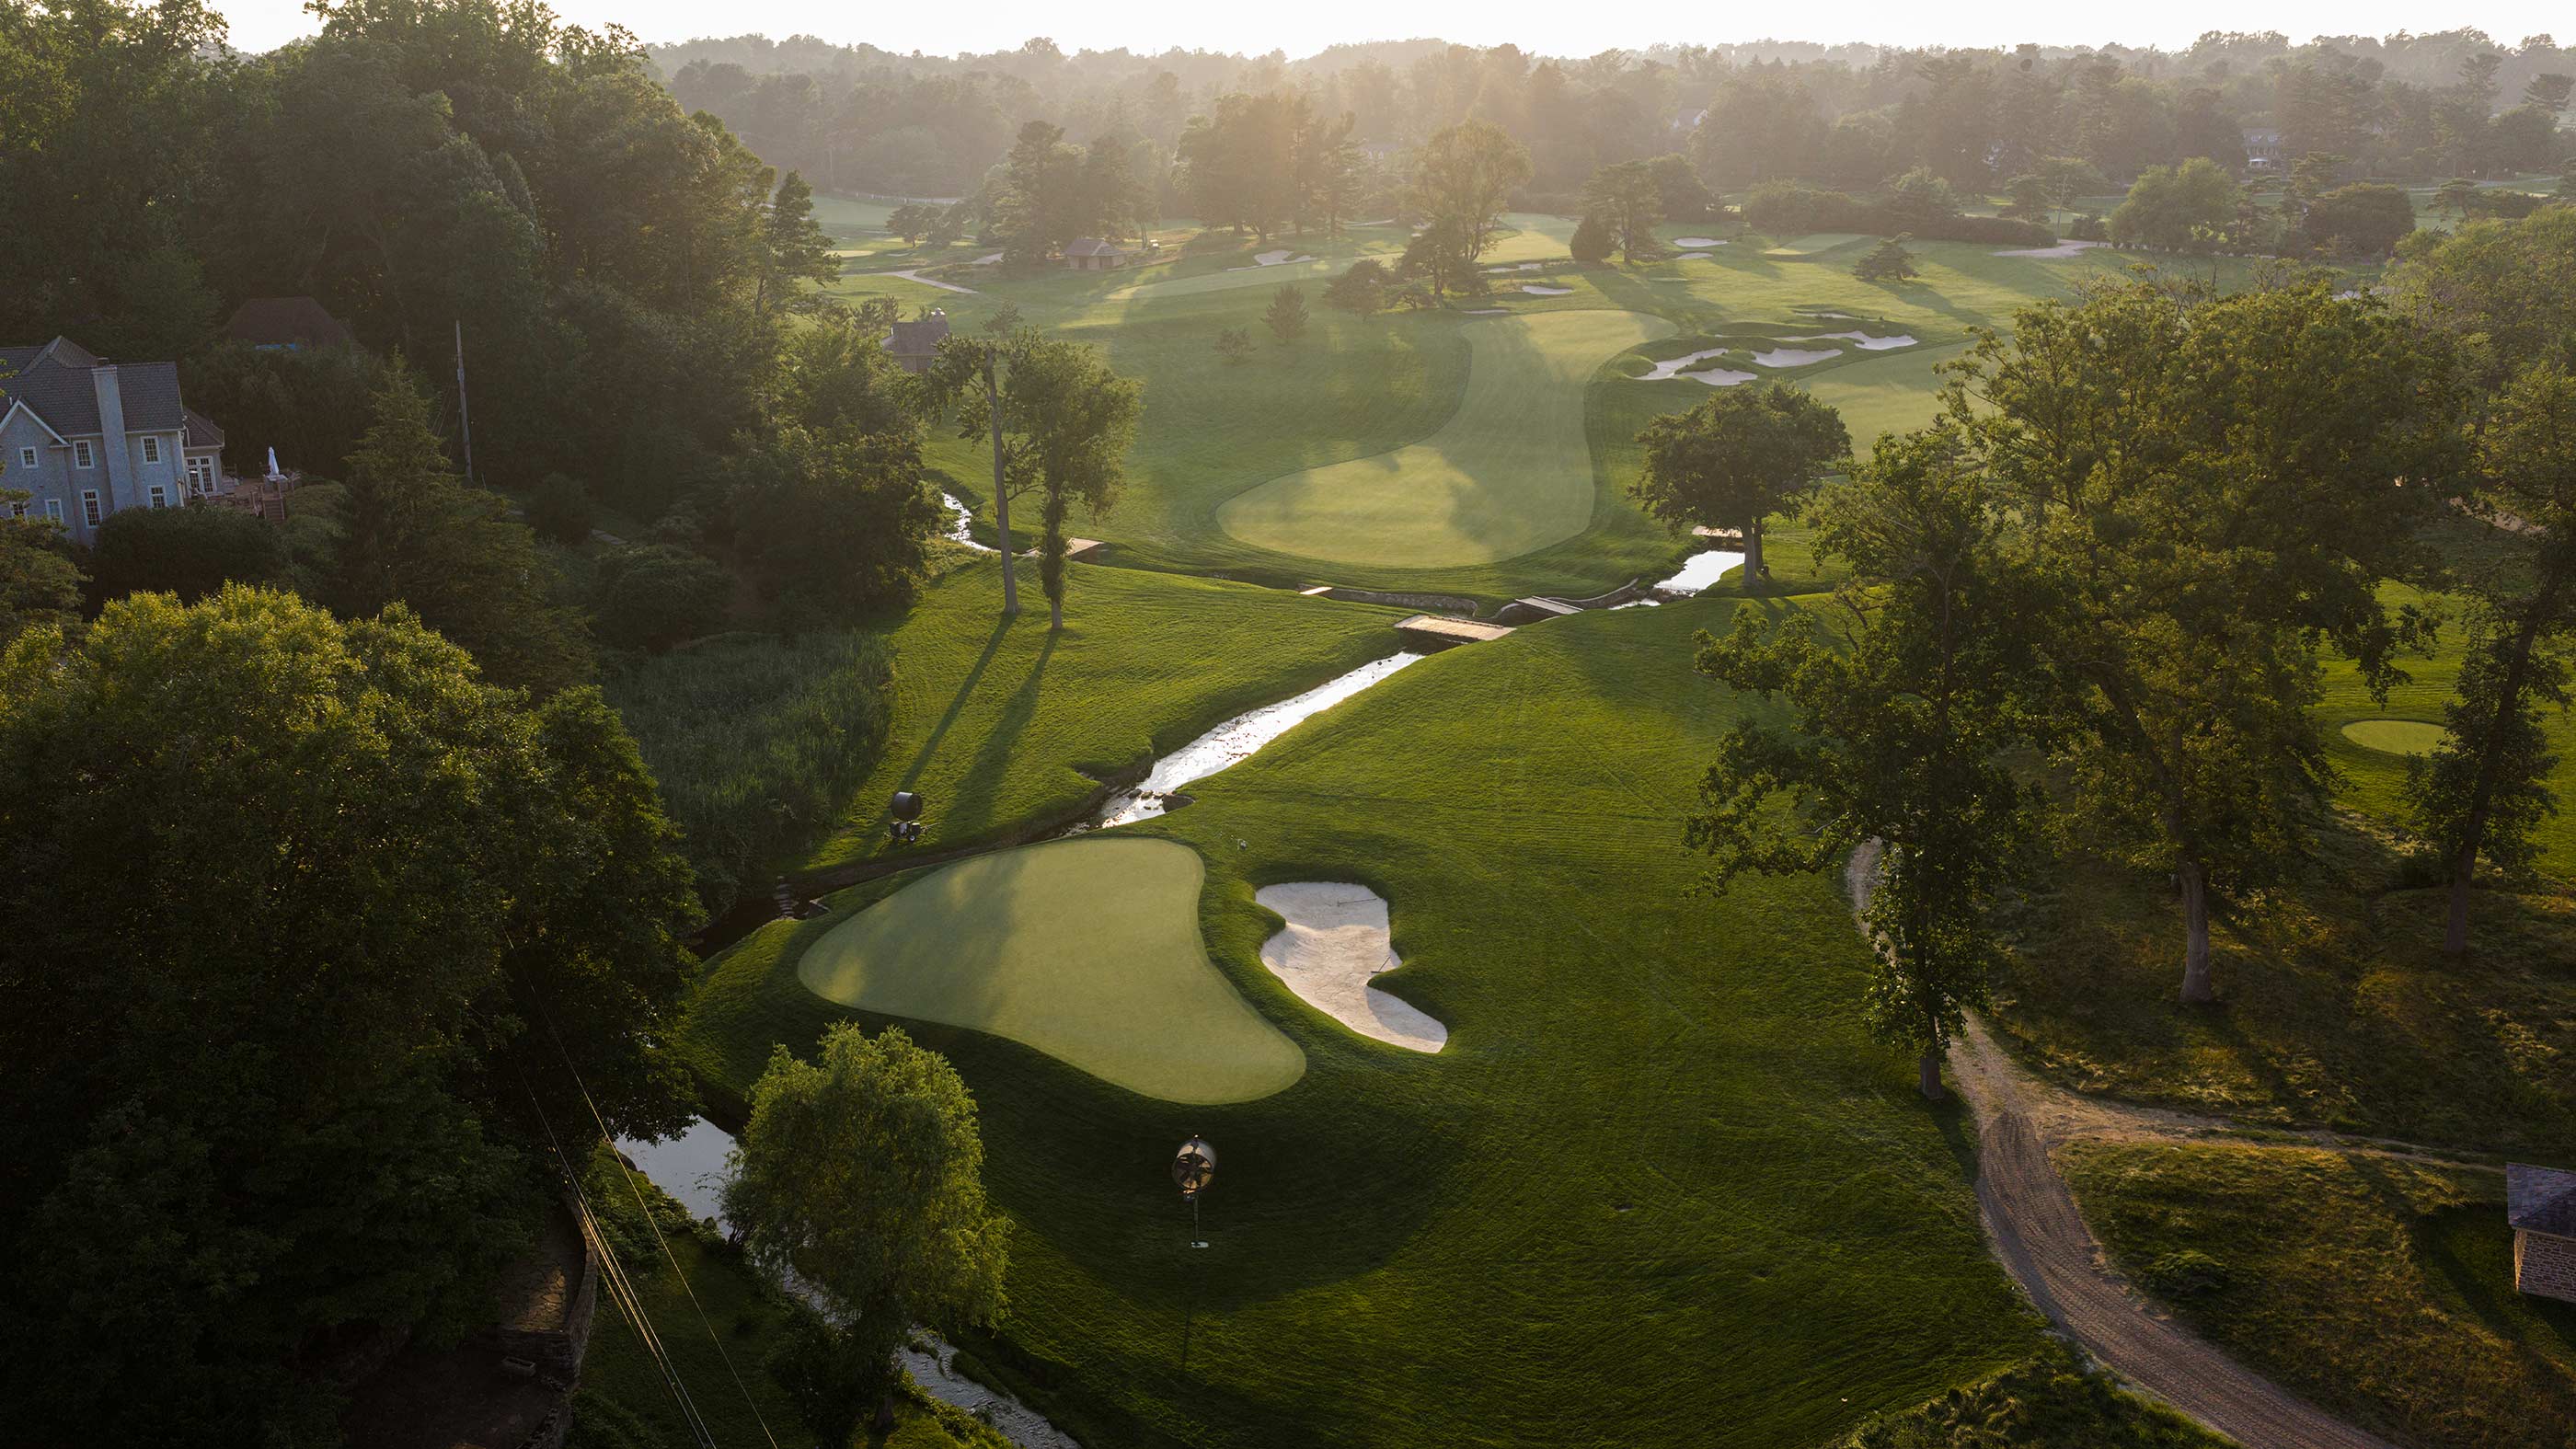
As on the seventh hole, the player can see the green from the 11th tee but not the fairway. The ideal drive stays well right of the green and rolls out to no more than 250 yards. From there, players face a wedge or short-iron approach to a pushed-up green snuggled into a bend of Cobbs Creek. It was here that Bobby Jones closed out the final match of the 1930 U.S. Amateur, completing his “impregnable quadrilateral.”
Historical note: Merion purchased the seven-and-a-half acres where the 11th green and 12th tee are located in 1922. This acquisition allowed holes 10 through 13 to be redesigned so that none crossed the increasingly busy road.
Hole 12
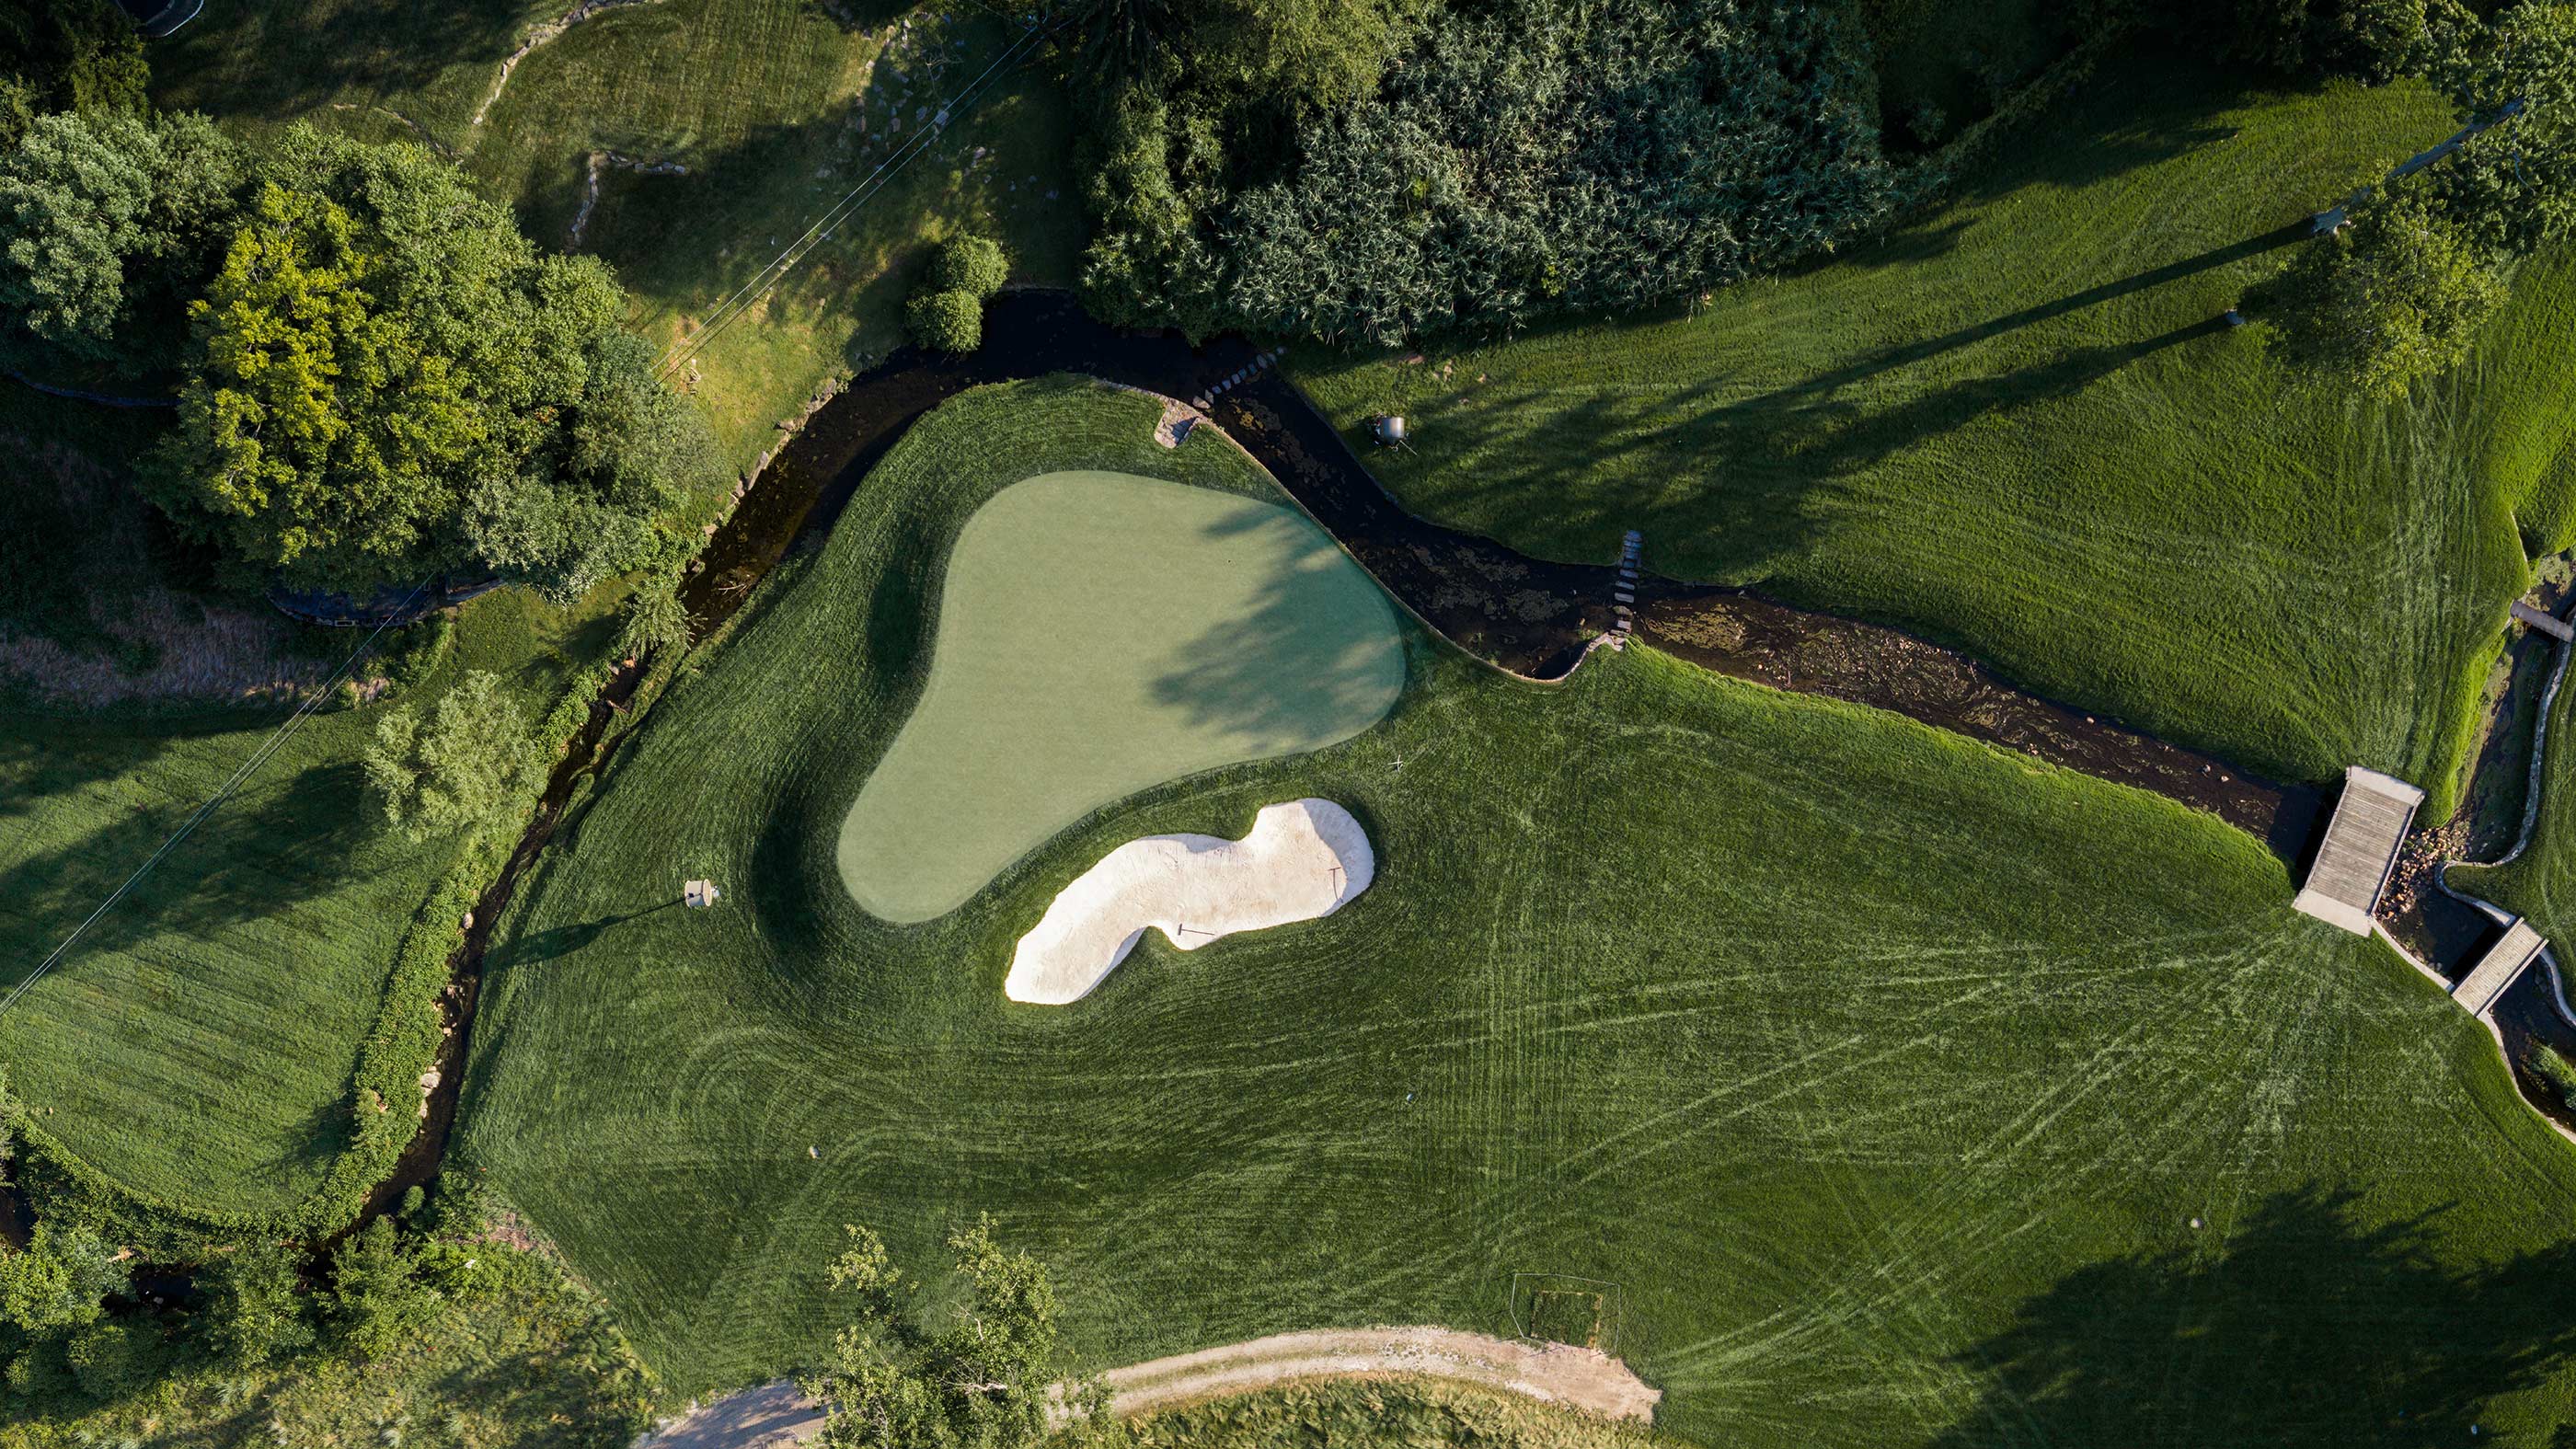
This mid-length par 4 turns sharply right, with trees preventing carefree corner-cutting. The narrow green is benched sideways into a hillside, propped up on the right by the East Course’s deepest bunker. Tentative players may bail out to the left, where another green-side bunker awaits. This is sneakily the worst miss, however, since the green runs away from that angle.
Hole 13
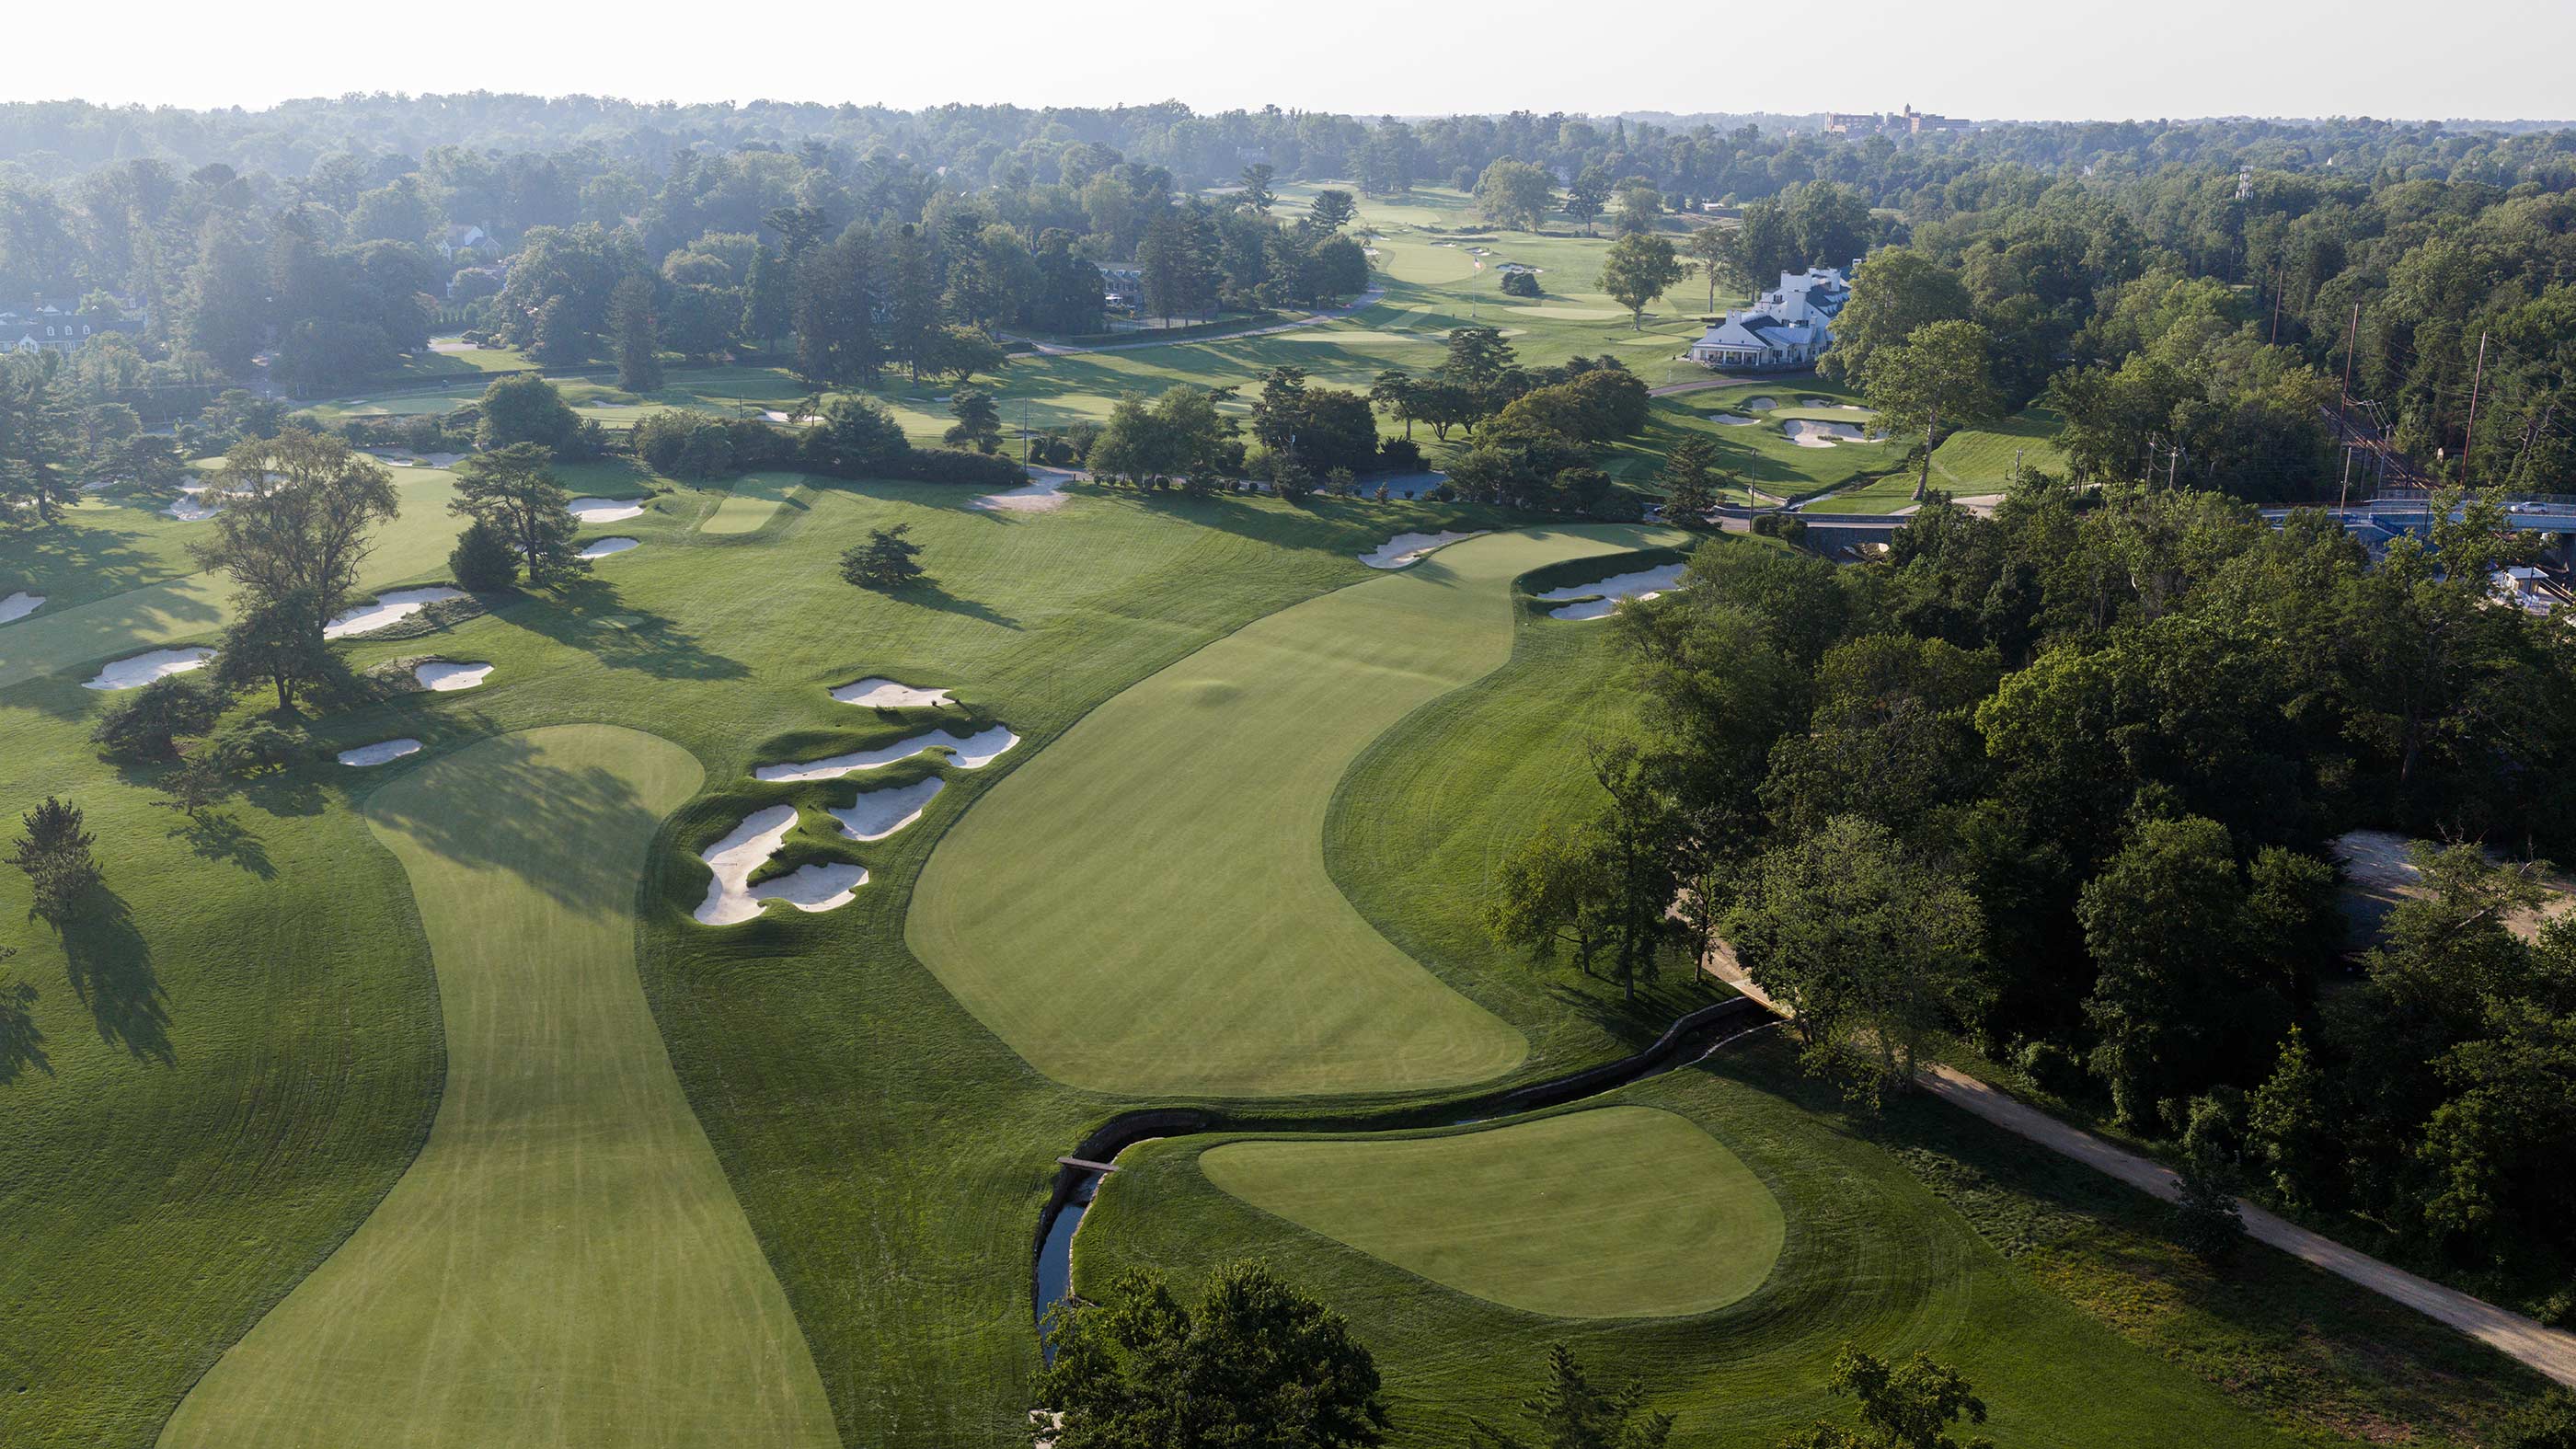
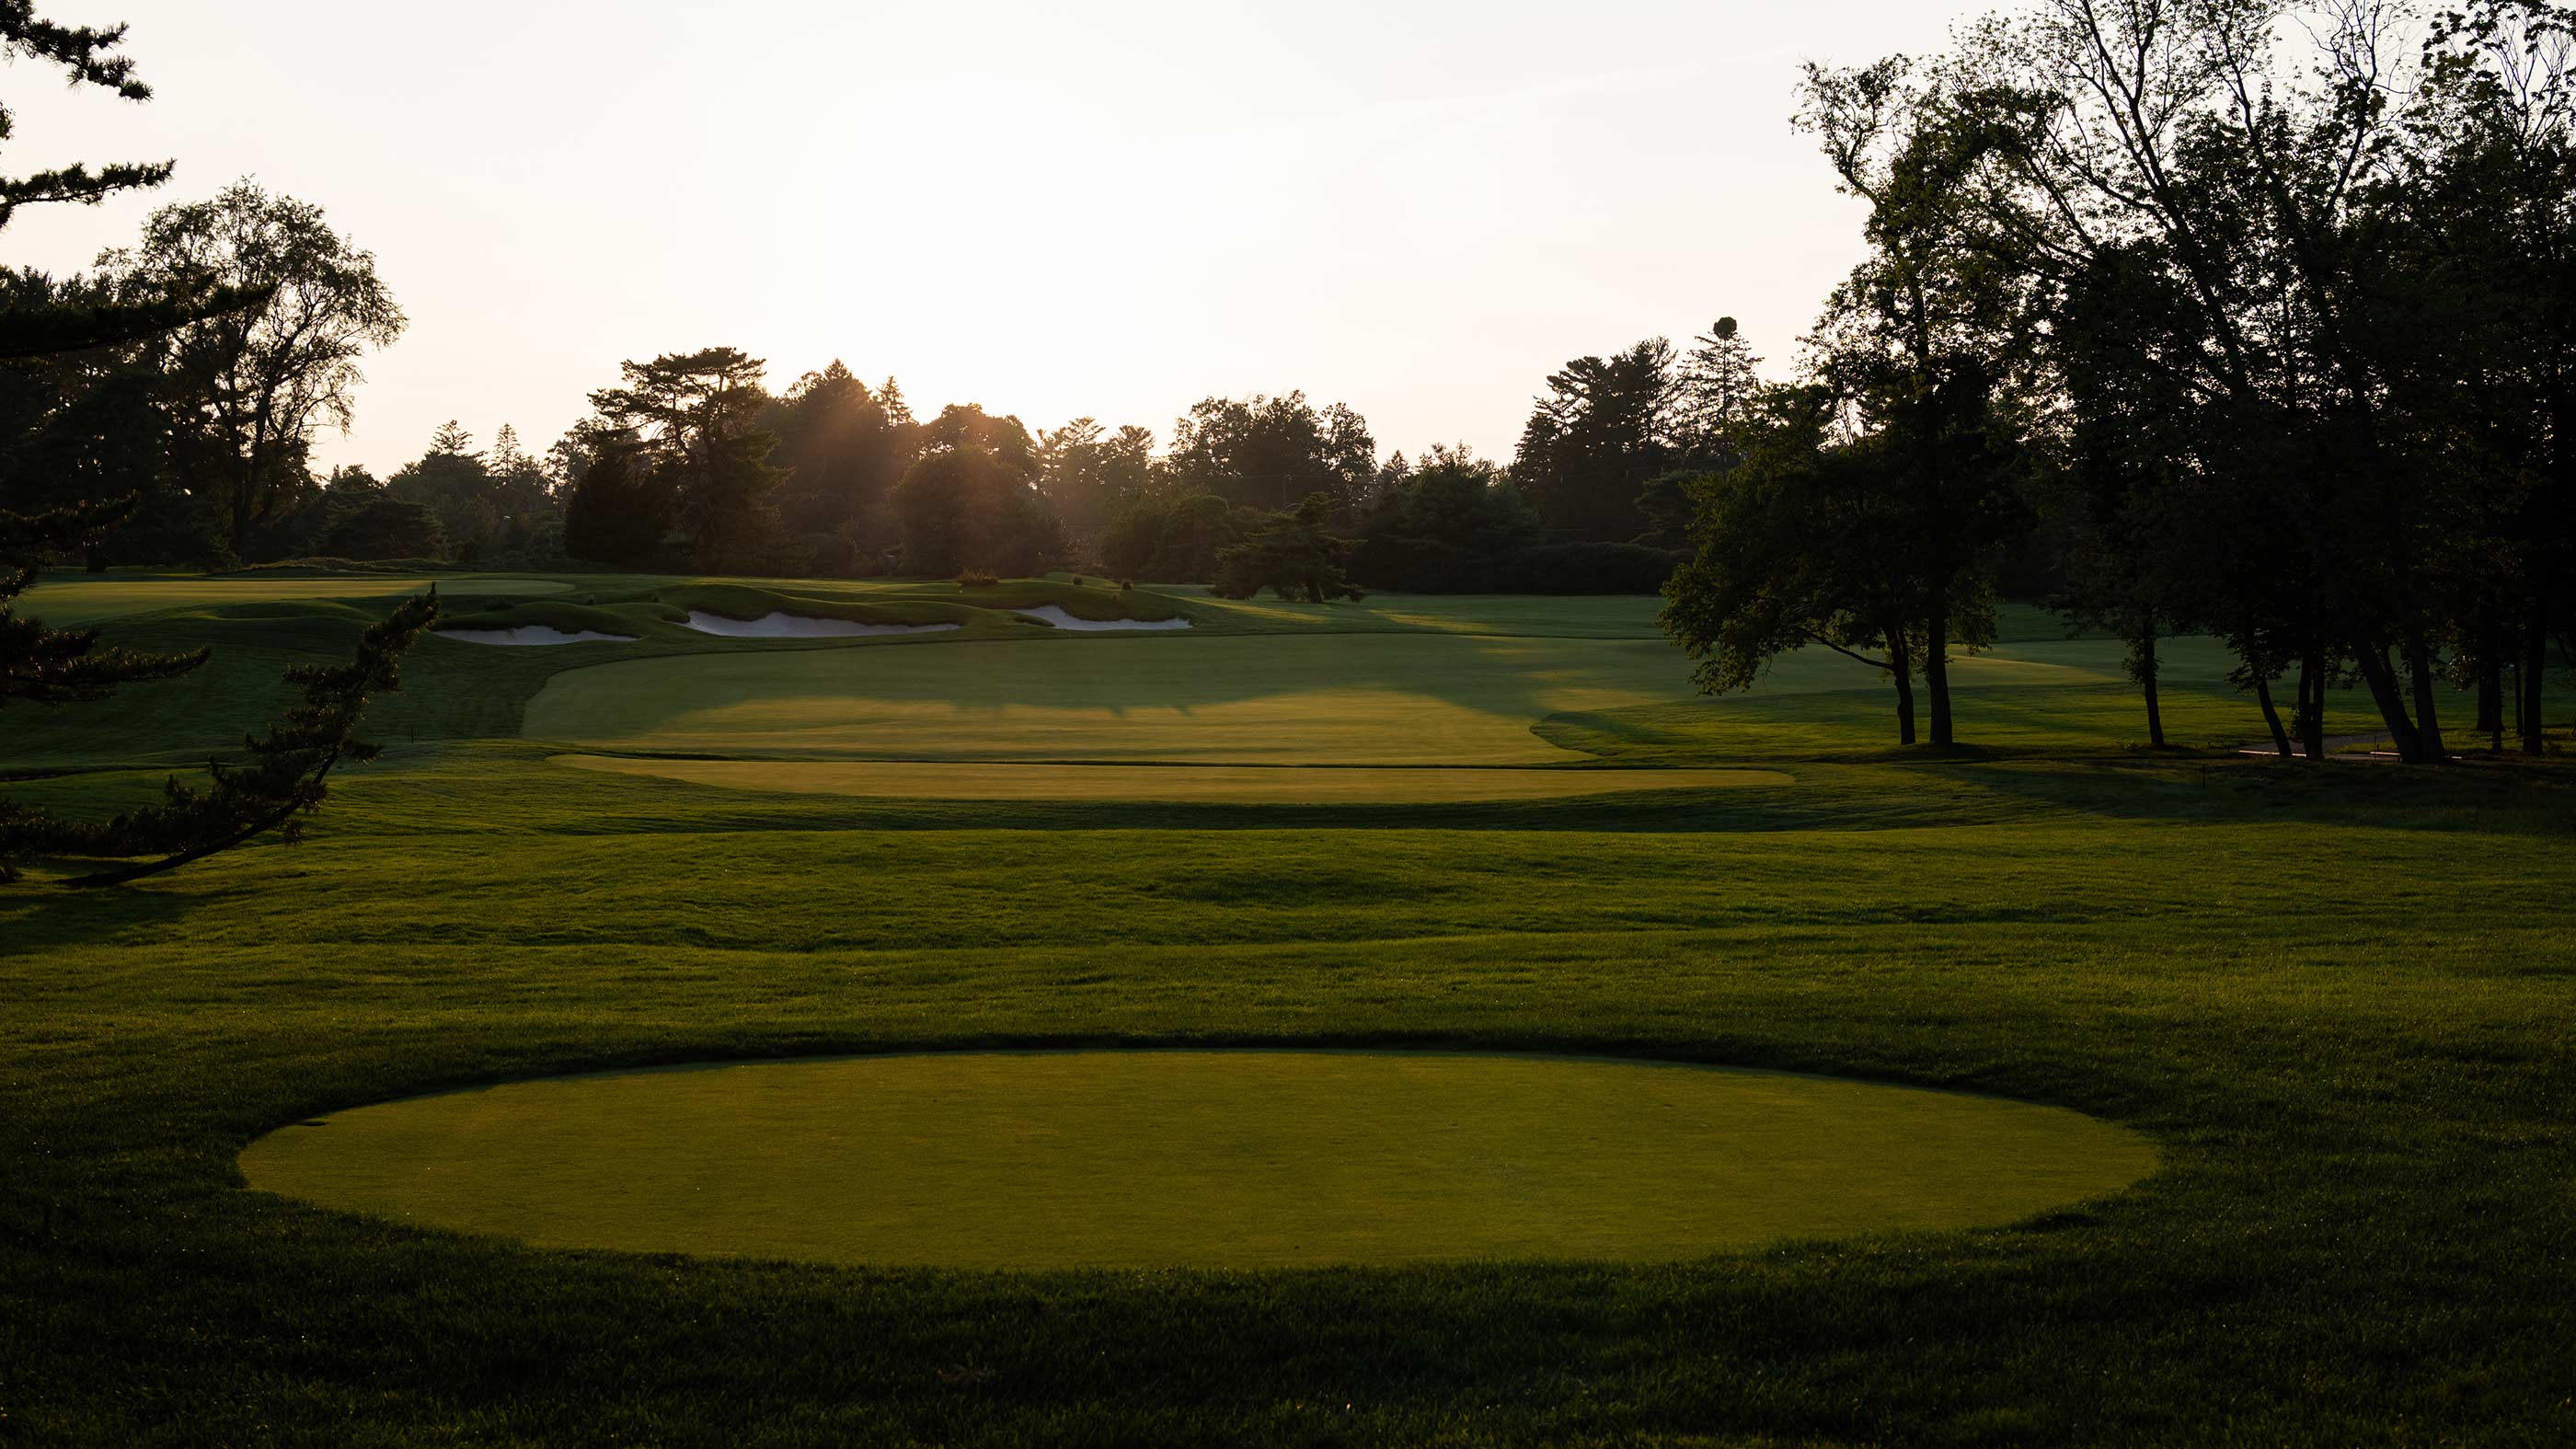
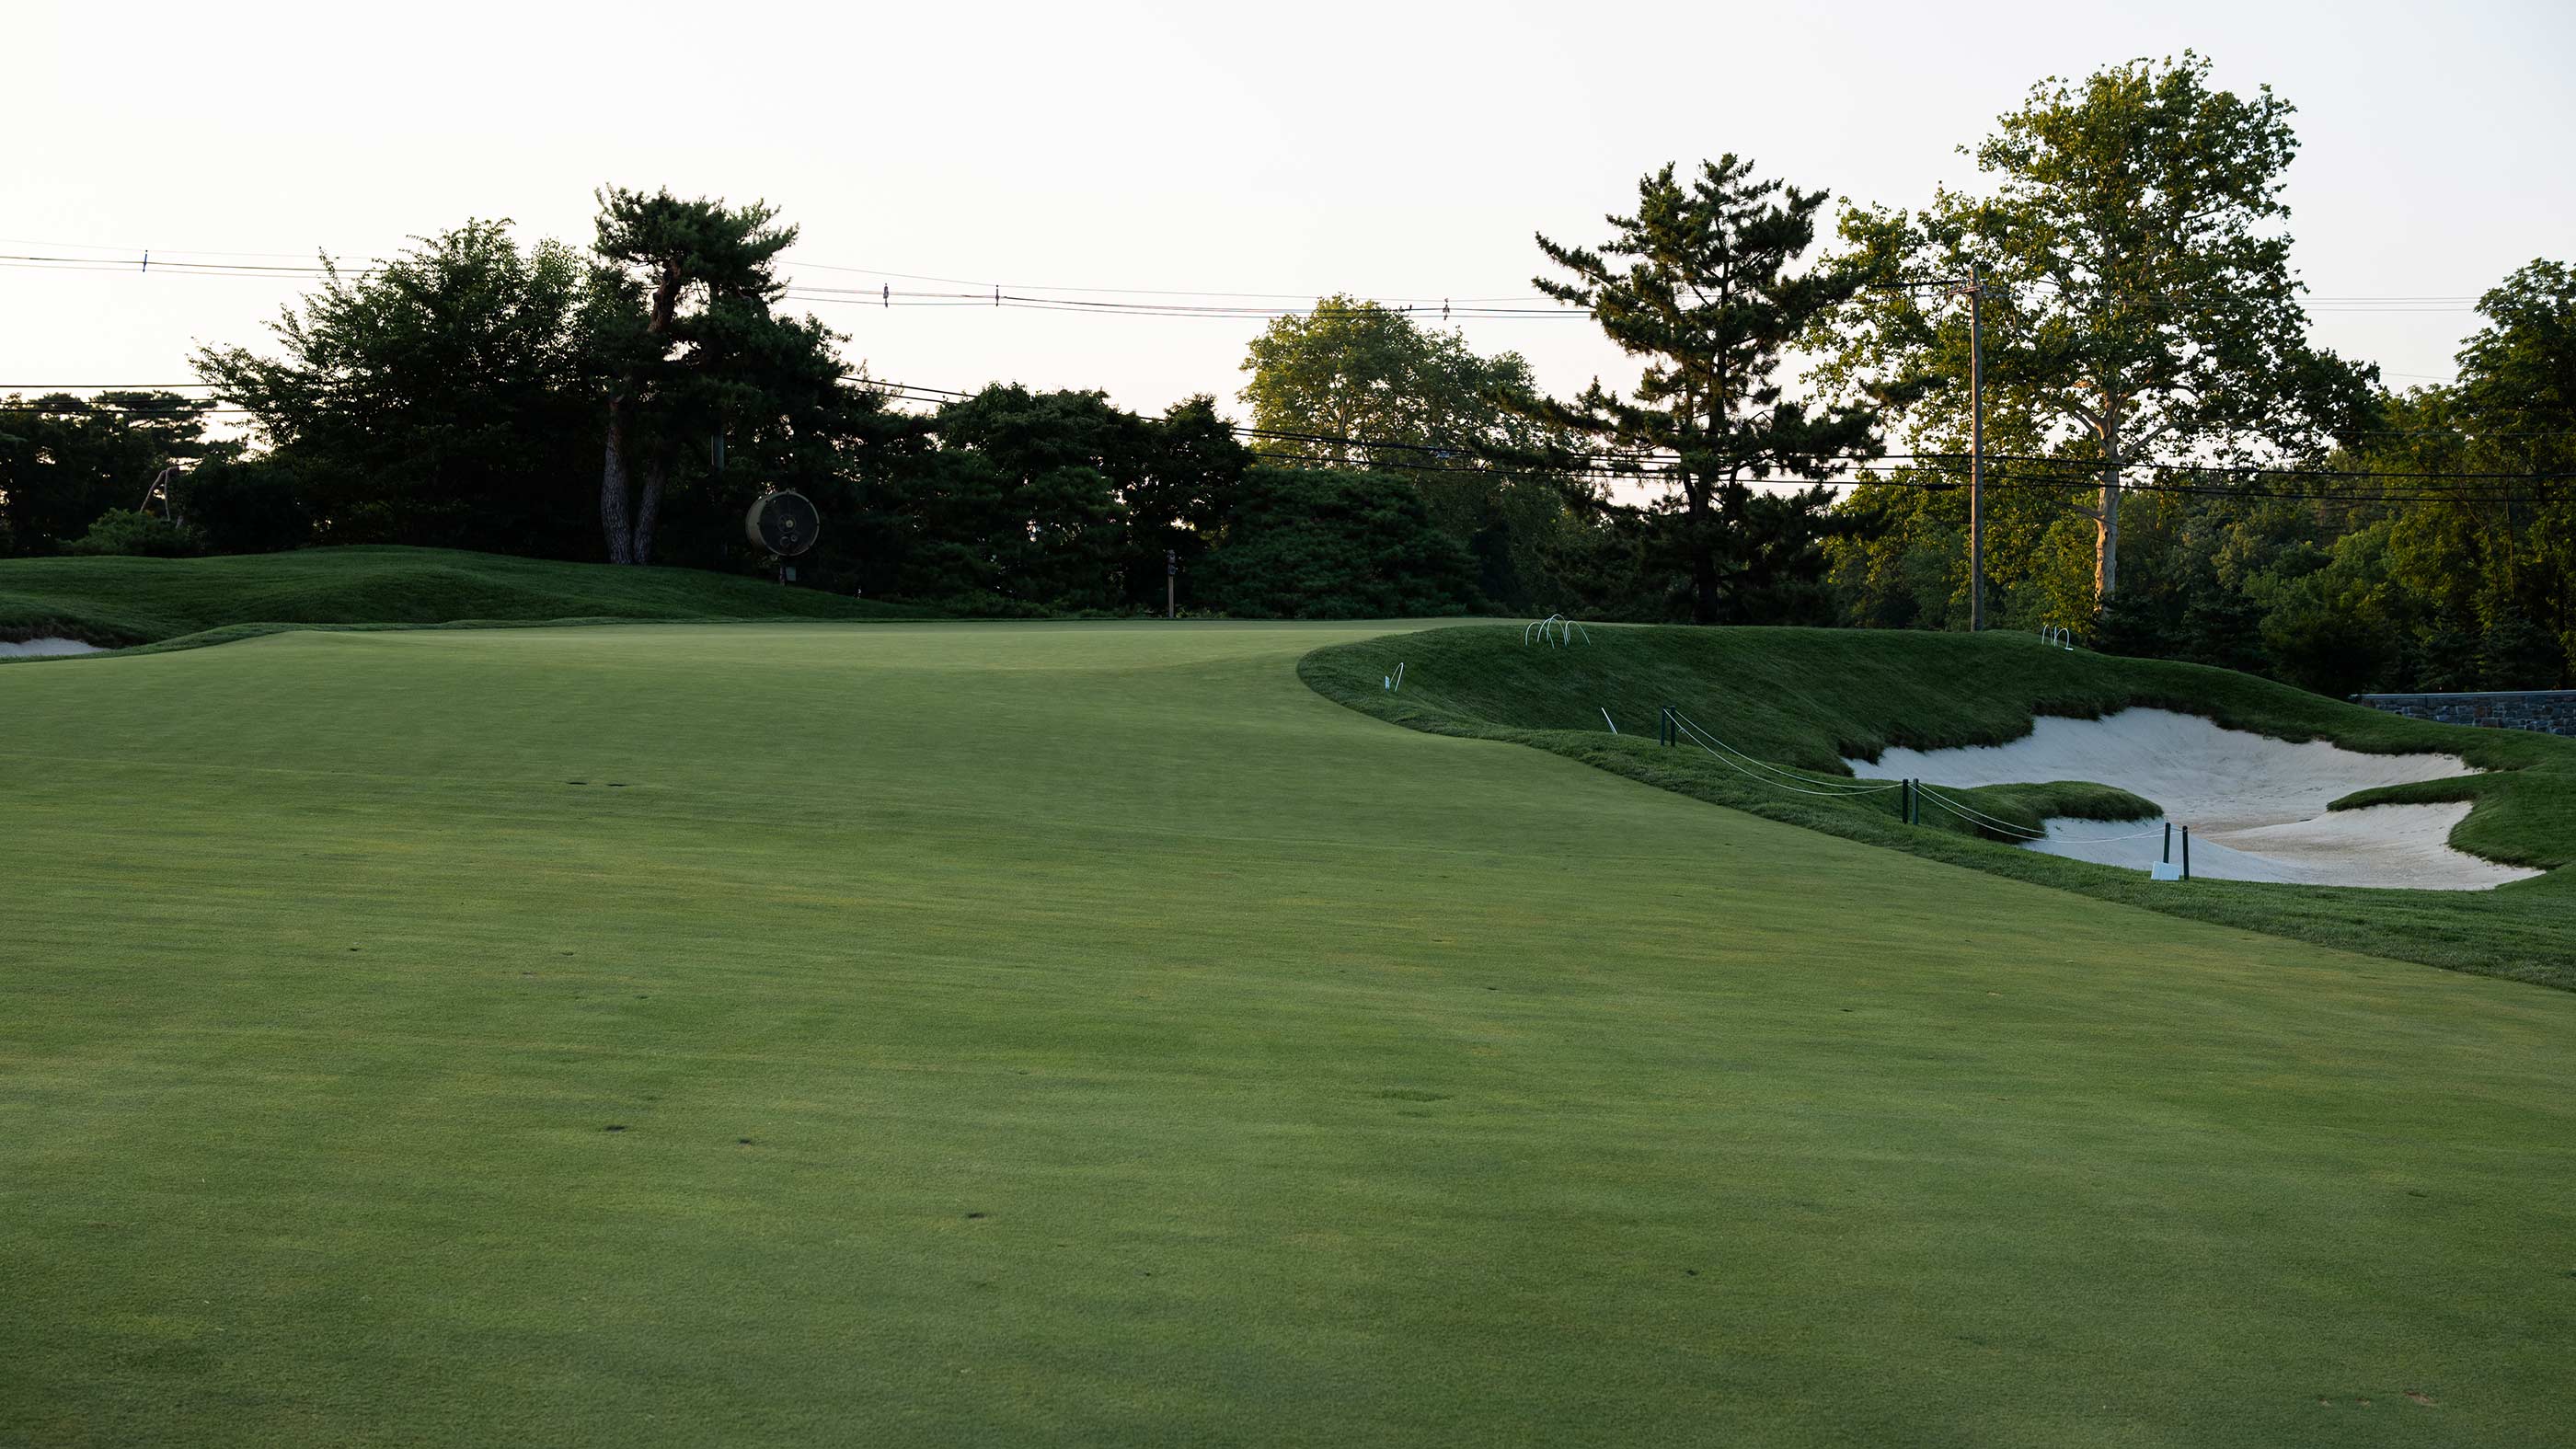
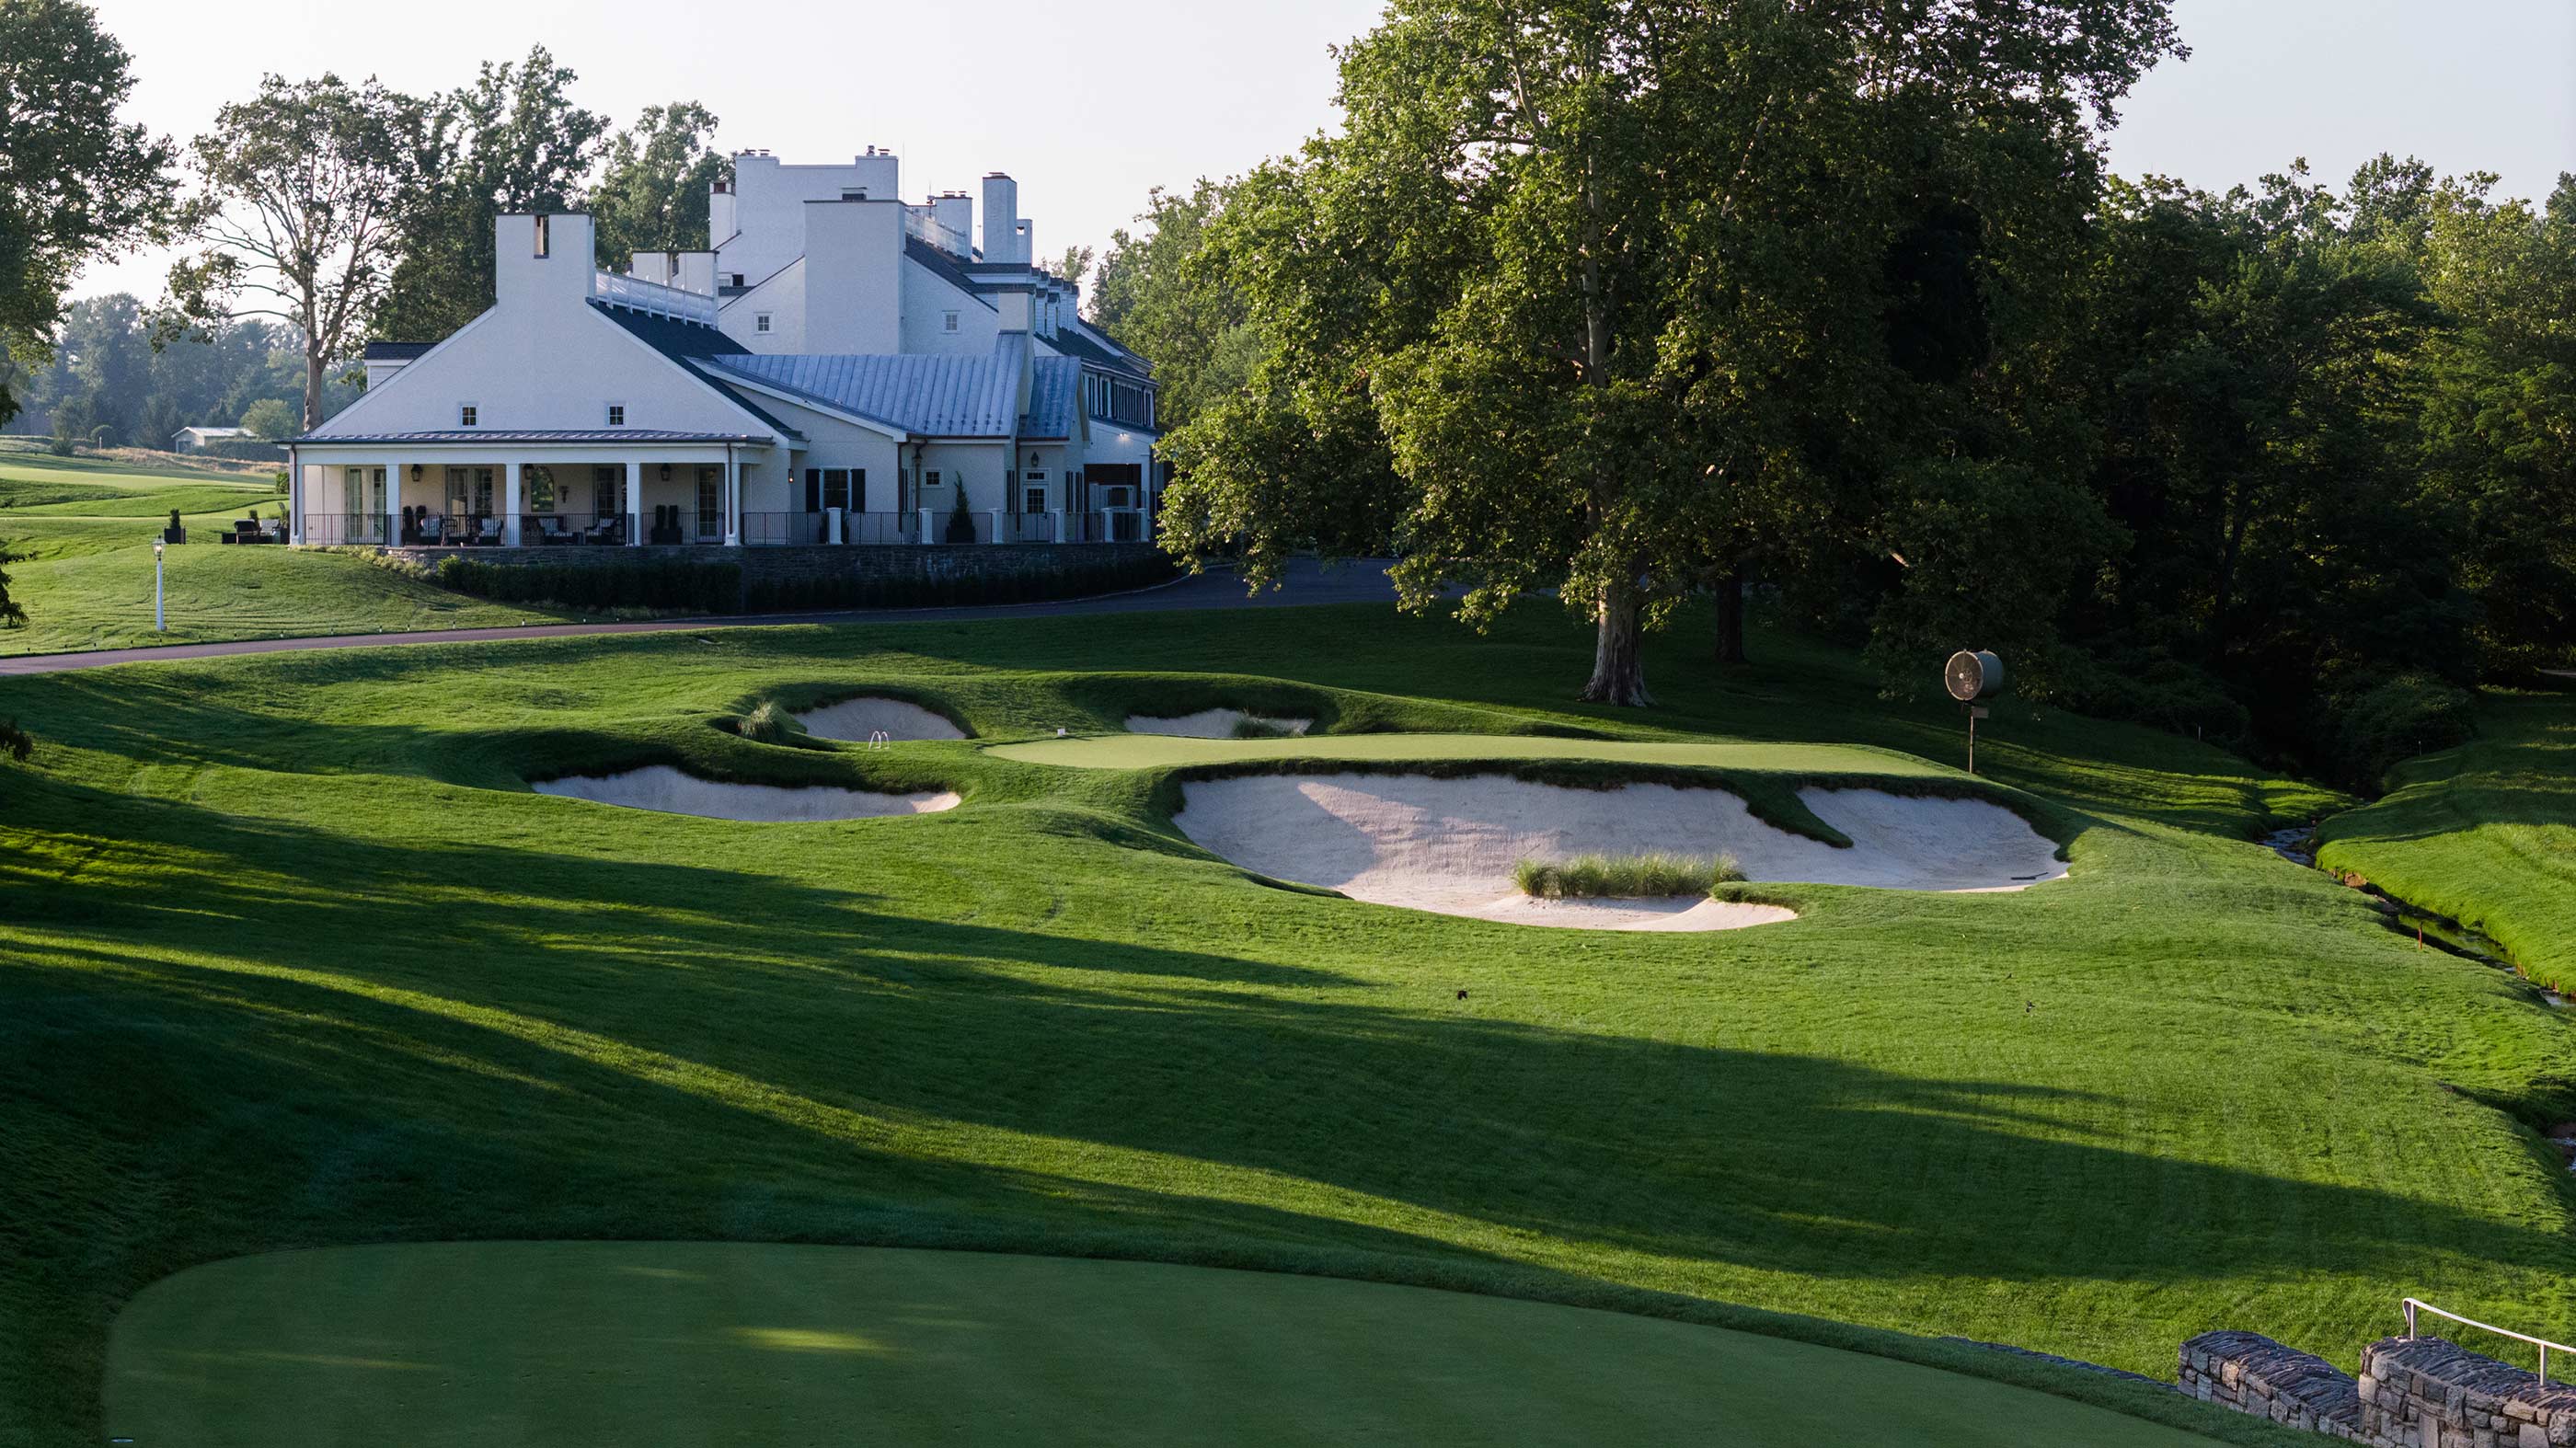
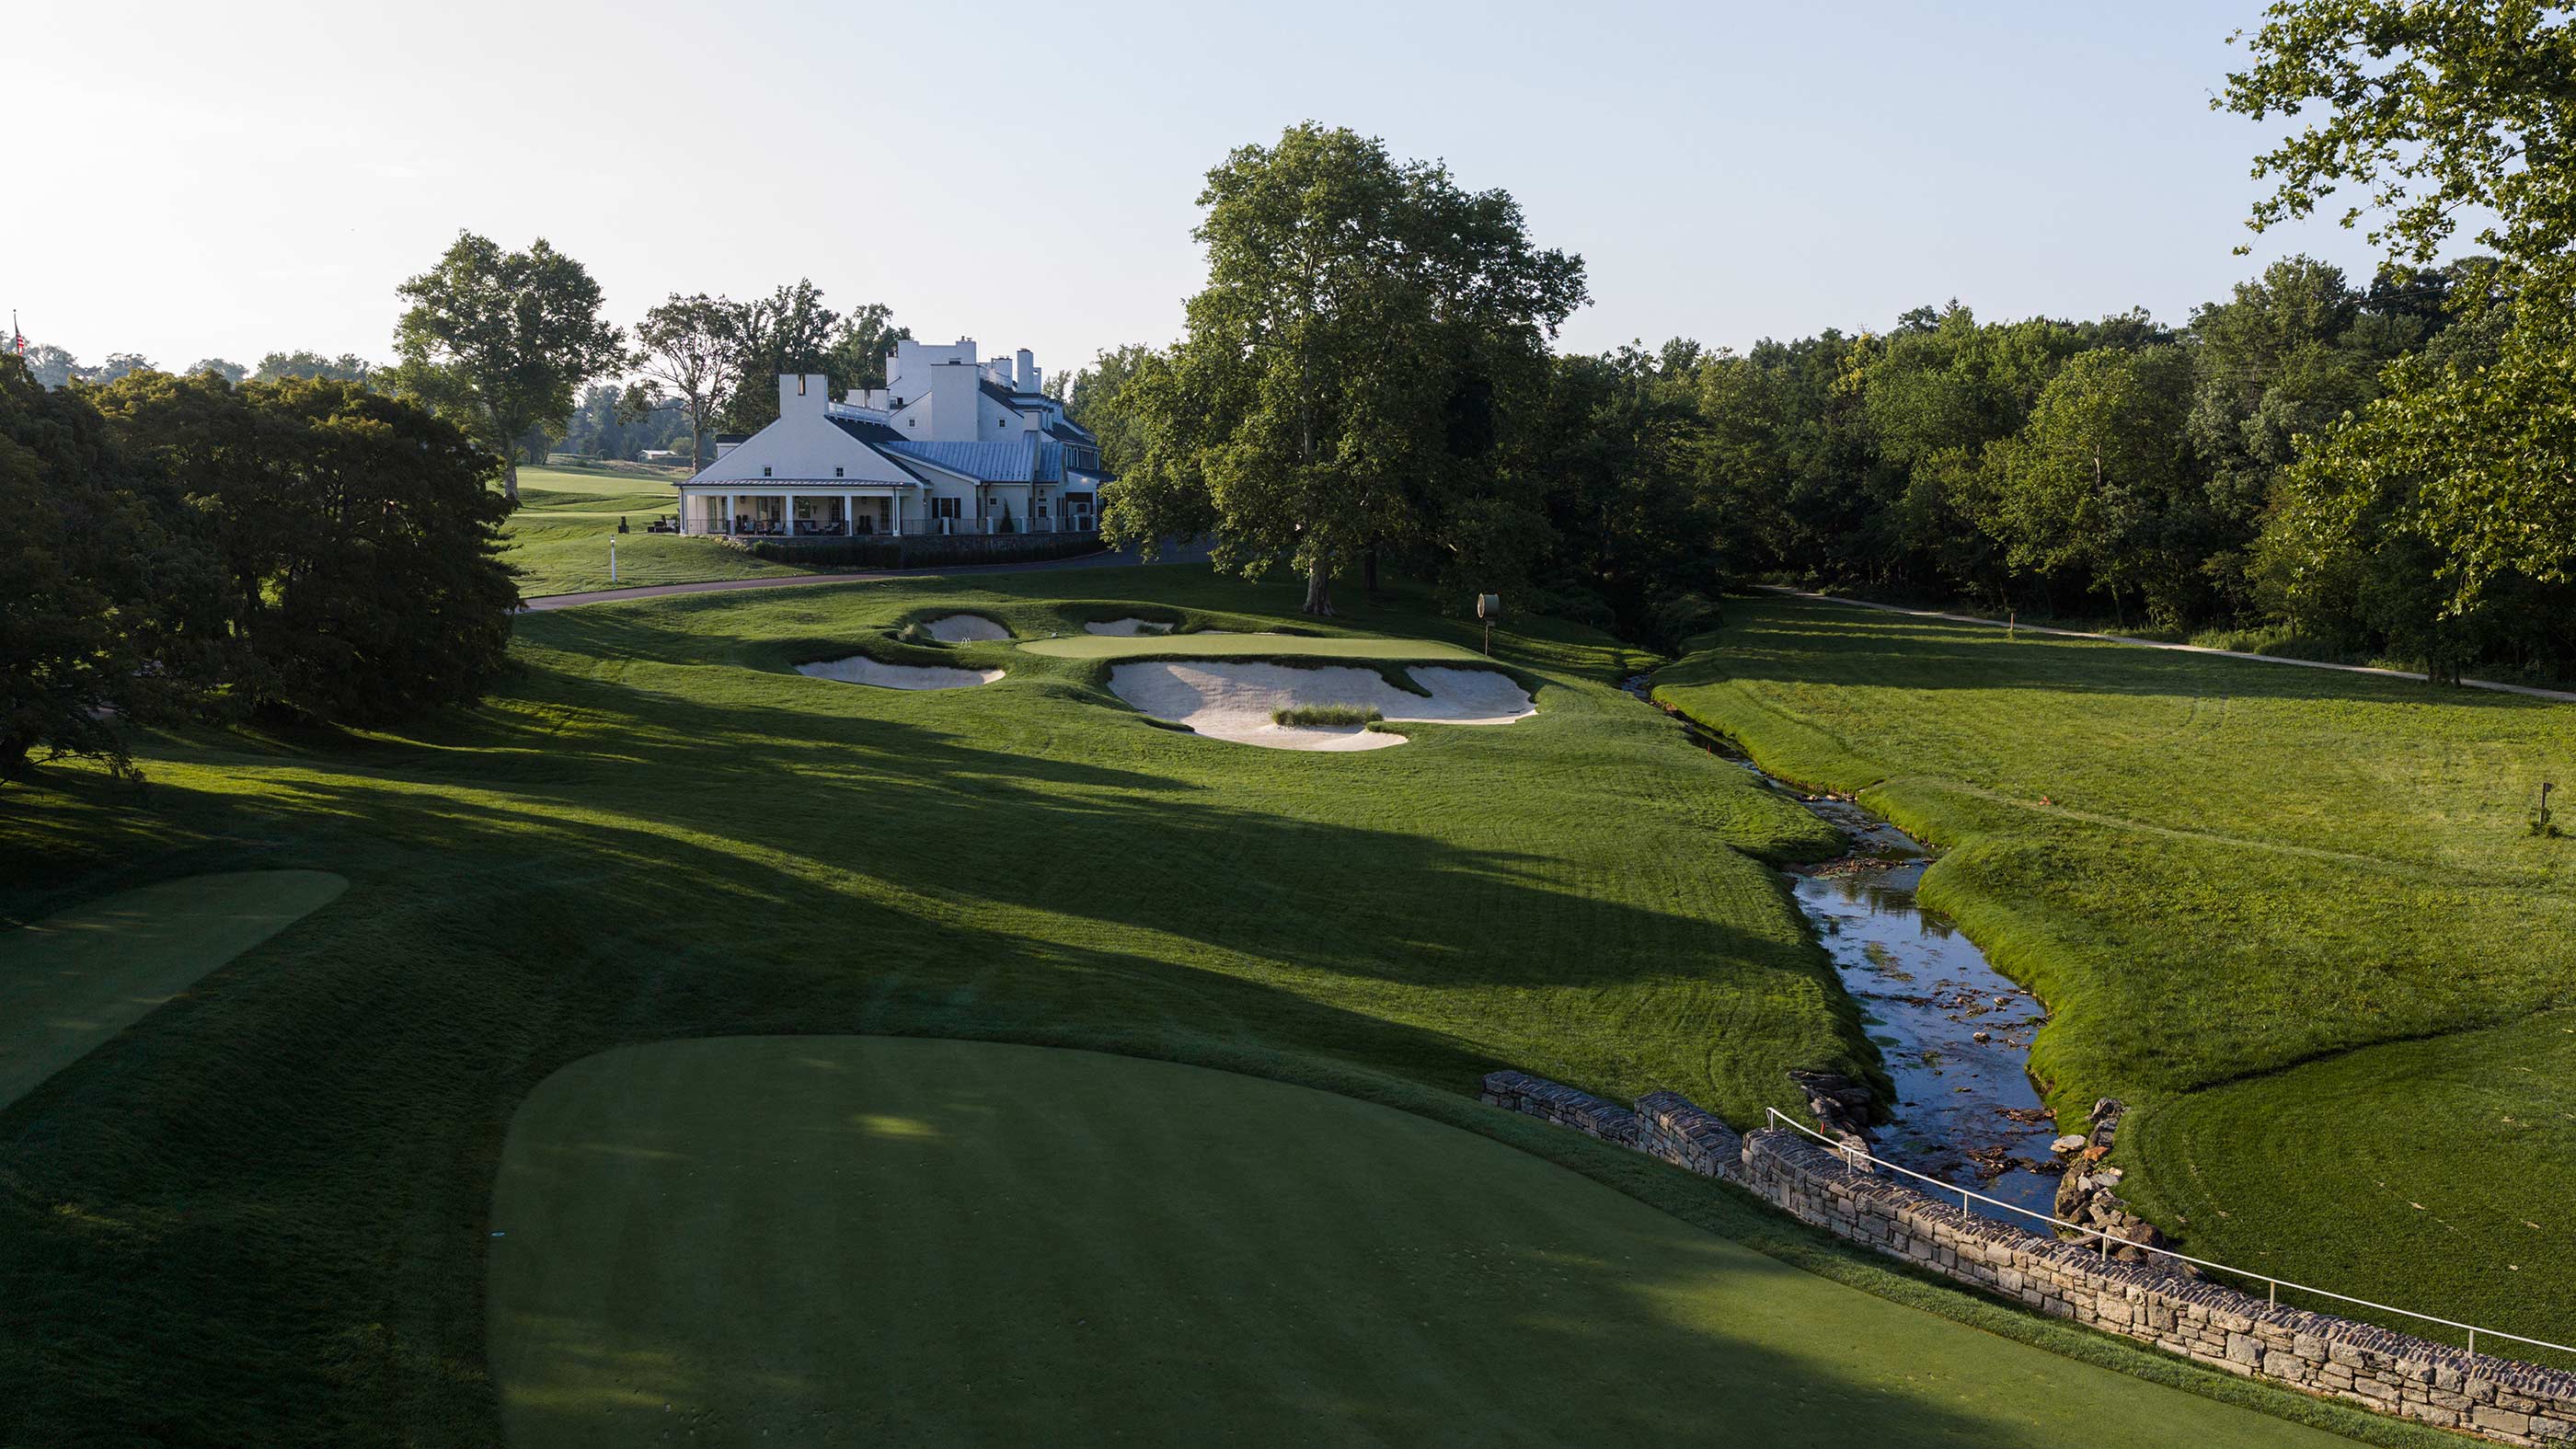
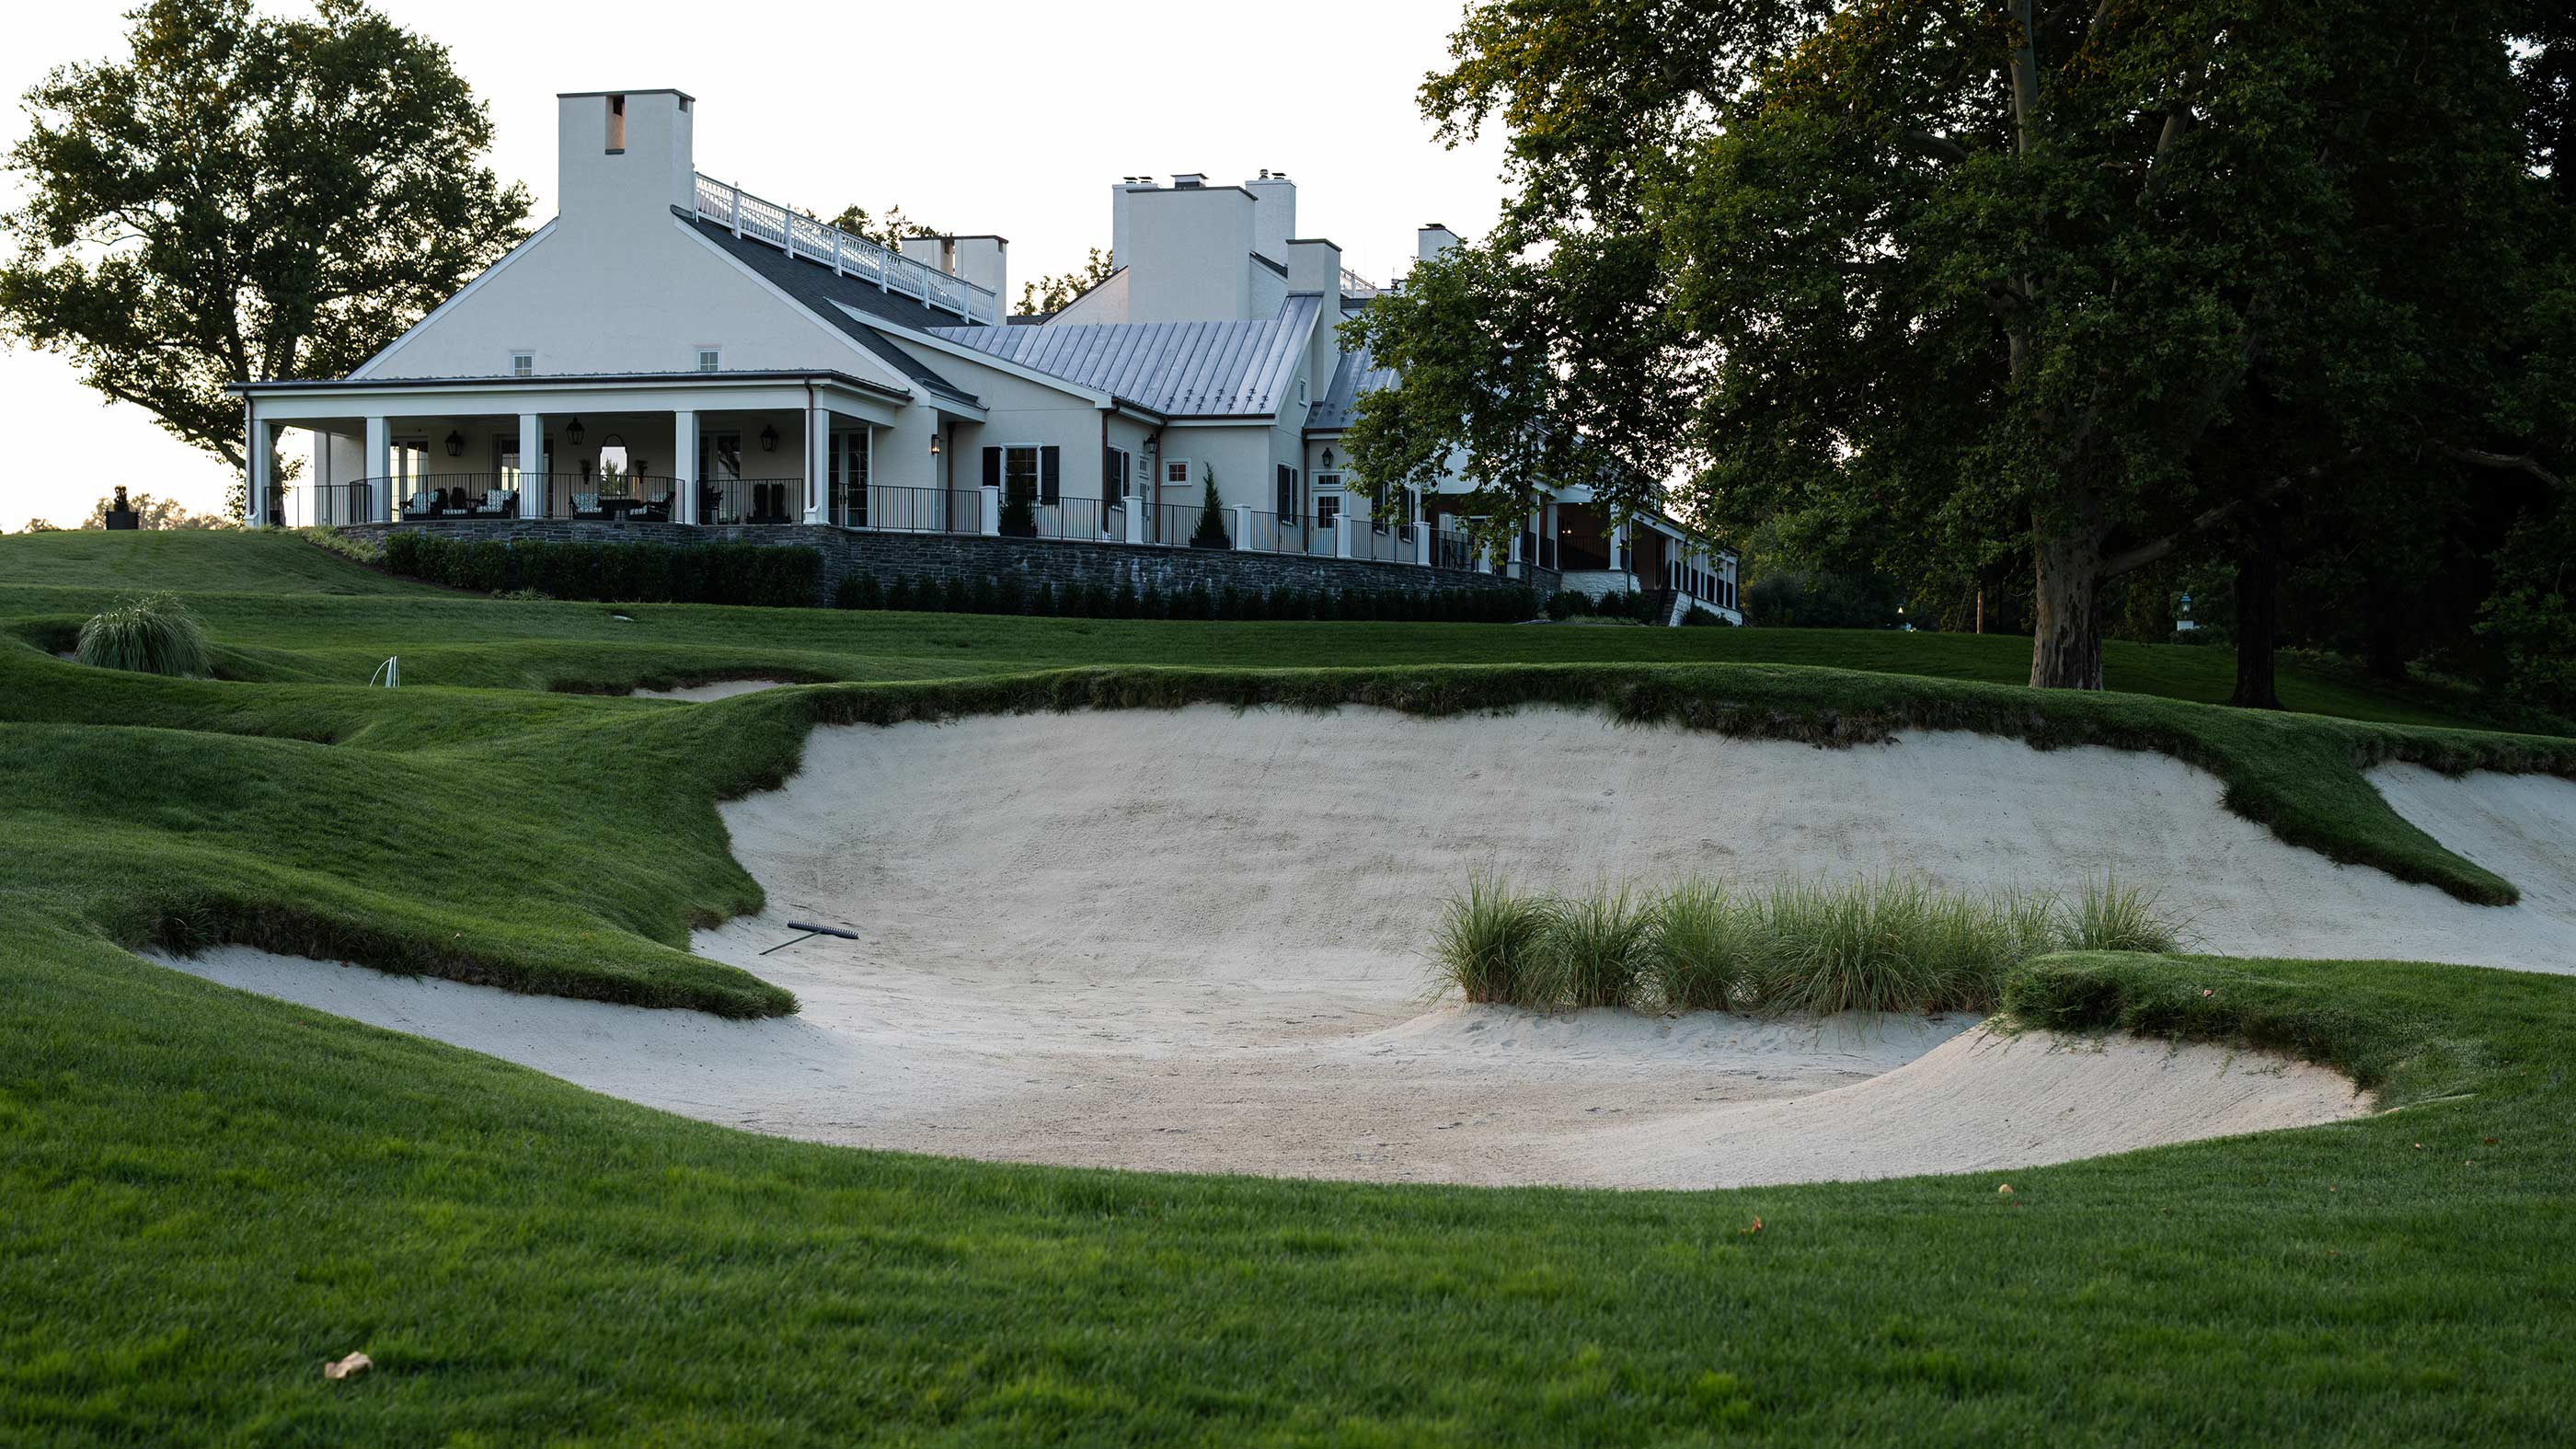
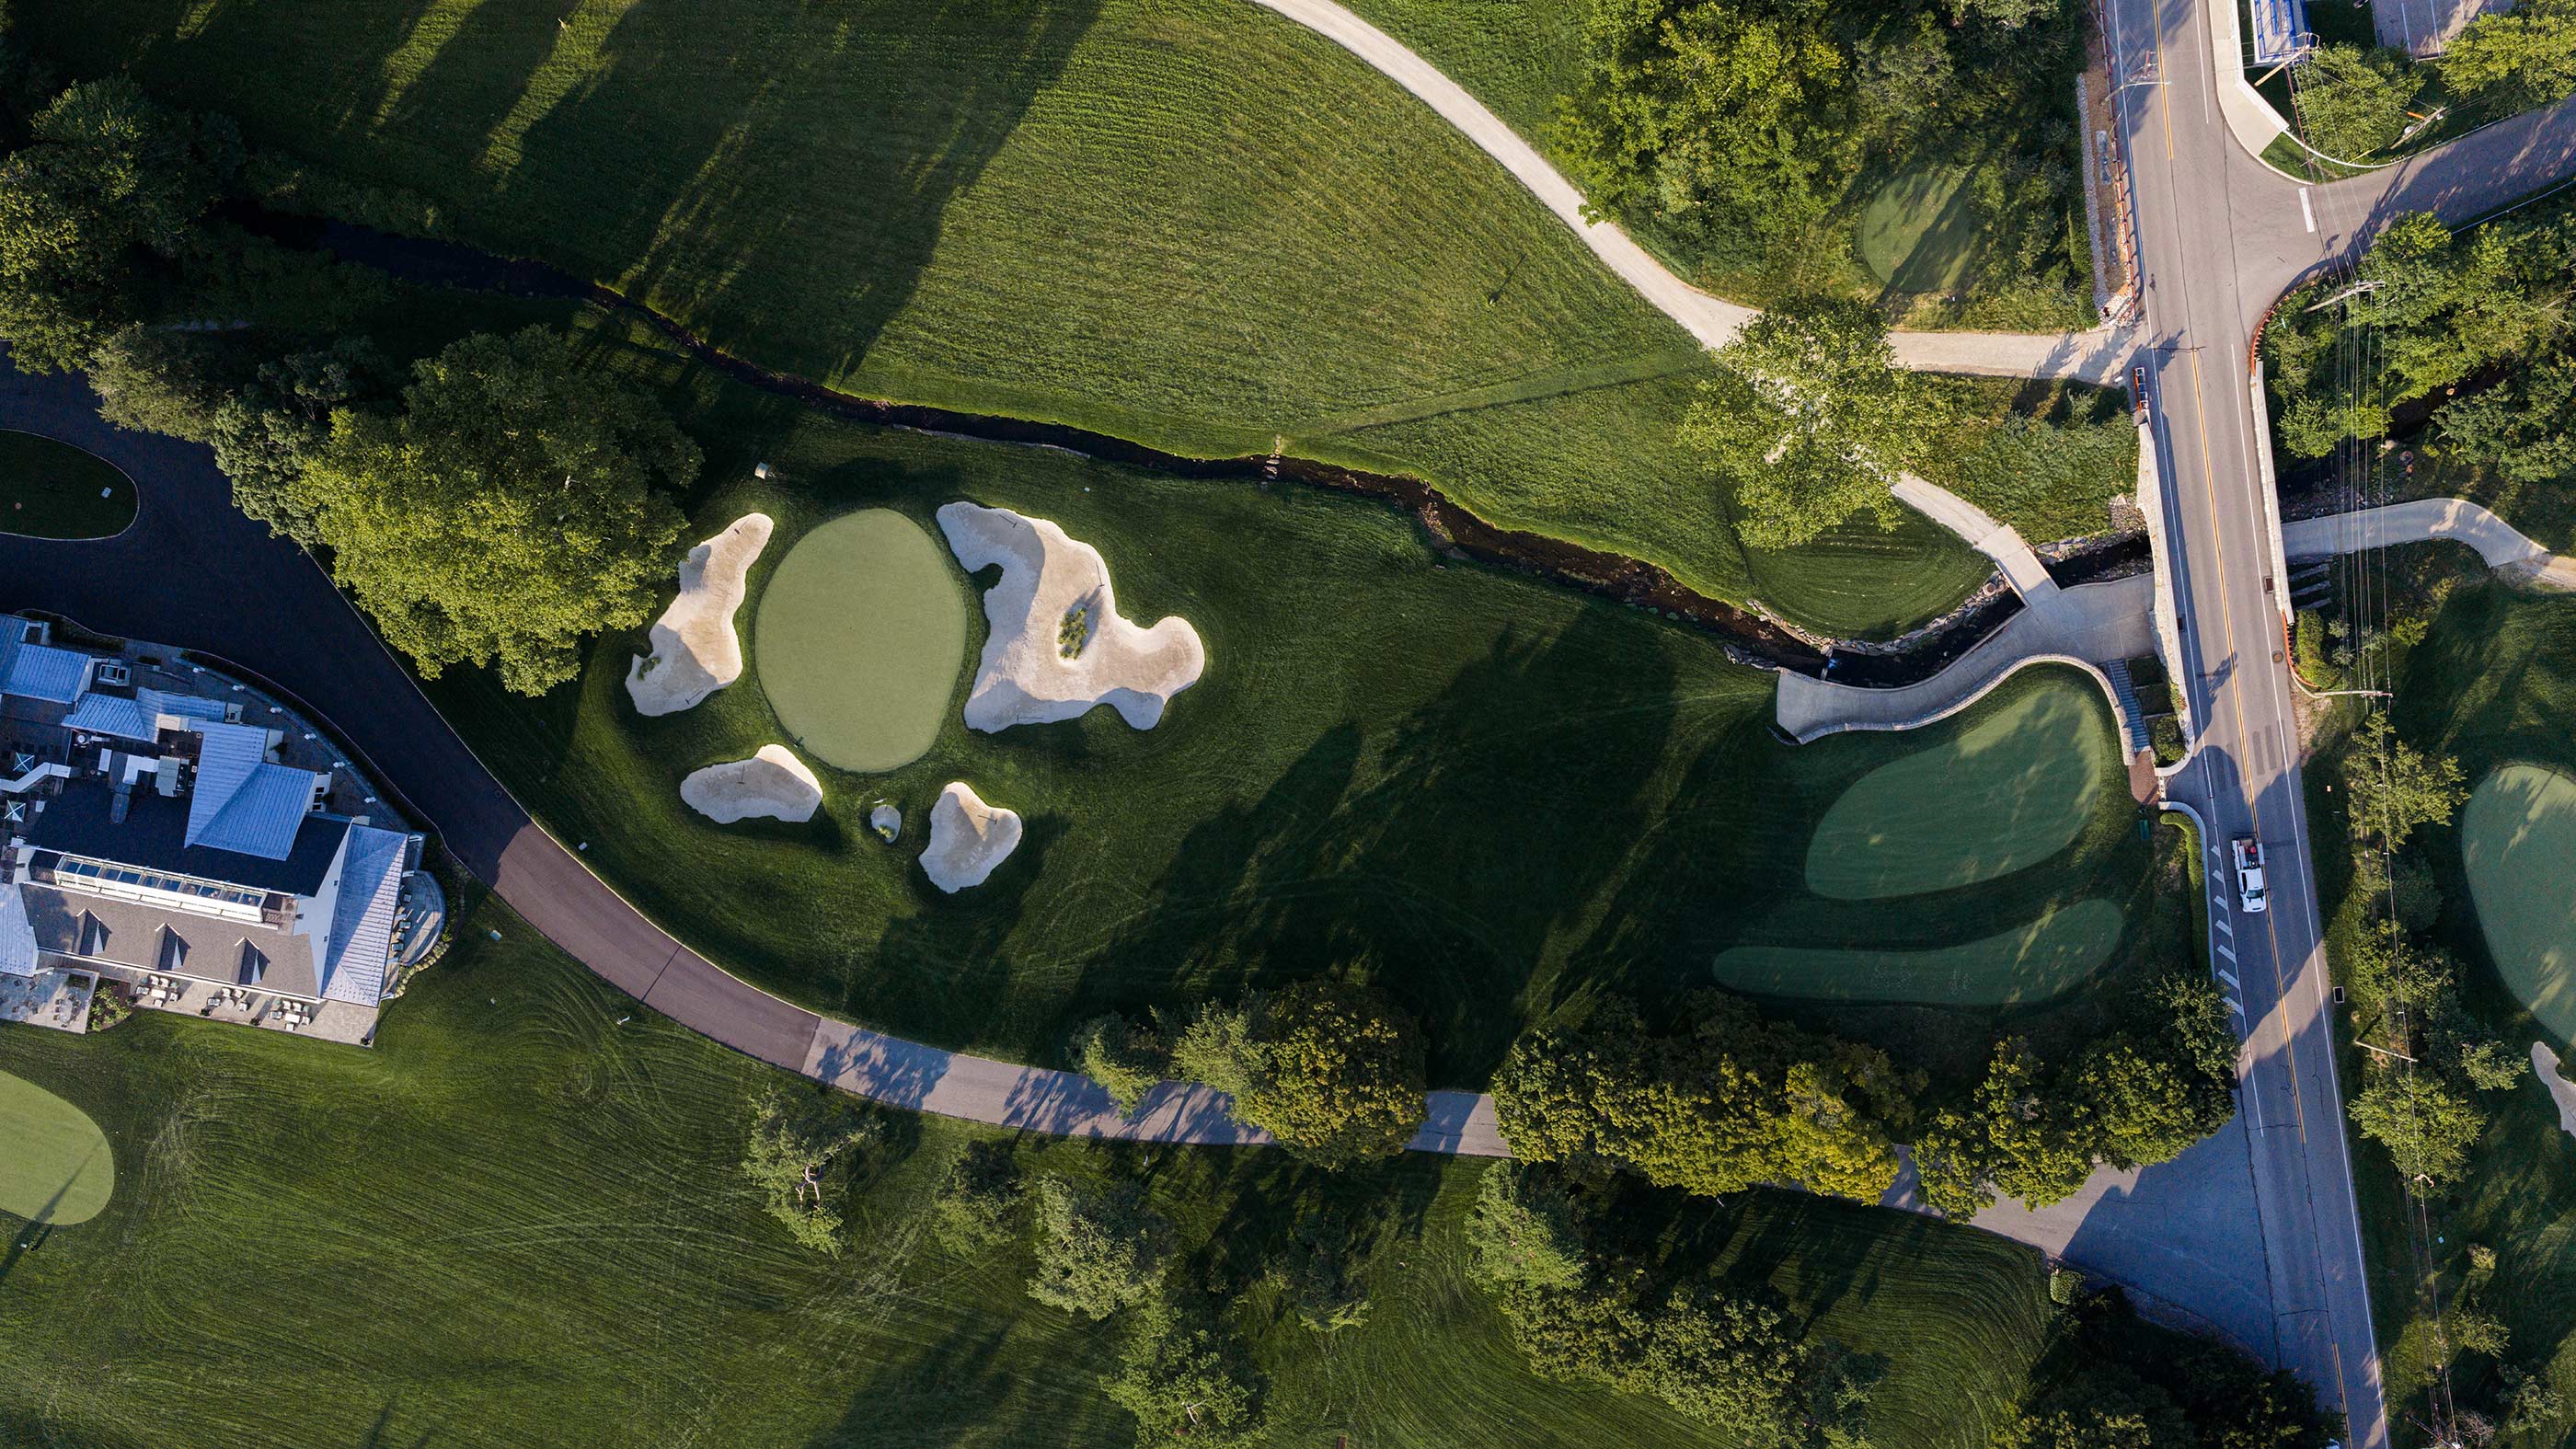
This charmer of a par 3 occupies its own little world, bordered by Ardmore Avenue in the back, Club Drive to the left, the clubhouse long, and Cobbs Creek to the right. The green, encircled by flashed bunkers, forms a subtle punchbowl. The funnelling contours at the edges cut both ways: they may help tee shots that barely find the putting surface, but they certainly hurt recoveries from the surrounding hazards (as Phil Mickelson found out in 2013).

Hole 14
After crossing Club Drive, the first tee, and a practice green, the player arrives at Merion East’s third and final act, dubbed “tragedy” by Jerry Tarde. The uphill par-4 14th hole curves left, snaking between bunkers. The safe option is a modest-length drive out to the right, but power hitters may attempt to carry the left fairway bunker (or even a portion of Golf House Road) to find a deeper landing area. The green is one of my favorites at Merion, with a channel cutting diagonally through the middle.
Hole 15
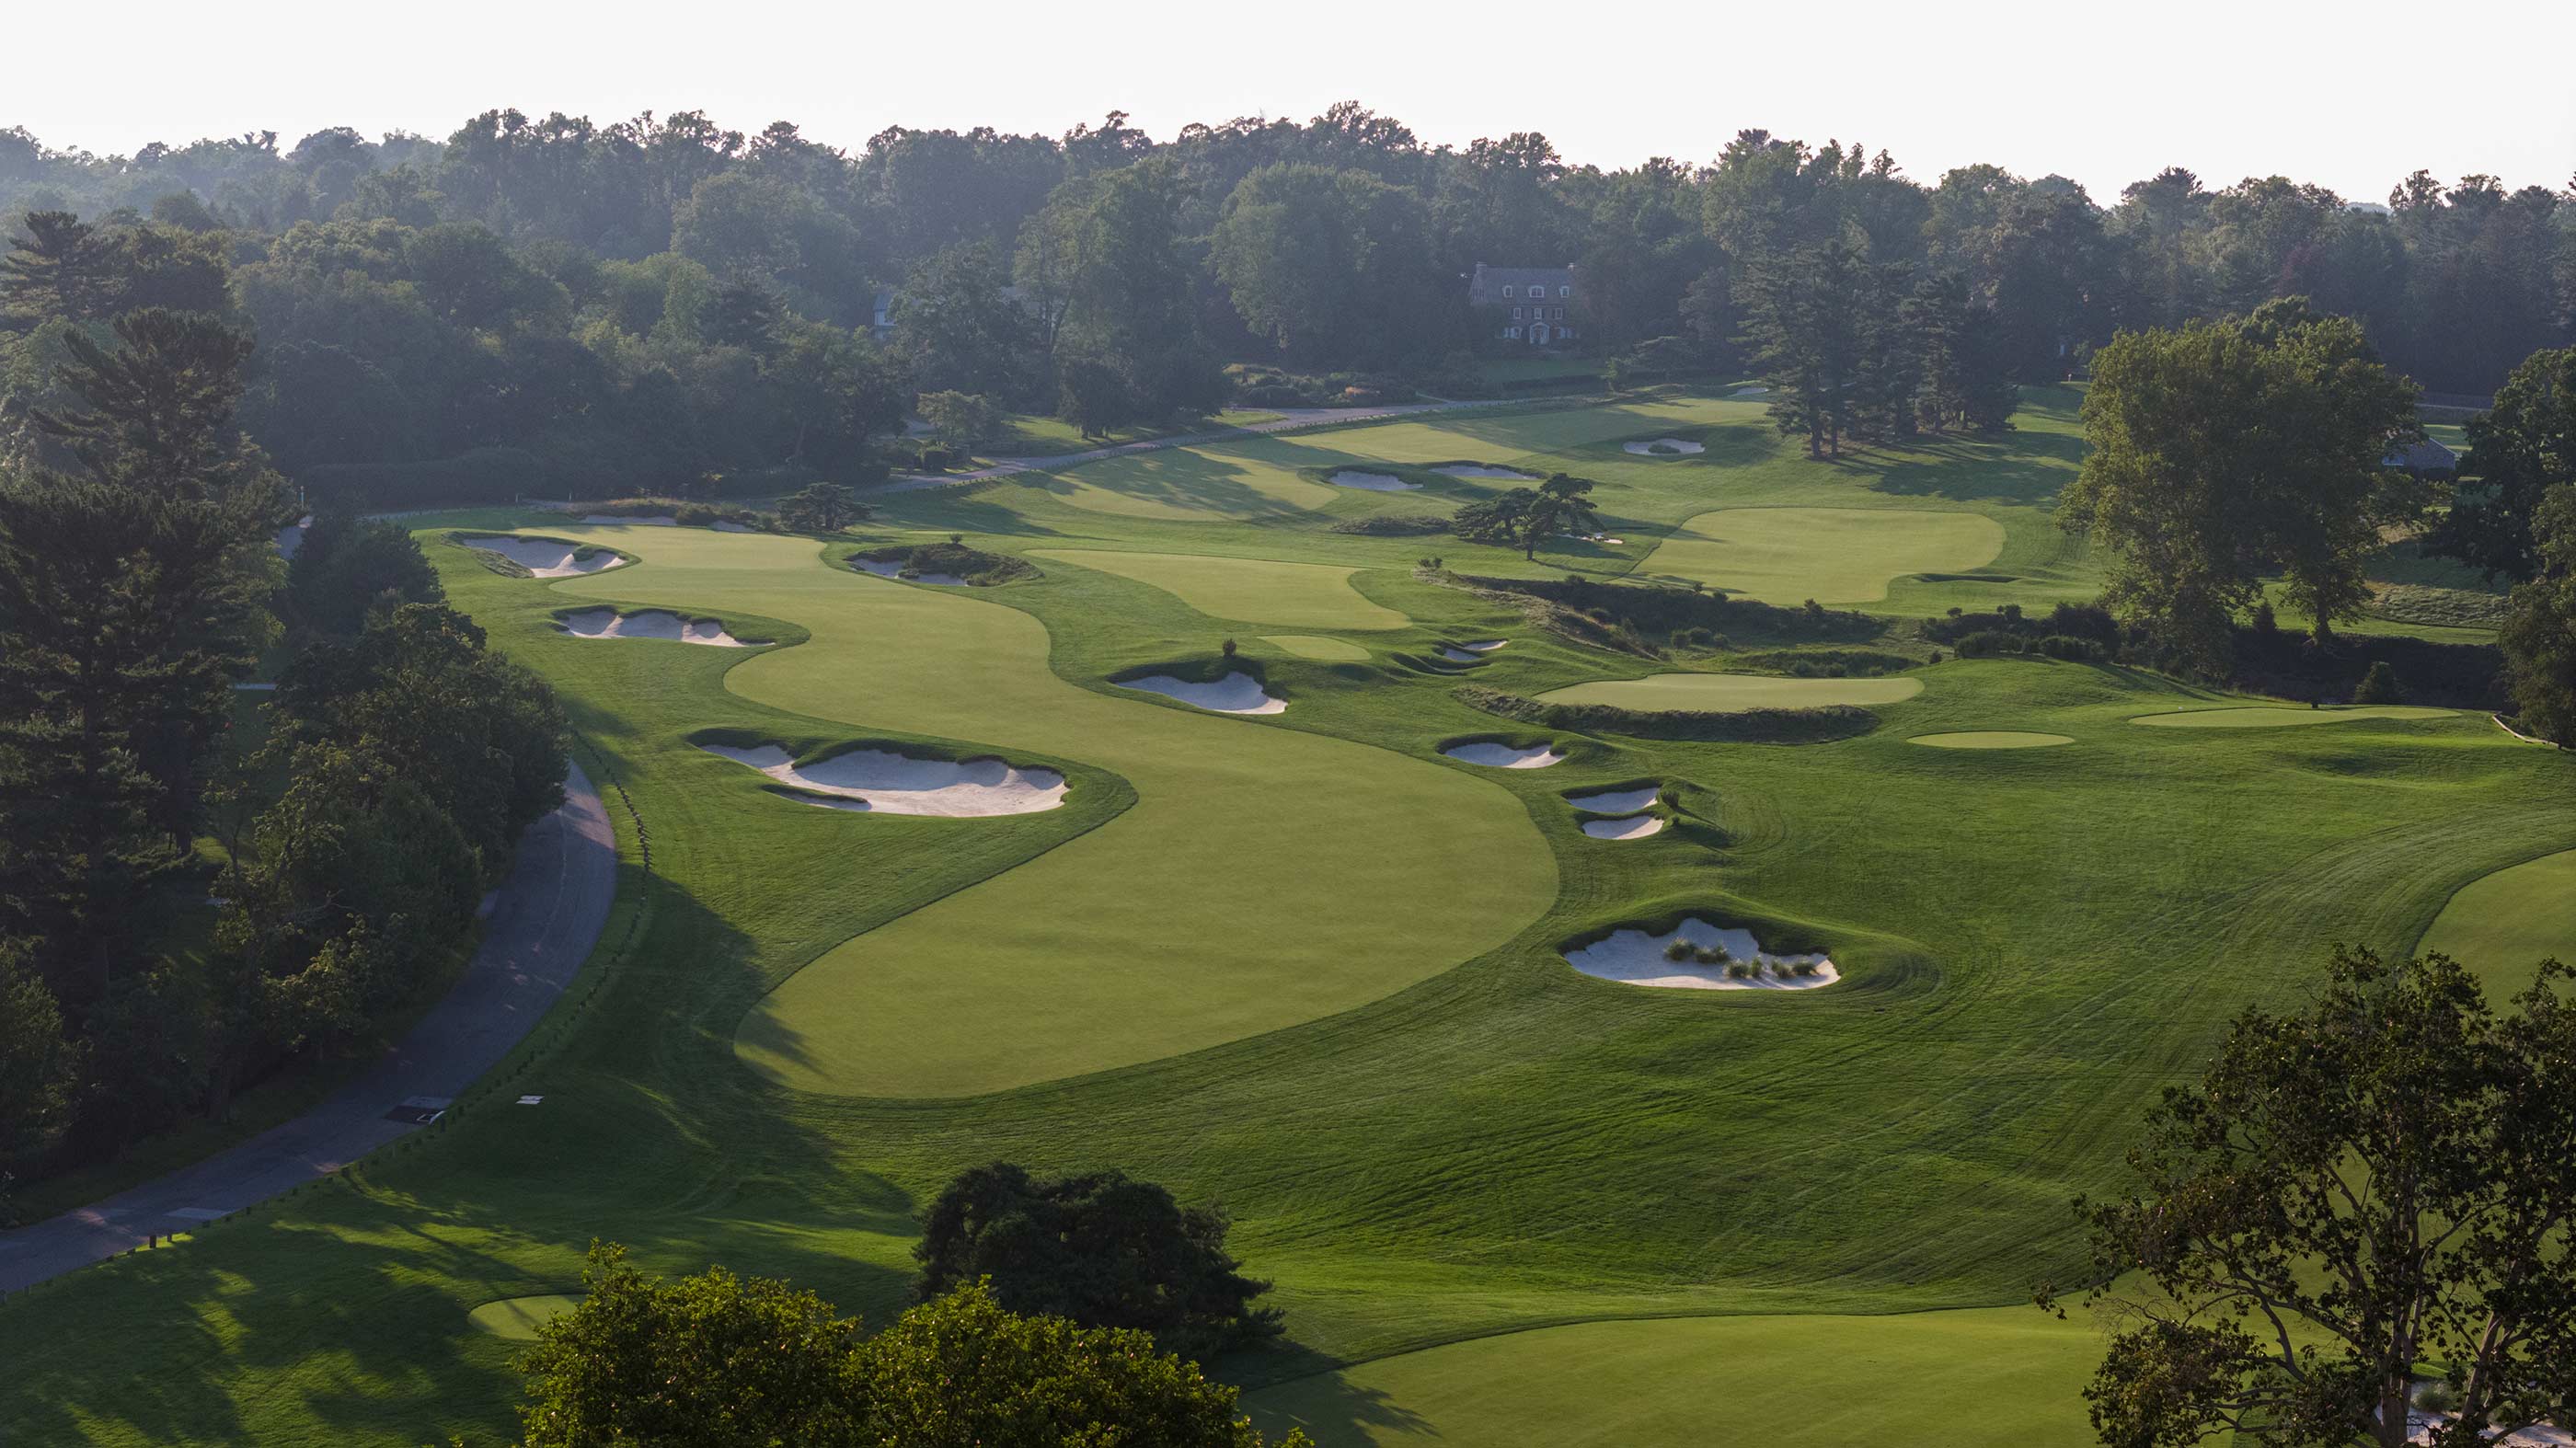
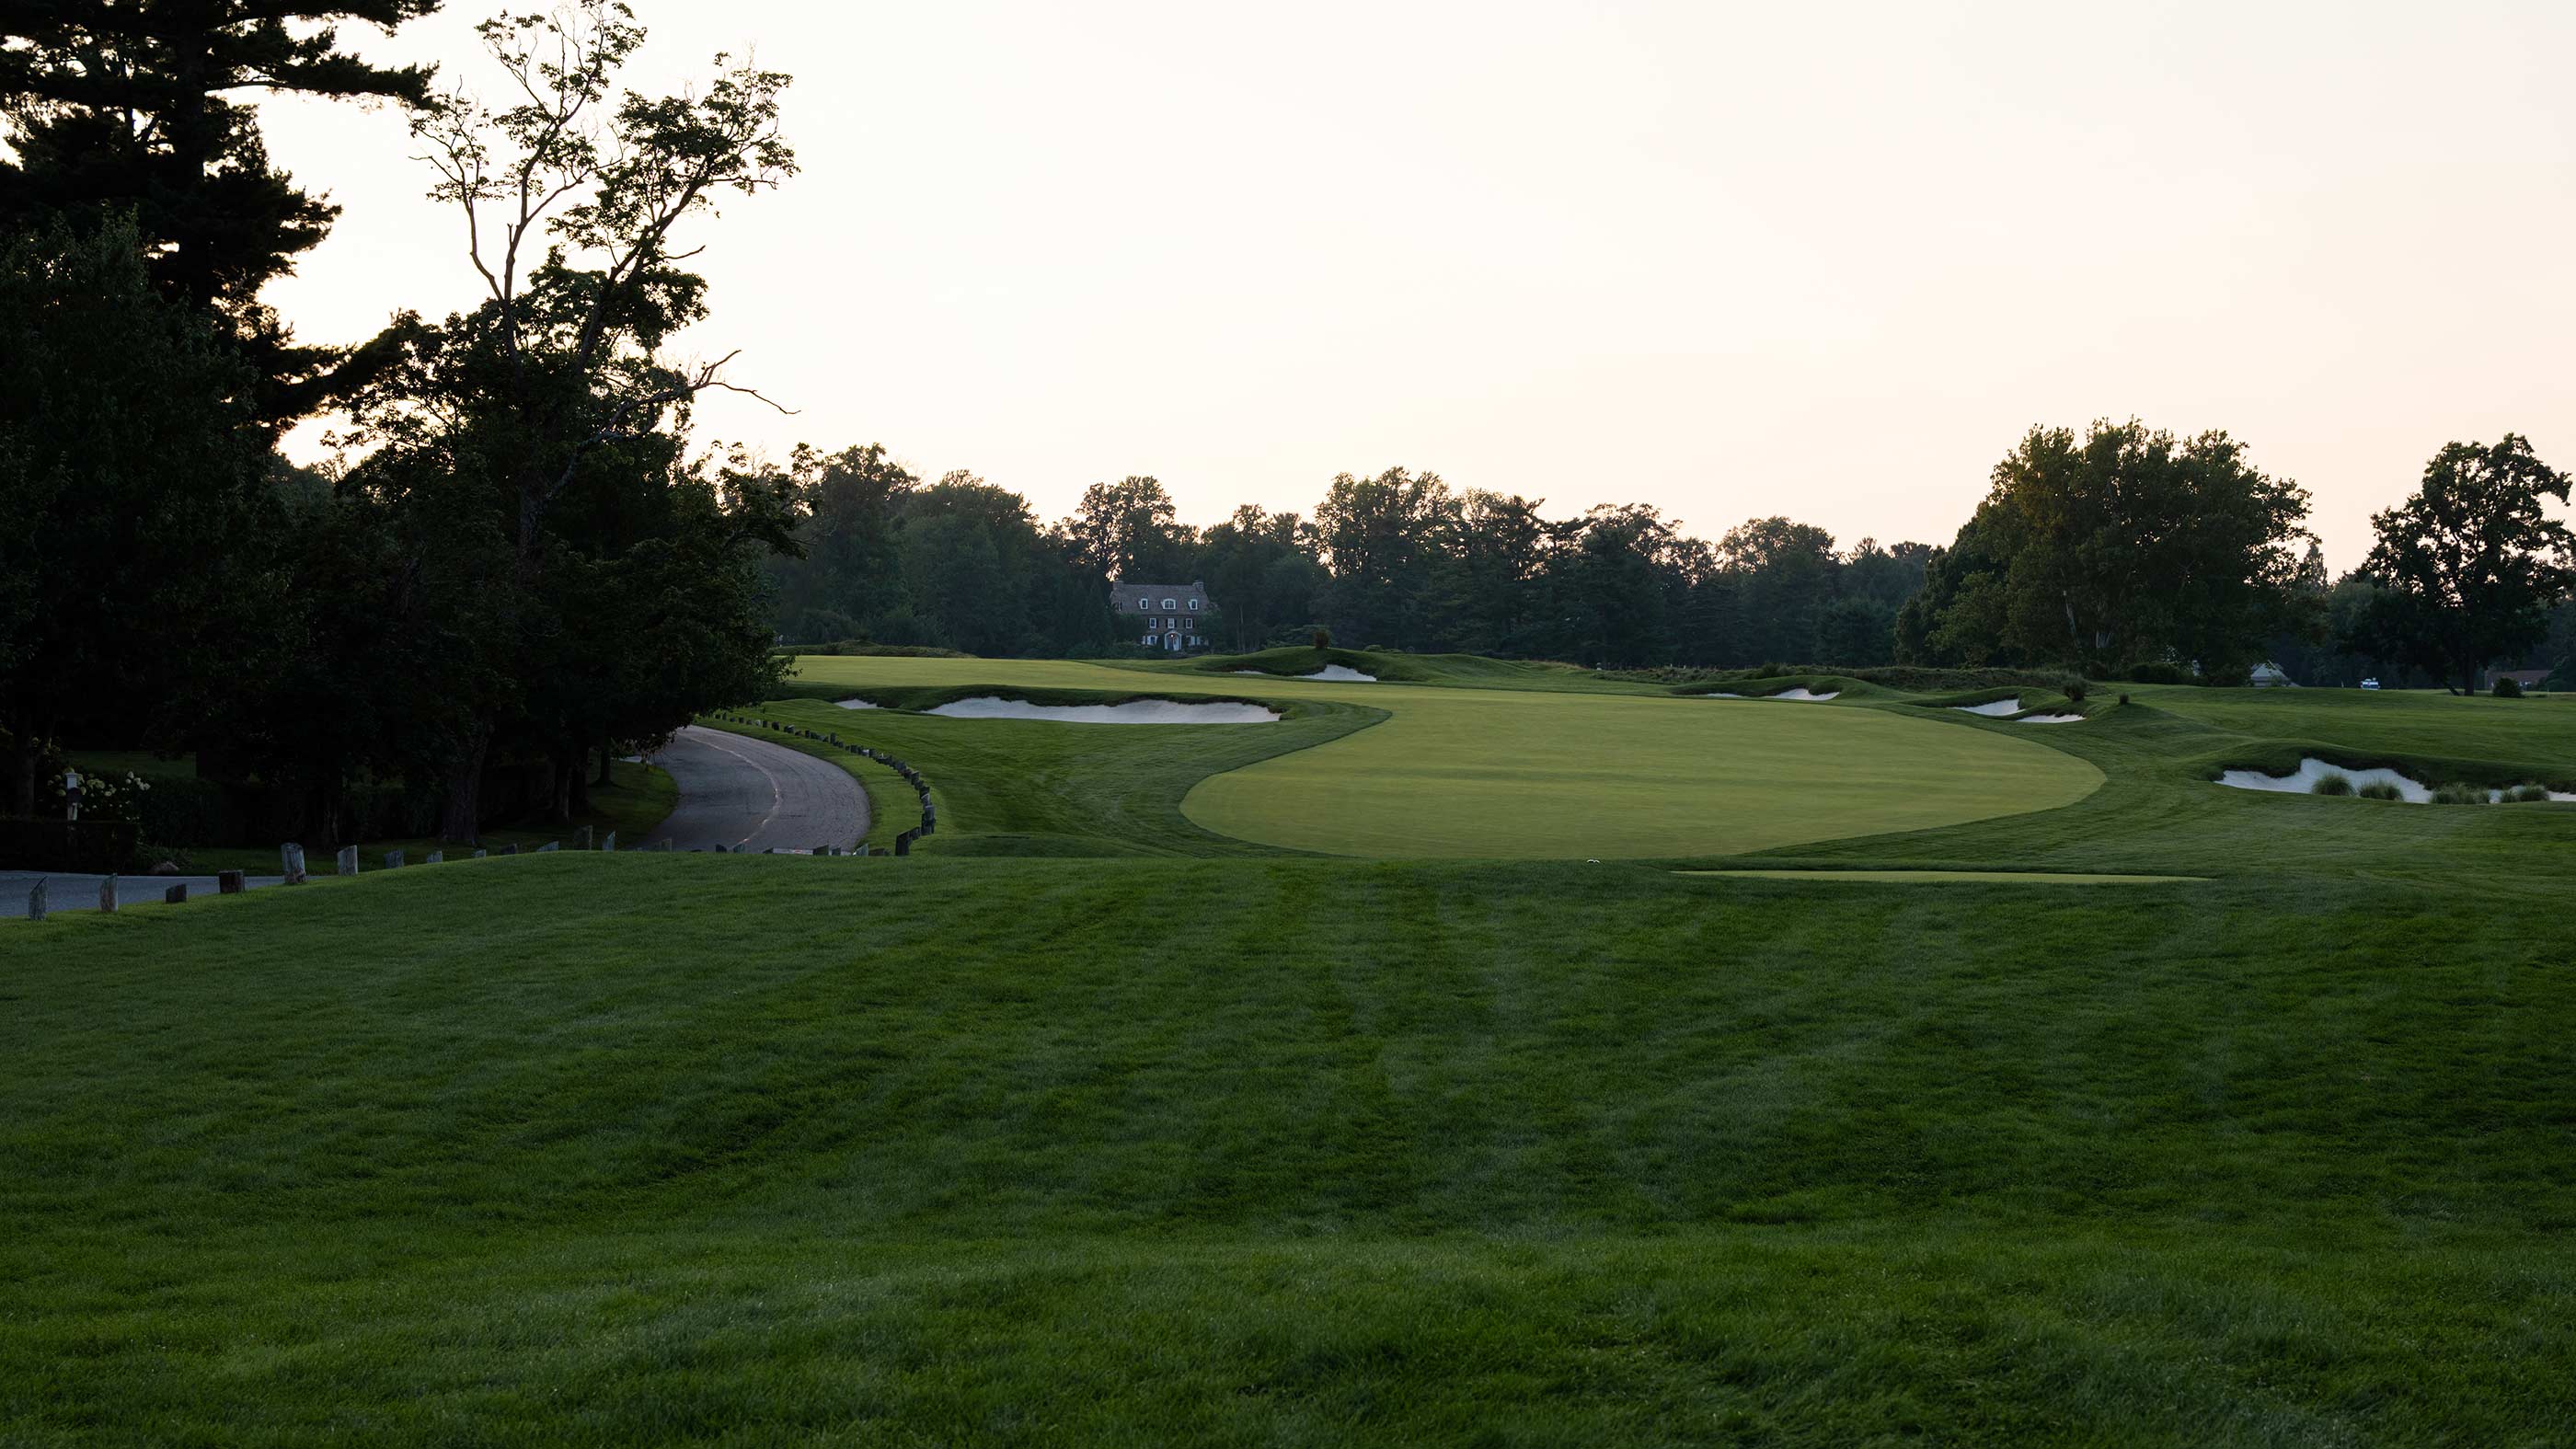
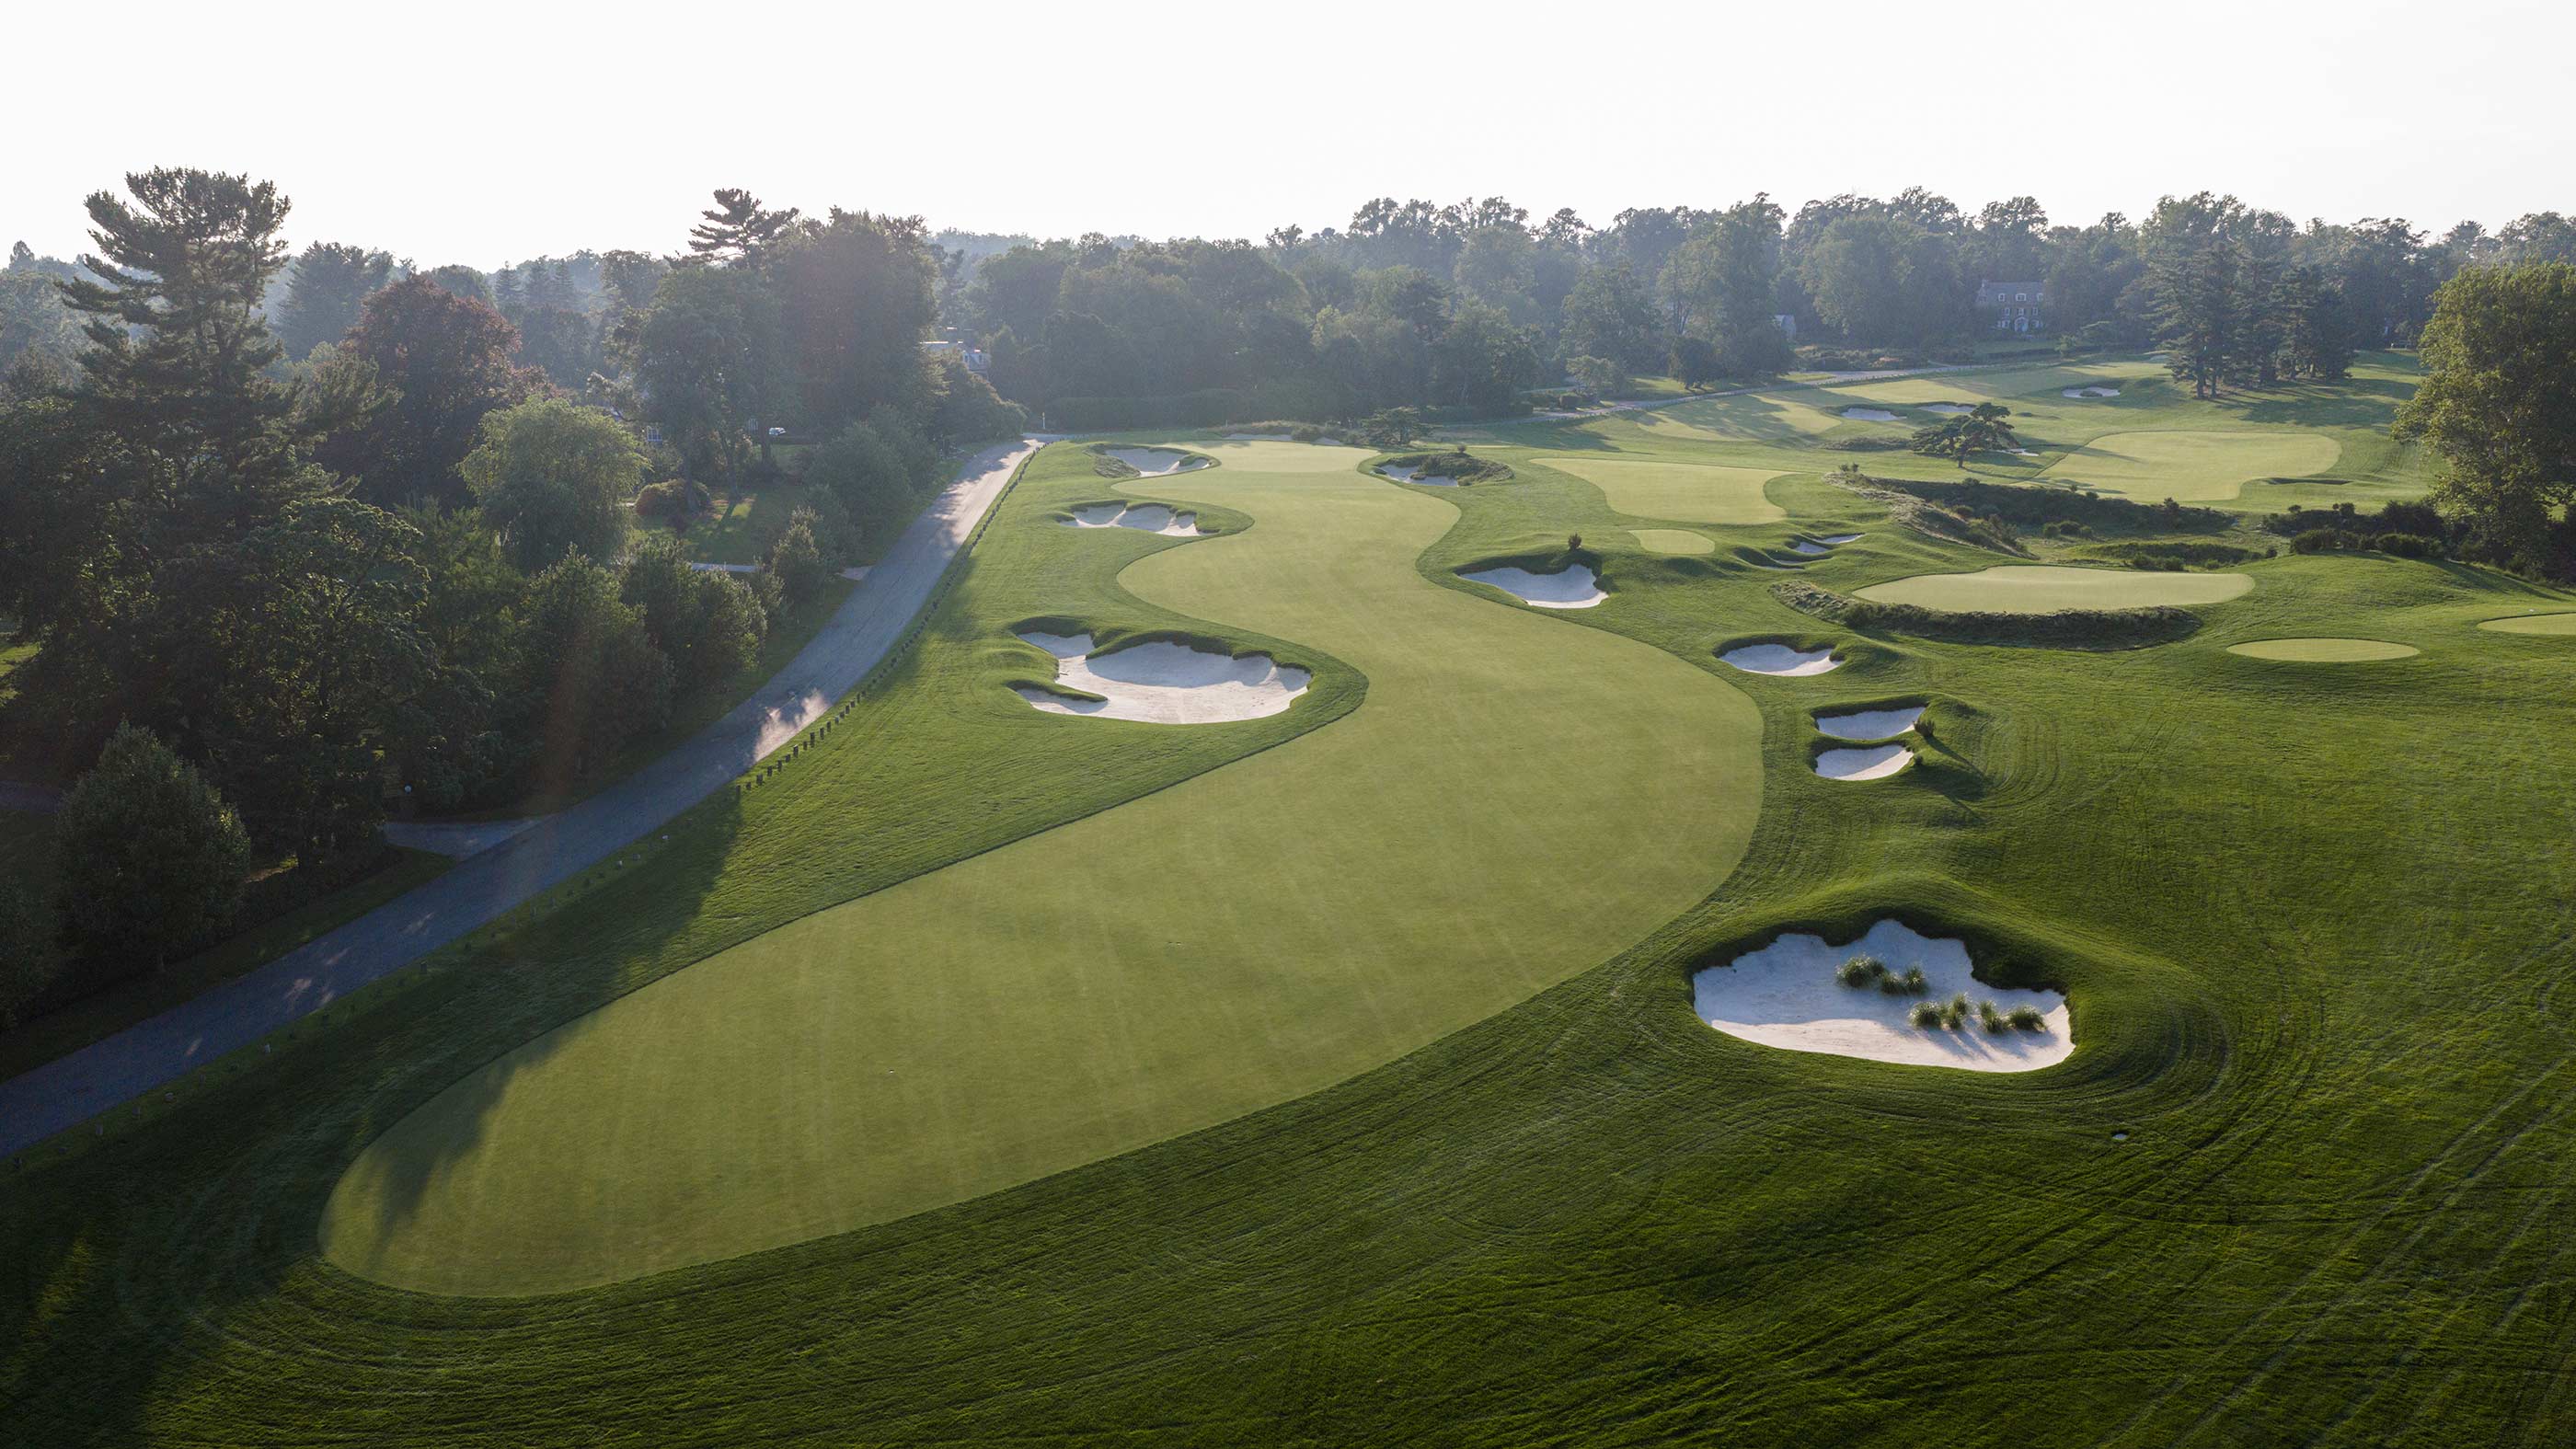
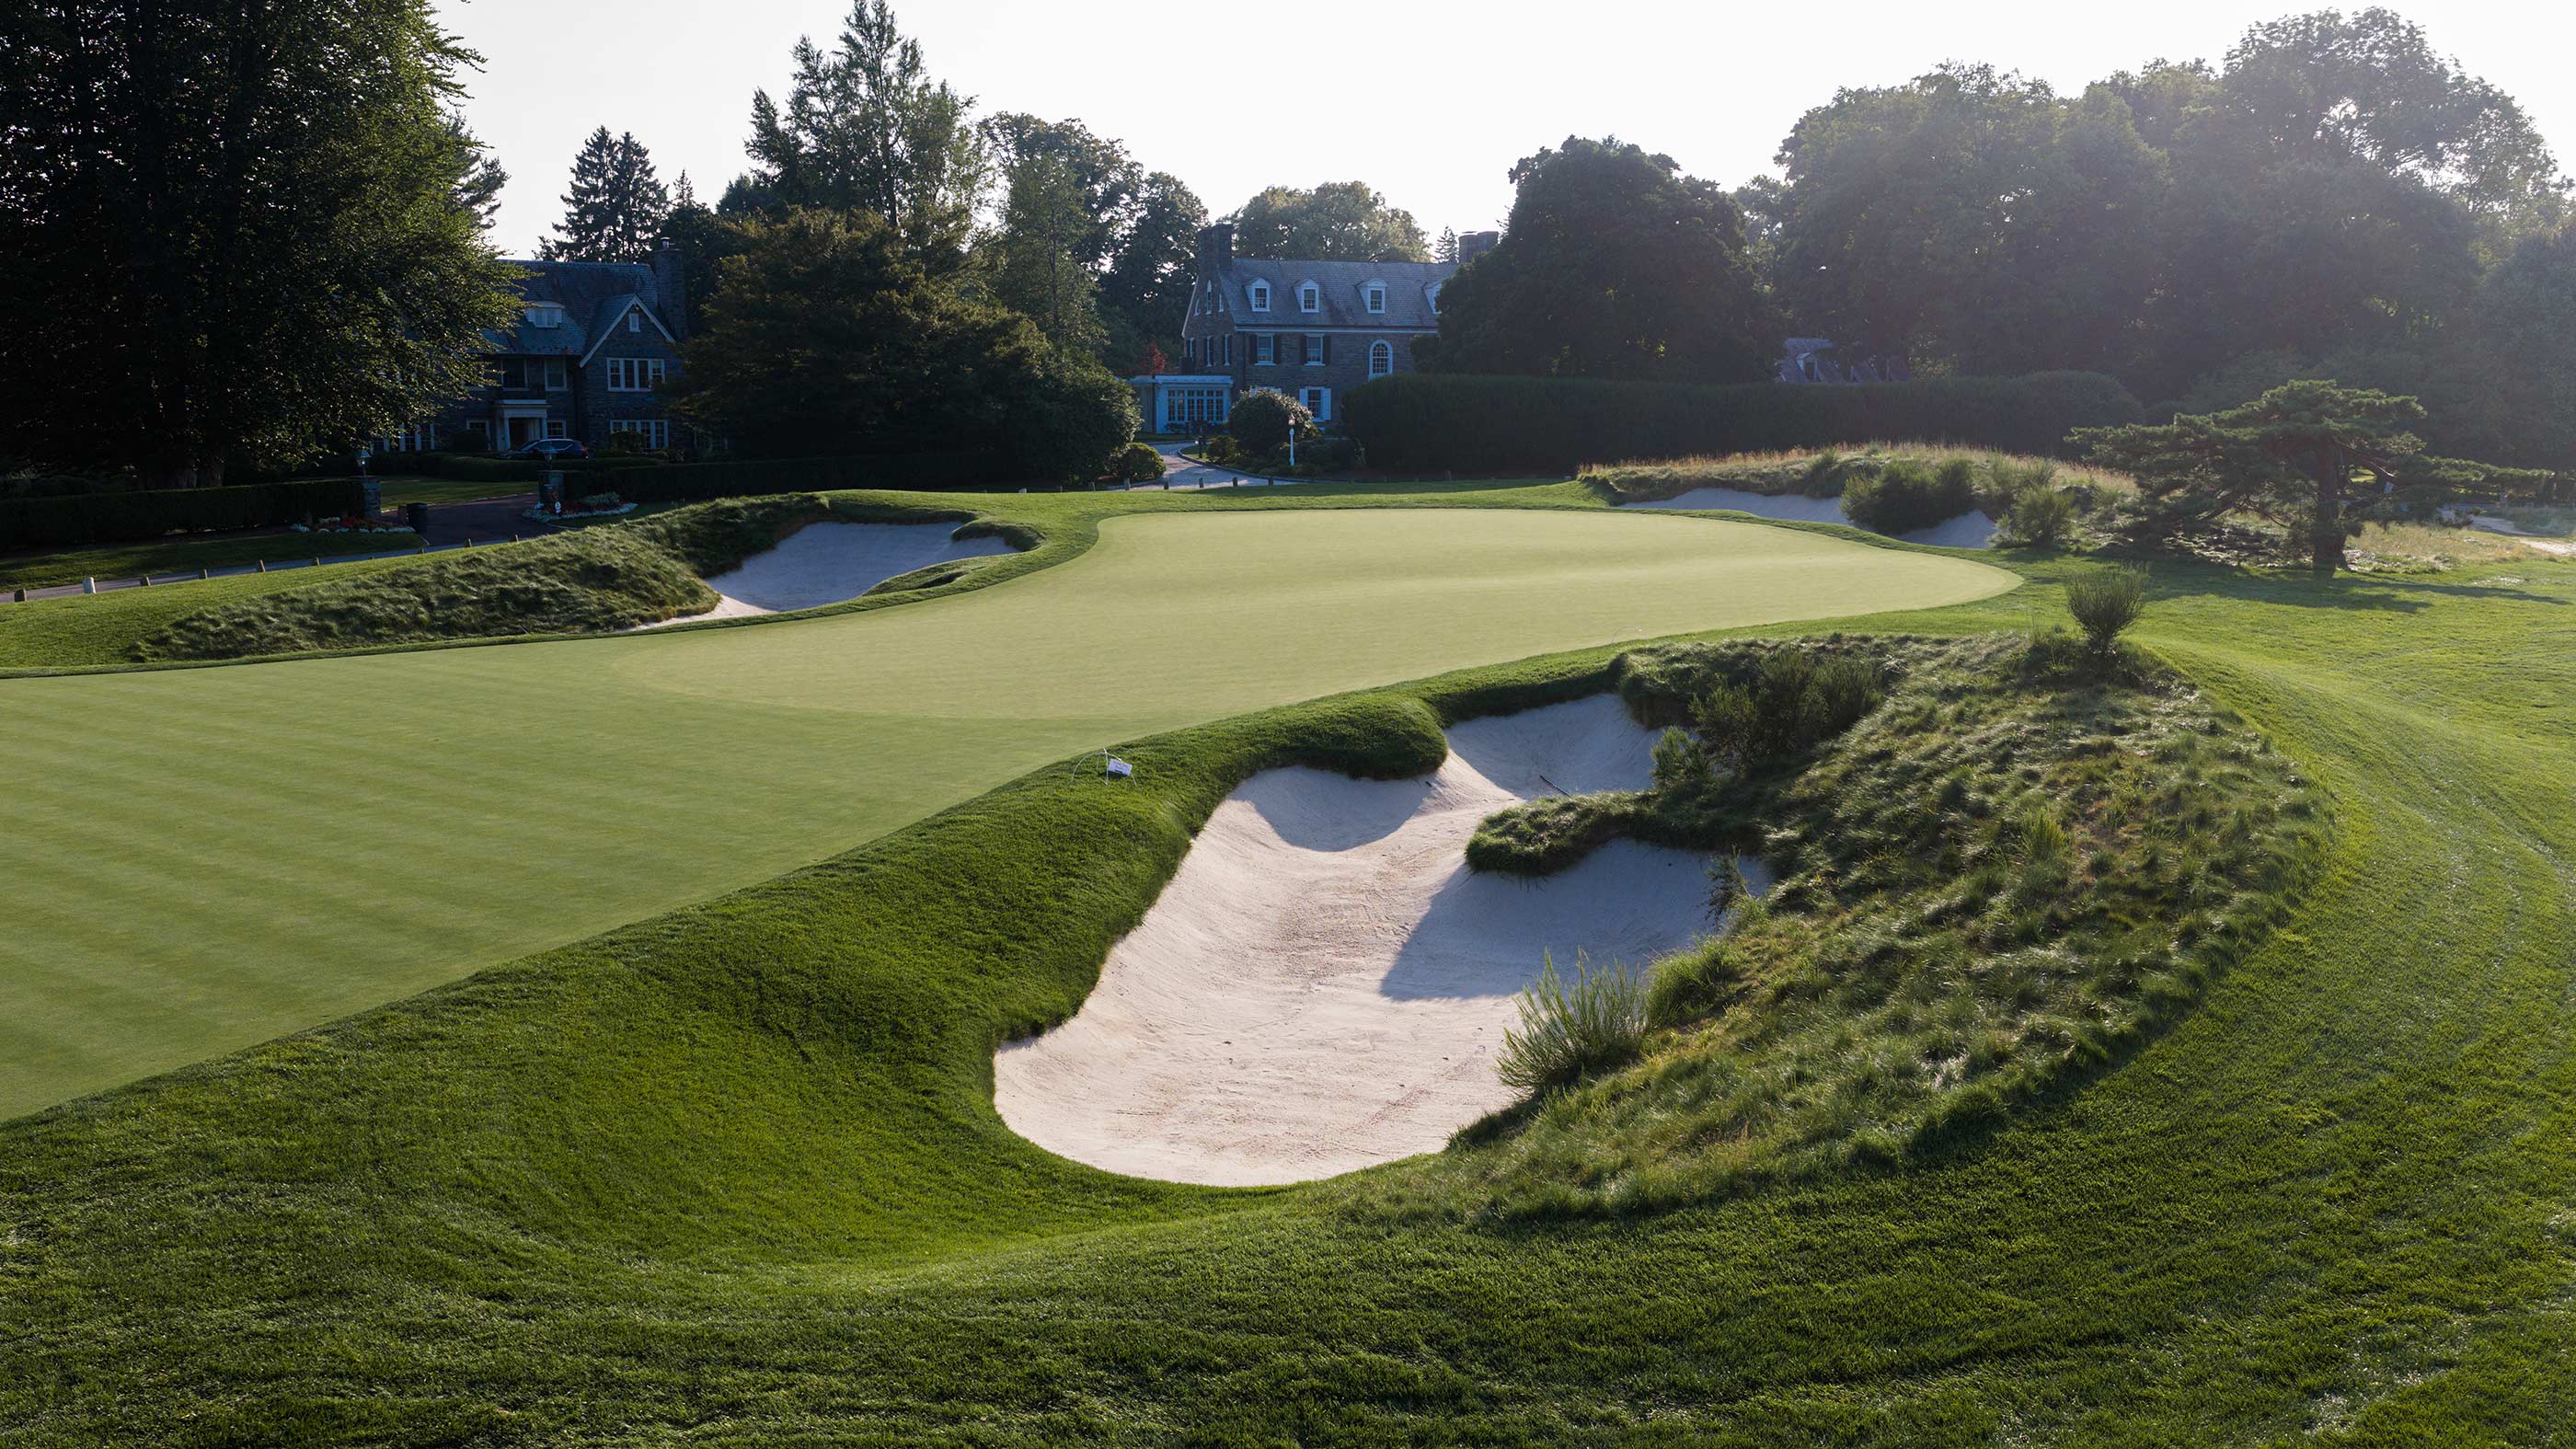
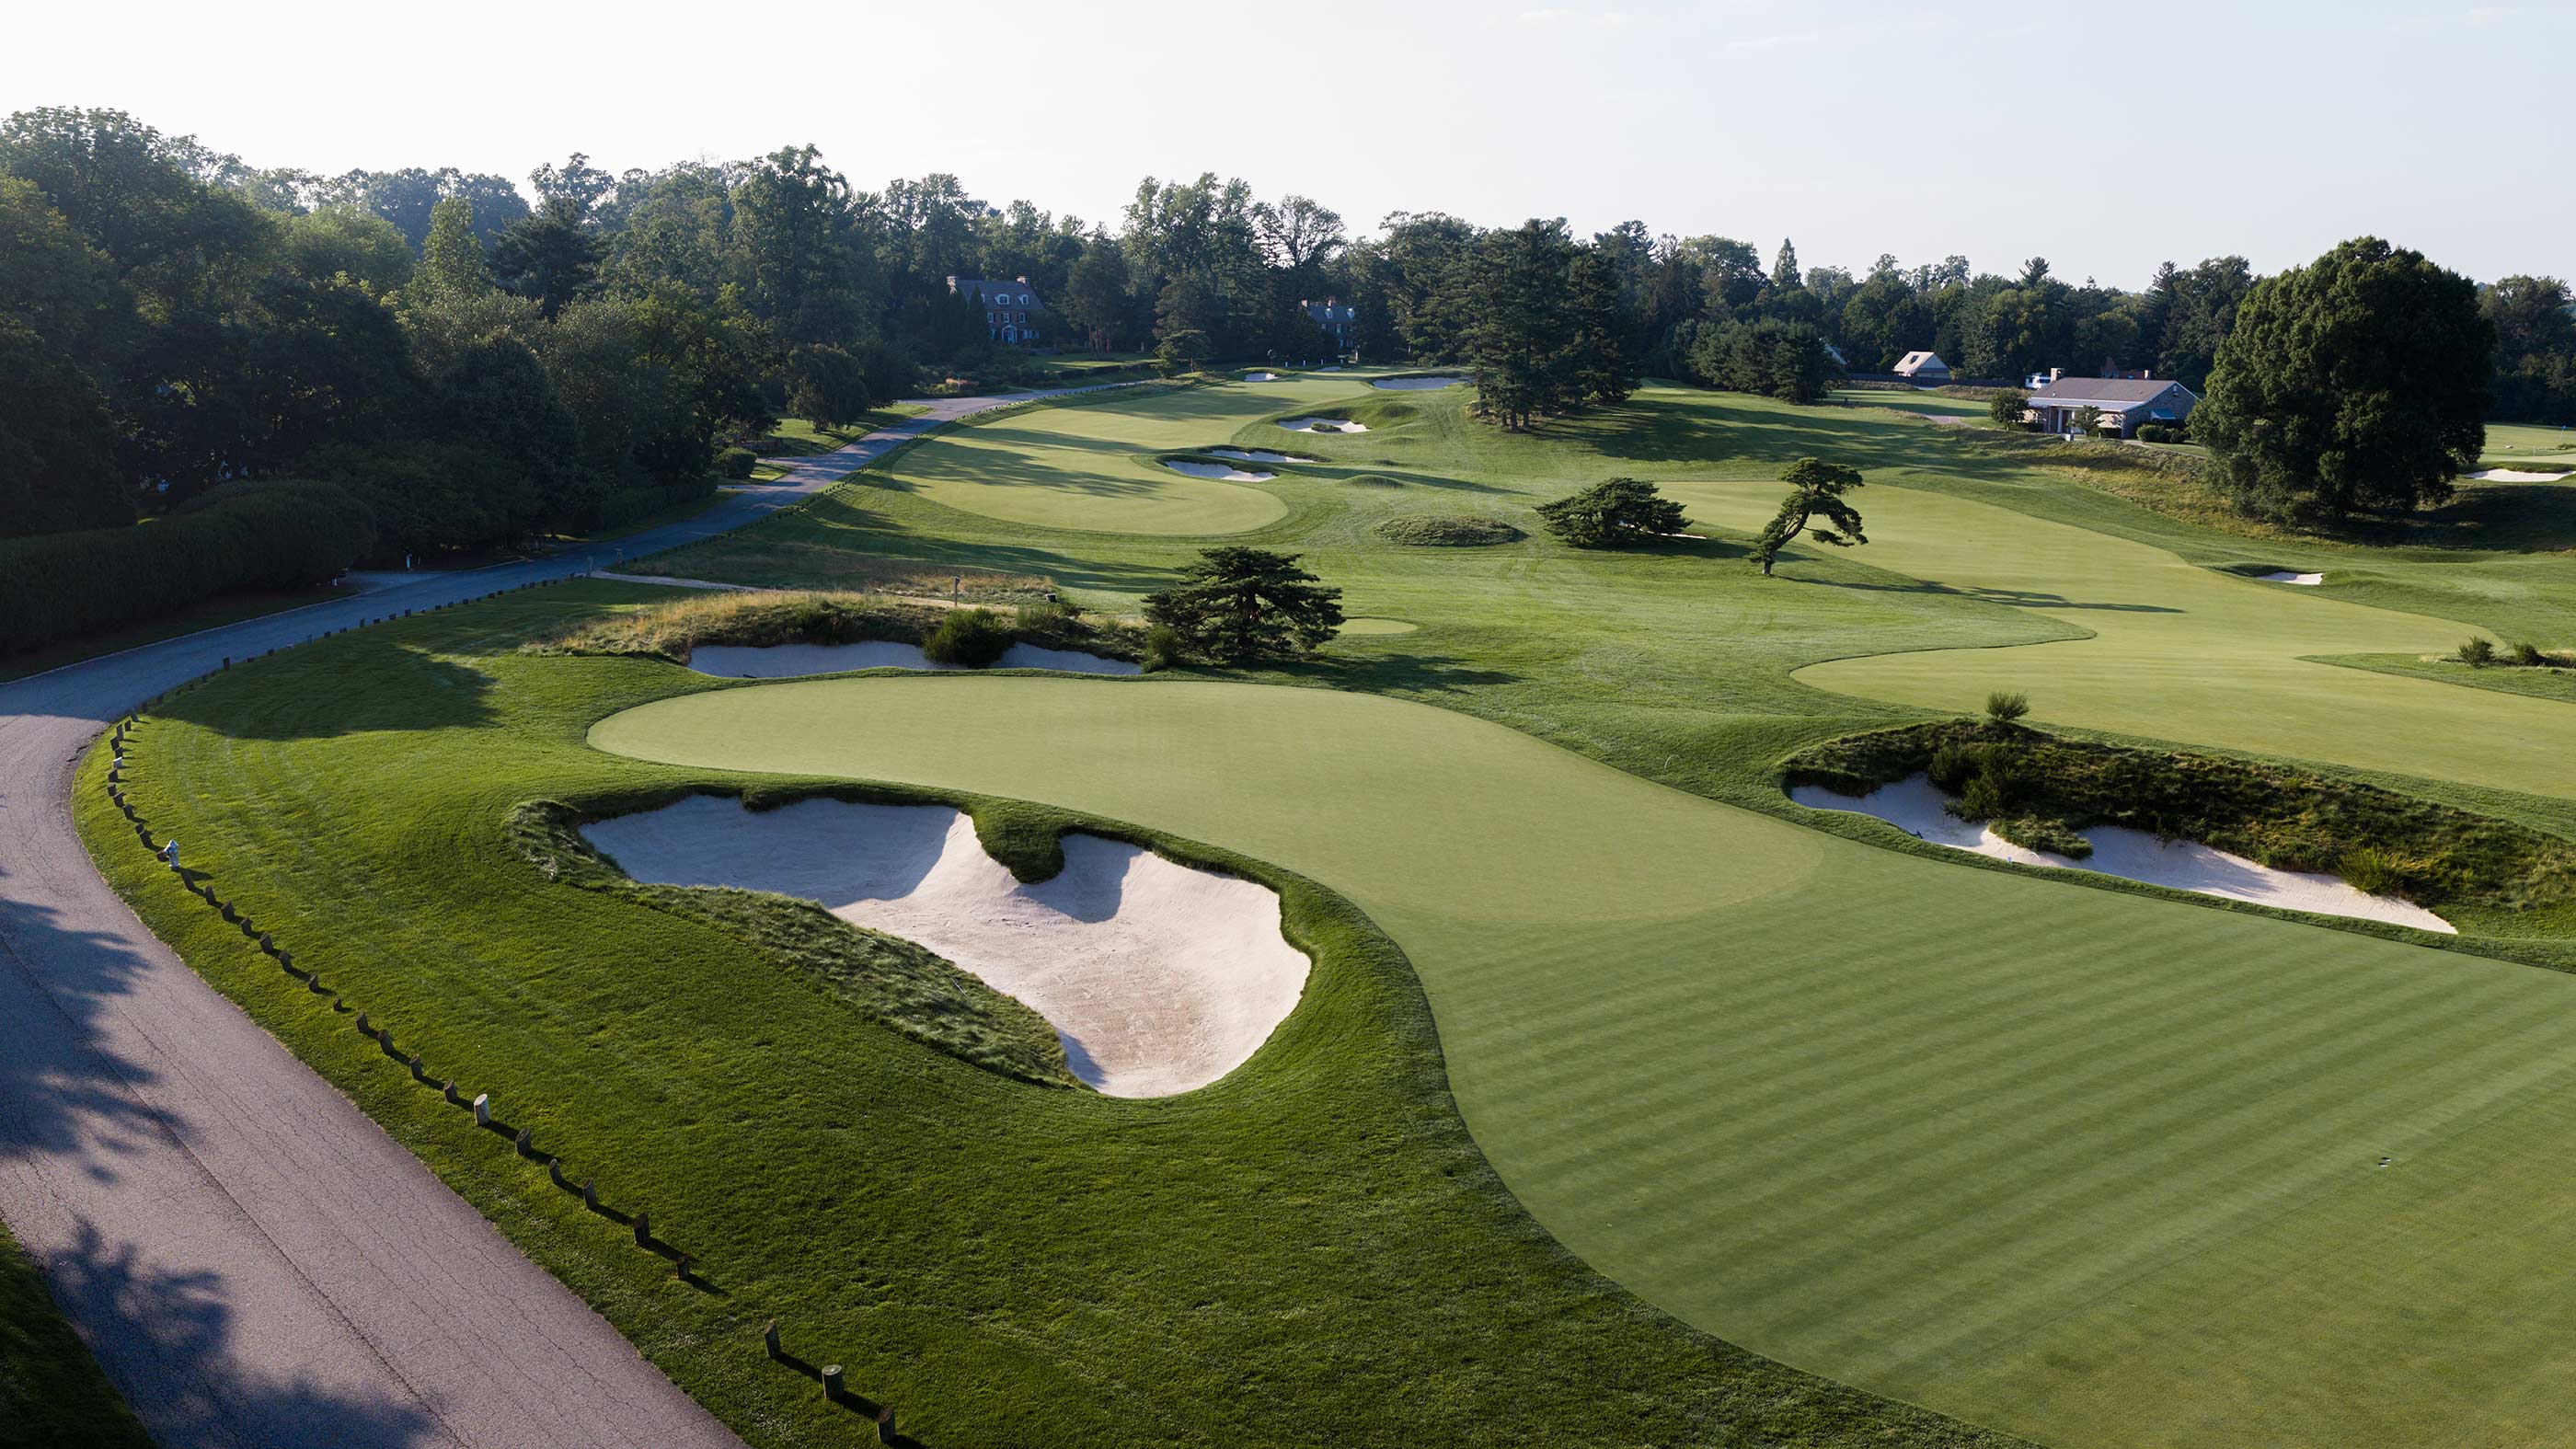
This underrated par 4 makes excellent use of the property boundary. The fairway runs on a left-to-right diagonal, with bunkers on the inside and Golf House Road on the outside. Club selection is critical: If you take too much, a slight pull could put you on the road, or even in someone’s front yard; too little, and a slight push will land you in one of the bunkers.
Hole 16
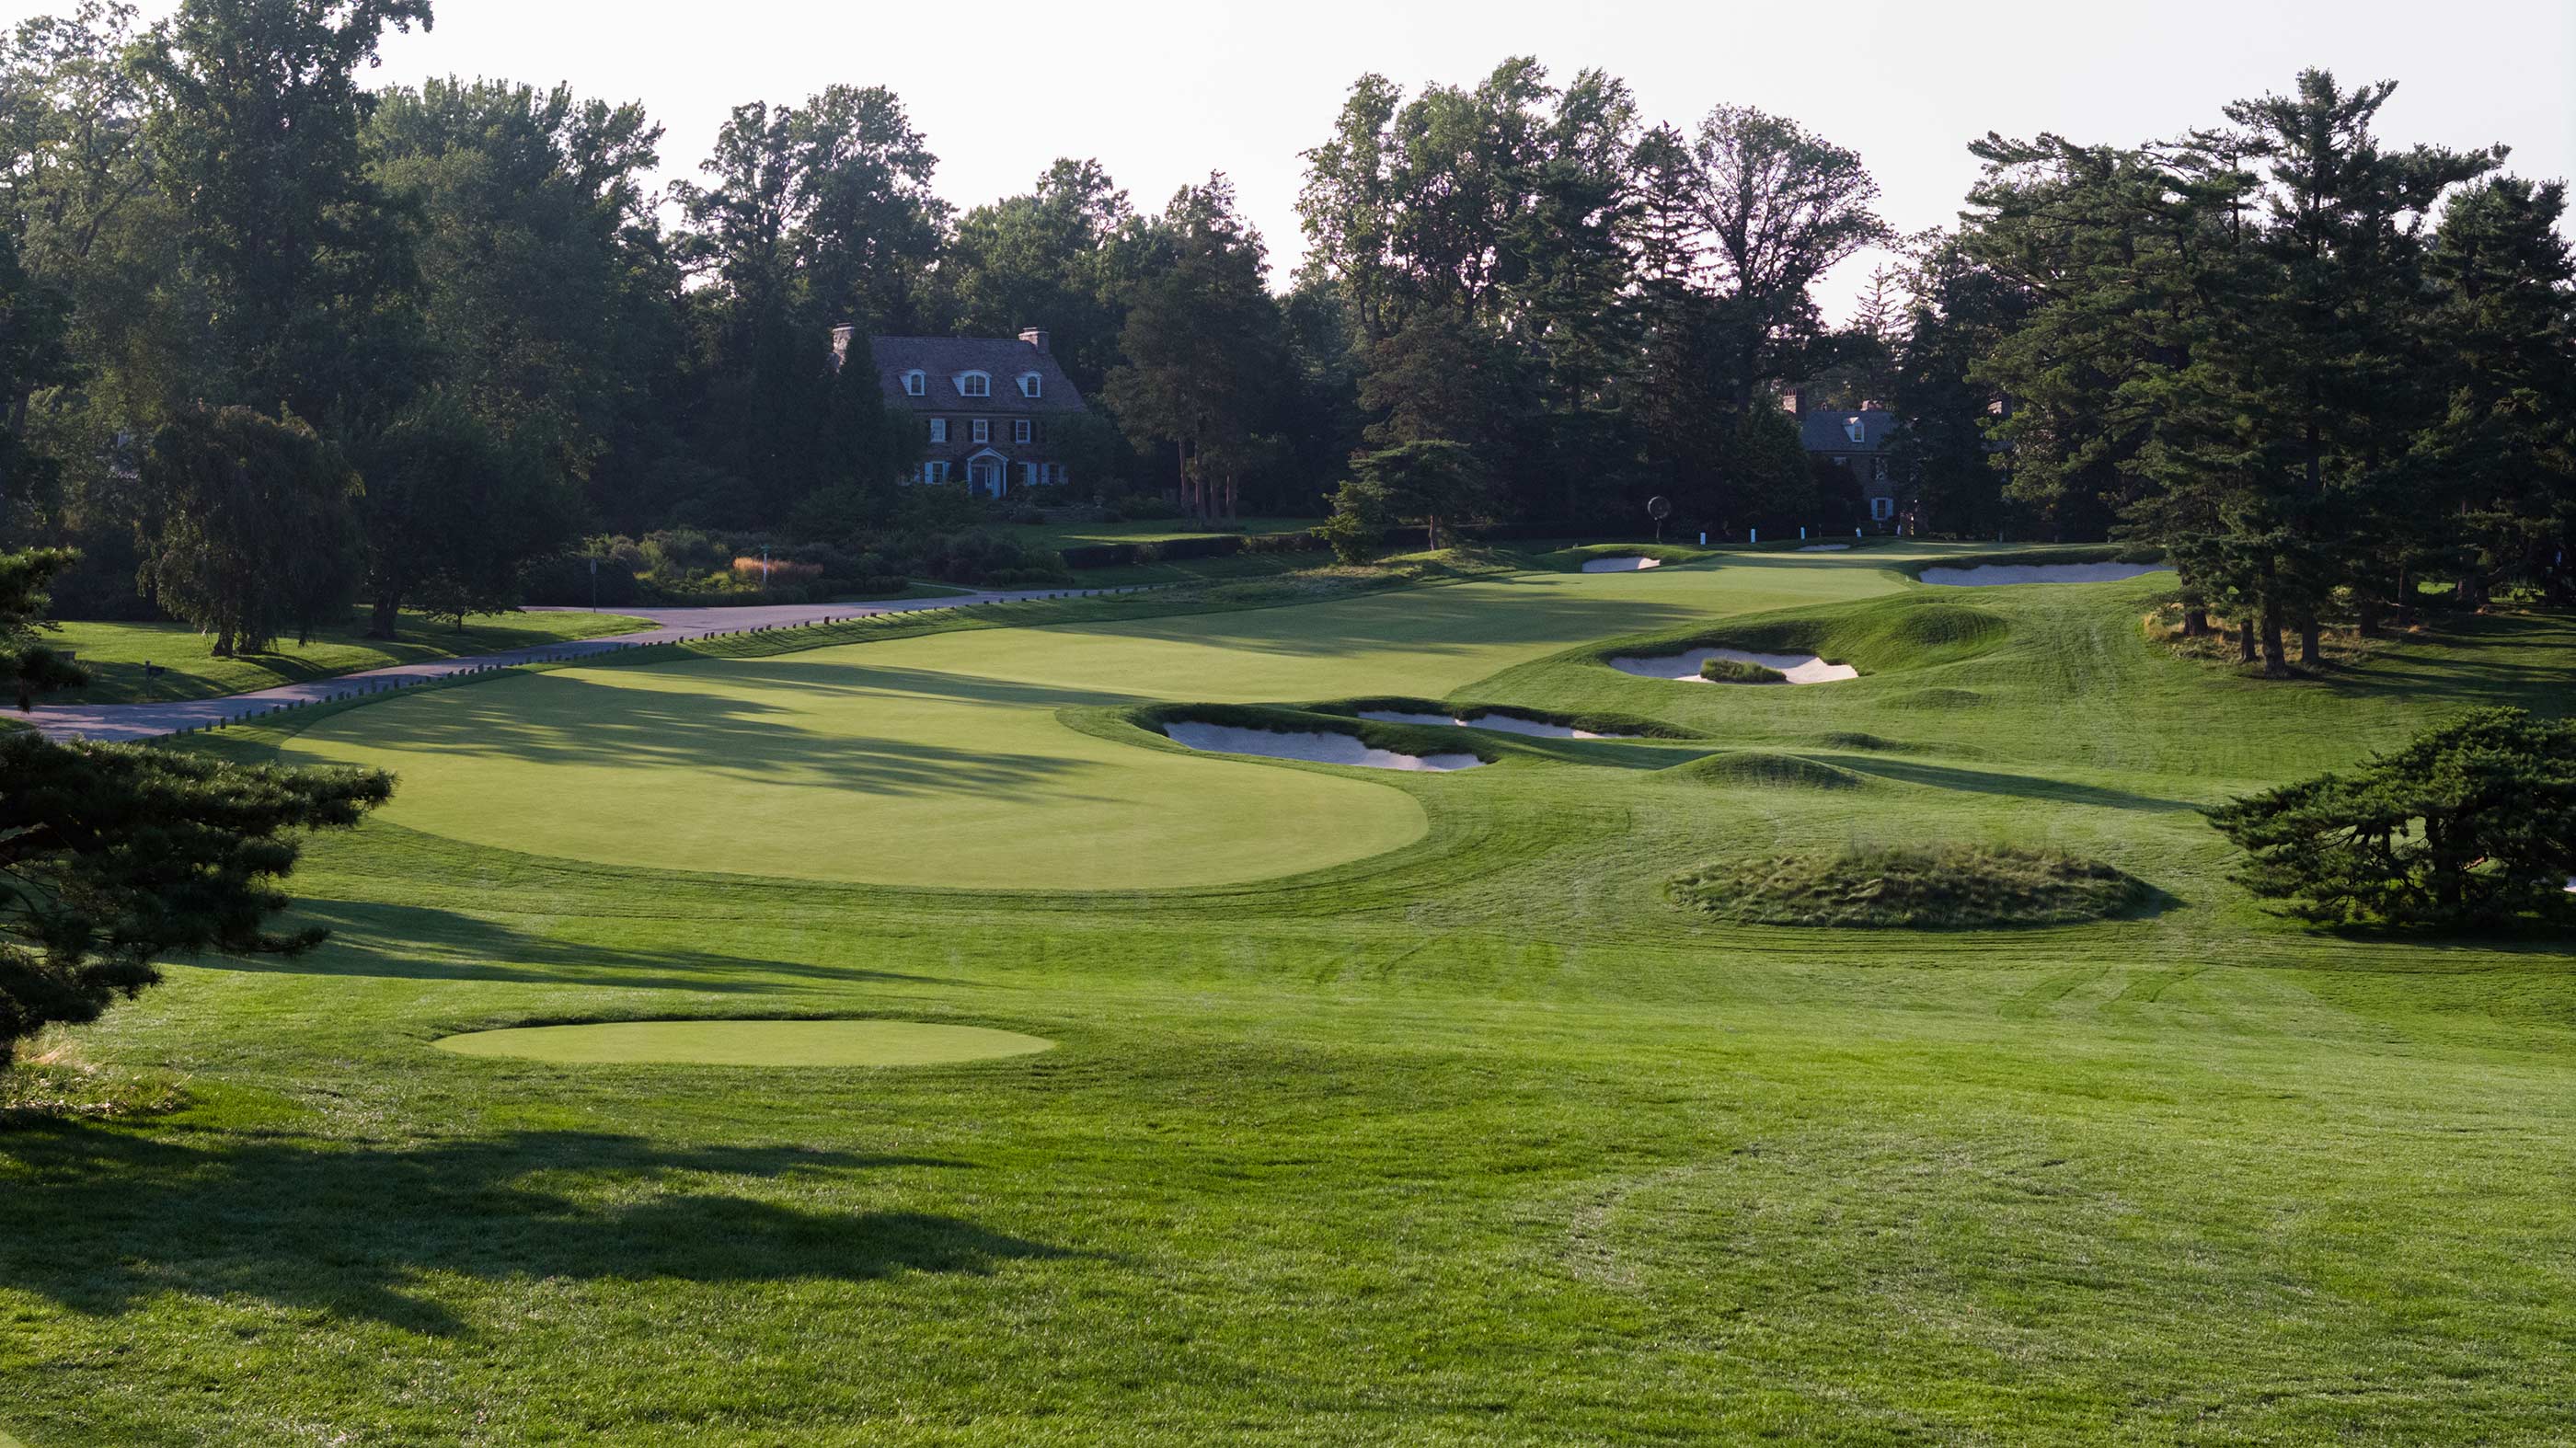
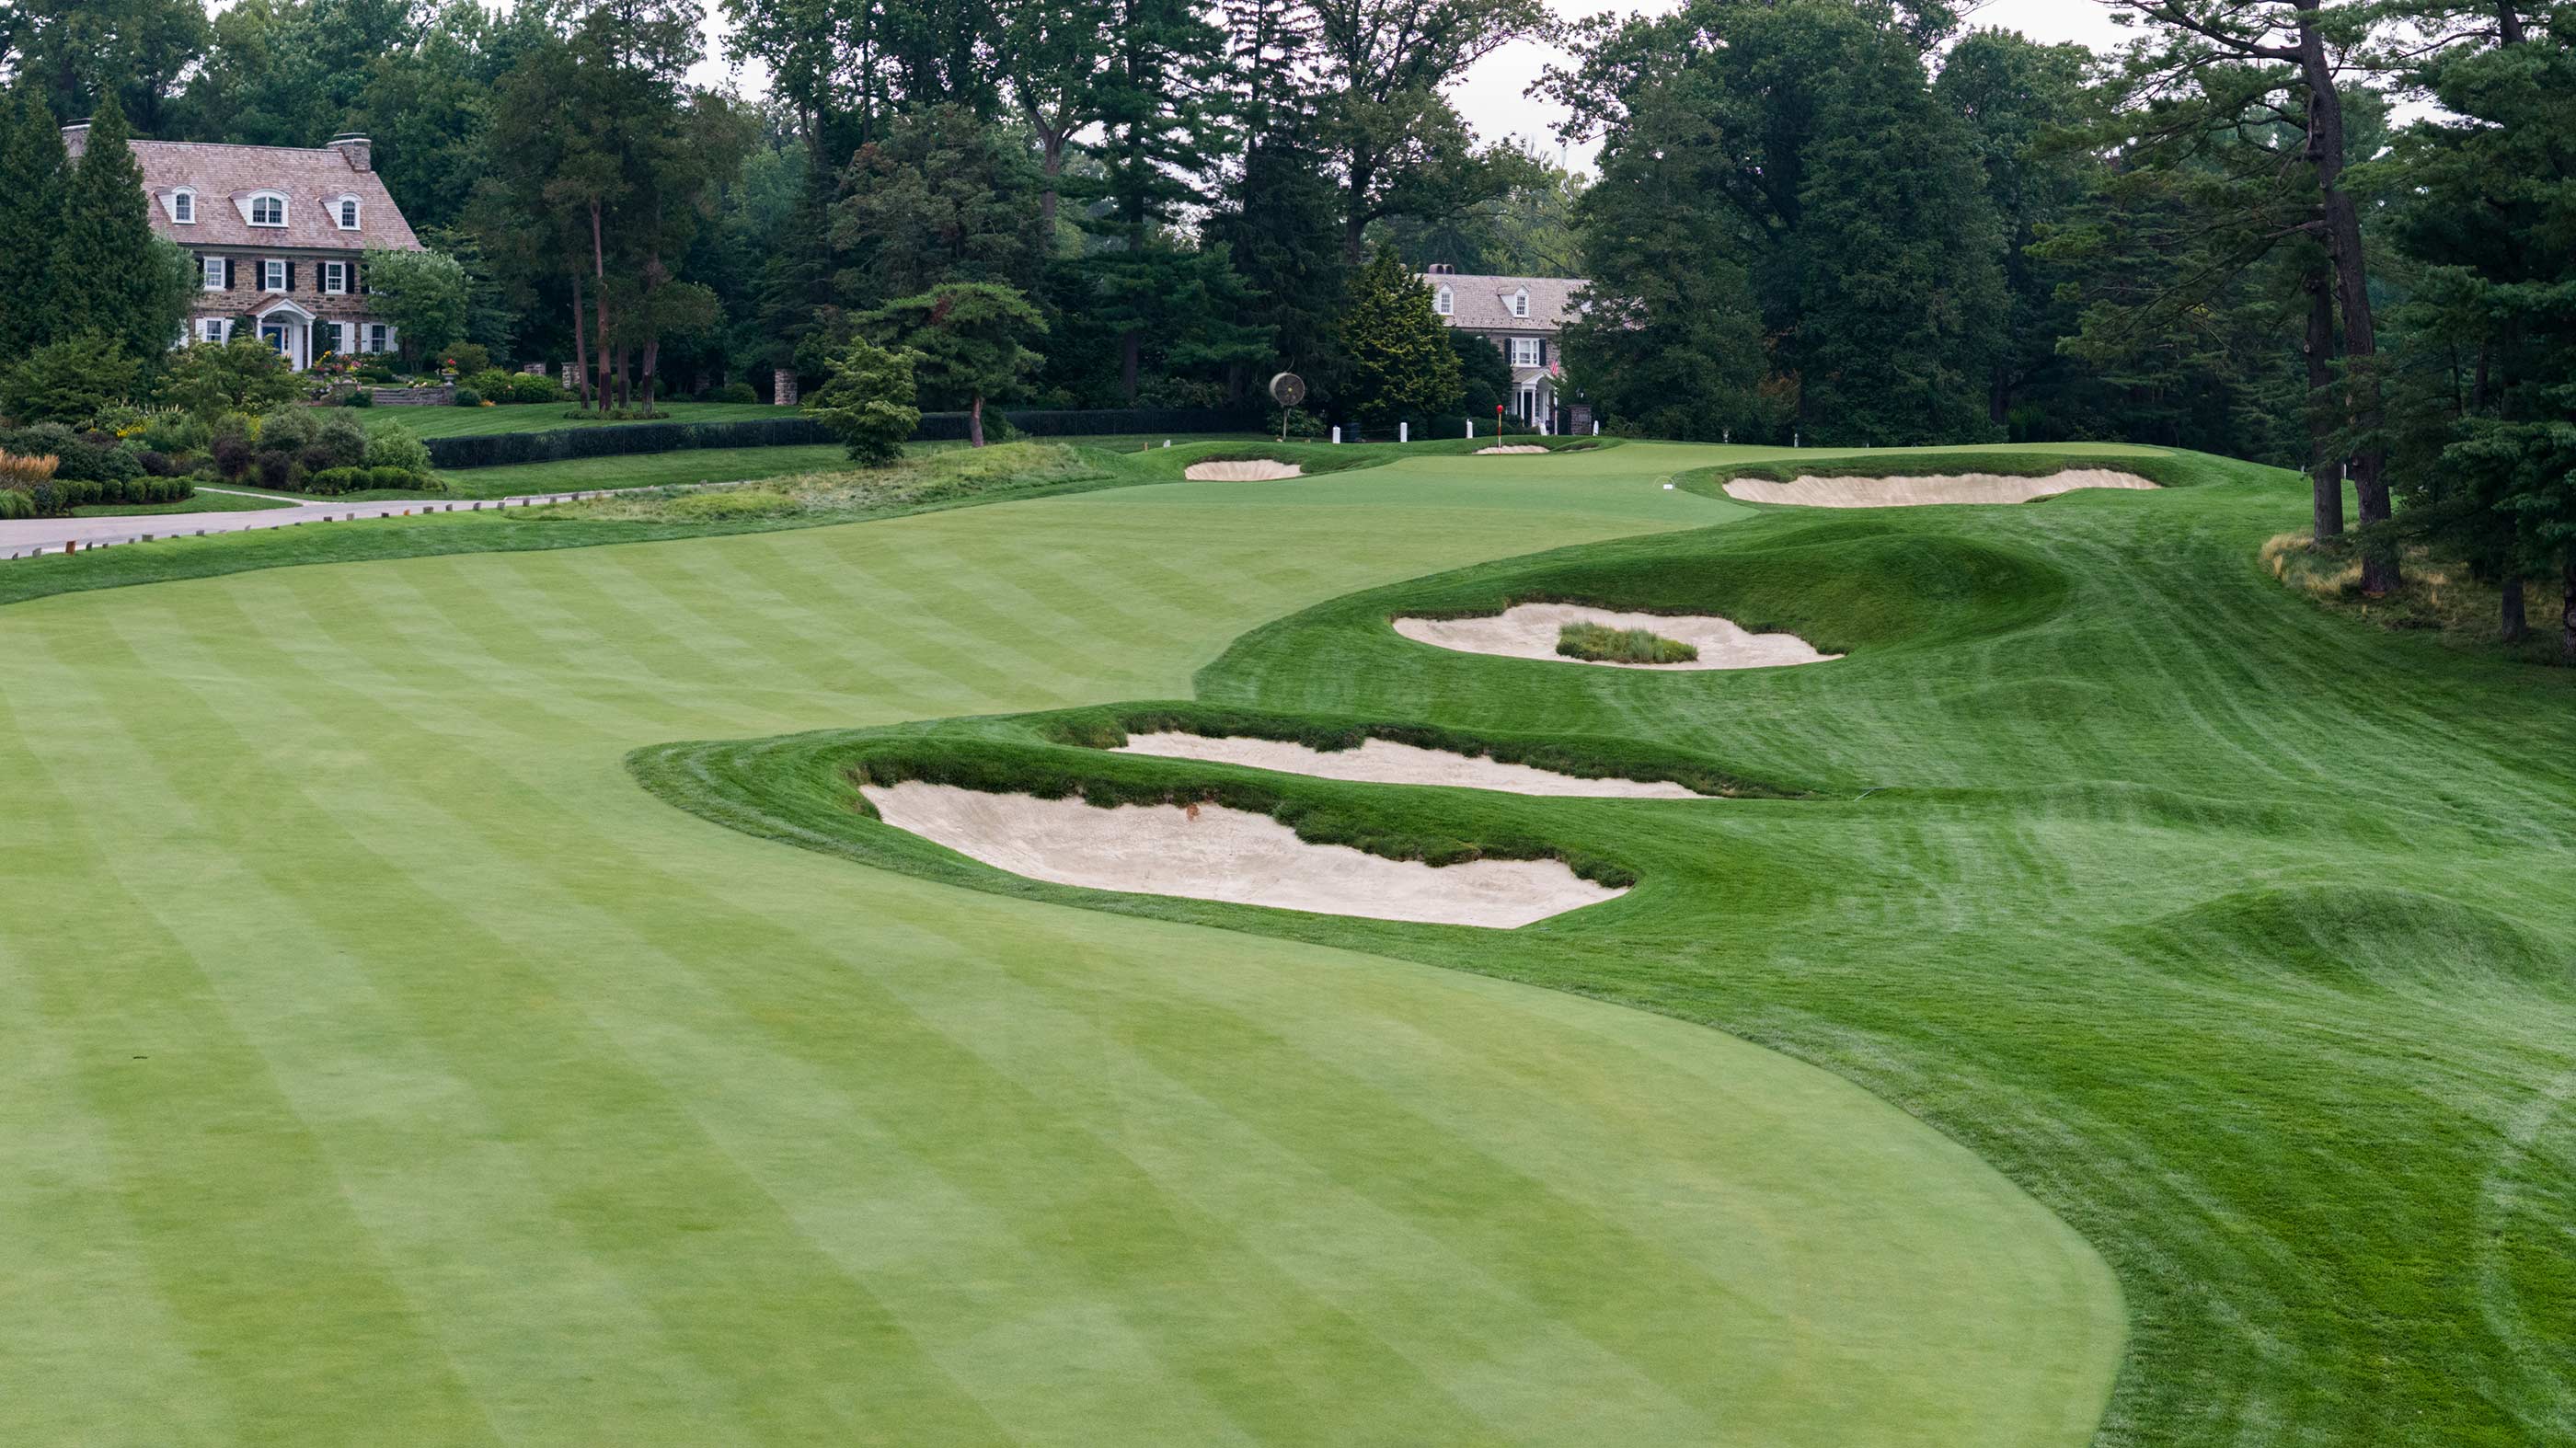
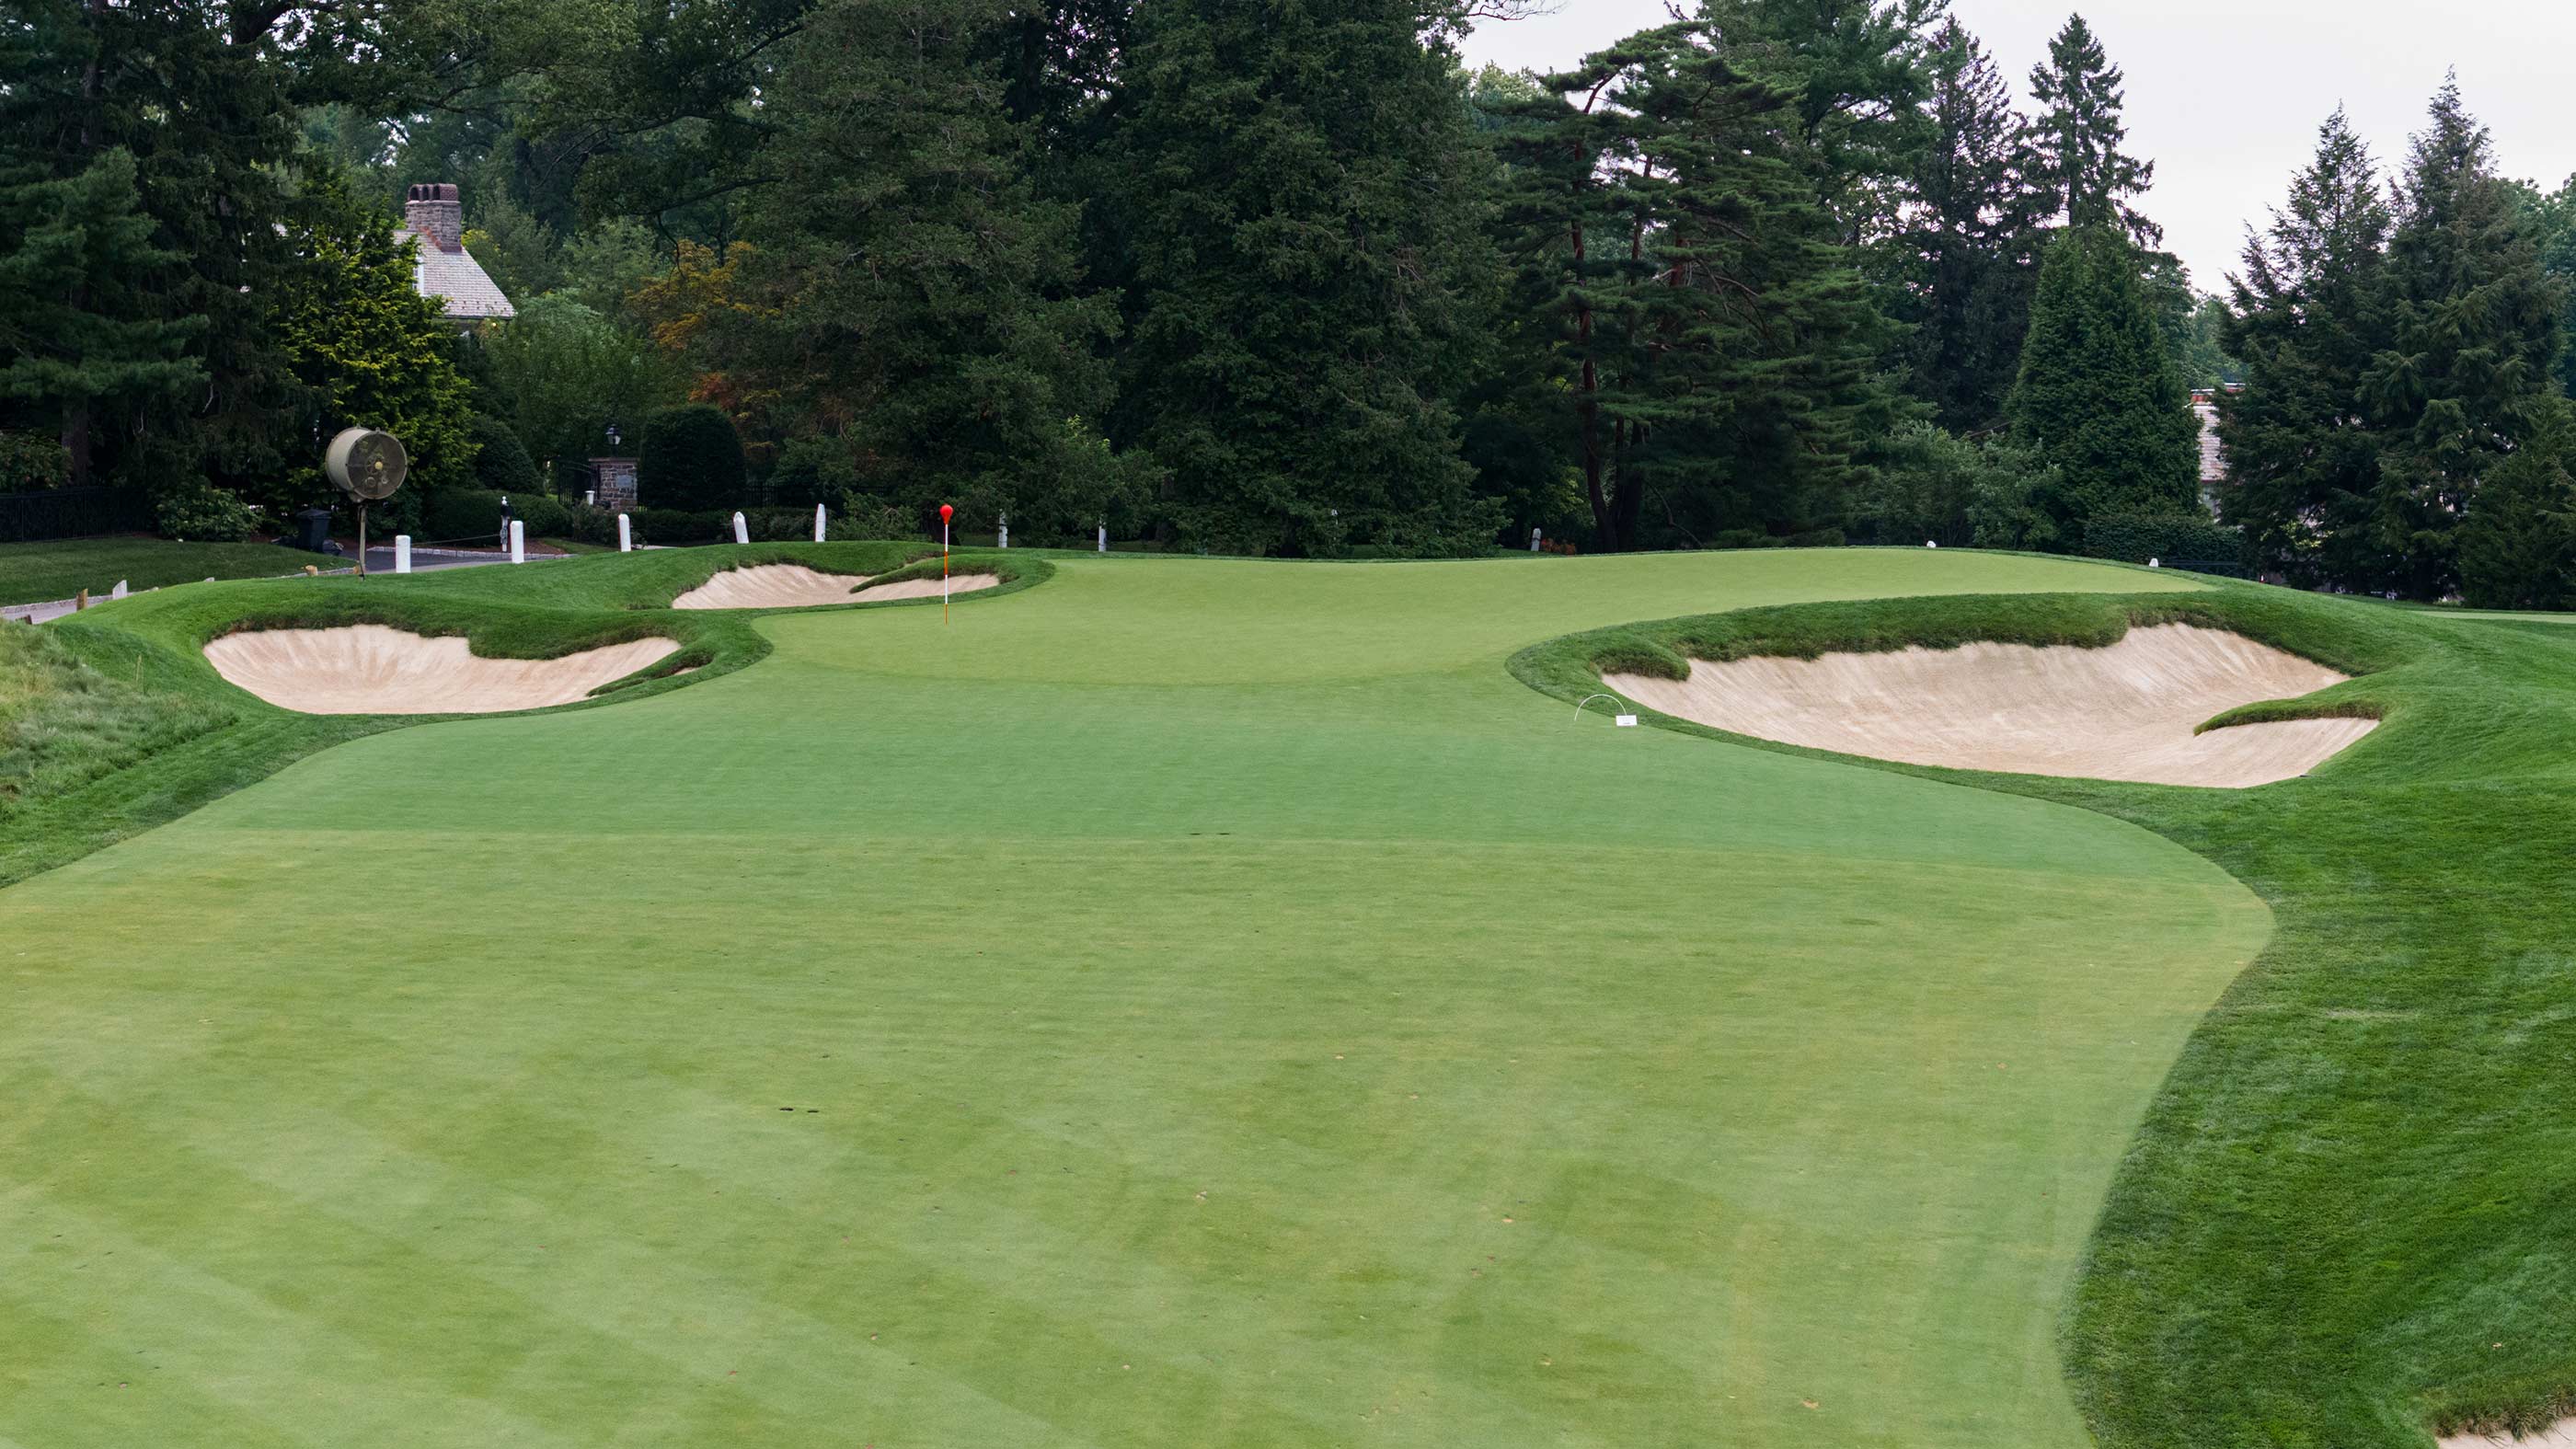
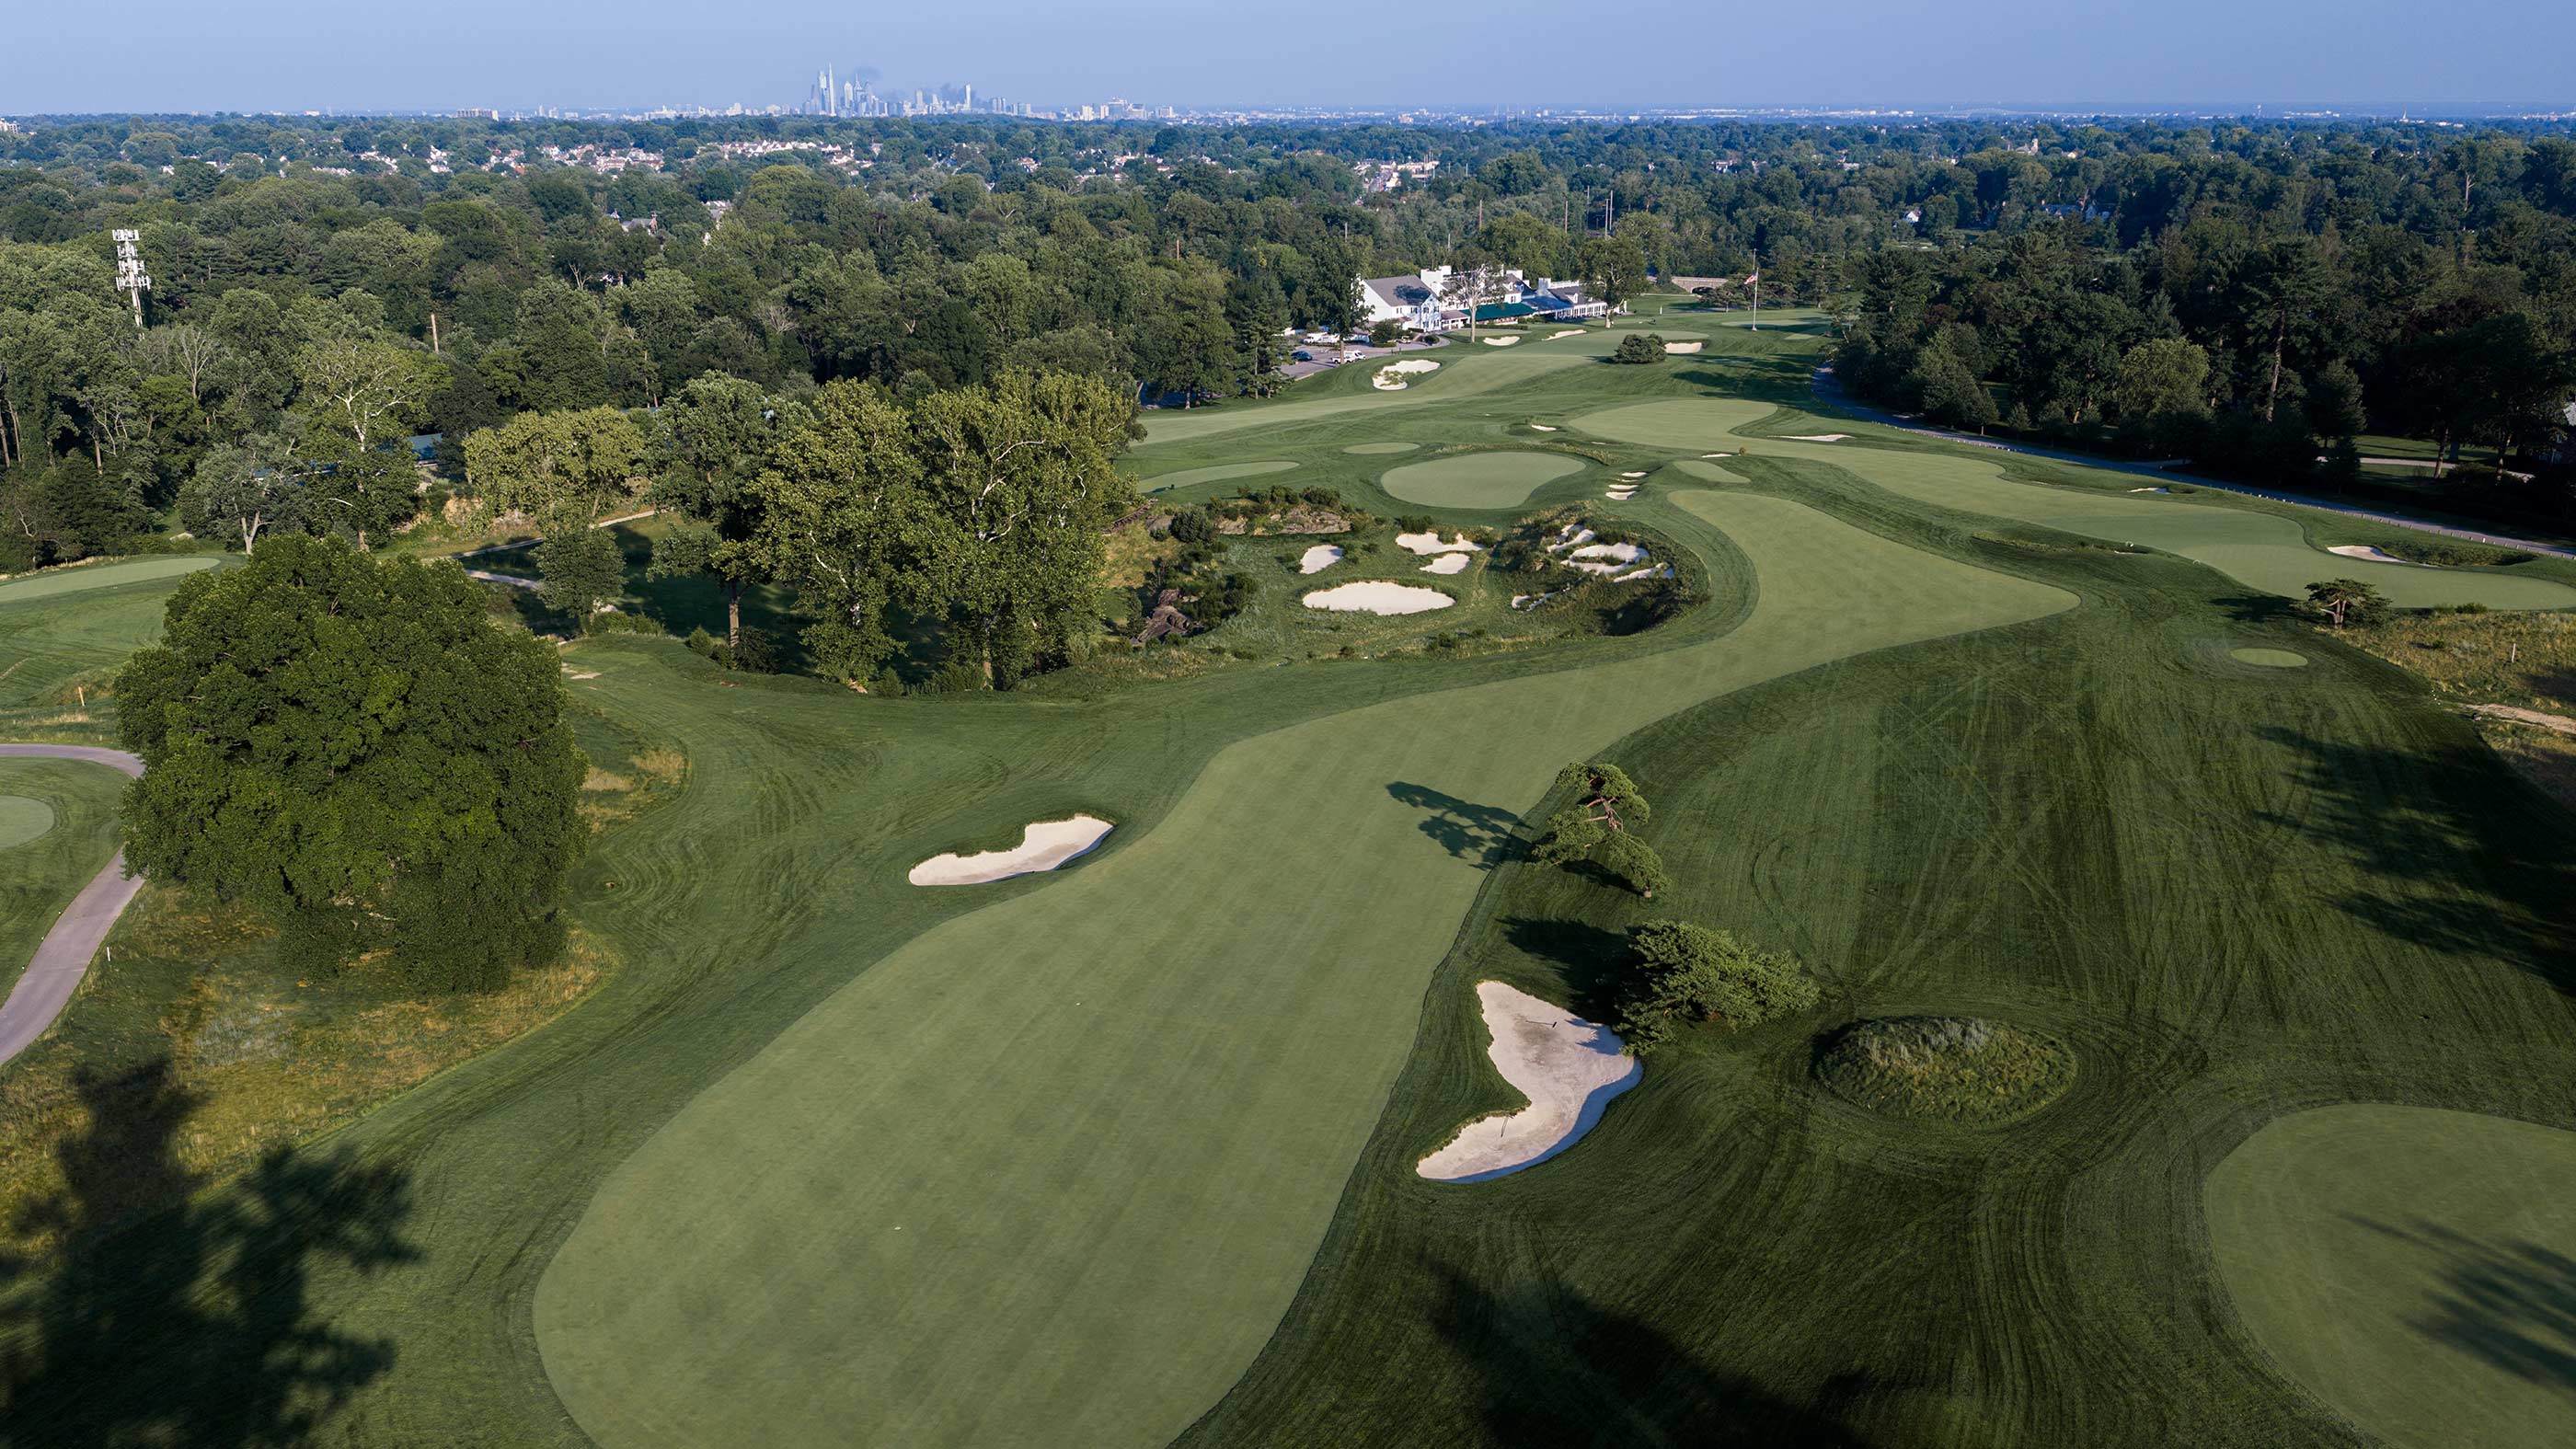
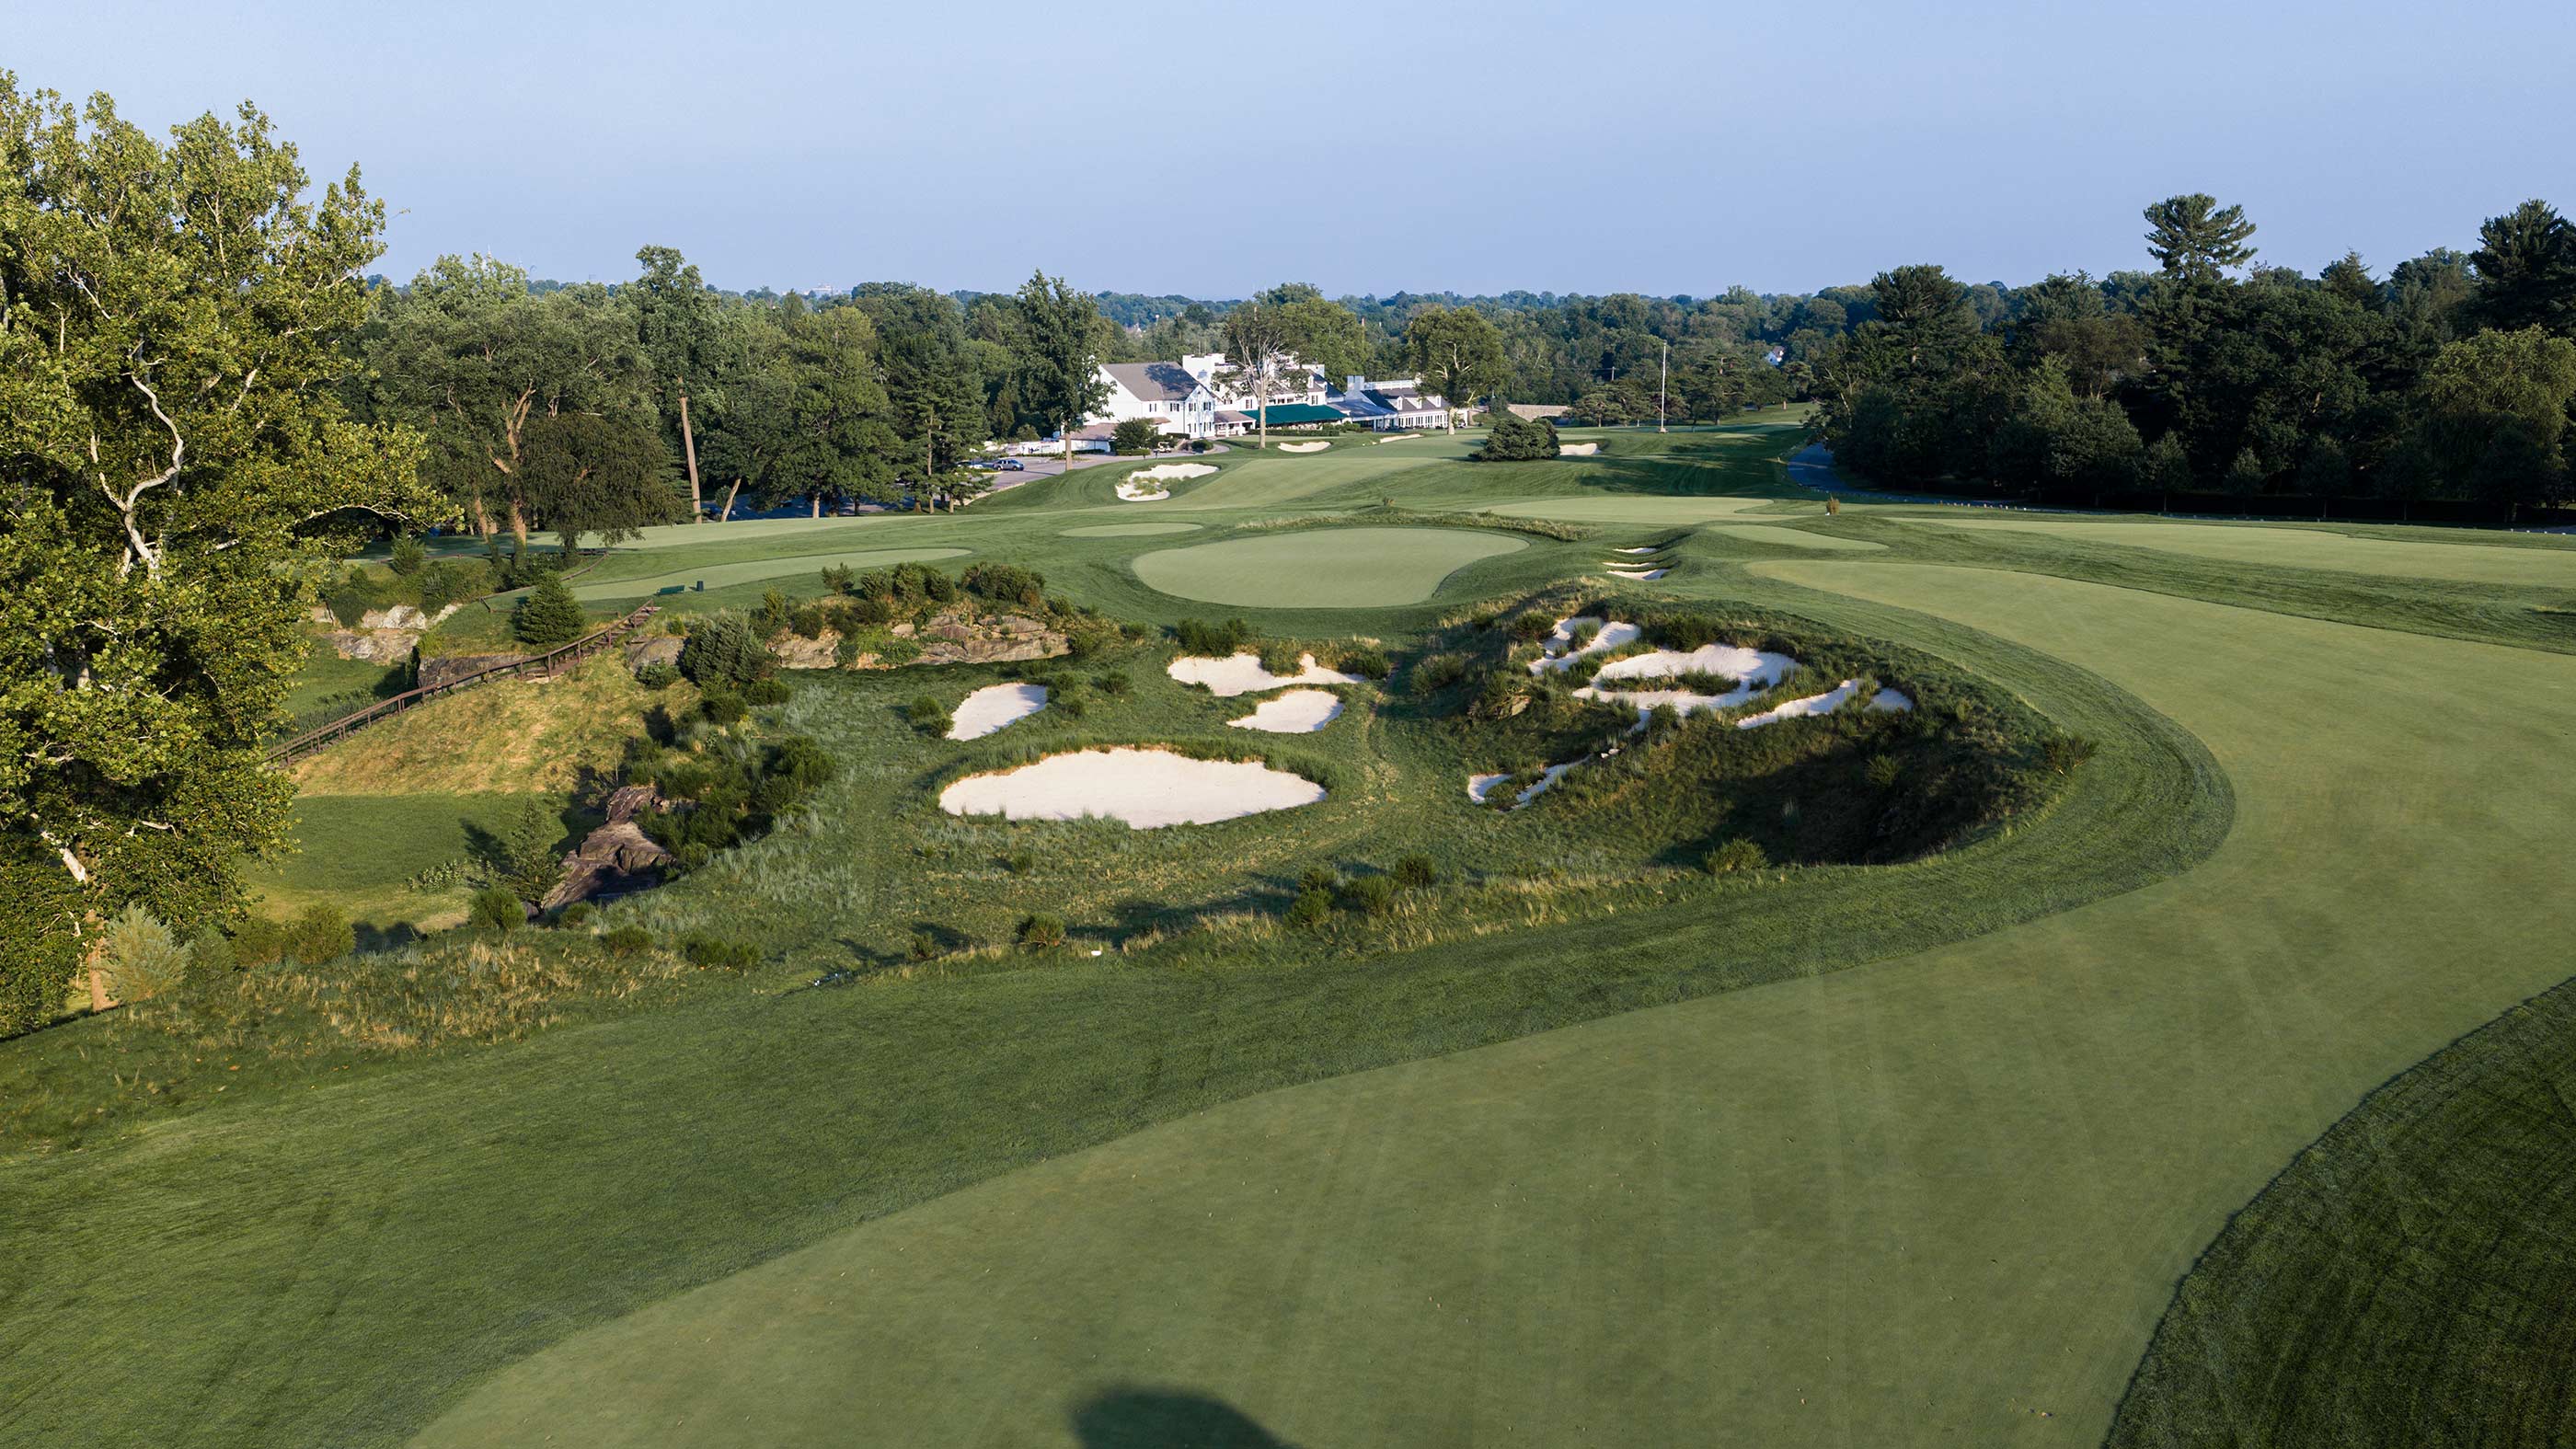
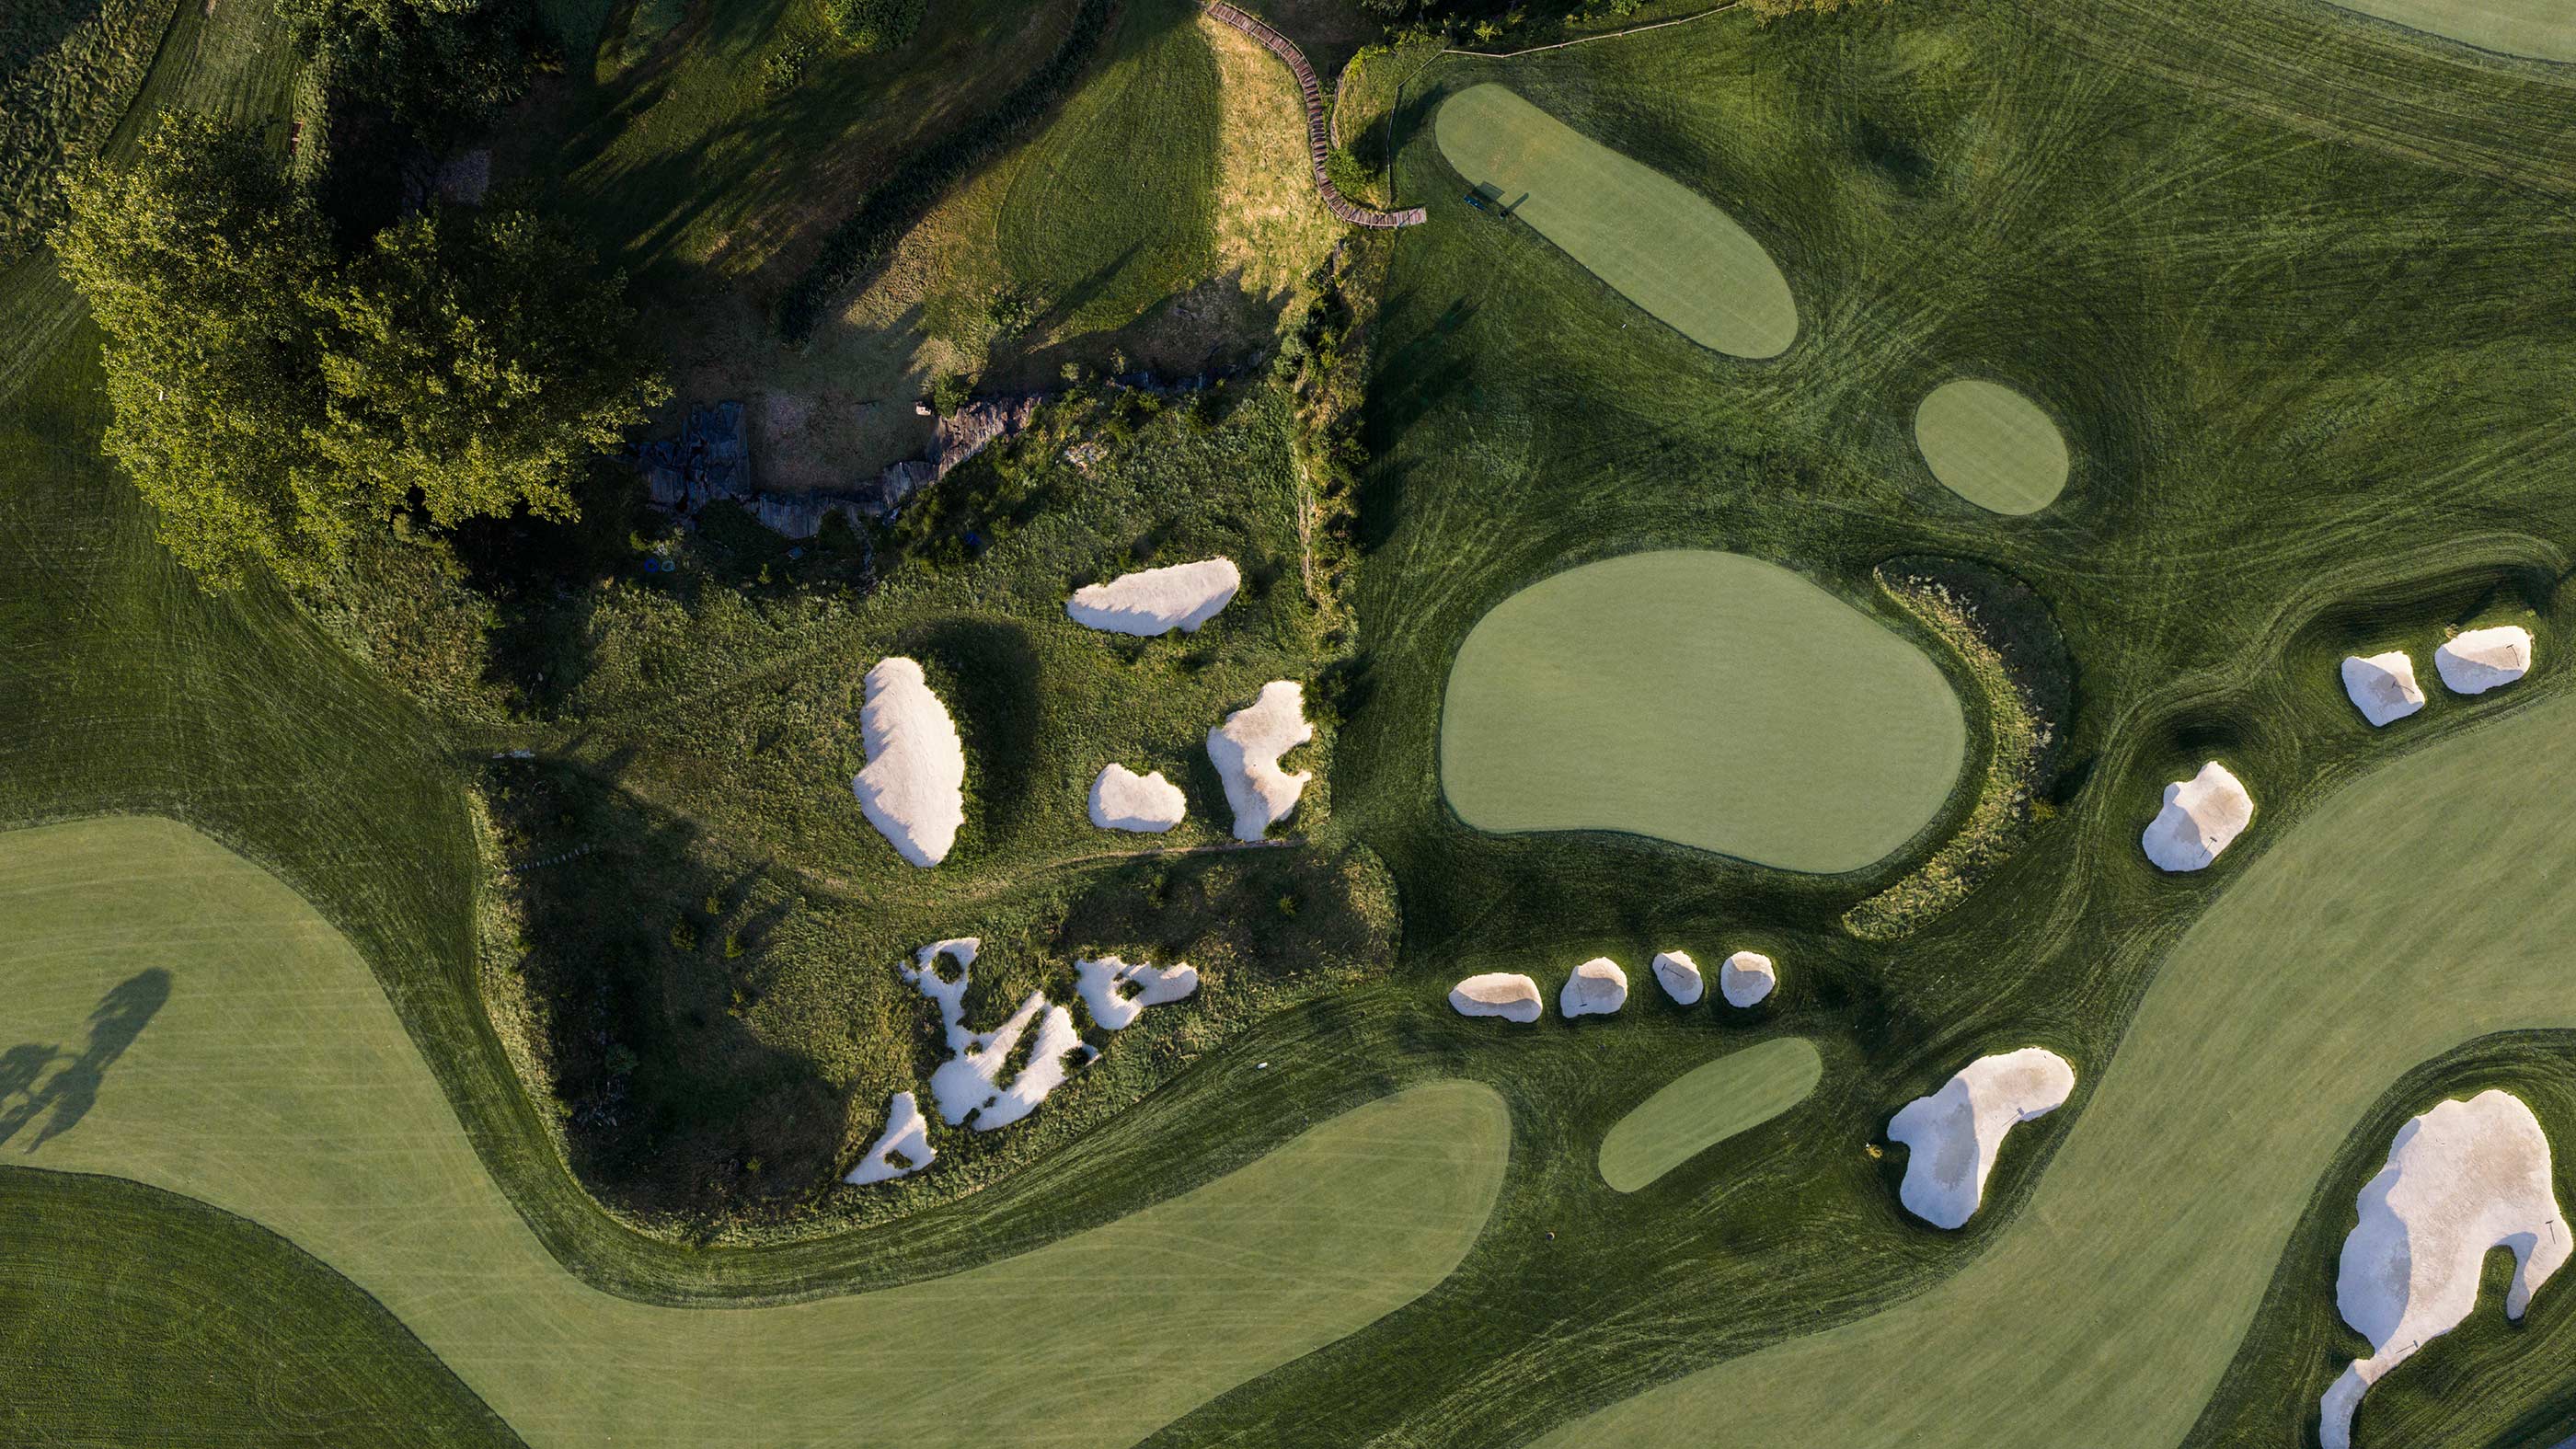
Like the sixth hole at Pebble Beach, the 16th at Merion East is less about strategic complexity than the childlike exhilaration of hitting a ball over a big, beautiful, intimidating landform. The task is simple: find the fairway, then carry the quarry. A skinny bail-out fairway is available to the right, but let’s be serious. Who’s passing up one of the most thrilling approach shots in golf?




Hole 17
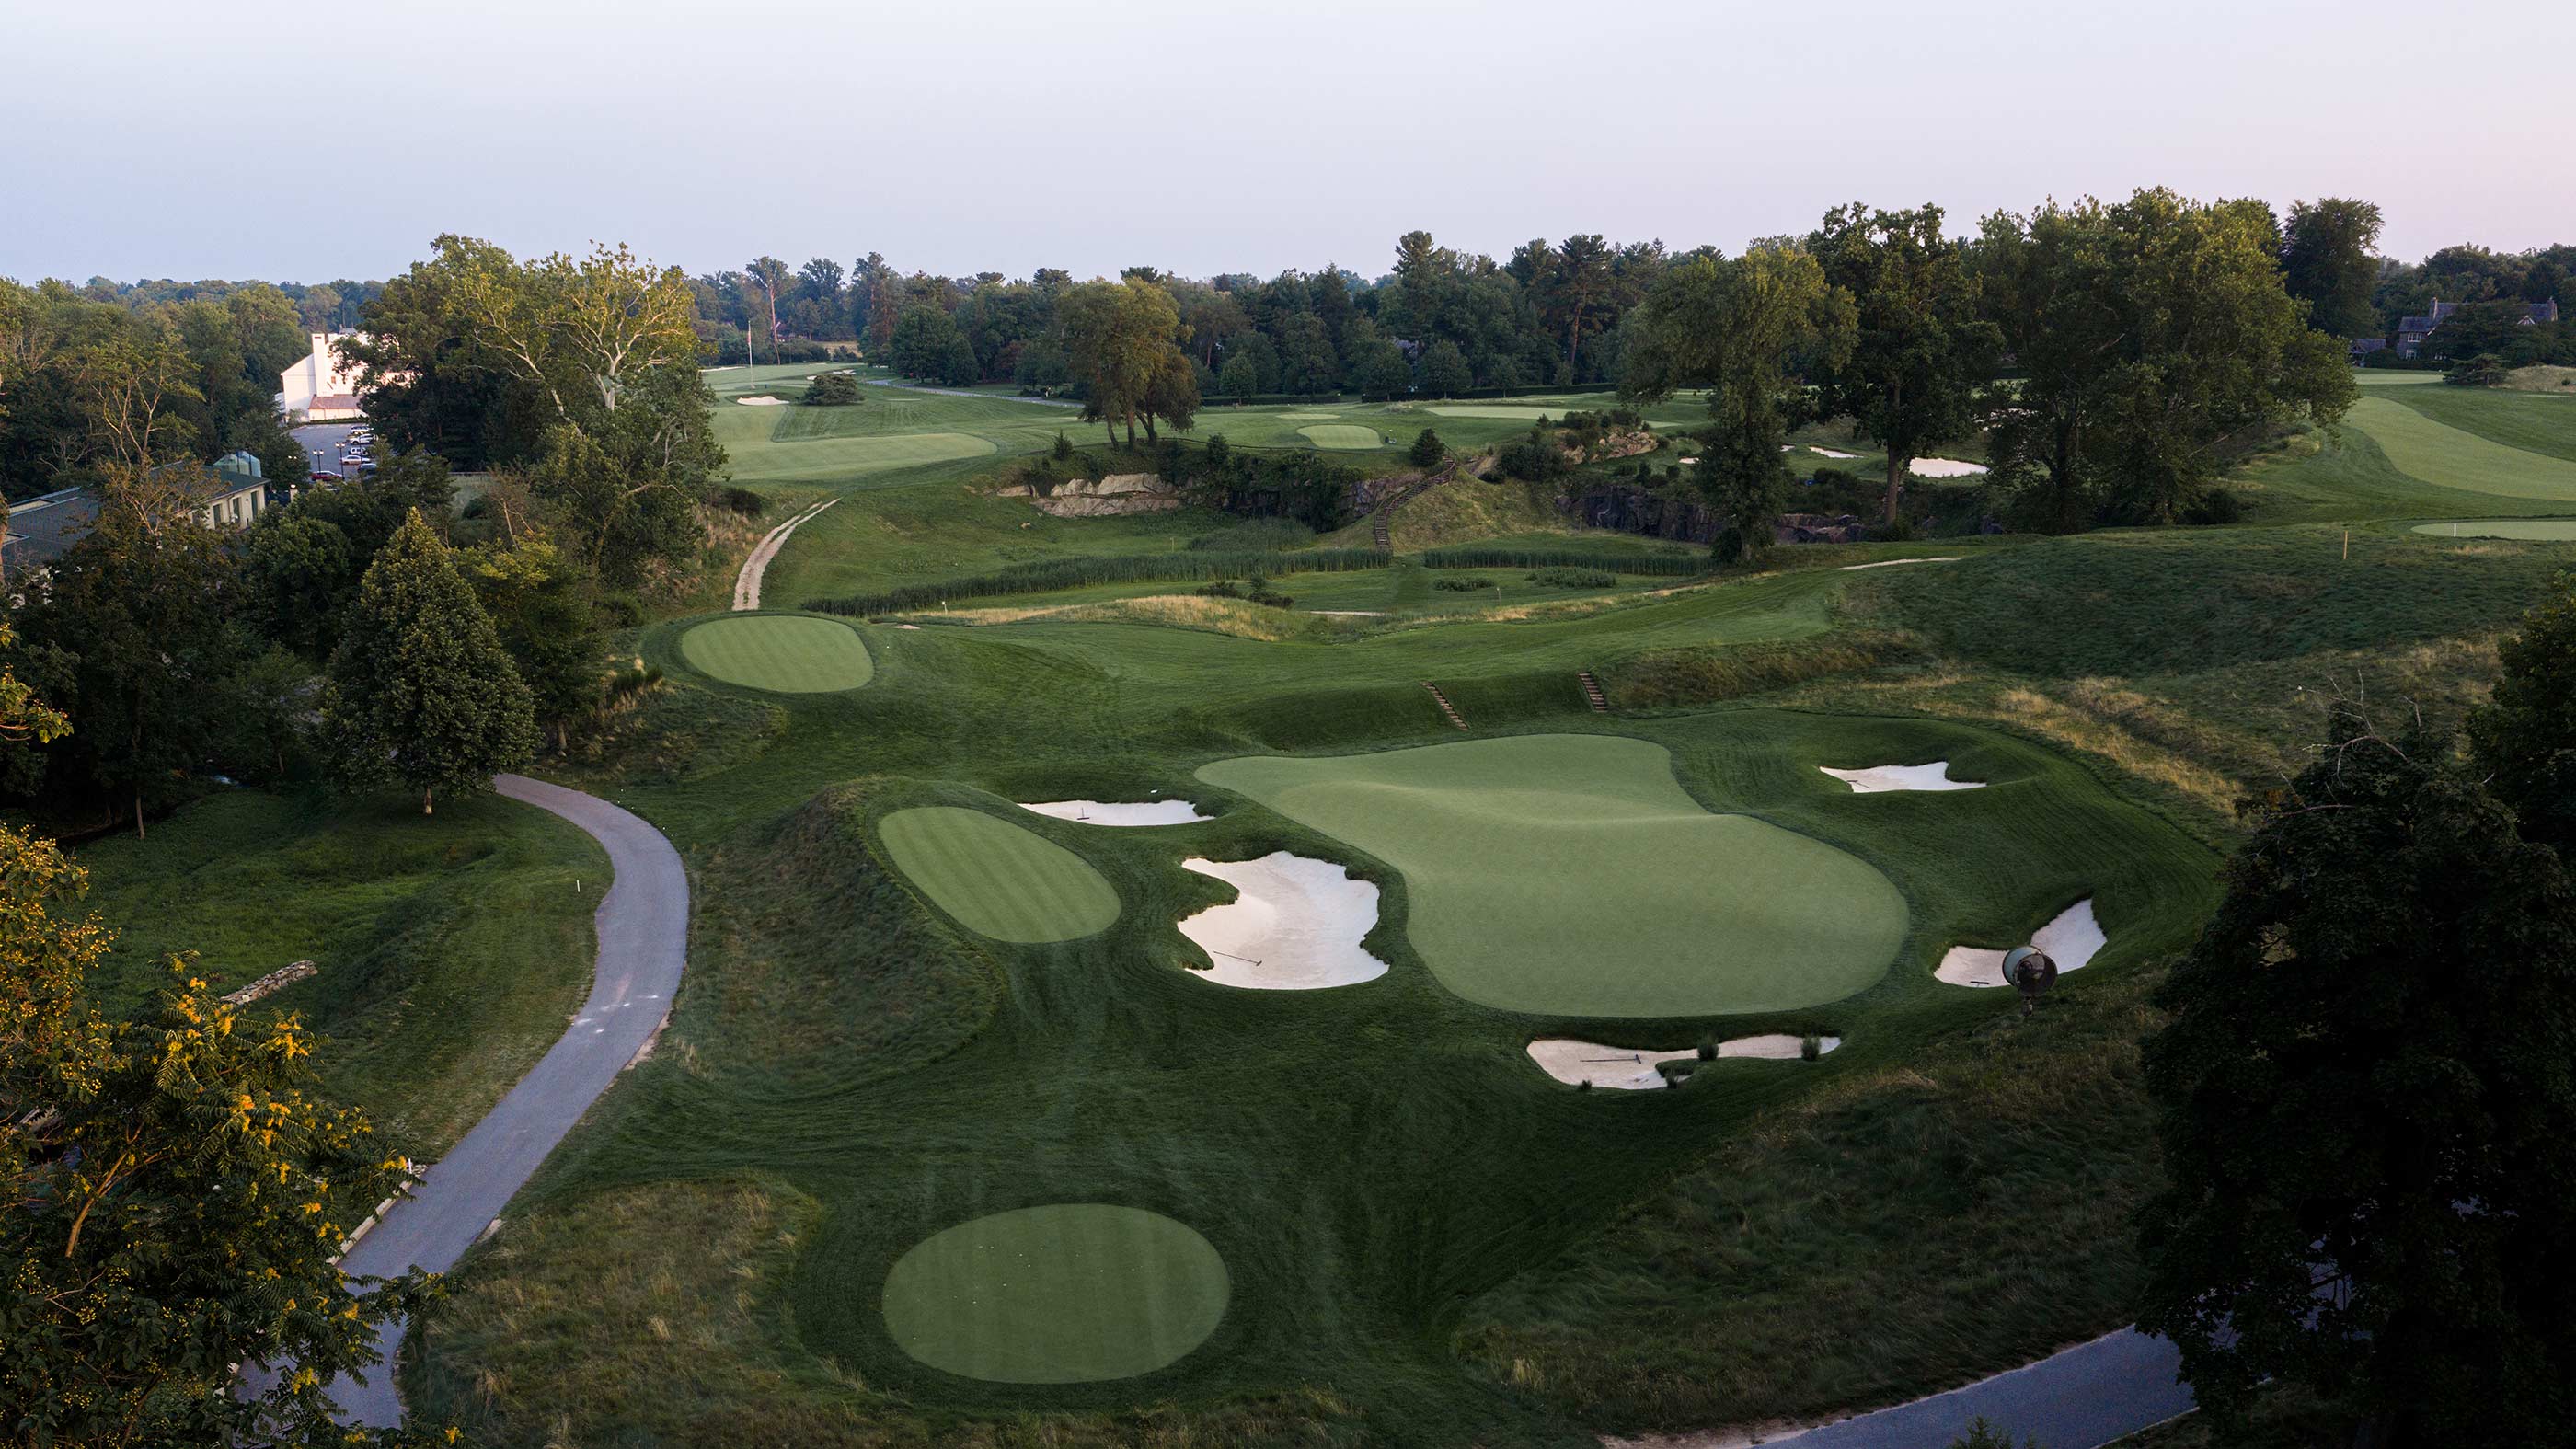
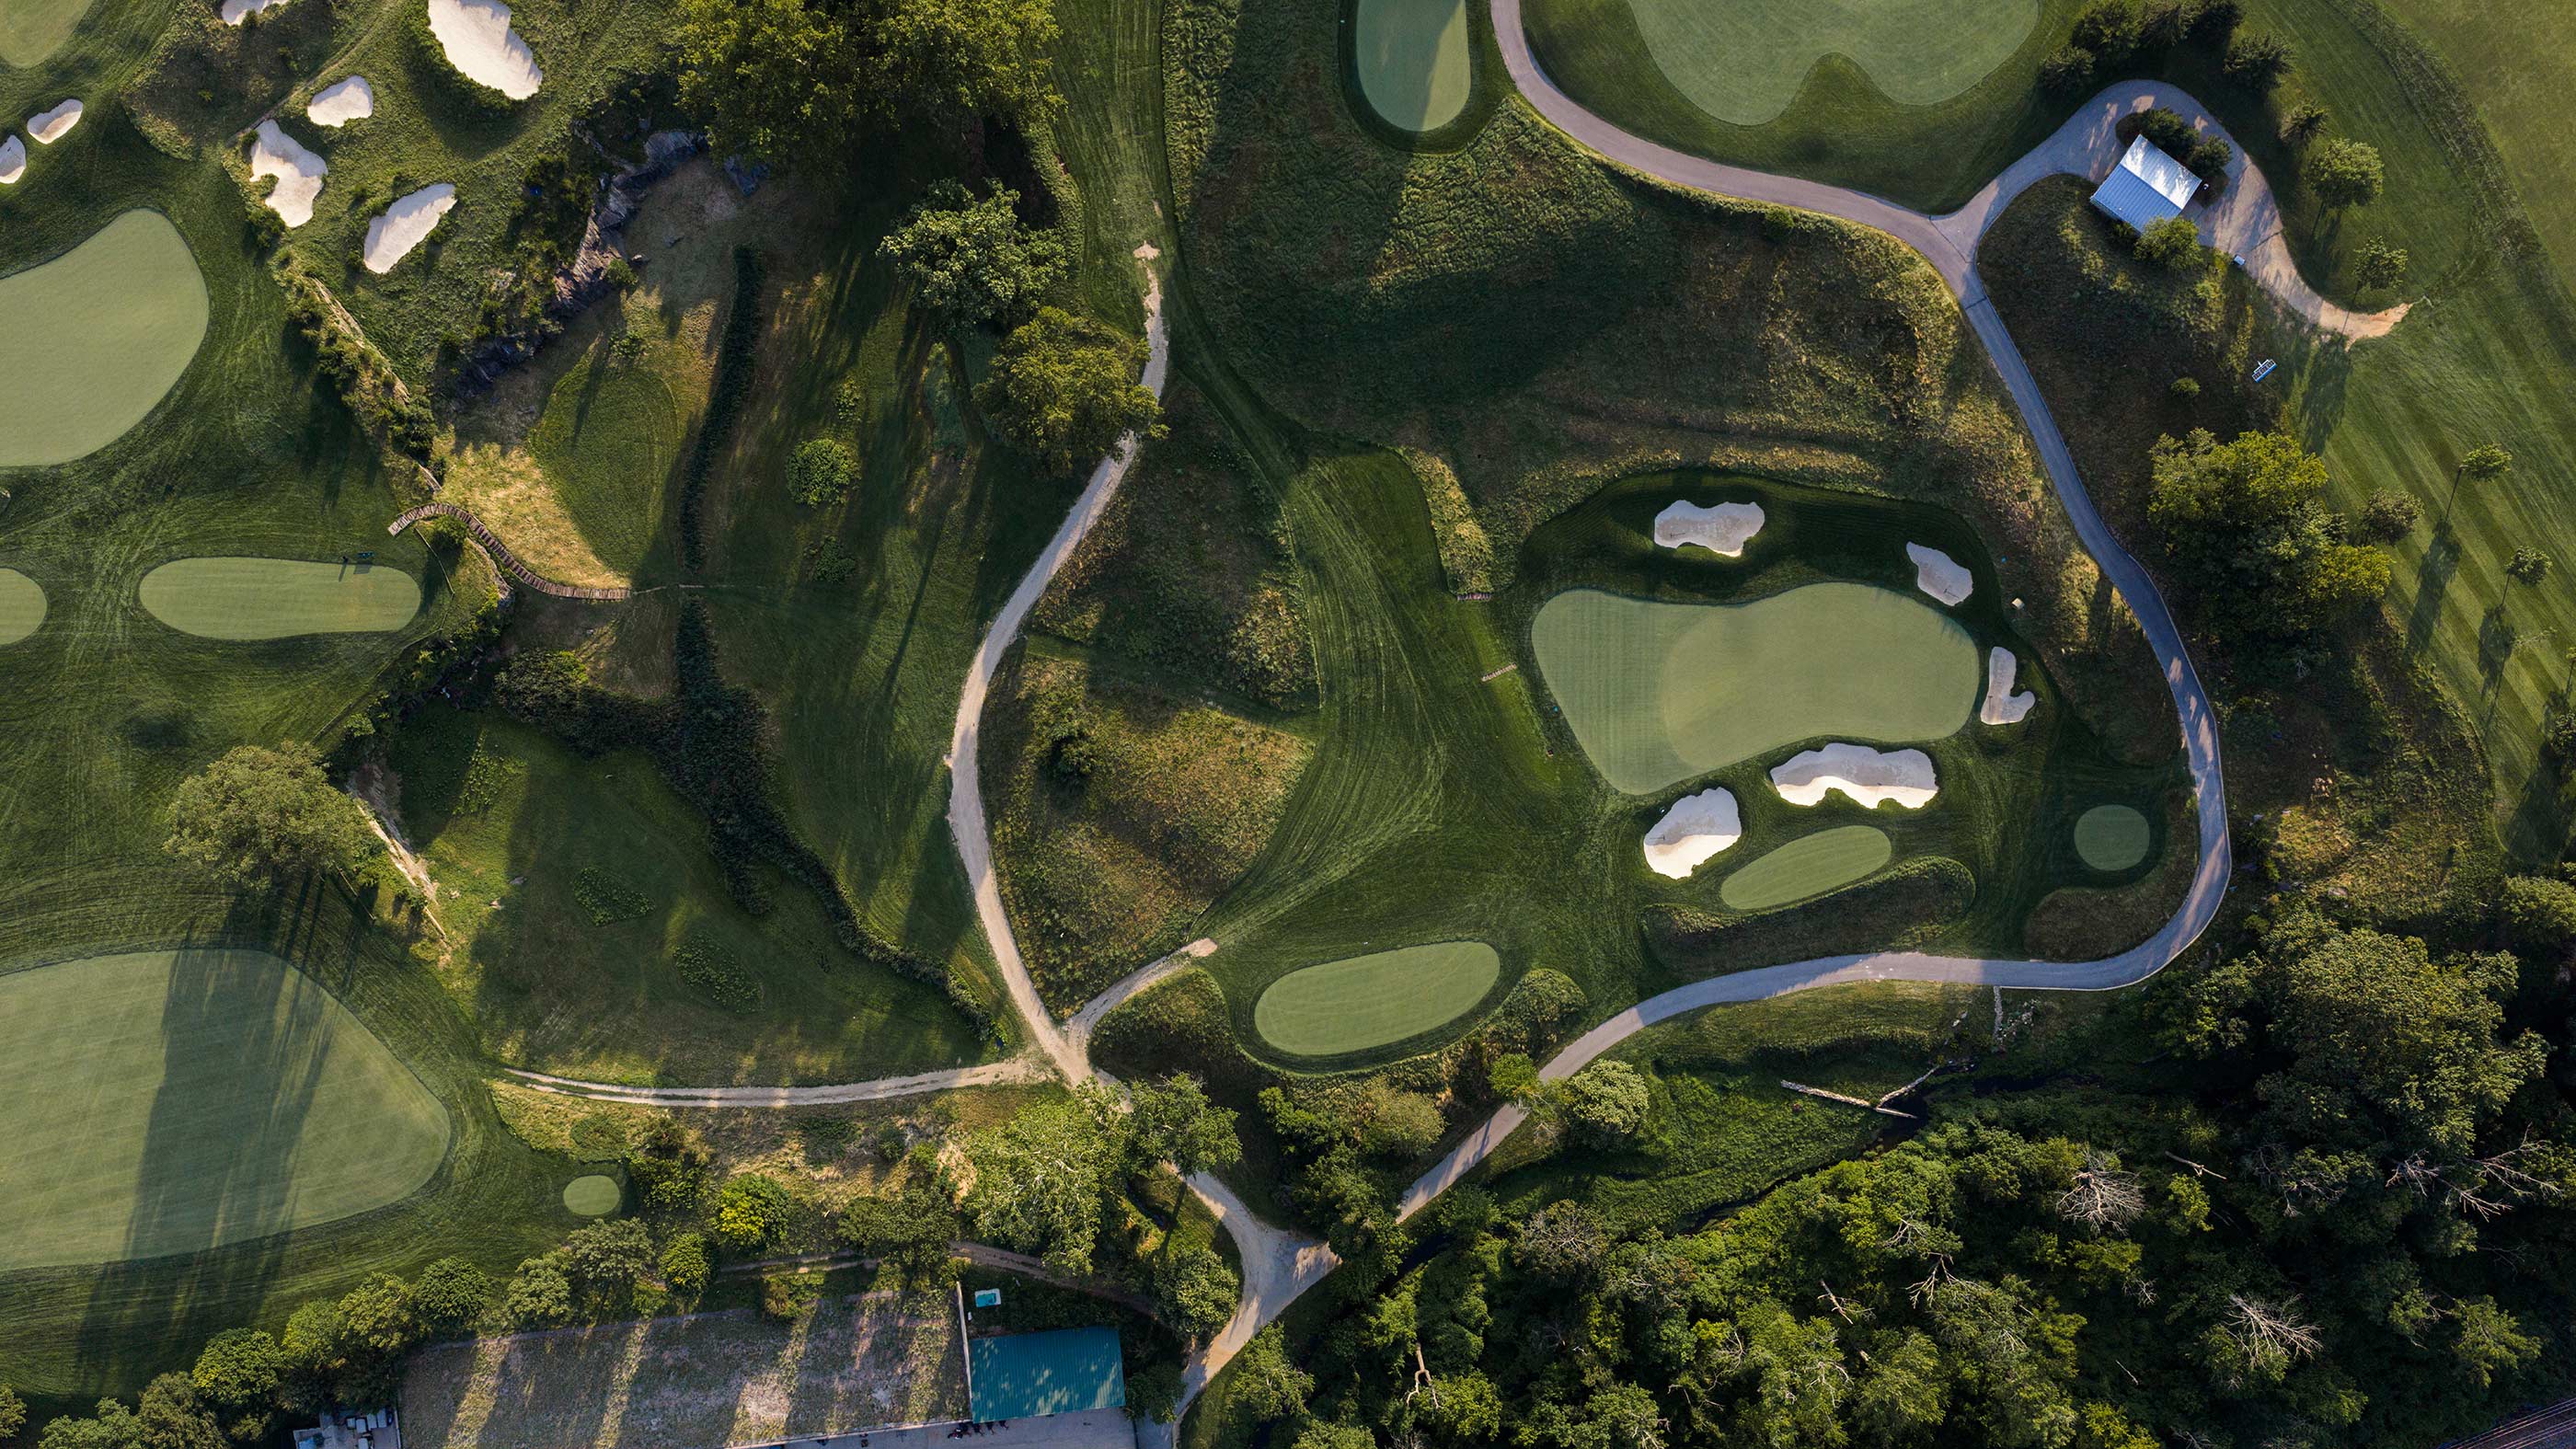
This stunning long par 3 plunges back into the quarry. A hollow at the front of the green — so abrupt that I suspect it was made by rock-mining equipment — often foils indifferent running approaches.
Hole 18
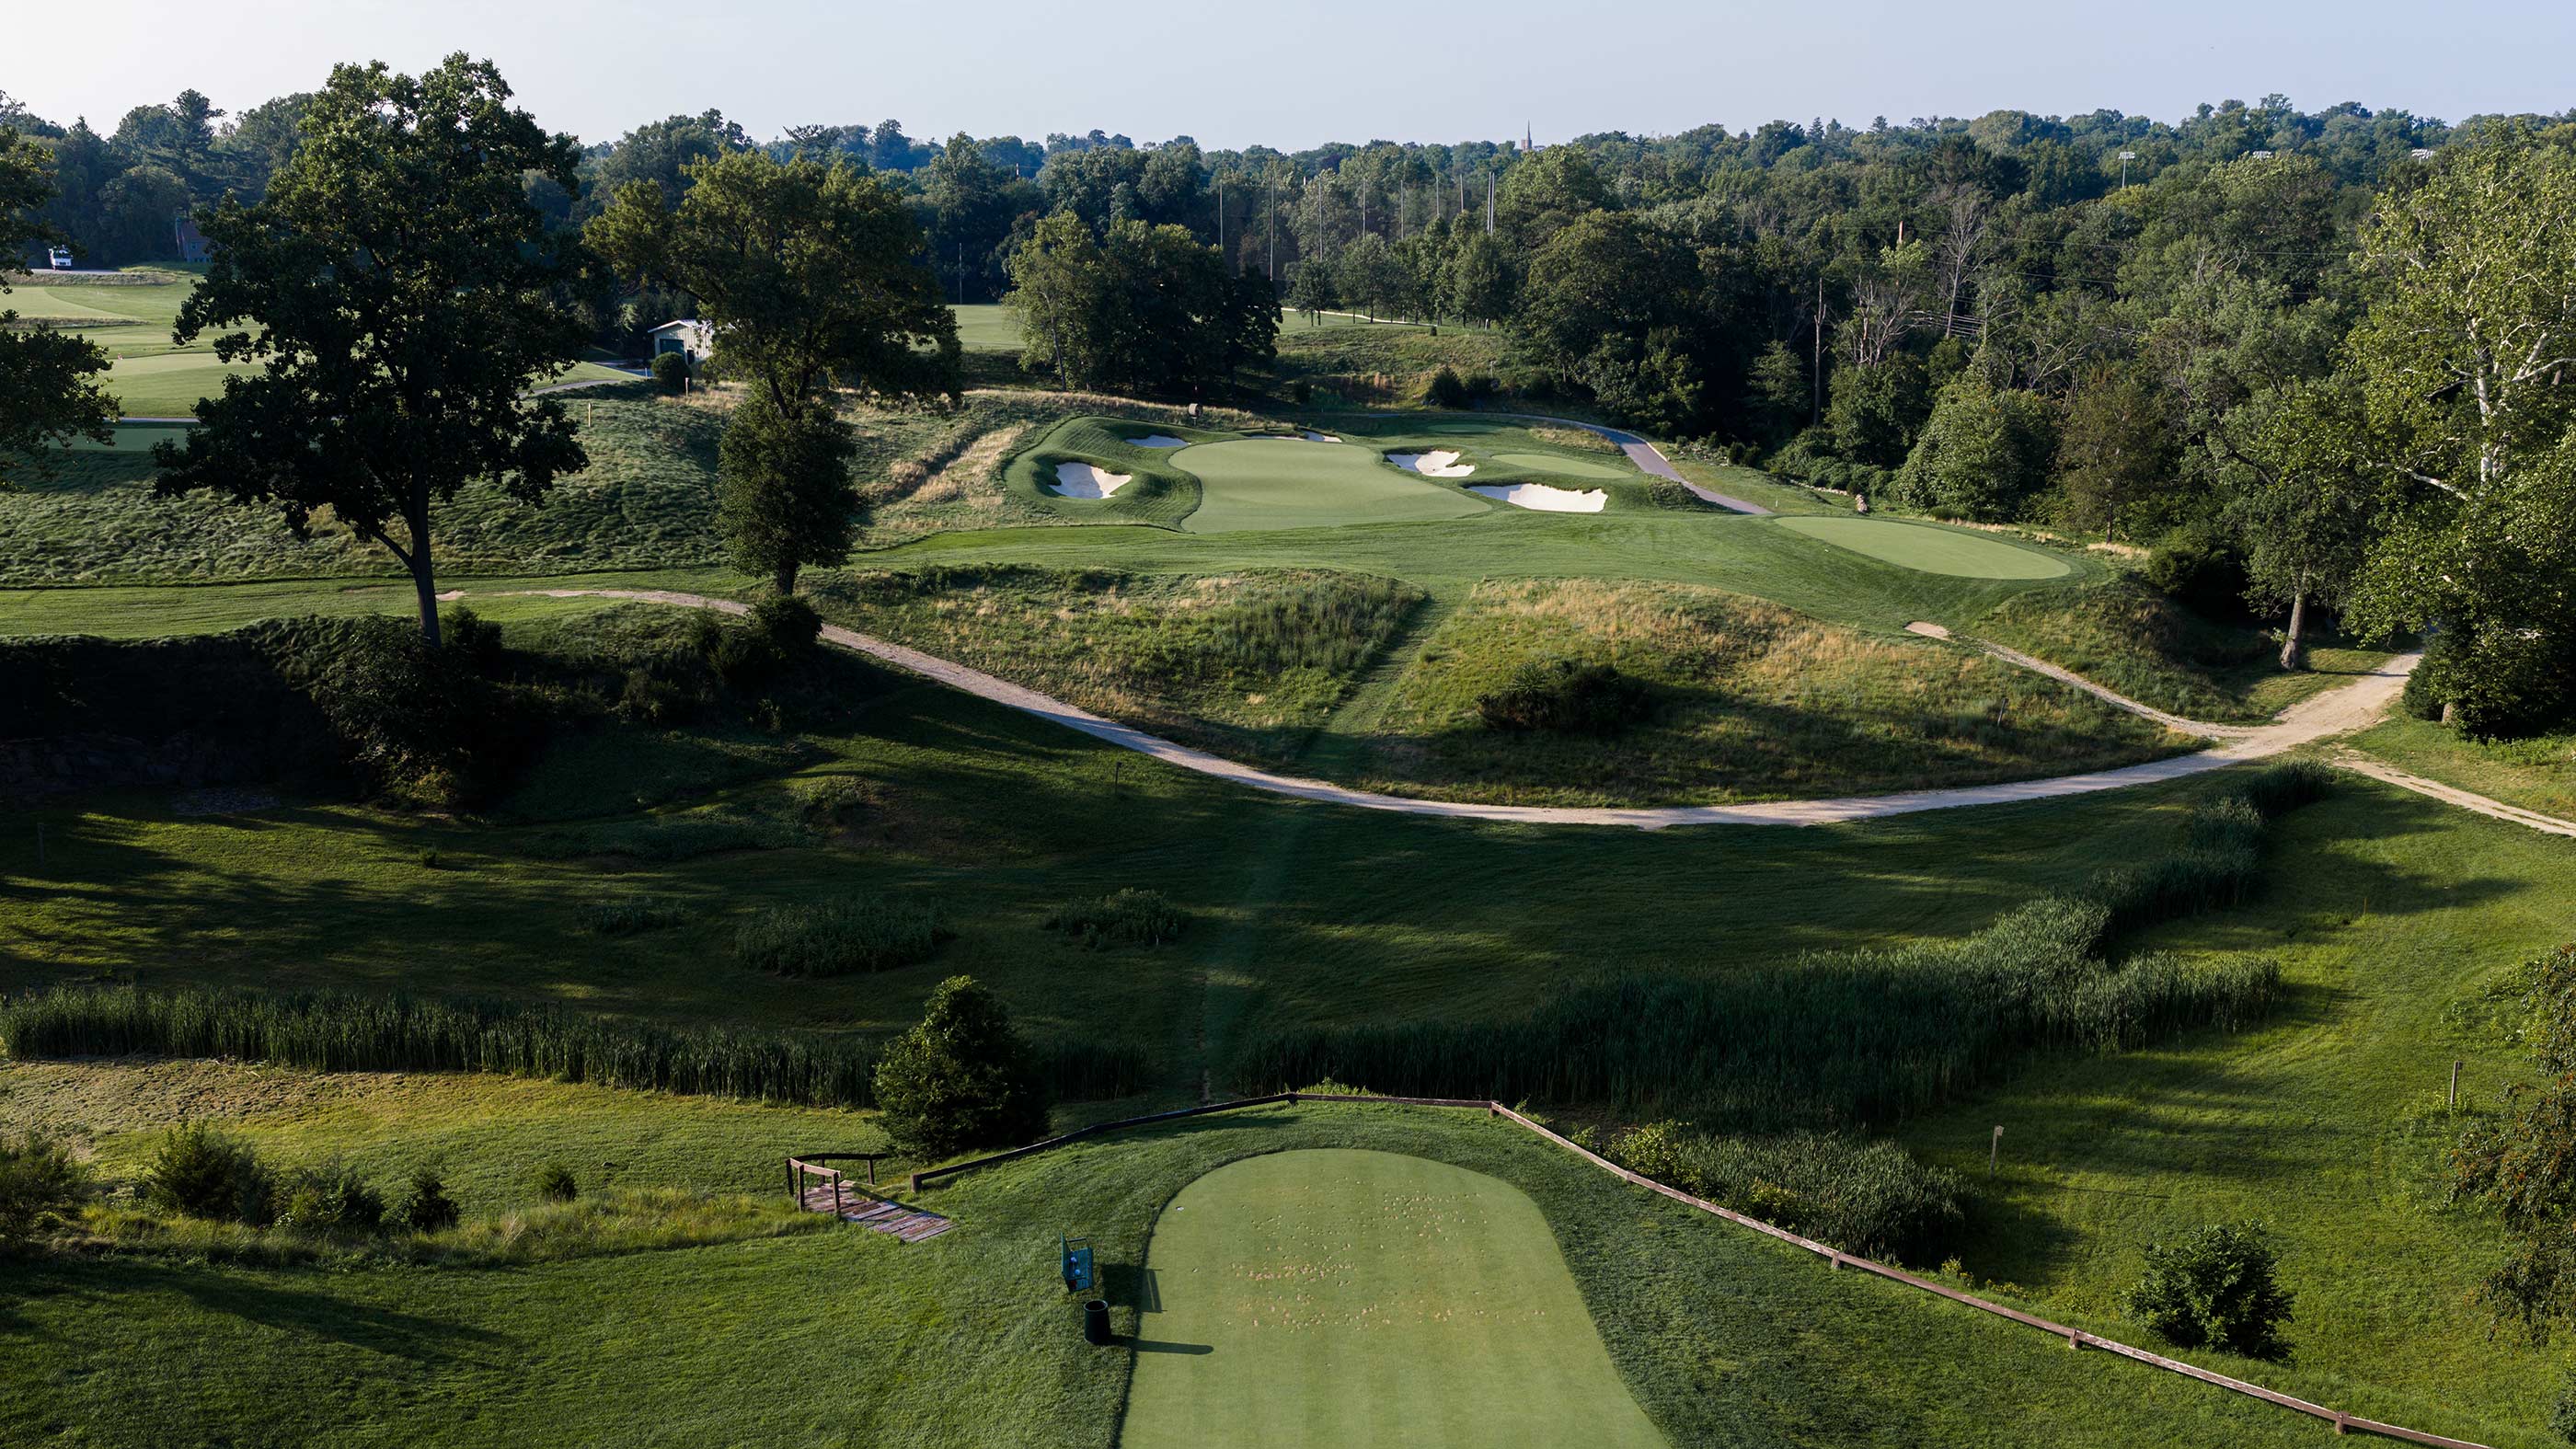
A finishing hole fit for major championships, the 18th escapes from the quarry and traverses a series of large undulations. Most well-struck drives end up on the low left side of the fairway, leaving a mid-iron approach from a sidehill lie. The hilltop green forms an upside-down halfpipe, running away in both front and back, with a shallow band of safety in the middle.