Hole 1
A modest opener, with a dramatic downhill tee shot from Shinnecock’s high ridge. The shortish par 4 has a small green with a severe fall off in the back. Pushing it off the tee leads to a more narrow fairway than laying back, with the right side being the preferred option to approach the green.


Hole 2
The stunning and brute of a par 3 plays up to a ridge where the green is situated. Exposed to the elements, a great long iron or fairway wood is required to score here.


Hole 3
One of the holes that plays in the same corridor as the C.B. Macdonald design, ironically, along the border of National Golf Links of America. William Flynn changed the tee location on the third, moving it over to the left. This sets up a common theme throughout the golf course: diagonal tee shots where you must choose a line and execute a shot on that line that goes the appropriate distance. This hole routinely plays shorter than its yardage with the summer wind. The green sits on a nice ridge and has a lot of pitch back to front.



Hole 4
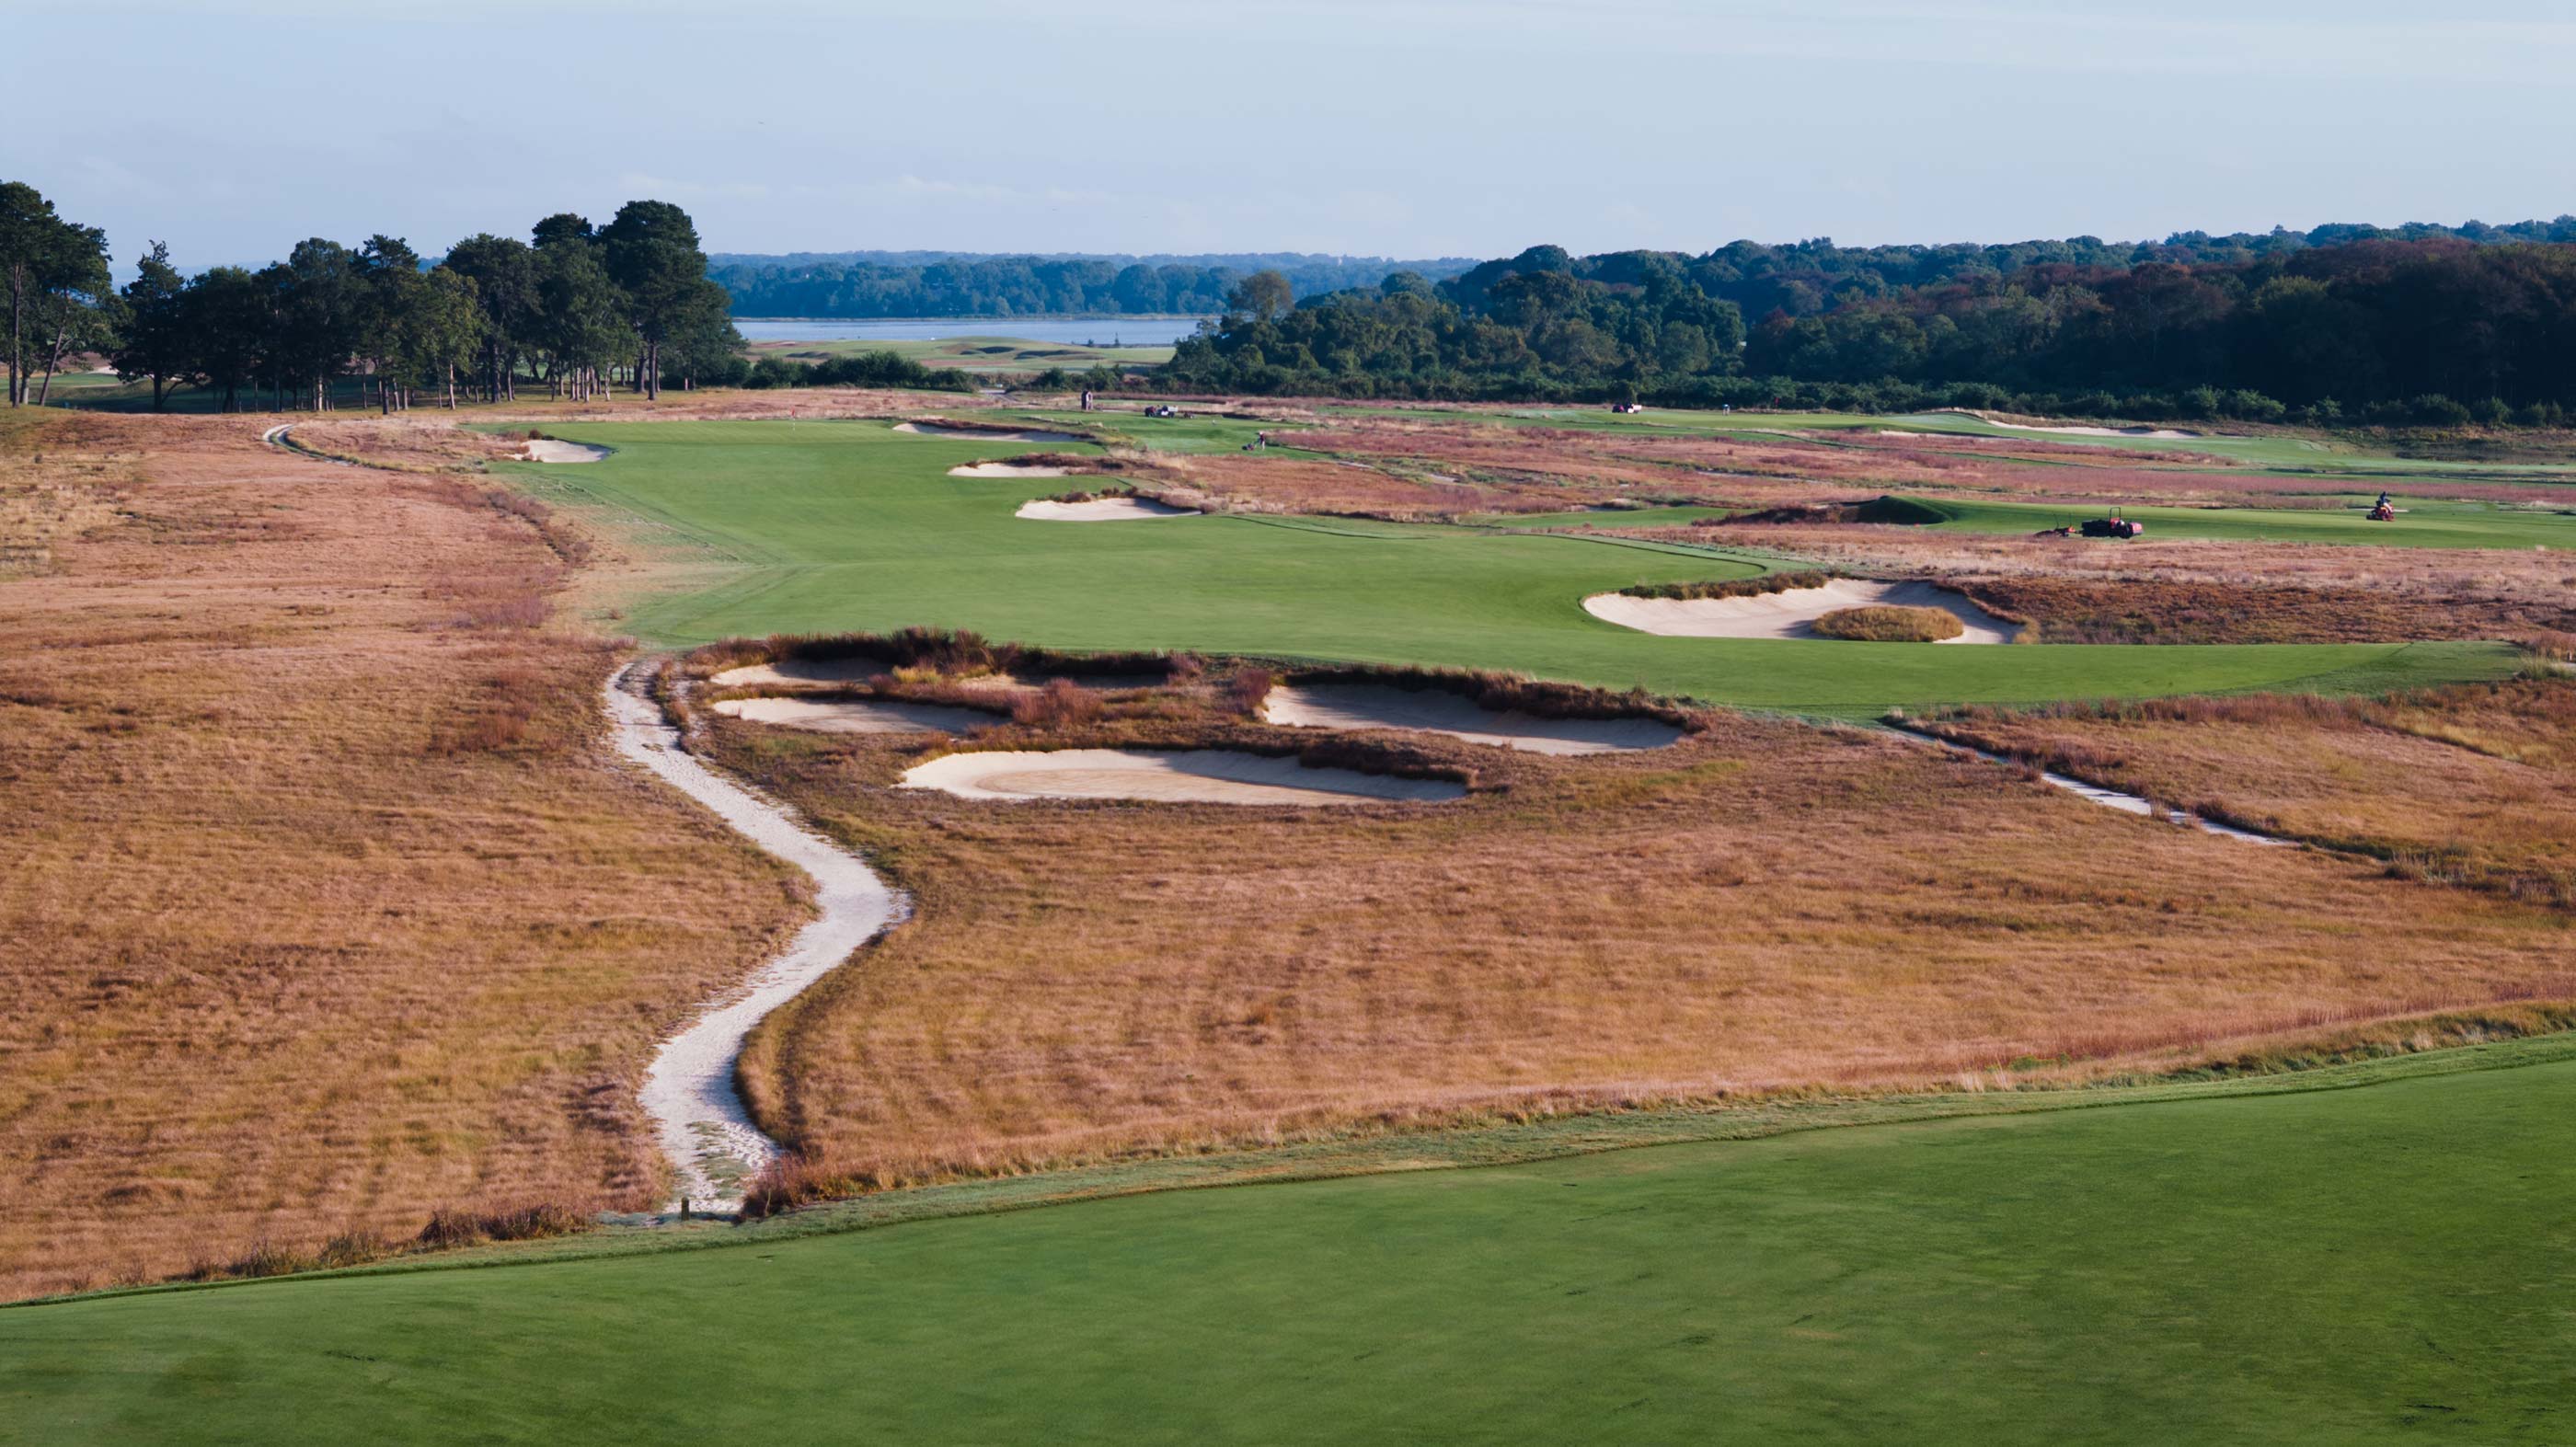
Possibly the hole on the worst ground at Shinnecock, the fourth relies on a built-up green with sharp orientation to the right side of the fairway to deliver strategy back to the tee. Here, unlike the also flat eighth hole, the play is to get close to the right bunker off the tee to set up the angle on this mid-length par 4 that often plays into the wind. Approaches from the left will face a tough angle into the green that works against shots from the left. This hole kicks off a stretch of the most contoured and aggressive greens on the golf course.


Hole 5
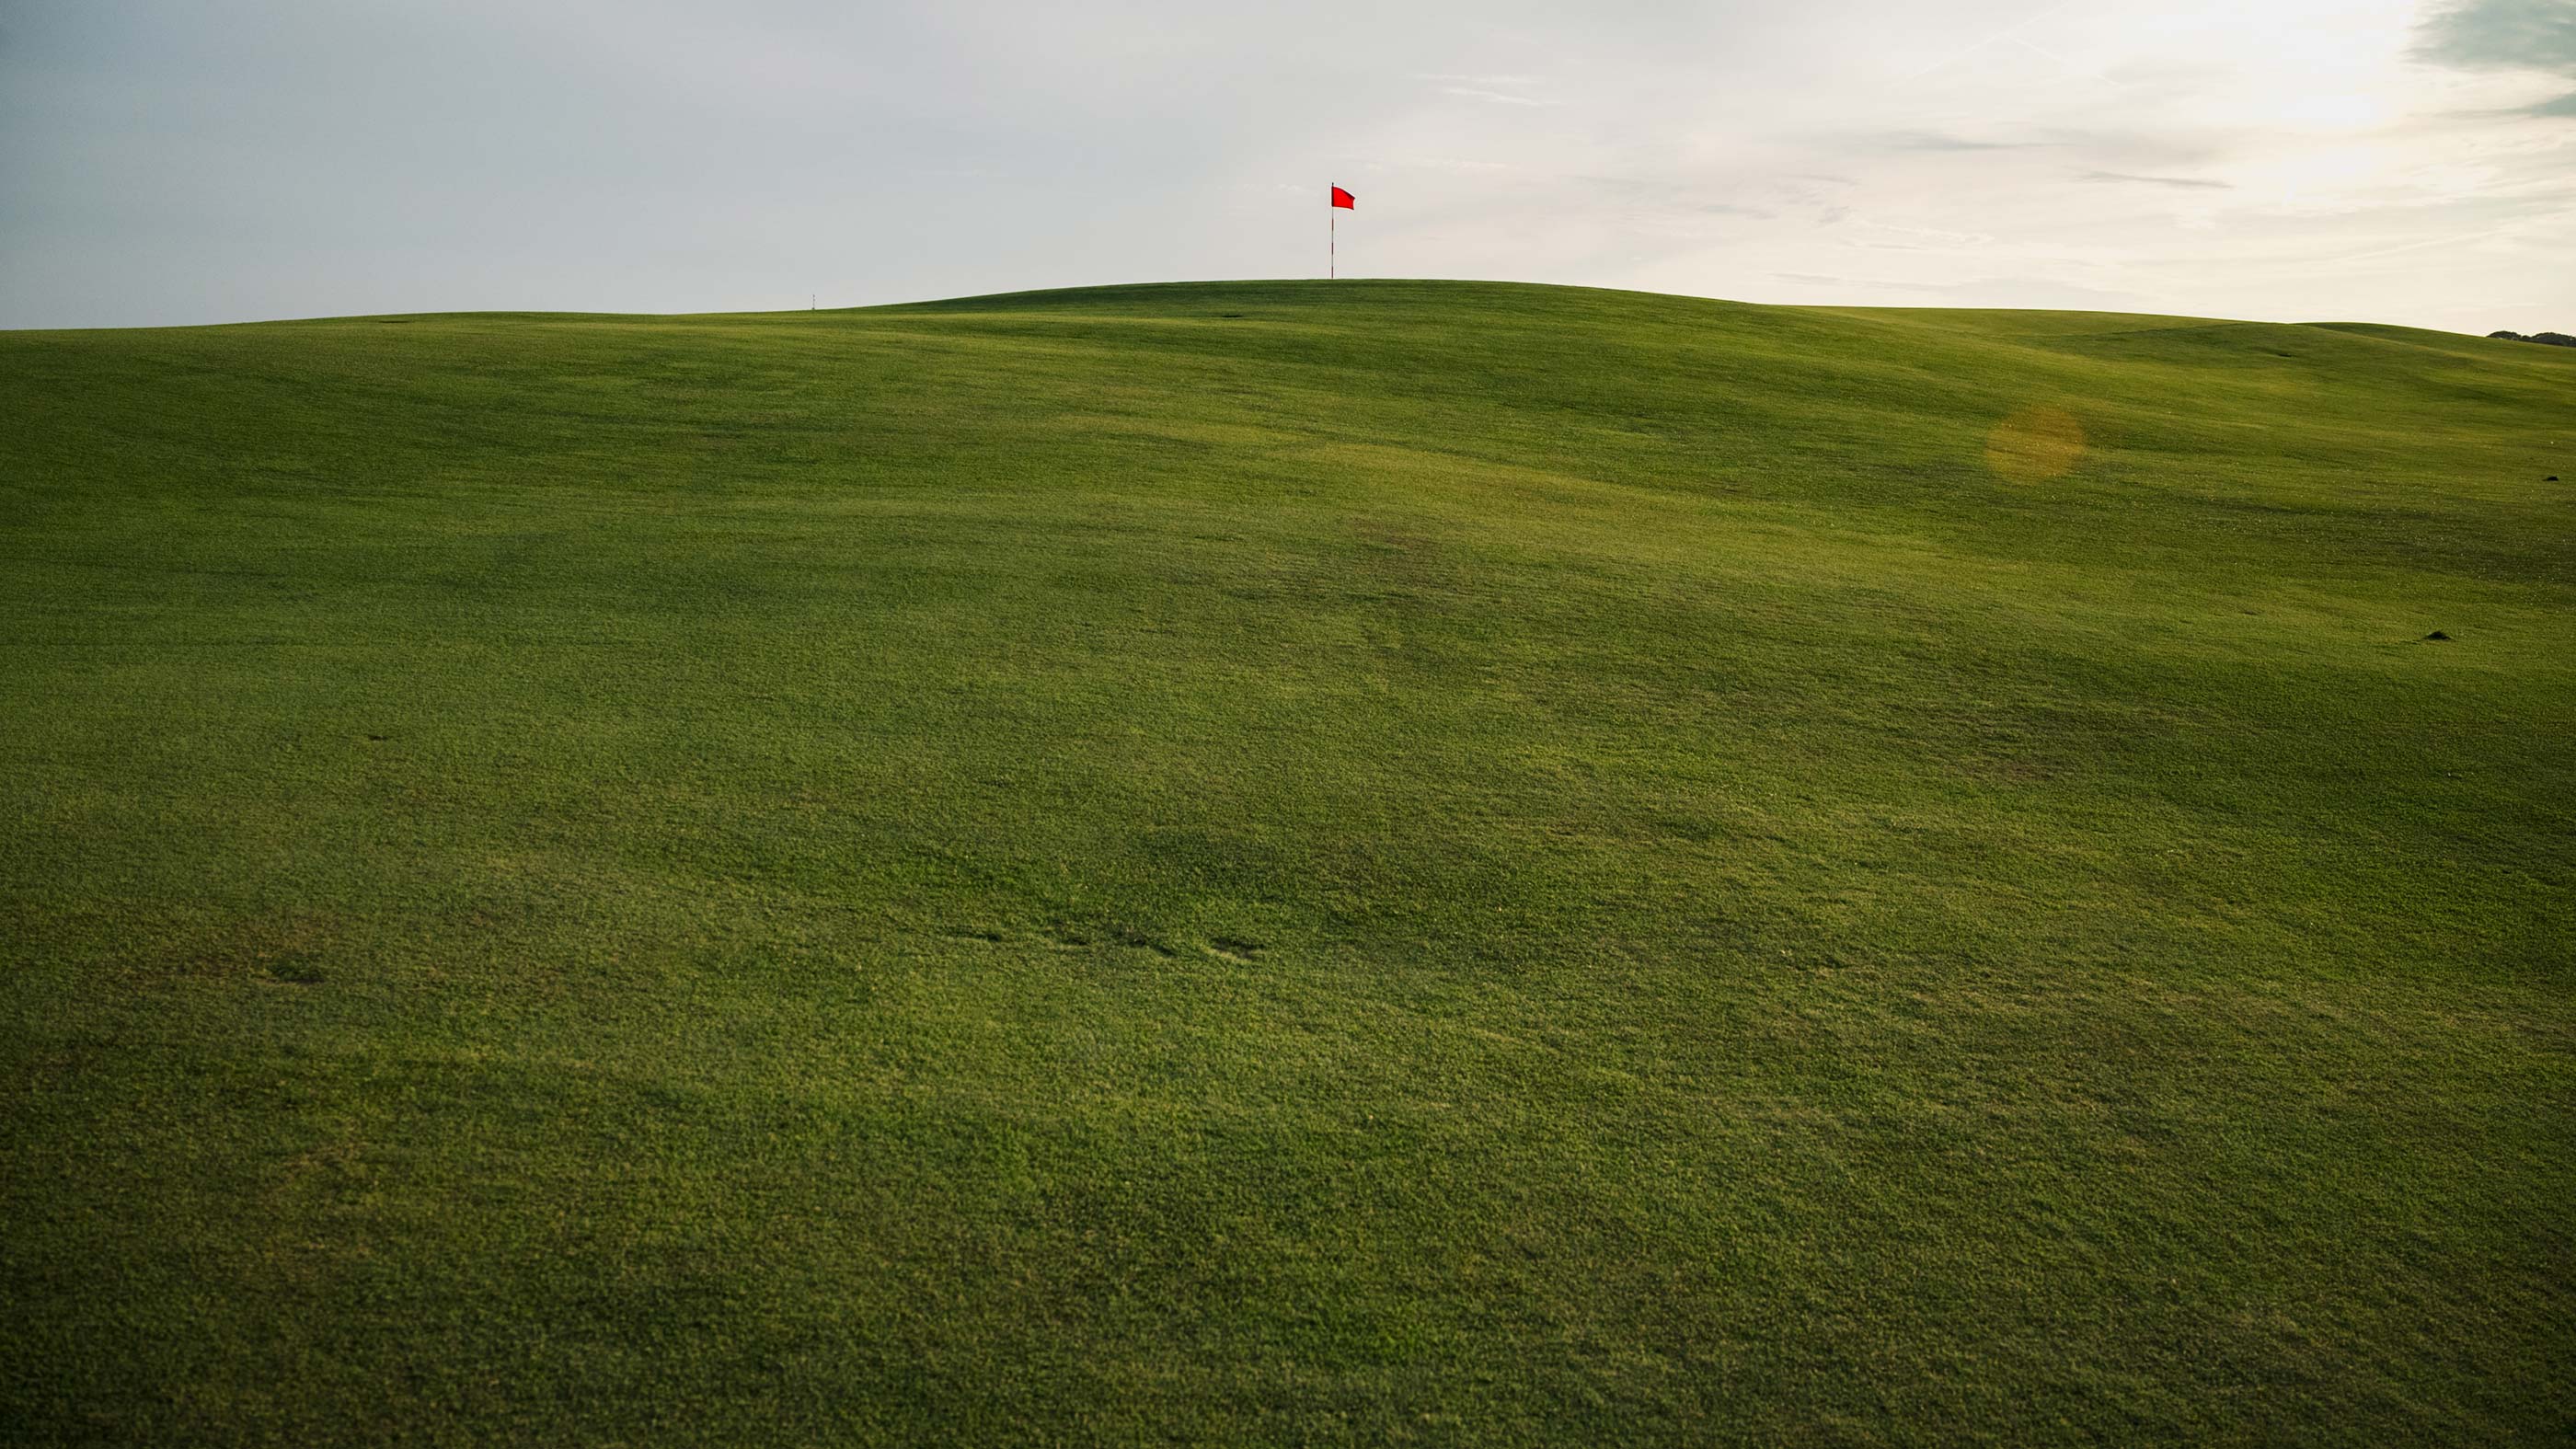
One of Shinnecock’s two par 5s, this split-fairway hole has lost some of its strategic value for the elite player who will always play to the left, but in the recreational game, the right provides an option for shorter hitters unable to carry the cross bunkers. Those bunkers create one of Shinnecock’s many obscured and semi-blind tee shots. A good drive up the left can yield a chance at reaching this short par 5 in two, but to earn an eagle putt, players have to tackle one of the most difficult approaches on the golf course. This green is built up and features a severe drop-off behind and to the left of the green. This hole plays downwind for most of the summer, which makes the margin for error approaching the green minuscule. When it plays into the wind, fewer players can reach in two, but the landing area gets much larger. This green used to have a bunker short right that Dick Wilson installed, but has since been restored to its original concept, void of a bunker.



Hole 6
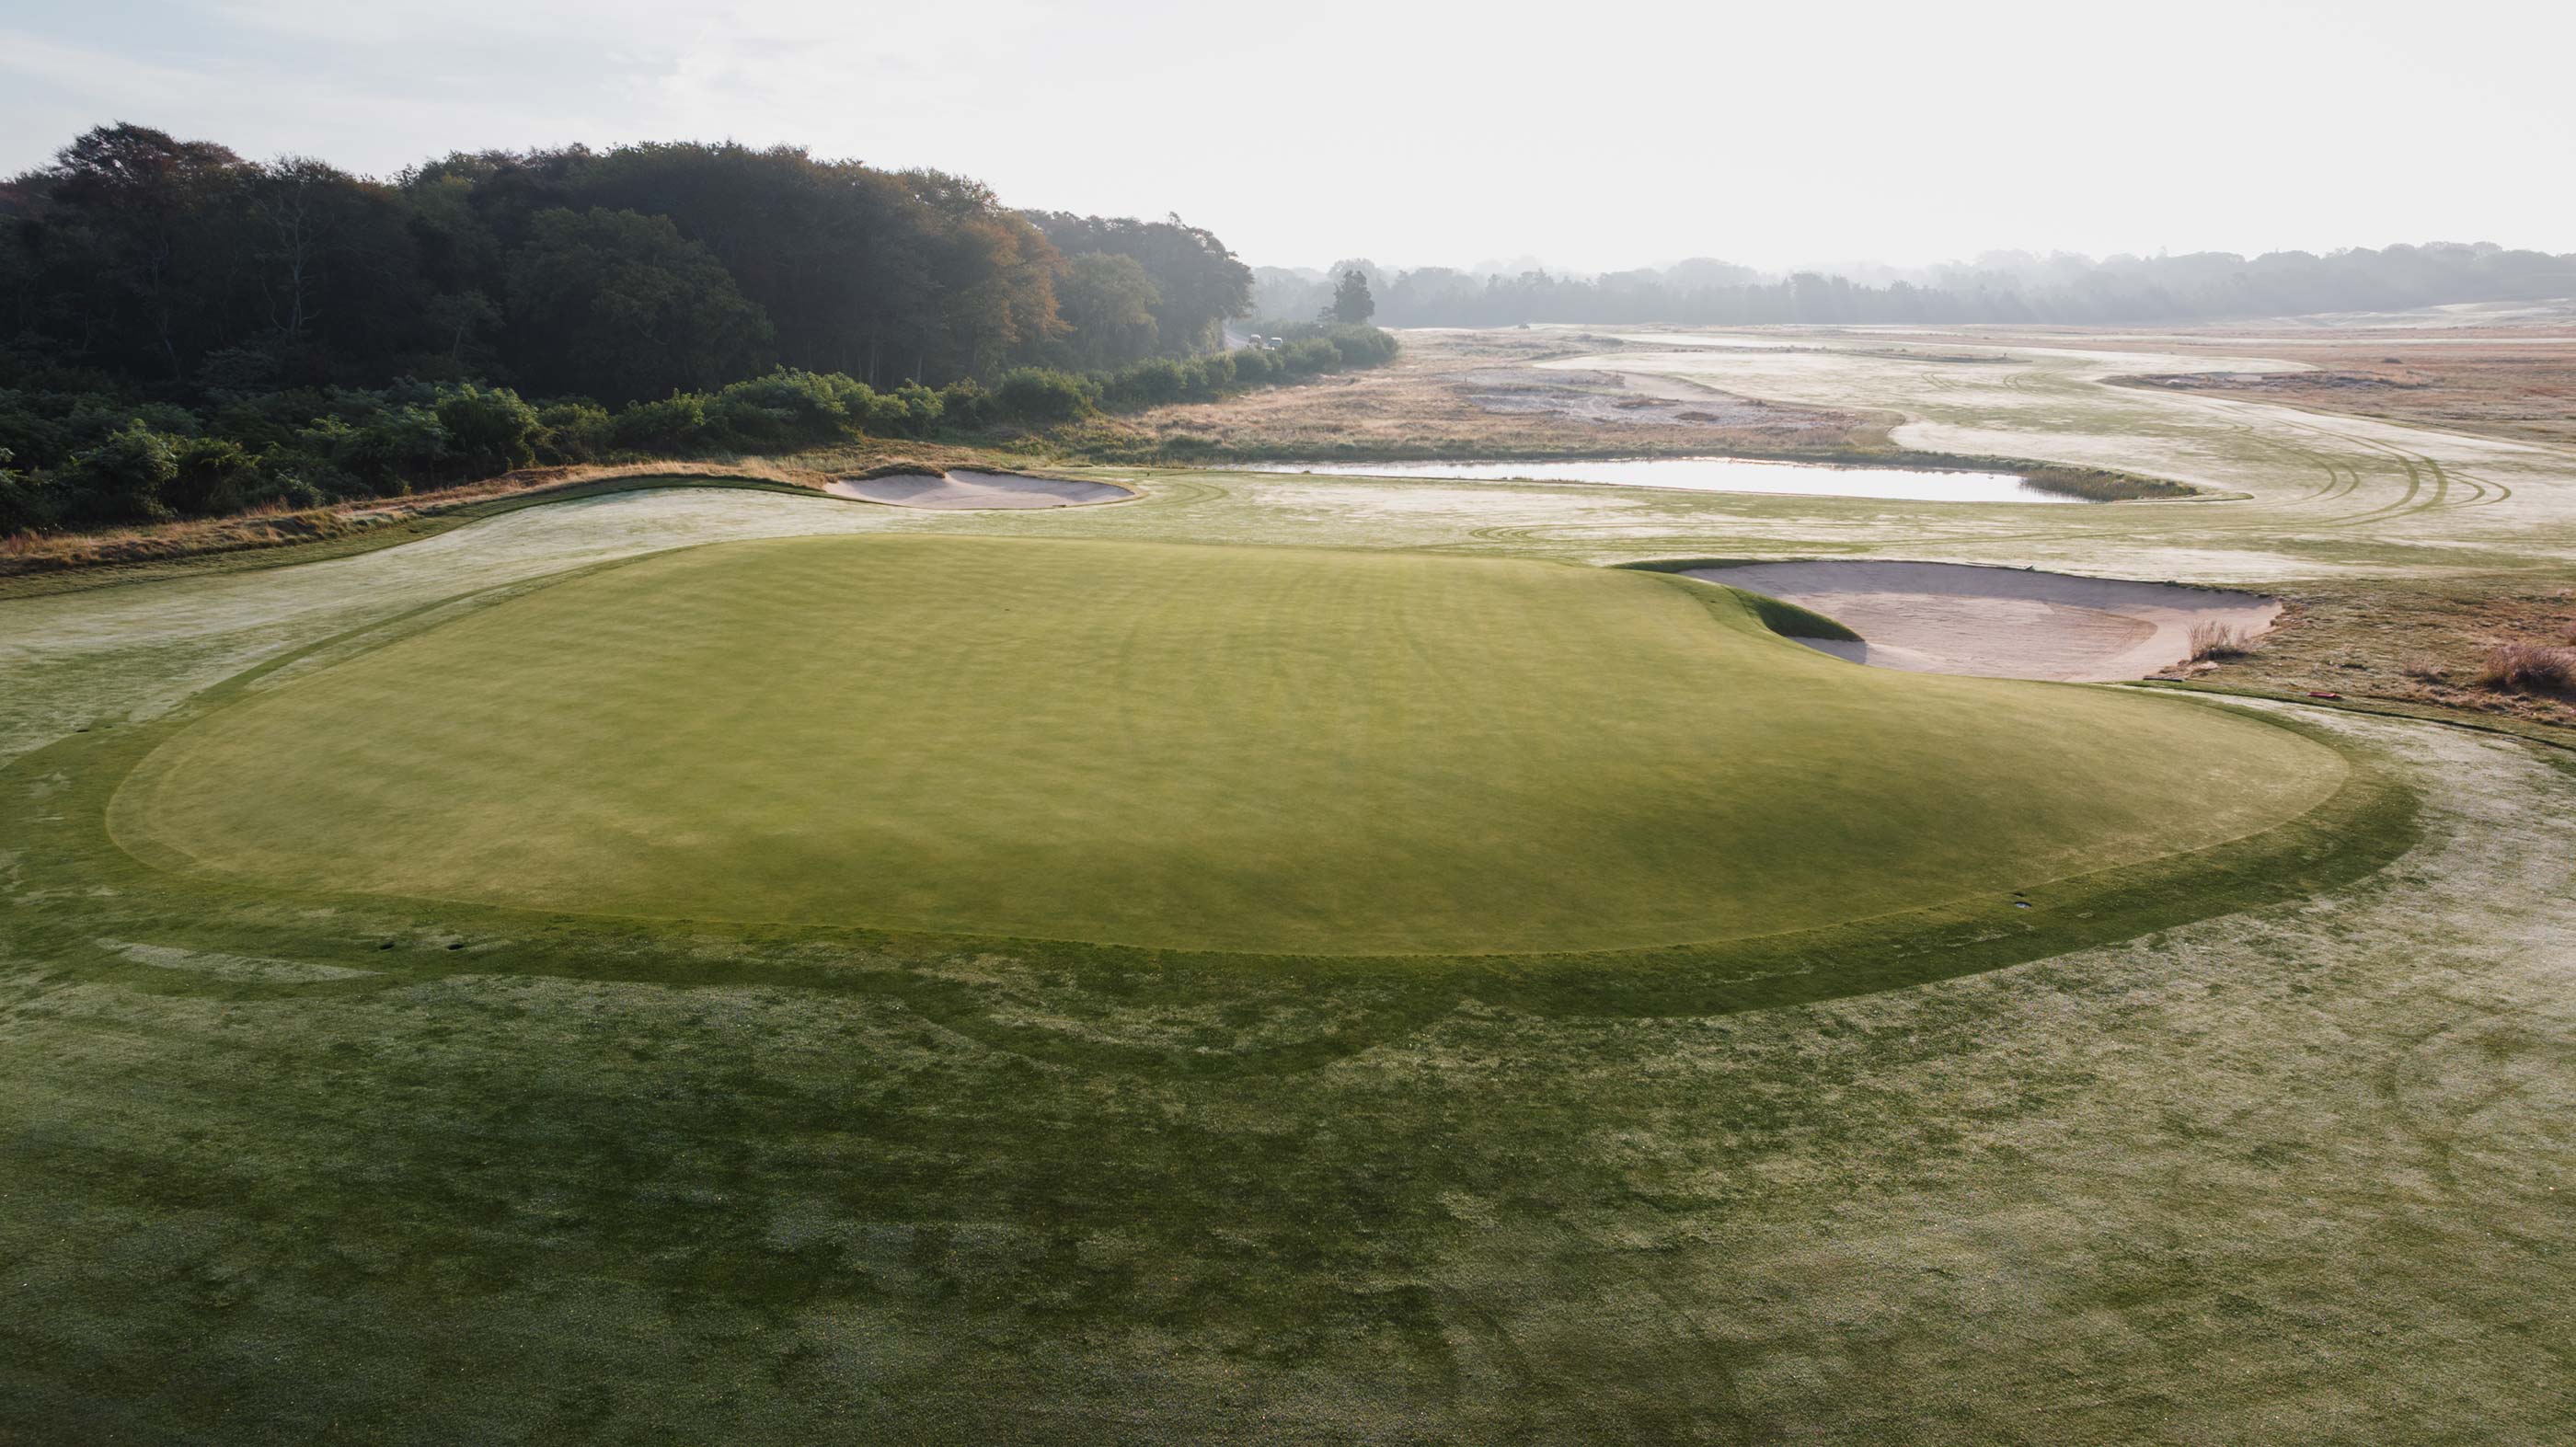
This long par 4 is on some of Shinnecock’s most subdued land. The semi-blind tee shot offers a choice: take on the blindness over the sandy wash and be rewarded with an ideal, unobstructed approach to the green, or play safe to where you can see up the left side. The safe route is fraught with delayed challenges; the simple tee shot yields a significantly more difficult mid-iron approach into the well-protected green. The approach has to deal with the left greenside bunker as well as the falloff slope on the right side of the green. An approach from the right meanwhile yields an open front to run up a shot into the green. A wonderful hole thanks to its angles and perfectly placed features.



Hole 7
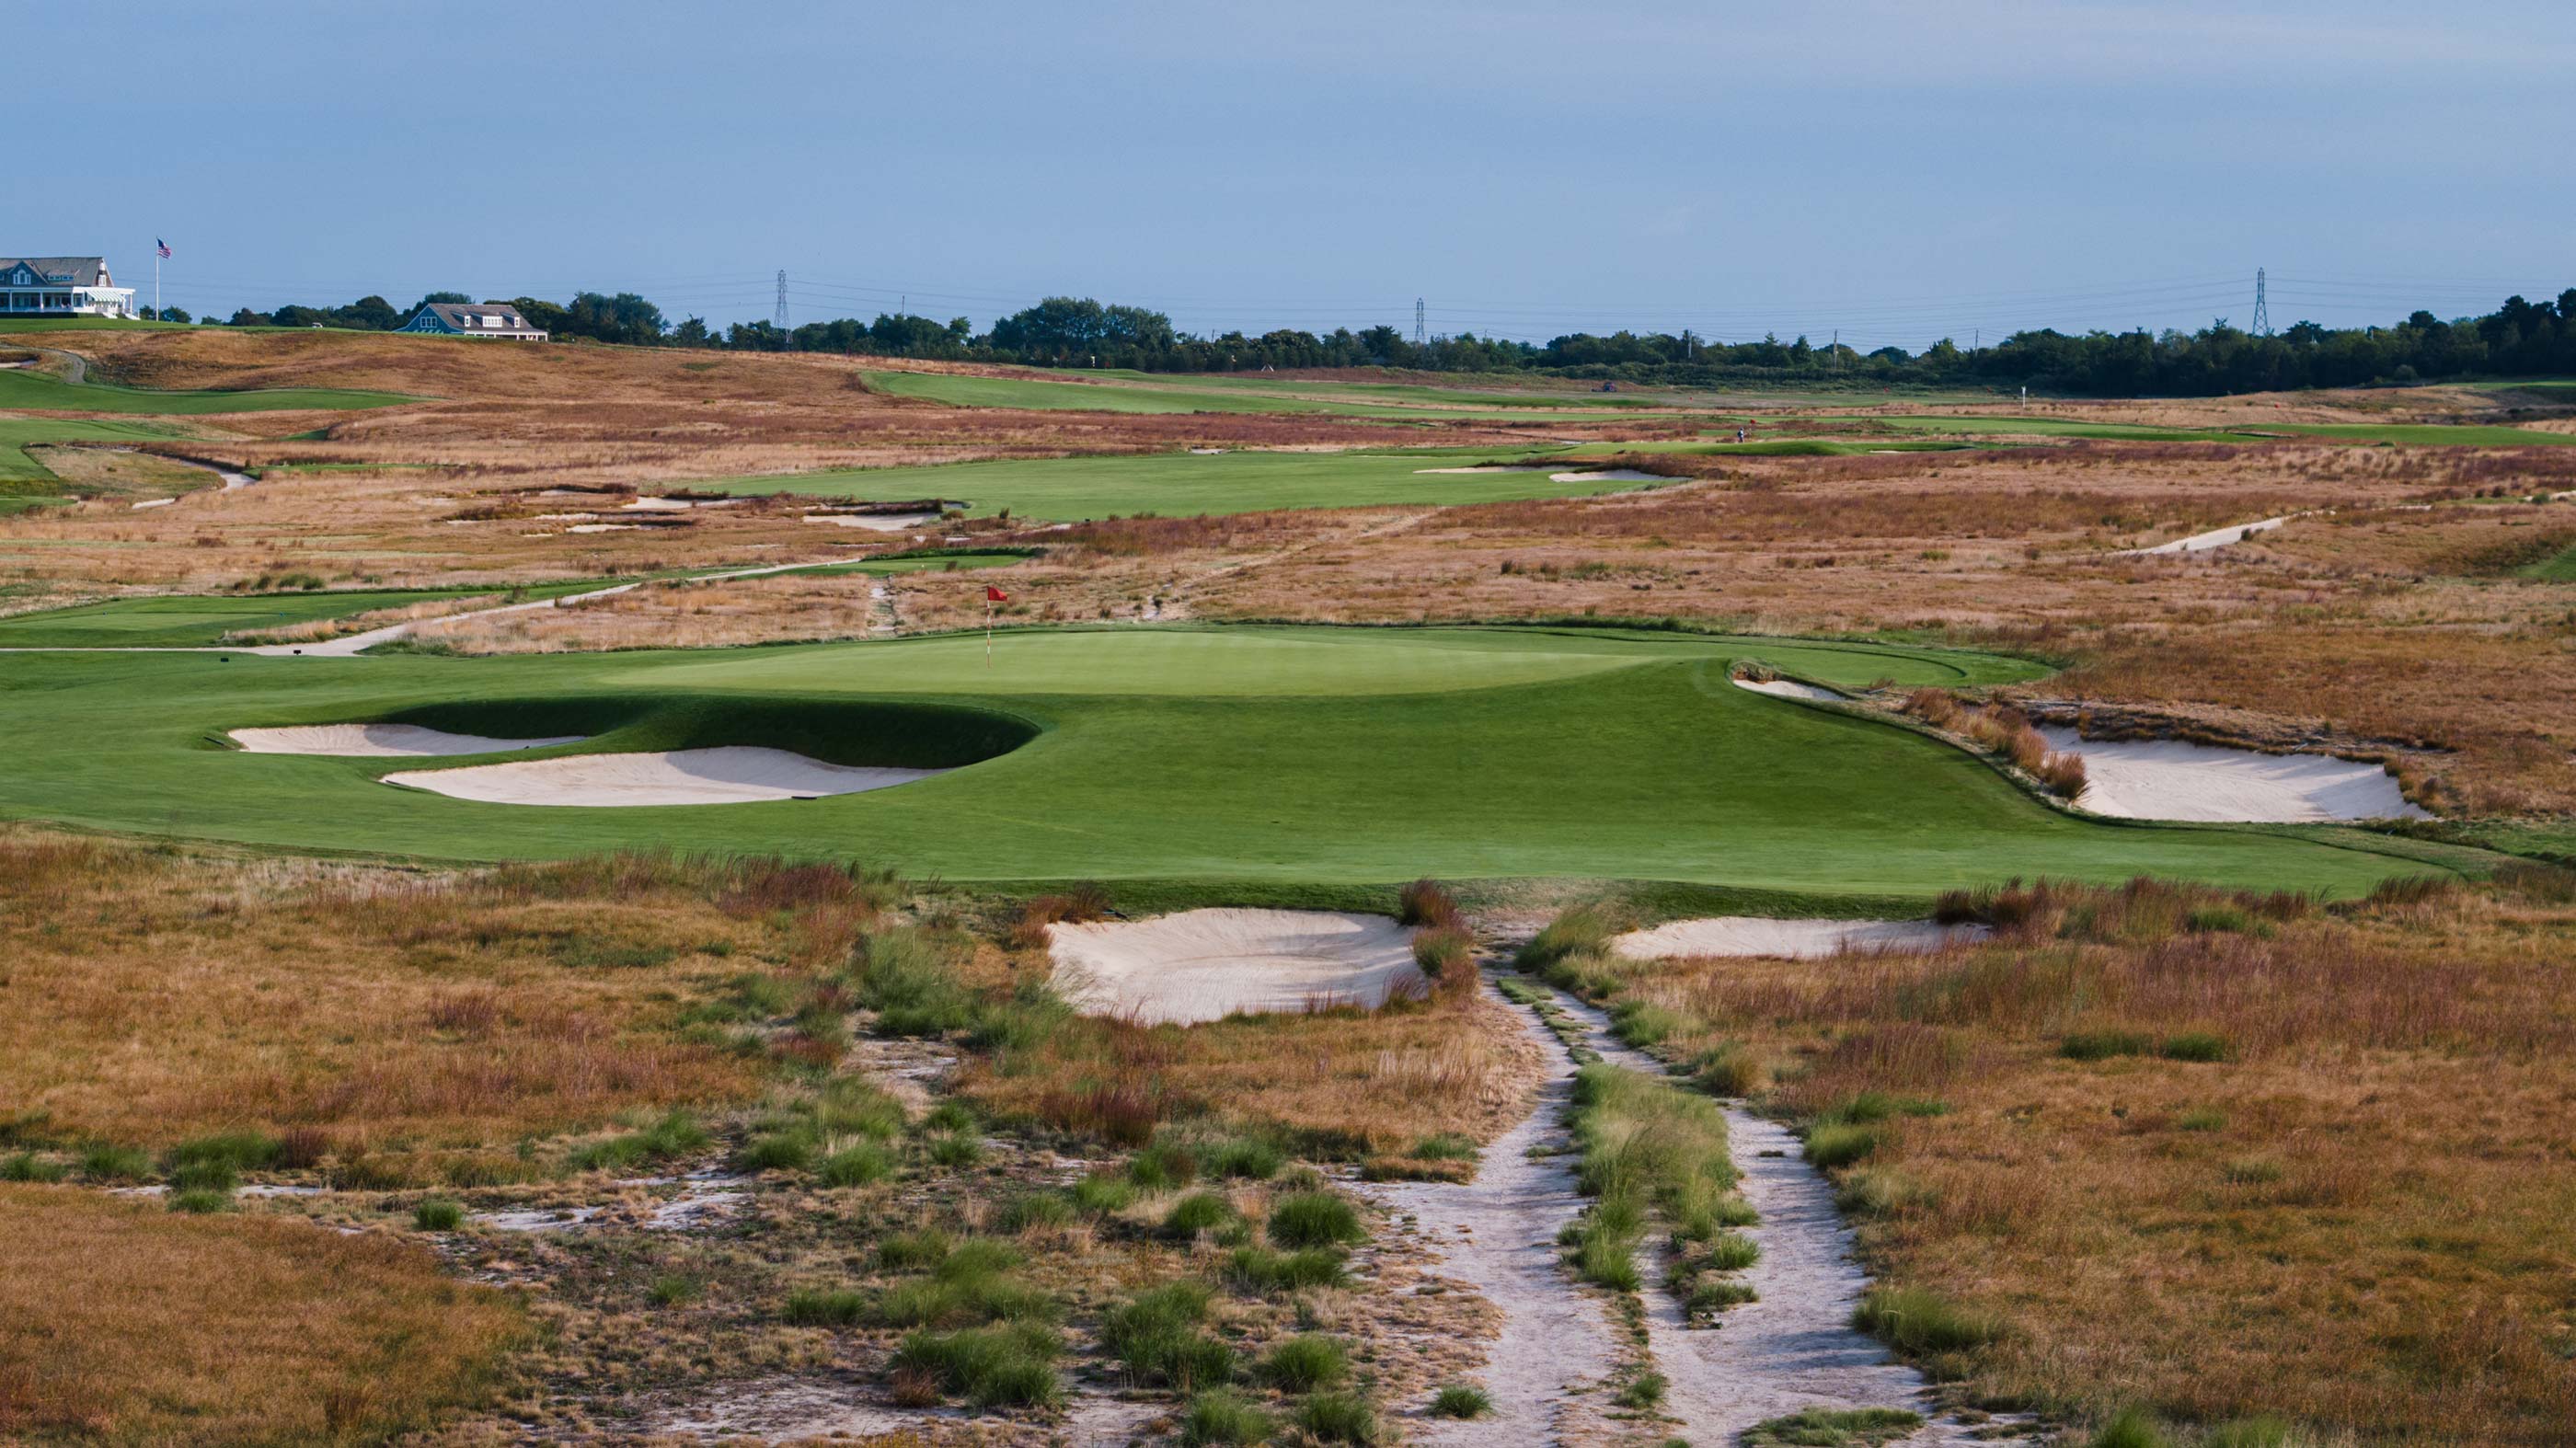
In a stretch of loud greens, the seventh might be the loudest. A Redan hole that remains from C.B. Macdonald’s course, No. 7 features a severe right-to-left angled green that slopes away. No stranger to championship golf controversy, the seventh in its current iteration requires a nearly perfect shot to hold the green. With the severity of the green and the speed at which it is maintained, this hole is on the verge of being described as bad. Spots of particular bother are misses to the right of the green and the bunker short left. Missing long won’t kill you.



Hole 8
Much like No. 4, the eighth traverses very docile ground but has a green that generates wonderful strategic interest. Set up similarly to the fourth with bunkers on the inside of the dogleg, the play on the eighth is often to get out to the left side rather than the right near the bunkers. This is because of the green complex, which features a large shoulder on the front right of the green. This shoulder makes it next to impossible to get close to any hole locations on the right side.




Hole 9
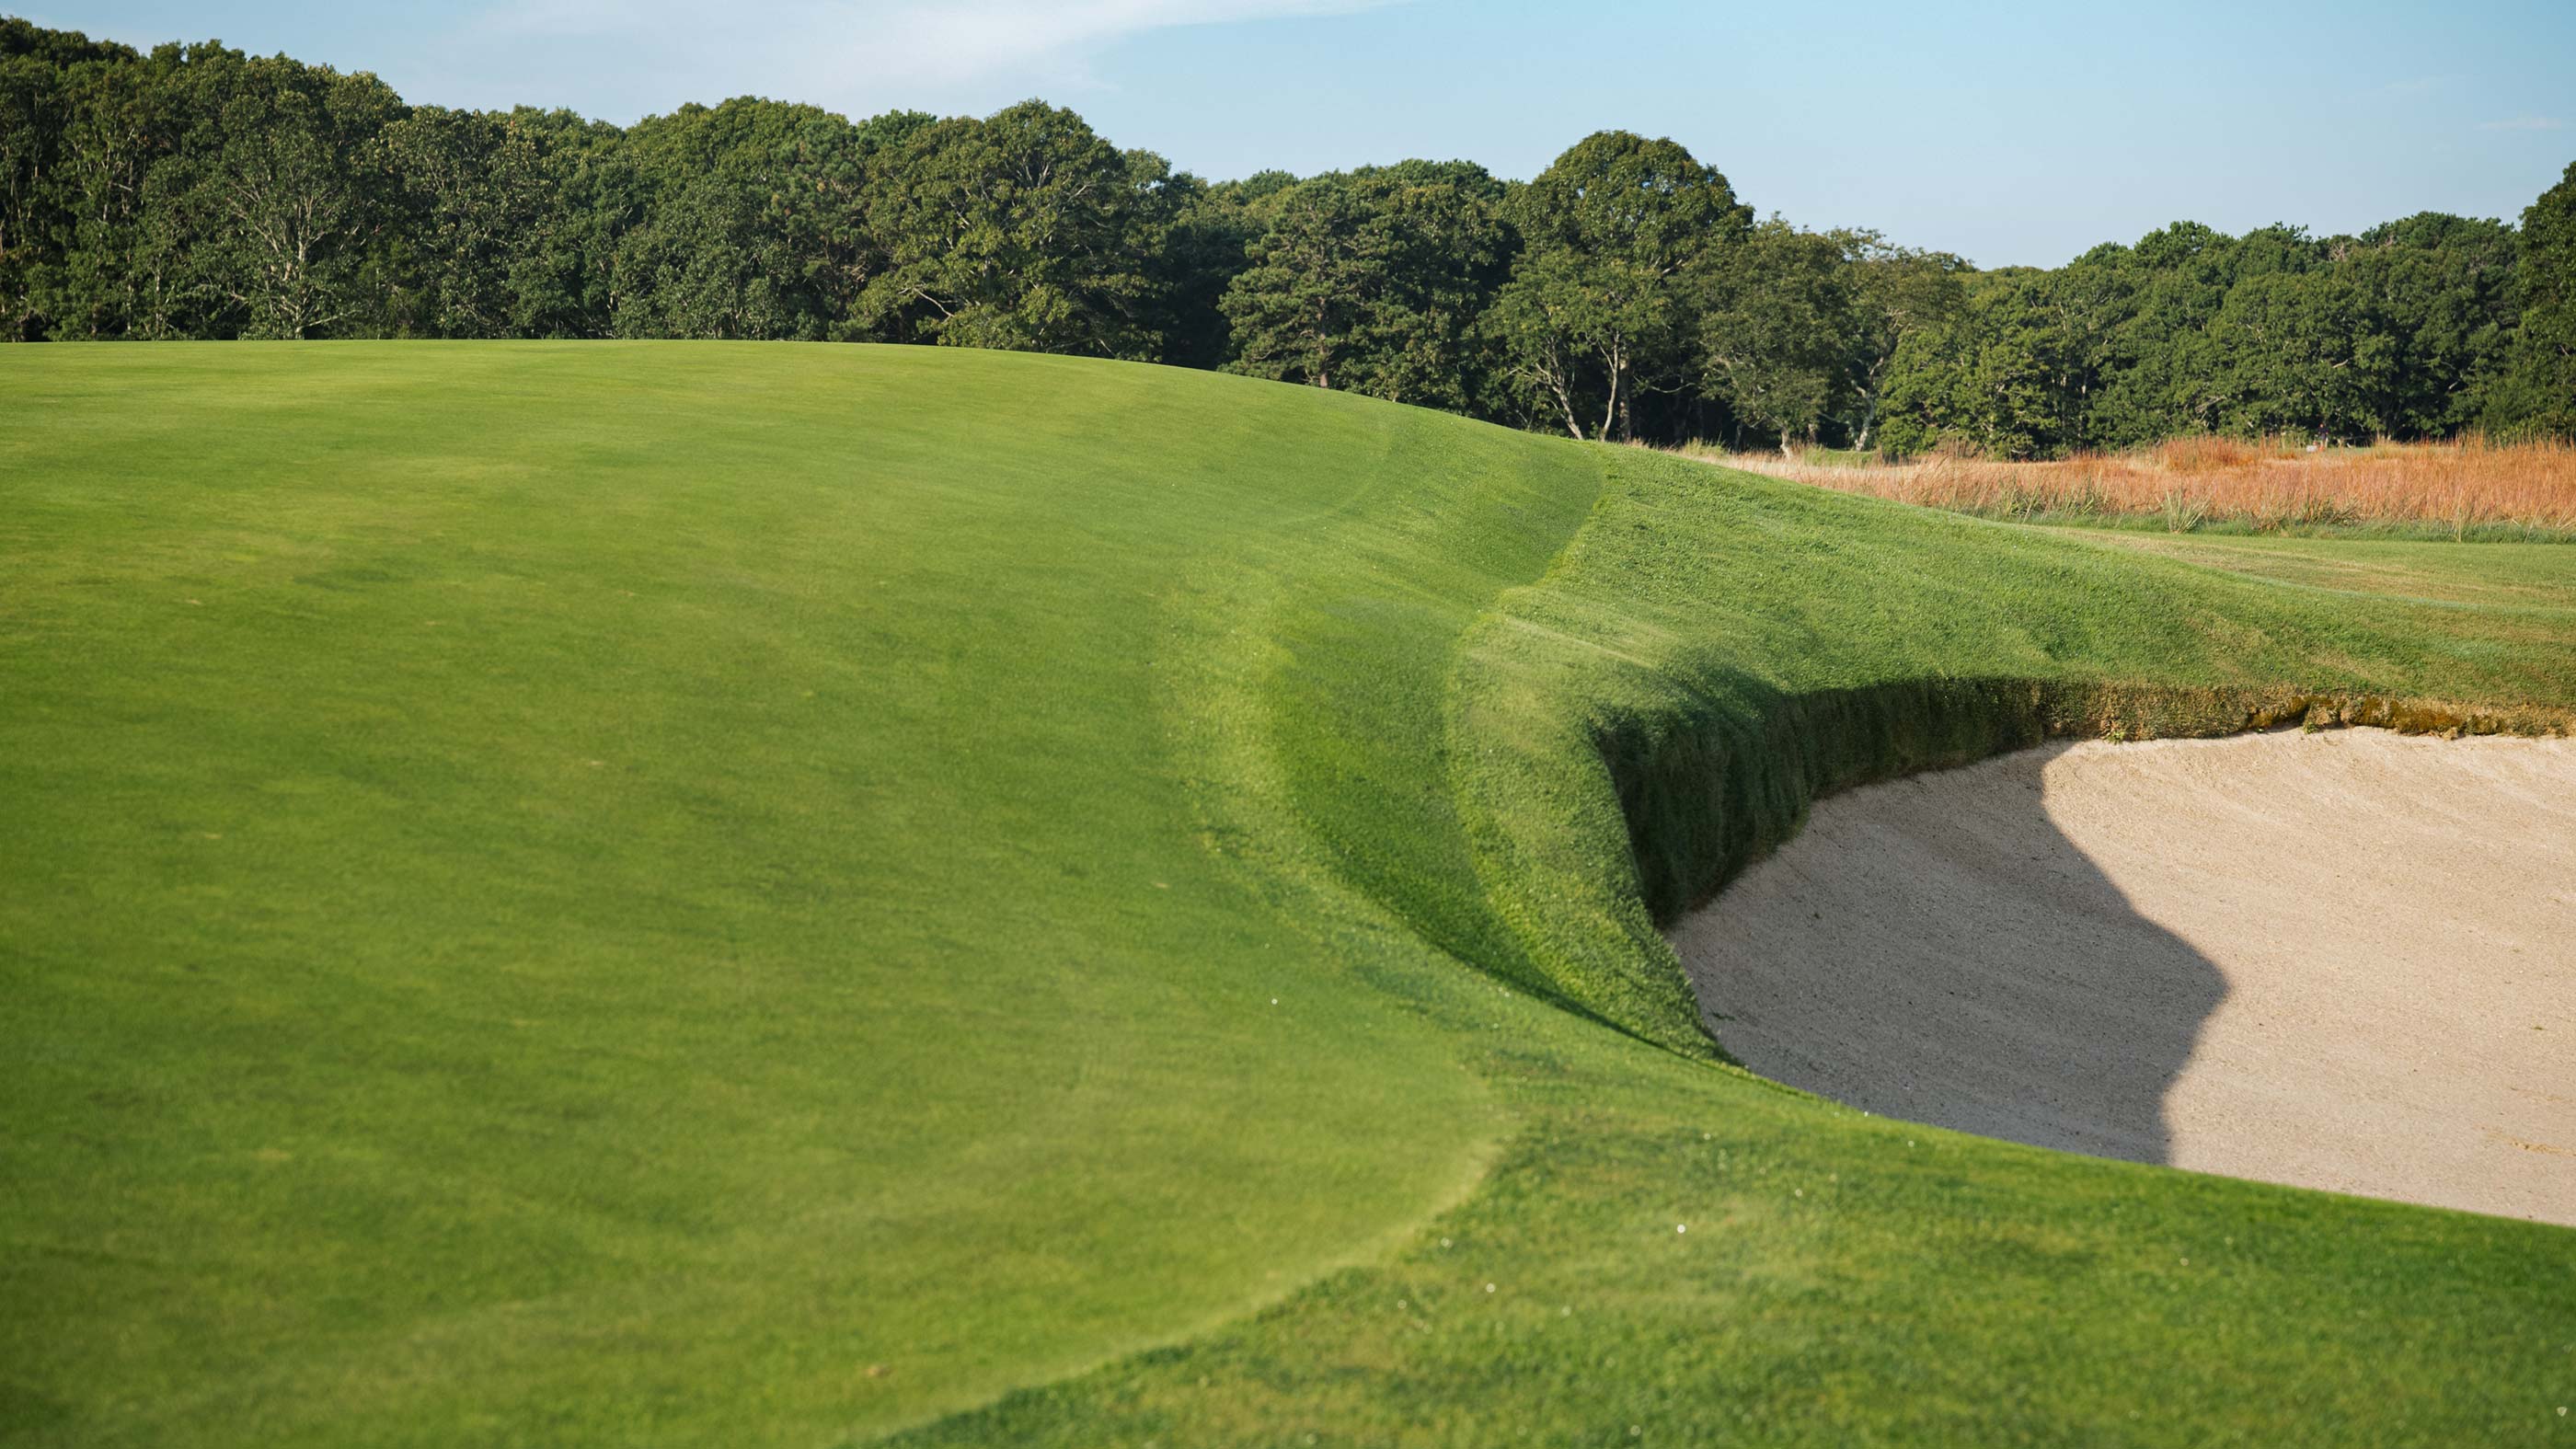
One of the most memorable holes in all of golf, the brutish par 4 plays up to the massive ridge that the iconic Stanford White Clubhouse sits on and features a severe back-to-front pitched green. The tee shot plays into a forgiving valley, but it's filled with uneven lies that make the herculean approach more challenging. The timing of this hole definitely fits William Flynn’s belief that golf should be a physical test. The ninth is a stunningly difficult hole that also accomplishes the task of getting golfers up to the high ground for the start of the back nine.


Hole 10
At one point, William Flynn had planned for the 10th to be the first hole at Shinnecock Hills. I, for one, am thankful that didn’t happen. The 10th features some of the most stunning topography of any hole in the world, and its stellar landforms drive its strategic interest. A ridge runs through the fairway before it tumbles down to a low point and rises back to a small ridge where the green resides. The tee shot can be either laid up on the ridge, leaving a longer approach shot, or played down the hill and into the low area, which yields a short wedge approach, but up a significant hill to a shallow green that falls off in front and back. Missing short will send a ball tumbling some 60 yards back down a hill, and missing long creates a nightmare chip up to a green that runs away, bringing the false front into play. A puzzling hole that never allows players to feel fully confident in their strategy.


Hole 11
If you look up the definition of diabolical, a picture of the par-3 11th might be there. Sitting on Shinnecock’s high ground, fully exposed to the elements, is a tiny green on a small ridge with fall-offs everywhere you look. Hitting this minuscule green sets up a great look at birdie, but missing it could produce a range of outcomes as the recovery shots are exceptionally difficult. One of the under-talked-about aspects of the 11th is how the green angles from left to right, much like the 12th at Augusta National. This orientation is tricky for right-handed players who tend to miss short right (trouble) and long left (more trouble) with their approach shots.




Hole 12
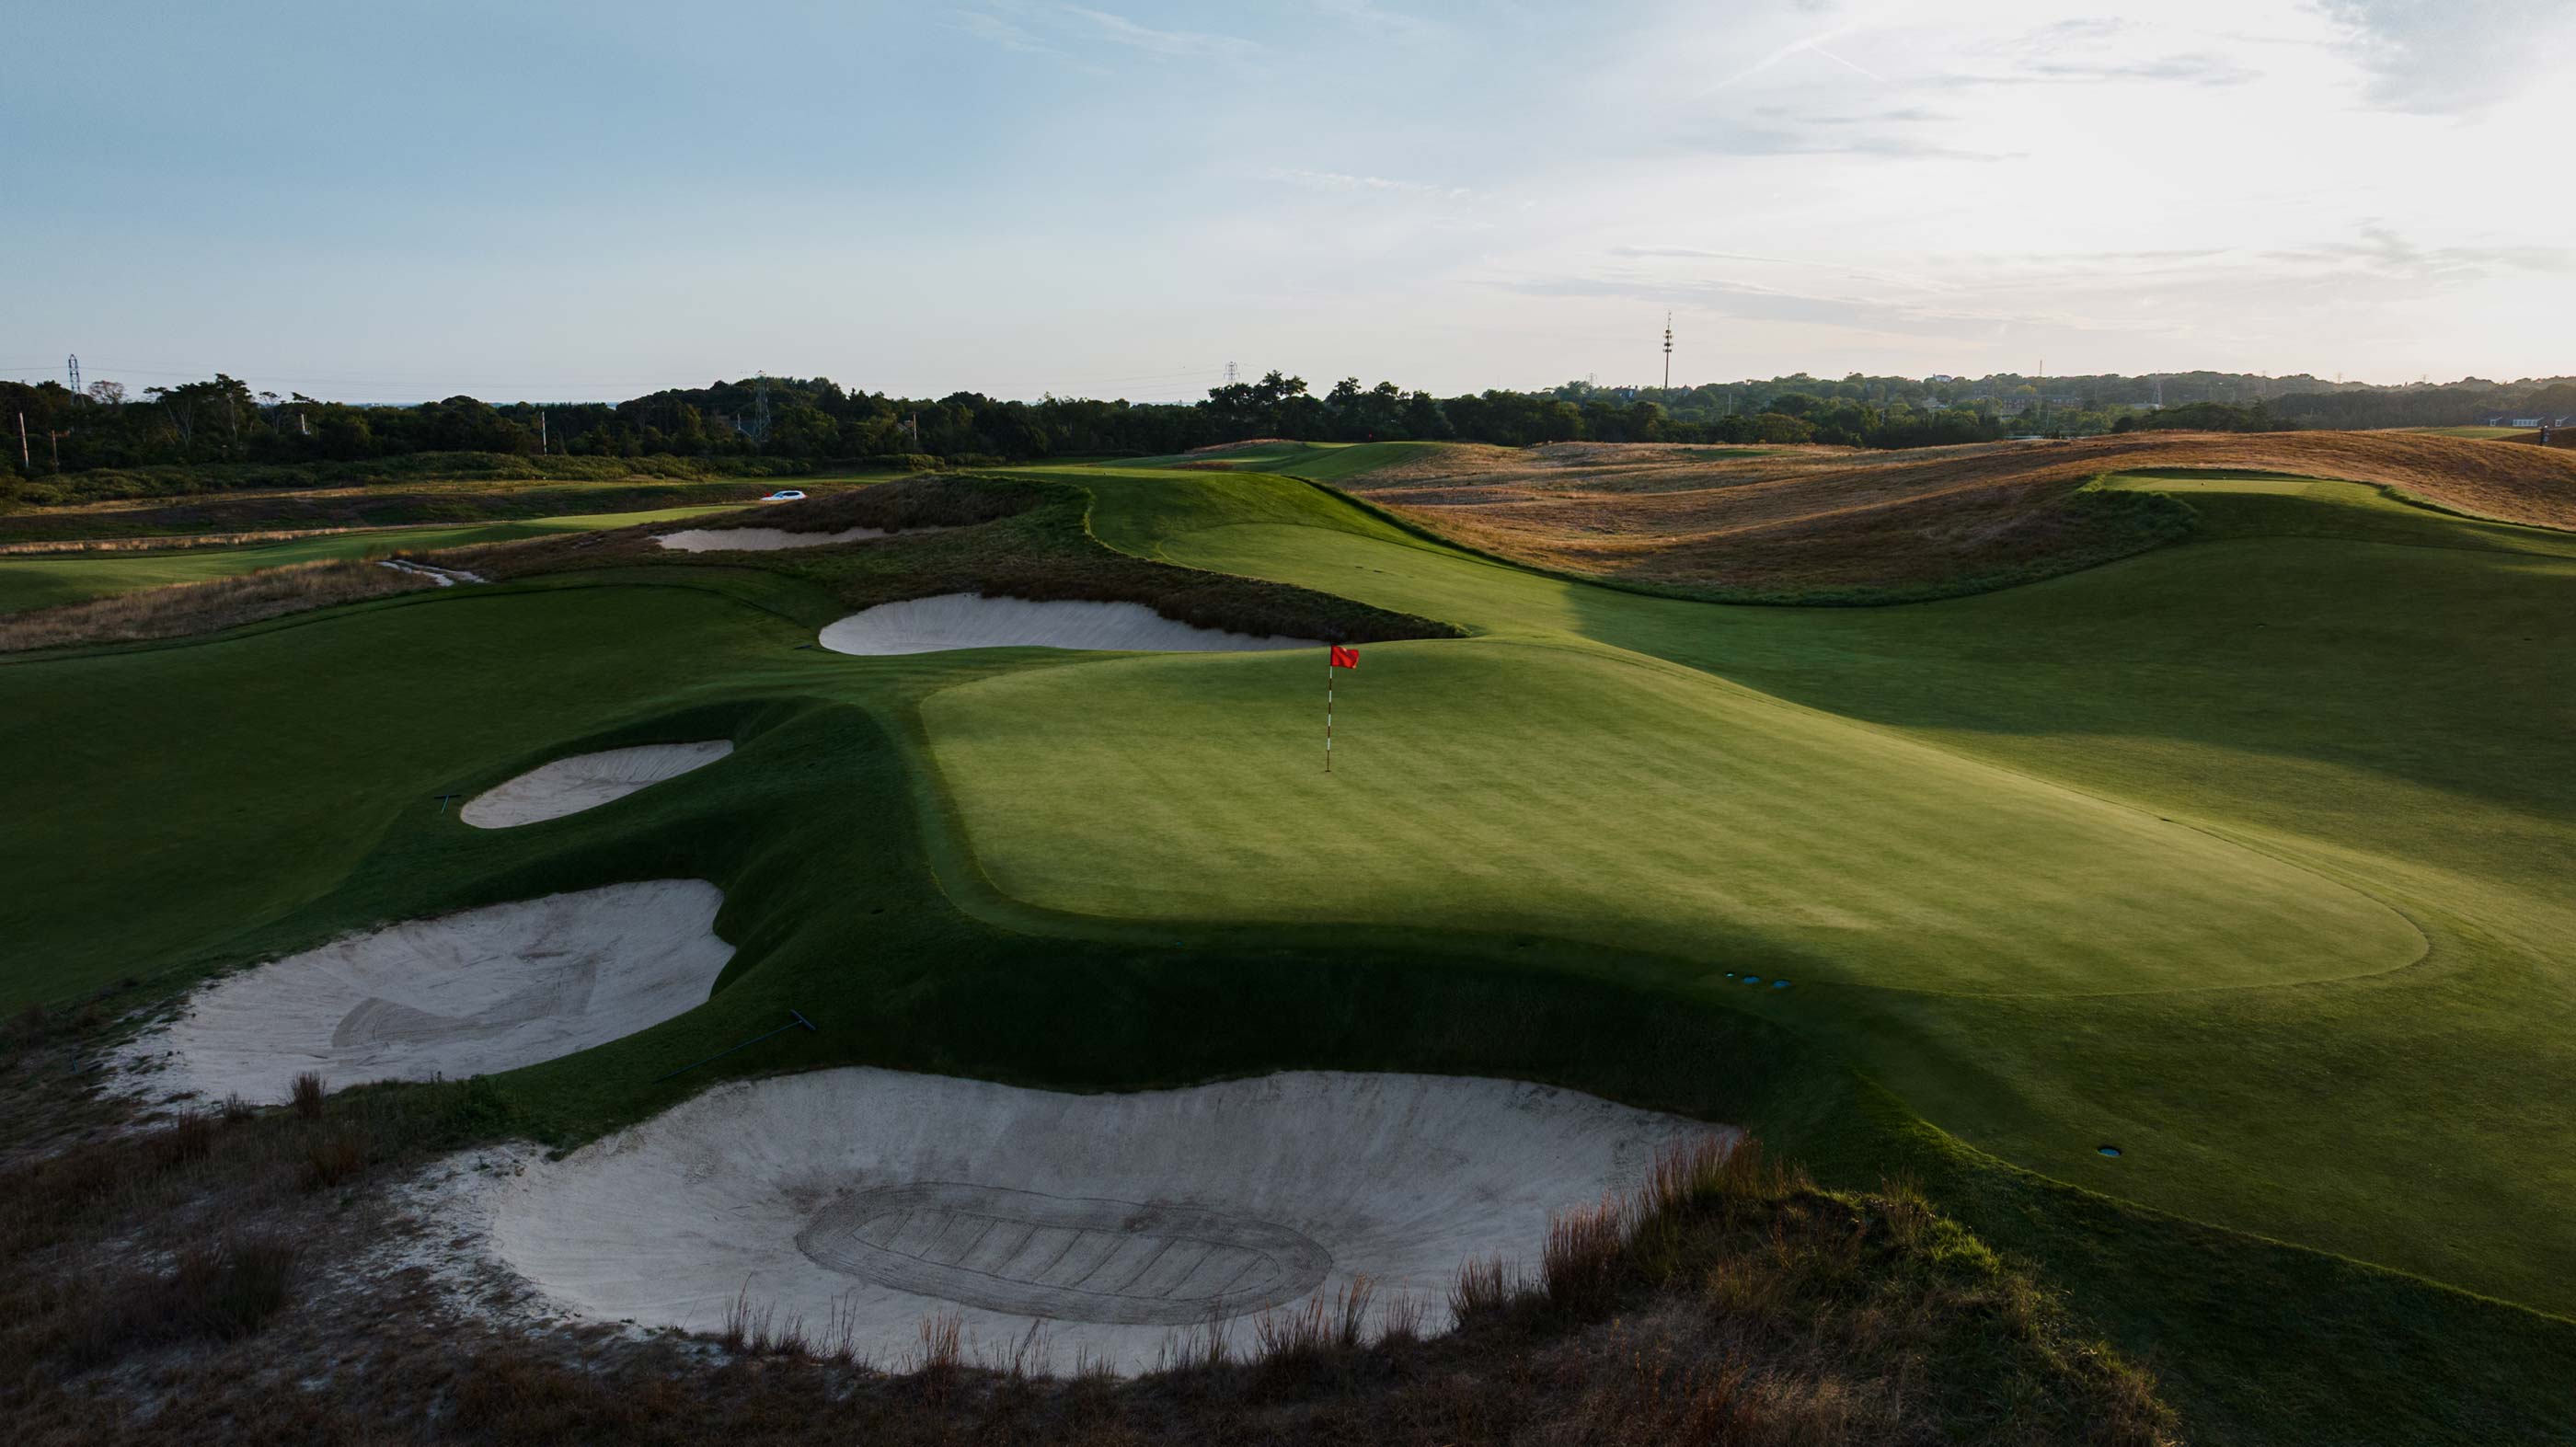
A big par 4 that plays over Tuckahoe Road features a wonderful green complex that has a channel running through the middle, creating left and right wings. The tee shot has to contend with a nice bunker scheme and a fairway that cants left to right, as well as a traditional summer wind that accentuates that slope.


Hole 13
This shortish par 4 is the final hole that plays on the dramatic high ground. Much like the eighth hole, No. 13 features a counterintuitive strategy off the tee where playing to the outside of the dogleg yields the best approach angle to the exposed green. William Flynn employed a hole like this in several of his designs.


Hole 14
Crossing back over Tuckahoe Road brings you to a stunning tee shot from under the clubhouse and back down into the valley occupied by the front nine. On the right is a giant dune ridge that you want to hug to keep your ball on this right-to-left canted fairway. The only relief on this gargantuan par 4 is the green, which sits in a saddle and corrals balls on both the right and left sides.


Hole 15
A shorter par 4 that features a dramatic tee shot back from the high ridge. Much like the ninth hole, the climb up to this tee shot gets your heart racing. One of the few greens at Shinnecock Hills with bunkers in front, the green subtly pitches away. With this hole often playing downwind, it makes a tricky approach where generating spin is important. Long hitters have a predicament: if you push up close to the green, you lose the ability to spin an approach shot.


Hole 16
The postcard hole at Shinnecock Hills, this beast of a par 5 plays back up the hill and directly at the clubhouse. Often unreachable in two due to wind and the length of the hole, a tee shot up the right opens up a good view and angle of the layup area. From the left, that same layup area is more obscured and challenging to reach, but on a day when the hole is reachable, it gives you the best angle to attack the green with a long club.


Hole 17
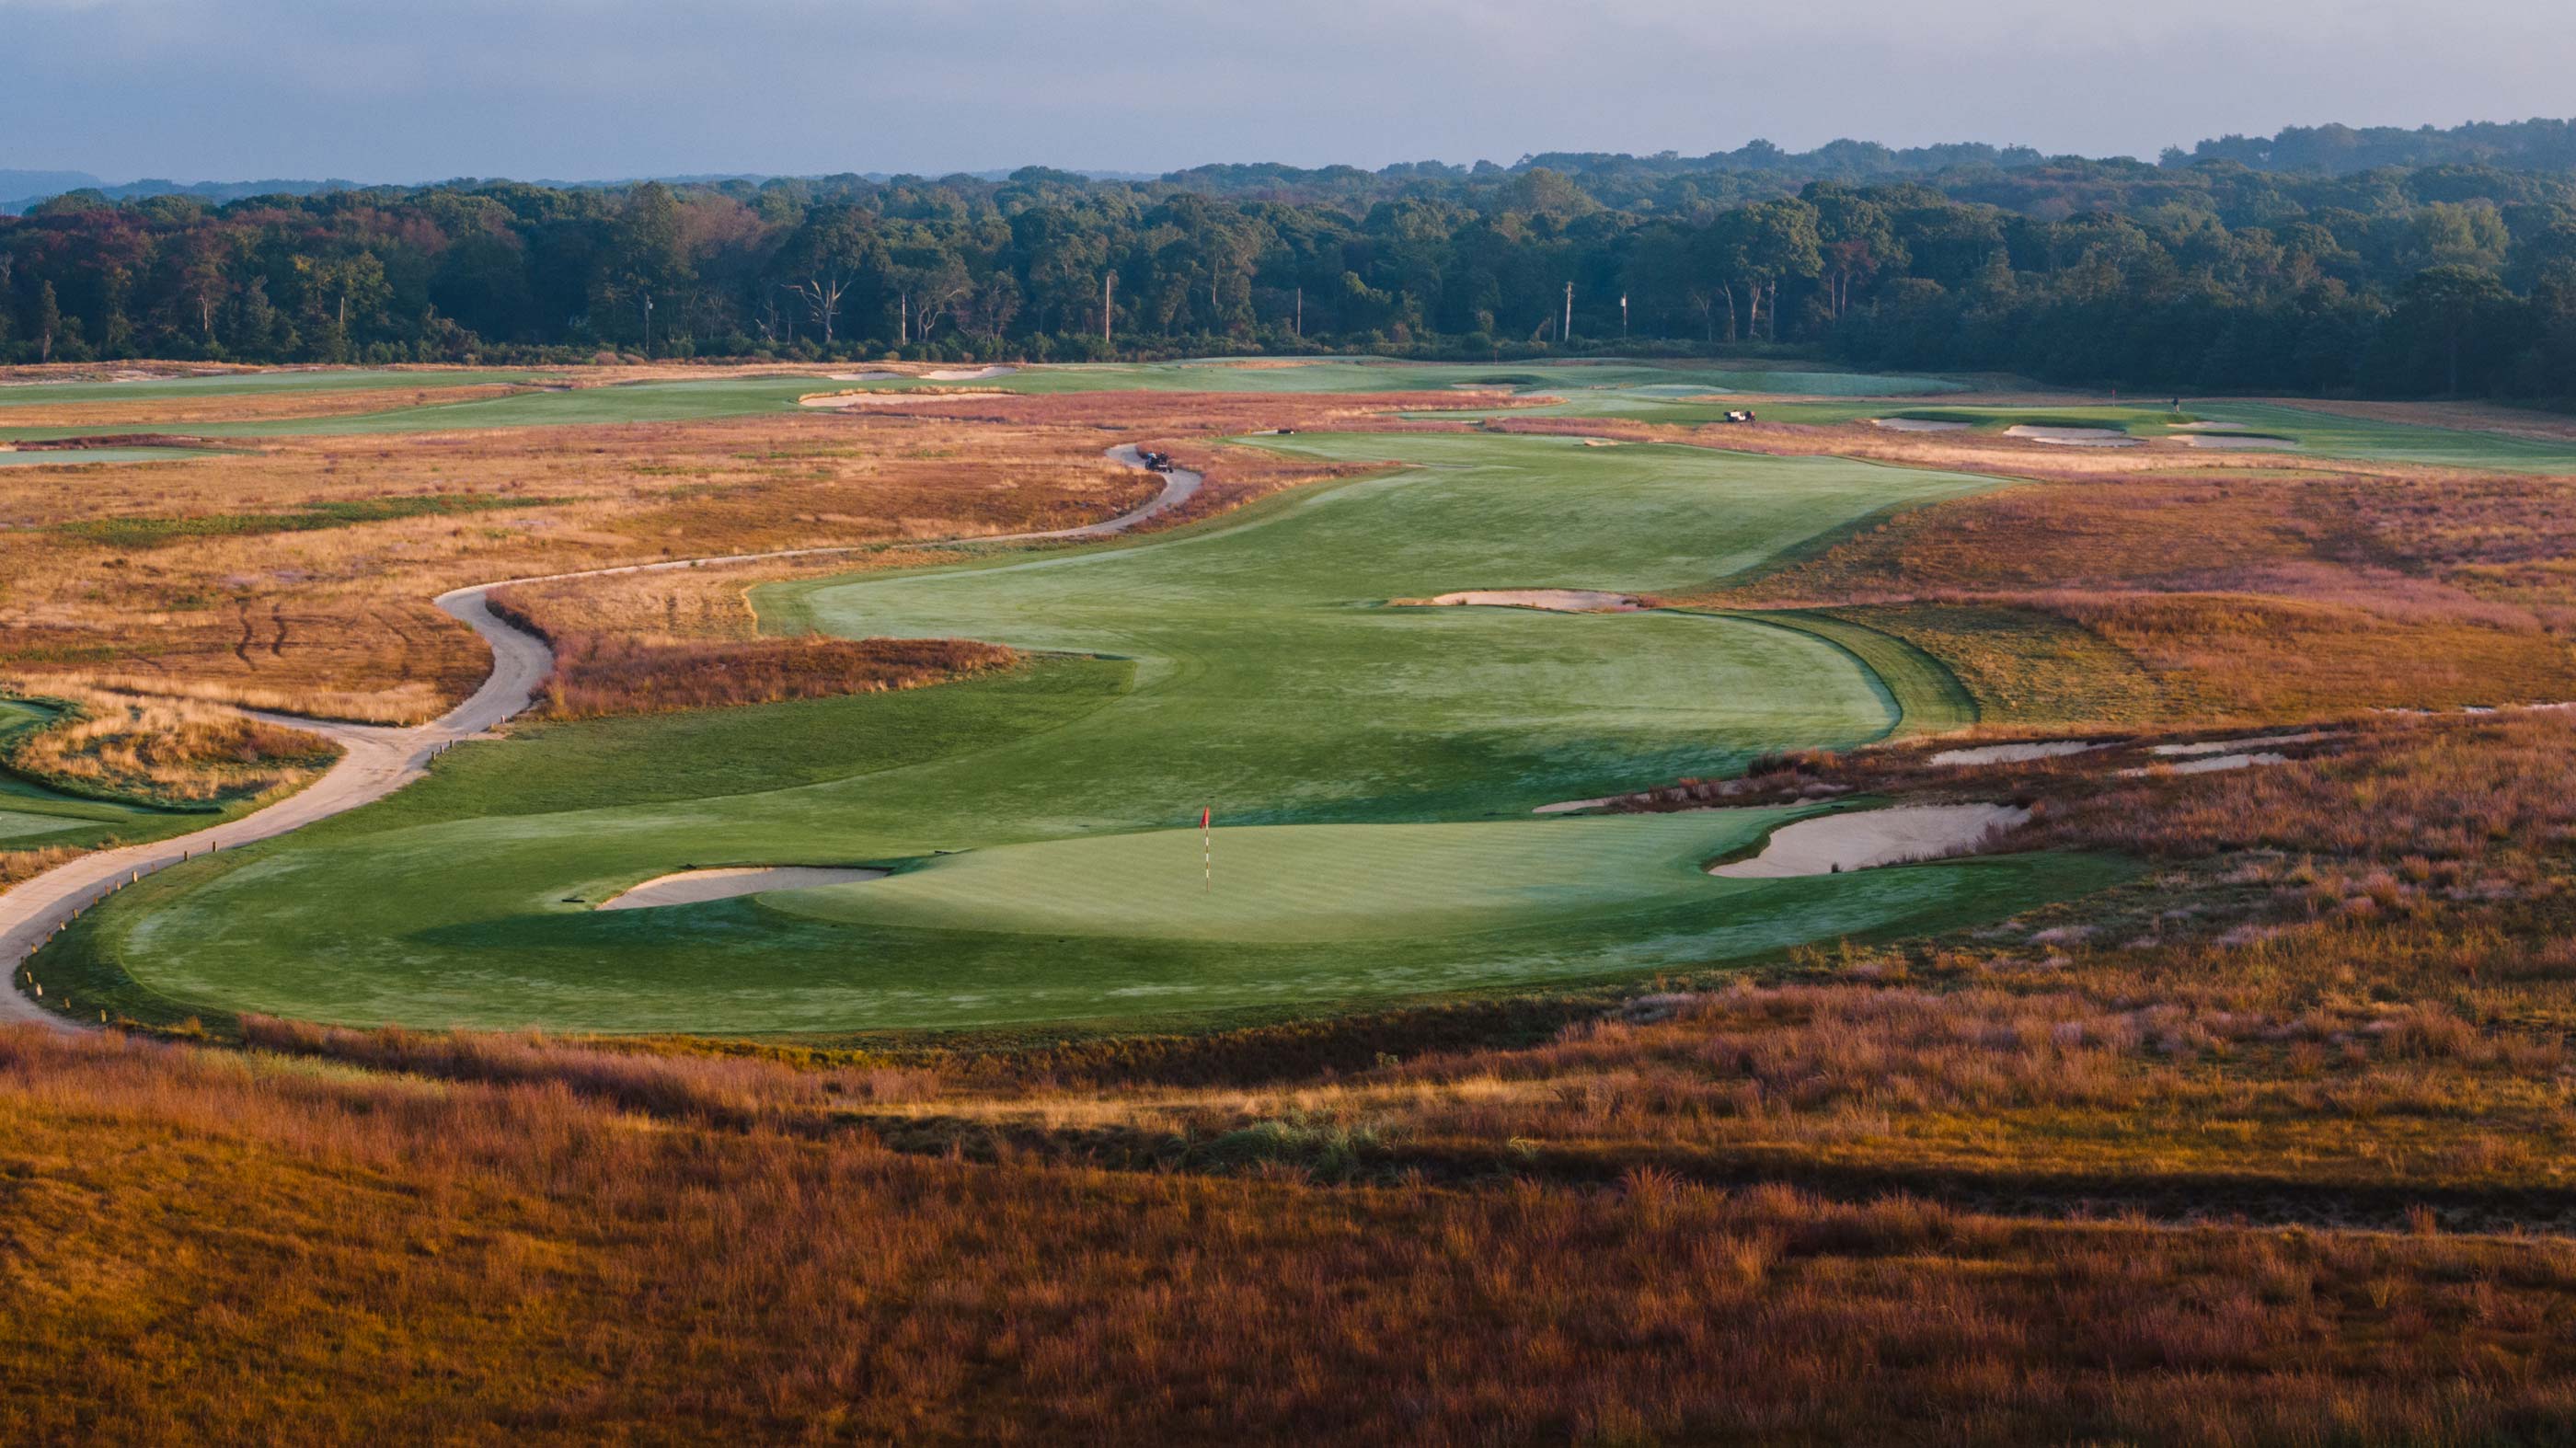
This stellar par 3 requires a mid-iron to an awkwardly angled and protected green. The falloff and right-to-left angle forces players to attack as safe shots either funnel away or find hazards. This dynamic makes it very difficult to pull off the 20-foot, pin-high approach shot that is so often sought after on a shot of this length.


Hole 18
The closing hole at Shinnecock features a semi-blind tee shot to a fairway that winds its way around a sand dune. Playing to the left can greatly shorten the approach, and a weak shot off to the right will yield a Corey Pavin-like approach. The green is beautifully benched under the big ridge that the clubhouse sits on and possesses a crazy amount of slope. Shots played up to the right portion of the green will work back to the middle, a feature much easier to use from the preferred left side of the fairway.


